Download to read offline
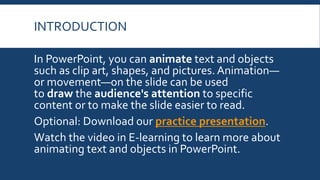

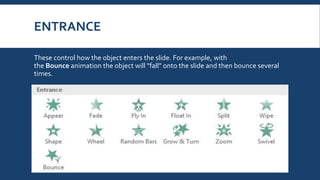
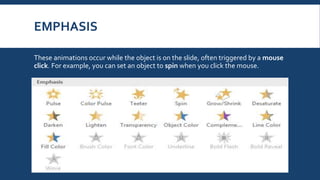
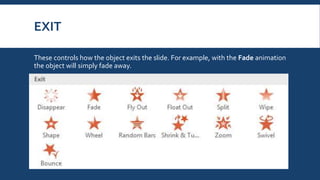
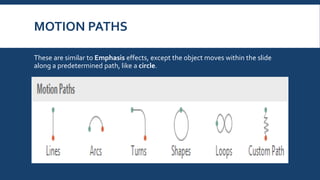
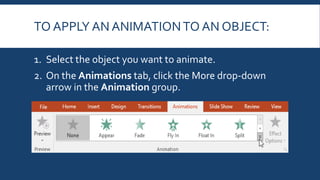
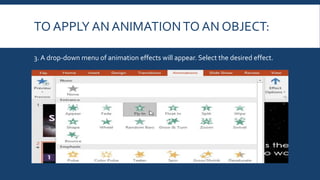
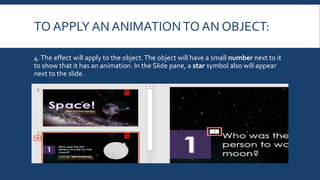
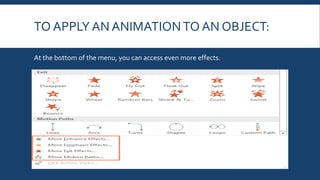
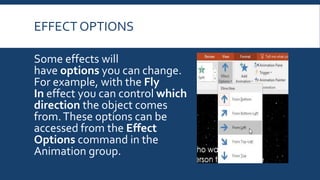
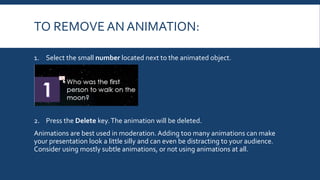

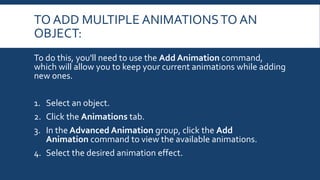
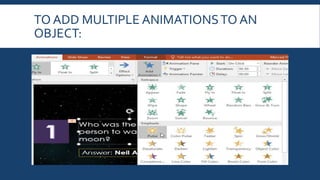
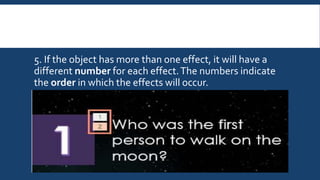
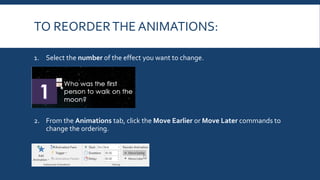

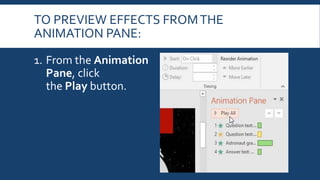
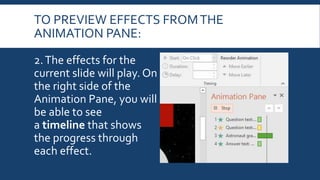
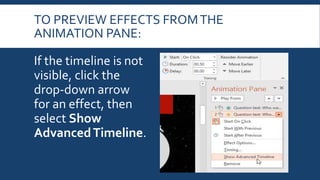
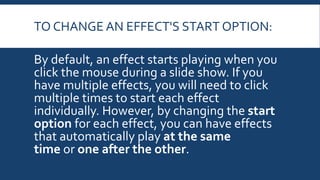
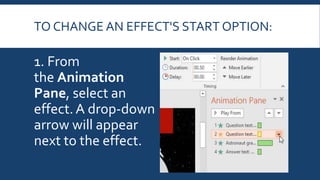
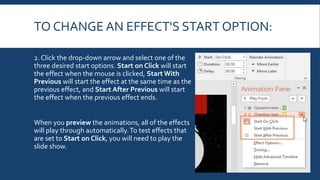
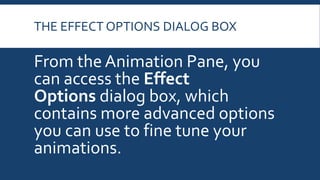
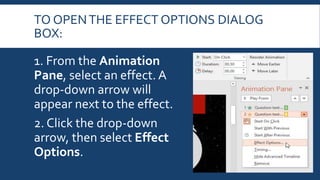
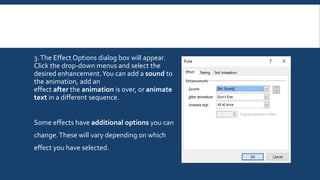
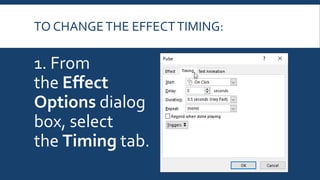
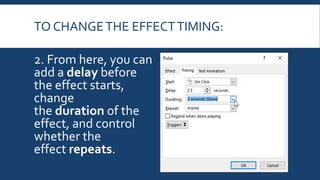


This document provides instructions for animating text and objects in PowerPoint. It describes the four types of animations: entrance, emphasis, exit, and motion paths. It explains how to apply animations to objects, add multiple animations, reorder animations, copy animations between objects, preview animations, and modify animation properties using the animation pane and effect options dialog box. The document also includes a challenge section with steps to animate text boxes in a practice presentation.