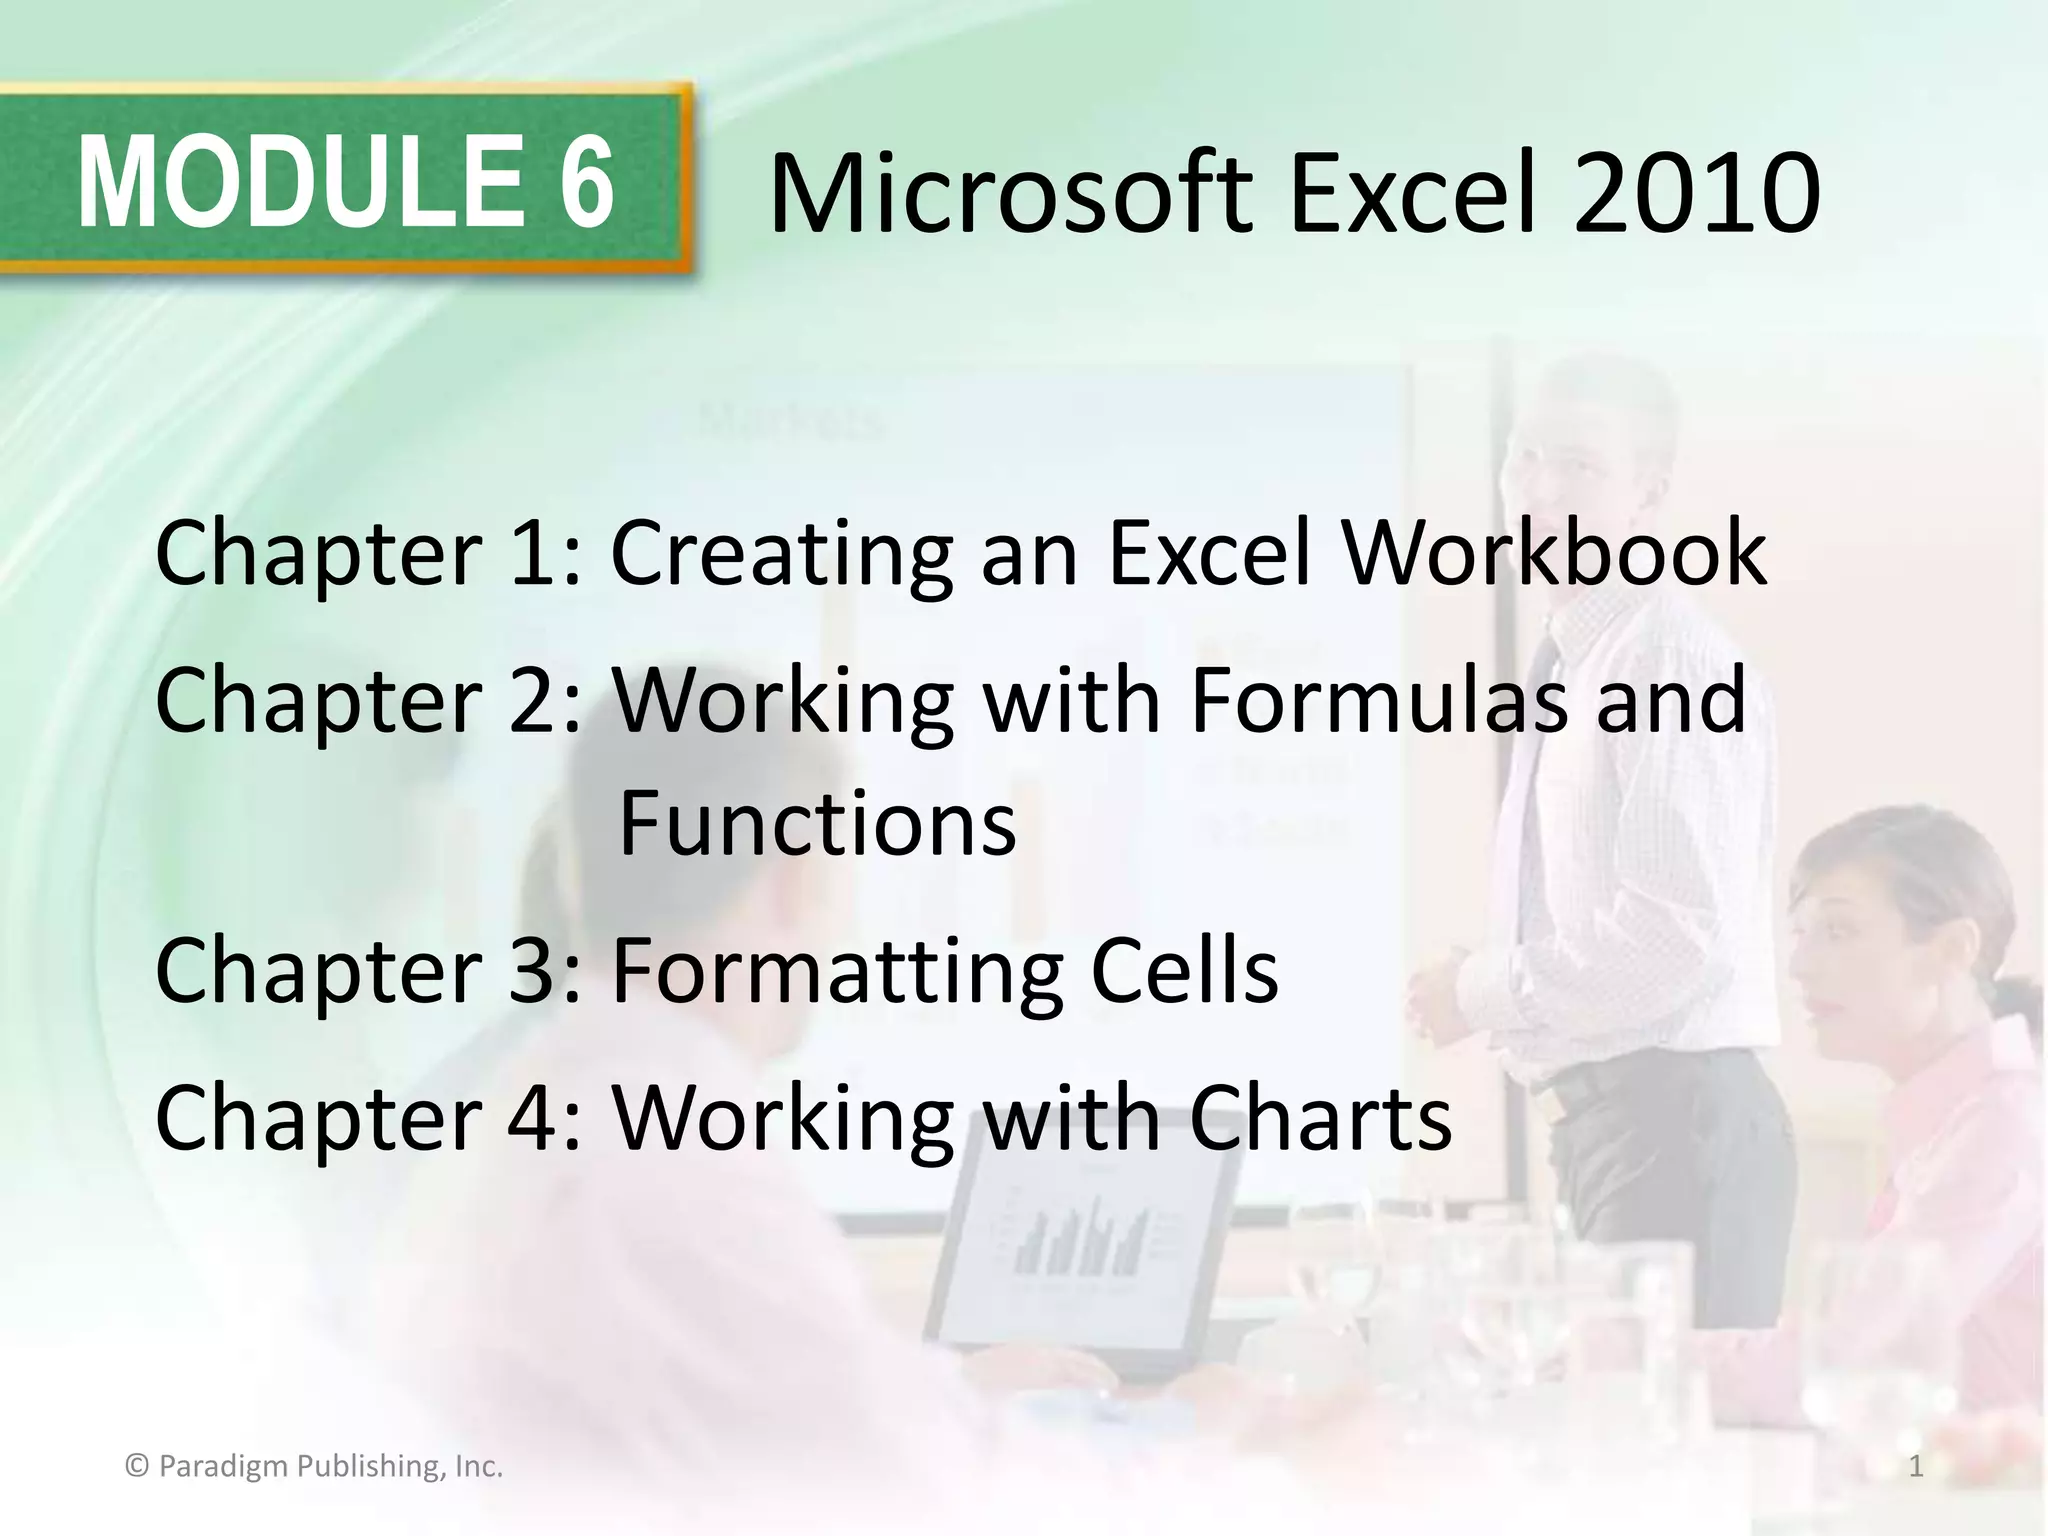
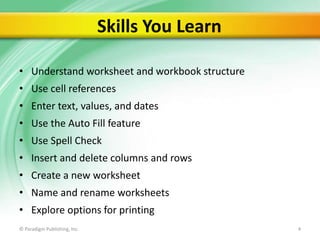
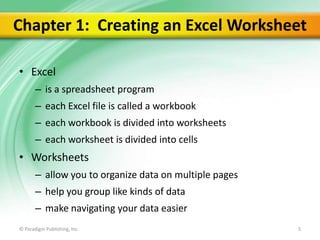
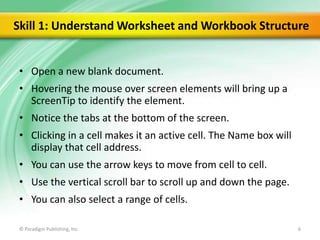
MODULE 6

Microsoft Excel 2010

Chapter 1: Creating an Excel Workbook
Chapter 2: Working with Formulas and
Functions
Chapter 3: Formatting Cells
Chapter 4: Working with Charts

© Paradigm Publishing, Inc.

1
Microsoft Excel Overview
• Take the time to plan how you will organize the
data.
• Make necessary calculations.
– Position input cells in a prominent location.
– Apply formatting that prompts the user for
information.

• Use clip art, shapes, and graphics to enhance your
worksheet’s appearance.
• Convey your worksheet data graphically in a chart.
• Keep in mind your audience as well as industry
standards.
© Paradigm Publishing, Inc.

2
Chapter 1

Creating an Excel Workbook
© Paradigm Publishing, Inc.

3
Skills You Learn
• Understand worksheet and workbook structure
• Use cell references
• Enter text, values, and dates
• Use the Auto Fill feature

• Use Spell Check
• Insert and delete columns and rows
• Create a new worksheet

• Name and rename worksheets
• Explore options for printing
© Paradigm Publishing, Inc.

4
Chapter 1: Creating an Excel Worksheet
• Excel
– is a spreadsheet program
– each Excel file is called a workbook
– each workbook is divided into worksheets

– each worksheet is divided into cells

• Worksheets
– allow you to organize data on multiple pages

– help you group like kinds of data
– make navigating your data easier
© Paradigm Publishing, Inc.

5
Skill 1: Understand Worksheet and Workbook Structure
• Open a new blank document.
• Hovering the mouse over screen elements will bring up a
ScreenTip to identify the element.
• Notice the tabs at the bottom of the screen.

• Clicking in a cell makes it an active cell. The Name box will
display that cell address.
• You can use the arrow keys to move from cell to cell.
• Use the vertical scroll bar to scroll up and down the page.
• You can also select a range of cells.
© Paradigm Publishing, Inc.

6
Name box

Formula Bar

Current cell or
active cell

Column
Headings

Row Headings

Scroll Bar

Sheet tab

© Paradigm Publishing, Inc.

Scroll Bar

7
Jumping to a Cell You can jump directly to a
cell by clicking the Find & Select button in the
Editing group on the Home tab and then
clicking Go To, or by pressing F5. Either method
opens the Go To dialog box, where you can
enter a cell address in the Reference text box
and then click OK to jump to that cell.
© Paradigm Publishing, Inc.

8
Skill 2: Use Cell References
• You can identify each cell
– by its column letter and row number
– also called cell address, cell reference, or cell name

• A range of cells
– is identified by its upper left and lower right cells
separated by a colon
– can span a single row or fall within a single column
© Paradigm Publishing, Inc.

9
Name box

Formula bar
displays entry

Text in active
cell

Range E5:G7 with
text and yellow fill

Active Sheet
tab
© Paradigm Publishing, Inc.

10
Exploring a Worksheet A worksheet contains a
fixed number of columns and rows, the exact
count depending upon the amount of RAM
available to your computer. Cells within a
worksheet can contain numbers and dates in
various formats, text, and formulas using
arithmetic operators or functions.
© Paradigm Publishing, Inc.

11
Skill 3: Enter Text, Values, and Dates
• Each cell on a worksheet
– can hold a single entry
– can be text, a date, a value, or a formula that
calculates a result

• Text entries
– may contain a combination of letters, numbers or
symbols

– are aligned at the left side of the cell by default

• Number entries are right-aligned by default
© Paradigm Publishing, Inc.

12
Column resized

Date added to
cell

Text added to
cells

© Paradigm Publishing, Inc.

13
Removing ### from a Cell In certain situations,
such as if you enter a very large number in a
cell, Excel displays a series of pound signs
(######) rather than the entry itself. These
signs indicate that the numeric entry is too
wide to display in the cell.
© Paradigm Publishing, Inc.

14
Skill 4: Use the Auto Fill Feature
• Select the cell in which you wish to start.
• Type the text you wish to begin with (for instance, for the
days of the week, type Mon).
• Ctrl + Enter will finish the entry.

• Move the mouse pointer over the black fill handle in the
lower right corner of the cell from which you wish to fill
and, when the mouse pointer changes to a black crosshair,
press and hold down the left mouse button and drag in the
direction you wish to fill.
• Release the mouse button when you see a screen tip
suggesting your final fill text.
© Paradigm Publishing, Inc.

15
Fill button

Text inserted
using Auto Fill

Text copied using Fill
button with Right
option
© Paradigm Publishing, Inc.

16
Checkpoint 1
1.

Finish a cell entry by doing this.
a. Pressing Enter
b. Pressing Ctrl + Enter
c. Pressing the Right arrow key
d. All of the above

3.

The column letter and row
number make up the cell
reference or
a. value.
b. range name.
c. cell address.
d. formula.
Answer

4.

Name a way to select a range of
cells.
a. Drag over it.
b. Search for it.
c. Type it in a cell.
h. Insert dashes.

Answer
2.

Use these to move around on a
worksheet without changing the
active cell.
a. Ribbon tabs
b. Scroll bars
c. Arrow keys
d. All of the above
Answer

© Paradigm Publishing, Inc.

Answer
Next Slide
17
Skill 5: Use Spell Check
• Select the active cell.
• Click the Spelling button in the Proofing group on the
Review tab.
• The Spelling dialog box displays listing the first spelling
mistake.
• Click Change to replace the misspelled word.
• Continue until the message box informs you that the
spelling check is complete.
• Click OK.
© Paradigm Publishing, Inc.

18
Spell Check
button

Review tab

Misspelled text has
been corrected

© Paradigm Publishing, Inc.

19
Using Auto Correct Excel can correct
some misspellings for you as you type.
You can customize the AutoCorrect
feature so that the correction will be
made.
© Paradigm Publishing, Inc.

20
Skill 6: Insert and Delete Columns and Rows
• Select the active cell.
• Click the Cells group on the Home tab, click the
Delete button arrow and Delete Sheet Rows to
delete a row.
• Click the Insert button arrow and Insert Sheet
Rows to insert a row.
• You can also right-click a column or row heading
and use the Insert or Delete commands.
© Paradigm Publishing, Inc.

21
Insert and Delete
buttons

Blank column no
longer appears

© Paradigm Publishing, Inc.

22
Designing Worksheets Using Rows and
Columns Rows and columns can play both
functional and design roles in your worksheet. For
example, when you perform calculations and certain
other activities such as charting, you will find the
actions easiest to perform when all the data is located
in adjoining rows and columns.
© Paradigm Publishing, Inc.

23
Skill 7: Create a New Worksheet
• Click the active sheet tab.
• To insert a new worksheet to the right of the active
sheet tab, click the Insert Worksheet tab.
• To delete a worksheet, click the Delete button arrow
in the Cells group in the Home tab and click Delete
Sheet.
• To move or copy a worksheet, right-click the active
sheet tab and click Move or Copy to bring up the
Move or Copy dialog box.
© Paradigm Publishing, Inc.

24
Insert button

Right-click active tab
for Move or Copy
dialog box
Insert Worksheet
tab

© Paradigm Publishing, Inc.

25
Copying Data to Another Workbook If you
have another workbook open, you can select it
from the Move or Copy dialog list to move or
copy the specified worksheet to that workbook
rather than within the current workbook.
© Paradigm Publishing, Inc.

26
Skill 8: Name and Rename Worksheets
To name or rename a worksheet tab
• Right-click the active sheet tab. Click Rename, type
the new sheet name, and press Enter.

• Double-click the active sheet tab. Type the new sheet
name and press Enter.

© Paradigm Publishing, Inc.

27
Active worksheet
renamed

© Paradigm Publishing, Inc.

28
Color Coding Sheet Tabs You also can
color-code your worksheets. Right-click
the sheet tab, point to Tab Color, and click
the color you want from the palette.
© Paradigm Publishing, Inc.

29
Skill 9: Explore Options for Printing
• Click the File tab.
• Click Print. The Backstage view presents print
settings and a preview of the printout.

• Verify the printer is correct.
• Make any changes to the Print Selection or
Orientation necessary.
• Click Print.
© Paradigm Publishing, Inc.

30
File tab

Print button

Print selection

© Paradigm Publishing, Inc.

31
You can add a header and a footer to an
Excel worksheet to include identifying
information such as the file name, your
name, your company name, or page
numbers on a printout.
© Paradigm Publishing, Inc.

32
Checkpoint 2
5)

The Spell Check feature can find
errors in these types of entries.
a. text
b. values
c. dates
d. All of the above

7)

Change the ______ for the
worksheet on the sheet tab to
describe its contents.
a. theme
b. color
c. value
d. name
Answer

8)

Click Print on the File tab to
display printing choices in
a. Backstage view.
b. Print Preview view.
c. the Print dialog box.
h. the Page Layout tab.

Answer
6)

Doing this to a row or column
removes it and its contents.
a. inserting
b. removing
c. copying
d. summing

Answer
Answer
© Paradigm Publishing, Inc.

Next Slide
33
Tasks Summary

© Paradigm Publishing, Inc.

34

Gl2010 m6 ex1-presentation

  • 1.
    MODULE 6 Microsoft Excel2010 Chapter 1: Creating an Excel Workbook Chapter 2: Working with Formulas and Functions Chapter 3: Formatting Cells Chapter 4: Working with Charts © Paradigm Publishing, Inc. 1
  • 2.
    Microsoft Excel Overview •Take the time to plan how you will organize the data. • Make necessary calculations. – Position input cells in a prominent location. – Apply formatting that prompts the user for information. • Use clip art, shapes, and graphics to enhance your worksheet’s appearance. • Convey your worksheet data graphically in a chart. • Keep in mind your audience as well as industry standards. © Paradigm Publishing, Inc. 2
  • 3.
    Chapter 1 Creating anExcel Workbook © Paradigm Publishing, Inc. 3
  • 4.
    Skills You Learn •Understand worksheet and workbook structure • Use cell references • Enter text, values, and dates • Use the Auto Fill feature • Use Spell Check • Insert and delete columns and rows • Create a new worksheet • Name and rename worksheets • Explore options for printing © Paradigm Publishing, Inc. 4
  • 5.
    Chapter 1: Creatingan Excel Worksheet • Excel – is a spreadsheet program – each Excel file is called a workbook – each workbook is divided into worksheets – each worksheet is divided into cells • Worksheets – allow you to organize data on multiple pages – help you group like kinds of data – make navigating your data easier © Paradigm Publishing, Inc. 5
  • 6.
    Skill 1: UnderstandWorksheet and Workbook Structure • Open a new blank document. • Hovering the mouse over screen elements will bring up a ScreenTip to identify the element. • Notice the tabs at the bottom of the screen. • Clicking in a cell makes it an active cell. The Name box will display that cell address. • You can use the arrow keys to move from cell to cell. • Use the vertical scroll bar to scroll up and down the page. • You can also select a range of cells. © Paradigm Publishing, Inc. 6
  • 7.
    Name box Formula Bar Currentcell or active cell Column Headings Row Headings Scroll Bar Sheet tab © Paradigm Publishing, Inc. Scroll Bar 7
  • 8.
    Jumping to aCell You can jump directly to a cell by clicking the Find & Select button in the Editing group on the Home tab and then clicking Go To, or by pressing F5. Either method opens the Go To dialog box, where you can enter a cell address in the Reference text box and then click OK to jump to that cell. © Paradigm Publishing, Inc. 8
  • 9.
    Skill 2: UseCell References • You can identify each cell – by its column letter and row number – also called cell address, cell reference, or cell name • A range of cells – is identified by its upper left and lower right cells separated by a colon – can span a single row or fall within a single column © Paradigm Publishing, Inc. 9
  • 10.
    Name box Formula bar displaysentry Text in active cell Range E5:G7 with text and yellow fill Active Sheet tab © Paradigm Publishing, Inc. 10
  • 11.
    Exploring a WorksheetA worksheet contains a fixed number of columns and rows, the exact count depending upon the amount of RAM available to your computer. Cells within a worksheet can contain numbers and dates in various formats, text, and formulas using arithmetic operators or functions. © Paradigm Publishing, Inc. 11
  • 12.
    Skill 3: EnterText, Values, and Dates • Each cell on a worksheet – can hold a single entry – can be text, a date, a value, or a formula that calculates a result • Text entries – may contain a combination of letters, numbers or symbols – are aligned at the left side of the cell by default • Number entries are right-aligned by default © Paradigm Publishing, Inc. 12
  • 13.
    Column resized Date addedto cell Text added to cells © Paradigm Publishing, Inc. 13
  • 14.
    Removing ### froma Cell In certain situations, such as if you enter a very large number in a cell, Excel displays a series of pound signs (######) rather than the entry itself. These signs indicate that the numeric entry is too wide to display in the cell. © Paradigm Publishing, Inc. 14
  • 15.
    Skill 4: Usethe Auto Fill Feature • Select the cell in which you wish to start. • Type the text you wish to begin with (for instance, for the days of the week, type Mon). • Ctrl + Enter will finish the entry. • Move the mouse pointer over the black fill handle in the lower right corner of the cell from which you wish to fill and, when the mouse pointer changes to a black crosshair, press and hold down the left mouse button and drag in the direction you wish to fill. • Release the mouse button when you see a screen tip suggesting your final fill text. © Paradigm Publishing, Inc. 15
  • 16.
    Fill button Text inserted usingAuto Fill Text copied using Fill button with Right option © Paradigm Publishing, Inc. 16
  • 17.
    Checkpoint 1 1. Finish acell entry by doing this. a. Pressing Enter b. Pressing Ctrl + Enter c. Pressing the Right arrow key d. All of the above 3. The column letter and row number make up the cell reference or a. value. b. range name. c. cell address. d. formula. Answer 4. Name a way to select a range of cells. a. Drag over it. b. Search for it. c. Type it in a cell. h. Insert dashes. Answer 2. Use these to move around on a worksheet without changing the active cell. a. Ribbon tabs b. Scroll bars c. Arrow keys d. All of the above Answer © Paradigm Publishing, Inc. Answer Next Slide 17
  • 18.
    Skill 5: UseSpell Check • Select the active cell. • Click the Spelling button in the Proofing group on the Review tab. • The Spelling dialog box displays listing the first spelling mistake. • Click Change to replace the misspelled word. • Continue until the message box informs you that the spelling check is complete. • Click OK. © Paradigm Publishing, Inc. 18
  • 19.
    Spell Check button Review tab Misspelledtext has been corrected © Paradigm Publishing, Inc. 19
  • 20.
    Using Auto CorrectExcel can correct some misspellings for you as you type. You can customize the AutoCorrect feature so that the correction will be made. © Paradigm Publishing, Inc. 20
  • 21.
    Skill 6: Insertand Delete Columns and Rows • Select the active cell. • Click the Cells group on the Home tab, click the Delete button arrow and Delete Sheet Rows to delete a row. • Click the Insert button arrow and Insert Sheet Rows to insert a row. • You can also right-click a column or row heading and use the Insert or Delete commands. © Paradigm Publishing, Inc. 21
  • 22.
    Insert and Delete buttons Blankcolumn no longer appears © Paradigm Publishing, Inc. 22
  • 23.
    Designing Worksheets UsingRows and Columns Rows and columns can play both functional and design roles in your worksheet. For example, when you perform calculations and certain other activities such as charting, you will find the actions easiest to perform when all the data is located in adjoining rows and columns. © Paradigm Publishing, Inc. 23
  • 24.
    Skill 7: Createa New Worksheet • Click the active sheet tab. • To insert a new worksheet to the right of the active sheet tab, click the Insert Worksheet tab. • To delete a worksheet, click the Delete button arrow in the Cells group in the Home tab and click Delete Sheet. • To move or copy a worksheet, right-click the active sheet tab and click Move or Copy to bring up the Move or Copy dialog box. © Paradigm Publishing, Inc. 24
  • 25.
    Insert button Right-click activetab for Move or Copy dialog box Insert Worksheet tab © Paradigm Publishing, Inc. 25
  • 26.
    Copying Data toAnother Workbook If you have another workbook open, you can select it from the Move or Copy dialog list to move or copy the specified worksheet to that workbook rather than within the current workbook. © Paradigm Publishing, Inc. 26
  • 27.
    Skill 8: Nameand Rename Worksheets To name or rename a worksheet tab • Right-click the active sheet tab. Click Rename, type the new sheet name, and press Enter. • Double-click the active sheet tab. Type the new sheet name and press Enter. © Paradigm Publishing, Inc. 27
  • 28.
  • 29.
    Color Coding SheetTabs You also can color-code your worksheets. Right-click the sheet tab, point to Tab Color, and click the color you want from the palette. © Paradigm Publishing, Inc. 29
  • 30.
    Skill 9: ExploreOptions for Printing • Click the File tab. • Click Print. The Backstage view presents print settings and a preview of the printout. • Verify the printer is correct. • Make any changes to the Print Selection or Orientation necessary. • Click Print. © Paradigm Publishing, Inc. 30
  • 31.
    File tab Print button Printselection © Paradigm Publishing, Inc. 31
  • 32.
    You can adda header and a footer to an Excel worksheet to include identifying information such as the file name, your name, your company name, or page numbers on a printout. © Paradigm Publishing, Inc. 32
  • 33.
    Checkpoint 2 5) The SpellCheck feature can find errors in these types of entries. a. text b. values c. dates d. All of the above 7) Change the ______ for the worksheet on the sheet tab to describe its contents. a. theme b. color c. value d. name Answer 8) Click Print on the File tab to display printing choices in a. Backstage view. b. Print Preview view. c. the Print dialog box. h. the Page Layout tab. Answer 6) Doing this to a row or column removes it and its contents. a. inserting b. removing c. copying d. summing Answer Answer © Paradigm Publishing, Inc. Next Slide 33
  • 34.
    Tasks Summary © ParadigmPublishing, Inc. 34

Editor's Notes

  • #2 In Module 6, you learn about Microsoft Excel 2010. Chapter 1 covers creating an Excel Workbook including entering data and navigating. Chapter 2 deals with performing calculations. In Chapter 3, you use formatting tools to add visual appeal and finally, in Chapter 4, you will learn about working with charts and graphs.
  • #3 When you create a workbook file in Excel, you should take the time to plan how you will organize the data on the worksheets. To do so, consider the source data you will use and the results you want to produce. Once you have entered and organized data on the worksheets, you can make any necessary calculations. If your worksheet includes an area where the user enters values to be calculated by Excel, position those input cells in a prominent location—usually near the top of the worksheet. Apply formatting that prompts the user for entries.
  • #4 The first chapter in the Excel module deals with creating an Excel workbook.
  • #5 This chapter is about creating a worksheet and entering text, values, and dates. You will use Spell Check and Auto Fill and insert and delete columns and rows. Finally you will explore printing options.
  • #6 In this chapter, you learn how to enter data and navigate in Excel. Excel arranges data in cells. To move from one piece of data to another you move from cell to cell. Because you will be dealing with different types of data—numbers, text, and dates—you will learn how to enter each type of data to ensure that your calculations work. There are tools and tricks to help you out, such as automatically filling entries, quickly adding rows or columns, or checking the spelling of cell contents. You can add sheets to a file, or workbook, and name and rename sheets as needed so that the data is easy to find and work with. Finally, you will learn how to set up and print a worksheet.
  • #7 When you start Excel, a blank file opens, called a workbook. Each newly created workbook holds three worksheets of information. The single, capital letters across the top of the worksheet are column headings that identify each column. The numbers down the left side are row headings that identify each row. The intersection of each row and column is a cell, into which you can type an entry. An entry can be a data value like a name, number, or date, or a formula that instructs Excel to perform a calculation. As you work, a heavy black border appears around the active cell. You can only make entries in the active cell. You also can select a range of cells. After you have made cell entries, you can use the Formula bar that is located above the column headings to view and work with the entered data.
  • #8 InM6-C1-S1-ExhibitPlan, you can see that the active cell is highlighted with a black border and the cell name appears in the Name box next to the Formula bar. Click any cell that is visible on-screen to select and make it the active cell. Notice when you are scrolling that the selected cell does not change.
  • #9 To select a range, press the left mouse button and drag over the range or click the upper left cell and Shift + click the lower right cell.
  • #10 You can use the Name box to go to a cell or range. Understanding cell and range addresses is also important when building formulas.
  • #11 InM6-C1-S2-ExhibitPlan.xlsx,you can see that the text in the active cell is listed in the Formula bar. The entire content of a data cell will be displayed in the worksheet even if it is too long to fit in the cell, as long as the next cell is empty. The Name box shows the cell address of the active cell. You can also see that the range E5:G7 has text and yellow fill. Notice that the Sheet 3 tab is selected.
  • #12 Check to see how many rows and columns are in your Excel worksheet by opening a blank workbook and then pressing End + Right Arrow. Tip: You can use capital or lowercase letters for cell names.
  • #13 Phone numbers are usually entered with hyphens or other characters and are treated as text. Numbers are numeric entries, including whole numbers (15) and decimal values (2.5). You can enter numbers that have certain characteristics, such as currency symbols or a number of decimal places. You enter dates in typical date formats, with hyphens (4-1-13) or slashes (4/1/13).
  • #14 InM6-C1-S3-ExhibitPlan.xlsx,the length of the entries in column A required that the column be resized to accommodate them. Move the mouse pointer up over the divider line to the right of a column header and double-click to resize a column. Excel will automatically reformat a date.(Spelling errors will be corrected later!)
  • #15 The pound sign display feature (######) is designed to keep readers of the data from being mislead seeing only a portion of a number. Increase the column width for the cell contents to display properly.
  • #16 Click the Auto Fill Options button that appears after a fill if you want to change the fill, for example, if you want to fill formatting only or if you want to copy cells rather than fill a series. Excel will not fill all times correctly. It fills 12 p.m. and then 13 p.m., an obvious error. Tip:You can type some number formats, such as dollar signs and percent signs, when entering the numbers, or you can apply number formatting later.
  • #17 InM6-C1-S4-ExhibitPlan.xlsx,the text in D17:J17 was completed using the Auto Fill feature. In D18:J18 and D19:J19, the text was completed using the Fill button in the Editing group in the Home tab and selecting the Right option.
  • #18 In Slide Show View, click the Answer button for Question 1 after you believe that you know the correct answer. The correct answer will be displayed. Then click the Answer button for Question 2 and that answer will appear. Continue repeating these steps for all four questions in order. When complete, click the Next Slide button.These Checkpoints are designed to provide you with an opportunity to reflect on a few concepts at a time.
  • #19 The Spell Check in Excel works just as it does in Word. Since it only reviews text entries, it cannot ensure that you have entered numbers and dates correctly. The spelling check starts from the active cell, and Excel displays a message when it needs to return to the beginning of the sheet.
  • #20 Here inM6-C1-S5-ExhibitPlan.xlsx,the misspelled text has been corrected using the Spell Check feature.The Spell Check shortcut is F7 on your keyboard.
  • #21 To customize the AutoCorrect feature, click the File tab and then click the Options button. Click Proofing at the left side of the Excel Options dialog box, and then click the AutoCorrect Options button in the right-hand panel. In the AutoCorrect tab of the AutoCorrect dialog box, type your frequent typo (such as Simth) in the Replace text box and type the correction (Smith in this instance) in the With text box. Click Add and then click OK twice.
  • #22 You can insert and delete rows and columns within your data to rearrange the data or make room for new data. Excel removes the row immediately and does not display a warning that you will be deleting the contents of the row. Before deleting rows and columns, save your worksheet. Make sure to check the rows and columns before you delete them to be sure you will not be losing important data. If you accidentally delete the wrong row or column, immediately click the Undo button on the Quick Access toolbar to restore the deleted content.
  • #23 Here inM6-C1-S6-ExhibitPlan.xlsx,column D has been deleted. The text in the Expanded table has shifted to the left.
  • #24 Each Excel worksheet always has the same number of rows and columns. When you insert and delete rows and columns, you are simply changing where the blank rows and columns appear in the sheet.
  • #25 Each Excel workbook enables you to have dozens of sheets. You can create a sheet for each one or copy an existing sheet to a new sheet for editing. You also can delete sheets with old data you no longer need.
  • #26 InM6-C1-S7-ExhibitPlan.xlsx,you see Sheet1 has been copied as Sheet1 (2). You can also right-click a sheet tab and click Insert or Delete in the pop-up menu. The shortcut for Add a New Sheet is Shift + F11.
  • #27 This action enables you to reuse data in other workbook files using a method that is faster than copying and pasting.
  • #28 Use the worksheet tab to rename the worksheet. A sheet name can be up to 31 characters and can contain most characters on the keyboard, including spaces. Only a handful of characters, such as / (slash), \ (backslash), * (asterisk), ’ (apostrophe), and : (colon) are not allowed in worksheet names.
  • #29 InM6-C1-S8-ExhibitPlan.xlsx,you see Sheet1 has been renamed Plan. If you give each worksheet a unique name that identifies its contents, you will know which tab to click to find the data you need.
  • #30 The goal of adding worksheets and color coding sheet tabs is to make information easier to find.
  • #31 Handing out printouts is sometimes the most convenient way to collectively review information in a meeting and other situations.
  • #32 The Page Layout tab also offers settings for orientation and margins. Click the Page Setup dialog box launcher to open the Page Setup dialog box, where you can work with additional settings, such as page scaling.
  • #33 Click the Insert tab and then click the Header & Footer button in the Text group. Type information in the placeholders that appear on the worksheet for the header or footer, or use the choices in the Header & Footer Tools Design tab to insert elements such as page numbers and the file name. You also can use the Header button and Footer button drop-down lists in the Header & Footer group to add predefined text to the selected header or footer area. Note that adding a header or a footer switches the workbook to Page Layout view, so click the View tab and click Normal in the Workbook Views group to return to the Normal view.
  • #34 In Slide Show View, click the Answer button for Question 5 after you believe that you know the correct answer. The correct answer will be displayed. Then click the Answer button for Question 6 and that answer will appear. Continue repeating these steps for all four questions in order. When complete, click the Next Slide button.These Checkpoints are designed to provide you with an opportunity to reflect on a few concepts at a time.
  • #35 Here is a summary of the Excel Chapter 1 tasks.