Downloaded 1,686 times


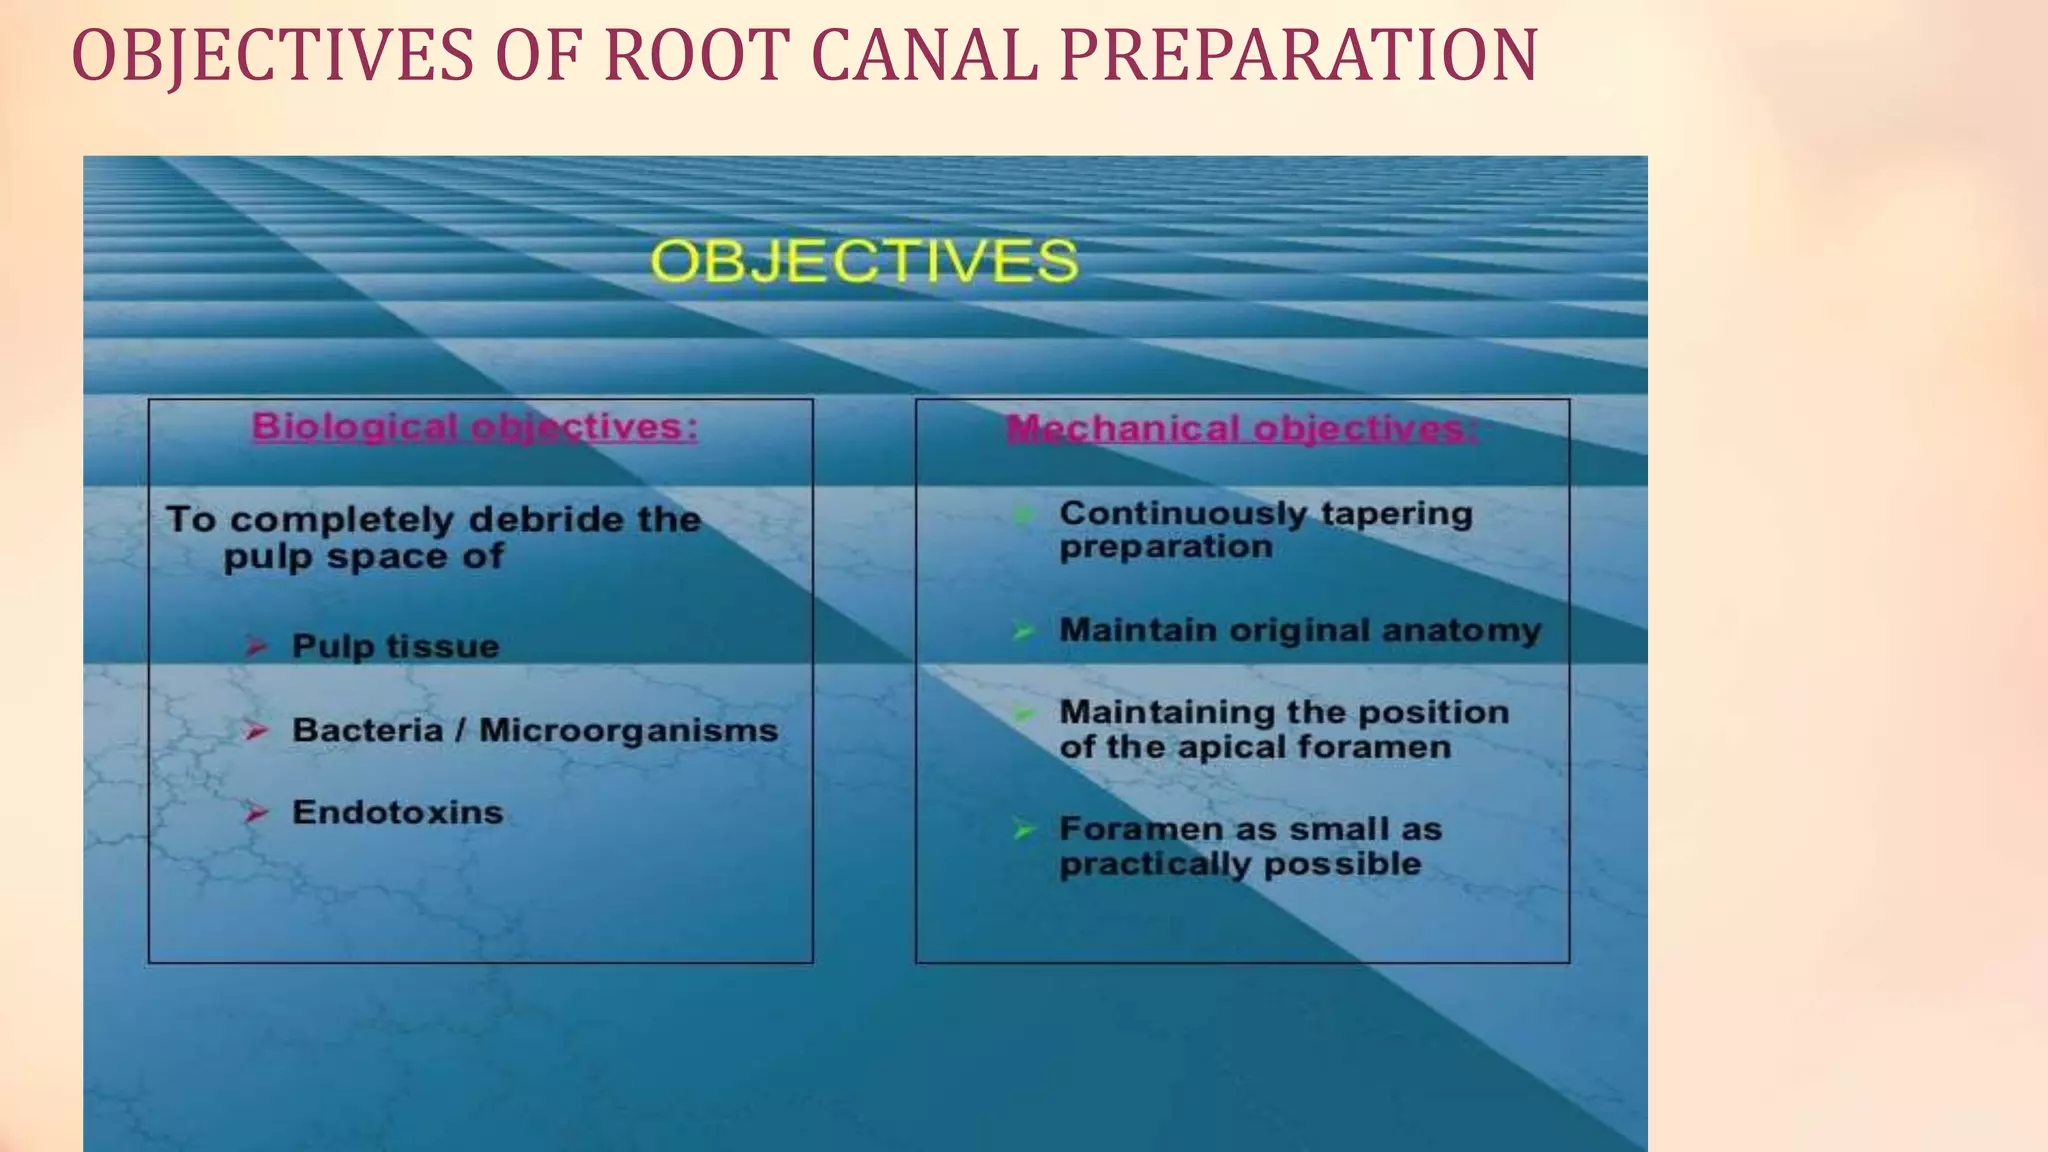


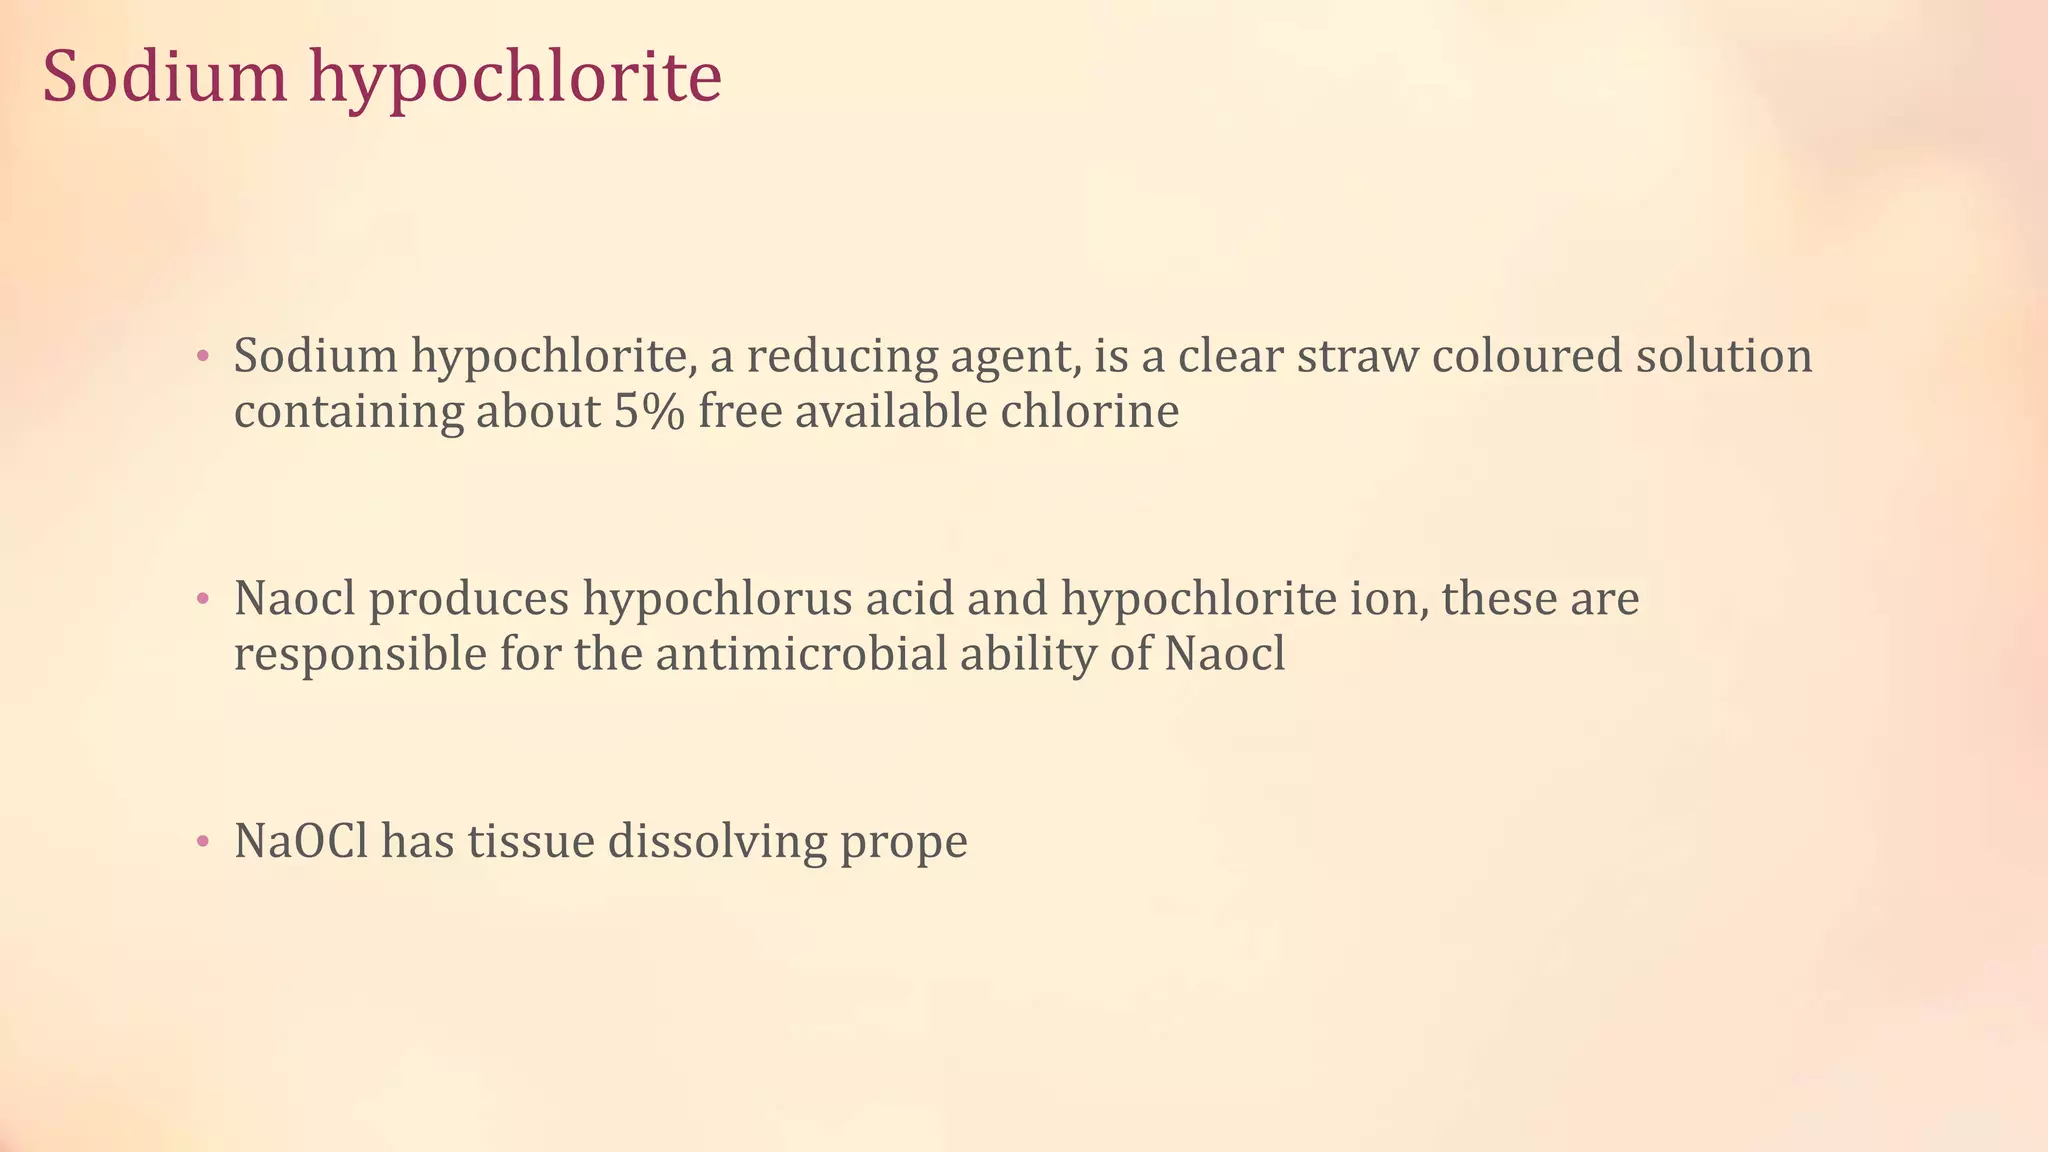
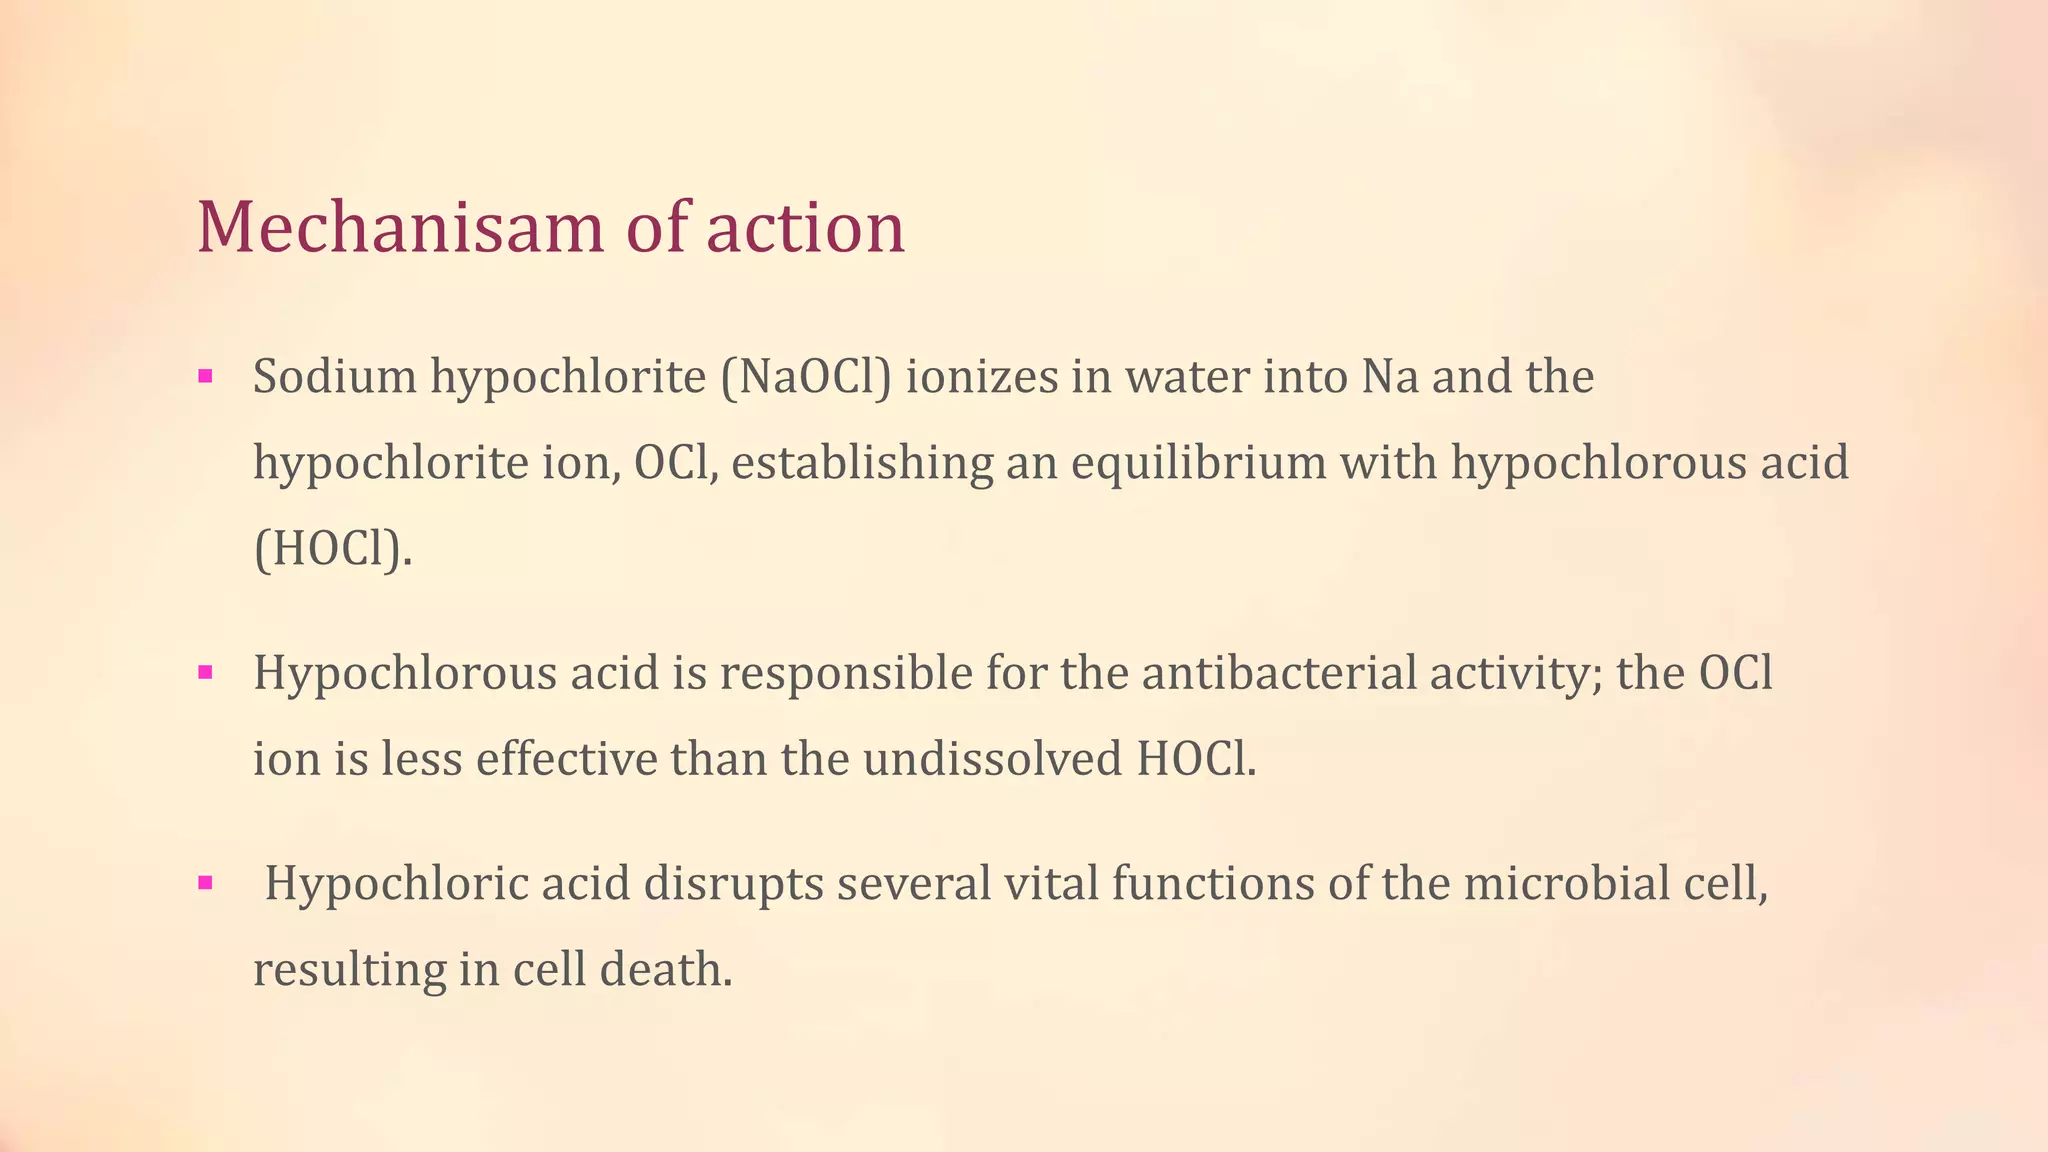


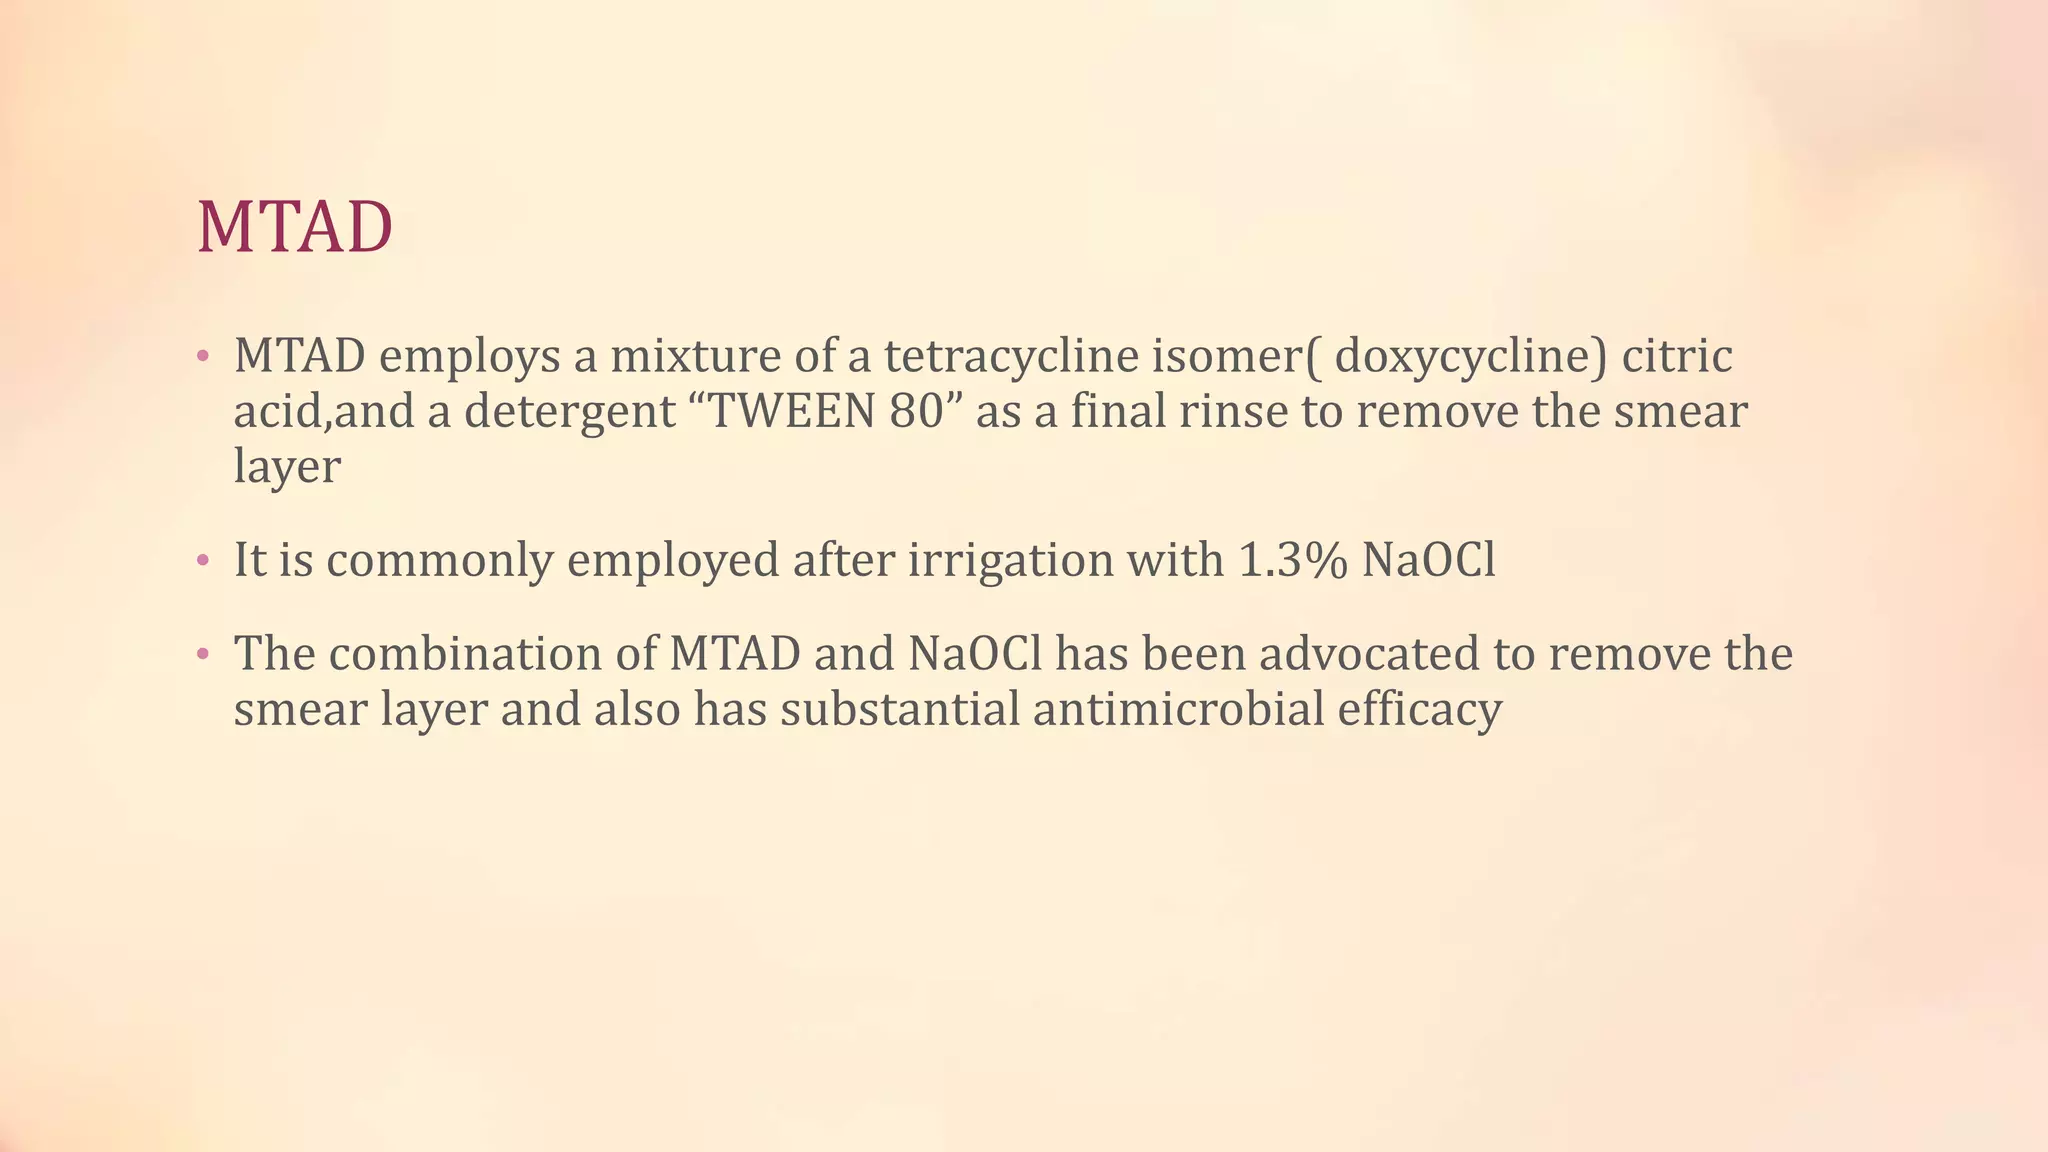


This document discusses cleaning and shaping of the root canal during endodontic treatment. It describes the principles and techniques for preparing the coronal and radicular cavities, including outline form, convenience form, and resistance form. Various root canal preparation techniques are covered, such as step-back, step-down, hybrid, and balanced force techniques. Common root canal irrigants like sodium hypochlorite, hydrogen peroxide, EDTA, chlorhexidine, and MTAD are described in terms of their properties, mechanisms of action, advantages, and limitations.


