Downloaded 1,892 times
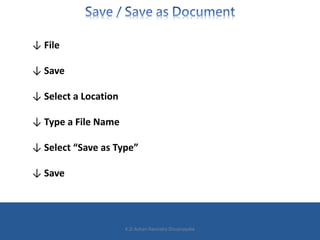
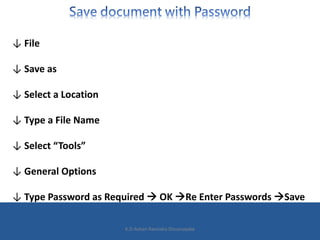
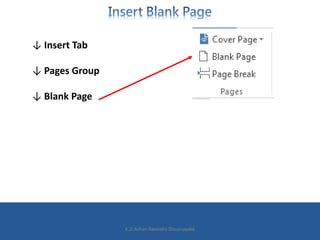
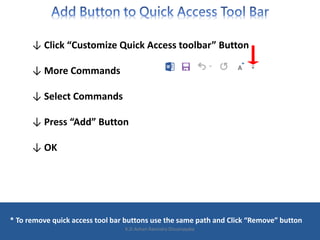
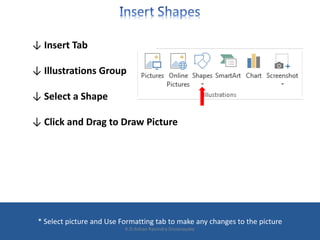
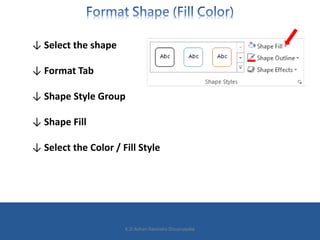
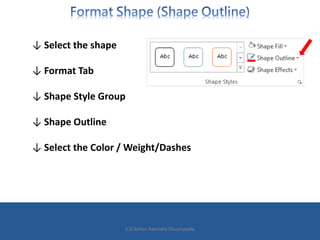
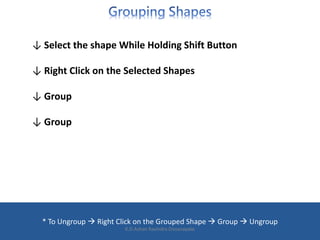


The document provides a comprehensive guide on using Microsoft Word 2013, detailing various features and steps for document creation and formatting. It covers essential operations such as saving, customizing the interface, editing text, inserting elements like images and shapes, and page layout adjustments. Additionally, it includes instructions for conducting mail merges and managing document styles.


