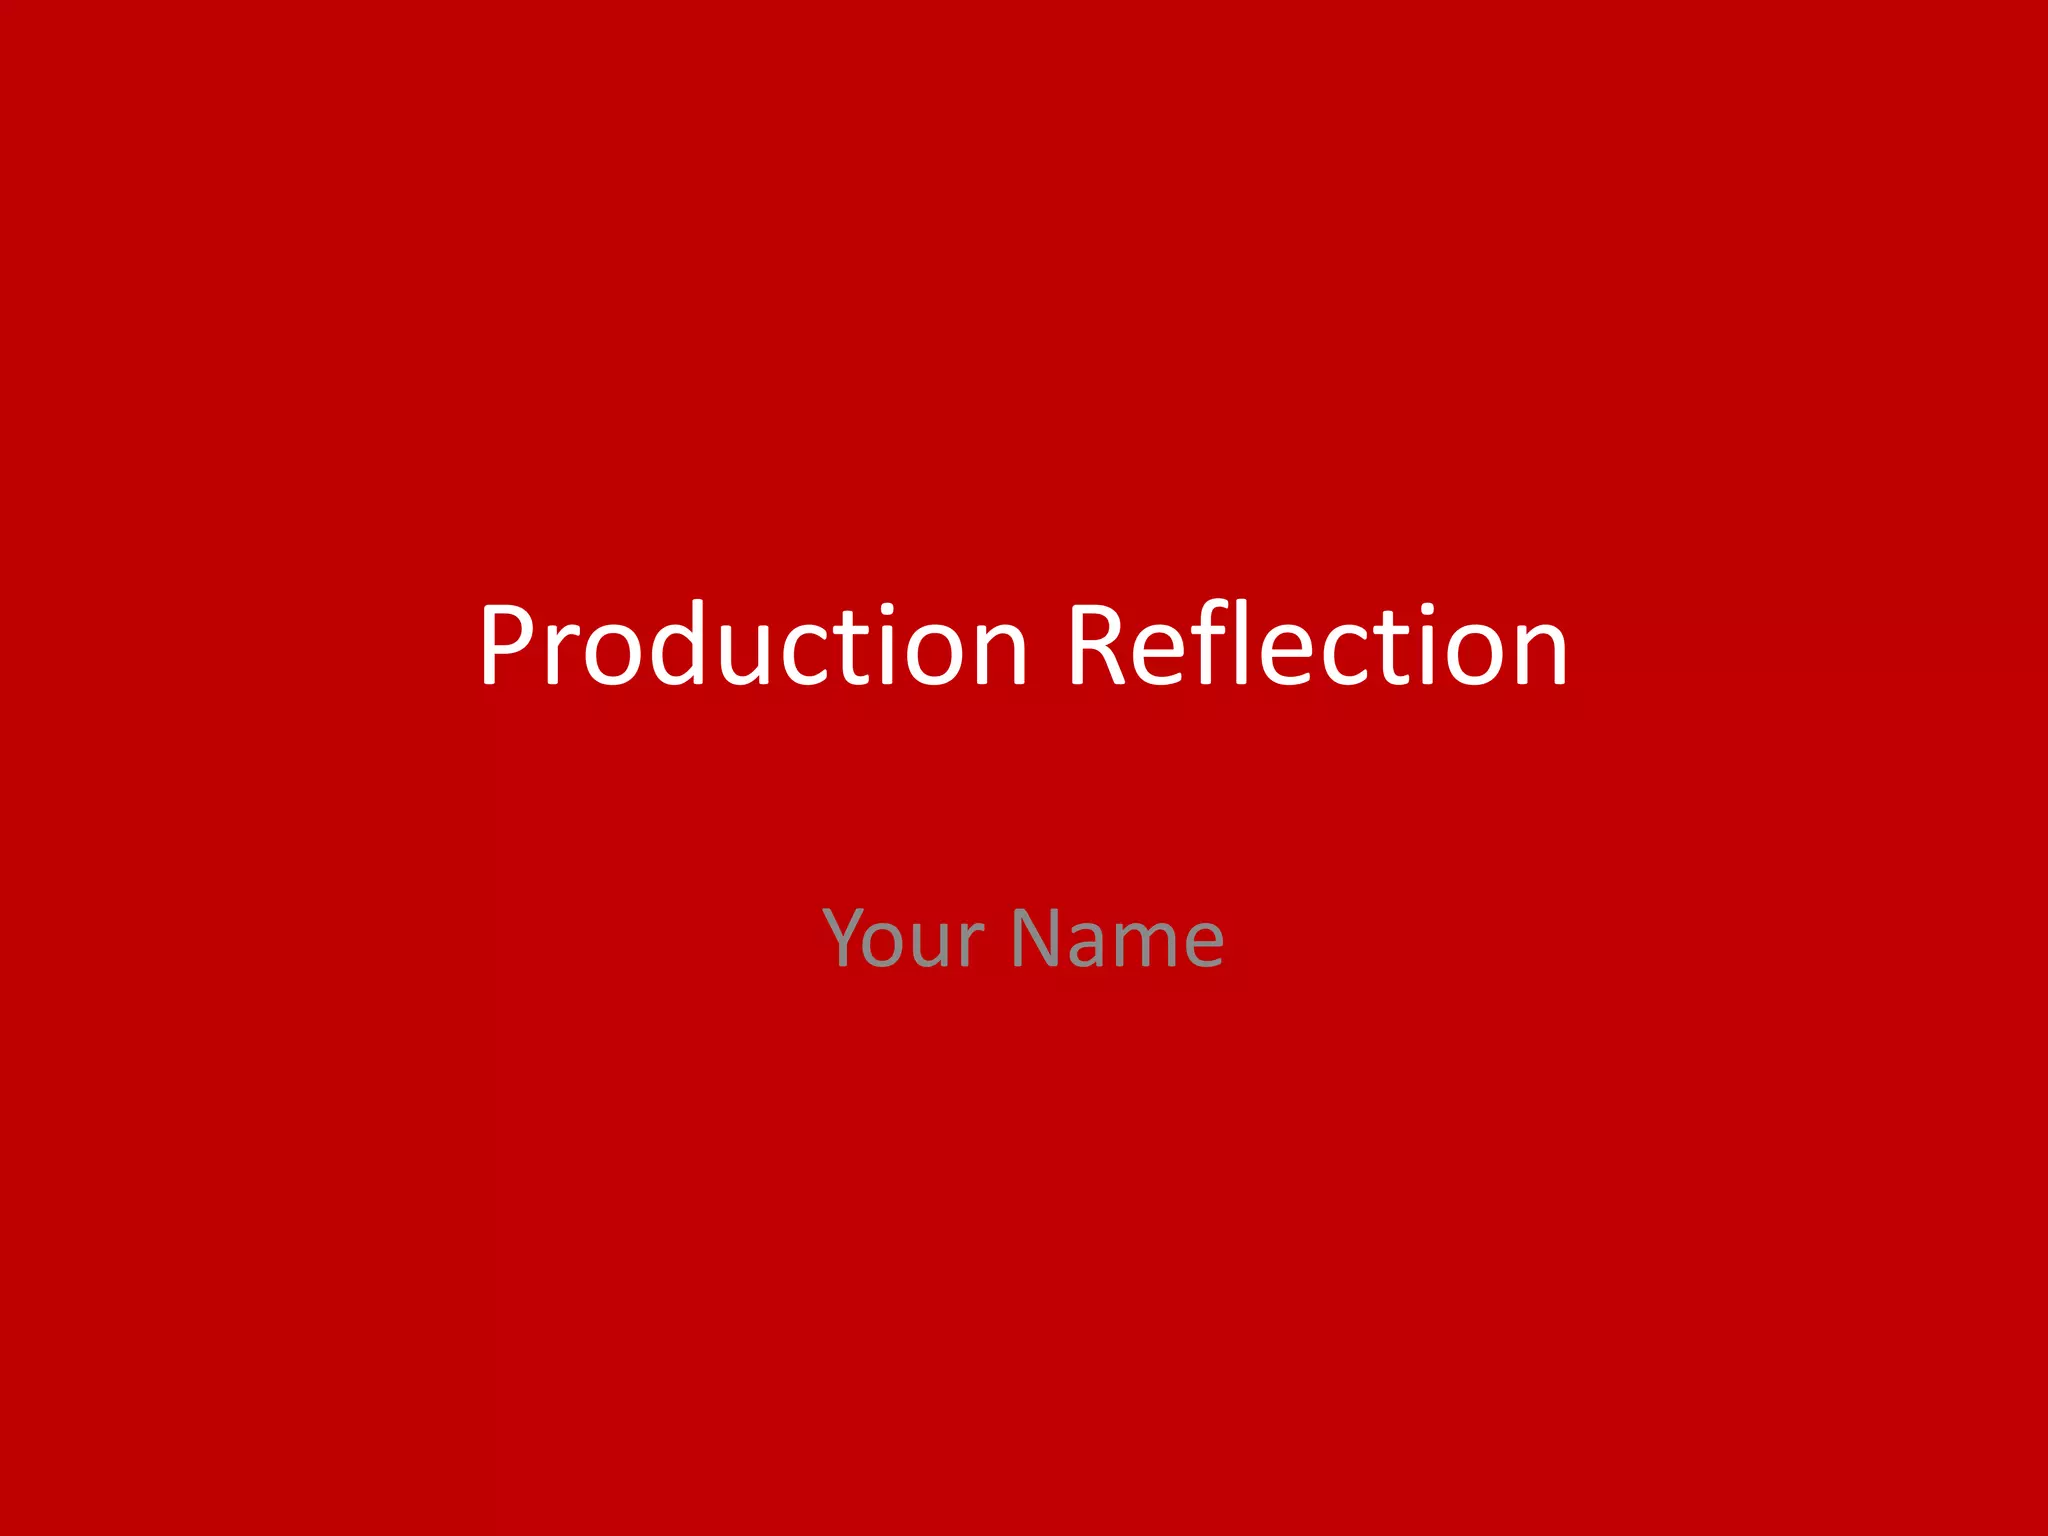
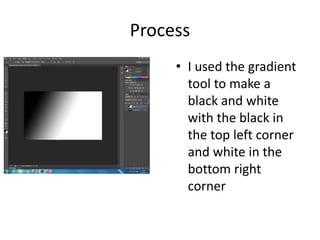
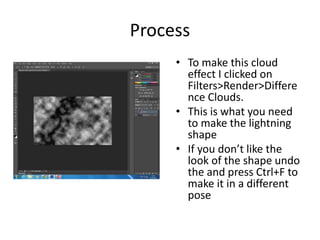
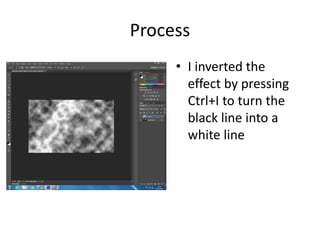
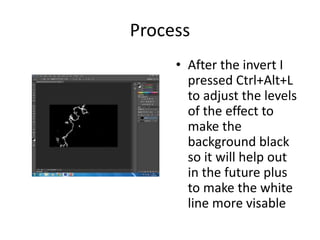
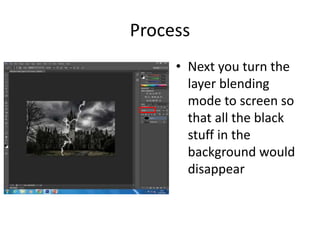
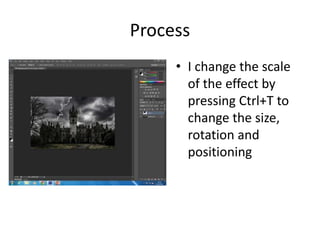
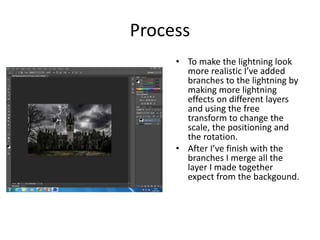
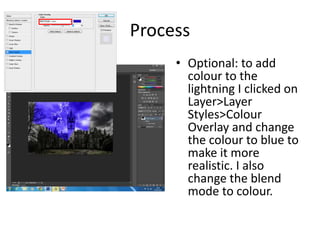
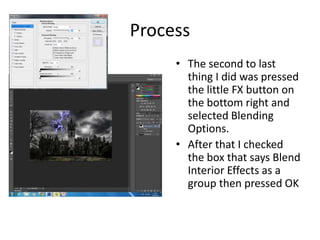
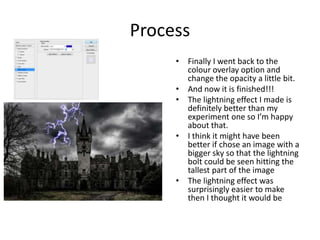
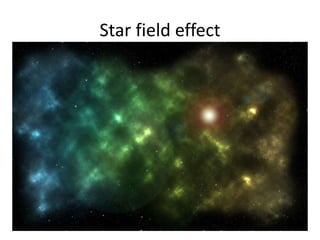
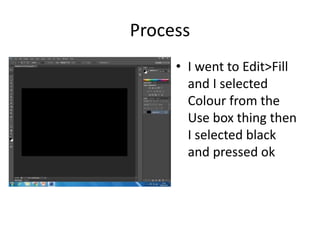
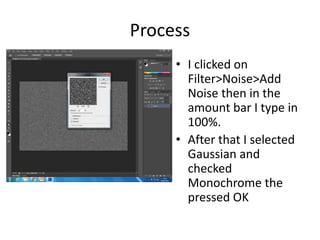
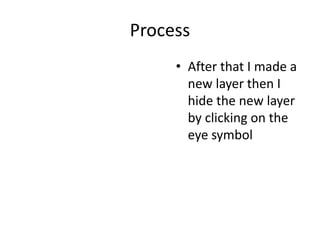
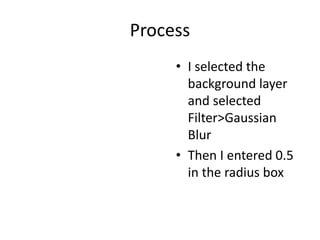
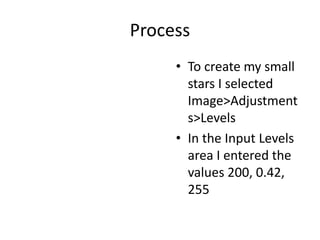
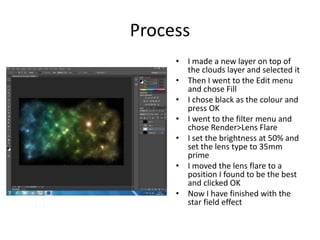
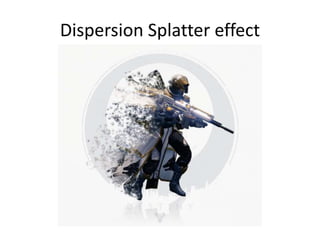
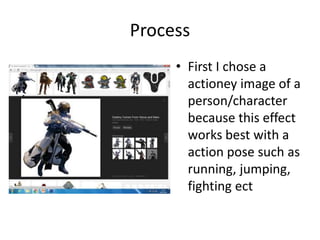
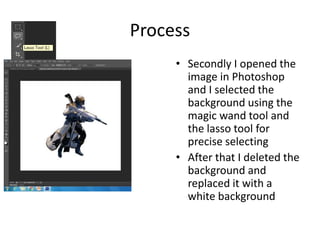
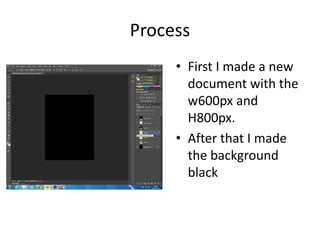
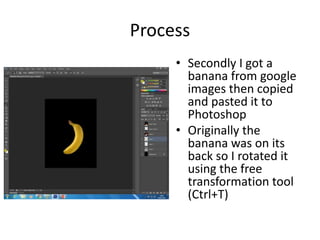
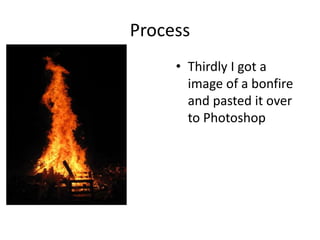
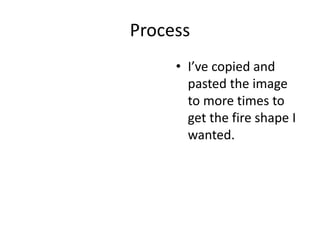
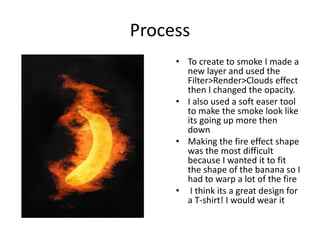
The document describes processes for creating various visual effects in Photoshop, including a lightning effect, star field effect, dispersion splatter effect, and banana bonfire effect. For each effect, the document outlines the steps taken such as using filters, layers, blending modes, and tools to manipulate and combine images to achieve the final visual result.
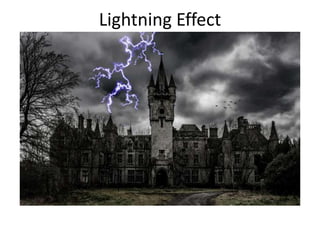
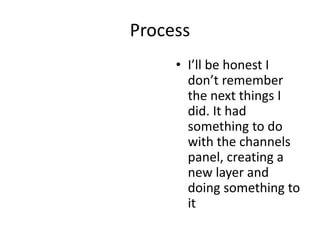
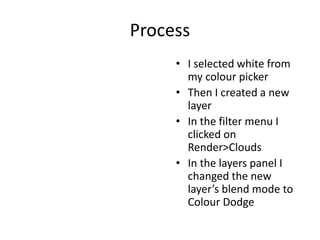
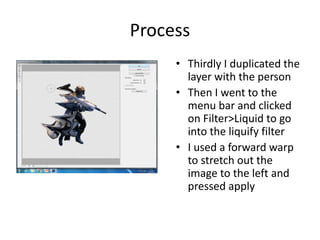
![Process
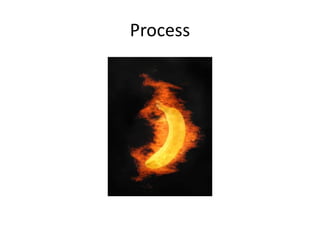
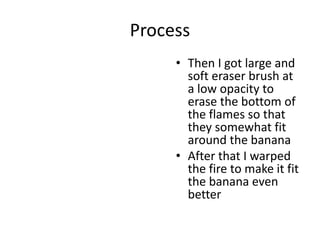
• To edit the lightning you
need to use the black
brush tool and draw off
any white bits you don’t
want
• The best thing to do is
make the bush hardness
to 25% so that when you
brush of the cloudy bits
it doesn’t leave a hard
line
• [I had to make the effect
again because messed
up]](https://image.slidesharecdn.com/6-160524122357/85/6-production-reflection-8-320.jpg)


![Christine rose nd. tipones [gr. 11 abm, caritas]](https://cdn.slidesharecdn.com/ss_thumbnails/christinerosend-190129074921-thumbnail.jpg?width=640&height=640&fit=bounds)


![6. [pro forma] project pro-forma](https://cdn.slidesharecdn.com/ss_thumbnails/6-180126100538-thumbnail.jpg?width=640&height=640&fit=bounds)


