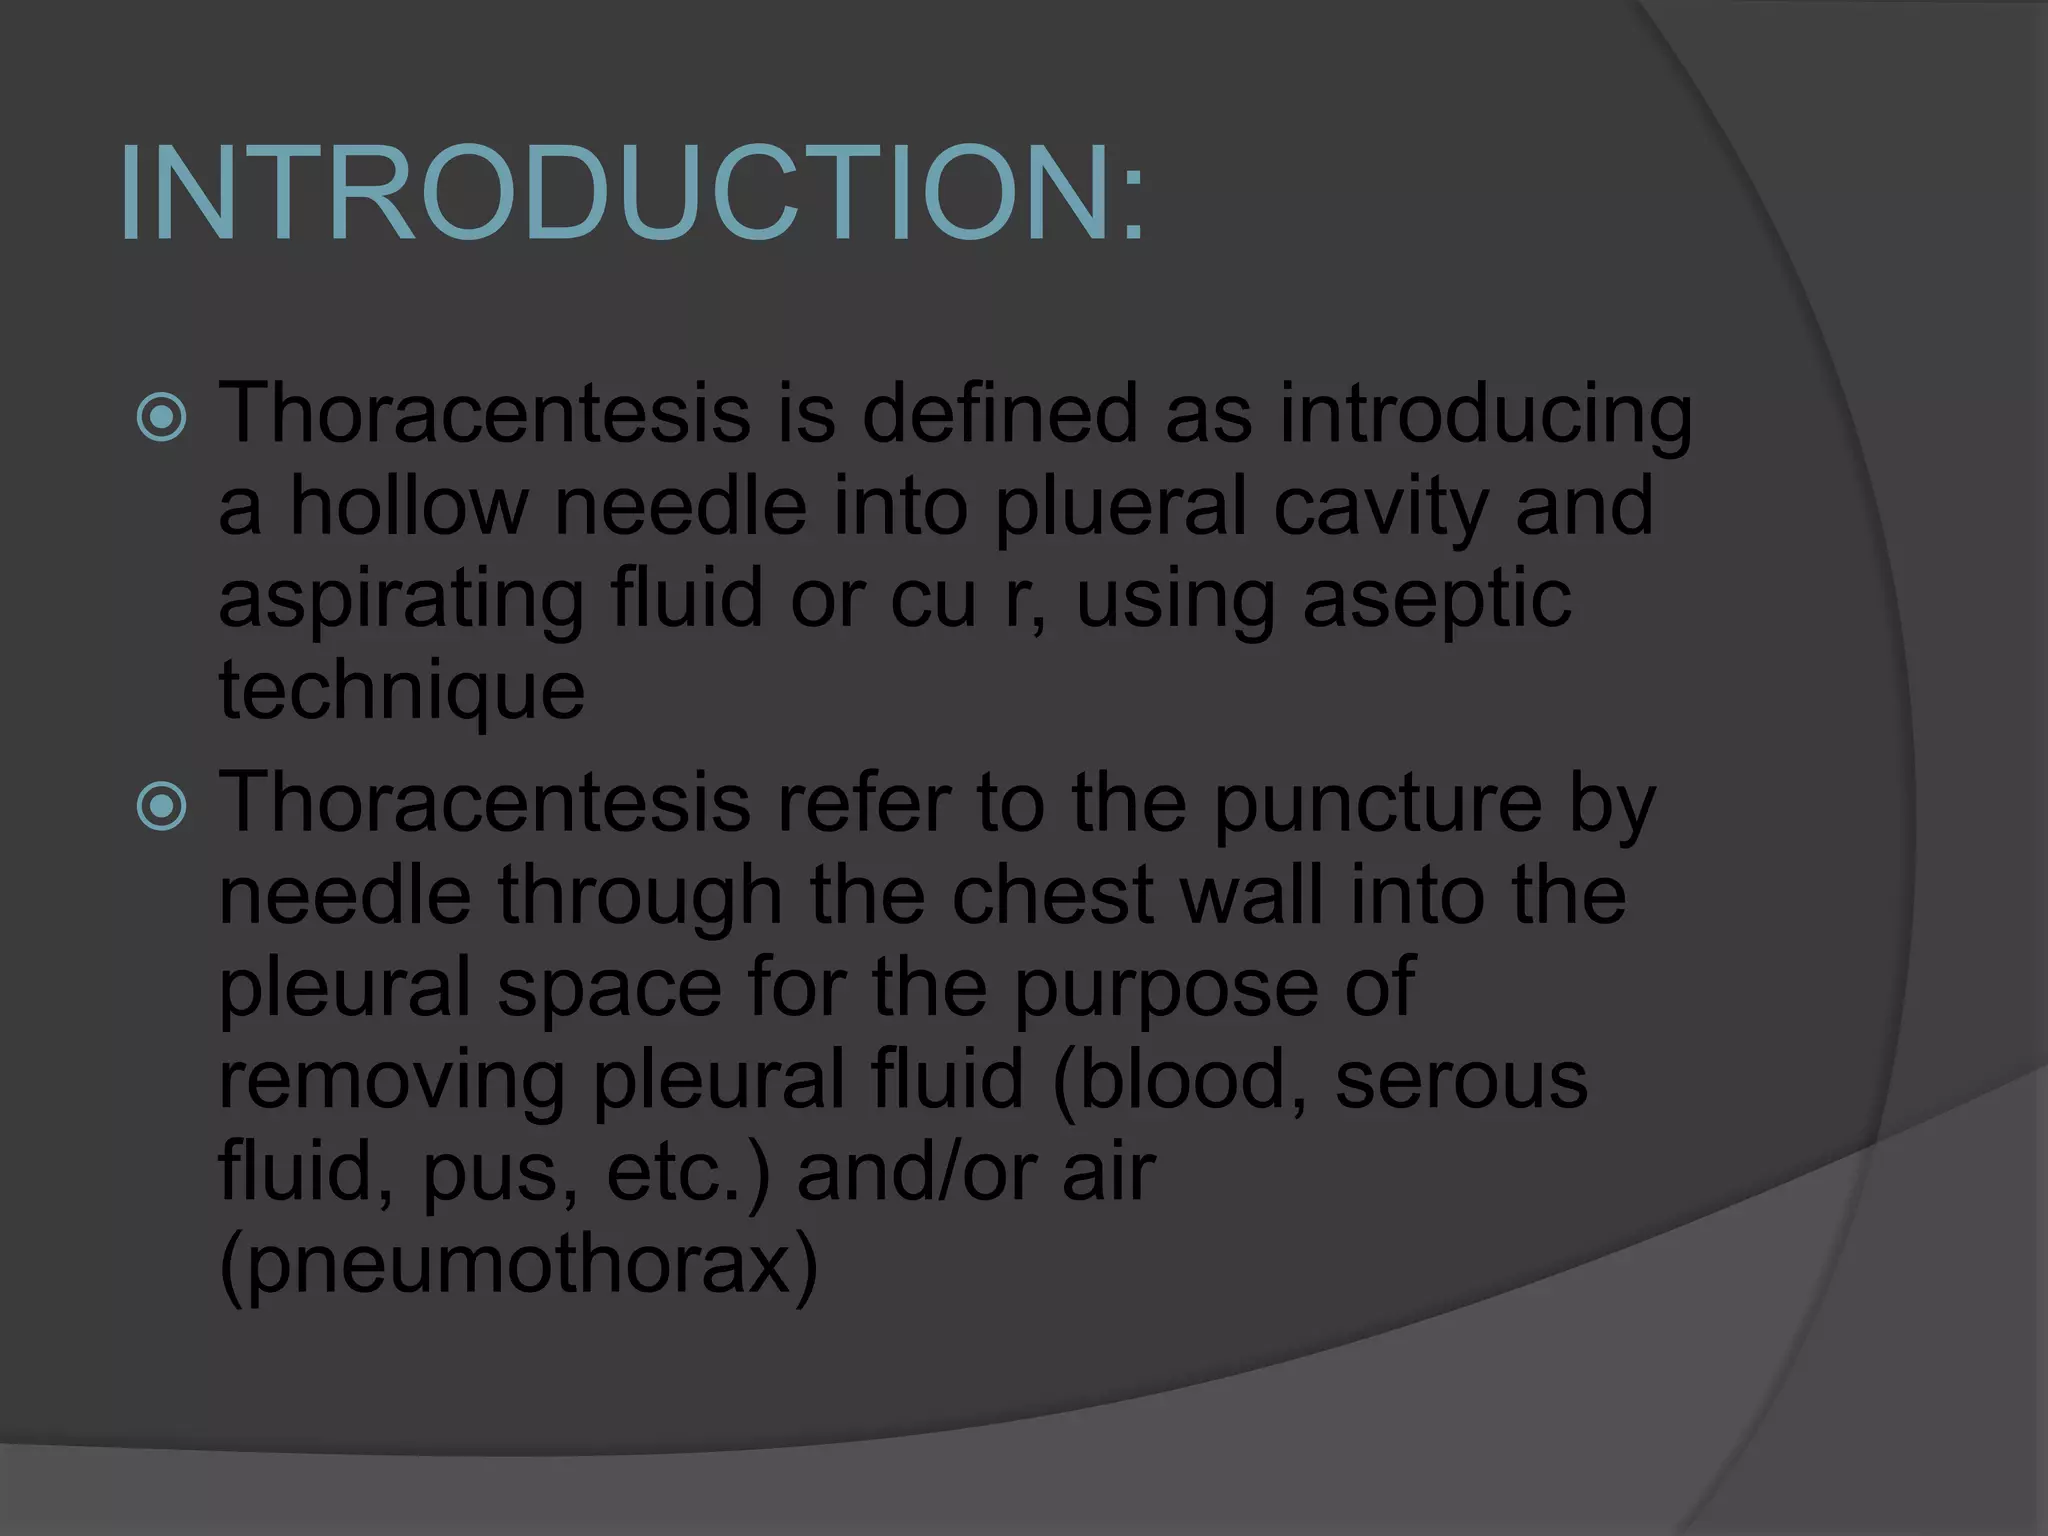
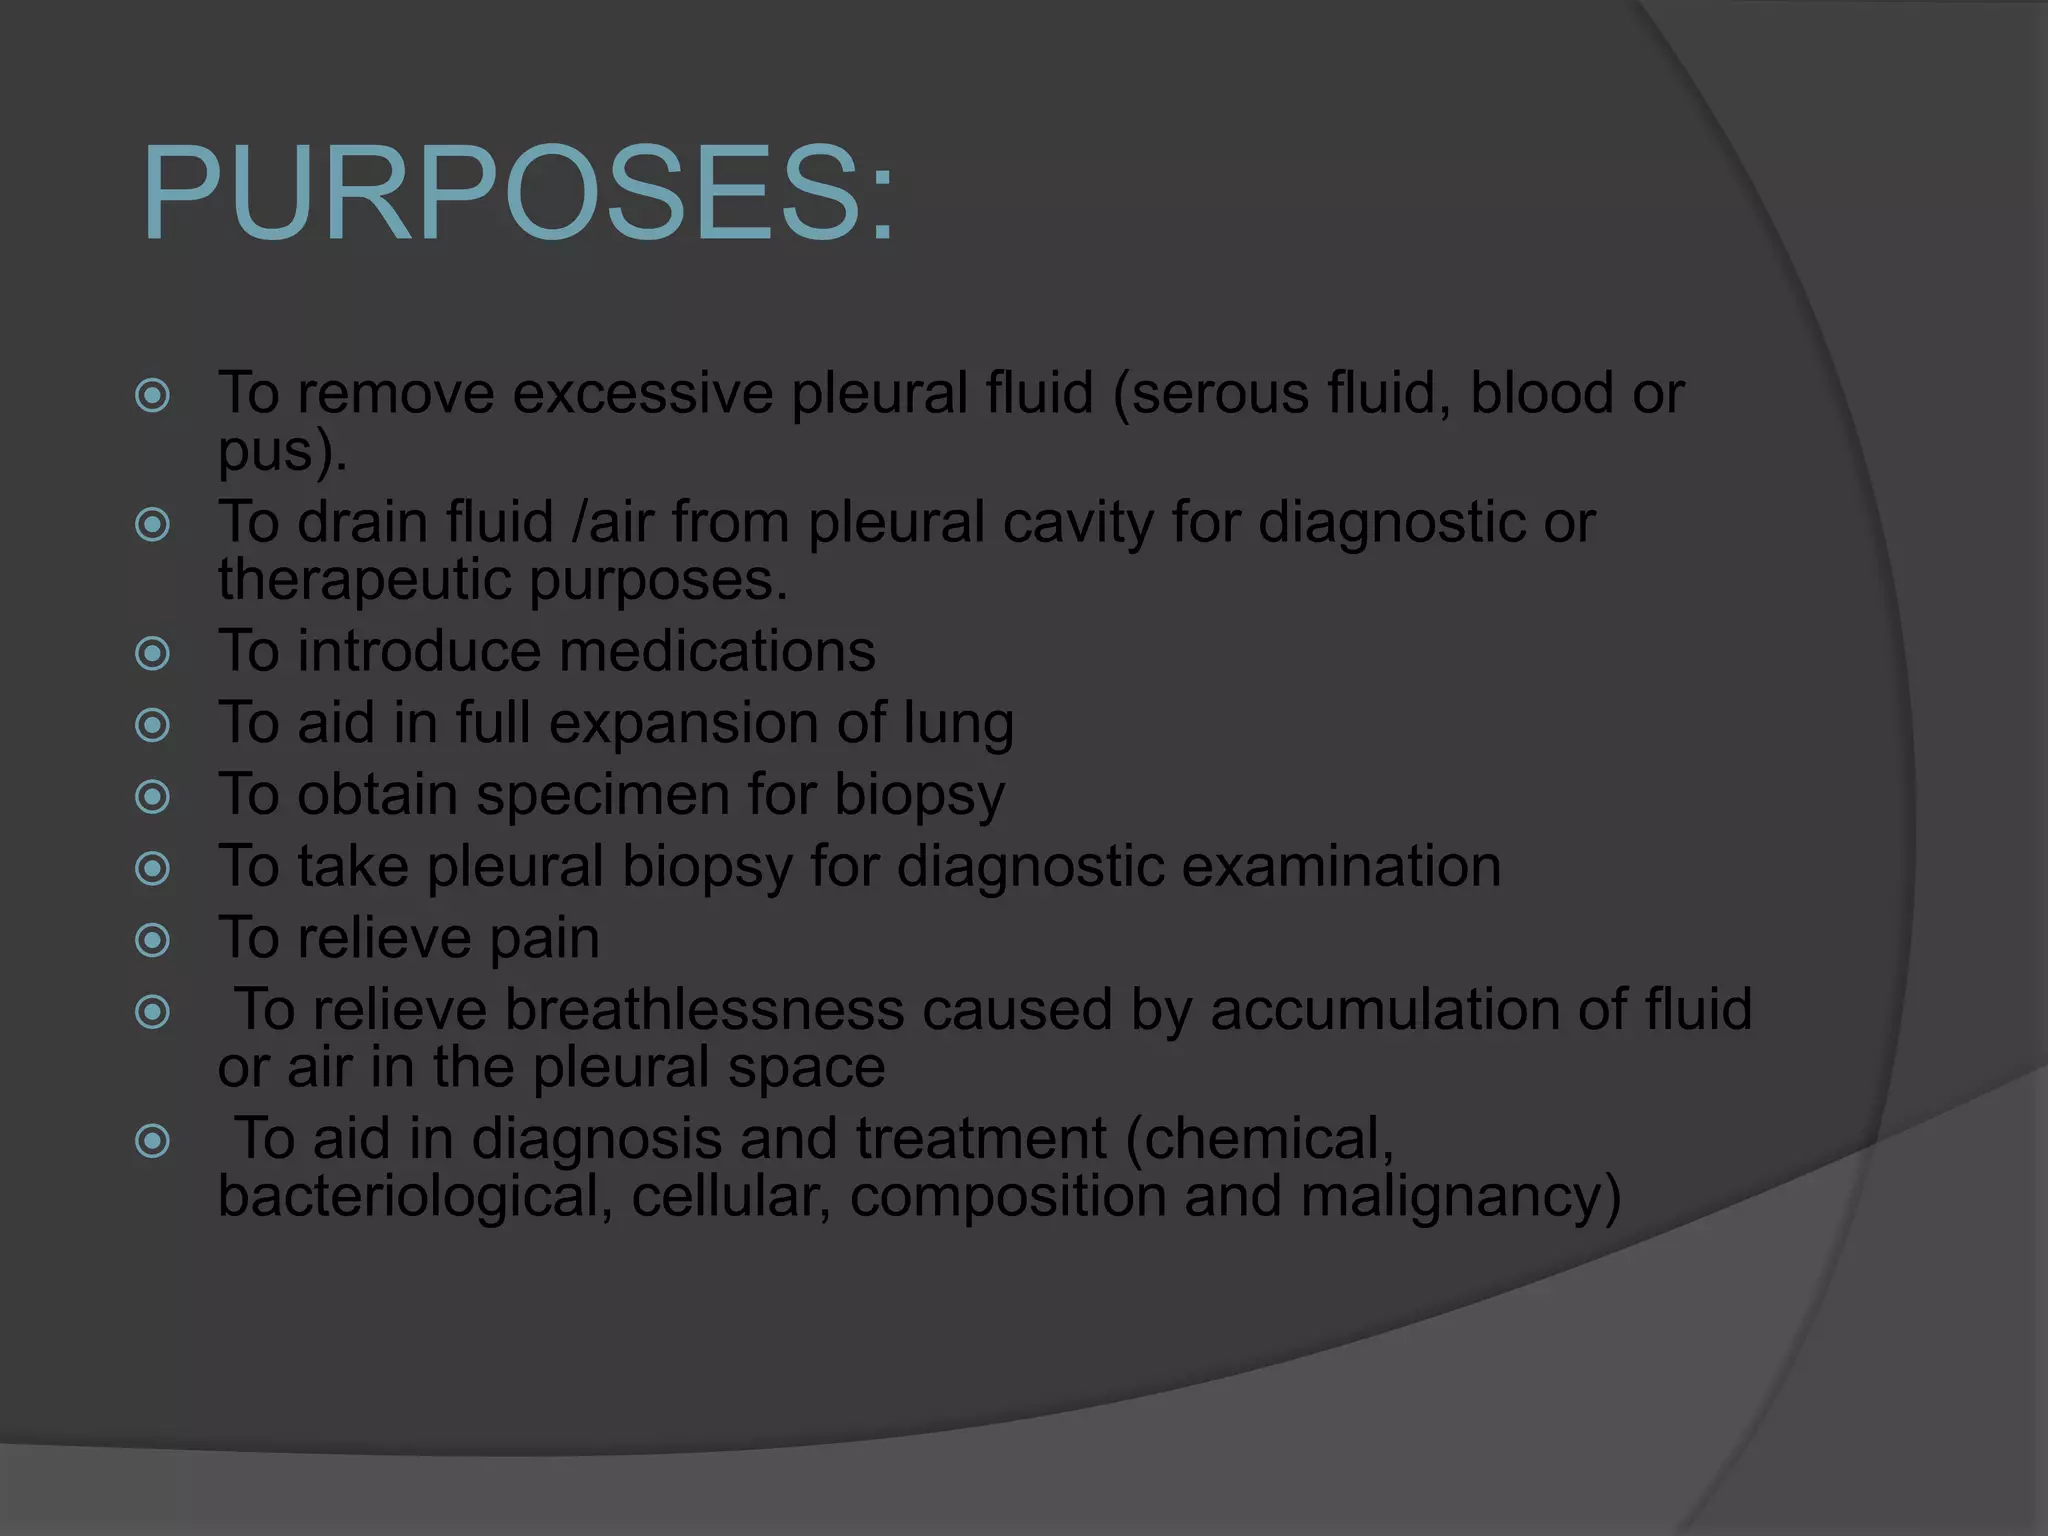
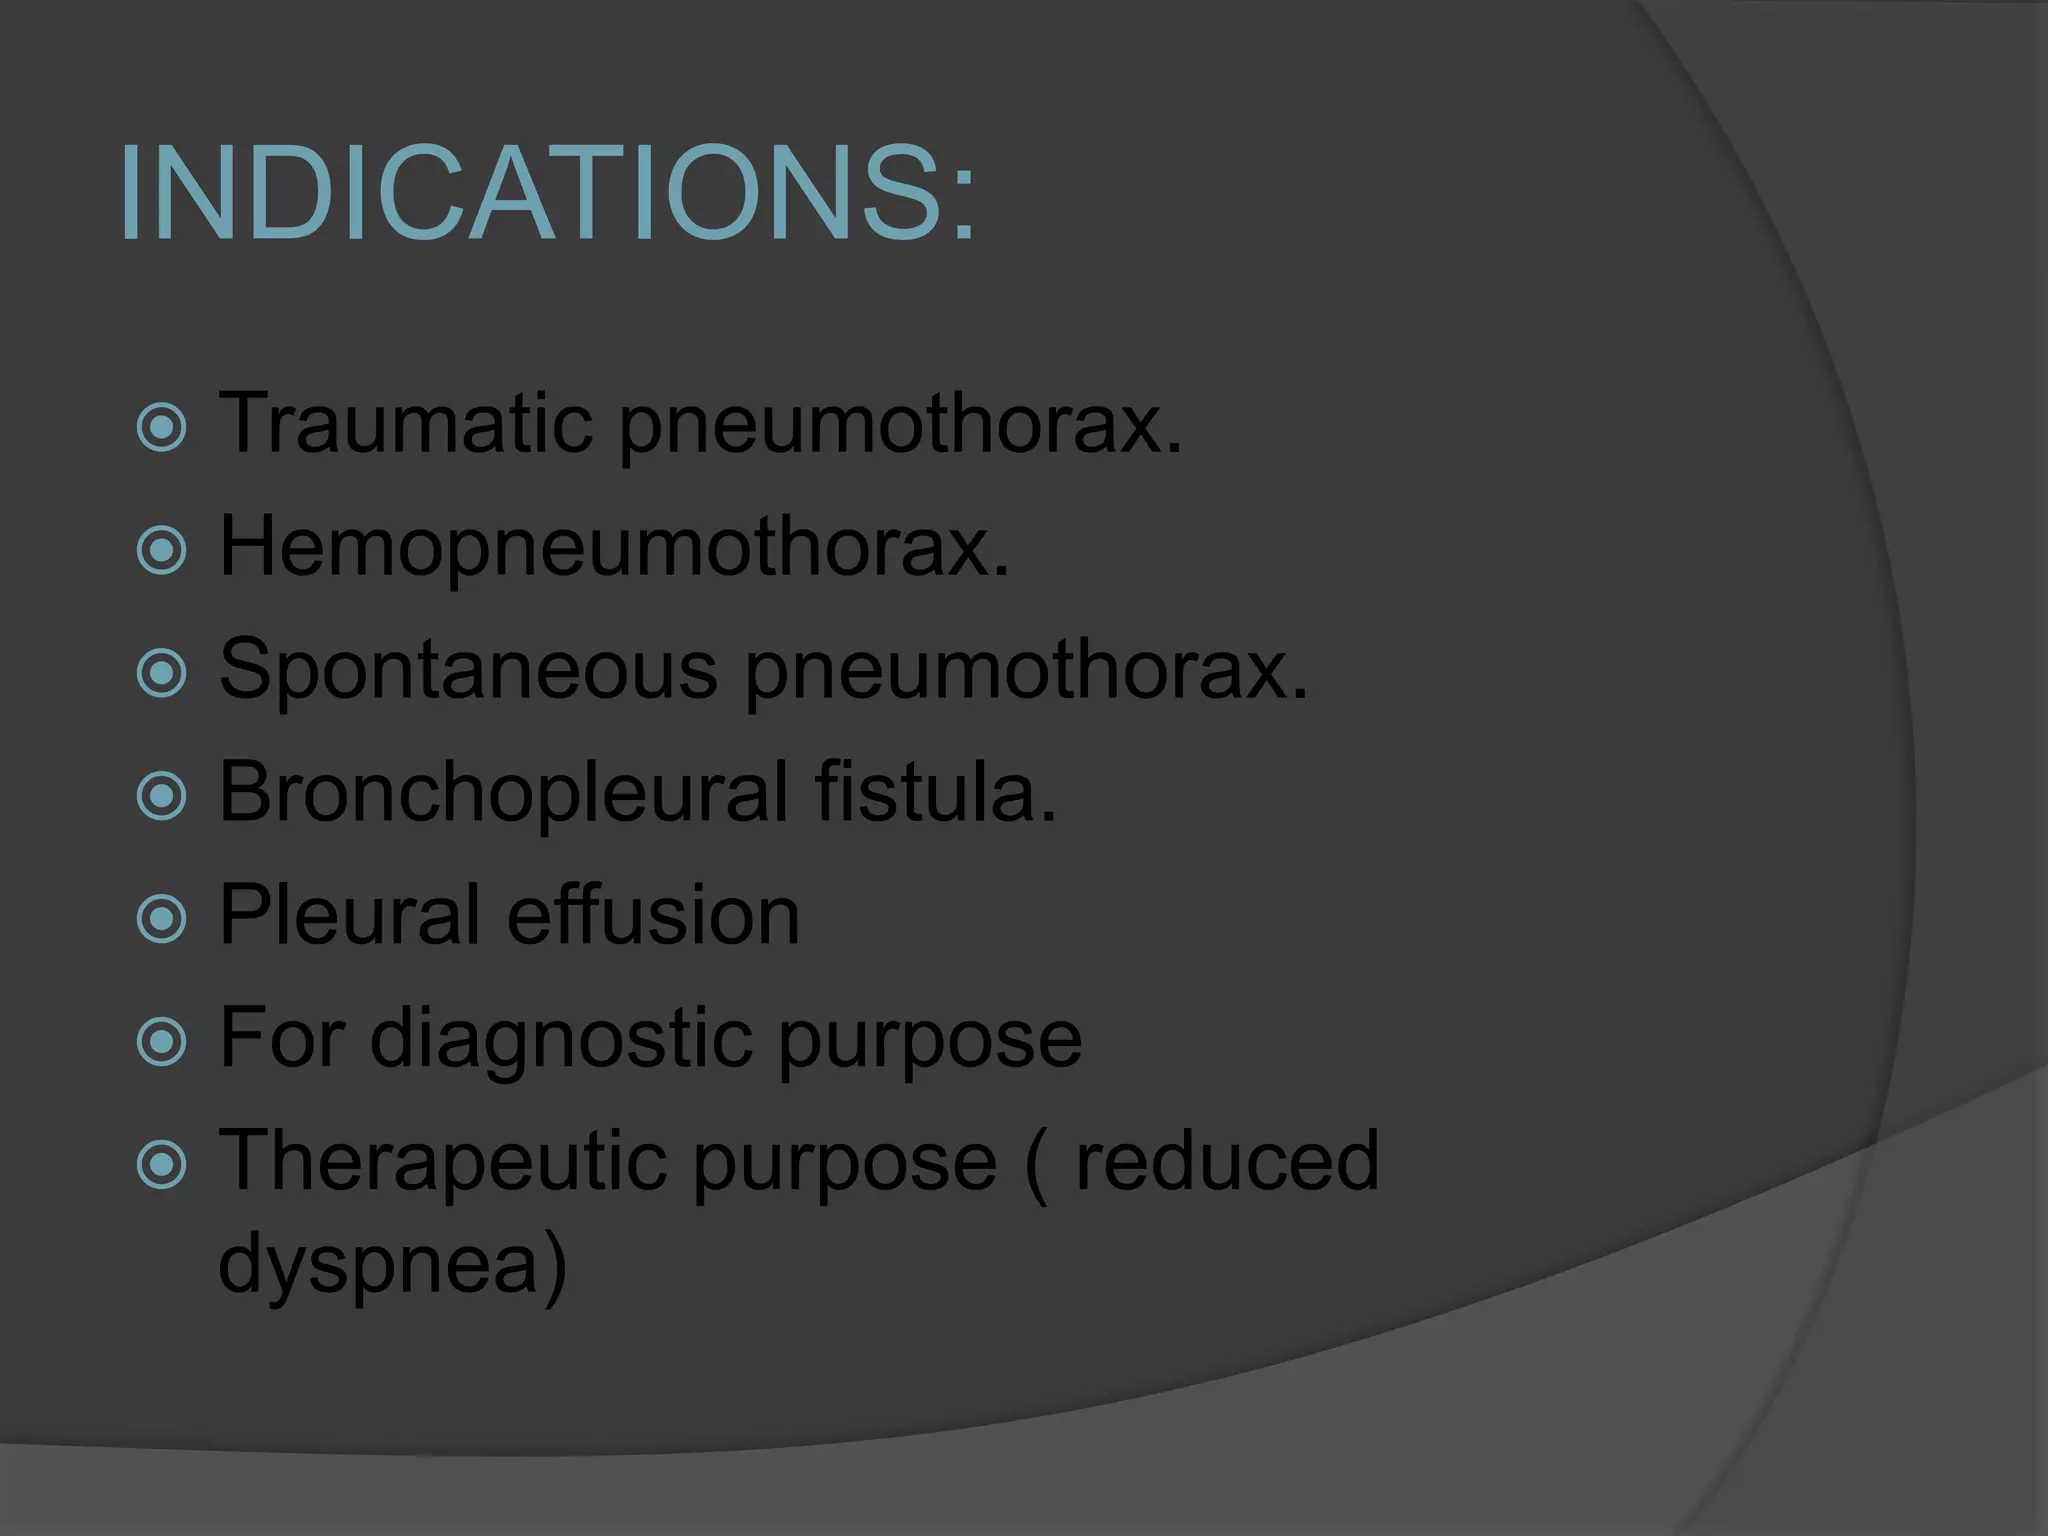
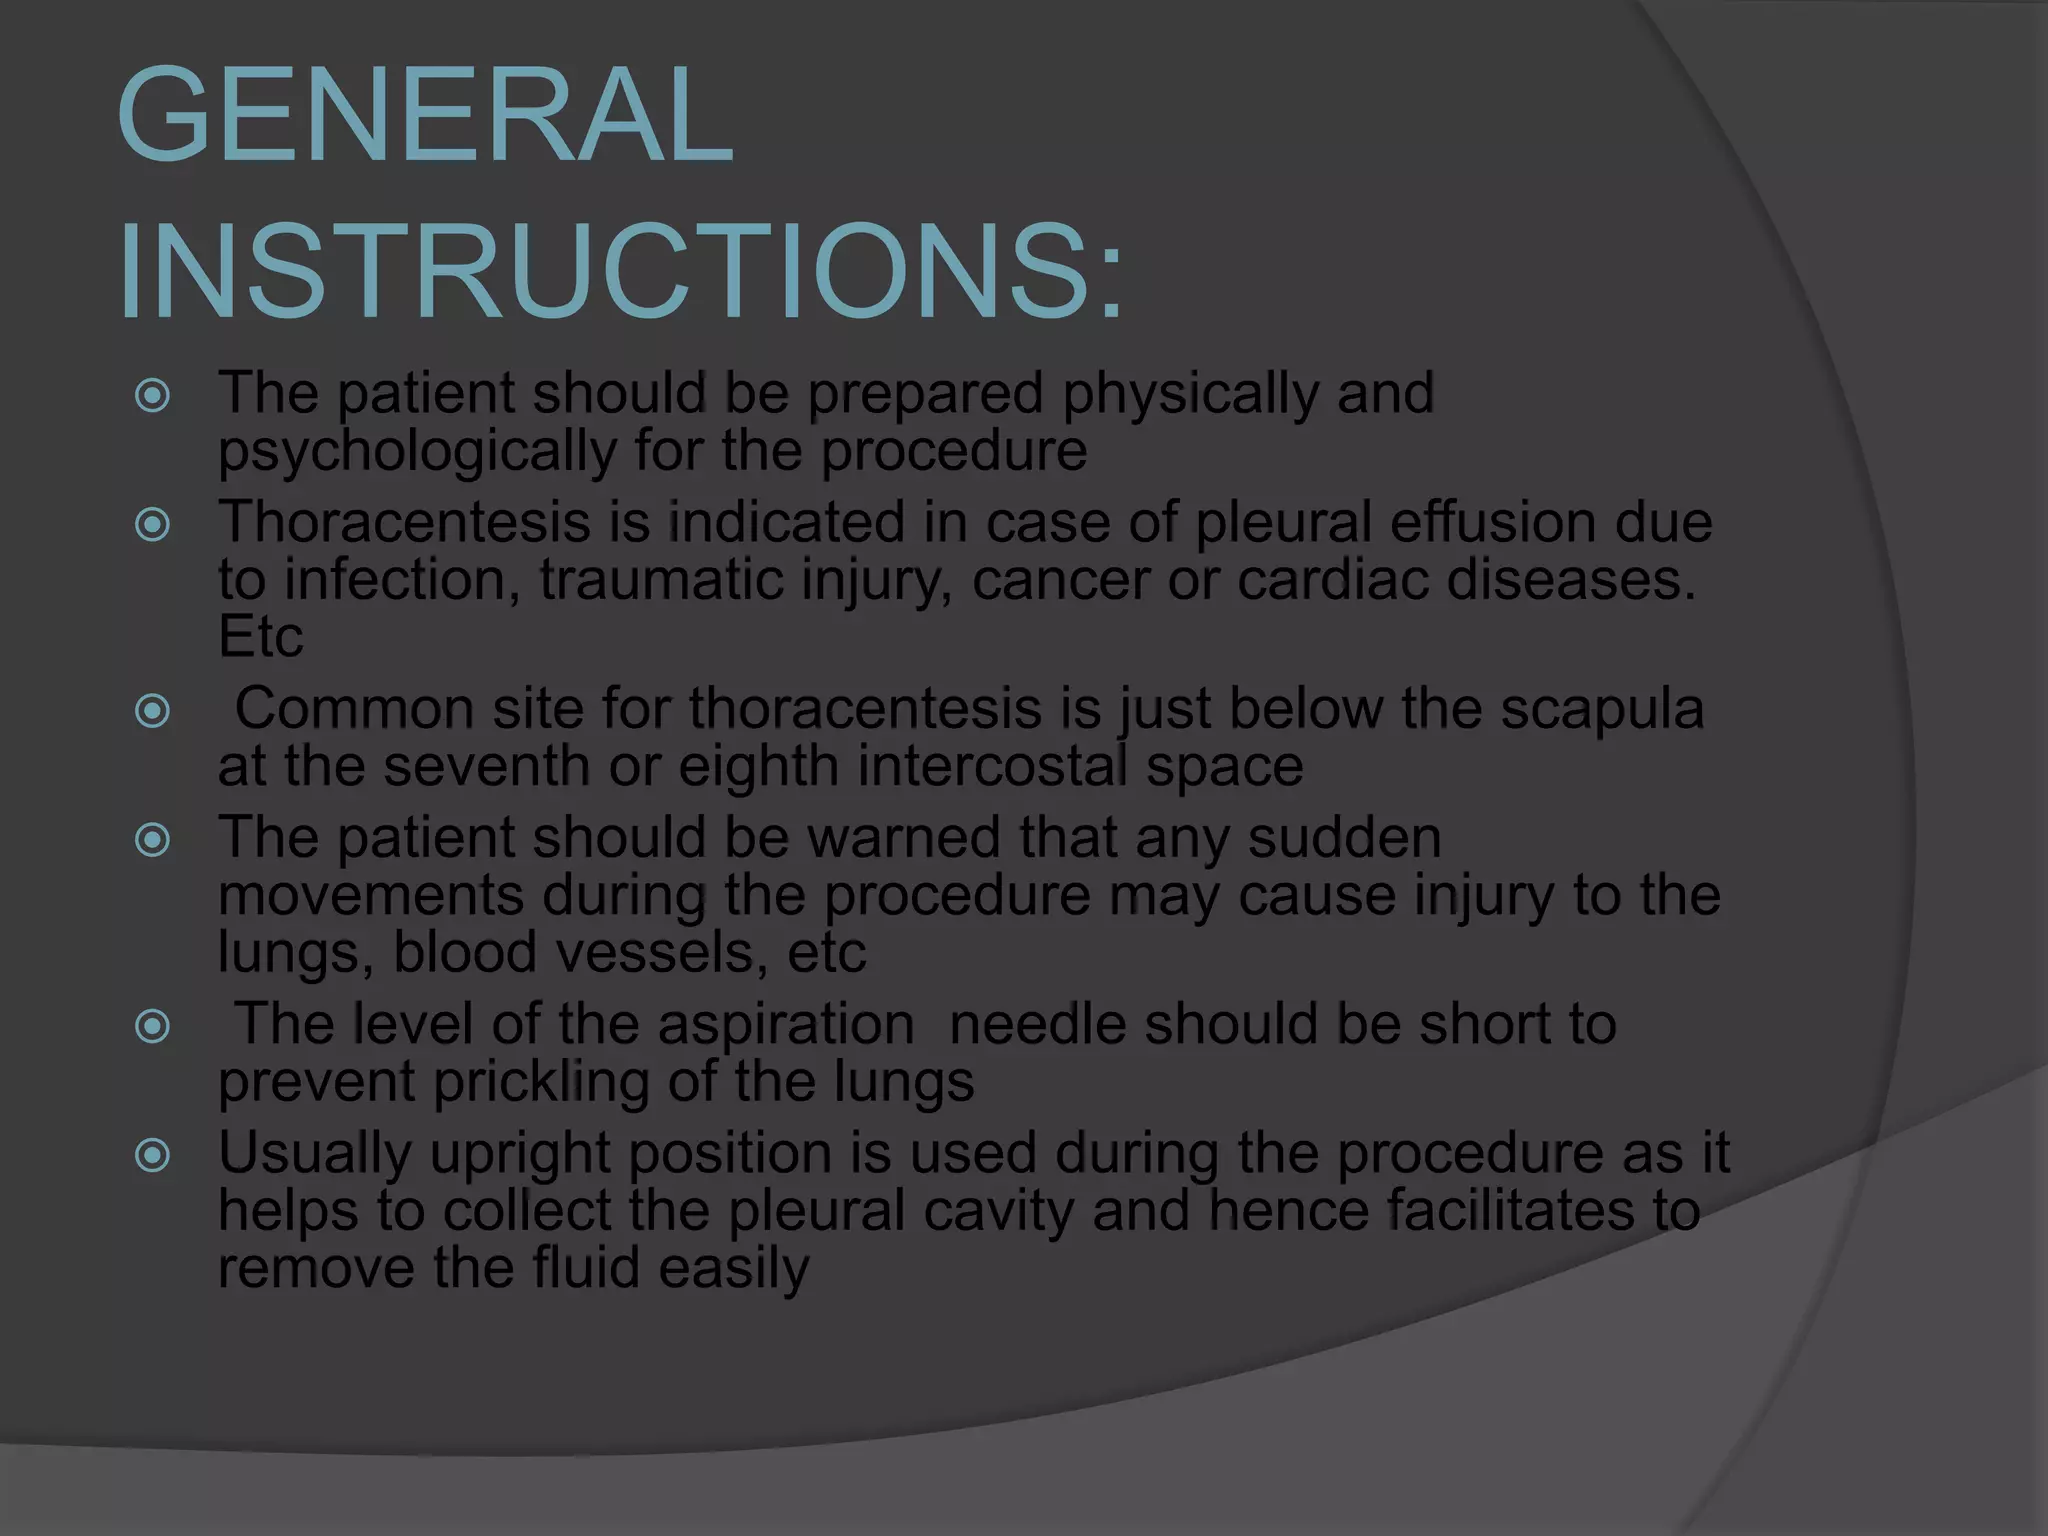
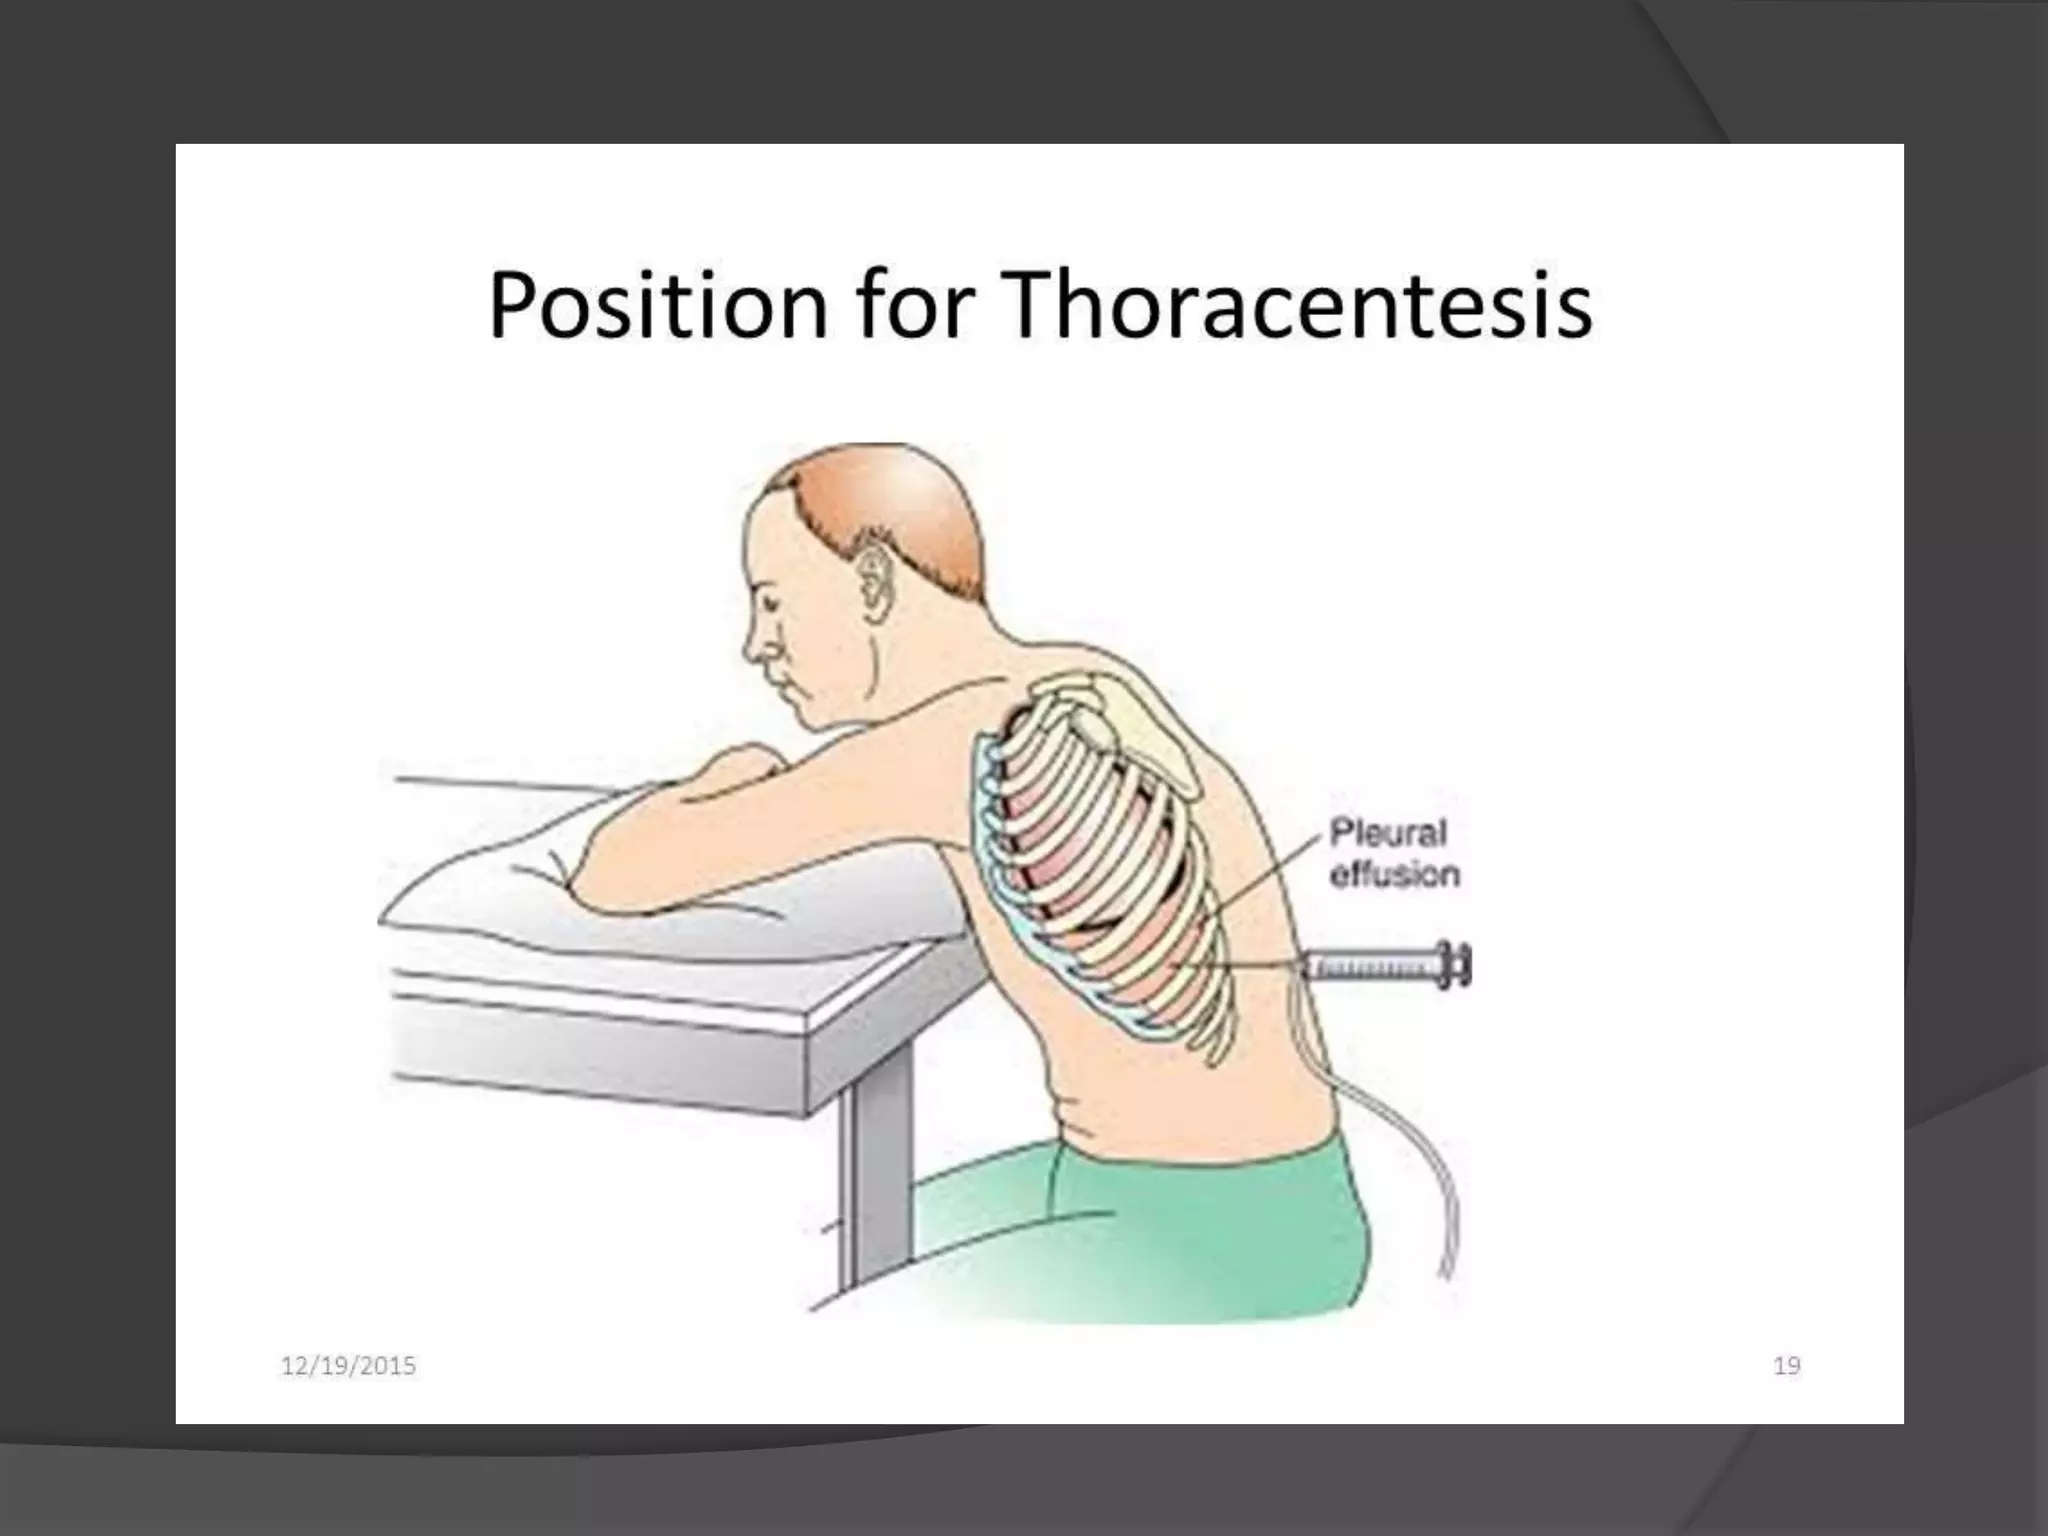
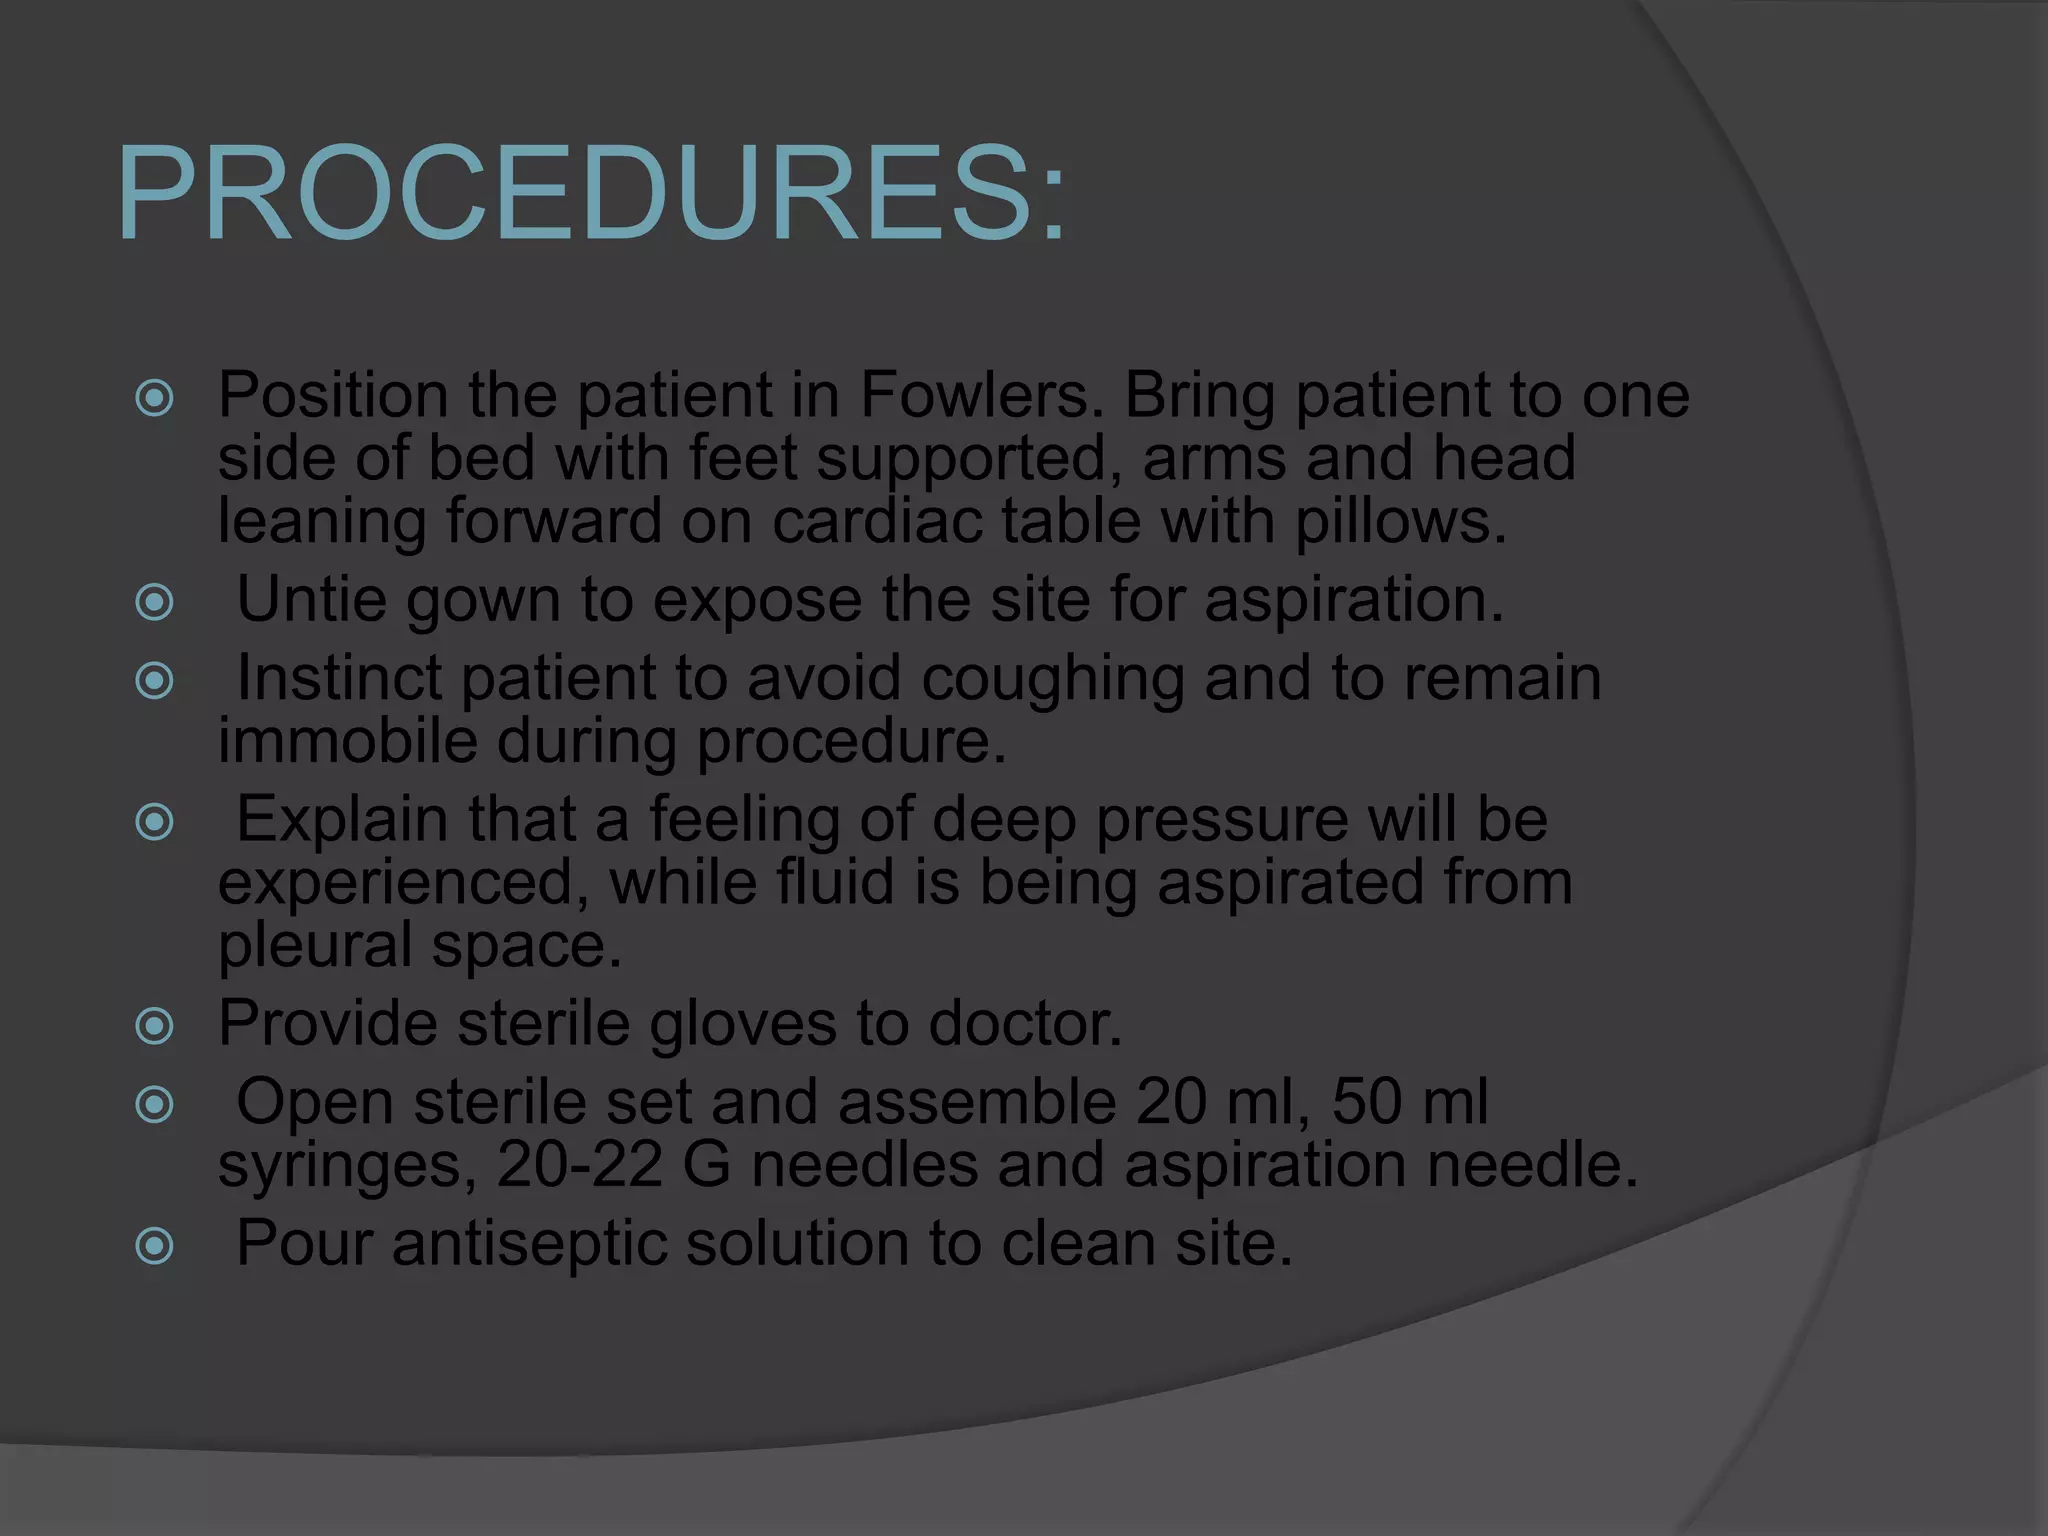
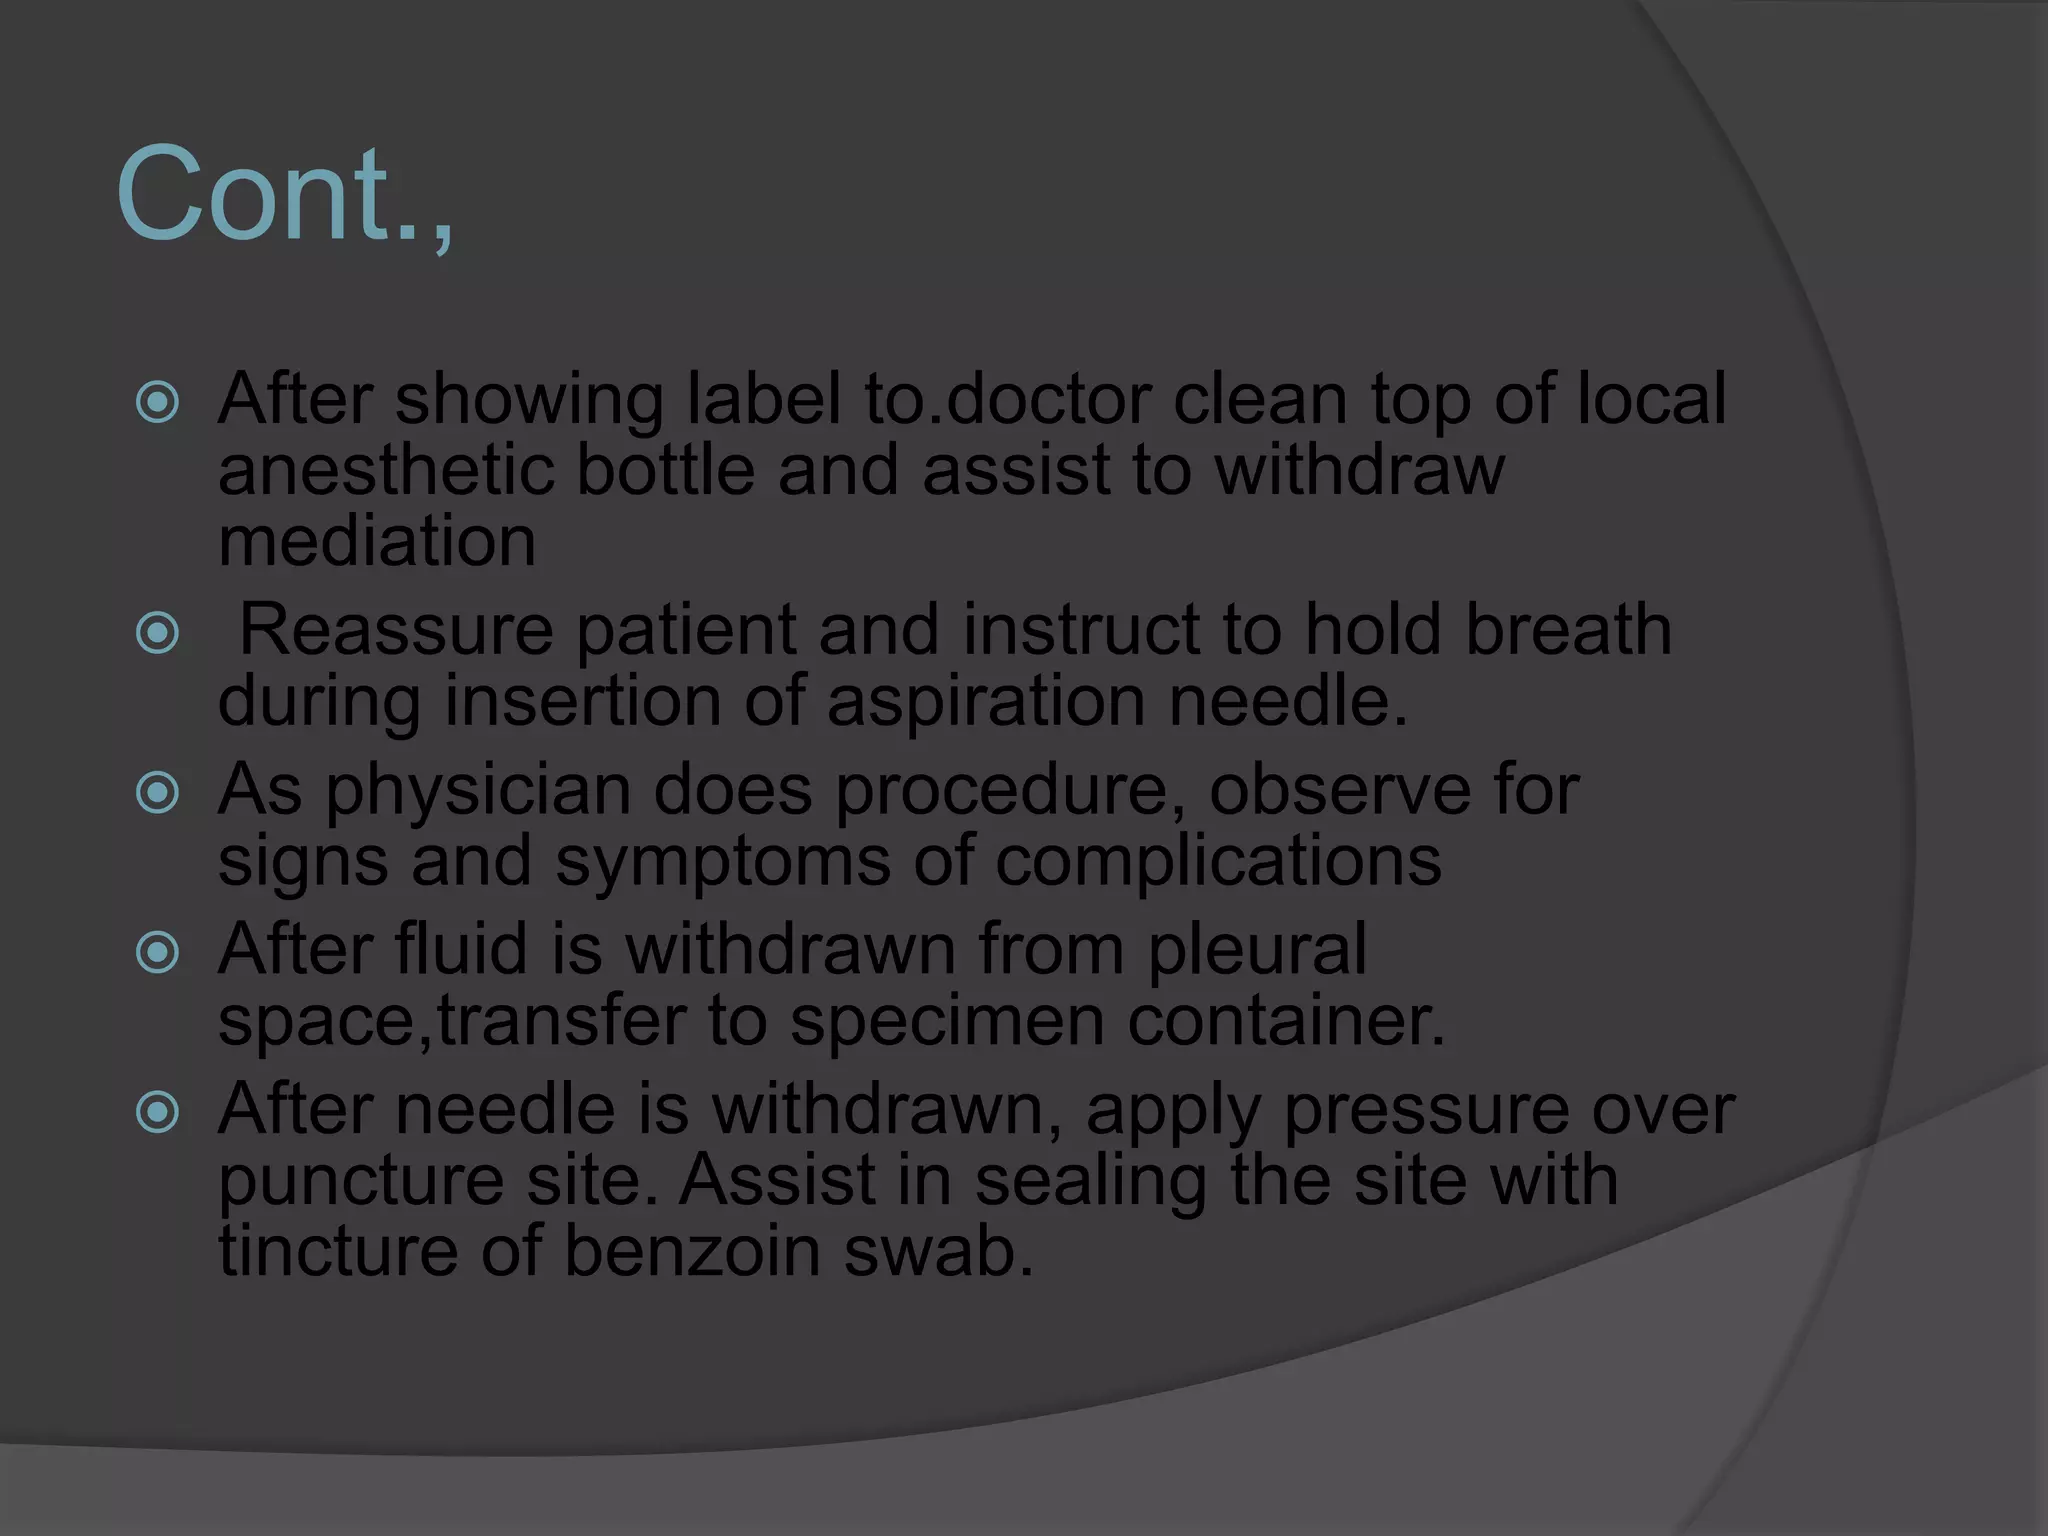
M.PRADEEP
M.S.C.NURSING
1ST YEAR
INTRODUCTION:
 Thoracentesis is defined as introducing
a hollow needle into plueral cavity and
aspirating fluid or cu r, using aseptic
technique
 Thoracentesis refer to the puncture by
needle through the chest wall into the
pleural space for the purpose of
removing pleural fluid (blood, serous
fluid, pus, etc.) and/or air
(pneumothorax)
DEFINITION:
 Thoracentesis or pleural aspiration or
pleural lap is the insertion of needle into
the pleural space through the chest wall
to remove the pleural fluid or possibly
air.
PURPOSES:
 To remove excessive pleural fluid (serous fluid, blood or
pus).
 To drain fluid /air from pleural cavity for diagnostic or
therapeutic purposes.
 To introduce medications
 To aid in full expansion of lung
 To obtain specimen for biopsy
 To take pleural biopsy for diagnostic examination
 To relieve pain
 To relieve breathlessness caused by accumulation of fluid
or air in the pleural space
 To aid in diagnosis and treatment (chemical,
bacteriological, cellular, composition and malignancy)
INDICATIONS:
 Traumatic pneumothorax.
 Hemopneumothorax.
 Spontaneous pneumothorax.
 Bronchopleural fistula.
 Pleural effusion
 For diagnostic purpose
 Therapeutic purpose ( reduced
dyspnea)
GENERAL
INSTRUCTIONS:
 The patient should be prepared physically and
psychologically for the procedure
 Thoracentesis is indicated in case of pleural effusion due
to infection, traumatic injury, cancer or cardiac diseases.
Etc
 Common site for thoracentesis is just below the scapula
at the seventh or eighth intercostal space
 The patient should be warned that any sudden
movements during the procedure may cause injury to the
lungs, blood vessels, etc
 The level of the aspiration needle should be short to
prevent prickling of the lungs
 Usually upright position is used during the procedure as it
helps to collect the pleural cavity and hence facilitates to
remove the fluid easily
Cont.,
 Maintain strict aseptic technique to prevent
introduction of Infection into the pleural space.
 The three way adaptor should be fitted with the
 needle before it is introduced into the chest cavity.
The adaptor should be in a closed position to prevent
the entry of air in to the pleural cavity.
 The nurse should check the syringes and needle
 for air-tightness. If these are not air-tight, then air will
enter the pleural cavity, which causes the lung
collapse.
 Remove the fluid slowly and not more than 1,000 ml
at a time, if the tap is therapeutic, to prevent
mediastinal shift.
Cont.,
 Use water-seal drainage system, if pleural
fluid is purulent and difficult to drain.
 The specimen should be sent to the
laboratory soon after it is collected.
 The aspiration should be discontinued if
any signs of complications are noted such
as sharp pain, respiratory distress,
excessive coughing, crepitushemoptysis,
circulatory collapse, etc.
PRELIMINARY
ASSESSMENT:
Check
 The doctors order for any specific instructions.
 Written informed consent of the patient or relatives.
 General condition and diagnosis of the patient.
 Review fresh erect chest Xray.
 Confirm the diagnosis, location and extent of the
pleural air/fluid/pus.
 Acute respiratory insufficiency (tension
pneumothorax, rapidly developing effusion without
dyspnea) may demand thoracentesis without Xray..
 Mental status of the patient to follow instructions.
 Articles available in the unit.
PREPARATION OF THE
PATIENT AND THE
ENVIRONMENT:
 Explain the sequence of the procedure
 Provide privacy.
 Chest Xray should be taken before
thoracentesis to diagnose the location.
 Check the vital signs and record it on
the nurse's record for reference.
 A mild sedative may be given of the
patient before starting the procedure.
Cont.,
 Maintain the desired position of the patient,
during the procedure.
 The nurse should remain near the patient-
to observe and to remind not to move
during the procedure.
 Arrange the articles at the bed side or in
the treatment room.
 9. Premedication: injection atropine sulfate
of 0.65mg is given intramuscularly or
intravenously half an hour before the
procedure.
EQUIPMENTS:
A Sterile Tray
 Dissecting forceps-I.
 Sponge holding forceps-1.
 Syringe (5ml) and 2 needles for giving local
anesthesia.
 Syringe (20ml) with 1 leur lock to aspirate the fluid.
 Aspiration needle number 16 (long and short).
 Three way stopcock.
 Small bowls-2, to take cleaning lotions
 Specimen bottles and slides.
 Cotton swabs, gauze pieces and cotton pads.
 Gown, masks and gloves for the doctor.
 Sterile dressing towels/slit.
Cont.,
 An Unsterile/Clean Tray
 Mackintosh and towel.
 Kidney tray and paper bag.
 Spirit, tincture of iodine and benzoin
 Lignocaine 2 percent.
 Suction apparatus with water seal
drainage system
PROCEDURES:
 Position the patient in Fowlers. Bring patient to one
side of bed with feet supported, arms and head
leaning forward on cardiac table with pillows.
 Untie gown to expose the site for aspiration.
 Instinct patient to avoid coughing and to remain
immobile during procedure.
 Explain that a feeling of deep pressure will be
experienced, while fluid is being aspirated from
pleural space.
 Provide sterile gloves to doctor.
 Open sterile set and assemble 20 ml, 50 ml
syringes, 20-22 G needles and aspiration needle.
 Pour antiseptic solution to clean site.
Cont.,
 After showing label to.doctor clean top of local
anesthetic bottle and assist to withdraw
mediation
 Reassure patient and instruct to hold breath
during insertion of aspiration needle.
 As physician does procedure, observe for
signs and symptoms of complications
 After fluid is withdrawn from pleural
space,transfer to specimen container.
 After needle is withdrawn, apply pressure over
puncture site. Assist in sealing the site with
tincture of benzoin swab.
AFTER CARE:
 Instruct patient In lie on non-affected site for 1 hour, ensue bed
rest for 6 to 8 hours
 Monitor vital signs every half hour until stable.
 Observe patient for signs Symptoms of hemothorax, tension
pneumothorax, subcutaneous emphysema and air embolism.
 Administer analgesics and antibiotics are prescribed.
 Instruct patient Io carrv out deep breathing exercises.
 A chest Xrav may be taken to determine the effect of the
procedure.
 The puncture site should be treated aseptically to prevent
contamination of the wound.
 The container with aspirated fluid should be labeled and sent to
the laboratory with requisition form.
 Replace the articles after cleaning.
 Wash hands thoroughly.
 Record the procedure in the nurse’s record sheet
COMPLICATIONS:
 Pneumothorax and hemothorax
 Tension pneumothorax
 Mediastinal shift
 Pulmonary edema
Thoracentesis medical surgical nursing

Thoracentesis medical surgical nursing

  • 1.
  • 2.
    INTRODUCTION:  Thoracentesis isdefined as introducing a hollow needle into plueral cavity and aspirating fluid or cu r, using aseptic technique  Thoracentesis refer to the puncture by needle through the chest wall into the pleural space for the purpose of removing pleural fluid (blood, serous fluid, pus, etc.) and/or air (pneumothorax)
  • 3.
    DEFINITION:  Thoracentesis orpleural aspiration or pleural lap is the insertion of needle into the pleural space through the chest wall to remove the pleural fluid or possibly air.
  • 4.
    PURPOSES:  To removeexcessive pleural fluid (serous fluid, blood or pus).  To drain fluid /air from pleural cavity for diagnostic or therapeutic purposes.  To introduce medications  To aid in full expansion of lung  To obtain specimen for biopsy  To take pleural biopsy for diagnostic examination  To relieve pain  To relieve breathlessness caused by accumulation of fluid or air in the pleural space  To aid in diagnosis and treatment (chemical, bacteriological, cellular, composition and malignancy)
  • 5.
    INDICATIONS:  Traumatic pneumothorax. Hemopneumothorax.  Spontaneous pneumothorax.  Bronchopleural fistula.  Pleural effusion  For diagnostic purpose  Therapeutic purpose ( reduced dyspnea)
  • 6.
    GENERAL INSTRUCTIONS:  The patientshould be prepared physically and psychologically for the procedure  Thoracentesis is indicated in case of pleural effusion due to infection, traumatic injury, cancer or cardiac diseases. Etc  Common site for thoracentesis is just below the scapula at the seventh or eighth intercostal space  The patient should be warned that any sudden movements during the procedure may cause injury to the lungs, blood vessels, etc  The level of the aspiration needle should be short to prevent prickling of the lungs  Usually upright position is used during the procedure as it helps to collect the pleural cavity and hence facilitates to remove the fluid easily
  • 7.
    Cont.,  Maintain strictaseptic technique to prevent introduction of Infection into the pleural space.  The three way adaptor should be fitted with the  needle before it is introduced into the chest cavity. The adaptor should be in a closed position to prevent the entry of air in to the pleural cavity.  The nurse should check the syringes and needle  for air-tightness. If these are not air-tight, then air will enter the pleural cavity, which causes the lung collapse.  Remove the fluid slowly and not more than 1,000 ml at a time, if the tap is therapeutic, to prevent mediastinal shift.
  • 8.
    Cont.,  Use water-sealdrainage system, if pleural fluid is purulent and difficult to drain.  The specimen should be sent to the laboratory soon after it is collected.  The aspiration should be discontinued if any signs of complications are noted such as sharp pain, respiratory distress, excessive coughing, crepitushemoptysis, circulatory collapse, etc.
  • 9.
    PRELIMINARY ASSESSMENT: Check  The doctorsorder for any specific instructions.  Written informed consent of the patient or relatives.  General condition and diagnosis of the patient.  Review fresh erect chest Xray.  Confirm the diagnosis, location and extent of the pleural air/fluid/pus.  Acute respiratory insufficiency (tension pneumothorax, rapidly developing effusion without dyspnea) may demand thoracentesis without Xray..  Mental status of the patient to follow instructions.  Articles available in the unit.
  • 11.
    PREPARATION OF THE PATIENTAND THE ENVIRONMENT:  Explain the sequence of the procedure  Provide privacy.  Chest Xray should be taken before thoracentesis to diagnose the location.  Check the vital signs and record it on the nurse's record for reference.  A mild sedative may be given of the patient before starting the procedure.
  • 12.
    Cont.,  Maintain thedesired position of the patient, during the procedure.  The nurse should remain near the patient- to observe and to remind not to move during the procedure.  Arrange the articles at the bed side or in the treatment room.  9. Premedication: injection atropine sulfate of 0.65mg is given intramuscularly or intravenously half an hour before the procedure.
  • 13.
    EQUIPMENTS: A Sterile Tray Dissecting forceps-I.  Sponge holding forceps-1.  Syringe (5ml) and 2 needles for giving local anesthesia.  Syringe (20ml) with 1 leur lock to aspirate the fluid.  Aspiration needle number 16 (long and short).  Three way stopcock.  Small bowls-2, to take cleaning lotions  Specimen bottles and slides.  Cotton swabs, gauze pieces and cotton pads.  Gown, masks and gloves for the doctor.  Sterile dressing towels/slit.
  • 14.
    Cont.,  An Unsterile/CleanTray  Mackintosh and towel.  Kidney tray and paper bag.  Spirit, tincture of iodine and benzoin  Lignocaine 2 percent.  Suction apparatus with water seal drainage system
  • 15.
    PROCEDURES:  Position thepatient in Fowlers. Bring patient to one side of bed with feet supported, arms and head leaning forward on cardiac table with pillows.  Untie gown to expose the site for aspiration.  Instinct patient to avoid coughing and to remain immobile during procedure.  Explain that a feeling of deep pressure will be experienced, while fluid is being aspirated from pleural space.  Provide sterile gloves to doctor.  Open sterile set and assemble 20 ml, 50 ml syringes, 20-22 G needles and aspiration needle.  Pour antiseptic solution to clean site.
  • 16.
    Cont.,  After showinglabel to.doctor clean top of local anesthetic bottle and assist to withdraw mediation  Reassure patient and instruct to hold breath during insertion of aspiration needle.  As physician does procedure, observe for signs and symptoms of complications  After fluid is withdrawn from pleural space,transfer to specimen container.  After needle is withdrawn, apply pressure over puncture site. Assist in sealing the site with tincture of benzoin swab.
  • 19.
    AFTER CARE:  Instructpatient In lie on non-affected site for 1 hour, ensue bed rest for 6 to 8 hours  Monitor vital signs every half hour until stable.  Observe patient for signs Symptoms of hemothorax, tension pneumothorax, subcutaneous emphysema and air embolism.  Administer analgesics and antibiotics are prescribed.  Instruct patient Io carrv out deep breathing exercises.  A chest Xrav may be taken to determine the effect of the procedure.  The puncture site should be treated aseptically to prevent contamination of the wound.  The container with aspirated fluid should be labeled and sent to the laboratory with requisition form.  Replace the articles after cleaning.  Wash hands thoroughly.  Record the procedure in the nurse’s record sheet
  • 21.
    COMPLICATIONS:  Pneumothorax andhemothorax  Tension pneumothorax  Mediastinal shift  Pulmonary edema