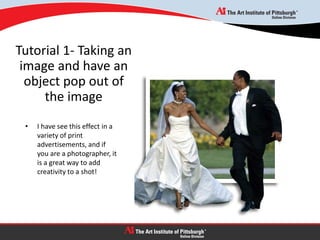
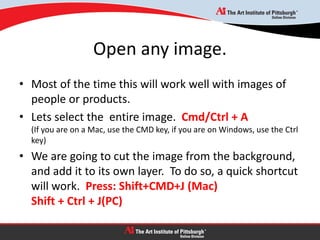
This tutorial provides instructions for using Photoshop to make objects appear to pop out of images in 3 steps:
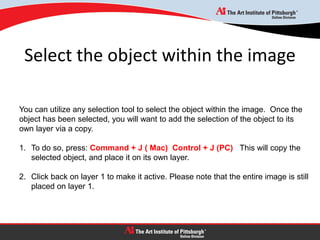
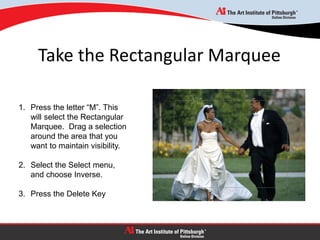
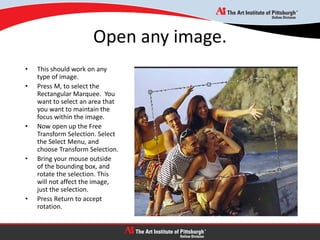
1. Cut the selected object from the background layer and place it on its own layer.
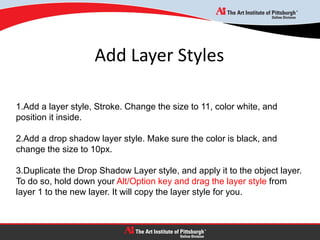
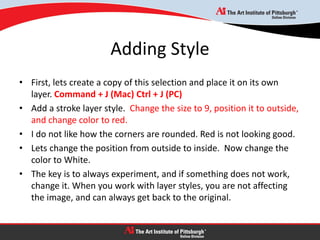
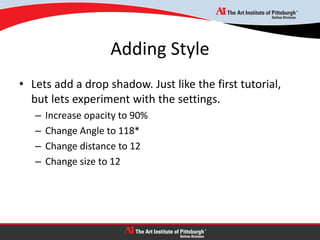
2. Apply layer styles like strokes and drop shadows to the object layer to make it stand out.
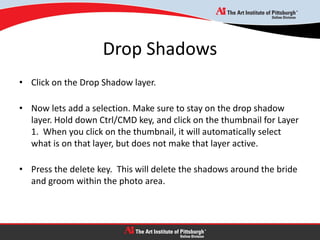
3. Edit the drop shadow layer separately to ensure shadows only appear outside the image area.