Download as PDF, PPTX

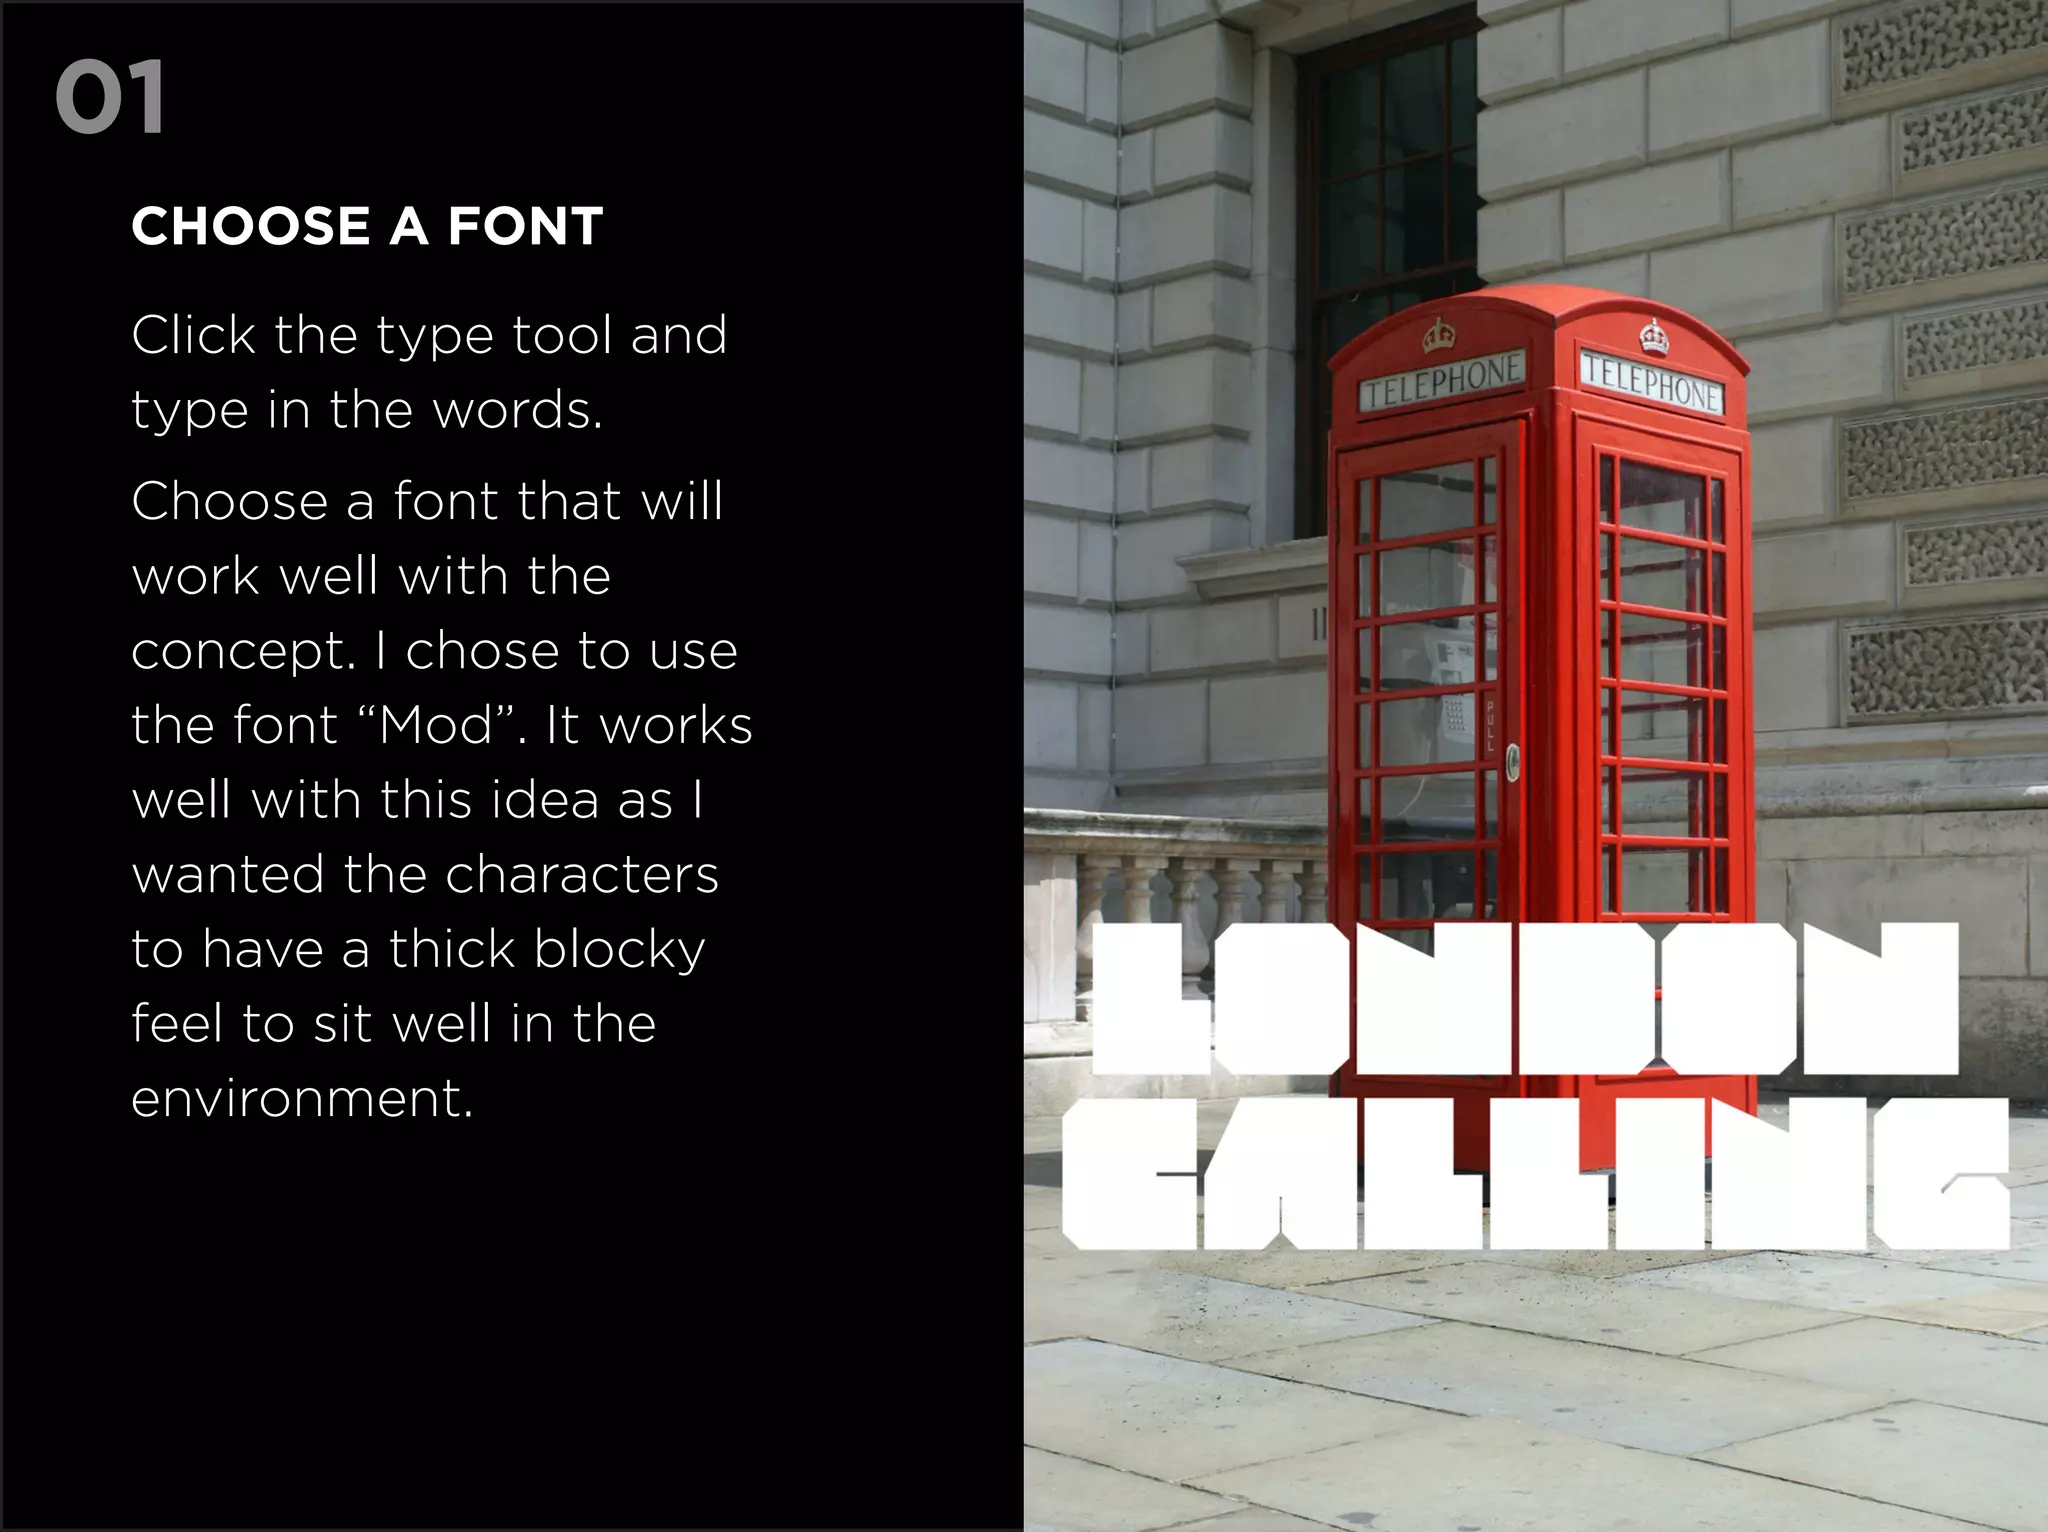
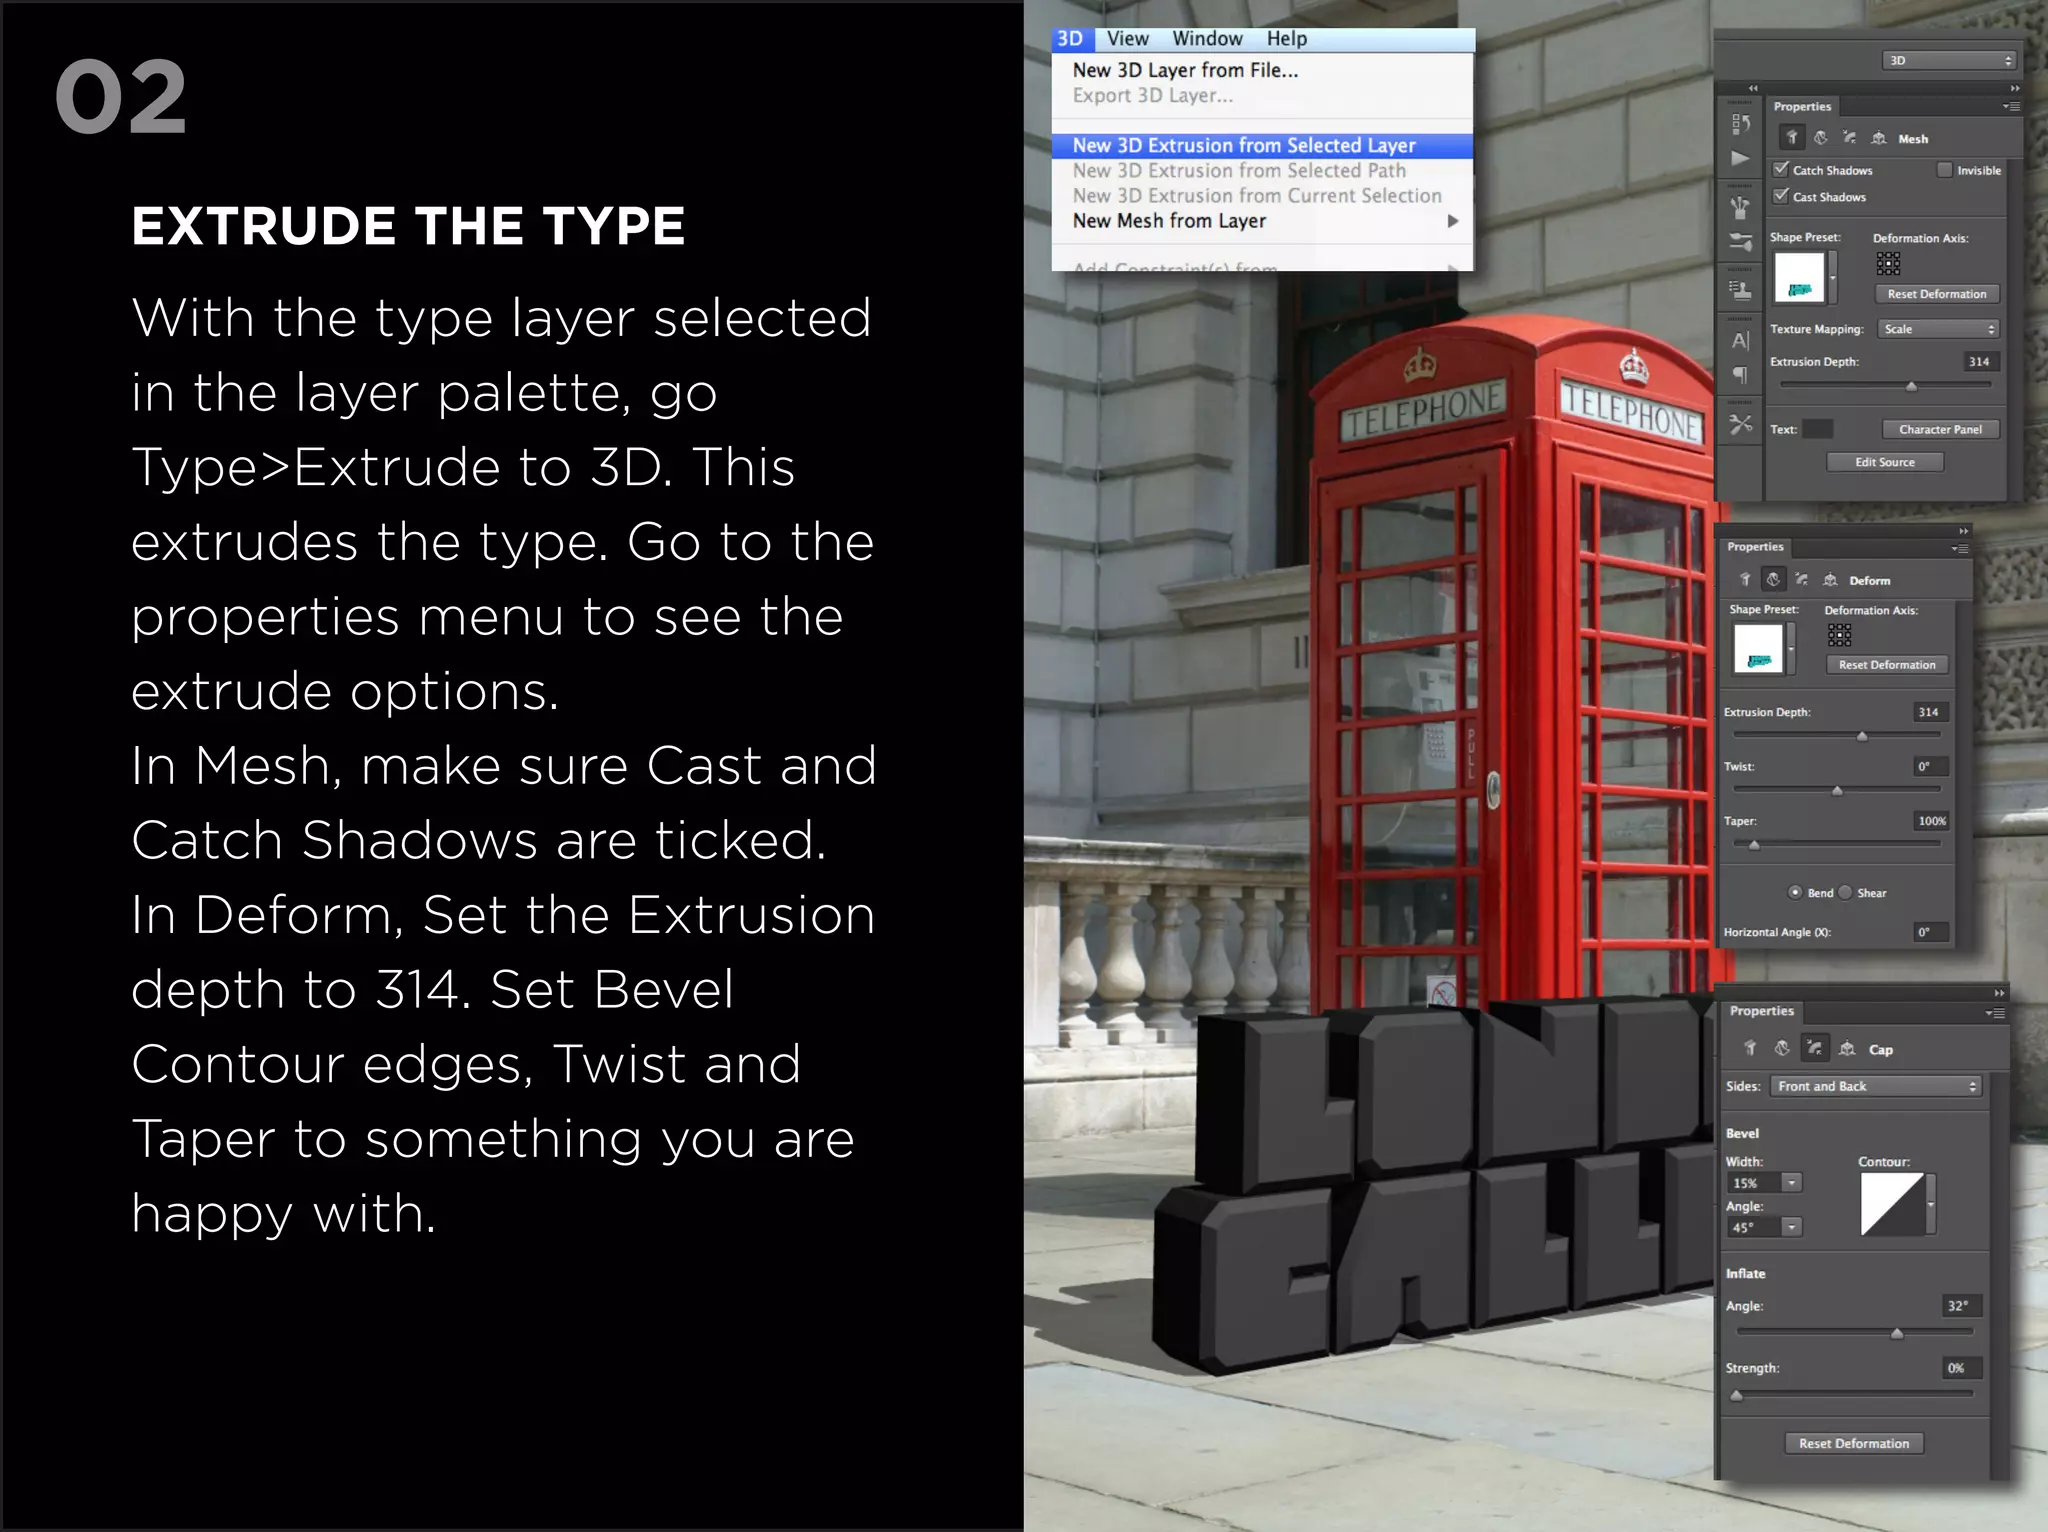
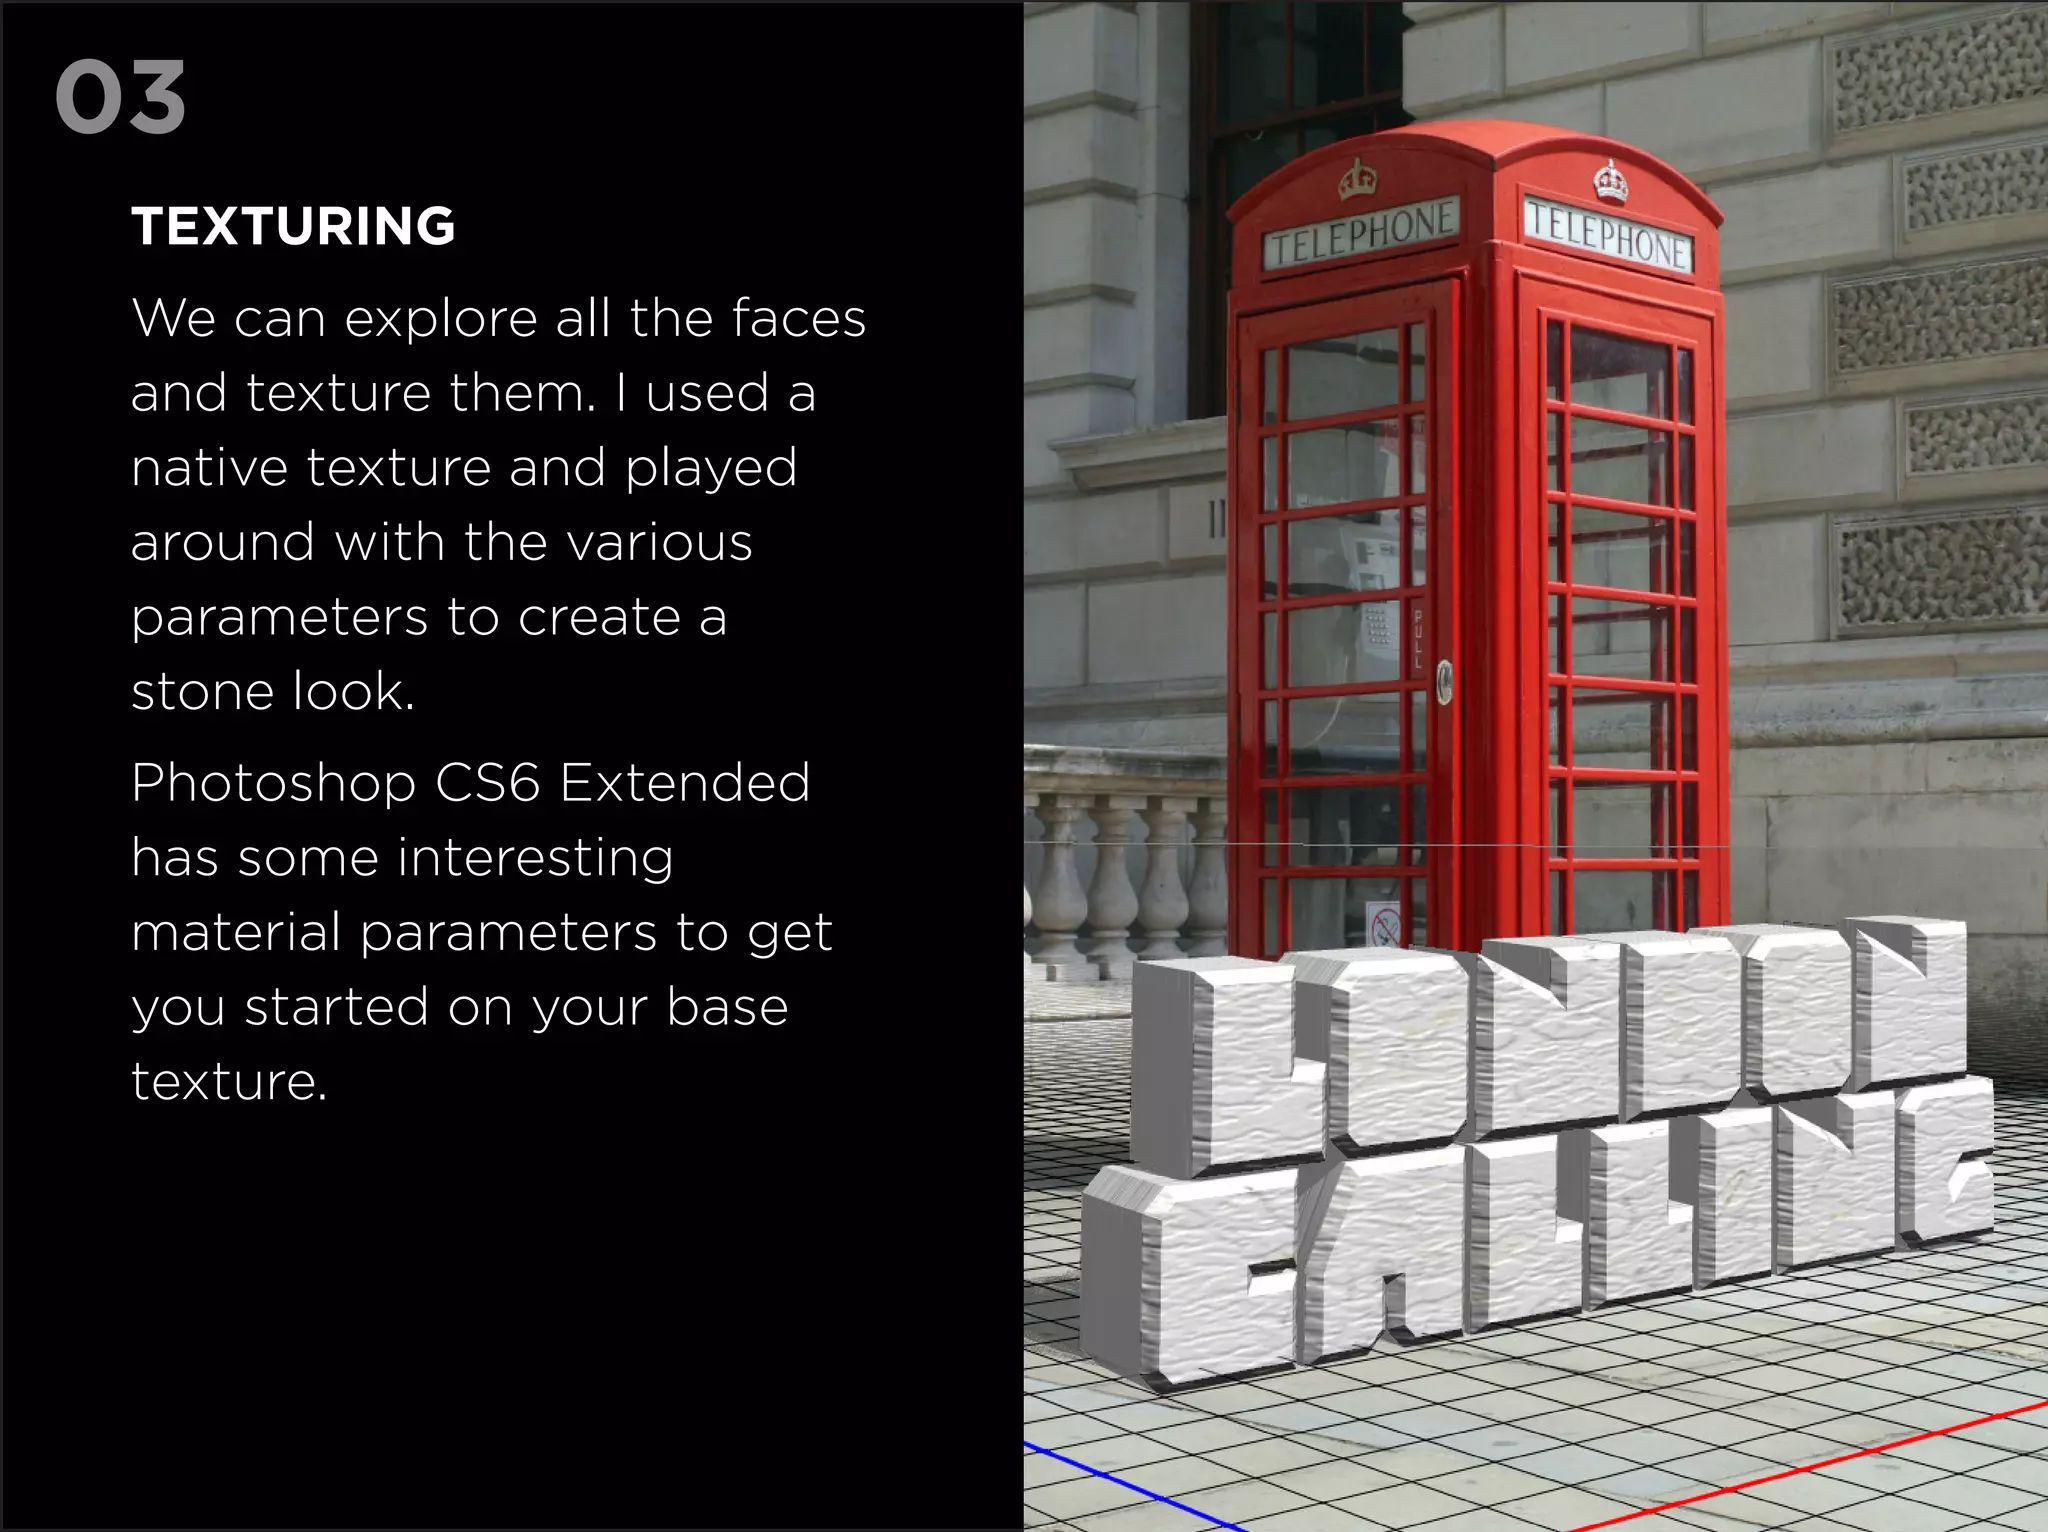
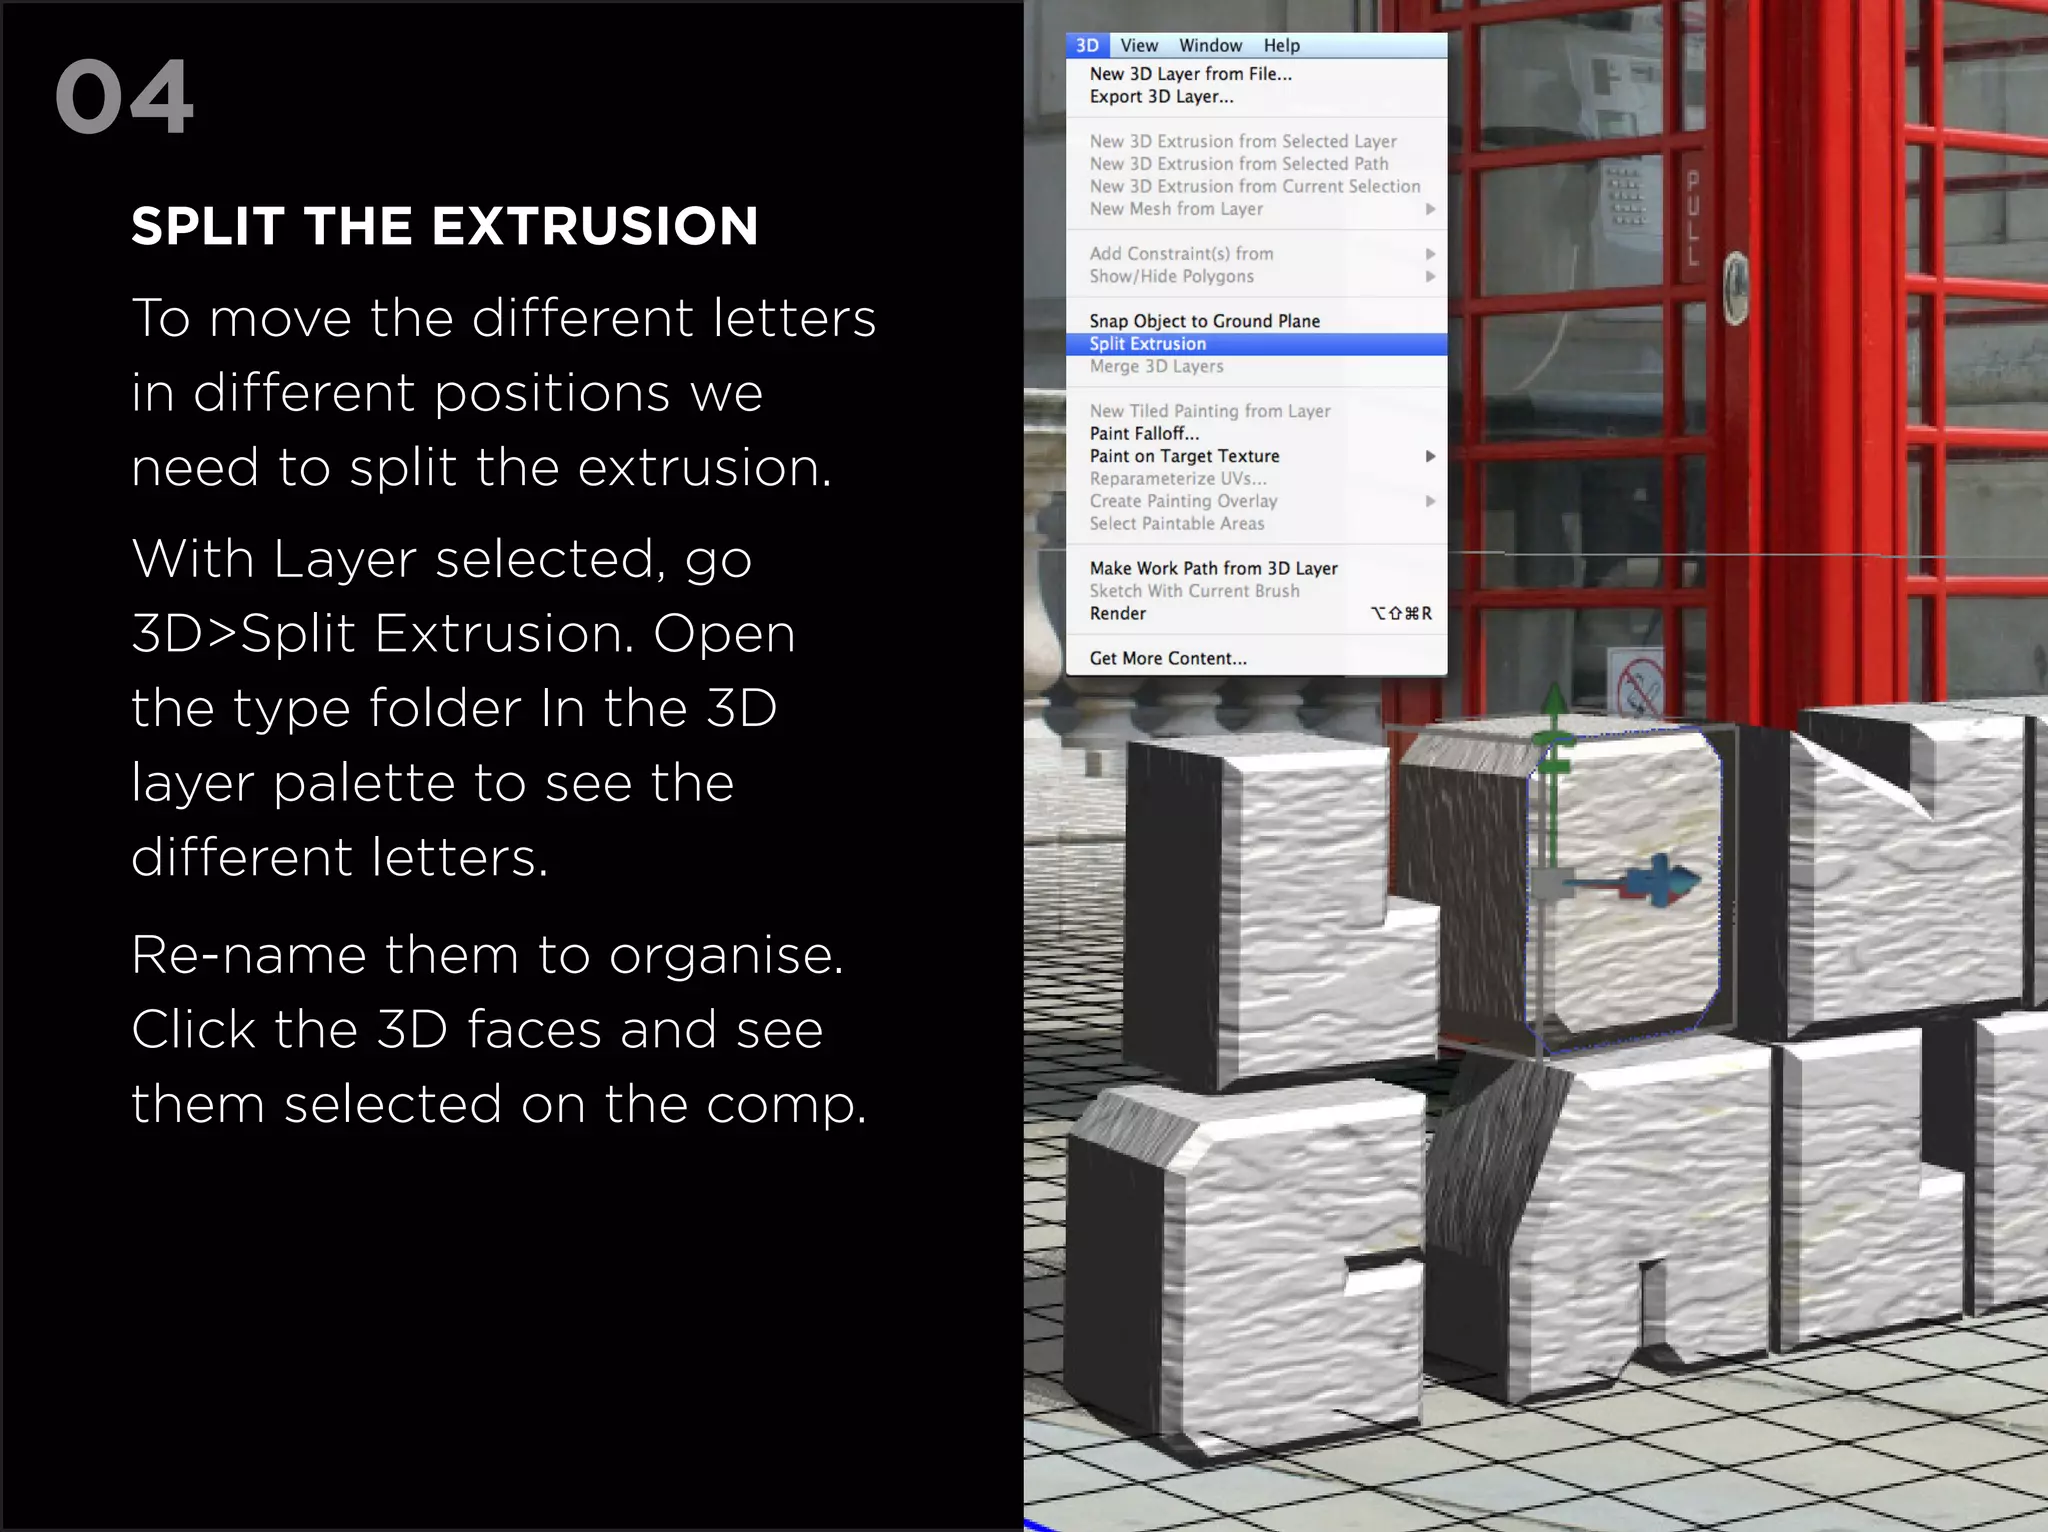
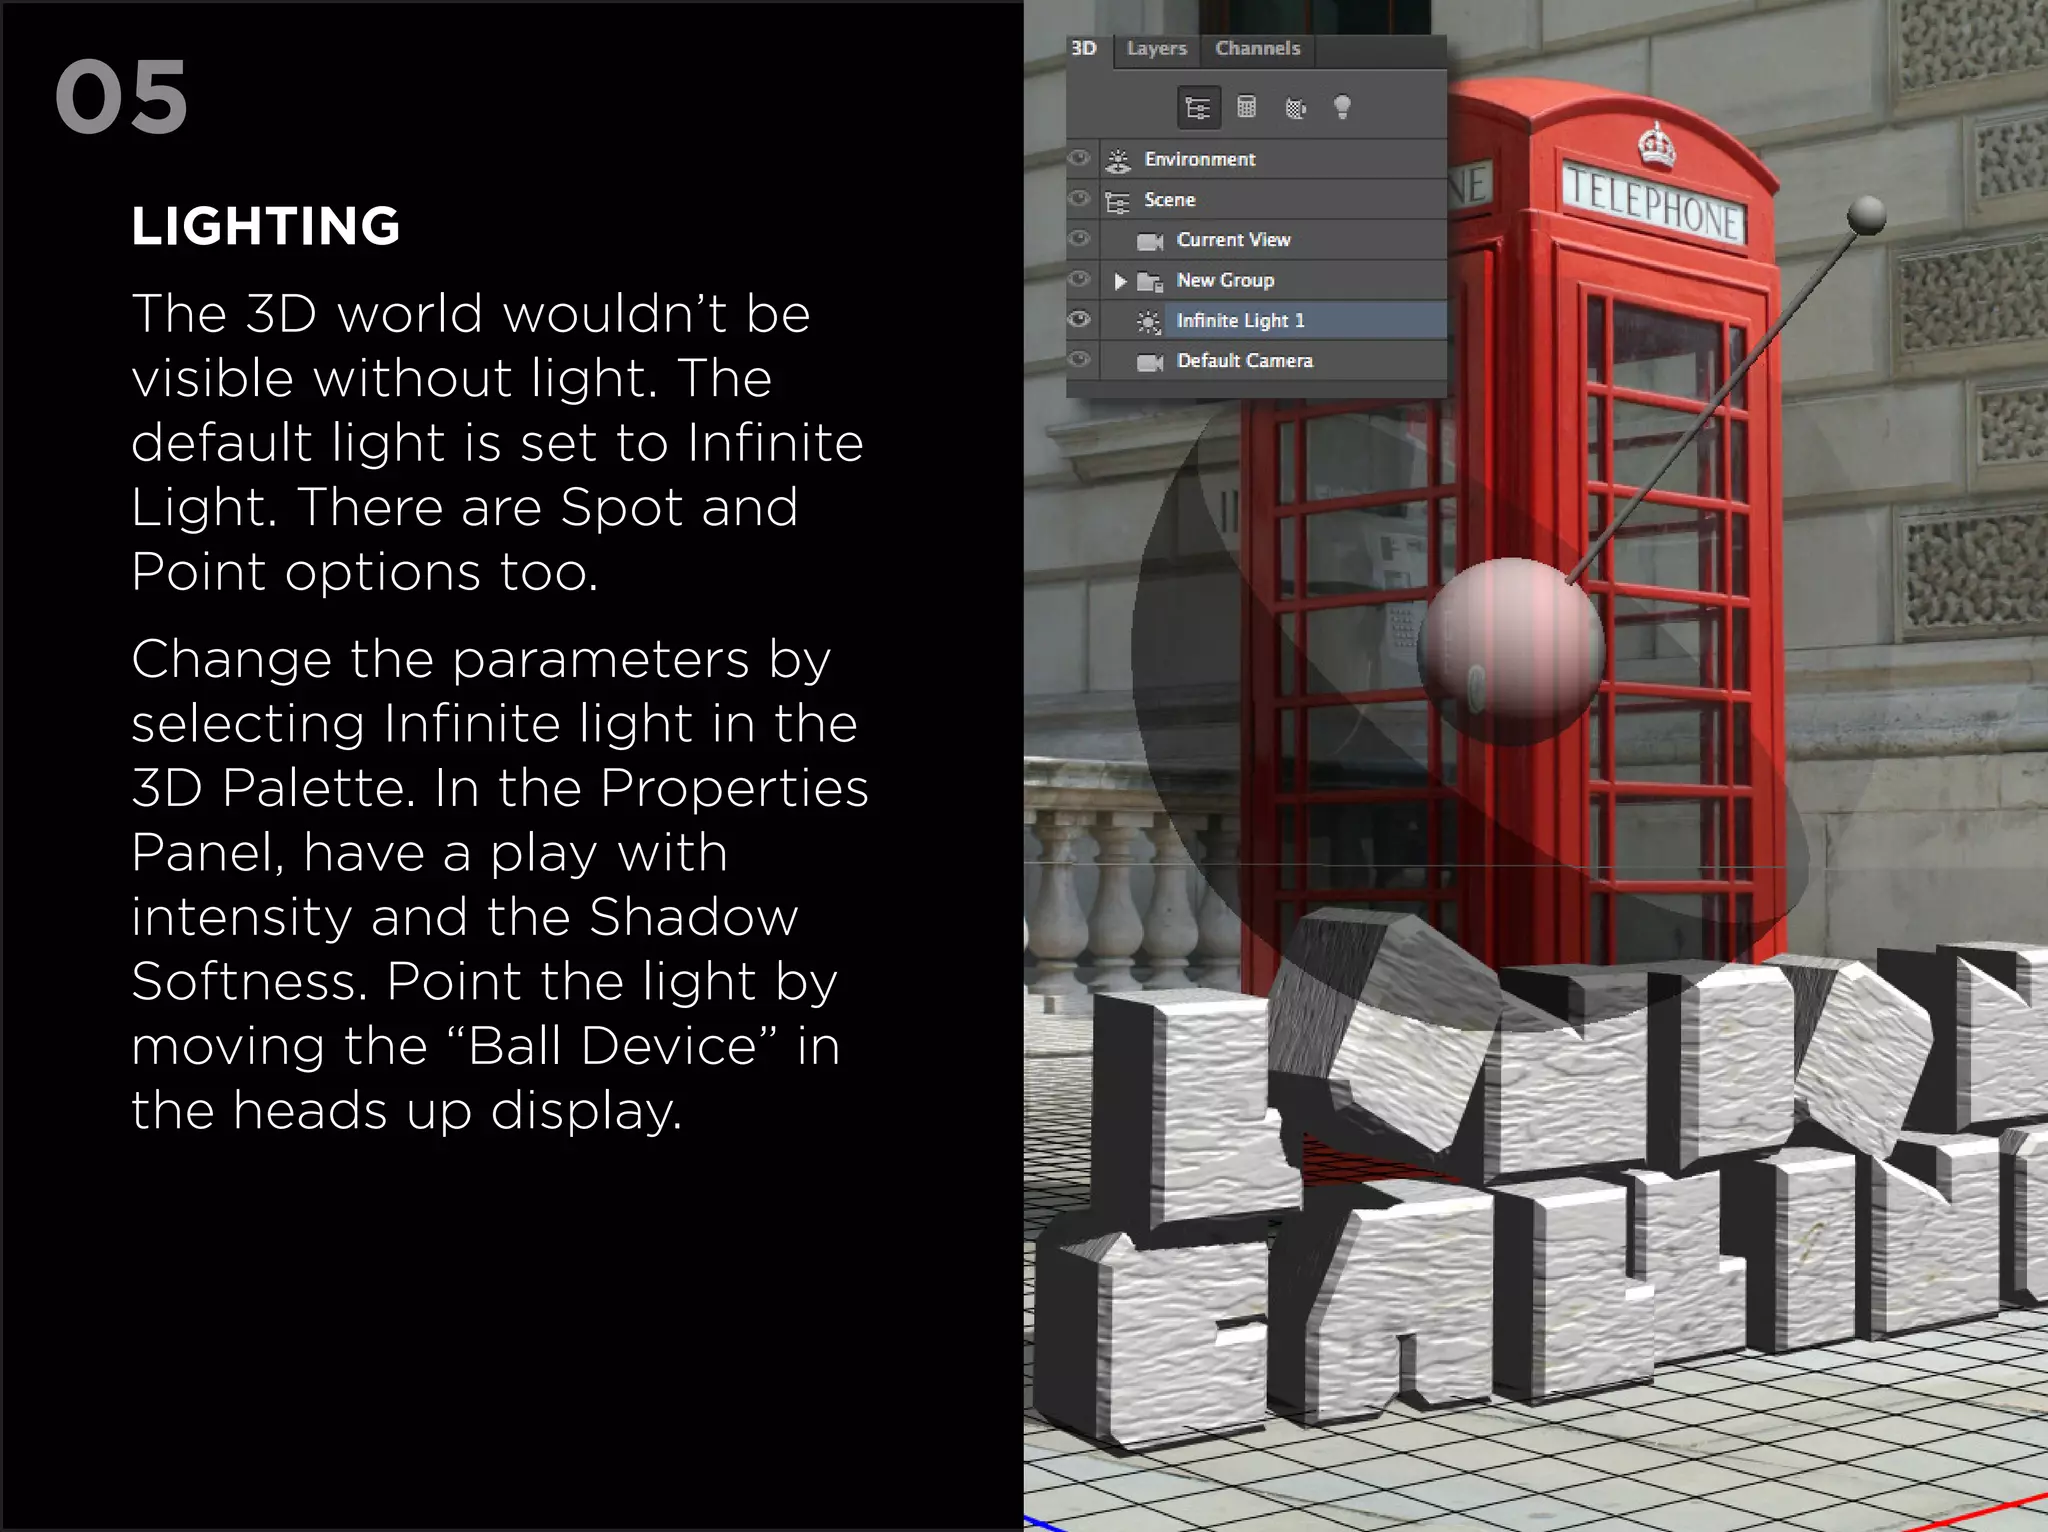
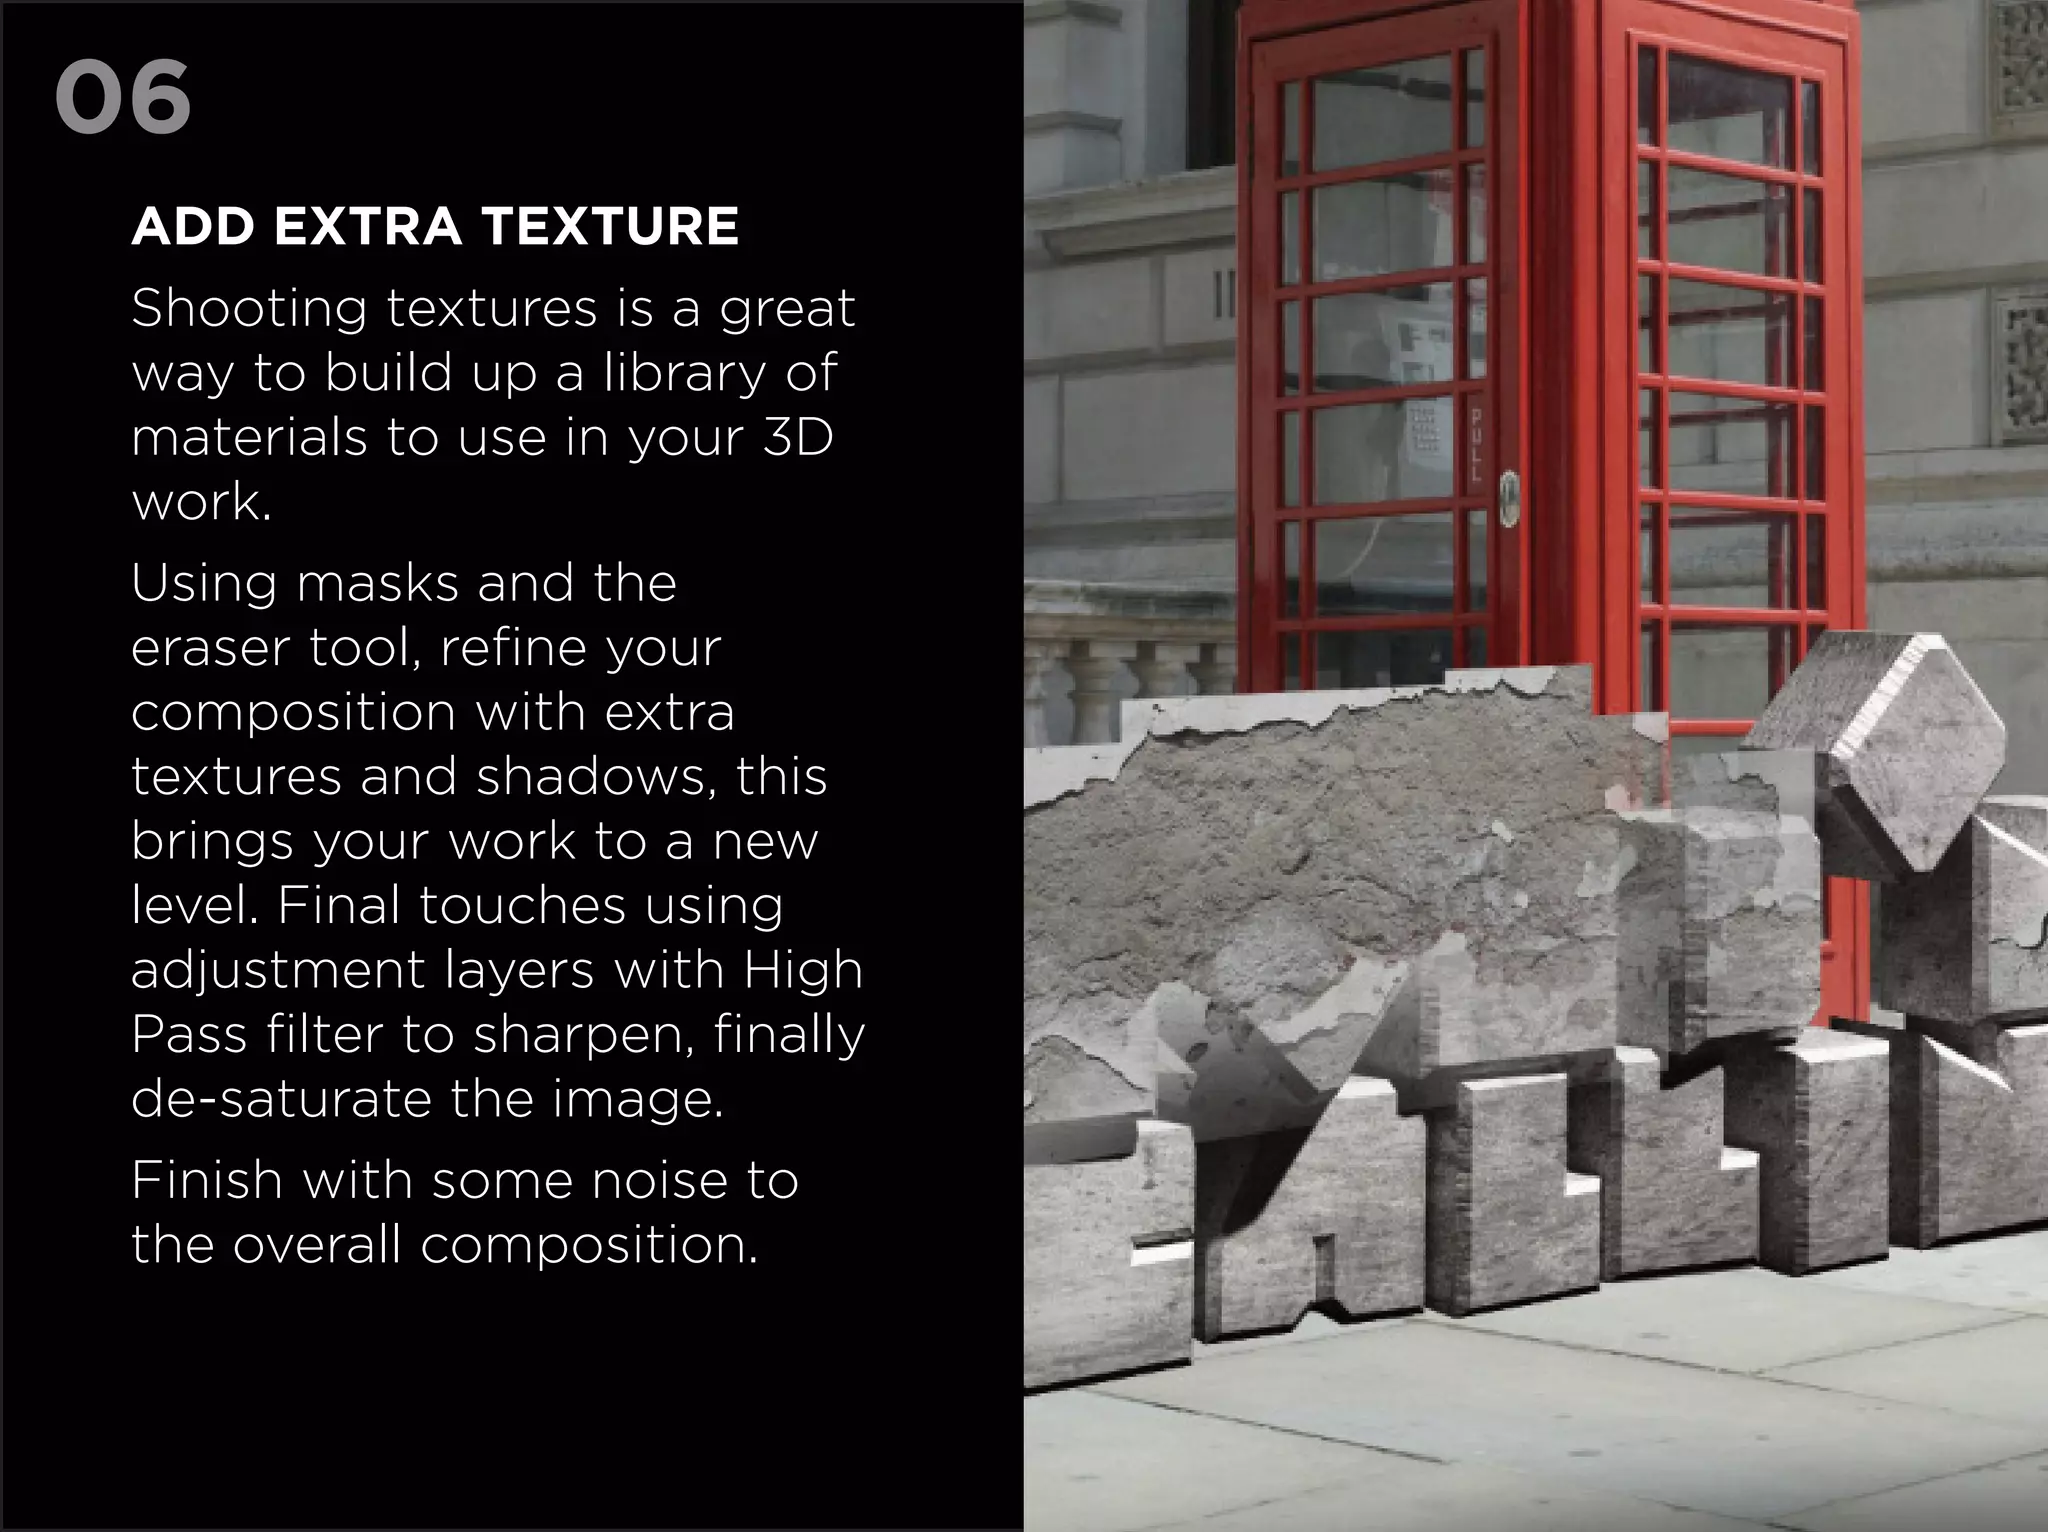
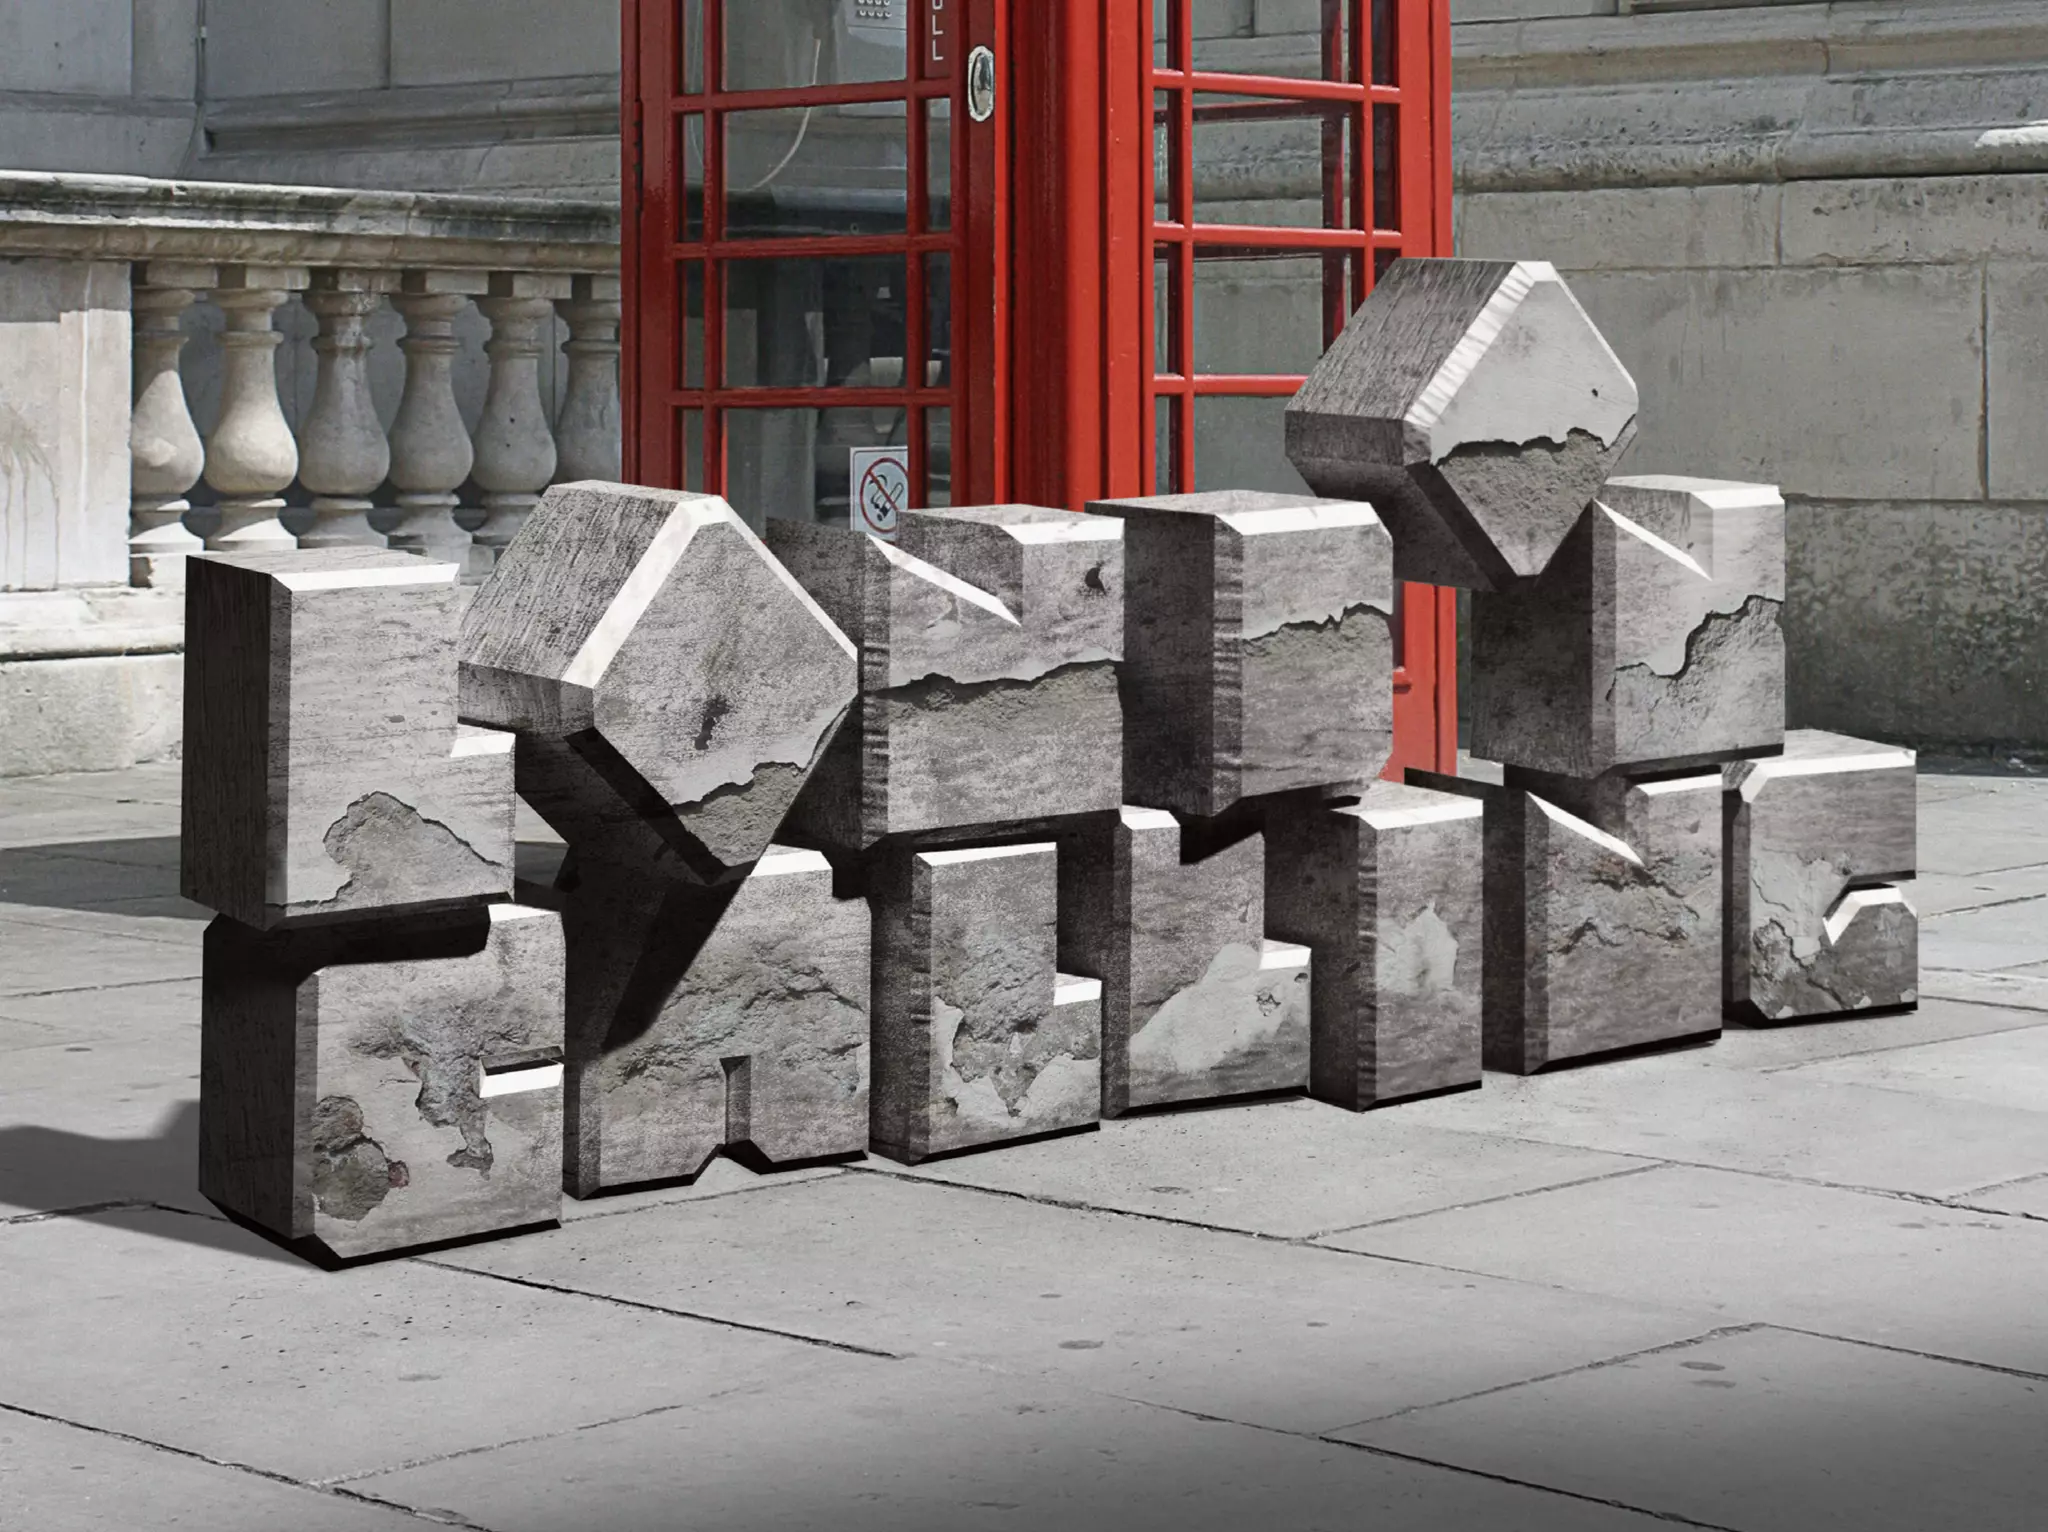
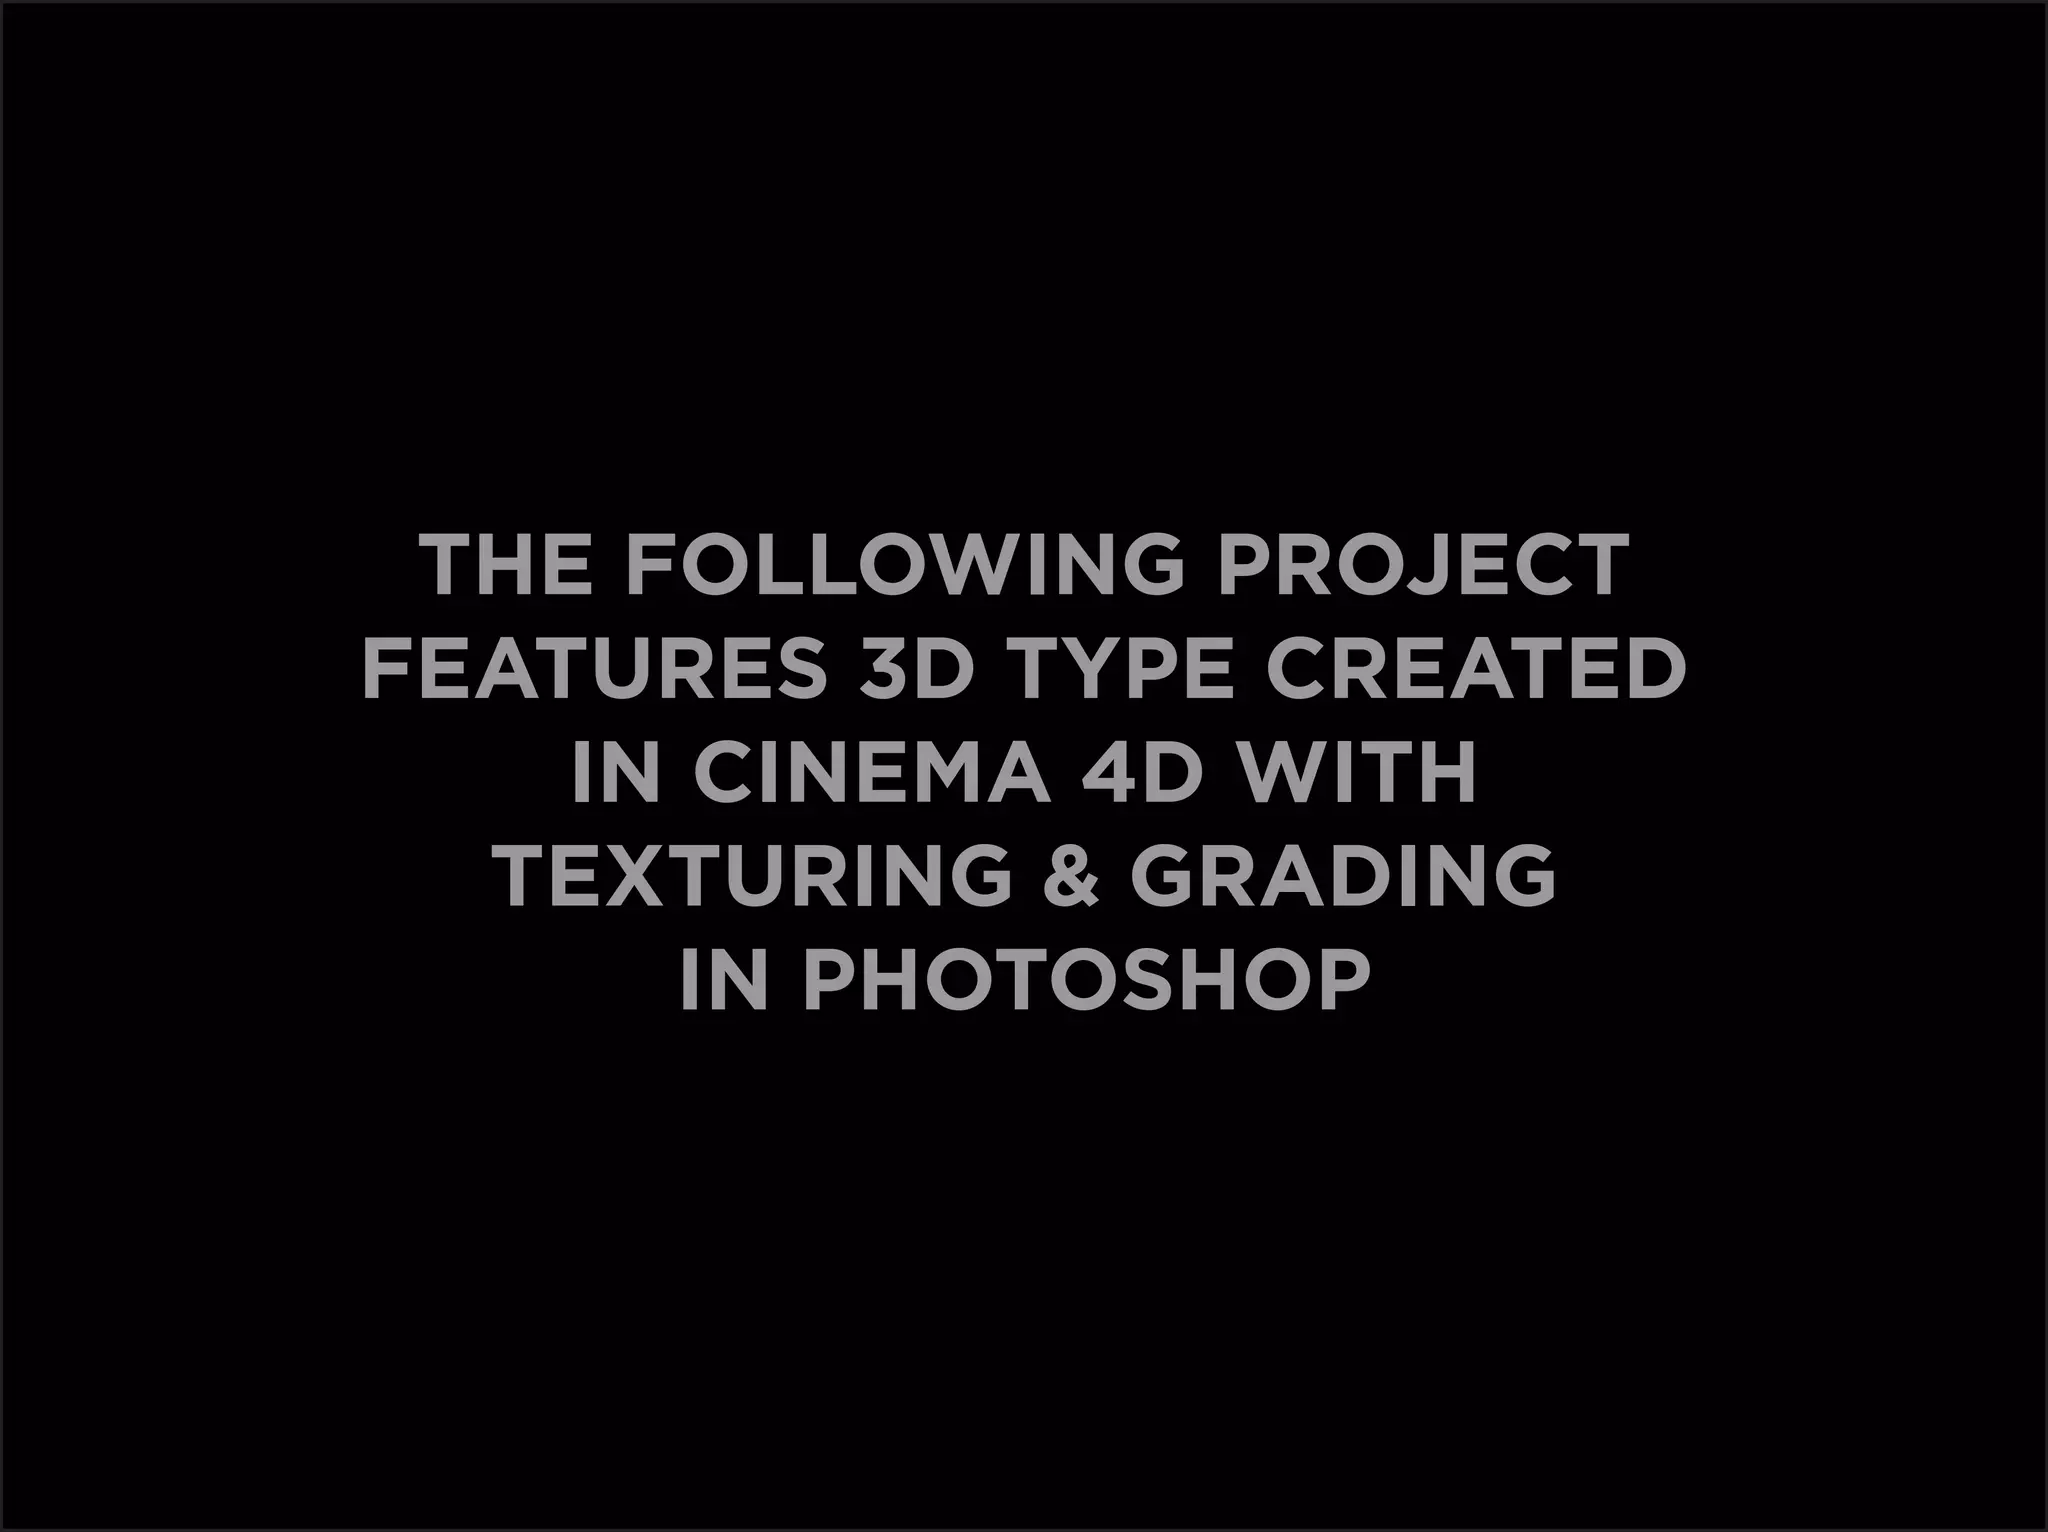
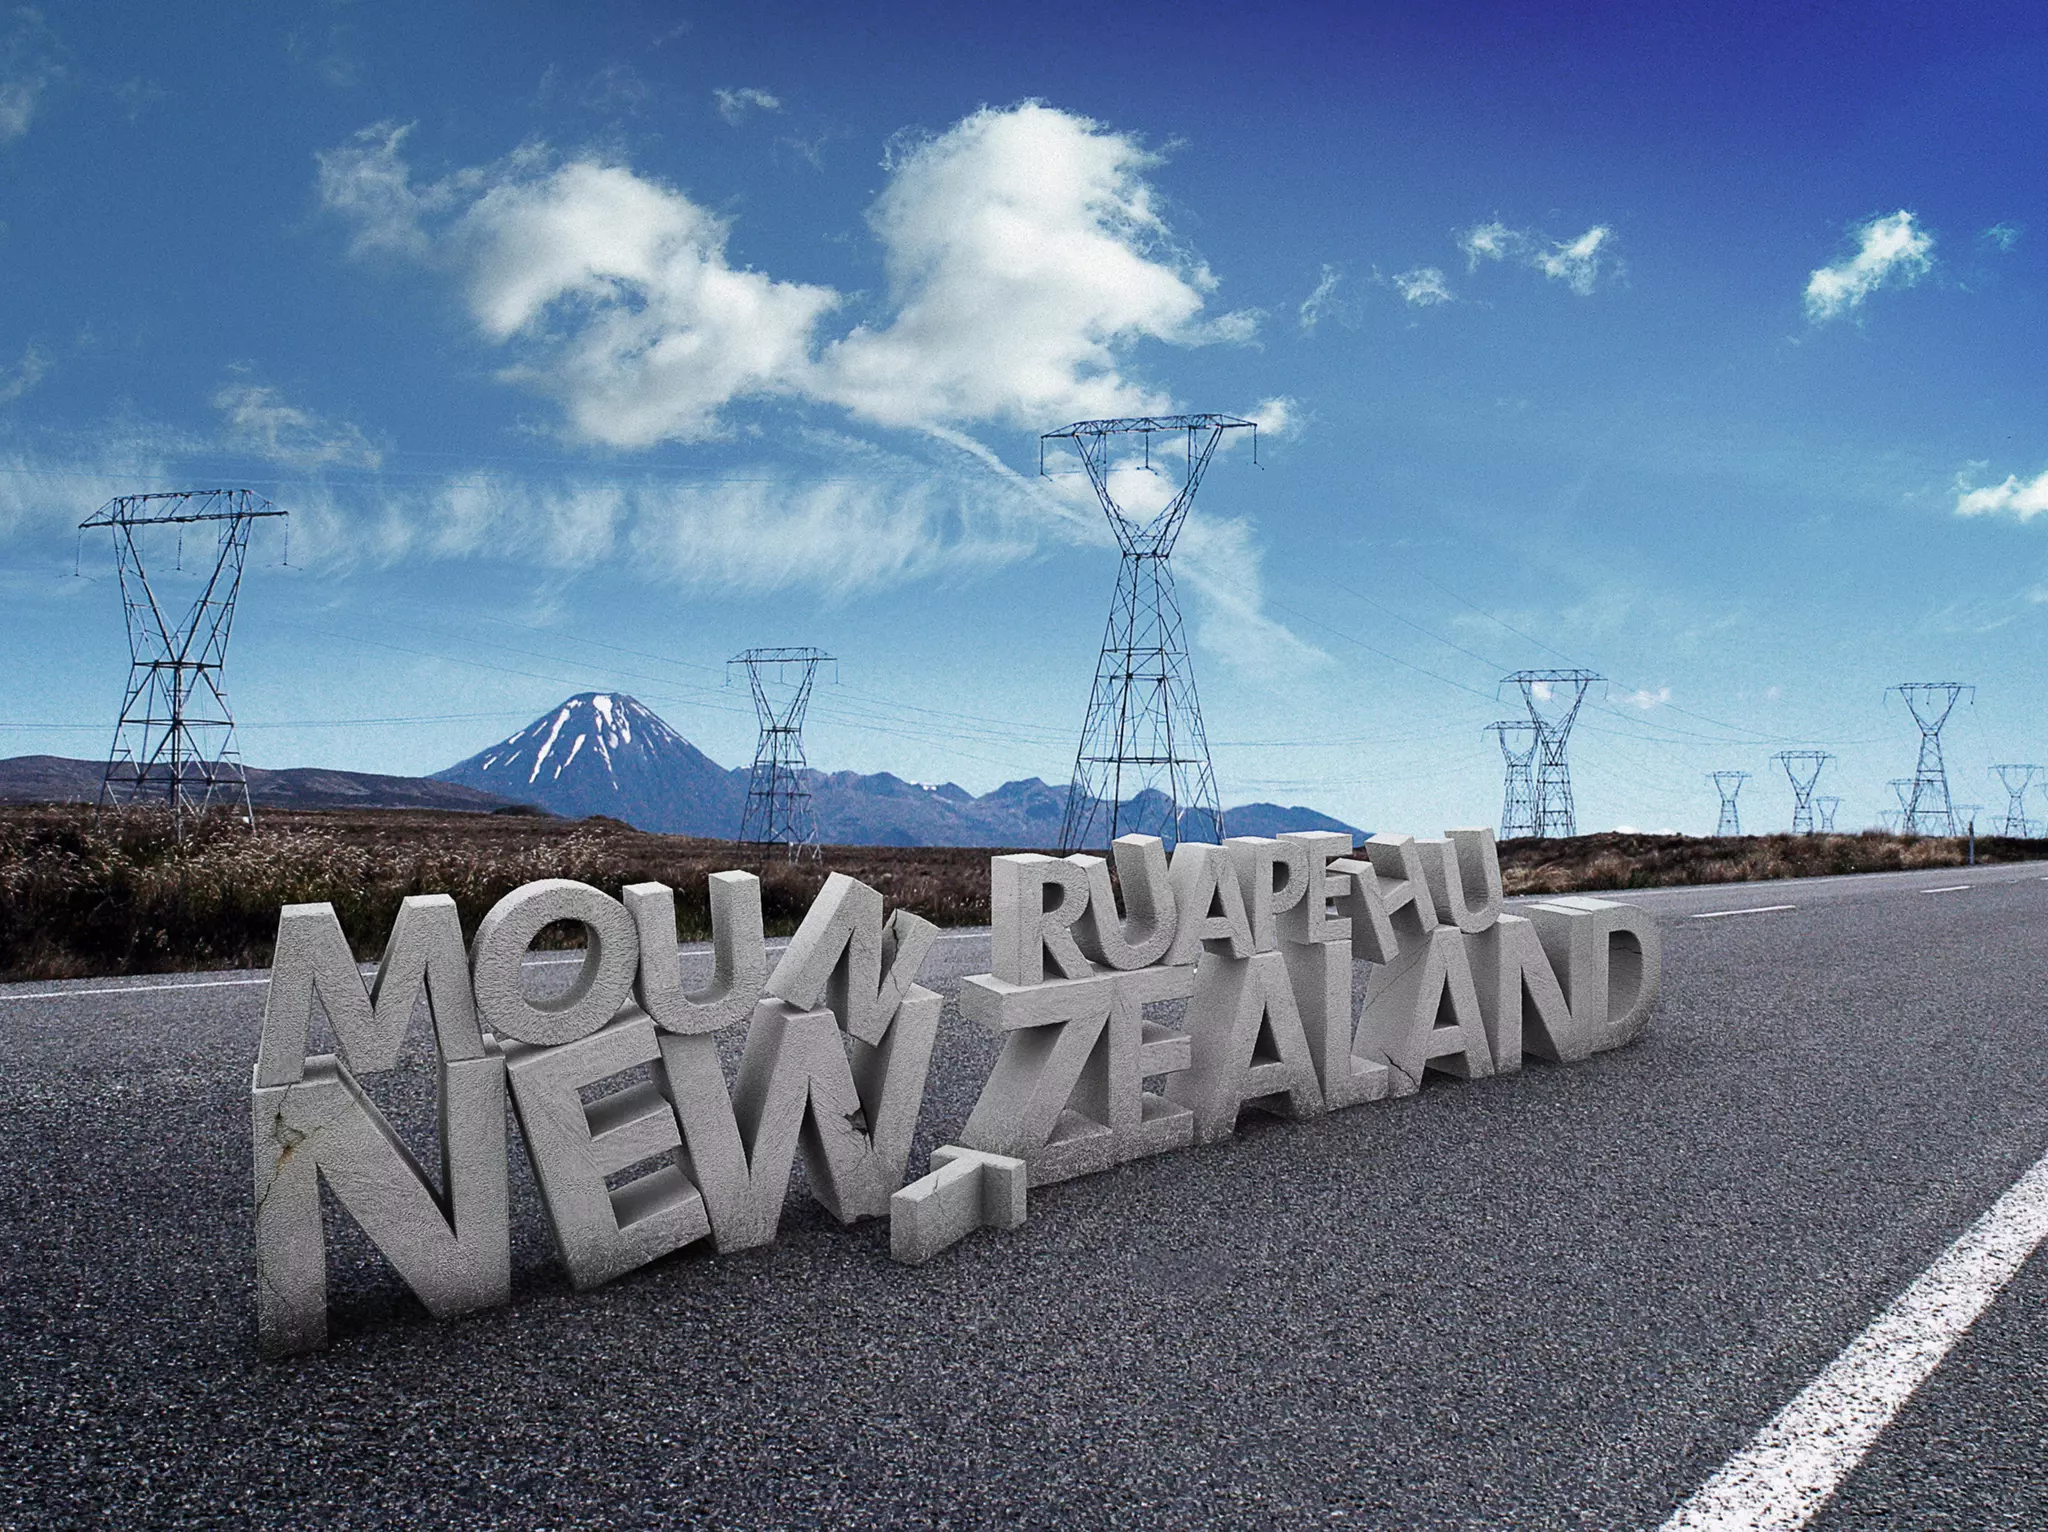
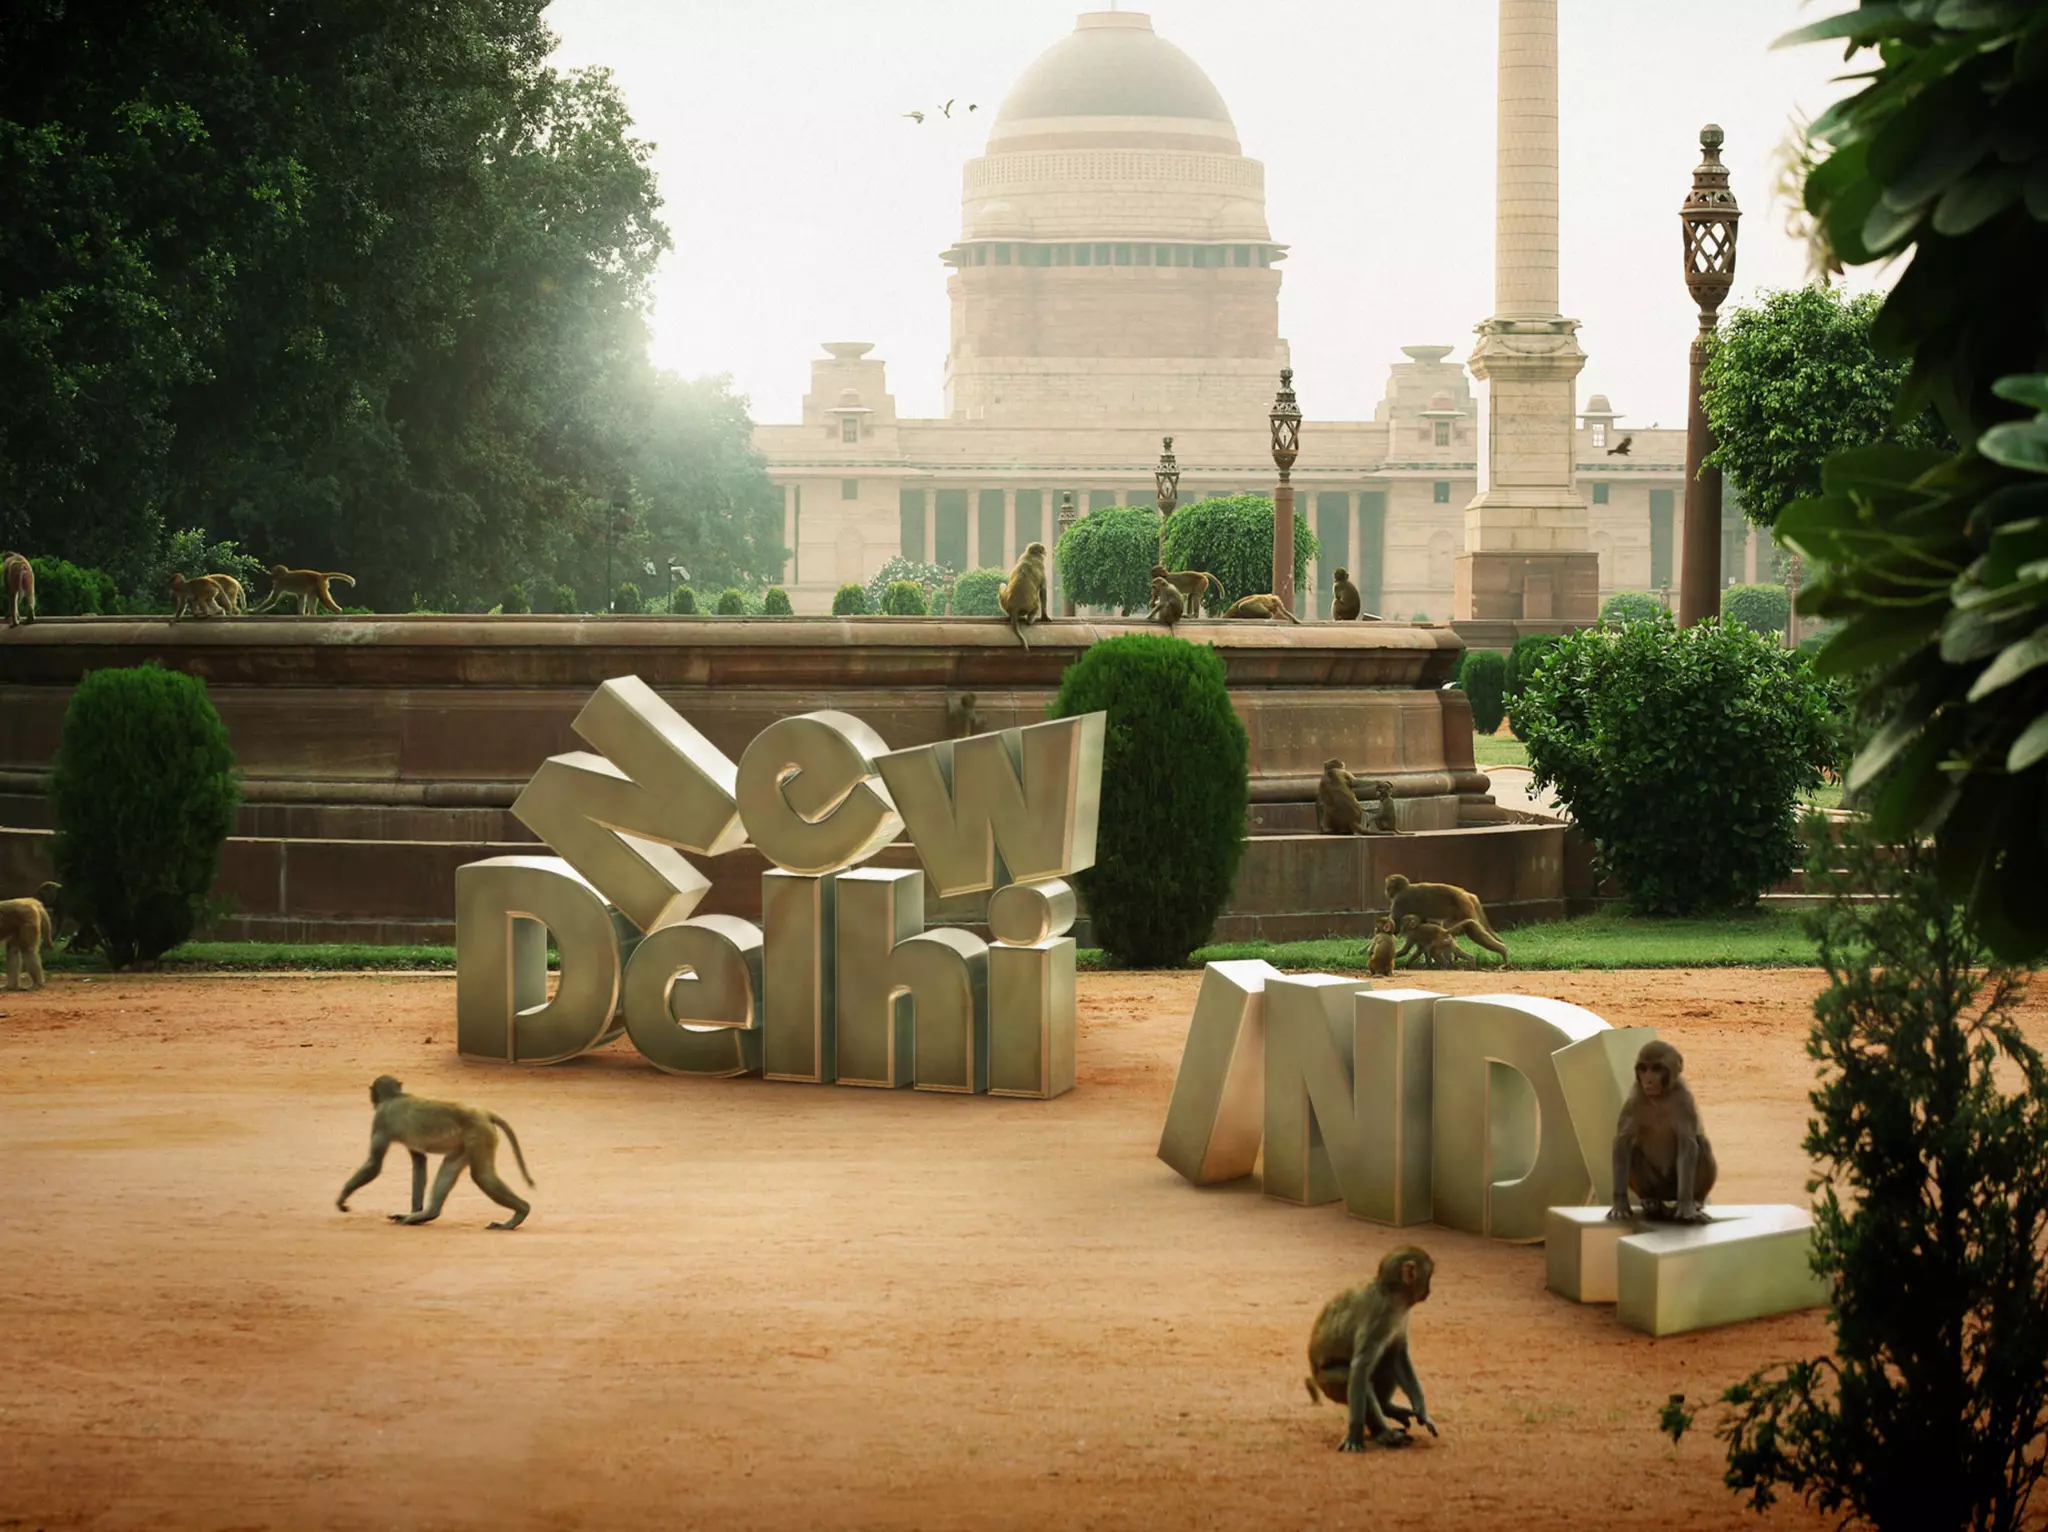
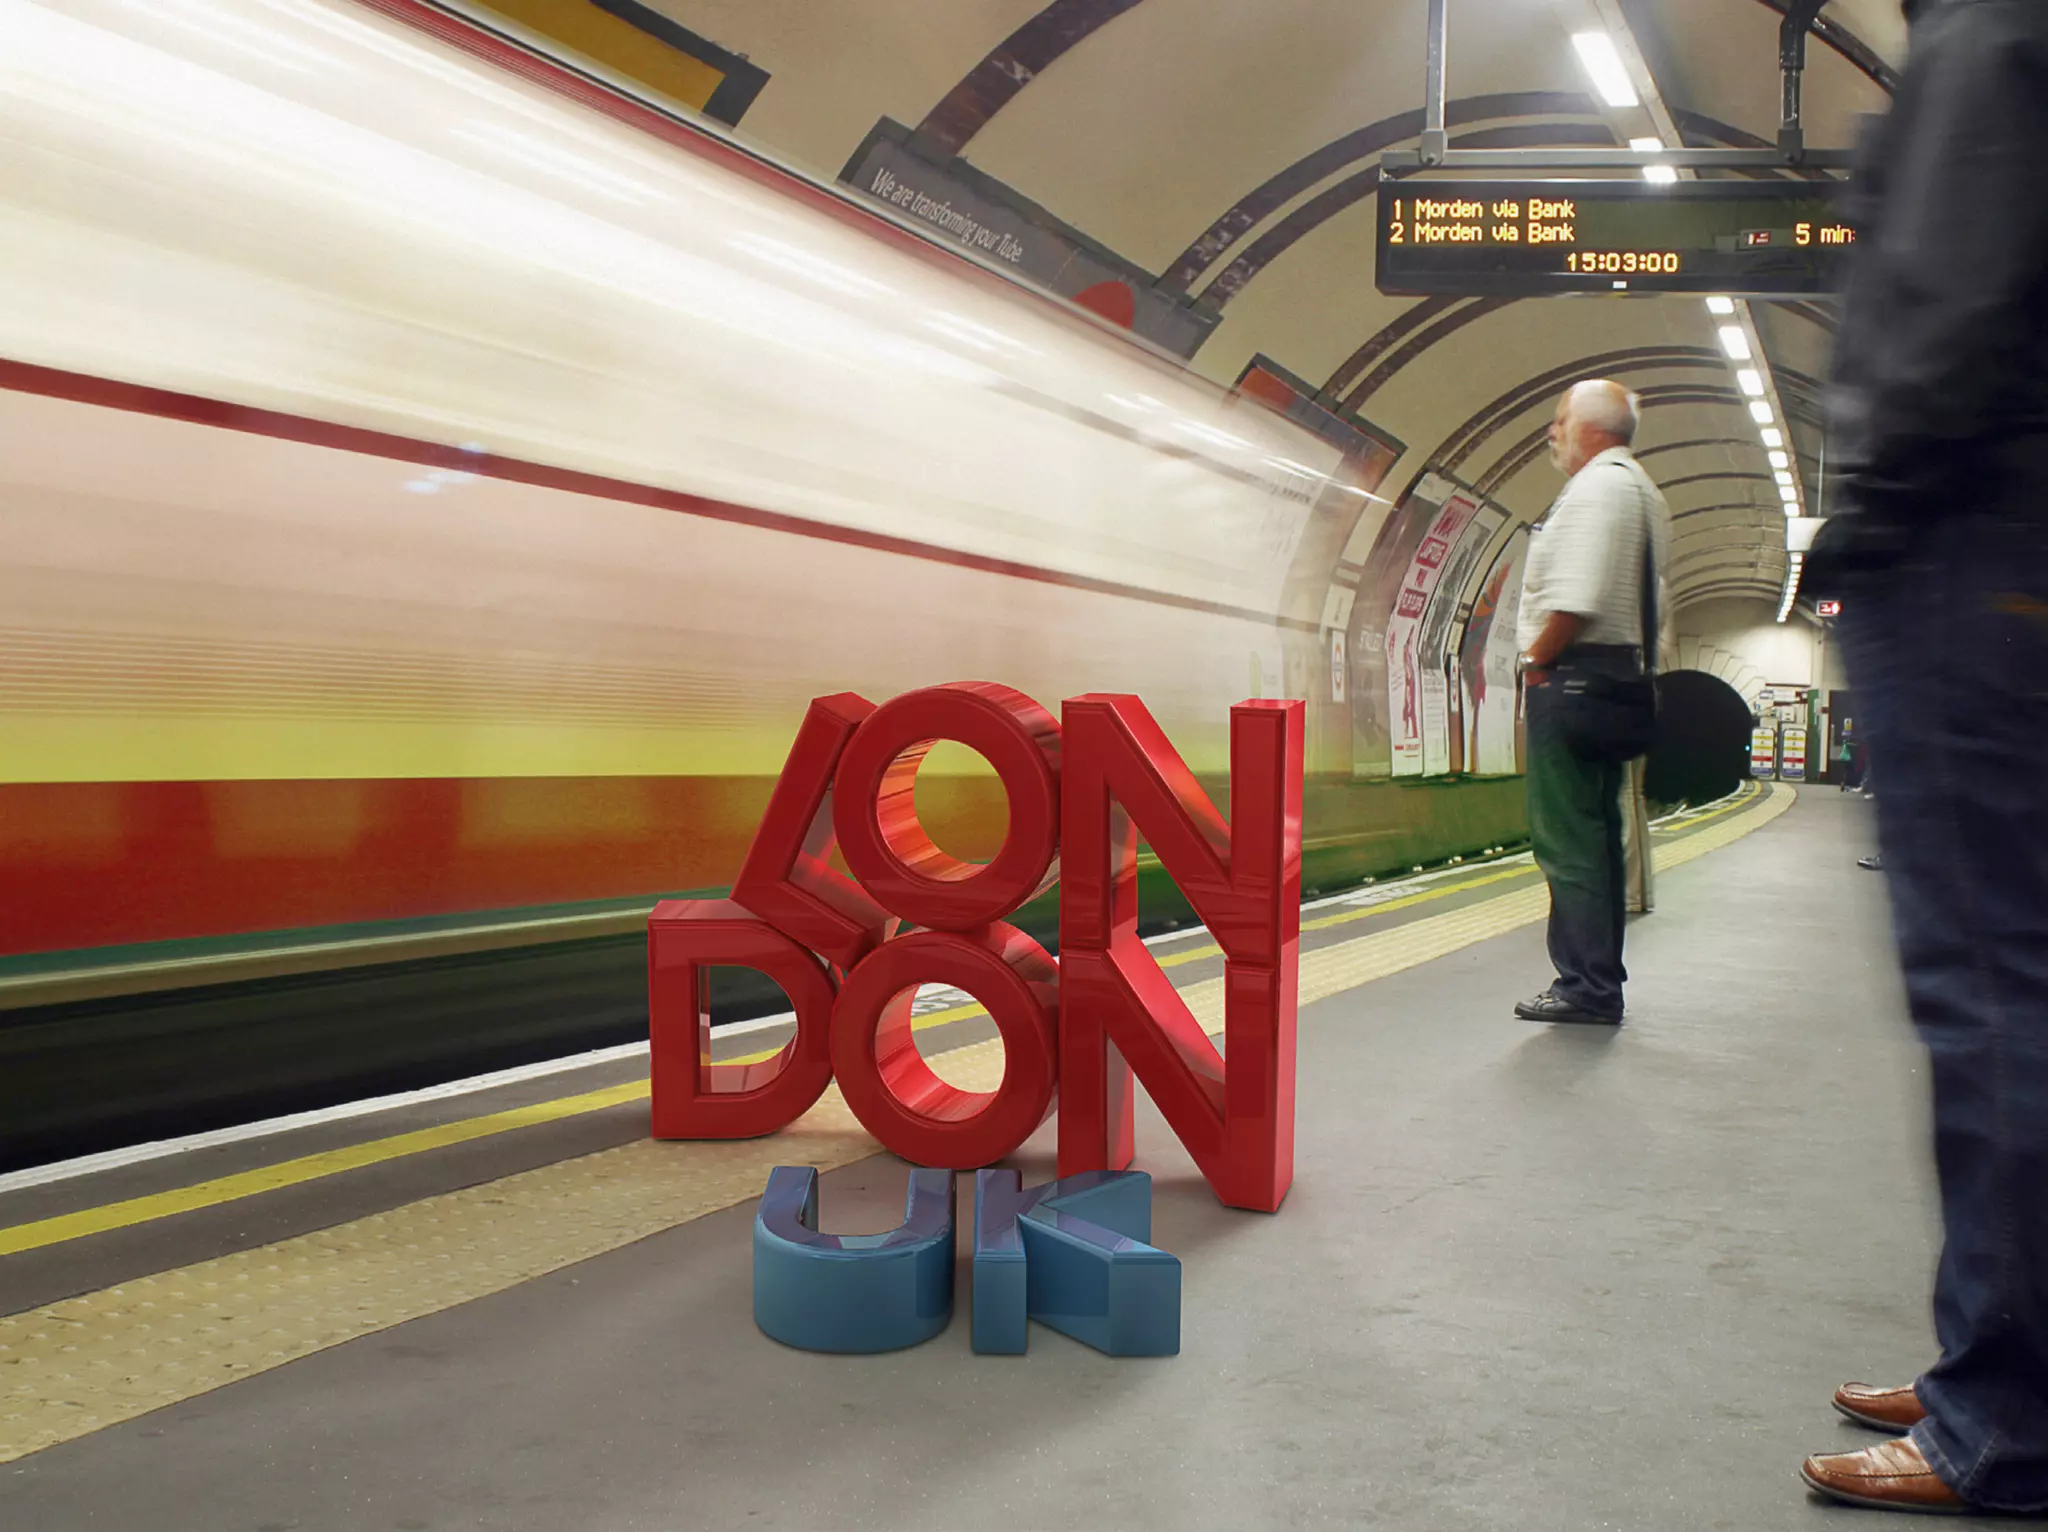
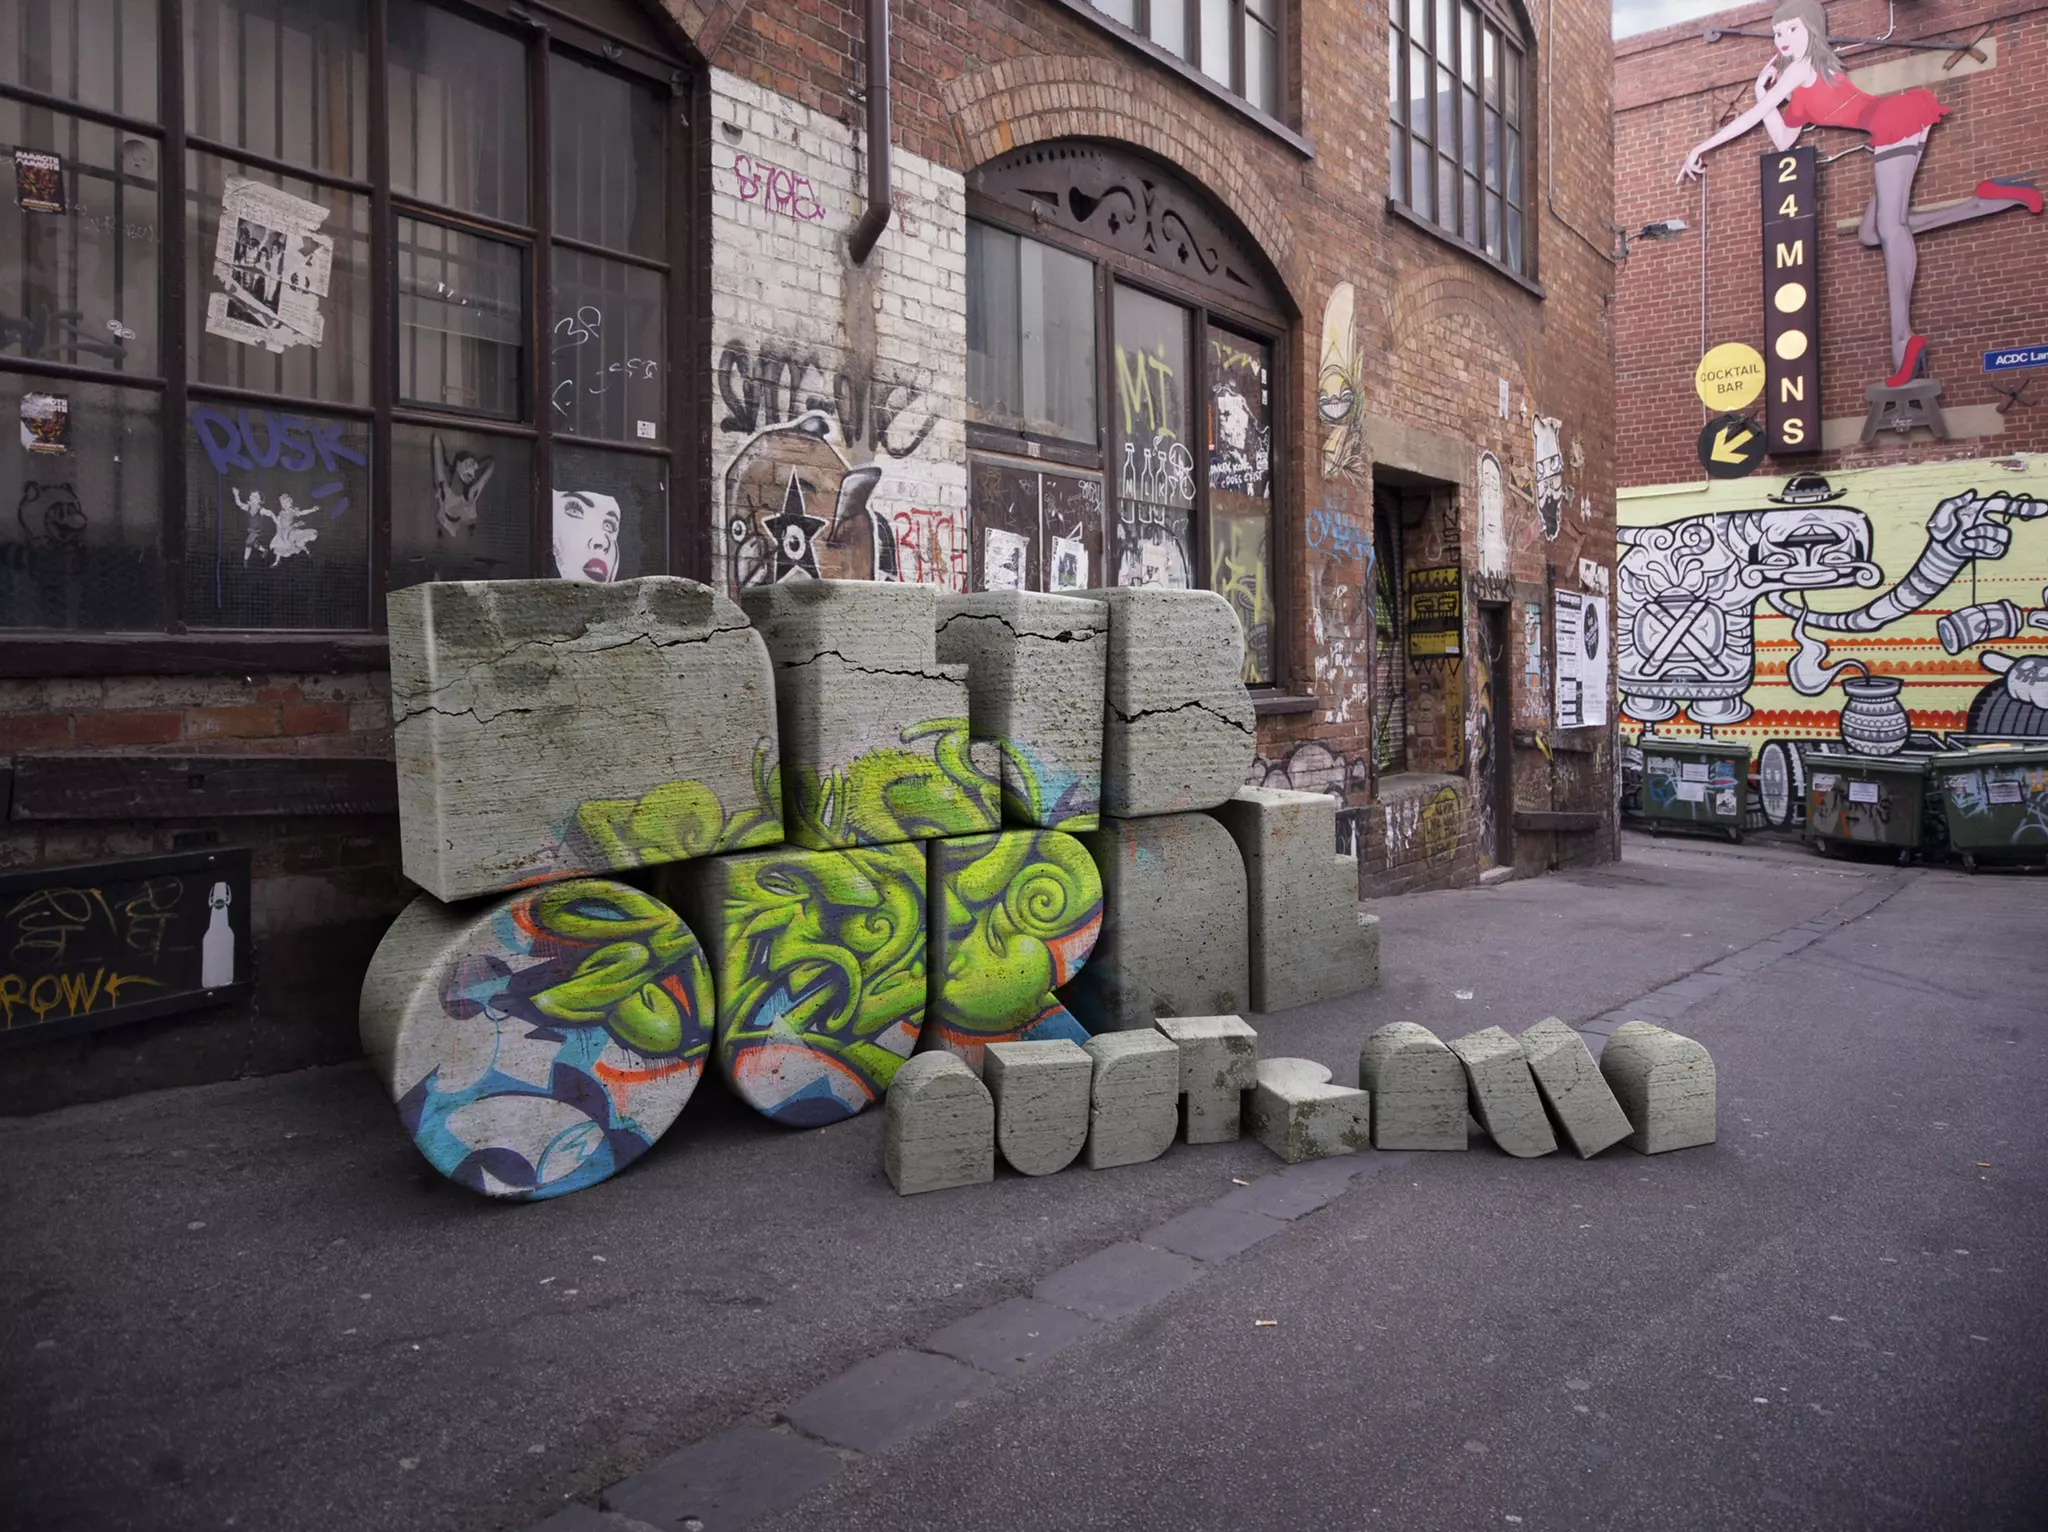
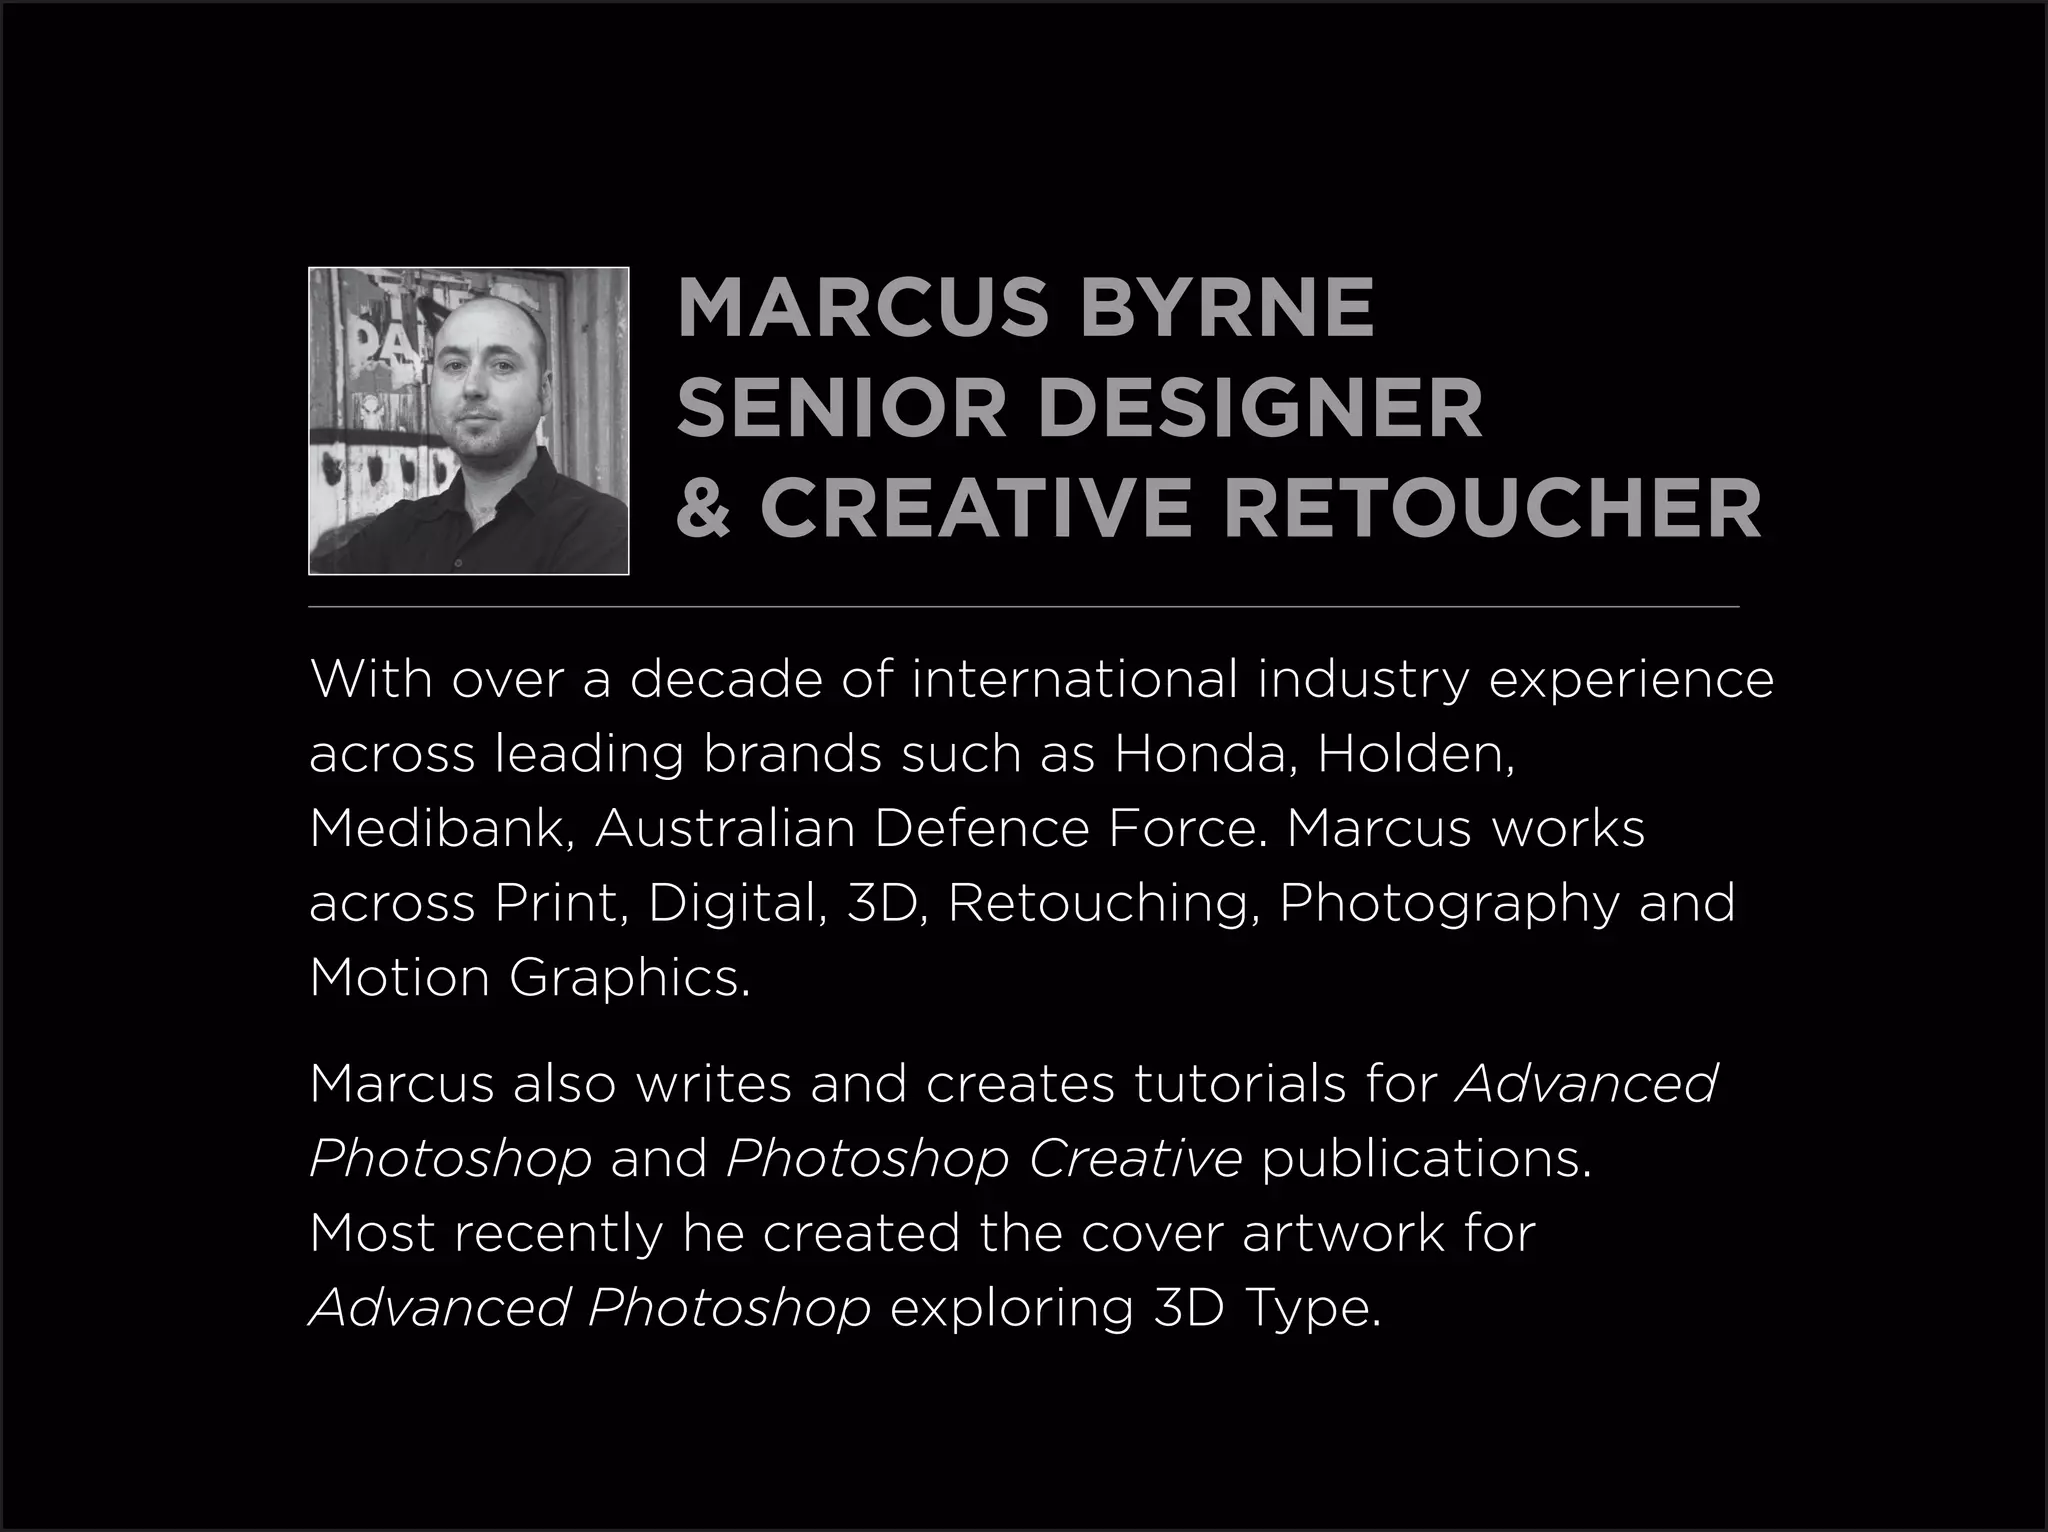
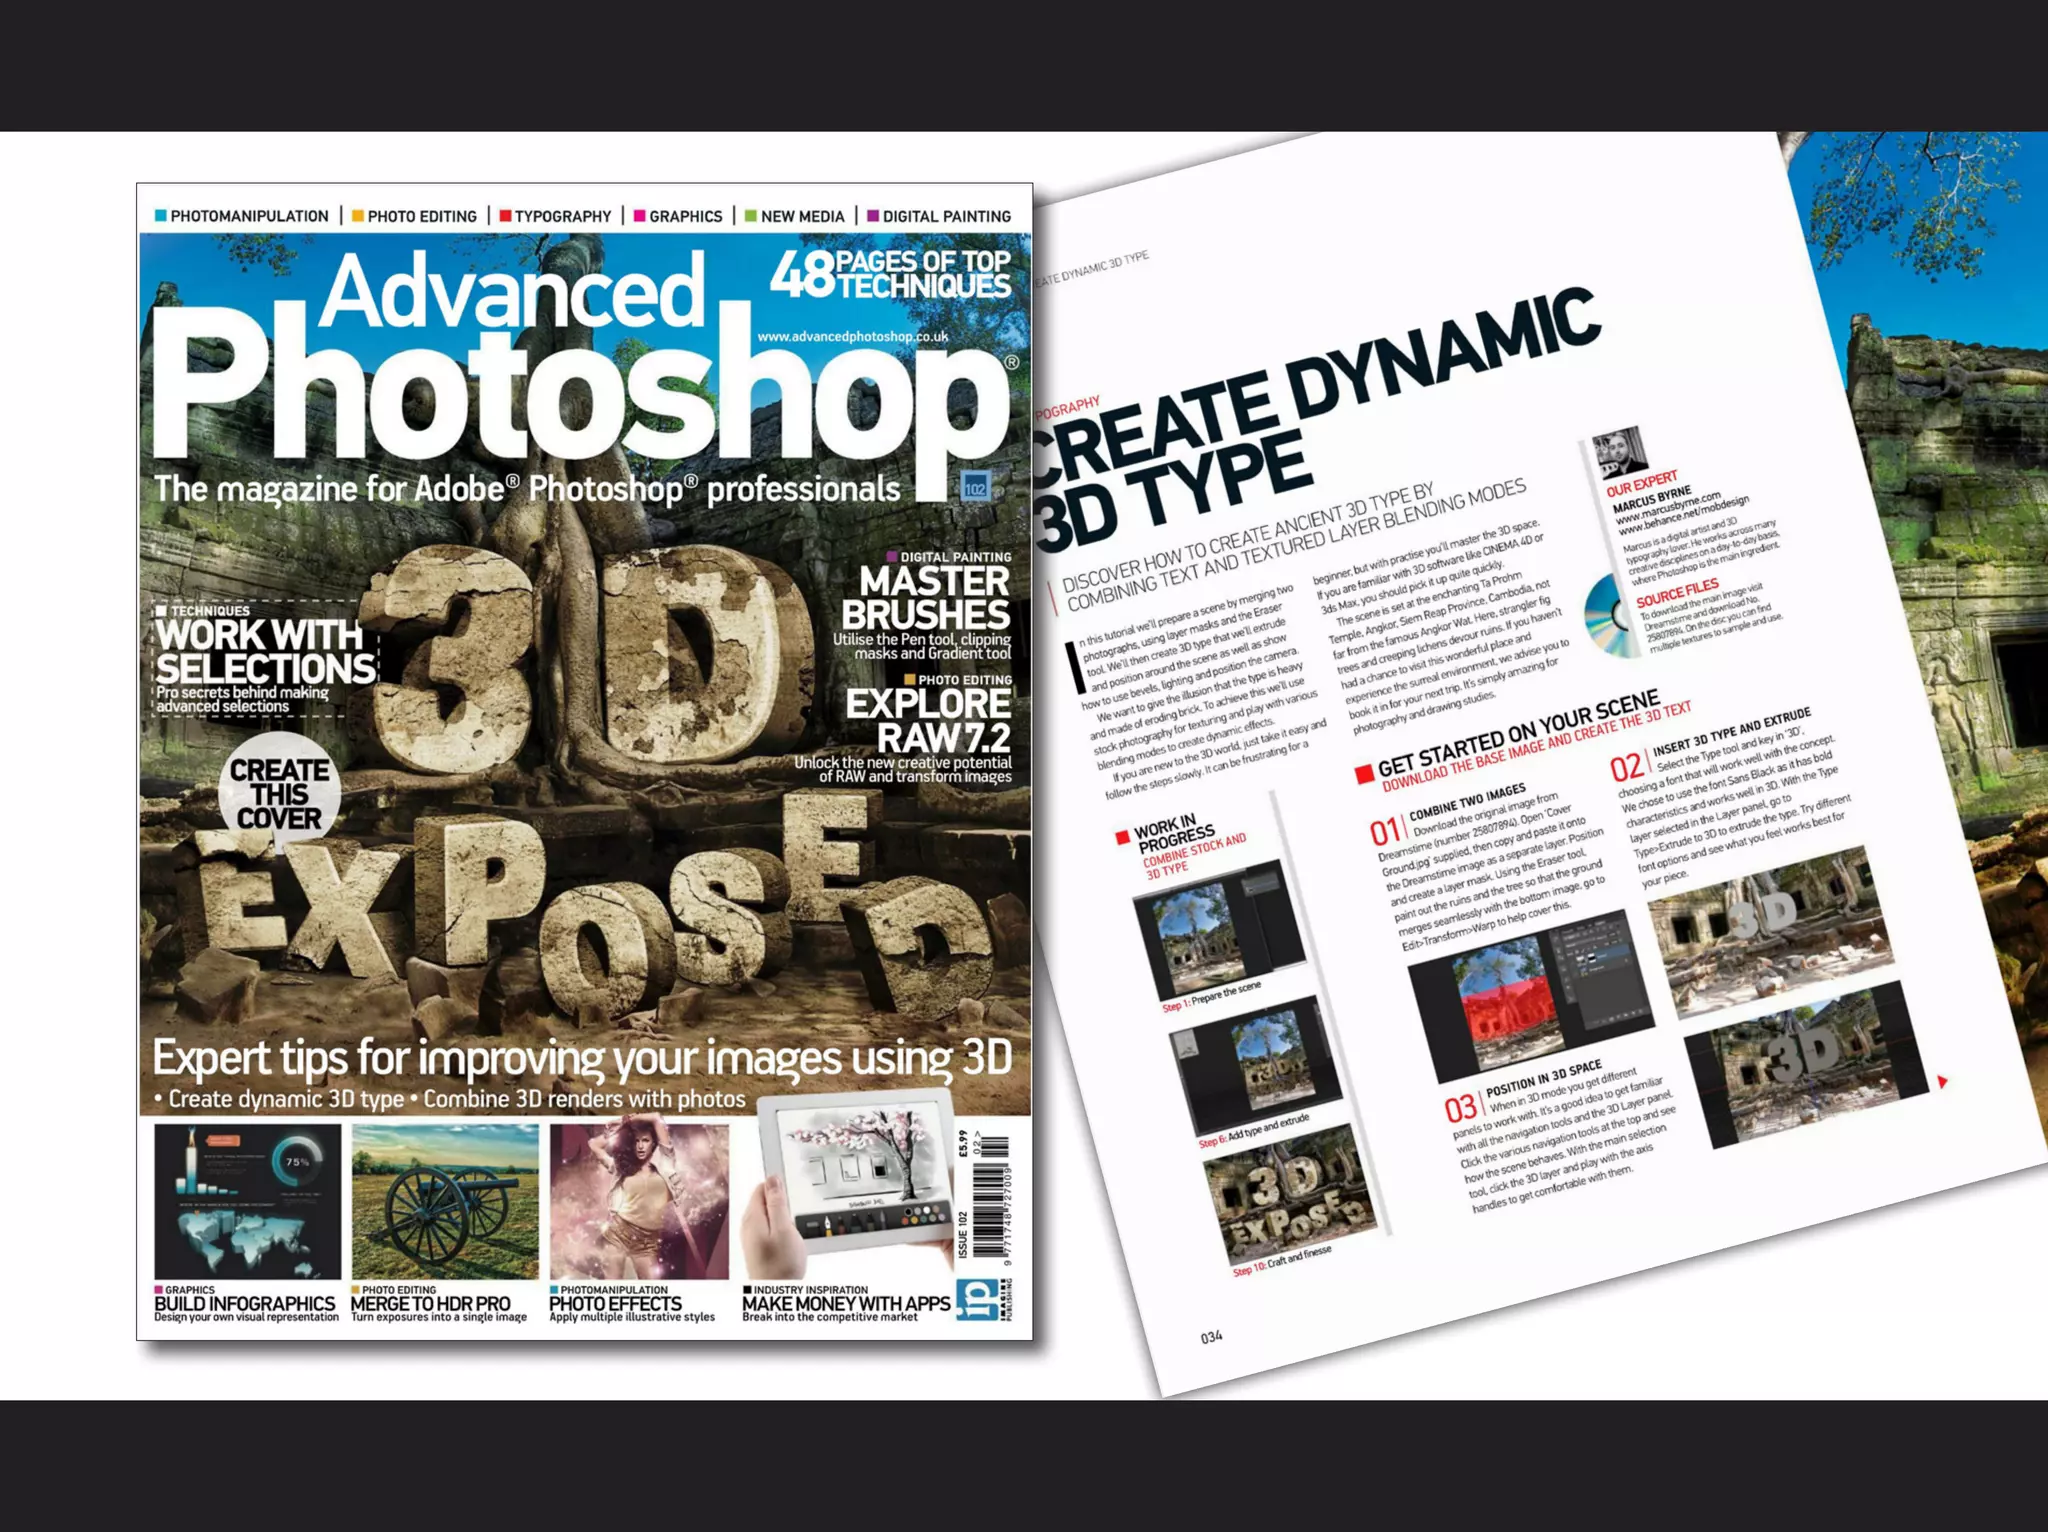
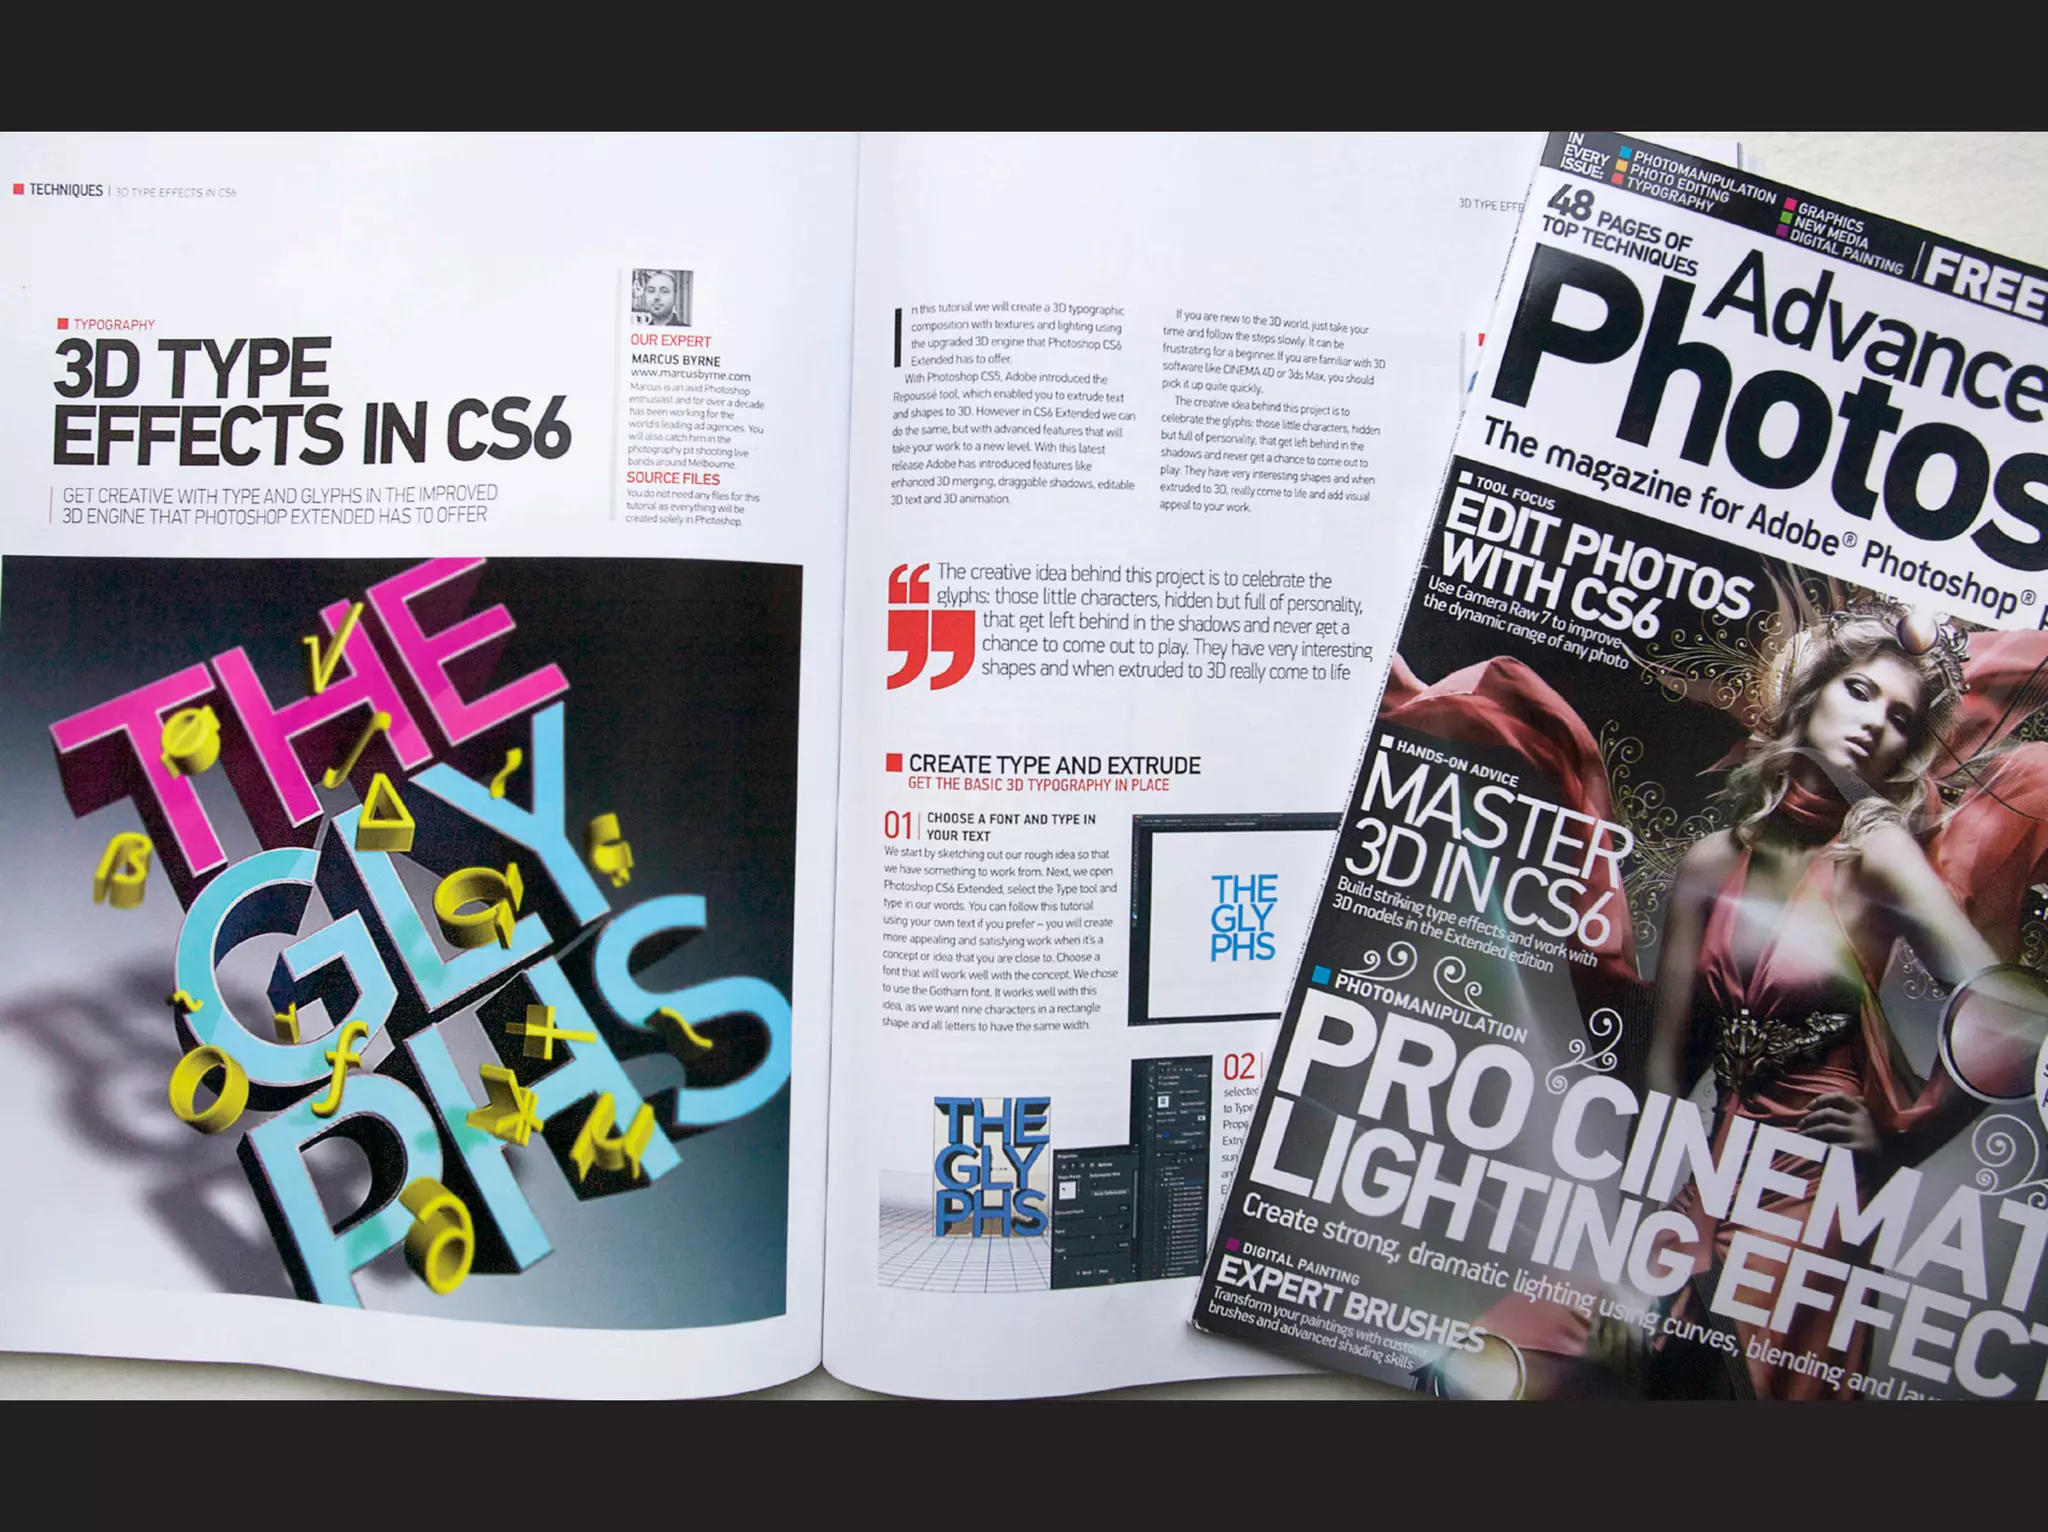

This document is a tutorial that teaches how to create 3D type in Photoshop CS6 Extended. It discusses choosing a font, extruding the type, texturing it, splitting the extrusion to move letters individually, adding lighting effects, and further enhancing the composition with additional textures and effects. The tutorial contains step-by-step instructions and screenshots to guide the reader through the process. It is authored by Marcus Byrne, a senior designer and retoucher with over a decade of experience working with brands.


![CleanMyMac X v5.2.8 Crack for MacOS Full Version [Latest] pptx](https://cdn.slidesharecdn.com/ss_thumbnails/softwareoverview-251207194121-a81f0142-thumbnail.jpg?width=640&height=640&fit=bounds)
![Soundtoys Mac v5.5.5.0 Crack for MacOS Full Version [Latest] pptx](https://cdn.slidesharecdn.com/ss_thumbnails/softwareoverview-251207193711-91d8ae6b-thumbnail.jpg?width=640&height=640&fit=bounds)

![Wondershare Filmora 15.0.11 Crack for Mac Key Full Download [Latest] pptx](https://cdn.slidesharecdn.com/ss_thumbnails/software-251207184836-1d16ba16-thumbnail.jpg?width=640&height=640&fit=bounds)


![PowerISO 9.2 Mac Crack + Serial Key Free Download 2026 [Latest] Software.pptx](https://cdn.slidesharecdn.com/ss_thumbnails/software-251207185653-5d5700e6-thumbnail.jpg?width=640&height=640&fit=bounds)


