Download as PDF, PPTX

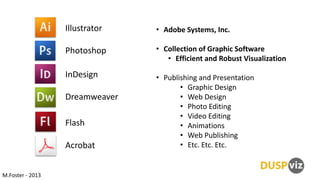
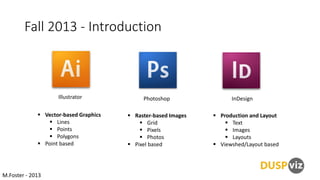
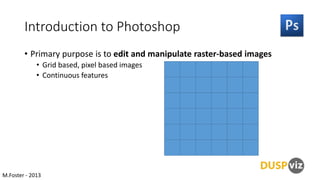
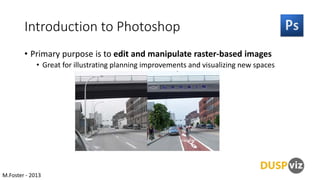

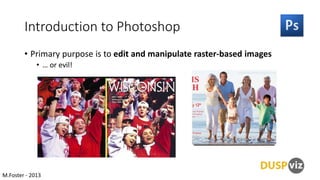
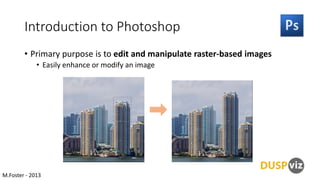

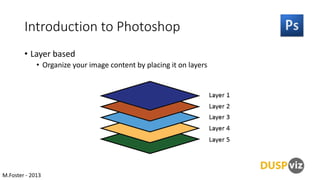


This document serves as an introduction to Adobe Creative Suite, detailing various graphic software like Illustrator, Photoshop, InDesign, Dreamweaver, and more. It focuses on Photoshop's capabilities for editing and manipulating raster-based images, describing techniques like masking, cloning, and layer management. Additionally, it provides practical steps for color selection, file placement, and saving formats.