Downloaded 174 times

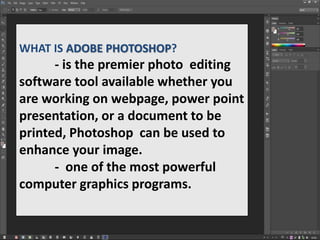

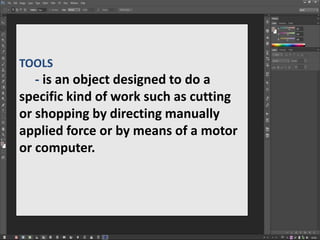
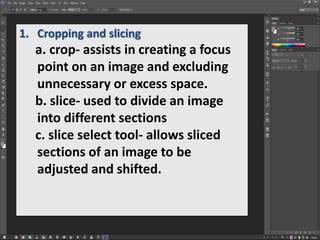
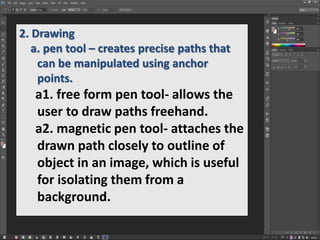
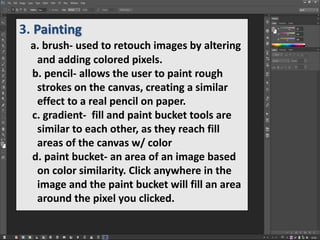
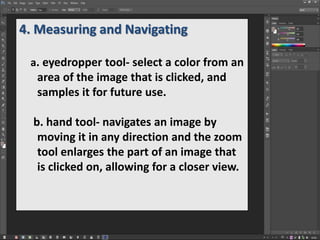


This document provides an overview of Adobe Photoshop and some of its key tools. It describes Photoshop as the premier photo editing software that can be used to enhance images for webpages, presentations, and printed documents. The document then lists and describes seven categories of Photoshop tools: 1) cropping and slicing, 2) drawing, 3) painting, 4) measuring and navigating, 5) selection, 6) typing, and 7) retouching. It provides examples of tools within each category and their functions. Finally, it outlines three activities for applying basic text effects, changing an image's background, and applying a picture with text effects to a new background.