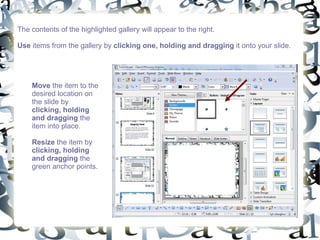
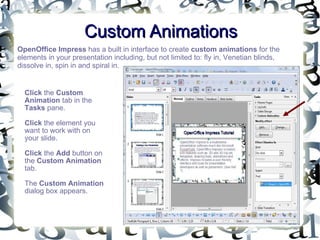
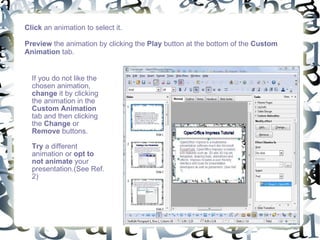
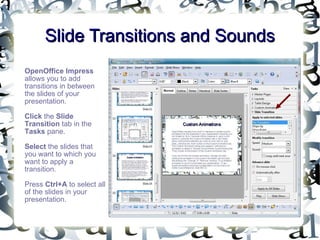
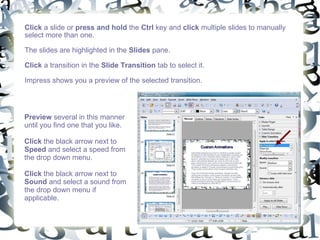
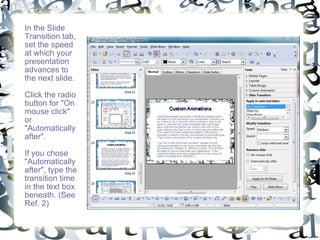
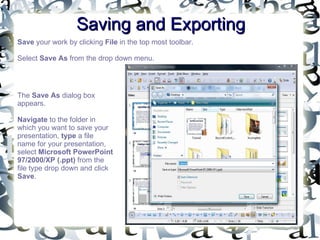
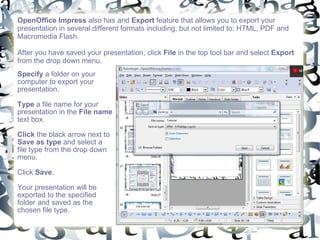
Downloaded 459 times

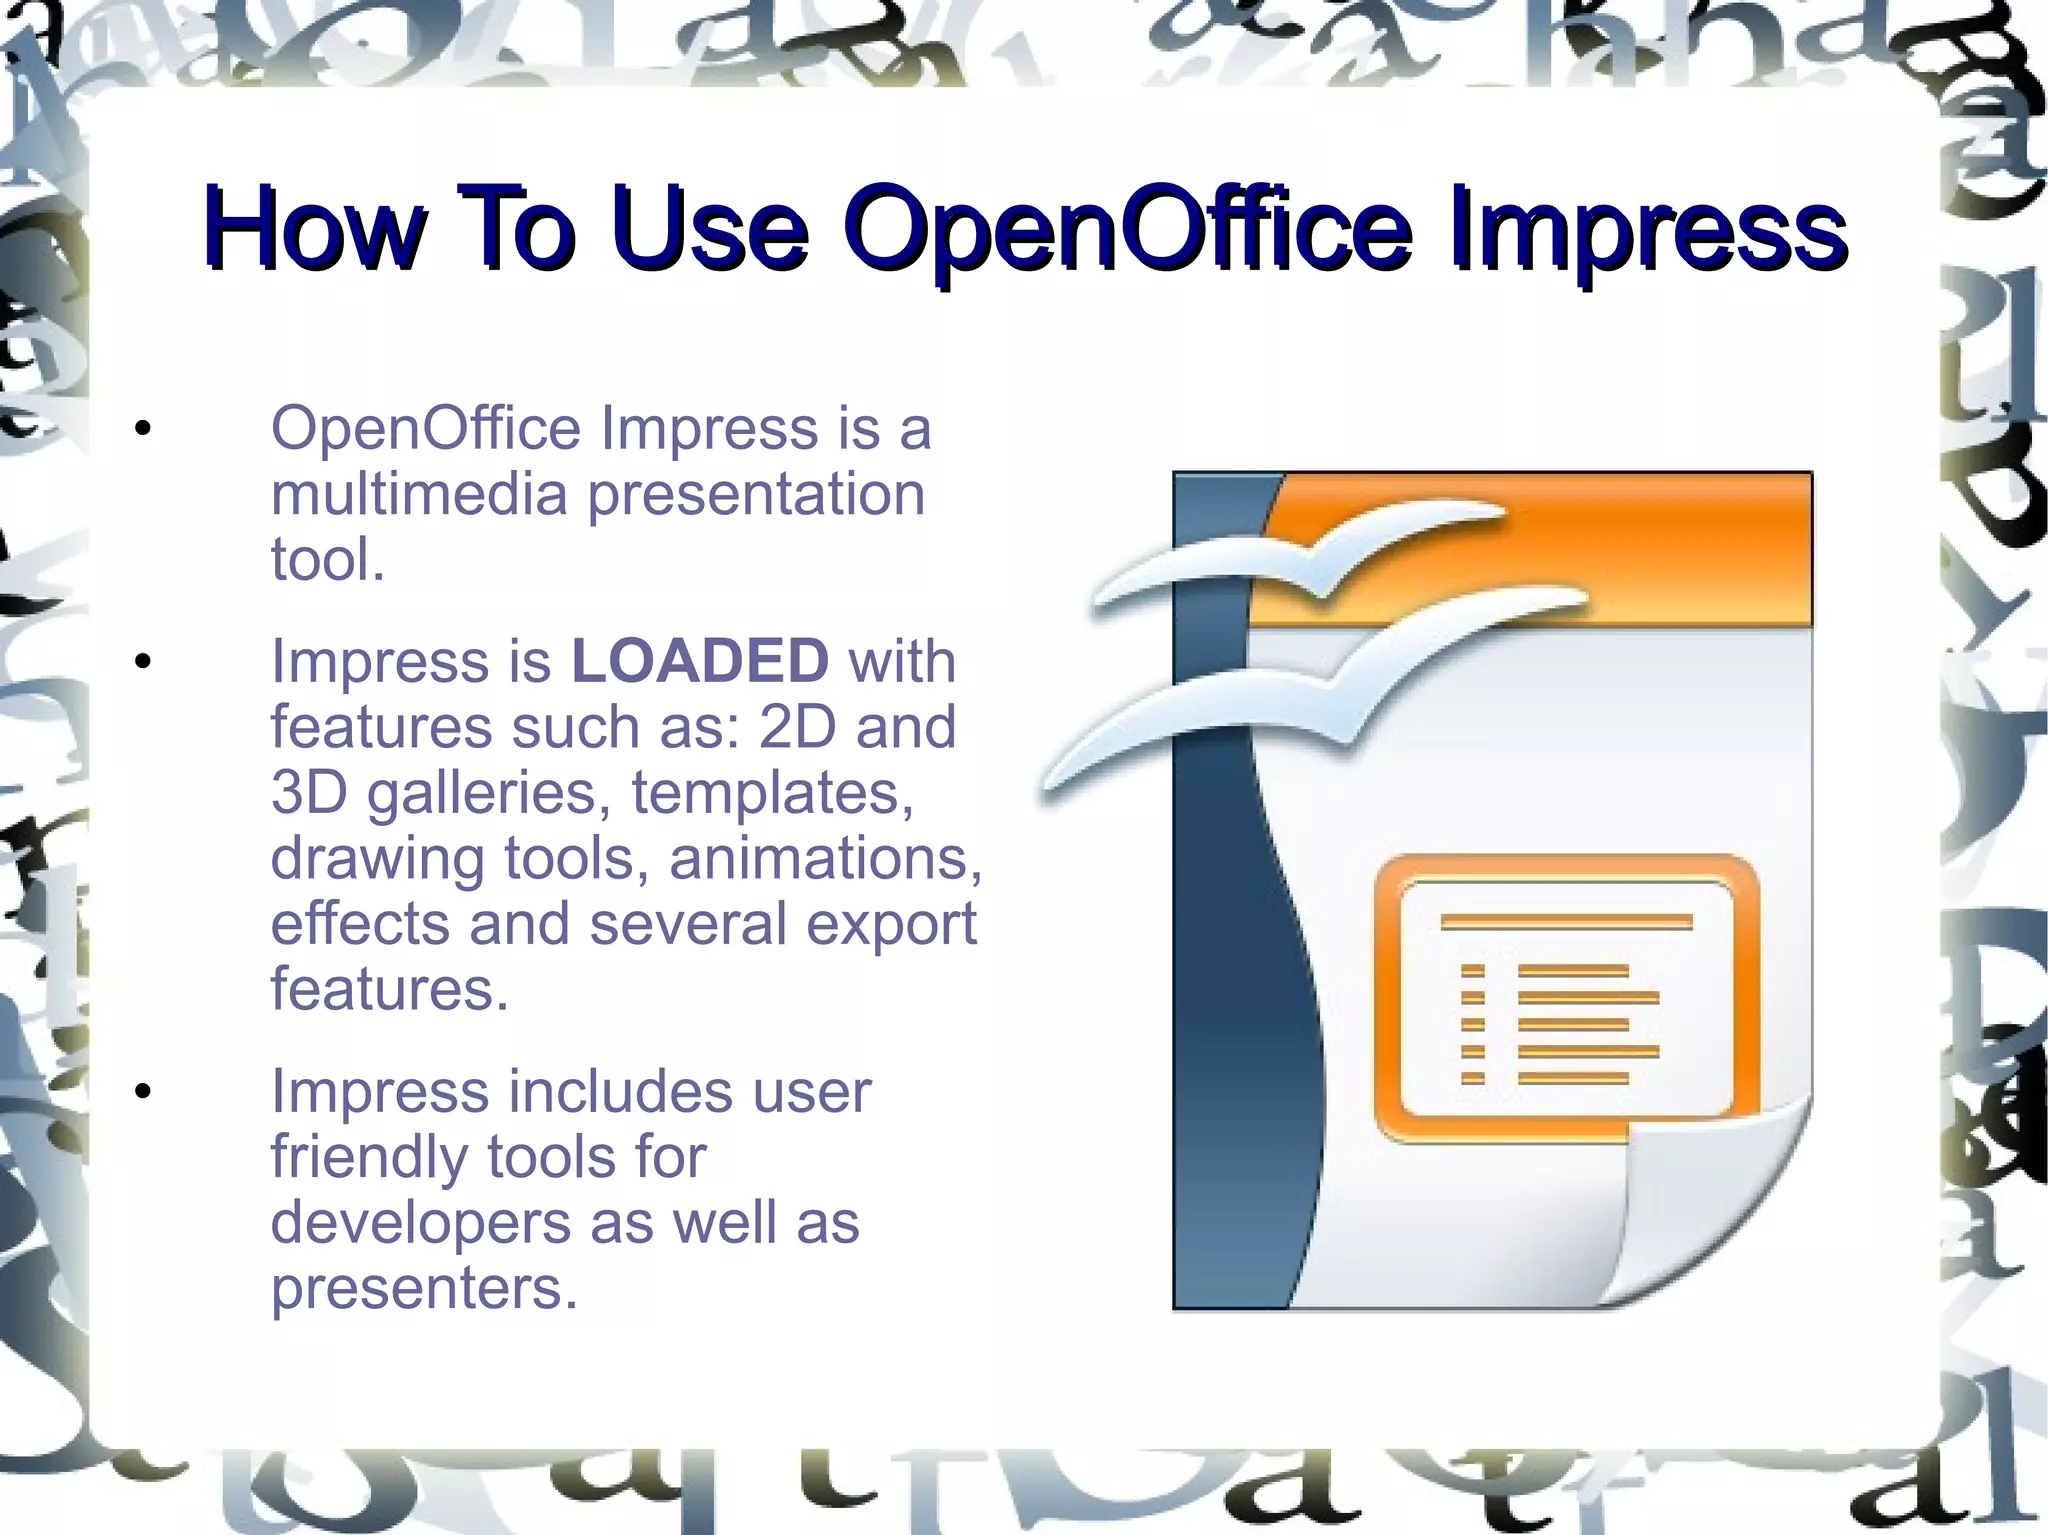
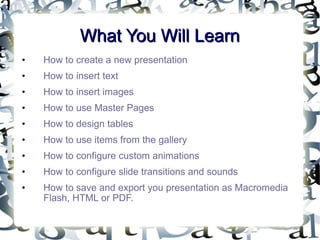
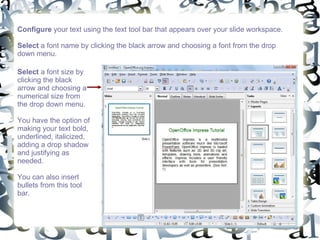
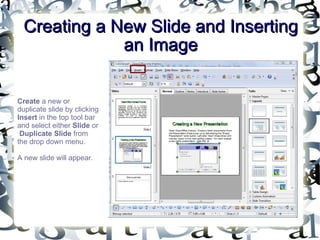
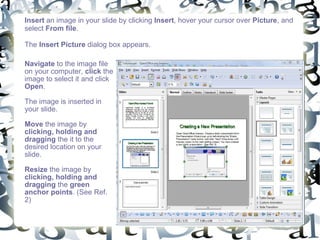
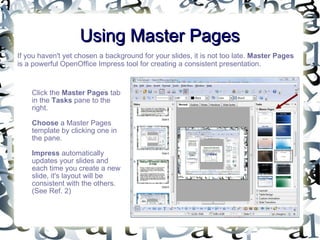


The document provides a comprehensive guide on using OpenOffice Impress, detailing features like templates, animations, and export options. It covers key functionalities such as creating presentations, inserting text and images, using master pages, and designing tables, along with instructions for adding animations and configuring slide transitions. Additionally, it explains how to save and export presentations in various formats, ensuring users can effectively create and share their multimedia presentations.