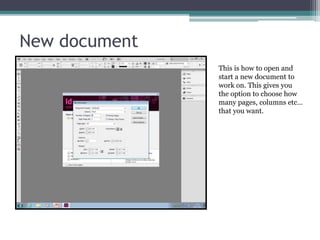
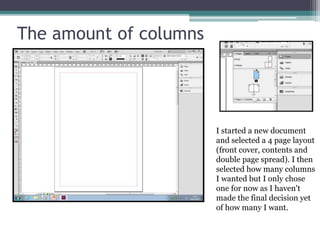
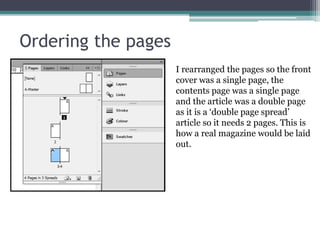
1) The document explains how to create a new multi-page document in InDesign and format the pages, including ordering pages and adding columns.
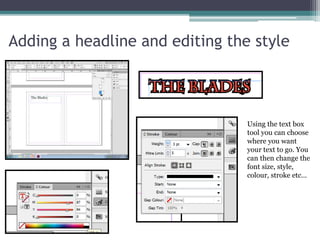
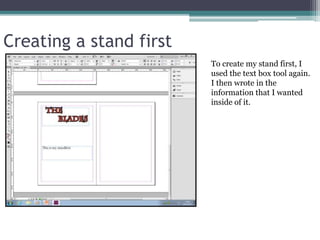
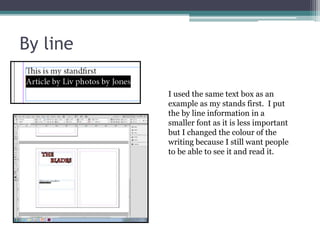
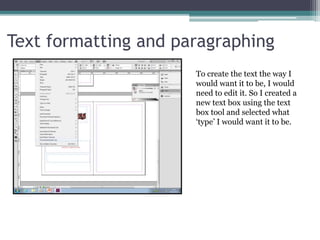
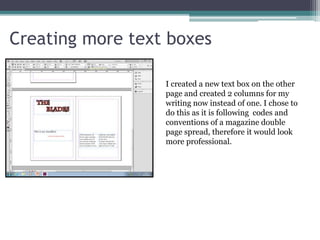
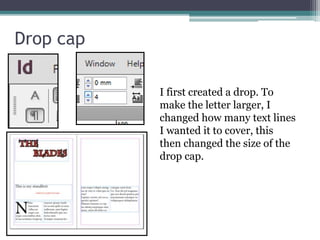
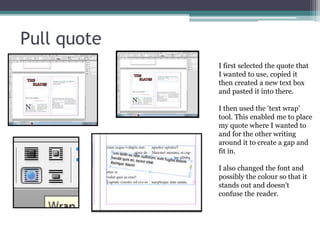
2) It describes how to add text boxes, headlines, bylines, and formatting to insert text and create elements like stand firsts and pull quotes.
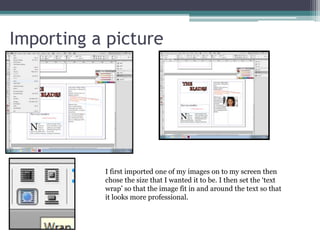
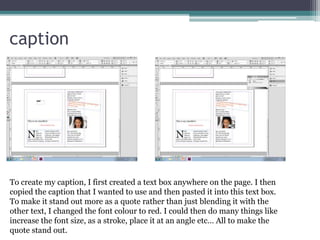
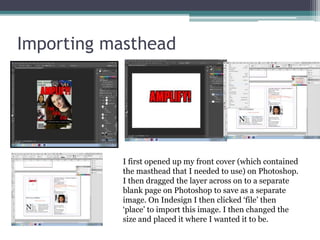
3) The document also covers how to import and size images, add captions, and import mastheads to format magazine pages in InDesign.