The document provides instructions for various functions in InDesign, including:
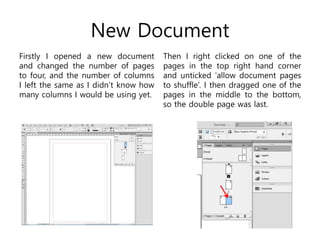
1) Creating a new document and adjusting the number of pages and columns.
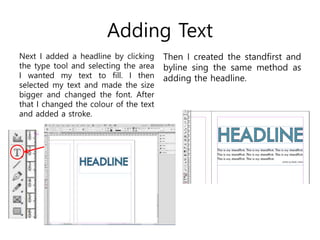
2) Adding and formatting text elements like headlines, standfirsts, and bylines.
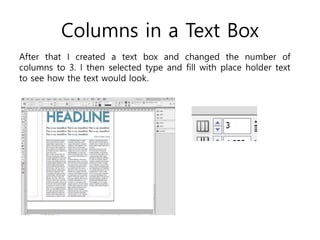
3) Creating text boxes and adjusting the number of columns within boxes.