Downloaded 114 times
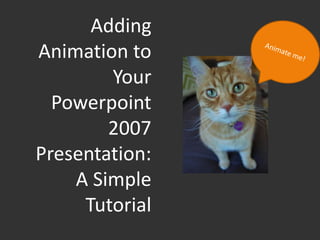
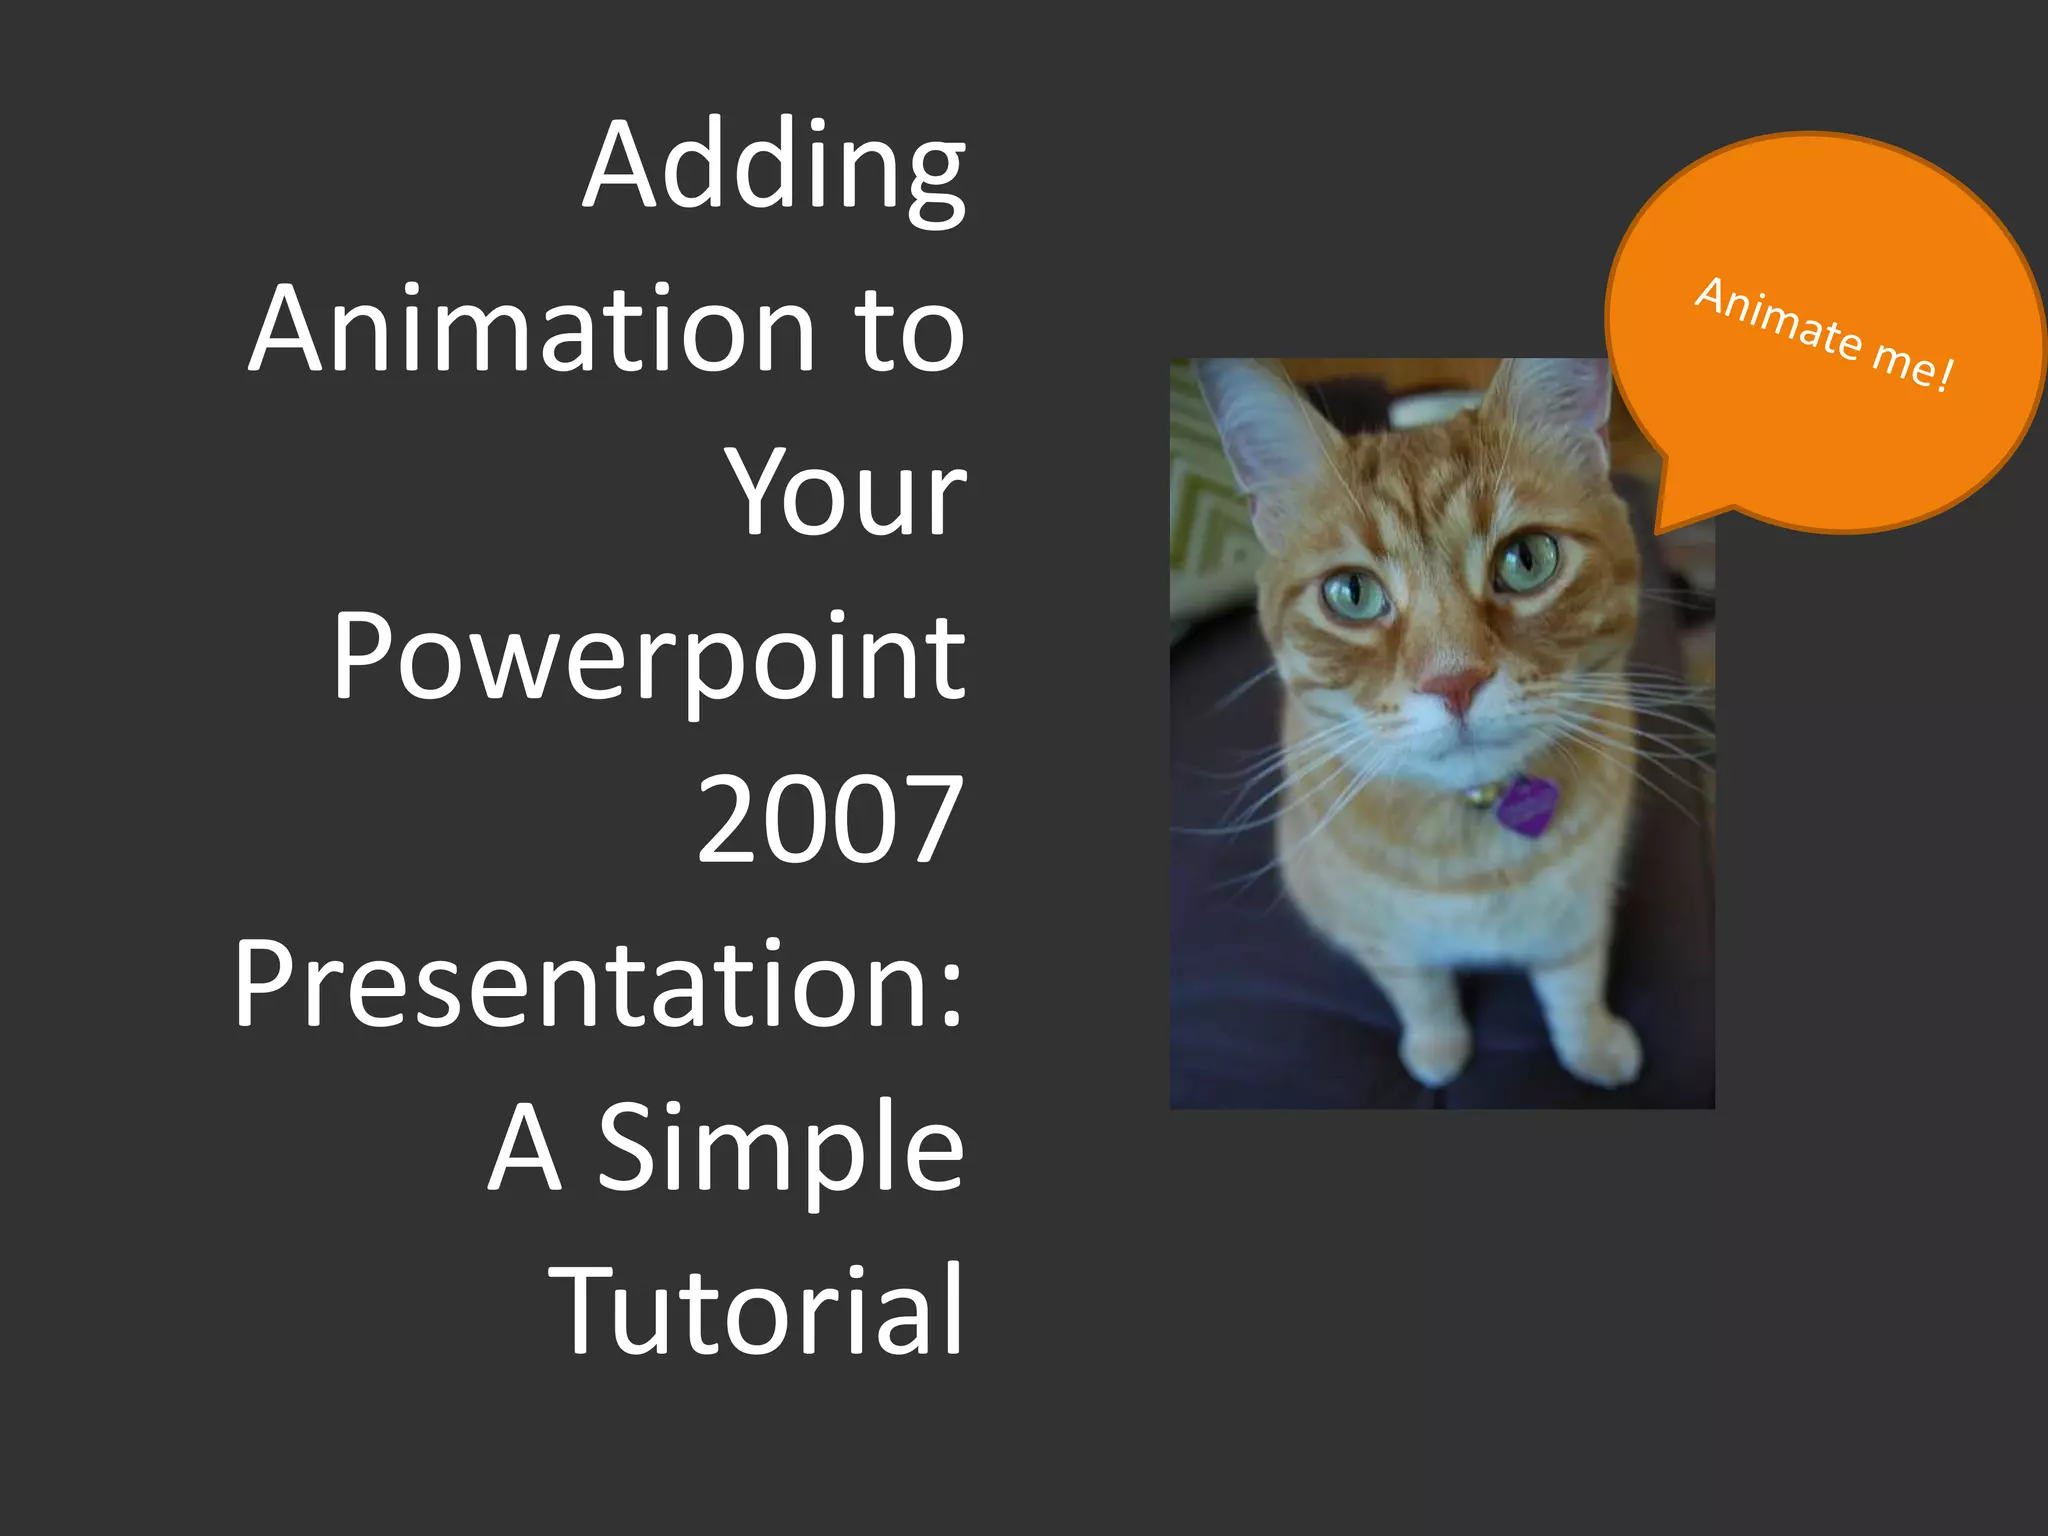
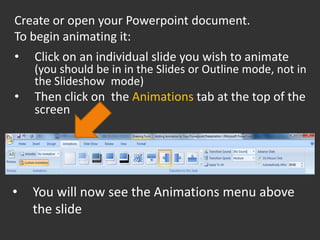
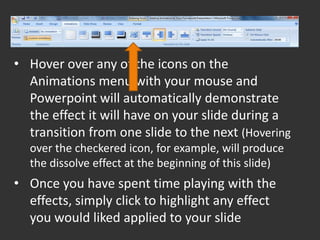
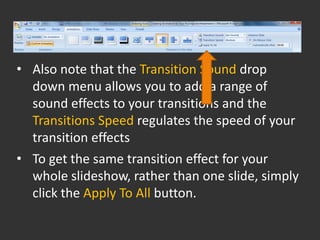
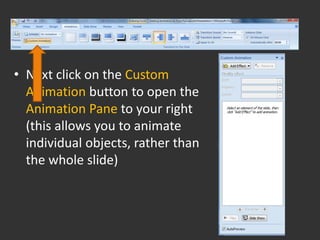
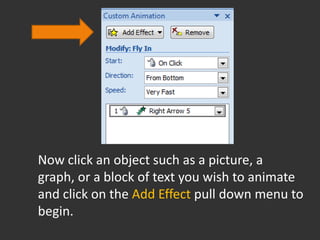
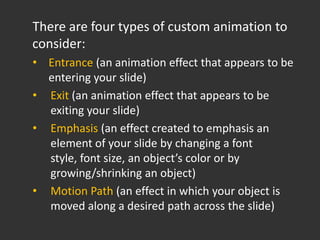
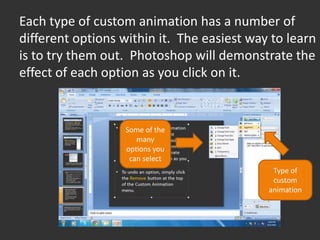
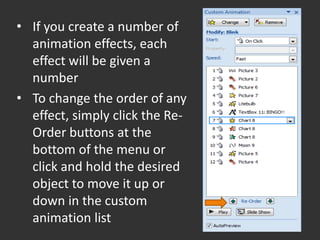
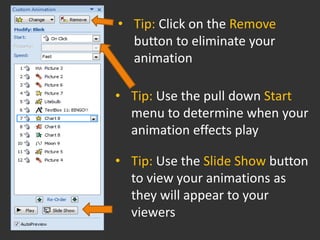
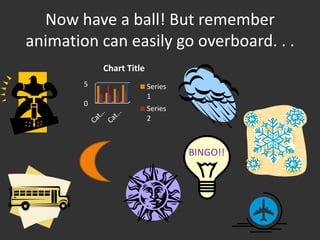


This tutorial provides instructions for adding animation to PowerPoint 2007 presentations. It explains that animation can be added to individual elements, single slides, or entire slideshows. The Animations tab is used to select transition effects between slides and timing options. Custom animation allows effects like entrance, exit, emphasis, and motion paths to be applied to objects. A variety of effect options are demonstrated and the animation order and timing can be customized. The goal is to enhance presentations with animation but to avoid overusing it.