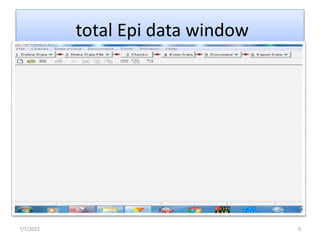
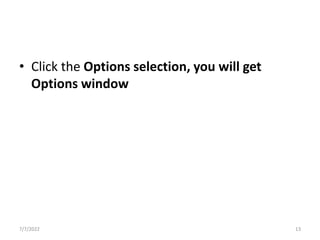
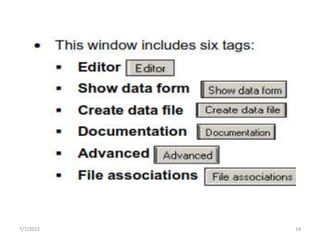
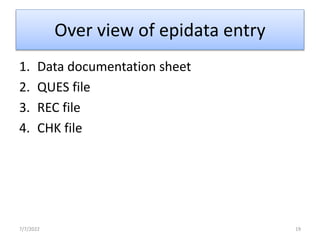
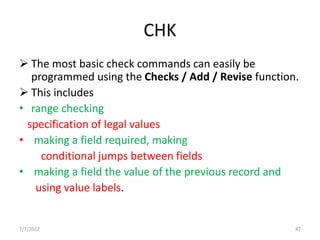
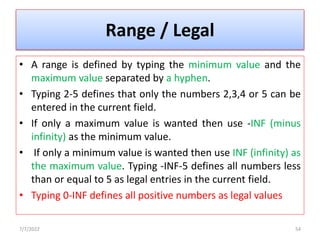
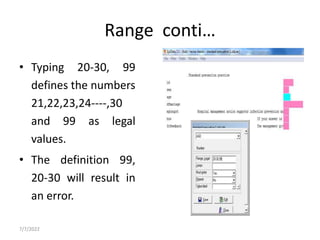
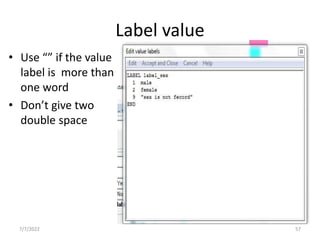
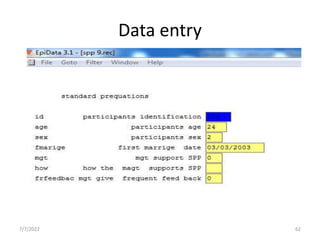
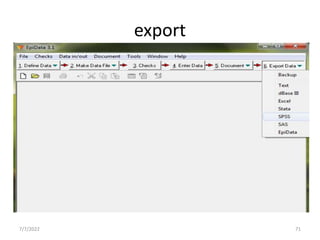
EpiData is a free Windows program for creating data entry forms and entering data. It allows users to build questionnaires, create data entry forms, enter data, and check the validity and quality of data. The key components of an EpiData project include the QUES file which defines the structure of the database, the REC file which contains the entered data, and the CHK file which is used to check the data for errors as it is entered. EpiData provides various tools for checking data quality such as setting value ranges, requiring fields, and comparing double entered data.


![CHK conti…
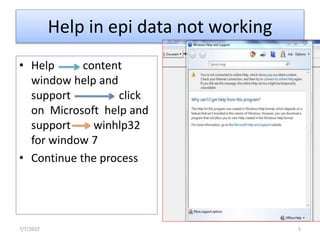
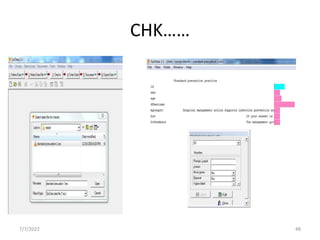
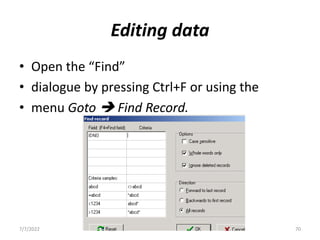
If the data form has the focus the following key-
combinations will give the focus to one of the
validation rules:
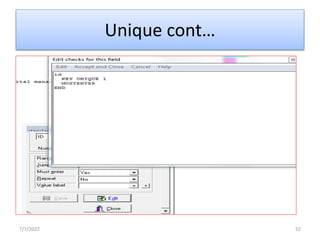
Press [Ctrl] + [L] to change the current field's range
and/or legal values
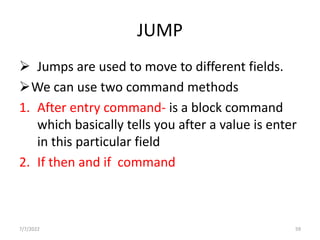
Press [Ctrl] + [J] to change Jumps
Press [Ctrl] + [E] to toggle the current field's Must
Enter status
Press [Ctrl] + [R] to toggle the current field's Repeat
status
Press [Ctrl] + [A] to change the current field's value
labels
7/7/2022 53](https://image.slidesharecdn.com/epidatamanual-220707072238-2a4753fc/85/epi-data-manual-pptx-53-320.jpg)


![제 23회 보아즈(BOAZ) 빅데이터 컨퍼런스 - [MBOAX] : ABSA를 활용한 소비자 반응 분석 기반 운영 효율화 대시보드 설계](https://cdn.slidesharecdn.com/ss_thumbnails/3-1boaz23rdconferencemboax-260203102709-9d519923-thumbnail.jpg?width=640&height=640&fit=bounds)


