Download to read offline


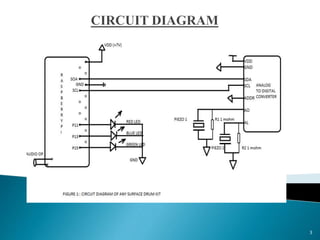
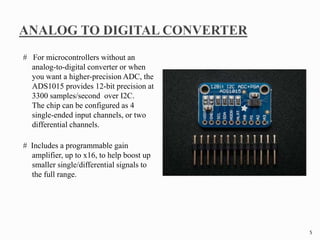
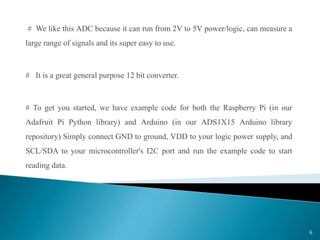
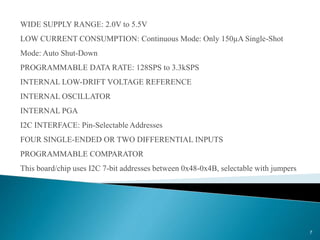
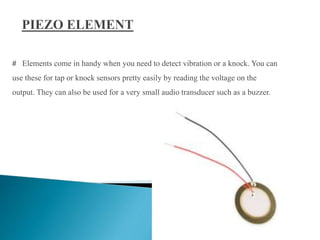
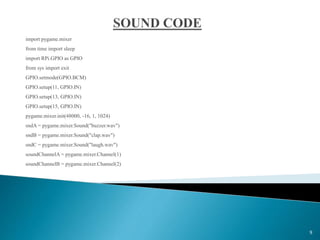
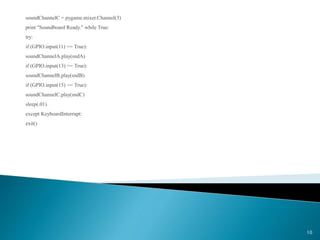


The Raspberry Pi uses an ADS1015 ADC converter to read signals from sensors. It connects to the Pi via I2C and provides 12-bit precision readings at 3300 samples/second. The ADS1015 can handle signals from 2-5V and includes a programmable gain amplifier. Example code is provided to read data from the ADC on the Pi. Piezoelectric buzzers can be used as knock sensors by reading the voltage with the ADC when they vibrate. A Python program then plays different sound files using GPIO pins connected to piezo buzzers as a simple soundboard.