Download to read offline


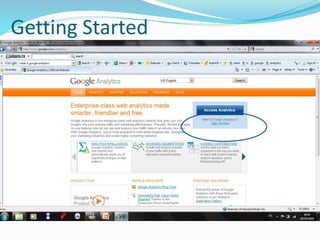
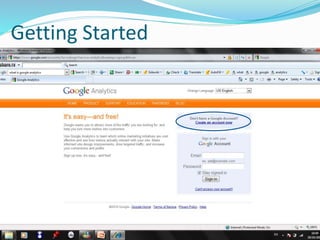
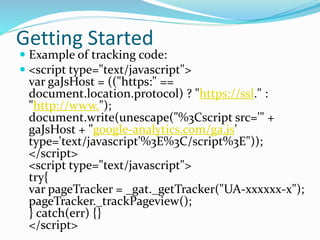

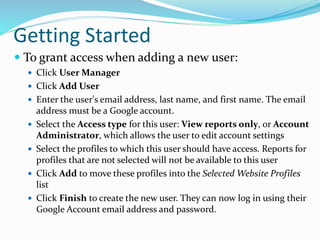
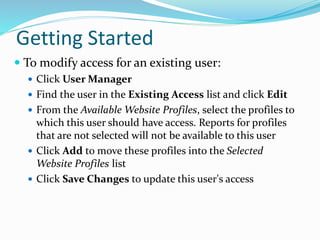
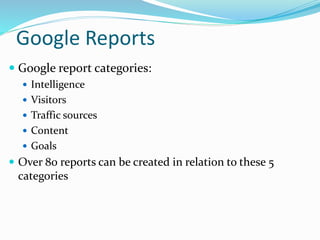
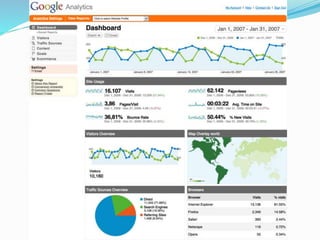

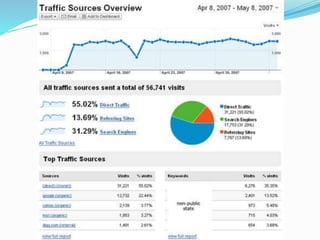
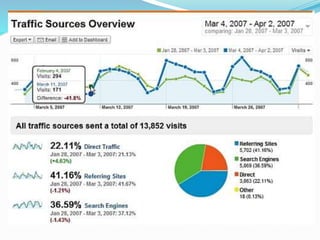

The document provides an overview of Google Analytics, detailing its purpose in analyzing website traffic and marketing effectiveness. It outlines the steps to get started, including account creation, adding tracking codes, and user management, as well as the different reporting categories and features for tracking user behavior, traffic sources, and e-commerce activities. Additionally, it explains how to integrate Google Analytics with Adwords and Adsense for enhanced data tracking and marketing insights.


![How to fuel your brand with banner ads and remarketing [webinar]](https://cdn.slidesharecdn.com/ss_thumbnails/howtofuelyourbrandwithremarketing-140130022117-phpapp02-thumbnail.jpg?width=640&height=640&fit=bounds)


