This document provides guidance on various nursing skills related to ambulation, patient transfers, range of motion exercises, and restraints. Key points include:
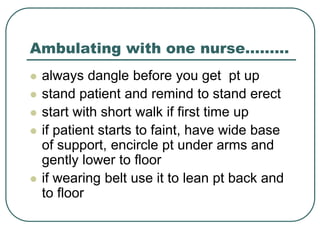
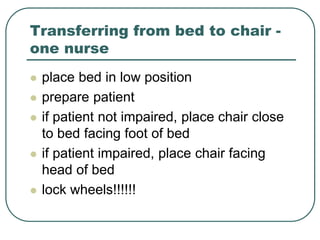
- Assess patient's capabilities and explain the plan before ambulating or transferring a patient
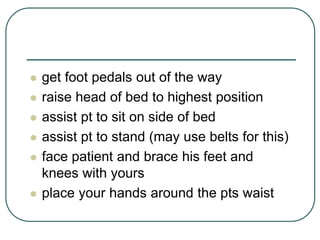
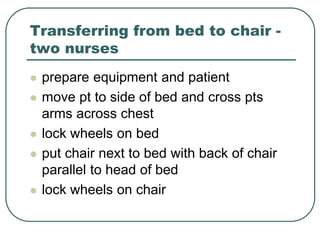
- Use proper body mechanics and any necessary equipment to move patients safely
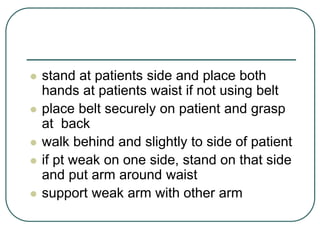
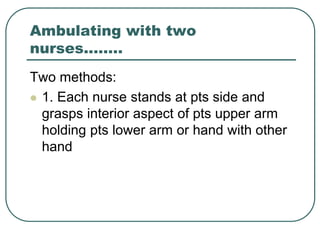
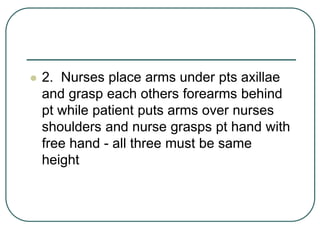
- For ambulation, two nurses can support the patient under the arms or each take an arm
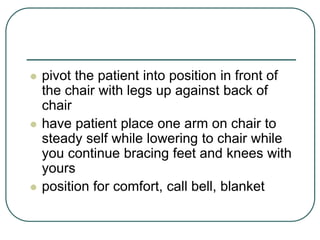
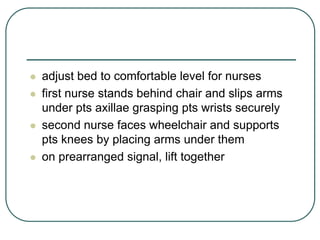
- When transferring from bed to chair, position the chair close to the bed and pivot the patient while bracing their legs
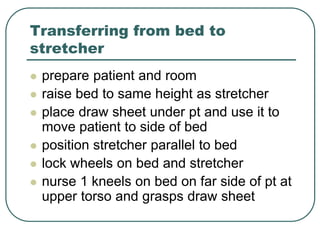
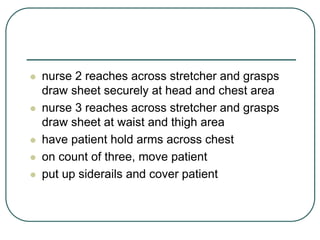
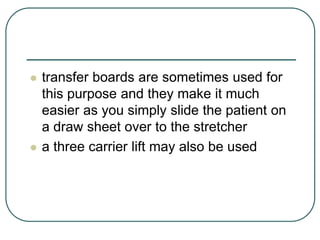
- Use draw sheets and leverage techniques to transfer a patient from bed to stretcher safely
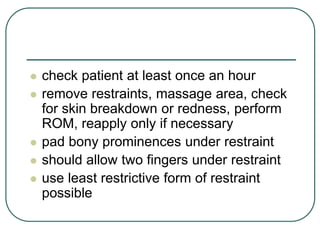
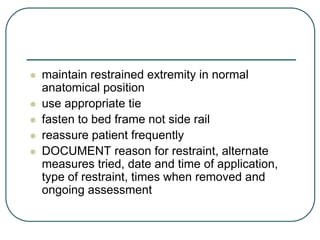
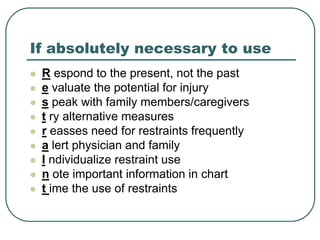
- Obtain a physician's order and use the least restrictive restraints possible, checking the patient regularly


![CTEV [ clubfoot] DR ARUN LAL ,DR MOHAMED ASHRAF travancore medical college k...](https://cdn.slidesharecdn.com/ss_thumbnails/ctevclubfootdrarunlaldrmohamedashraftravancoremedicalcollegekollamkeralaindia-260208063247-18fc466c-thumbnail.jpg?width=640&height=640&fit=bounds)


![ONFH[AVN HIP] -TRIPLE REGIME -A NOVAL SURGICAL CONCEPT .pptx](https://cdn.slidesharecdn.com/ss_thumbnails/onfhavnhip2026koaconcalicutdrgokuldevdrmashraf-260210064517-213ec005-thumbnail.jpg?width=640&height=640&fit=bounds)

