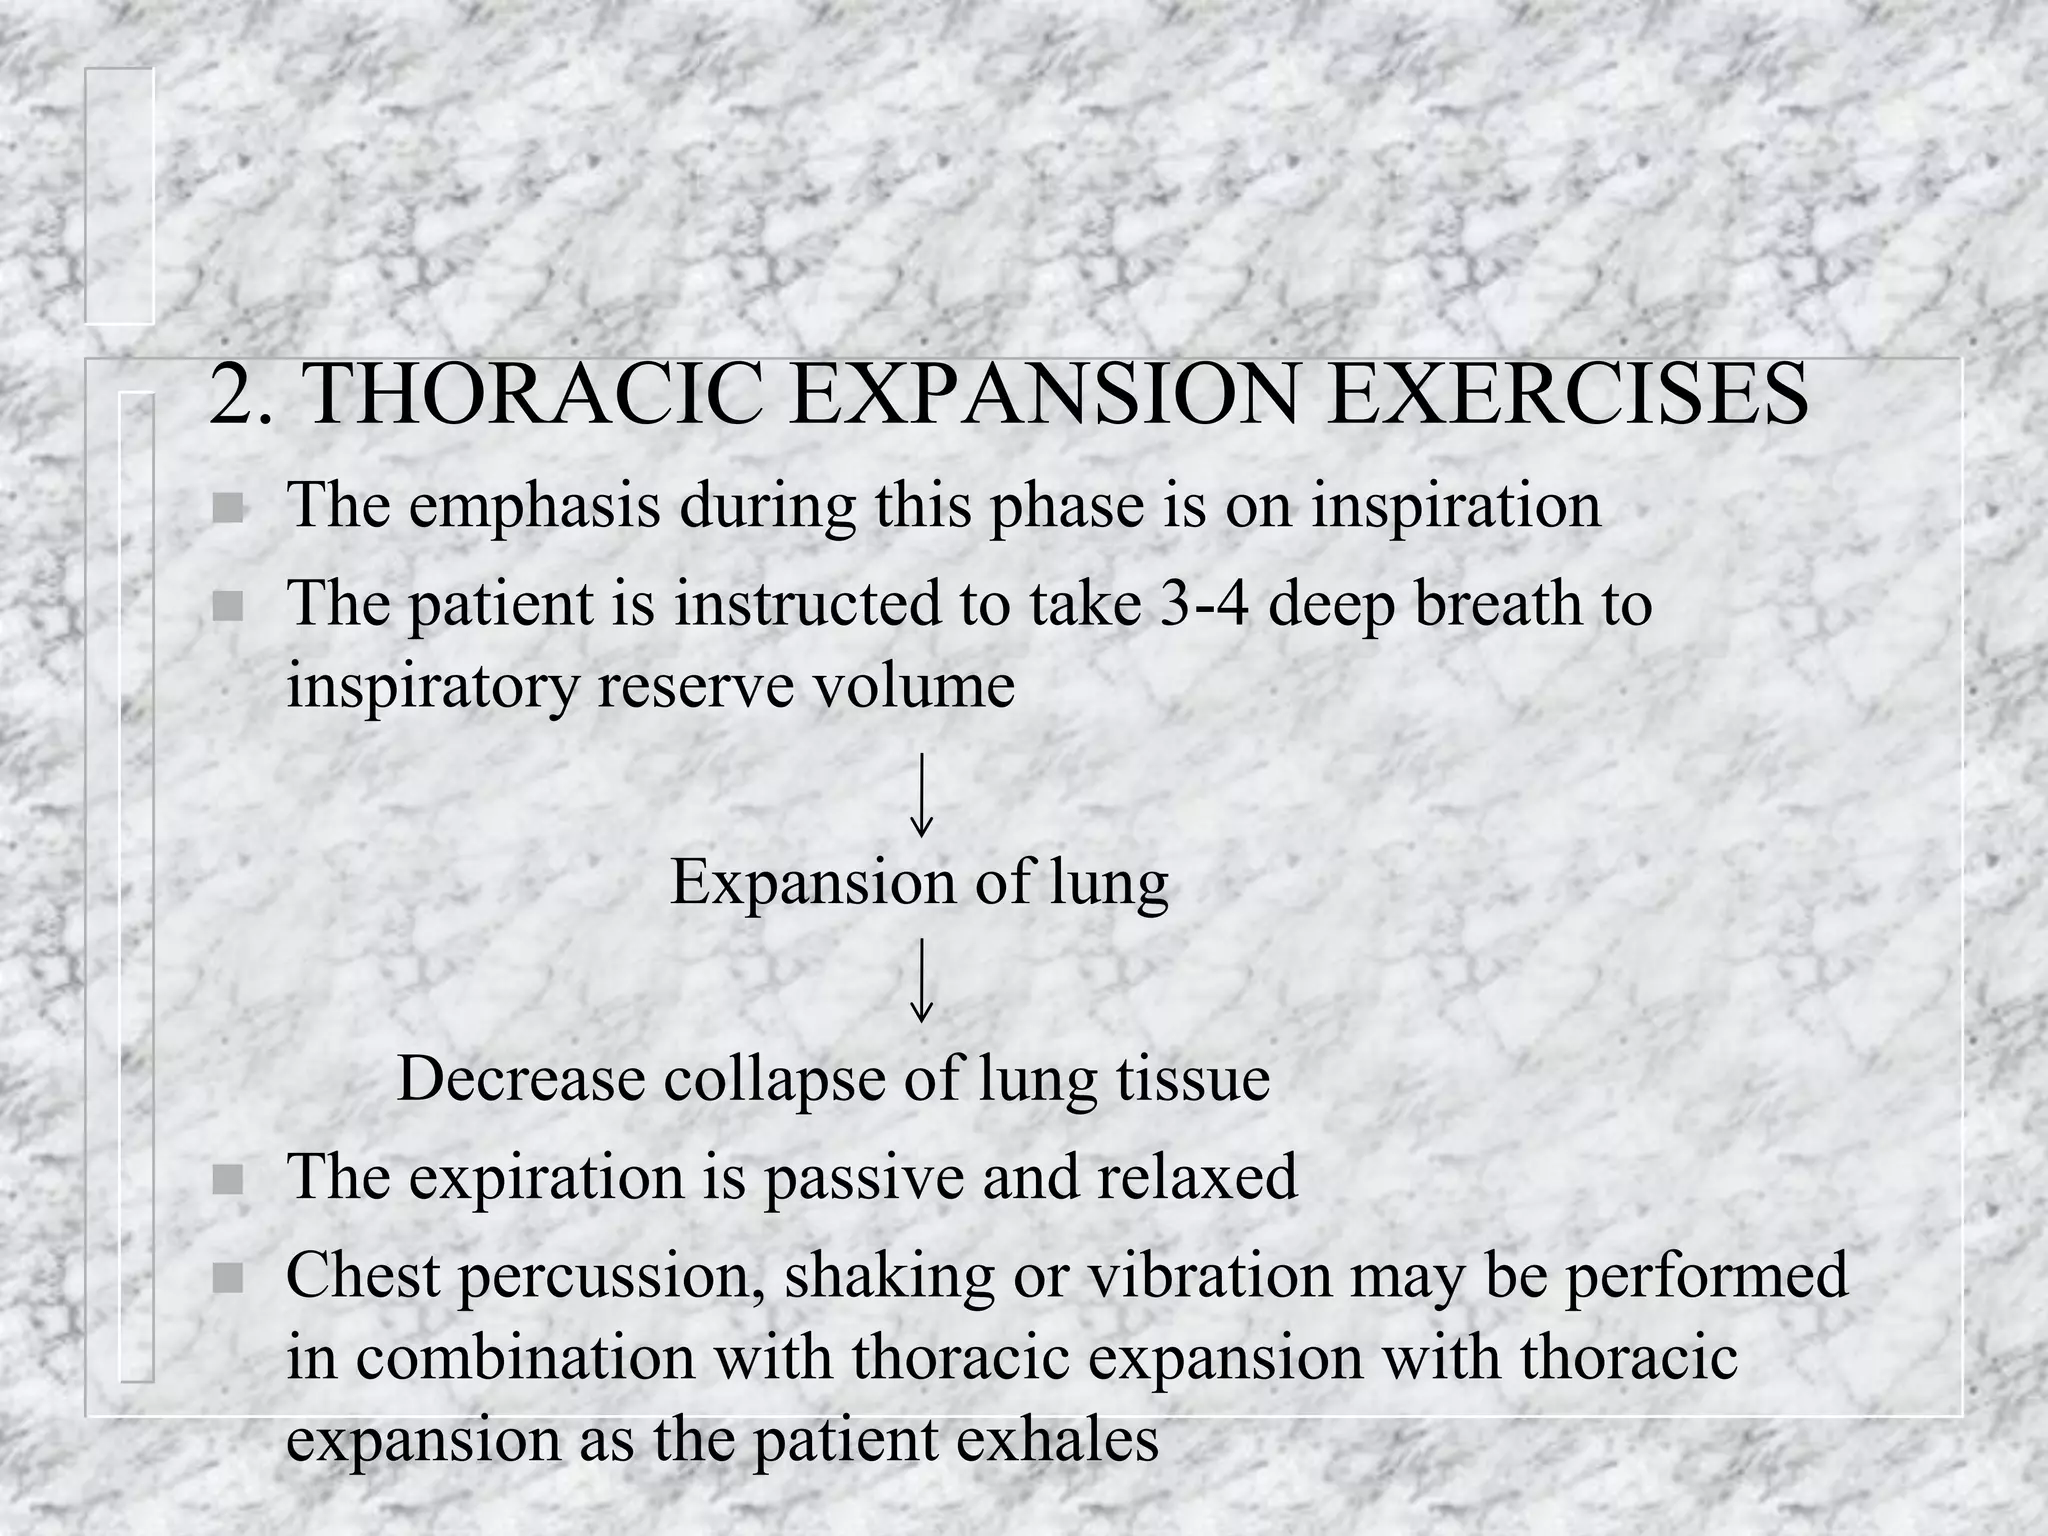
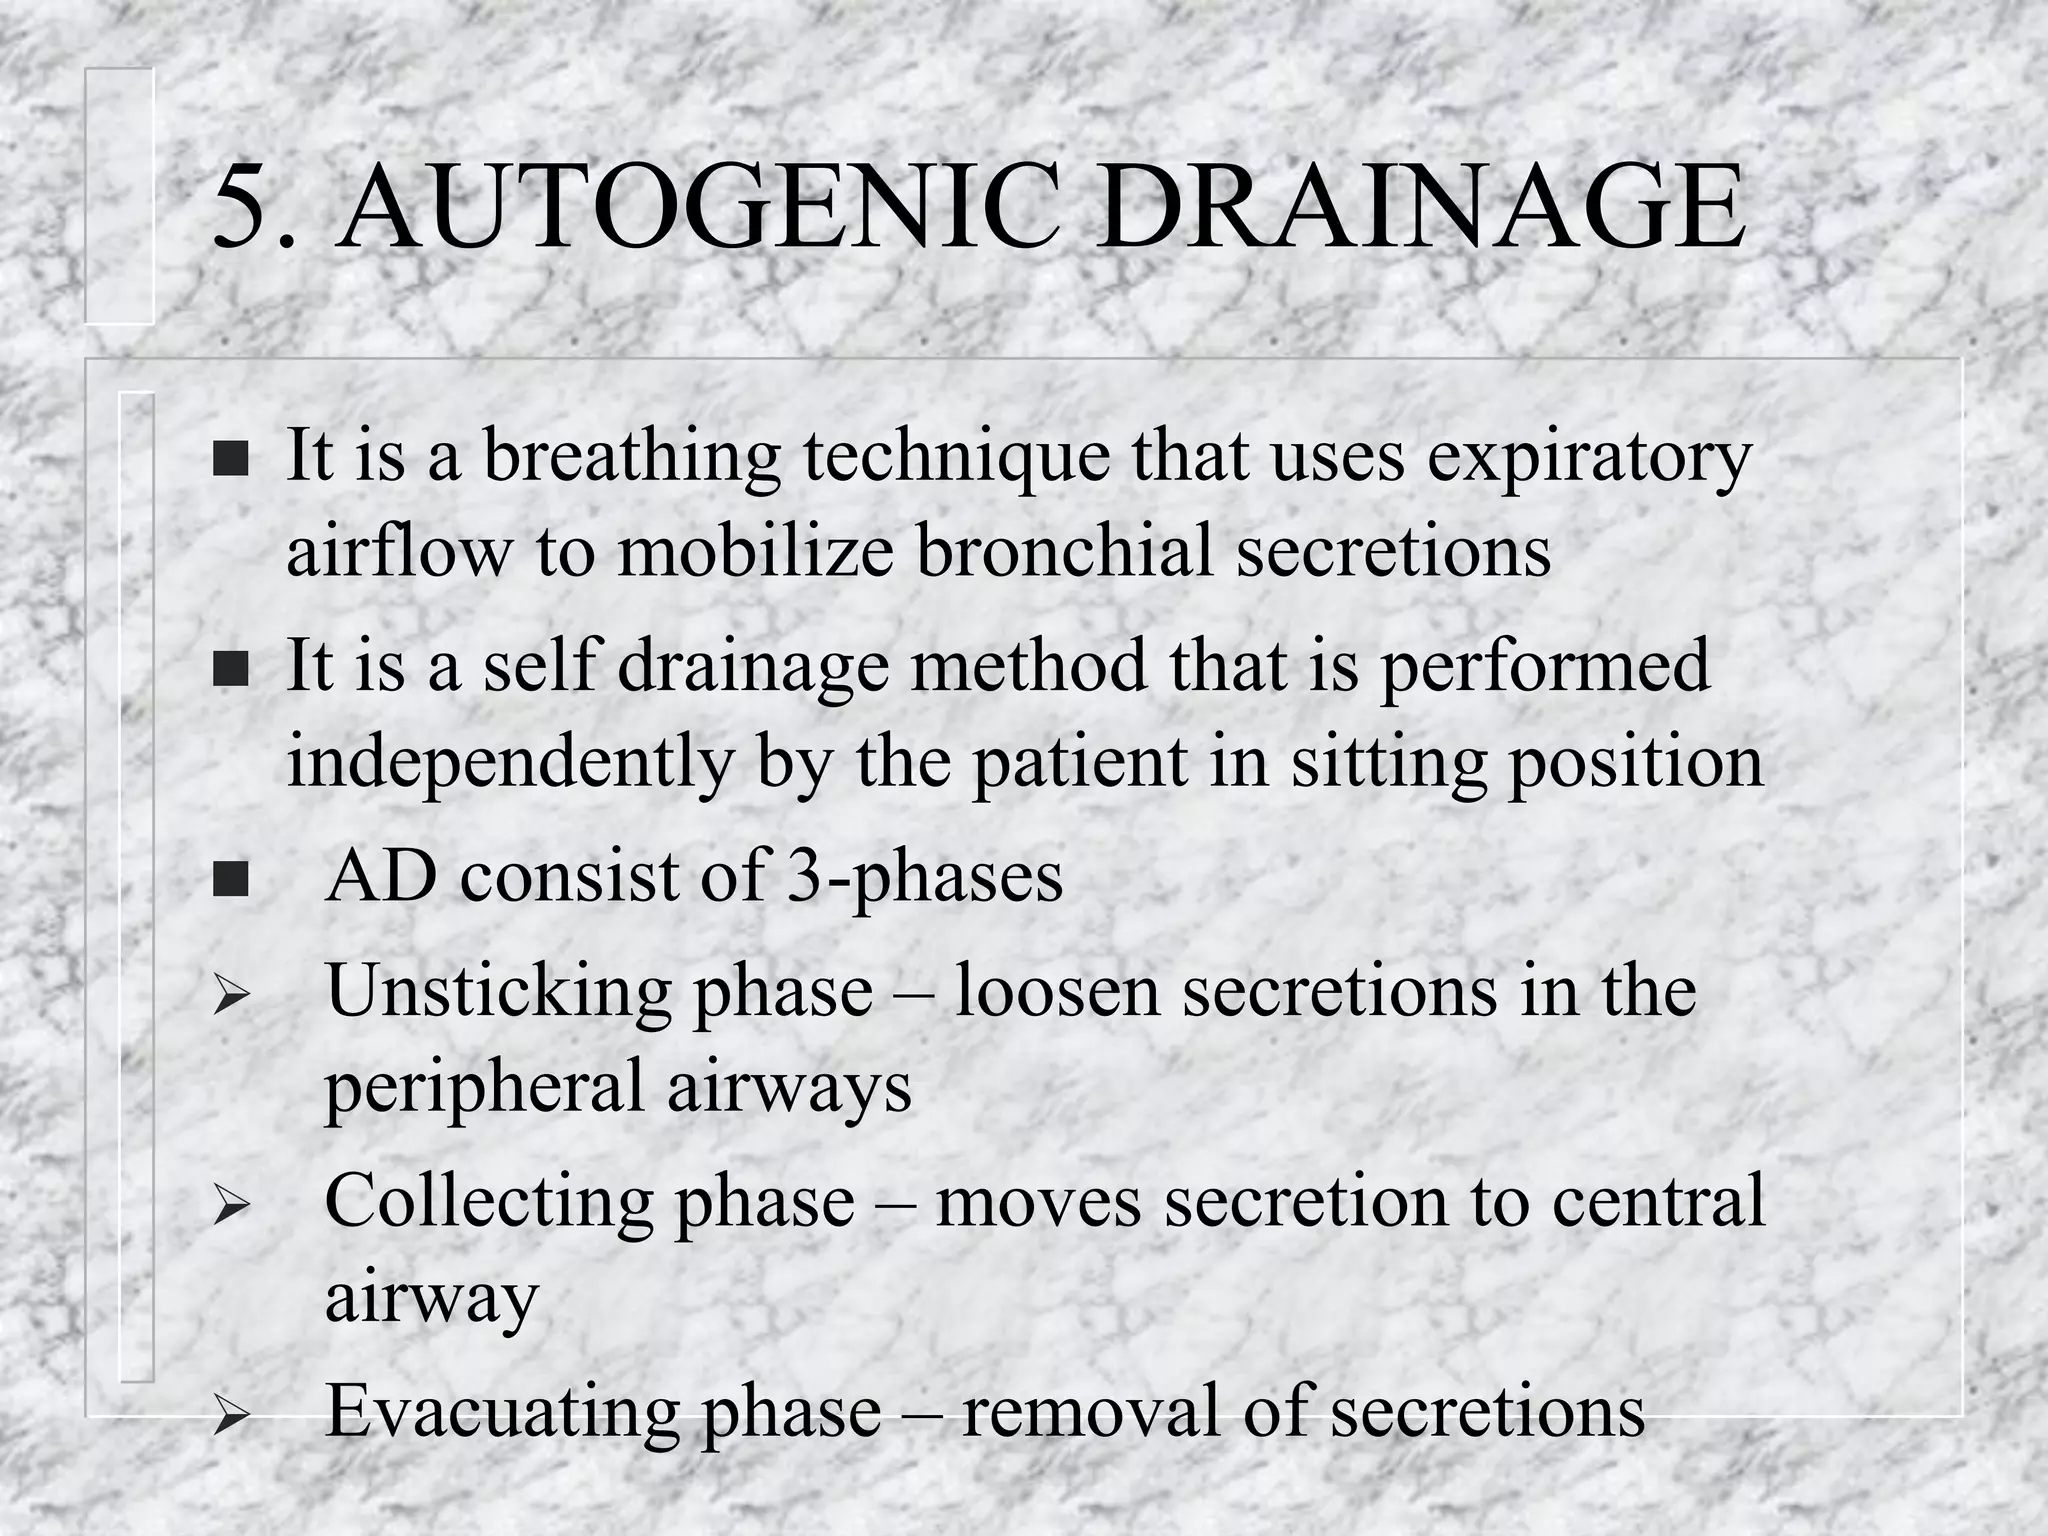
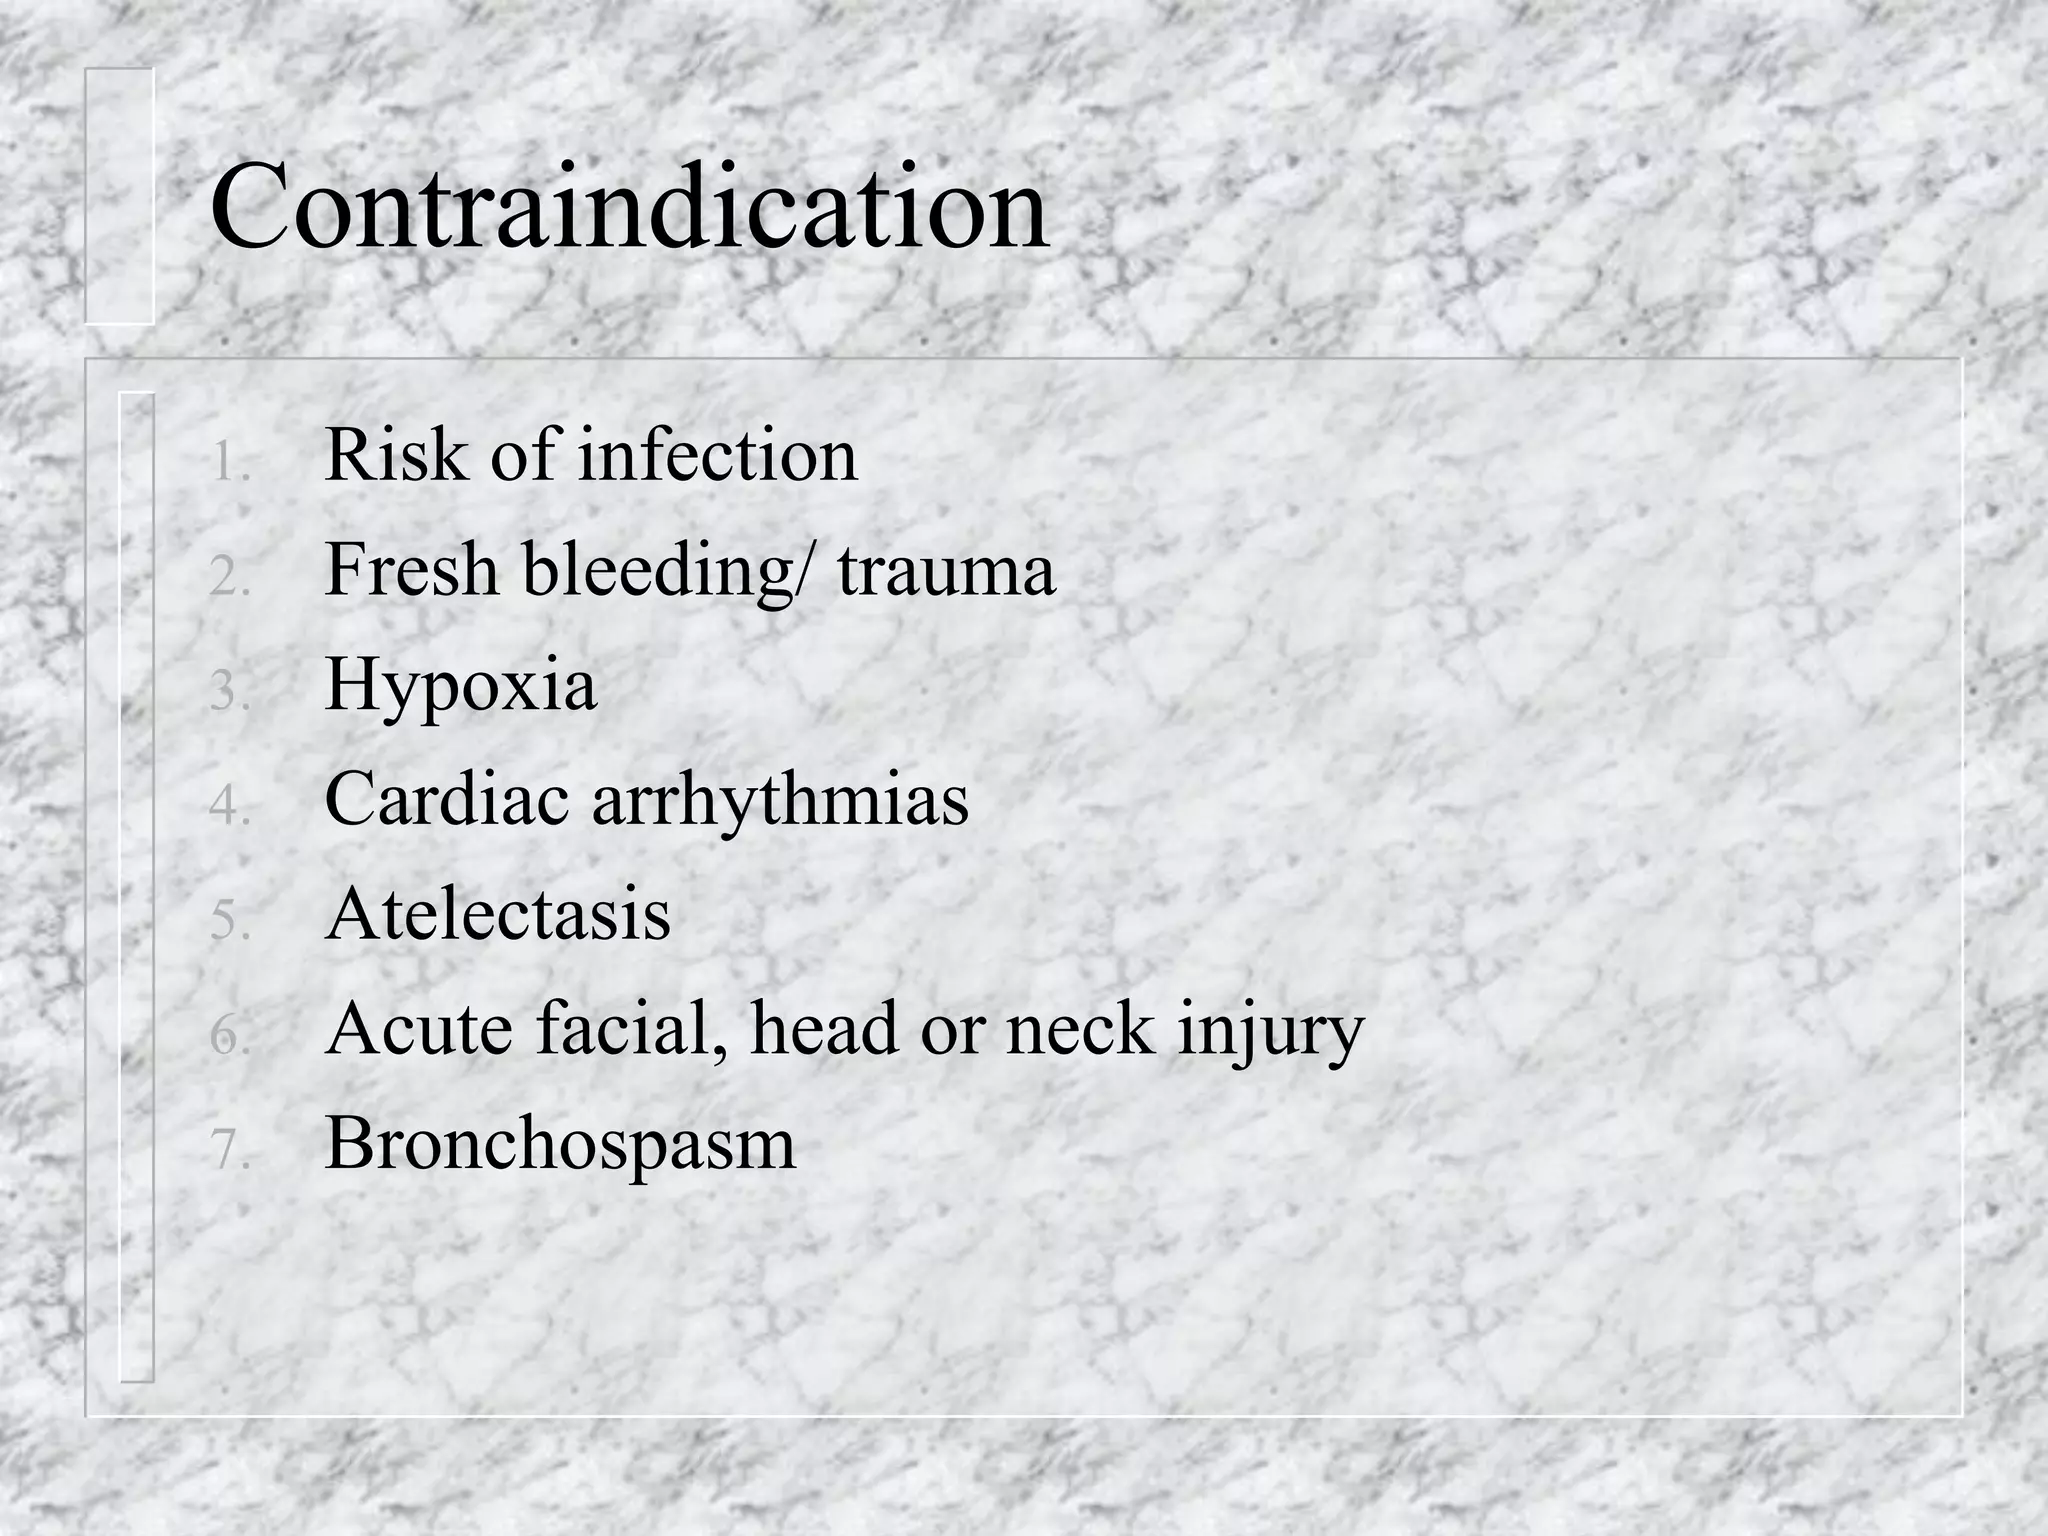
AIRWAY CLEARANCE
TECHNIQUE
DR. ARJUN PATEL
MPT-MUSCULOSKELETAL AND SPORTS SCIENCE
INTRODUCTION
 Normal airway clearance
 Impaired airway clearance (factors)
 Ineffective mucocilliary clearance
 Excessive secretions
 Thick secretions
 Ineffective cough
 Immobility / inadequate exercise
Results of Impaired Airway
Clearance
 Airway obstruction
 Mucus plugging
 Atelectasis
 Impaired gas exchange
 Infection
 Inflammation
A Vicious Cycle
AIRWAY CLEARENCE TECHNIQUE
 Goals
 To reduce lung tissue destruction
 To improve V/Q ratio
 Decrease infection and illness
 Improve quality of life
1. COUGHING
 A cough can either be a reflex or a voluntary action
 Generally, in healthy individuals a cough is rarely heard
unless a person has a cold or an irritant is inhaled and a
sneeze or a ensures to evacuate the foreign body
 STAGE:
1. Adequate inspiration
2. Closing of glottis
3. Increase intrathoracic pressure
4. Expulsion
 To improve cough effectiveness
1. Position the patient for success, especially in regard to
trunk alignment
2. Maximize inspiratory phase through verbal cues and
active movement of arm
3. Improve hold stage through verbal cues and positioning
4. Maximize intrathoracic and intraabdominal pressure with
muscle contraction, physical assist
5. Instruct the patient in appropriate timing and trunk
movements for expulsion
6. Make the procedure physically active on the patient’s part
 Precaution (avoid)
1. Resent pneumonectomy
2. Aneurysm
3. Raised ICP
4. Recent eye surgery
2. BREATHING EXERCISE
3. POSTURAL DRAINAGE
- PERCUSSION
- VIBRATION
- SHAKING
4. ACBT
 The active cycle of breathing involves three
phases repeated in cycles
1. Breathing control
2. Thoracic expansion
3. Forced expiratory technique
 This method encourages active participation of
the patient
 More effective when performed by patient alone
as with aid with therapist
PREPARATION OF PATIENT
 Treatment of two or three productive areas during
one session may be tolerated by most patients
 The patient is positioned or positions herself in a
PD position/normal sitting to stimulate the
drainage of a productive area of the lungs
 A minimum of 10 mins in any productive position
may be necessary to clear moderate amount of
secretion
 Patients after surgery or with minimal secretions
may not require as much time, and very ill patients
may fatigue before optimal treatment is given
TREATMENT TECHNIQUE
BREATHING
CONTROL
THORACIC
EXPANSION
EXERCISE
BREATHING
CONTROL
THORACIC
EXPANSION
EXERCISE
BREATHING
CONTROL
FORCED
EXPIRATORY
TECHNIQUE
1. BREATHING CONTROL:
 The patient is instructed to breath in a relaxed
manner using normal tidal volume
 Upper chest and shoulders should remain relaxed
 Lower chest and abdomen should be active
 The phase of breathing control should last as
long as the patient requires to relax and to
prepare for the next phases, usually 5 to 10 sec.
 Period of breath control between other phases is
essential to prevent bronchospasm
2. THORACIC EXPANSION EXERCISES
 The emphasis during this phase is on inspiration
 The patient is instructed to take 3-4 deep breath to
inspiratory reserve volume
Expansion of lung
Decrease collapse of lung tissue
 The expiration is passive and relaxed
 Chest percussion, shaking or vibration may be performed
in combination with thoracic expansion with thoracic
expansion as the patient exhales
3. FORCED EXPIRATORY TECHNIQUE
 This phase consist of huffing
 A huff is a rapid, forced exhalation but not with
maximal effort
 This maneuver can be compared with fogging
eyeglasses with warm breath
 1 or 2 huffs performed at mid to low lung volume
 Abdominal muscle contraction to produce forced
exhalation
 The ACBT may be adapted to the individual
patient’s need
 If secretions are tenacious, two cycles of the
thoracic expansion phase may be necessary to
loosen the secretion before the FET can perform
 In a patient with bronchospasm, the period of
breathing control may be as long as 10 to 20 sec.
 After surgery, the patient may be shown how to
support the incision
ADVANTAGE
 Patient participates actively in secretion
mobilization
 Technique can be introduced as early as 3-4 yrs of
age.
 It is adopted for patients with bronchospasm and
acute exacerbation.
 Reduction in oxygen saturation caused by chest
percussion may be avoided by ACBT.
5. AUTOGENIC DRAINAGE
 It is a breathing technique that uses expiratory
airflow to mobilize bronchial secretions
 It is a self drainage method that is performed
independently by the patient in sitting position
 AD consist of 3-phases
 Unsticking phase – loosen secretions in the
peripheral airways
 Collecting phase – moves secretion to central
airway
 Evacuating phase – removal of secretions
 This technique of airway clearance requires much
patience and concentration to learn
 So, not suitable to for young children. Ideal for
adolescent or adult who prefers an independent
method
Preparation of patient
 Patient should be seated upright in a chair with a
back for support
 Surrounding area should be avoid of distraction &
provide good concentration
 Upper airways (nose & throat) should be cleared
of secretions by huffing or blowing nose
 Therapist should be seated to the side and slightly
behind the patient, close enough to hear the
patient’s breathing
 One hand should be placed to feel the work of
abdominal muscles and other hand placed on
upper chest
Treatment tech
 In all phases, inhalation should be done slowly,
through the nose if possible, using diaphragm or
lower chest
 A 2 to 3 sec breath hold should follow, allowing
collateral ventilation to get air behind the secretion
 Exhalation should occur through mouth with the
glottis open, causing the secretions to be heard
 The vibrations of the mucus may also be felt with
the hand placed on the upper chest
 High frequencies mean that the secretions are
located in the small airways; low frequencies
mean that the secretions have moved to the large
airways.
 The unsticking phase
 this phase mobilizes mucus from the periphery of
the lungs by lowering the mid-tidal volume below
the functional residual capacity level
 In practice, inspiration is followed by a deep
expiration into the expiratory RV as possible by
contracting abdominal muscle
 This low lung volume breathing continues until
the mucus is loosened and starts to move into the
larger airway
 the collecting phase:
 this phase collects the mucus in the middle
airways by increasing the lung volume over the
unsticking phase
 Tidal volume breathing is then changed gradually
from expiratory RV toward the inspiratory RV
range
Autogenic Drainage
Normal
Breathing
Complete
Exhalation
VT
RV
ERV
IRV
Cough
UNSTICKING COLLECTING EVACUATING
 This low to middle lung volume breathing
continues until the sound of the mucus decreases
 It shows the mucus moves into the central airways
 The evacuating phase:
 The patient increases inspiration into the
inspiratory RV
 This middle to high lung volume breathing
continues until the secretions are in the trachea
and are ready to expectorated
 The collected mucus can be evacuated by a
stronger expiration or a high volume huff
 Non productive coughing should avoid
 Duration of each phase of AD depends on the
location of the secretions.
 The duration of a session depends on the amount
and viscosity of the secretions
 An average treatment will be 30 to 45 min
Advantage & disadvantage
 Performed independently by patients over 12 yrs
of age and requires no additional equipment
 It do not requires postural drainage position
 This tech. takes more practice than others
 use in patients with airway hyperreactivity
 AD is not the treatment of choice for a patient who
is unmotivated or uncooperative
6. POSITIVE EXPIRATORY
PRESSURE (PEP)
 PEP creates a back pressure to stent the airways
open during exhalation and promotes collateral
ventilation, allowing pressure to build up distal to
the obstruction
 A form of intermittent PEP is provided by a
device called the flutter.
 This pipe like device provides
 Positive expiratory pressure
 Oscillation of the airways
 Accelerated expiratory flow rates to loosen
secretions and move them centrally
 PEP is performed in the upright position and can
be used during acute episodes as well as chronic
pulmonary conditions
 Children over 4 yrs may be instructed in tech.
 it may provide independent method of airway
clearance in older children and adults
Equipment required for PEP
 A PEP mask
 T-tube
 One way valve
 Resistors of various sizes or an adjustable resistor
 Manometer
 Nebulizer
 Supplemental oxygen
 Flutter device
 Pipe like device
 Mouthpiece
 High density steel ball
 Perforated plastic cover
 circular cone
Preparation for PEP
 The patient should be seated upright with elbows
resting on a table
 Use of a mask may require securing the device
with both hands
 A nebulizer or oxygen is attached if required
 To determine the correct level of resistance for
low-pressure PEP, the patient inhales using tidal
volume and exhales actively into the
mask/mouthpiece
 The resistance is gradually decreased until the
PEP level supplying 10 to 20 cm of water pressure
 The desired inspiratory to expiratory ratio of 1:3 to
1:4
 For high-pressure PEP, appropriate resistance is
connecting the outlet of the PEP mask to a
spirometer
 Forced vital capacity maneuvers are performed
through different expiratory resistors
 Flutter device
 inhale deeply and hold breath for 2-3 sec
 Place flutter in mouth as stiff possible.
 Exhale though flutter
 Exhalation need not be forced . Patient best
determines speed of exhalation.
 Perform multiple exhalations through the
flutter(usually 5 to 15) with breath hold to
maximize mobilization of mucus
 After multiple performance to precipitate
coughing and mucus expectoration
 Repeat entire sequence until mucus clear
7. SUCTION
 The patient with an artificial airway is not
capable of effectively coughing, the
mobilization of secretions from the trachea
must be facilitated by aspiration. This is
called as suctioning.
 Suctioning - negative pressure applied
within the airway
– Can be via nose, mouth or via tracheotomy tube
Indication
 Patient has an inability to clear secretions
– Ineffective or absent cough
– Evidence of retained secretions in upper airway
 A sample of sputum is to be obtained for lab
analysis purposes
– Use a sterile “sputum trap” (Lukens trap)
HAZARDS
 Hypoxia / hypoxemia
 Tracheal and / or bronchial mucosal trauma
 Cardiac or respiratory arrest
 Pulmonary hemorrhage
 Cardiac dysrhythmias
 Pulmonary atelectasis
 bronchospasm
 Hypotension / hypertension
 Elevated ICP
 Interruption of mechanical ventilation
Equipment
 Vaccum source with adjustable regulator suction
jar
- motor provide negative pressure -50, -100 and –
300 mmHg
- one or two suction bottle
 stethoscope
 Sterile gloves for open suctioning method
 Clean gloves for closed suctioning method
 Suction tube
- connect bottle to catheter
- clear plastic, disposable
- sometime rubber tube used
 Connector
- made of plastic- clear/semitransperent
 Sterile catheter
- soft, clear plastic & disposible
 Clear protective goggles, apron & mask
 Sterile normal saline
 Ambu bag
 Suction tray with hot water for flushing/ bowl of
antiseptic solution
 Lubricating jelly & sterile gauge swabs
Types of suctioning
OPEN SUCTION CLOSED SUCTION
 OPEN SUCTION SYSTEM:
Regularly using system in the intubated
patients.
 CLOSED SUCTION SYSTEM:
 This is used to facilitate continuous
mechanical ventilation and oxygenation during
the suctioning.
Mode of Entry
 The suction catheter may be introduced into
the respiratory tract via
- Nose (Nasopharyngeal)
- Mouth (Oropharyngeal)
- Tracheotomy tube
Monitoring
The following should be monitored prior to, during
& after the procedure:
 Breath sounds
 Oxygen saturation
 RR
 Haemodynamic parameters (pulse rate, Blood pressure)
 Cough effort
 ICP (If indicated and available)
 Sputum characteristics (colour, volume, consistency &
odor)
 Ventilator parameters (PIP, Vt & FiO2)
Open suction technique
 Perform hand hygiene, wash hands. It reduces
transmission of microorganisms.
 Turn on suction apparatus and set vacuum
regulator to appropriate negative pressure. For
adult a pressure of -100-120 mmHg, -80-
100mmhg for children & -60-80mmhg for infants.
 Goggles, mask & apron should be worn to prevent
splash from secretions
 Wear sterile gloves with sterile technique
 Preoxygenate with 100% O2
 With a help of an assistant open suction catheter
package & connect it to suction tubing
 With a help of an assistant disconnect the
ventilator
 Kink the suction tube & insert the catheter in to
the ETtube until resistance is felt
 Resistance is felt when the catheter impacts the
carina or bronchial mucosa, the suction catheter
should be withdrawn 1cm out before applying
suction
 Apply continuous suction while rotating the
suction catheter during removal
 The duration of each suctioning should be less
then 15sec.
 Assistant resumes the ventilator
 Give four to five manual breaths with bag or
ventilator
 Continue making suction passes, bagging patient
between passes, until clear of secretions, but no
more than four passes
 Return patient to ventilator
 Auscultate chest
 Flush the catheter with hot water in the suction
tray
 Discard used equipments
 Wash hands
Closed suctioning procedure
 wash hands
 Wear clean gloves
 Connect tube to closed suction port
 Pre-oxygenate the patient with 100% O2
 Gently insert catheter tip into artificial airway
without applying suction, stop if you met
resistance or when patient starts coughing and pull
back 1cm out
 Place the dominant thumb over the control vent of
the suction port, applying continuous or
intermittent suction for no more than 10 sec as you
withdraw the catheter into the sterile sleeve of the
closed suction device
 Repeat steps above if needed
 Clean suction catheter with sterile saline until
clear; being careful not to instill solution into the
ETtube
 Suction oropharynx above the artificial airway
 Wash hands
Contraindication
1. Risk of infection
2. Fresh bleeding/ trauma
3. Hypoxia
4. Cardiac arrhythmias
5. Atelectasis
6. Acute facial, head or neck injury
7. Bronchospasm
8. HIGH FREQUENCY CHEST
COMPRESSION (HFCC)
 It consist of a vest linked to an air-pulse generator.
 HFCC works by differential airflow, the
expiratory flow rate is higher than the inspiratory
flow rate, allowing mucus to transport from
peripherals to central
Preparation for HFCC
 Patient should seat upright in a chair.
 The vest should fit properly but breathing should
not restricted
 The pressure control setting should be adjusted to
either high or low
 Foot/hand control may be place
Treatment Technique
 The frequency of chest compression
- low (7 to 10 Hz)
- medium (10 to 15 Hz)
- high (15 to 25 Hz)
 It can be given intermittent/continuous
For intermittent,
 The patient should inhale deeply and depress the
foot/hand control at peak inspiration
For continuous method,
 The foot/hand control should be depressed while
breathing normally
 The average length of time spent at each
frequency is 3-5 min but it will vary according to
patient’s tolerance, amount and viscosity of
secretion
 After treatment at frequency, the patient instructed
to cough or huff
SUMMARY
 Introduction – normal airway clearance
 Results of Impaired Airway Clearance
 Airway clearance technique
1. Coughing
2. Postural drainage
3. Breathing exercise
4. ACBT
5. Autogenic drainage
6. PEP
7. Suction
8. HFCC
THANK YOU

Airway clearence technique

  • 1.
    AIRWAY CLEARANCE TECHNIQUE DR. ARJUNPATEL MPT-MUSCULOSKELETAL AND SPORTS SCIENCE
  • 2.
    INTRODUCTION  Normal airwayclearance  Impaired airway clearance (factors)  Ineffective mucocilliary clearance  Excessive secretions  Thick secretions  Ineffective cough  Immobility / inadequate exercise
  • 3.
    Results of ImpairedAirway Clearance  Airway obstruction  Mucus plugging  Atelectasis  Impaired gas exchange  Infection  Inflammation
  • 4.
  • 5.
    AIRWAY CLEARENCE TECHNIQUE Goals  To reduce lung tissue destruction  To improve V/Q ratio  Decrease infection and illness  Improve quality of life
  • 6.
    1. COUGHING  Acough can either be a reflex or a voluntary action  Generally, in healthy individuals a cough is rarely heard unless a person has a cold or an irritant is inhaled and a sneeze or a ensures to evacuate the foreign body  STAGE: 1. Adequate inspiration 2. Closing of glottis 3. Increase intrathoracic pressure 4. Expulsion
  • 8.
     To improvecough effectiveness 1. Position the patient for success, especially in regard to trunk alignment 2. Maximize inspiratory phase through verbal cues and active movement of arm 3. Improve hold stage through verbal cues and positioning 4. Maximize intrathoracic and intraabdominal pressure with muscle contraction, physical assist 5. Instruct the patient in appropriate timing and trunk movements for expulsion 6. Make the procedure physically active on the patient’s part
  • 9.
     Precaution (avoid) 1.Resent pneumonectomy 2. Aneurysm 3. Raised ICP 4. Recent eye surgery
  • 10.
    2. BREATHING EXERCISE 3.POSTURAL DRAINAGE - PERCUSSION - VIBRATION - SHAKING
  • 11.
    4. ACBT  Theactive cycle of breathing involves three phases repeated in cycles 1. Breathing control 2. Thoracic expansion 3. Forced expiratory technique  This method encourages active participation of the patient  More effective when performed by patient alone as with aid with therapist
  • 12.
    PREPARATION OF PATIENT Treatment of two or three productive areas during one session may be tolerated by most patients  The patient is positioned or positions herself in a PD position/normal sitting to stimulate the drainage of a productive area of the lungs  A minimum of 10 mins in any productive position may be necessary to clear moderate amount of secretion  Patients after surgery or with minimal secretions may not require as much time, and very ill patients may fatigue before optimal treatment is given
  • 13.
  • 14.
    1. BREATHING CONTROL: The patient is instructed to breath in a relaxed manner using normal tidal volume  Upper chest and shoulders should remain relaxed  Lower chest and abdomen should be active  The phase of breathing control should last as long as the patient requires to relax and to prepare for the next phases, usually 5 to 10 sec.  Period of breath control between other phases is essential to prevent bronchospasm
  • 15.
    2. THORACIC EXPANSIONEXERCISES  The emphasis during this phase is on inspiration  The patient is instructed to take 3-4 deep breath to inspiratory reserve volume Expansion of lung Decrease collapse of lung tissue  The expiration is passive and relaxed  Chest percussion, shaking or vibration may be performed in combination with thoracic expansion with thoracic expansion as the patient exhales
  • 16.
    3. FORCED EXPIRATORYTECHNIQUE  This phase consist of huffing  A huff is a rapid, forced exhalation but not with maximal effort  This maneuver can be compared with fogging eyeglasses with warm breath  1 or 2 huffs performed at mid to low lung volume  Abdominal muscle contraction to produce forced exhalation
  • 17.
     The ACBTmay be adapted to the individual patient’s need  If secretions are tenacious, two cycles of the thoracic expansion phase may be necessary to loosen the secretion before the FET can perform  In a patient with bronchospasm, the period of breathing control may be as long as 10 to 20 sec.  After surgery, the patient may be shown how to support the incision
  • 18.
    ADVANTAGE  Patient participatesactively in secretion mobilization  Technique can be introduced as early as 3-4 yrs of age.  It is adopted for patients with bronchospasm and acute exacerbation.  Reduction in oxygen saturation caused by chest percussion may be avoided by ACBT.
  • 19.
    5. AUTOGENIC DRAINAGE It is a breathing technique that uses expiratory airflow to mobilize bronchial secretions  It is a self drainage method that is performed independently by the patient in sitting position  AD consist of 3-phases  Unsticking phase – loosen secretions in the peripheral airways  Collecting phase – moves secretion to central airway  Evacuating phase – removal of secretions
  • 20.
     This techniqueof airway clearance requires much patience and concentration to learn  So, not suitable to for young children. Ideal for adolescent or adult who prefers an independent method
  • 21.
    Preparation of patient Patient should be seated upright in a chair with a back for support  Surrounding area should be avoid of distraction & provide good concentration  Upper airways (nose & throat) should be cleared of secretions by huffing or blowing nose  Therapist should be seated to the side and slightly behind the patient, close enough to hear the patient’s breathing  One hand should be placed to feel the work of abdominal muscles and other hand placed on upper chest
  • 22.
    Treatment tech  Inall phases, inhalation should be done slowly, through the nose if possible, using diaphragm or lower chest  A 2 to 3 sec breath hold should follow, allowing collateral ventilation to get air behind the secretion  Exhalation should occur through mouth with the glottis open, causing the secretions to be heard  The vibrations of the mucus may also be felt with the hand placed on the upper chest
  • 23.
     High frequenciesmean that the secretions are located in the small airways; low frequencies mean that the secretions have moved to the large airways.  The unsticking phase  this phase mobilizes mucus from the periphery of the lungs by lowering the mid-tidal volume below the functional residual capacity level  In practice, inspiration is followed by a deep expiration into the expiratory RV as possible by contracting abdominal muscle
  • 24.
     This lowlung volume breathing continues until the mucus is loosened and starts to move into the larger airway  the collecting phase:  this phase collects the mucus in the middle airways by increasing the lung volume over the unsticking phase  Tidal volume breathing is then changed gradually from expiratory RV toward the inspiratory RV range
  • 25.
  • 26.
     This lowto middle lung volume breathing continues until the sound of the mucus decreases  It shows the mucus moves into the central airways  The evacuating phase:  The patient increases inspiration into the inspiratory RV  This middle to high lung volume breathing continues until the secretions are in the trachea and are ready to expectorated
  • 27.
     The collectedmucus can be evacuated by a stronger expiration or a high volume huff  Non productive coughing should avoid  Duration of each phase of AD depends on the location of the secretions.  The duration of a session depends on the amount and viscosity of the secretions  An average treatment will be 30 to 45 min
  • 28.
    Advantage & disadvantage Performed independently by patients over 12 yrs of age and requires no additional equipment  It do not requires postural drainage position  This tech. takes more practice than others  use in patients with airway hyperreactivity  AD is not the treatment of choice for a patient who is unmotivated or uncooperative
  • 29.
    6. POSITIVE EXPIRATORY PRESSURE(PEP)  PEP creates a back pressure to stent the airways open during exhalation and promotes collateral ventilation, allowing pressure to build up distal to the obstruction  A form of intermittent PEP is provided by a device called the flutter.  This pipe like device provides  Positive expiratory pressure  Oscillation of the airways
  • 30.
     Accelerated expiratoryflow rates to loosen secretions and move them centrally  PEP is performed in the upright position and can be used during acute episodes as well as chronic pulmonary conditions  Children over 4 yrs may be instructed in tech.  it may provide independent method of airway clearance in older children and adults
  • 31.
    Equipment required forPEP  A PEP mask  T-tube  One way valve  Resistors of various sizes or an adjustable resistor  Manometer  Nebulizer  Supplemental oxygen
  • 34.
     Flutter device Pipe like device  Mouthpiece  High density steel ball  Perforated plastic cover  circular cone
  • 35.
    Preparation for PEP The patient should be seated upright with elbows resting on a table  Use of a mask may require securing the device with both hands  A nebulizer or oxygen is attached if required  To determine the correct level of resistance for low-pressure PEP, the patient inhales using tidal volume and exhales actively into the mask/mouthpiece
  • 36.
     The resistanceis gradually decreased until the PEP level supplying 10 to 20 cm of water pressure  The desired inspiratory to expiratory ratio of 1:3 to 1:4  For high-pressure PEP, appropriate resistance is connecting the outlet of the PEP mask to a spirometer  Forced vital capacity maneuvers are performed through different expiratory resistors
  • 37.
     Flutter device inhale deeply and hold breath for 2-3 sec  Place flutter in mouth as stiff possible.  Exhale though flutter  Exhalation need not be forced . Patient best determines speed of exhalation.  Perform multiple exhalations through the flutter(usually 5 to 15) with breath hold to maximize mobilization of mucus  After multiple performance to precipitate coughing and mucus expectoration  Repeat entire sequence until mucus clear
  • 39.
    7. SUCTION  Thepatient with an artificial airway is not capable of effectively coughing, the mobilization of secretions from the trachea must be facilitated by aspiration. This is called as suctioning.  Suctioning - negative pressure applied within the airway – Can be via nose, mouth or via tracheotomy tube
  • 40.
    Indication  Patient hasan inability to clear secretions – Ineffective or absent cough – Evidence of retained secretions in upper airway  A sample of sputum is to be obtained for lab analysis purposes – Use a sterile “sputum trap” (Lukens trap)
  • 41.
    HAZARDS  Hypoxia /hypoxemia  Tracheal and / or bronchial mucosal trauma  Cardiac or respiratory arrest  Pulmonary hemorrhage  Cardiac dysrhythmias  Pulmonary atelectasis  bronchospasm  Hypotension / hypertension  Elevated ICP  Interruption of mechanical ventilation
  • 42.
    Equipment  Vaccum sourcewith adjustable regulator suction jar - motor provide negative pressure -50, -100 and – 300 mmHg - one or two suction bottle  stethoscope  Sterile gloves for open suctioning method  Clean gloves for closed suctioning method  Suction tube - connect bottle to catheter - clear plastic, disposable - sometime rubber tube used
  • 44.
     Connector - madeof plastic- clear/semitransperent  Sterile catheter - soft, clear plastic & disposible  Clear protective goggles, apron & mask  Sterile normal saline  Ambu bag  Suction tray with hot water for flushing/ bowl of antiseptic solution  Lubricating jelly & sterile gauge swabs
  • 45.
    Types of suctioning OPENSUCTION CLOSED SUCTION
  • 46.
     OPEN SUCTIONSYSTEM: Regularly using system in the intubated patients.  CLOSED SUCTION SYSTEM:  This is used to facilitate continuous mechanical ventilation and oxygenation during the suctioning.
  • 47.
    Mode of Entry The suction catheter may be introduced into the respiratory tract via - Nose (Nasopharyngeal) - Mouth (Oropharyngeal) - Tracheotomy tube
  • 48.
    Monitoring The following shouldbe monitored prior to, during & after the procedure:  Breath sounds  Oxygen saturation  RR  Haemodynamic parameters (pulse rate, Blood pressure)  Cough effort  ICP (If indicated and available)  Sputum characteristics (colour, volume, consistency & odor)  Ventilator parameters (PIP, Vt & FiO2)
  • 49.
    Open suction technique Perform hand hygiene, wash hands. It reduces transmission of microorganisms.  Turn on suction apparatus and set vacuum regulator to appropriate negative pressure. For adult a pressure of -100-120 mmHg, -80- 100mmhg for children & -60-80mmhg for infants.  Goggles, mask & apron should be worn to prevent splash from secretions  Wear sterile gloves with sterile technique  Preoxygenate with 100% O2
  • 50.
     With ahelp of an assistant open suction catheter package & connect it to suction tubing  With a help of an assistant disconnect the ventilator  Kink the suction tube & insert the catheter in to the ETtube until resistance is felt  Resistance is felt when the catheter impacts the carina or bronchial mucosa, the suction catheter should be withdrawn 1cm out before applying suction
  • 51.
     Apply continuoussuction while rotating the suction catheter during removal  The duration of each suctioning should be less then 15sec.  Assistant resumes the ventilator  Give four to five manual breaths with bag or ventilator  Continue making suction passes, bagging patient between passes, until clear of secretions, but no more than four passes
  • 52.
     Return patientto ventilator  Auscultate chest  Flush the catheter with hot water in the suction tray  Discard used equipments  Wash hands
  • 53.
  • 54.
     wash hands Wear clean gloves  Connect tube to closed suction port  Pre-oxygenate the patient with 100% O2  Gently insert catheter tip into artificial airway without applying suction, stop if you met resistance or when patient starts coughing and pull back 1cm out
  • 55.
     Place thedominant thumb over the control vent of the suction port, applying continuous or intermittent suction for no more than 10 sec as you withdraw the catheter into the sterile sleeve of the closed suction device  Repeat steps above if needed  Clean suction catheter with sterile saline until clear; being careful not to instill solution into the ETtube  Suction oropharynx above the artificial airway  Wash hands
  • 56.
    Contraindication 1. Risk ofinfection 2. Fresh bleeding/ trauma 3. Hypoxia 4. Cardiac arrhythmias 5. Atelectasis 6. Acute facial, head or neck injury 7. Bronchospasm
  • 58.
    8. HIGH FREQUENCYCHEST COMPRESSION (HFCC)  It consist of a vest linked to an air-pulse generator.  HFCC works by differential airflow, the expiratory flow rate is higher than the inspiratory flow rate, allowing mucus to transport from peripherals to central
  • 59.
    Preparation for HFCC Patient should seat upright in a chair.  The vest should fit properly but breathing should not restricted  The pressure control setting should be adjusted to either high or low  Foot/hand control may be place
  • 60.
    Treatment Technique  Thefrequency of chest compression - low (7 to 10 Hz) - medium (10 to 15 Hz) - high (15 to 25 Hz)  It can be given intermittent/continuous For intermittent,  The patient should inhale deeply and depress the foot/hand control at peak inspiration
  • 61.
    For continuous method, The foot/hand control should be depressed while breathing normally  The average length of time spent at each frequency is 3-5 min but it will vary according to patient’s tolerance, amount and viscosity of secretion  After treatment at frequency, the patient instructed to cough or huff
  • 62.
    SUMMARY  Introduction –normal airway clearance  Results of Impaired Airway Clearance  Airway clearance technique 1. Coughing 2. Postural drainage 3. Breathing exercise 4. ACBT 5. Autogenic drainage 6. PEP 7. Suction 8. HFCC
  • 63.