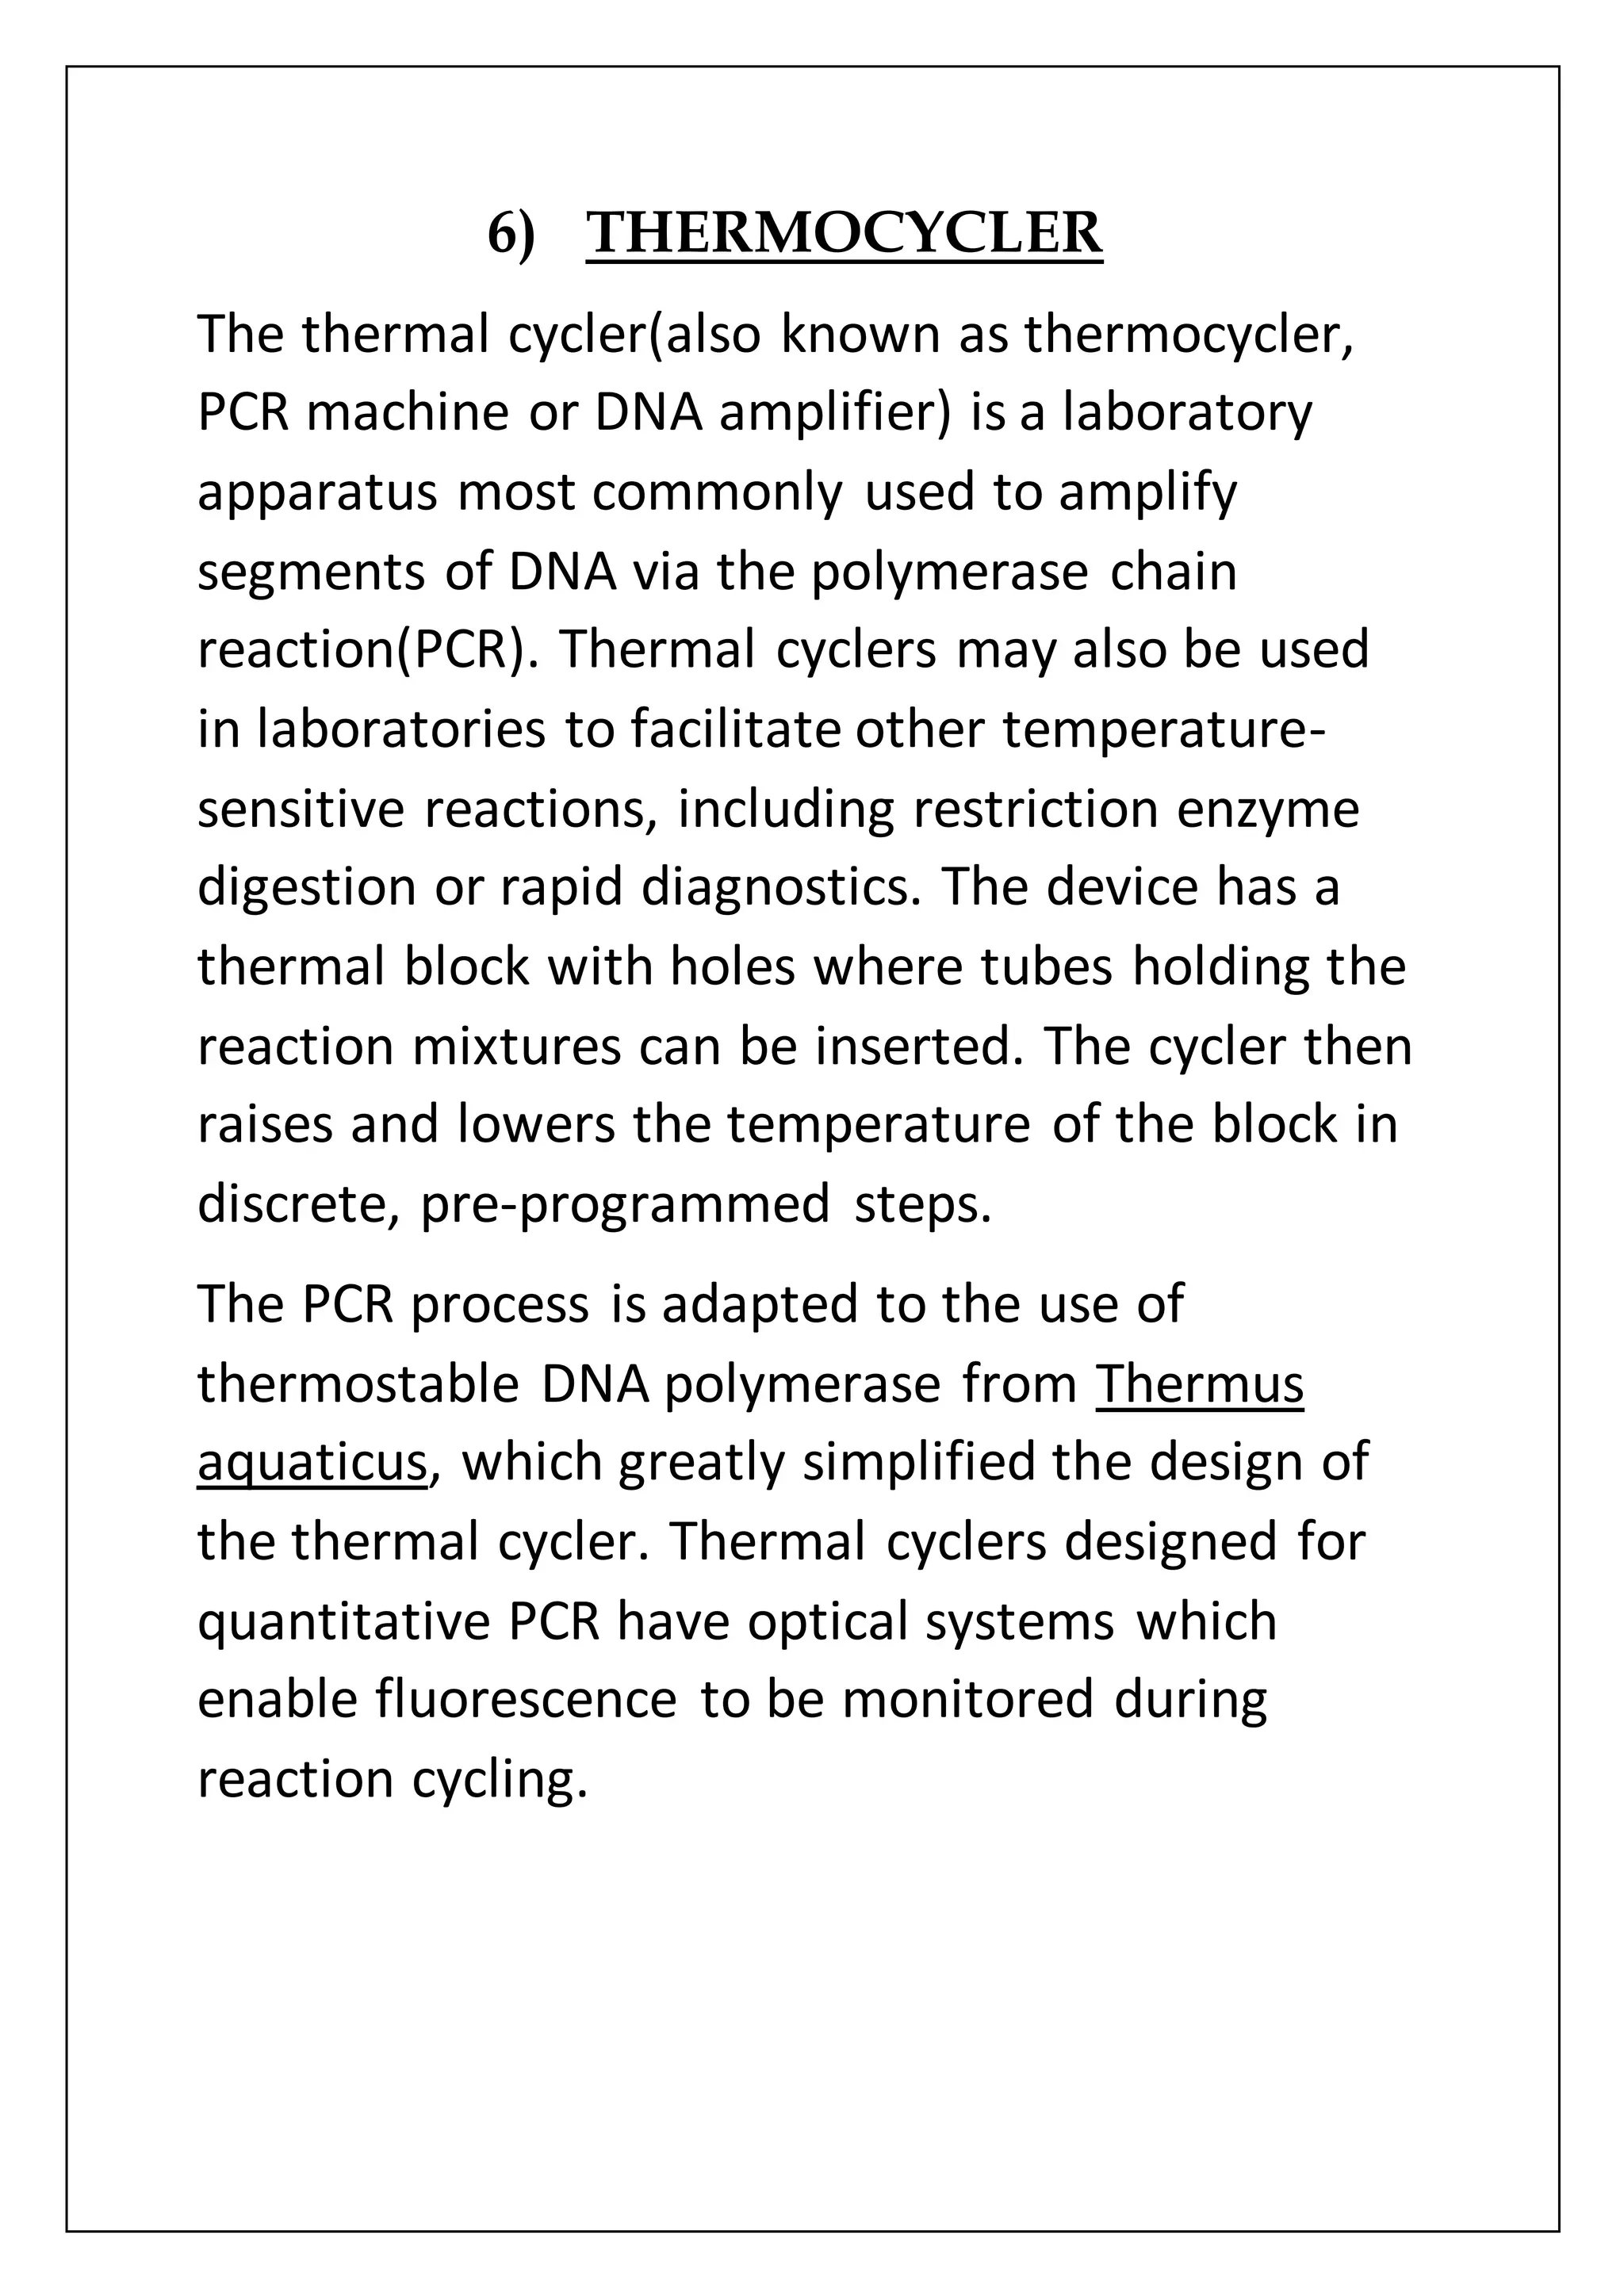
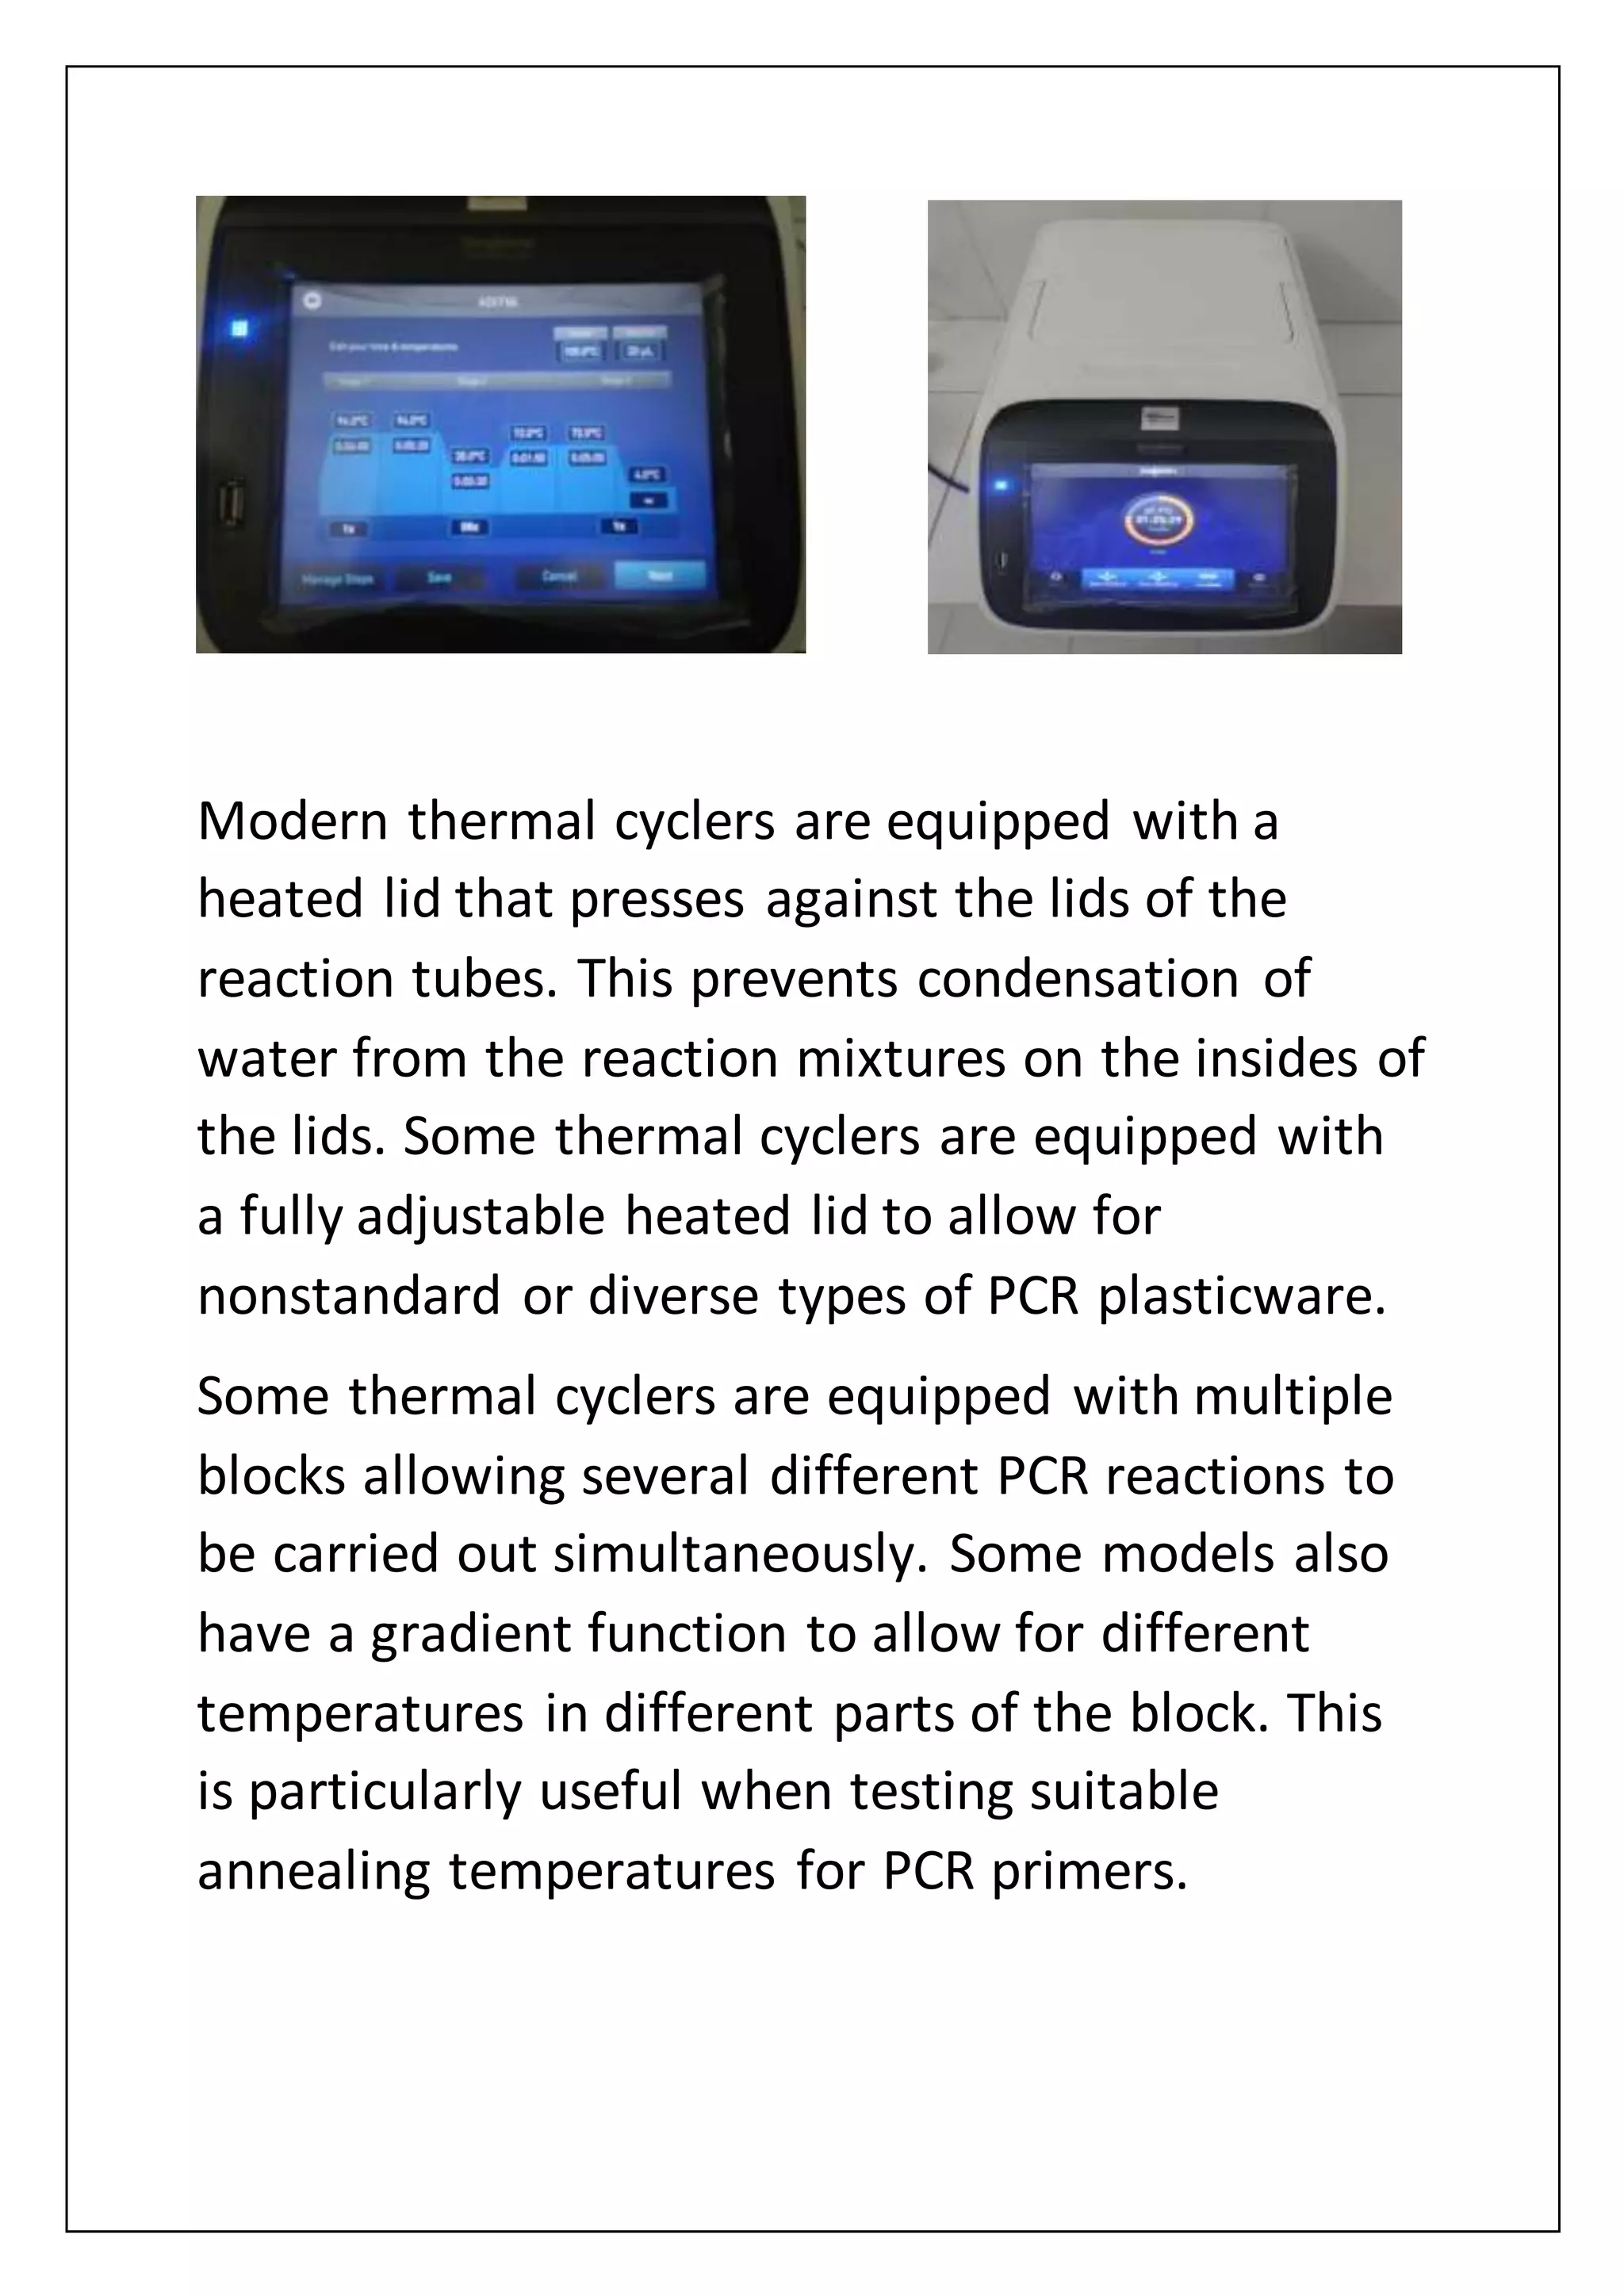
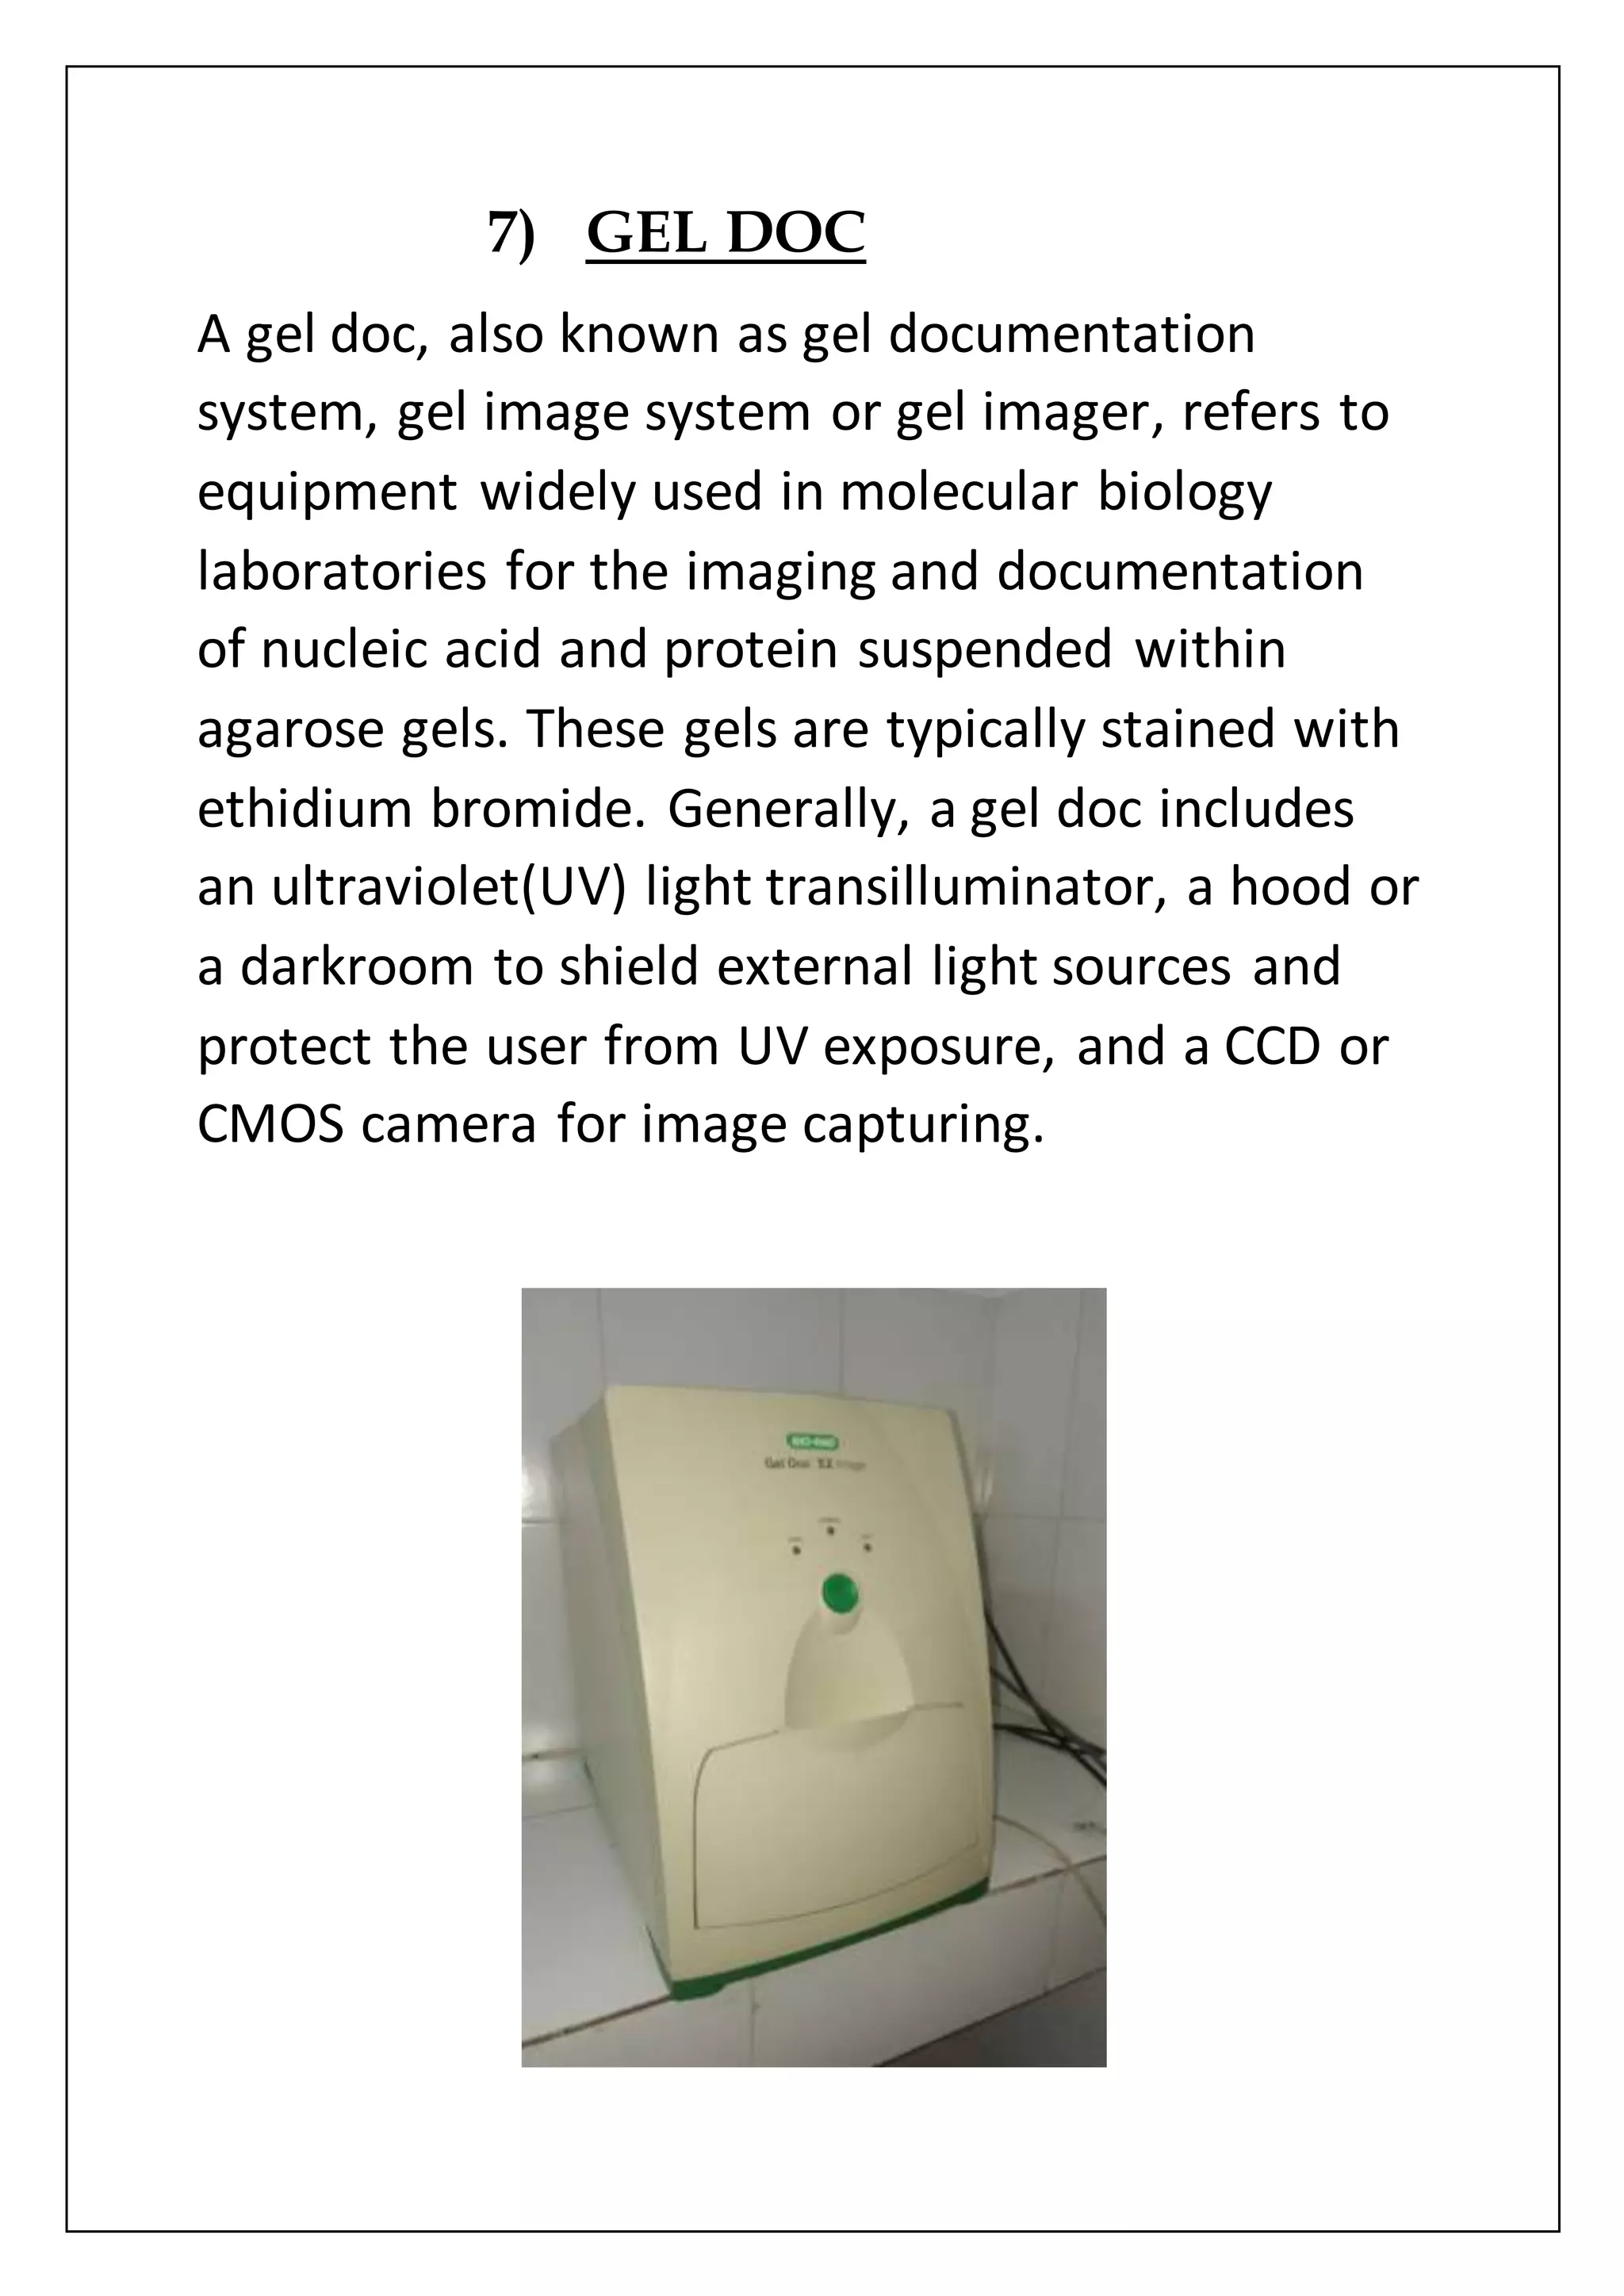
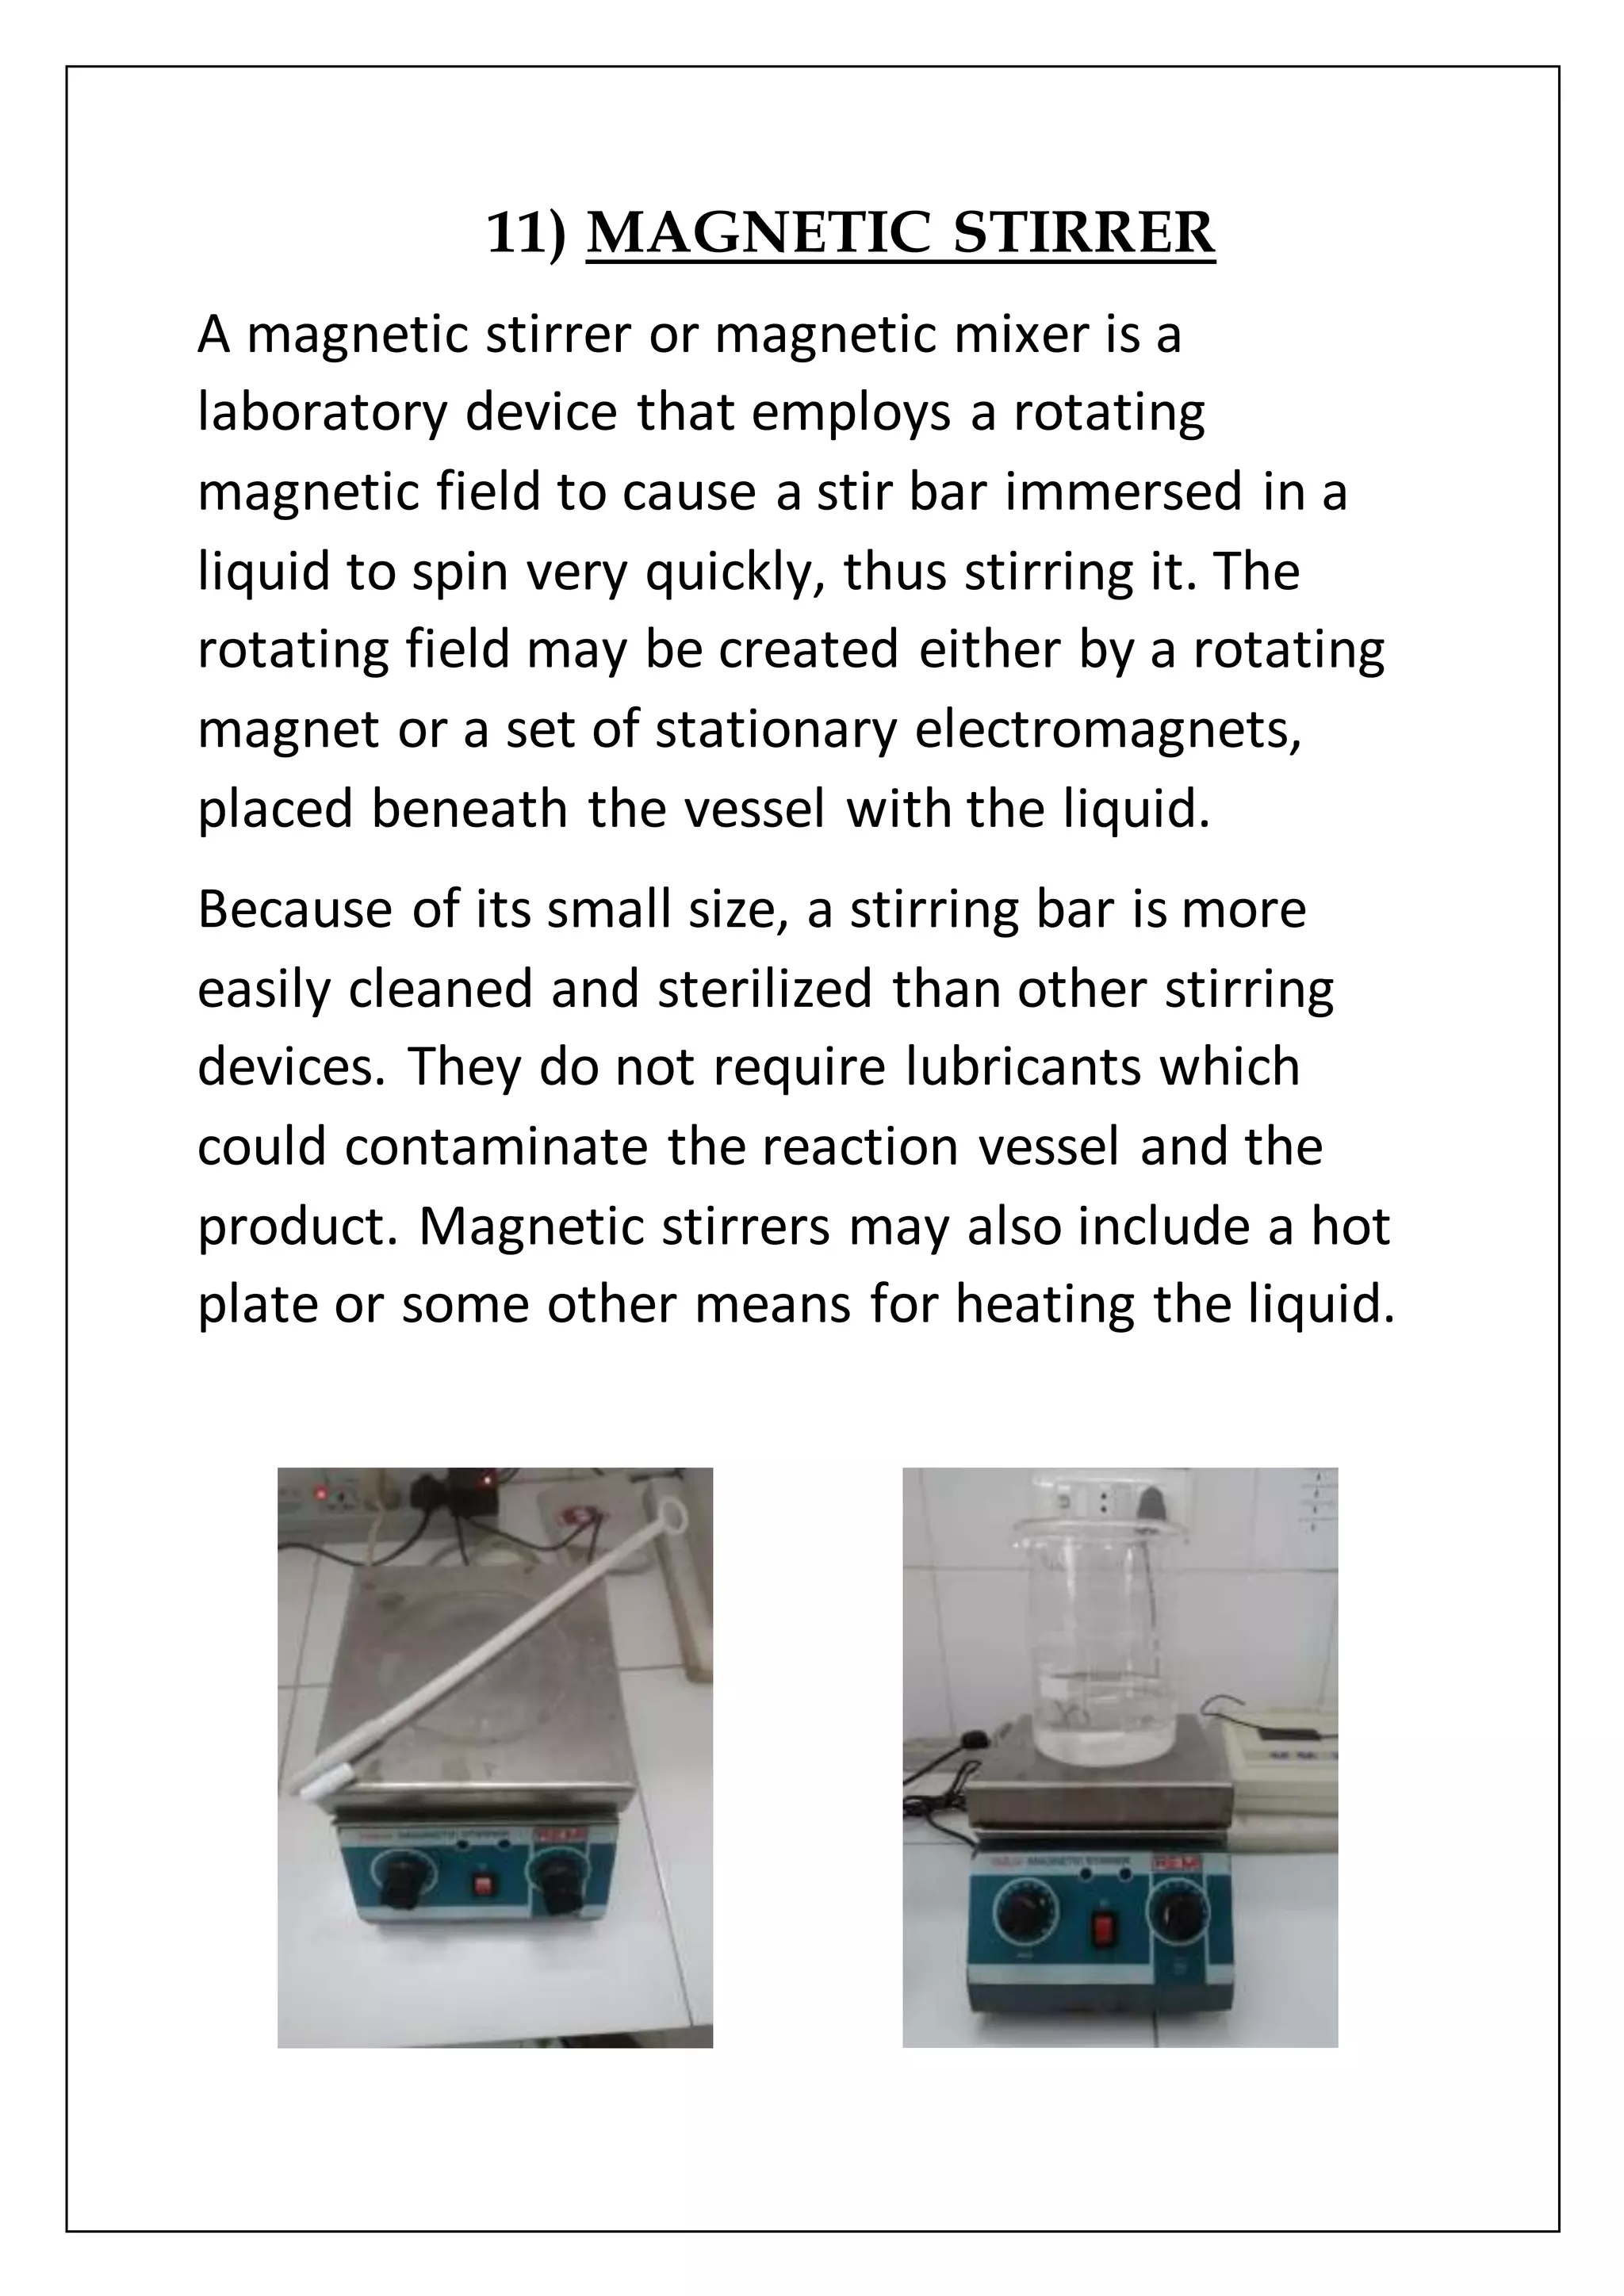
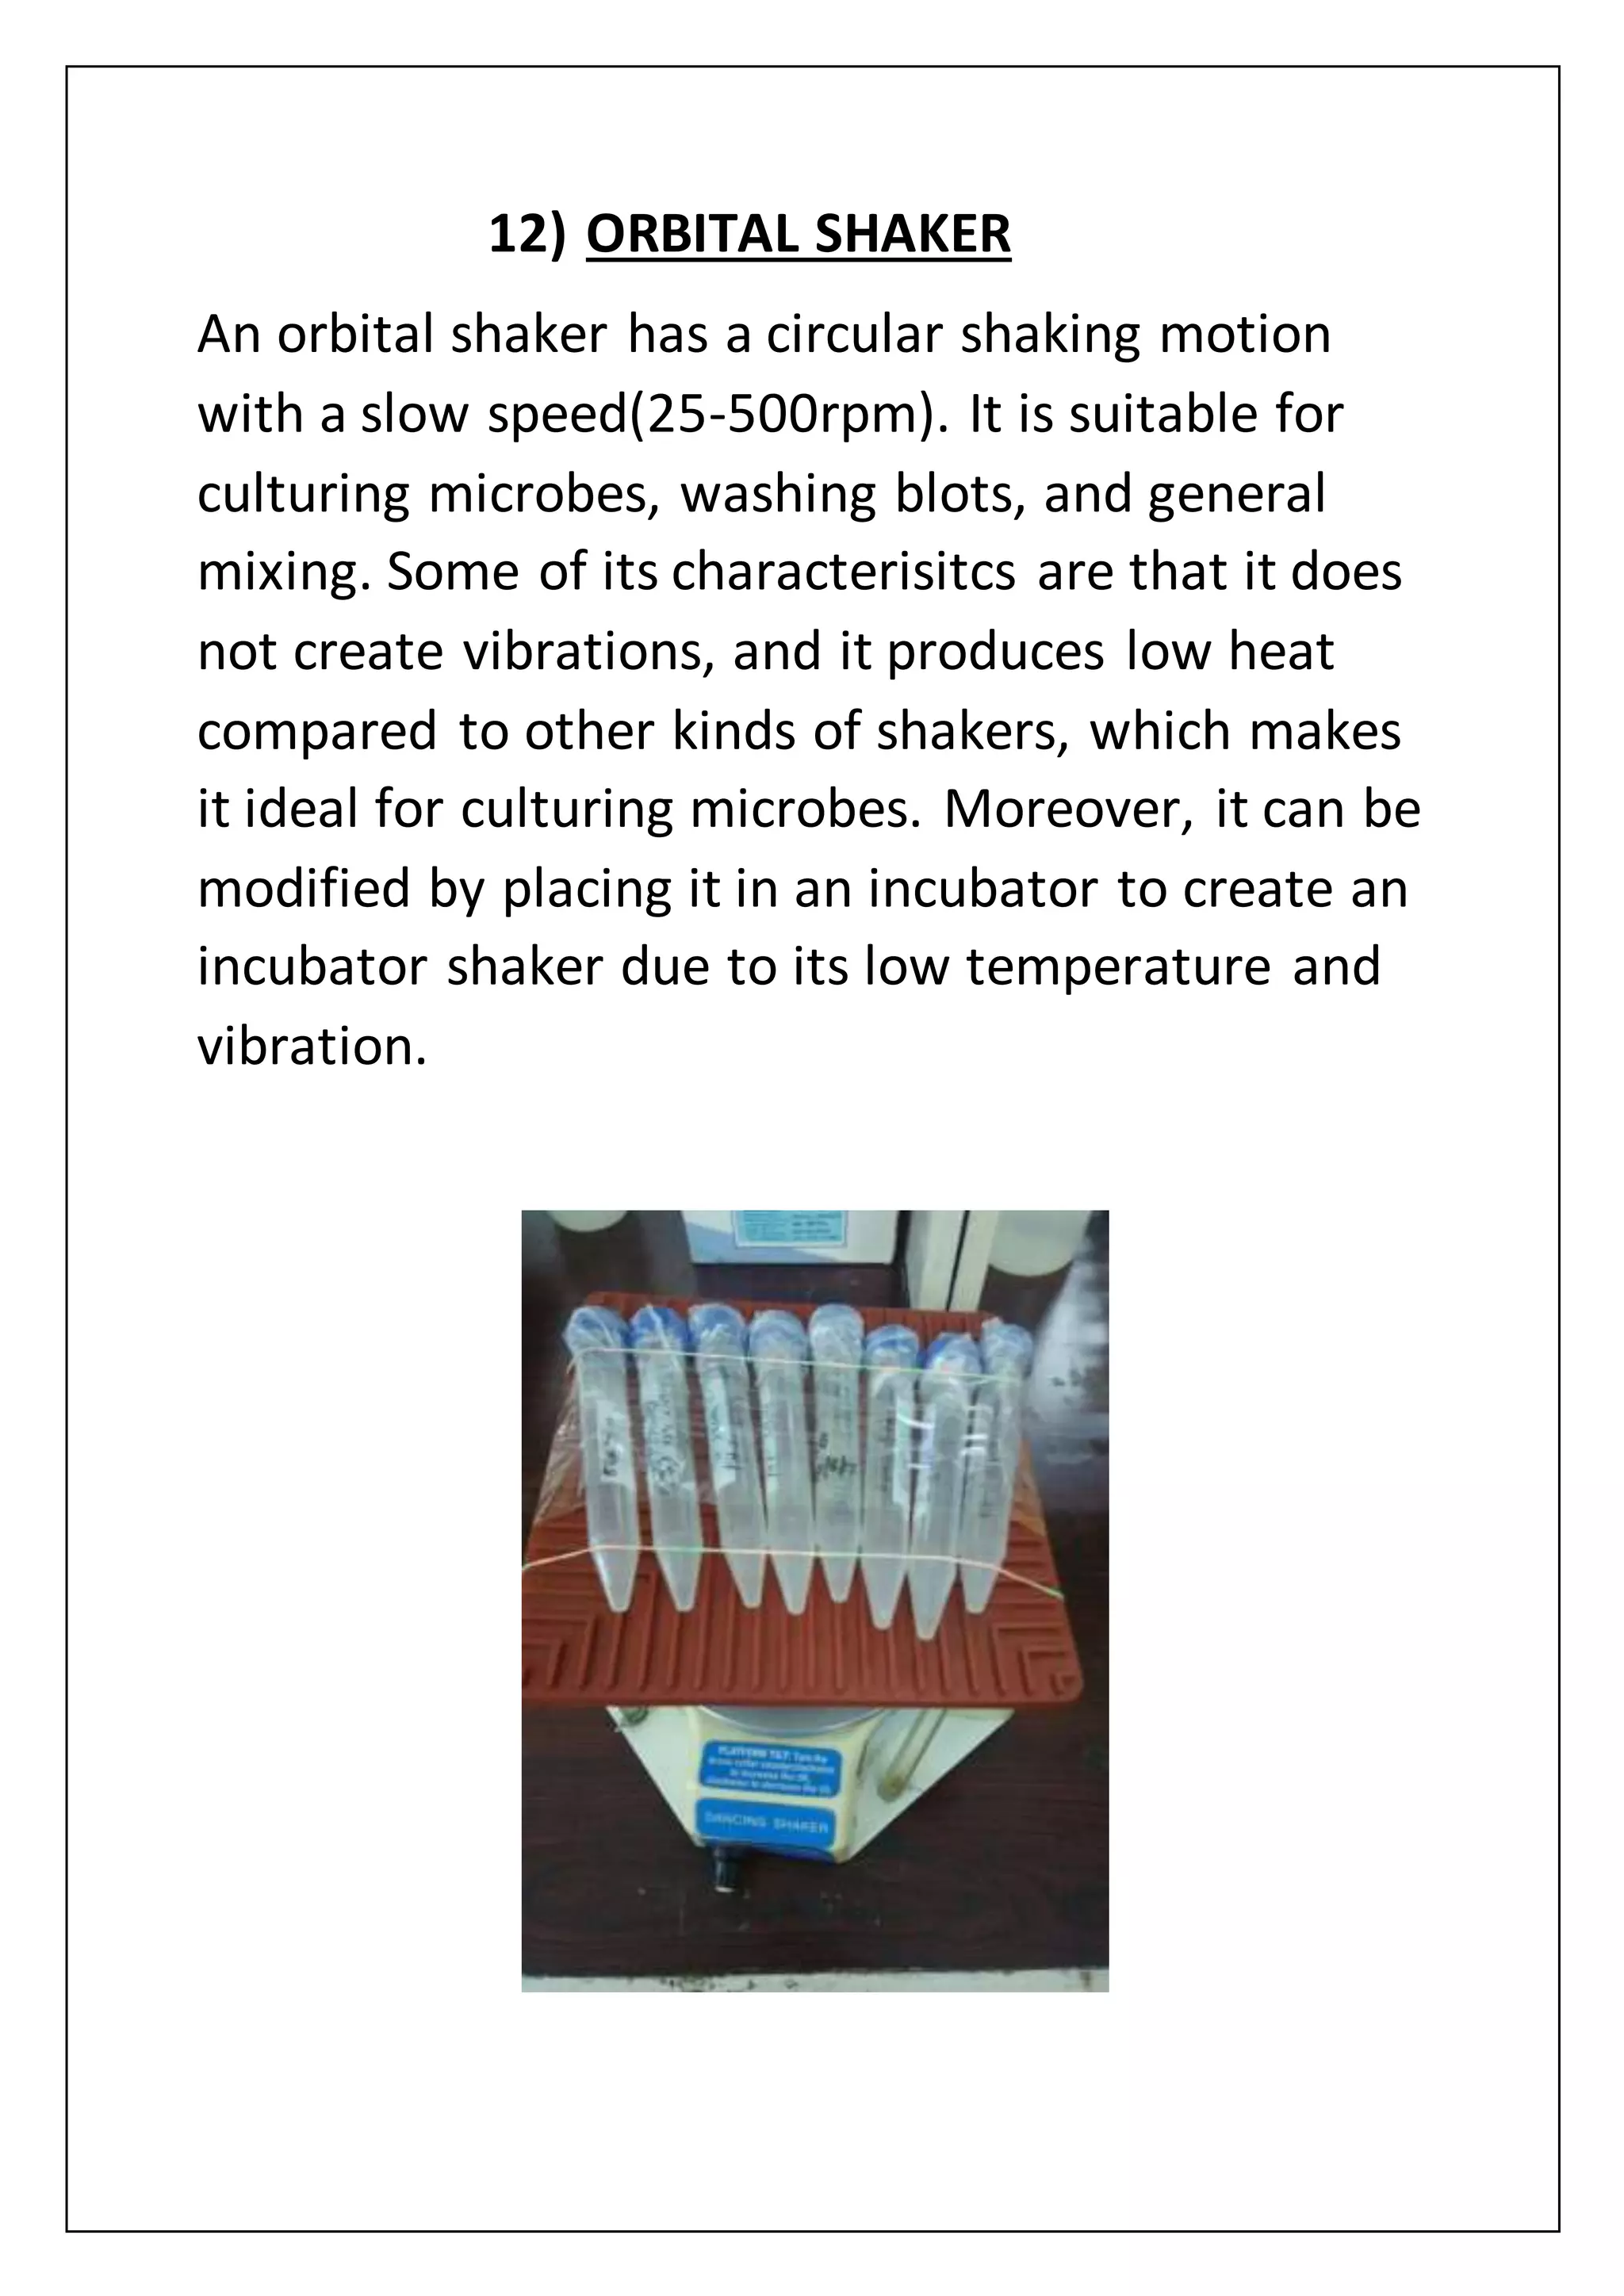
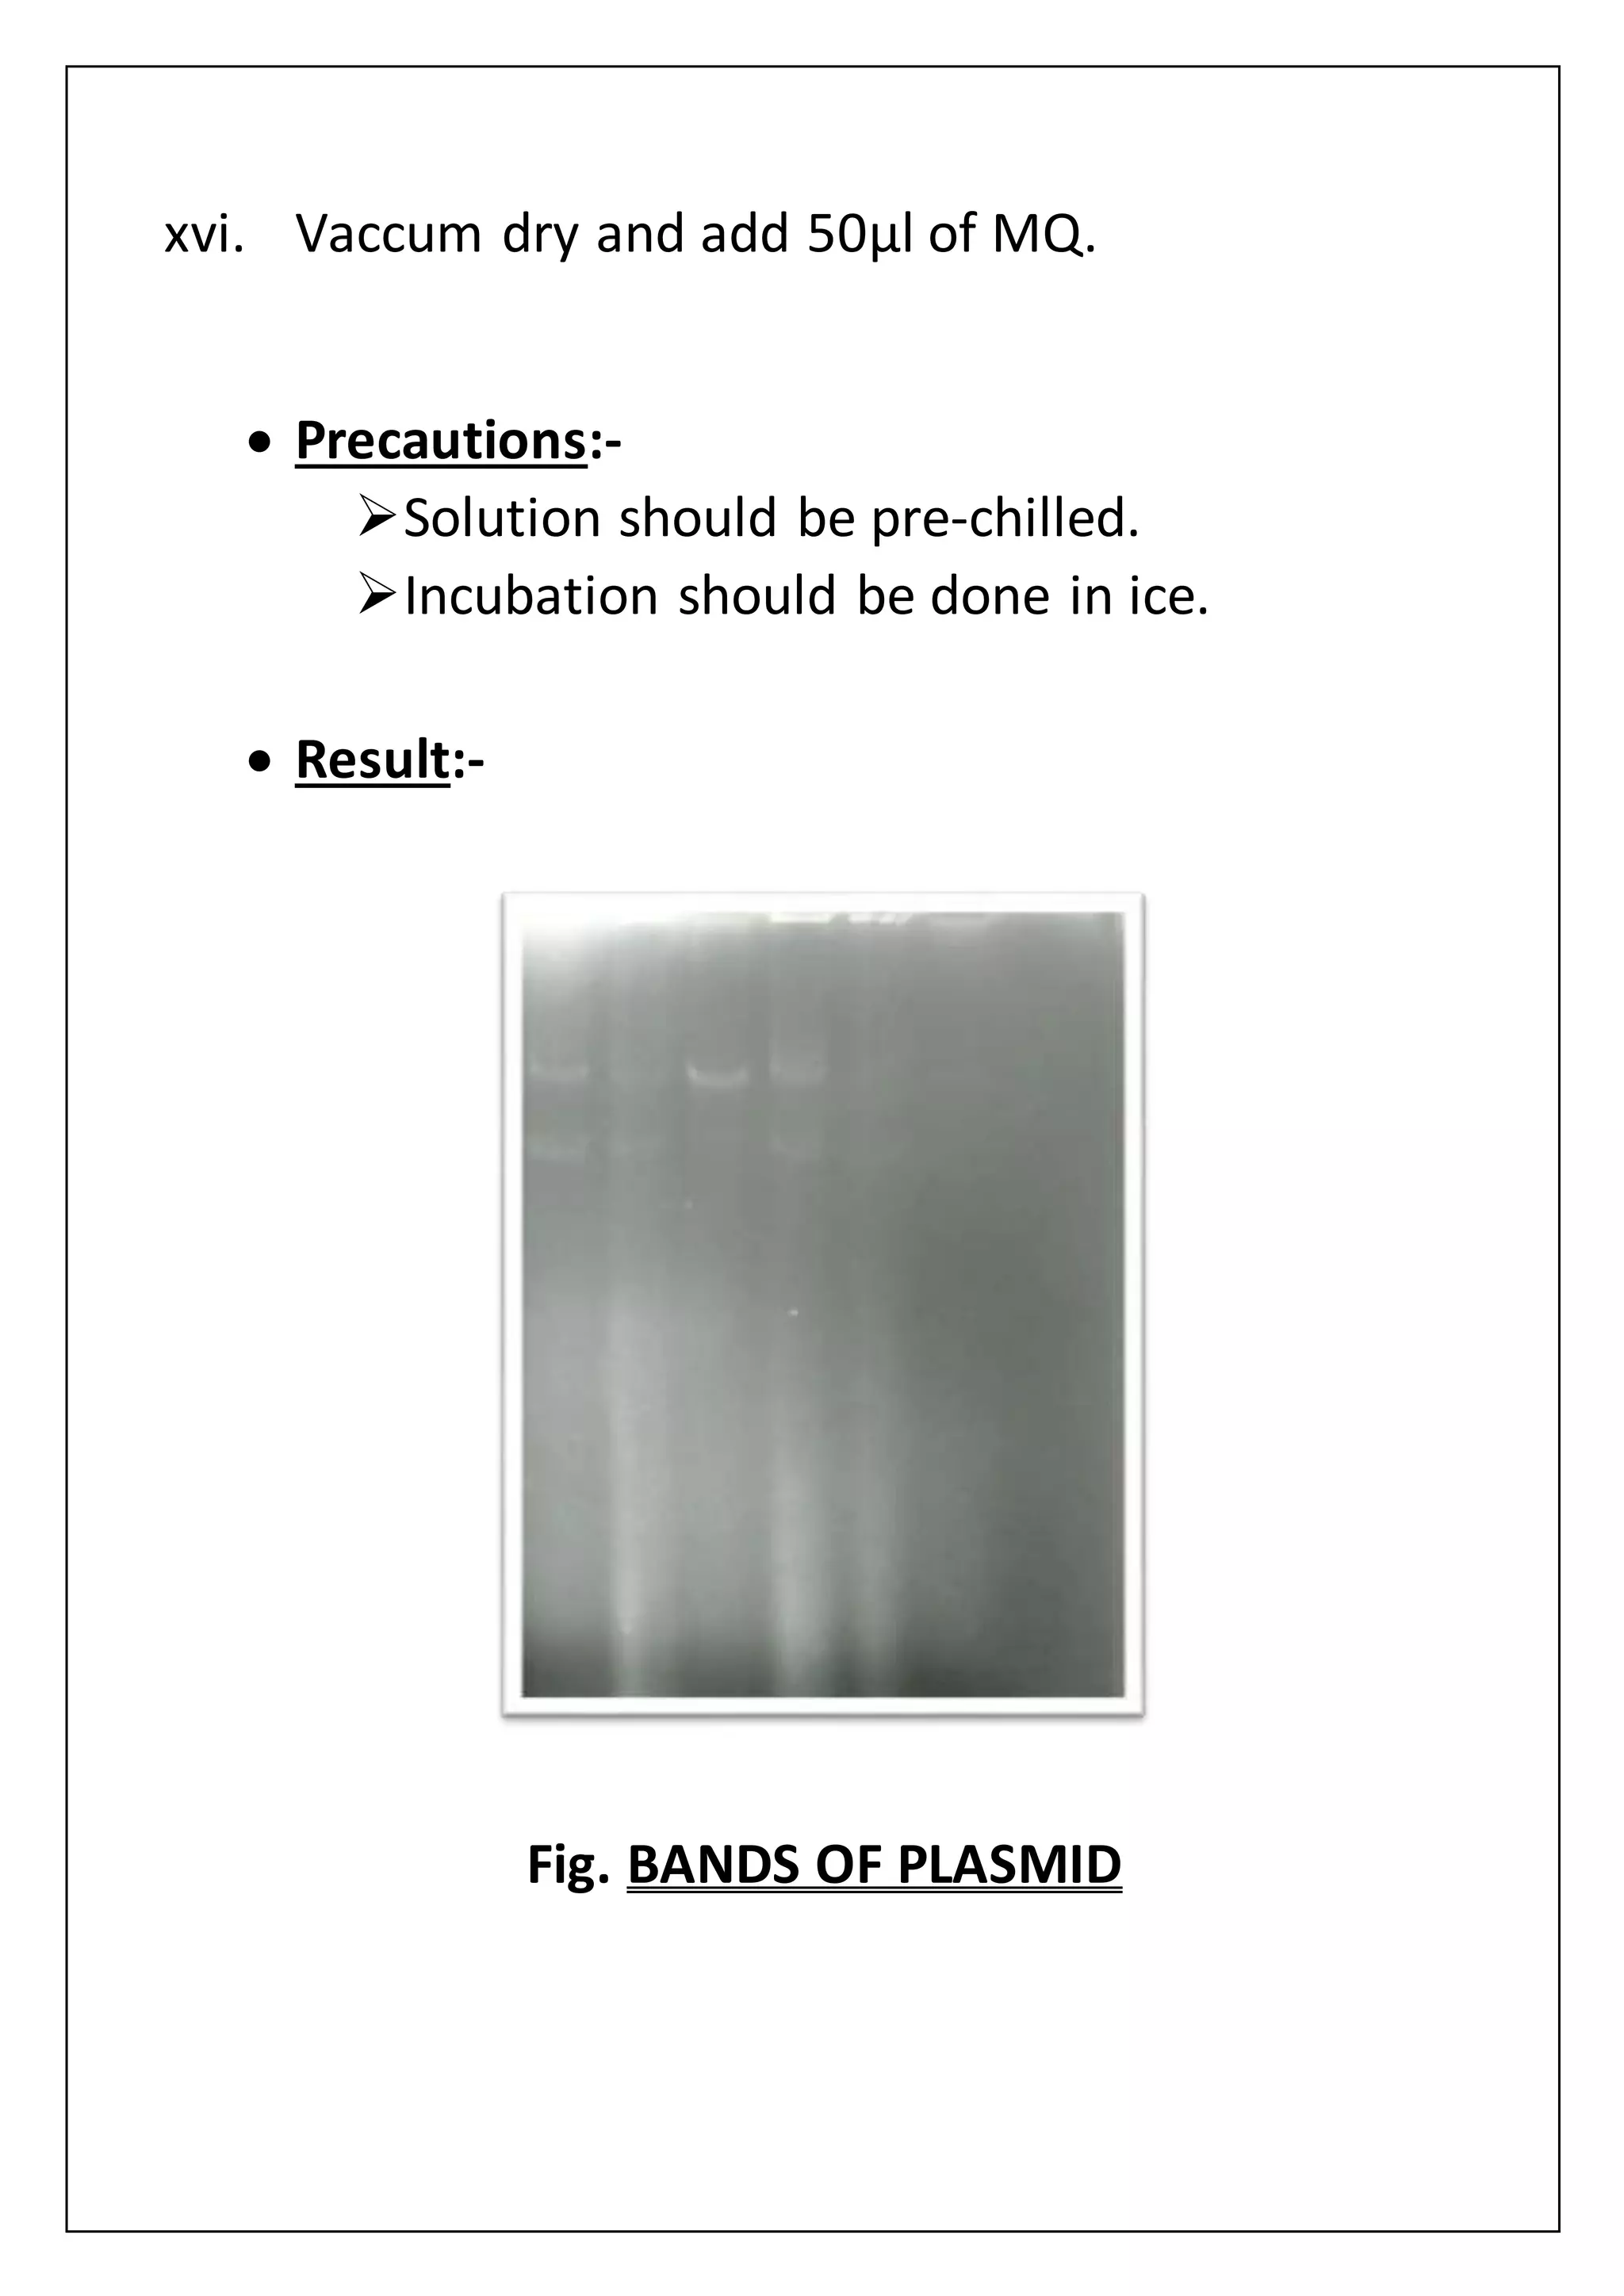
The document provides an overview of various laboratory instruments and molecular biology techniques, detailing their functions, principles, and applications. Key equipment described includes autoclaves, hot air ovens, laminar air flow cabinets, centrifuges, incubators, thermal cyclers, gel documentation systems, pH meters, vortex mixers, water baths, magnetic stirrers, orbital shakers, and electrophoretic chambers. Additionally, it outlines methods for plant DNA isolation and gel electrophoresis for analyzing macromolecules.


![[MASTERMIX]
MQ
10x TBE buffer
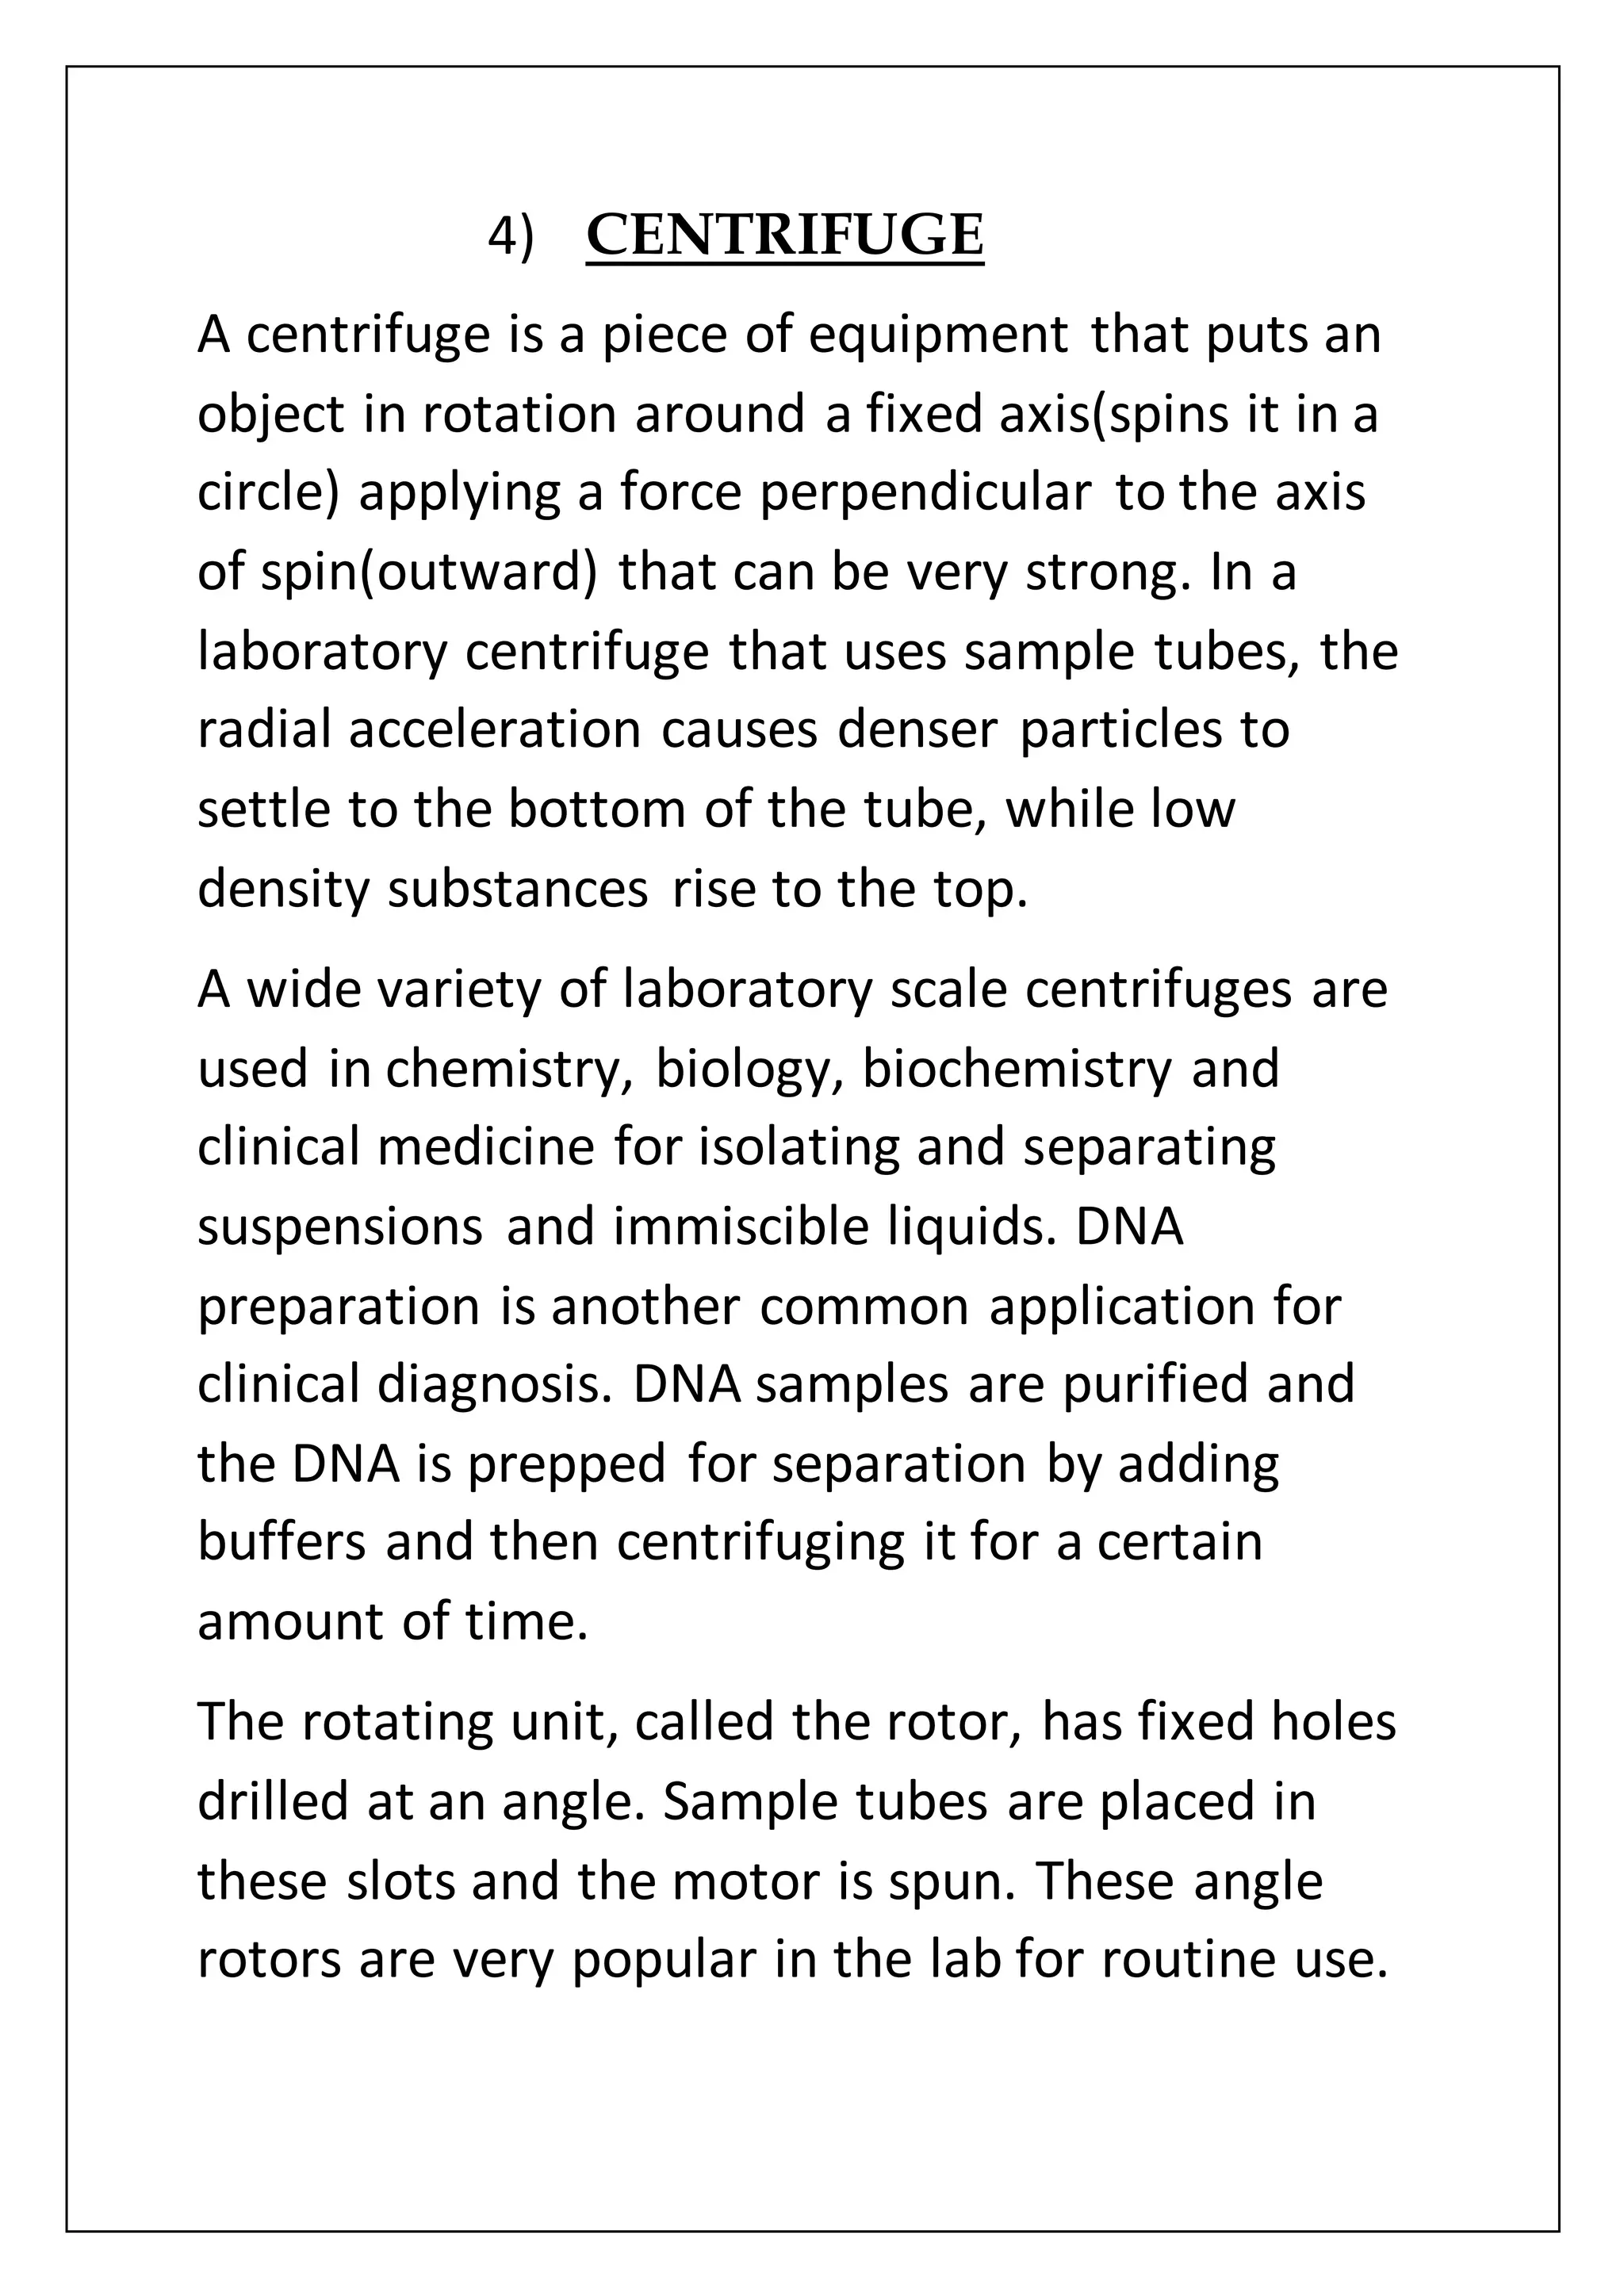
Mgcl2
dNTPs
BSA
Tween
Taq polymerase
Primer
DNA sample
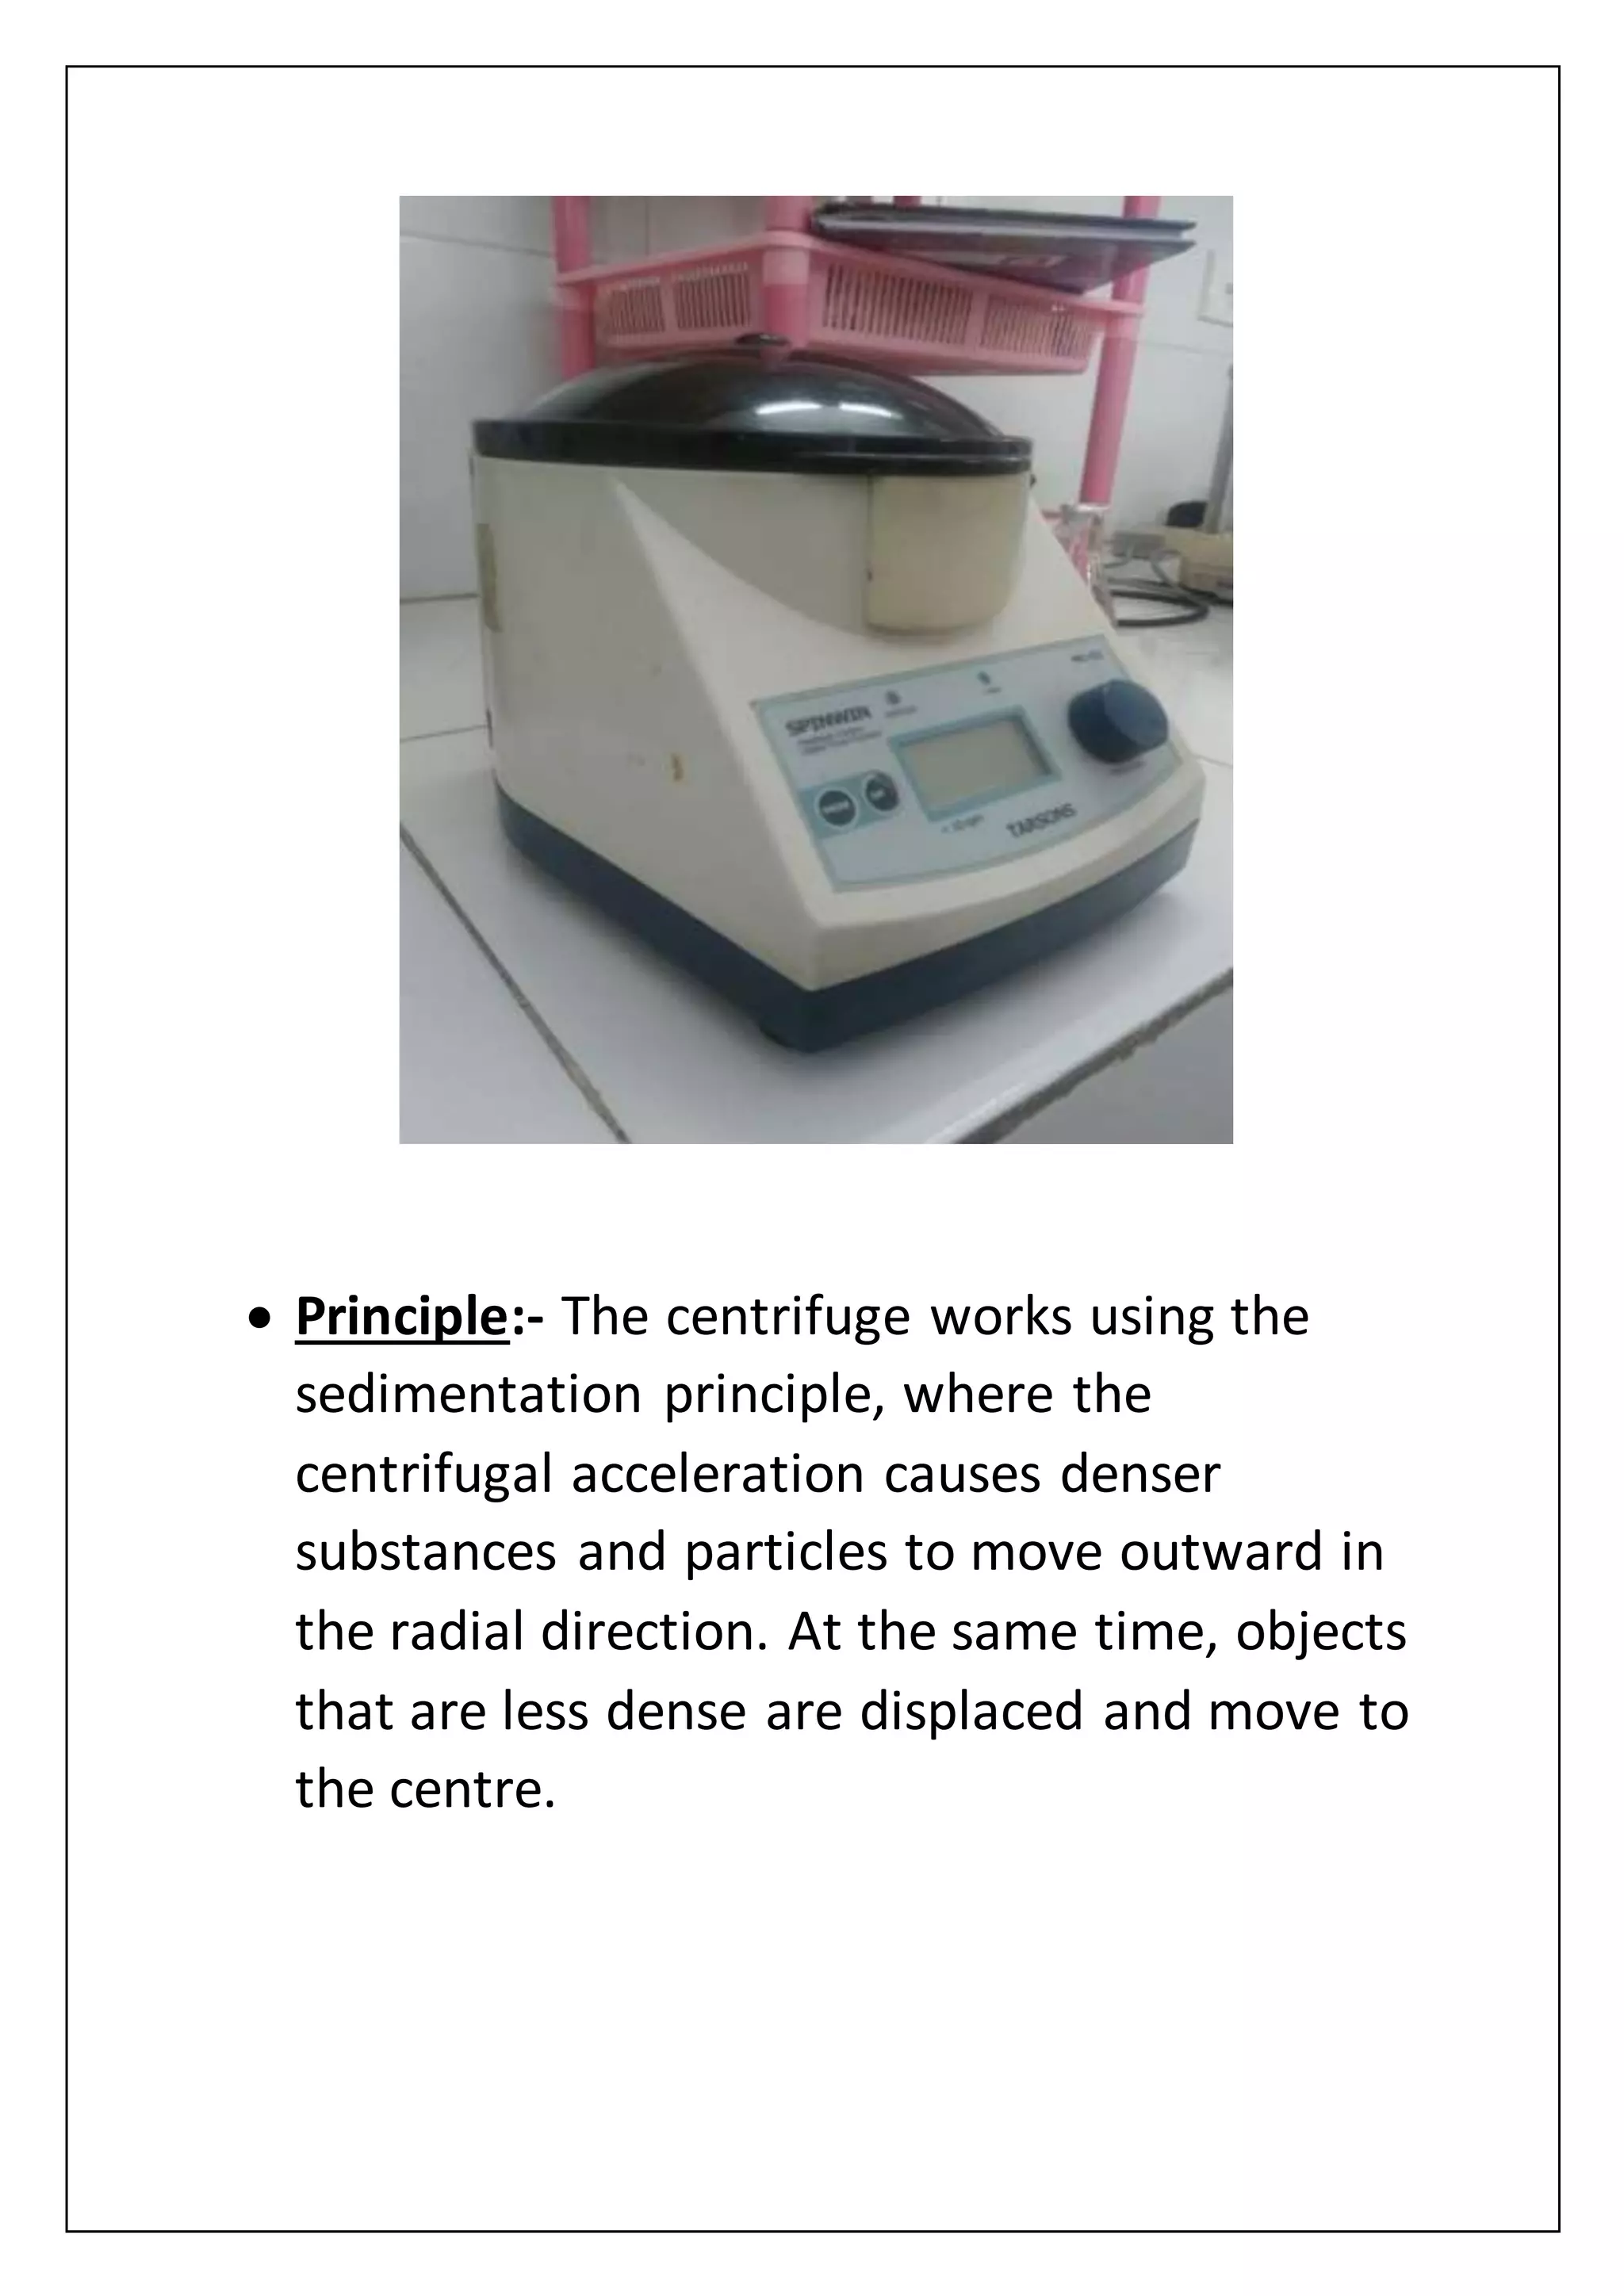
Procedure:-
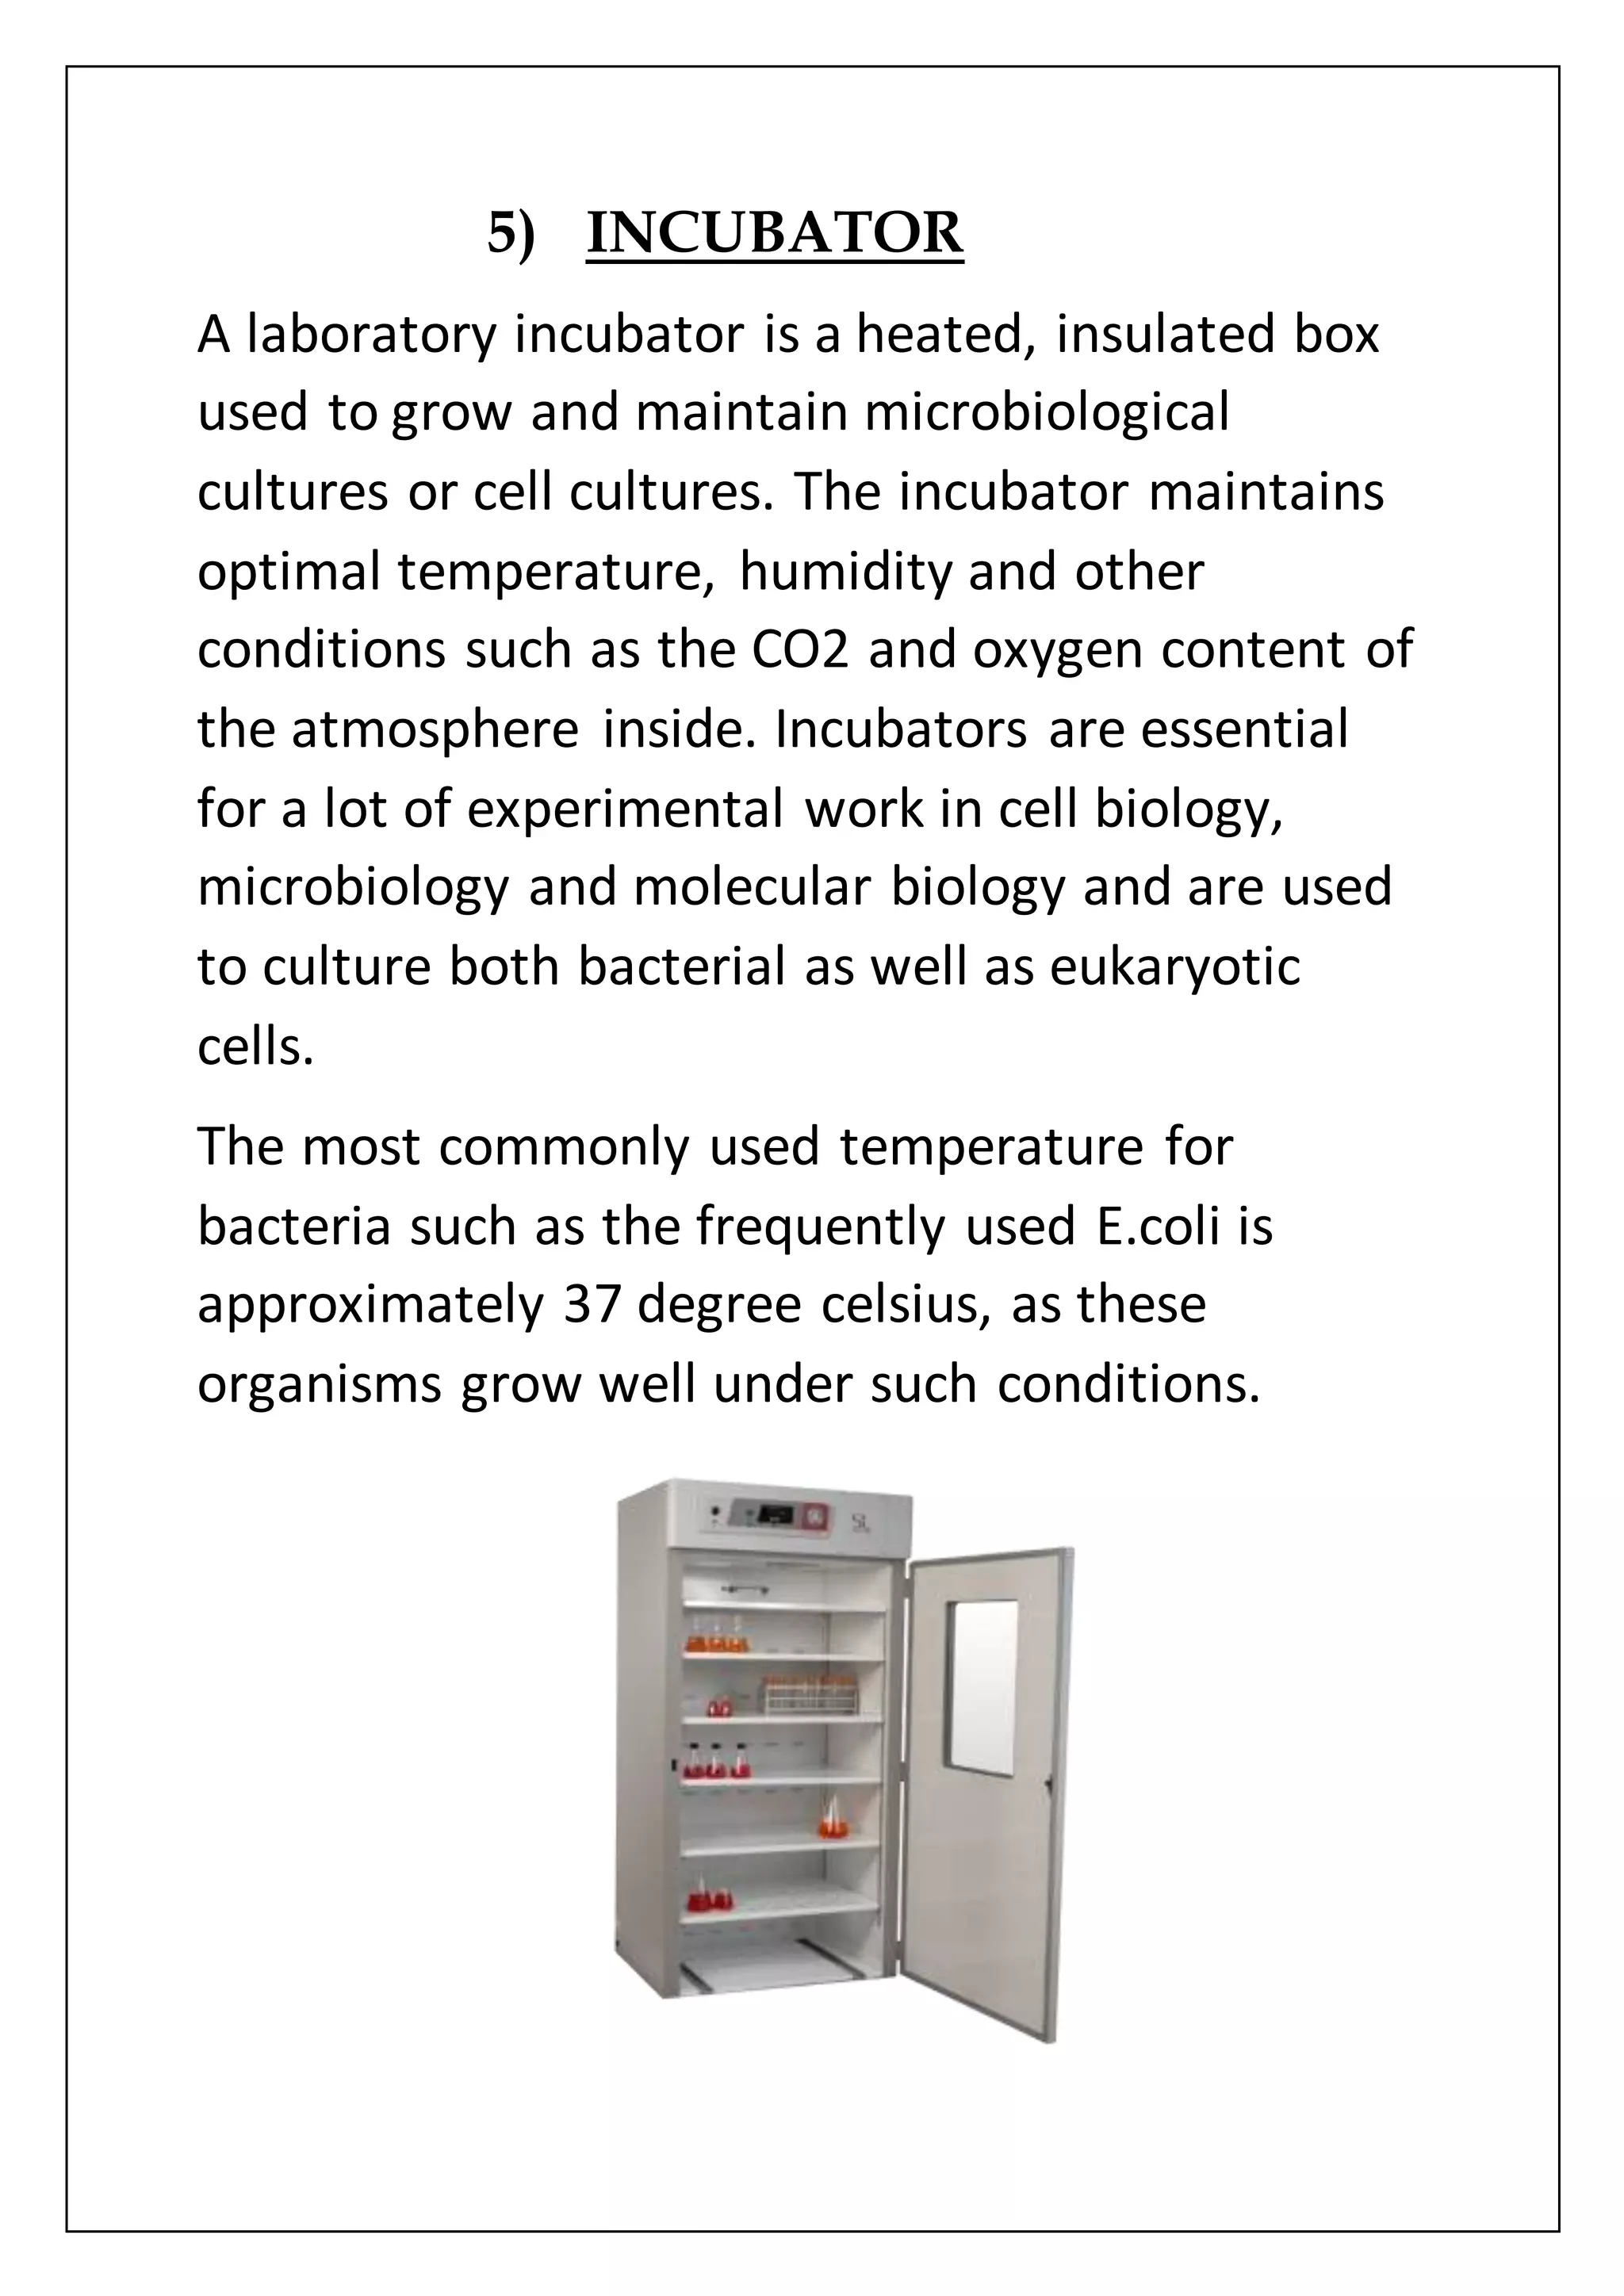
All the PCR components are mixed together
and are taken through series of three major
cycle reactions conducted in an automated,
self contained thermocycler machine.
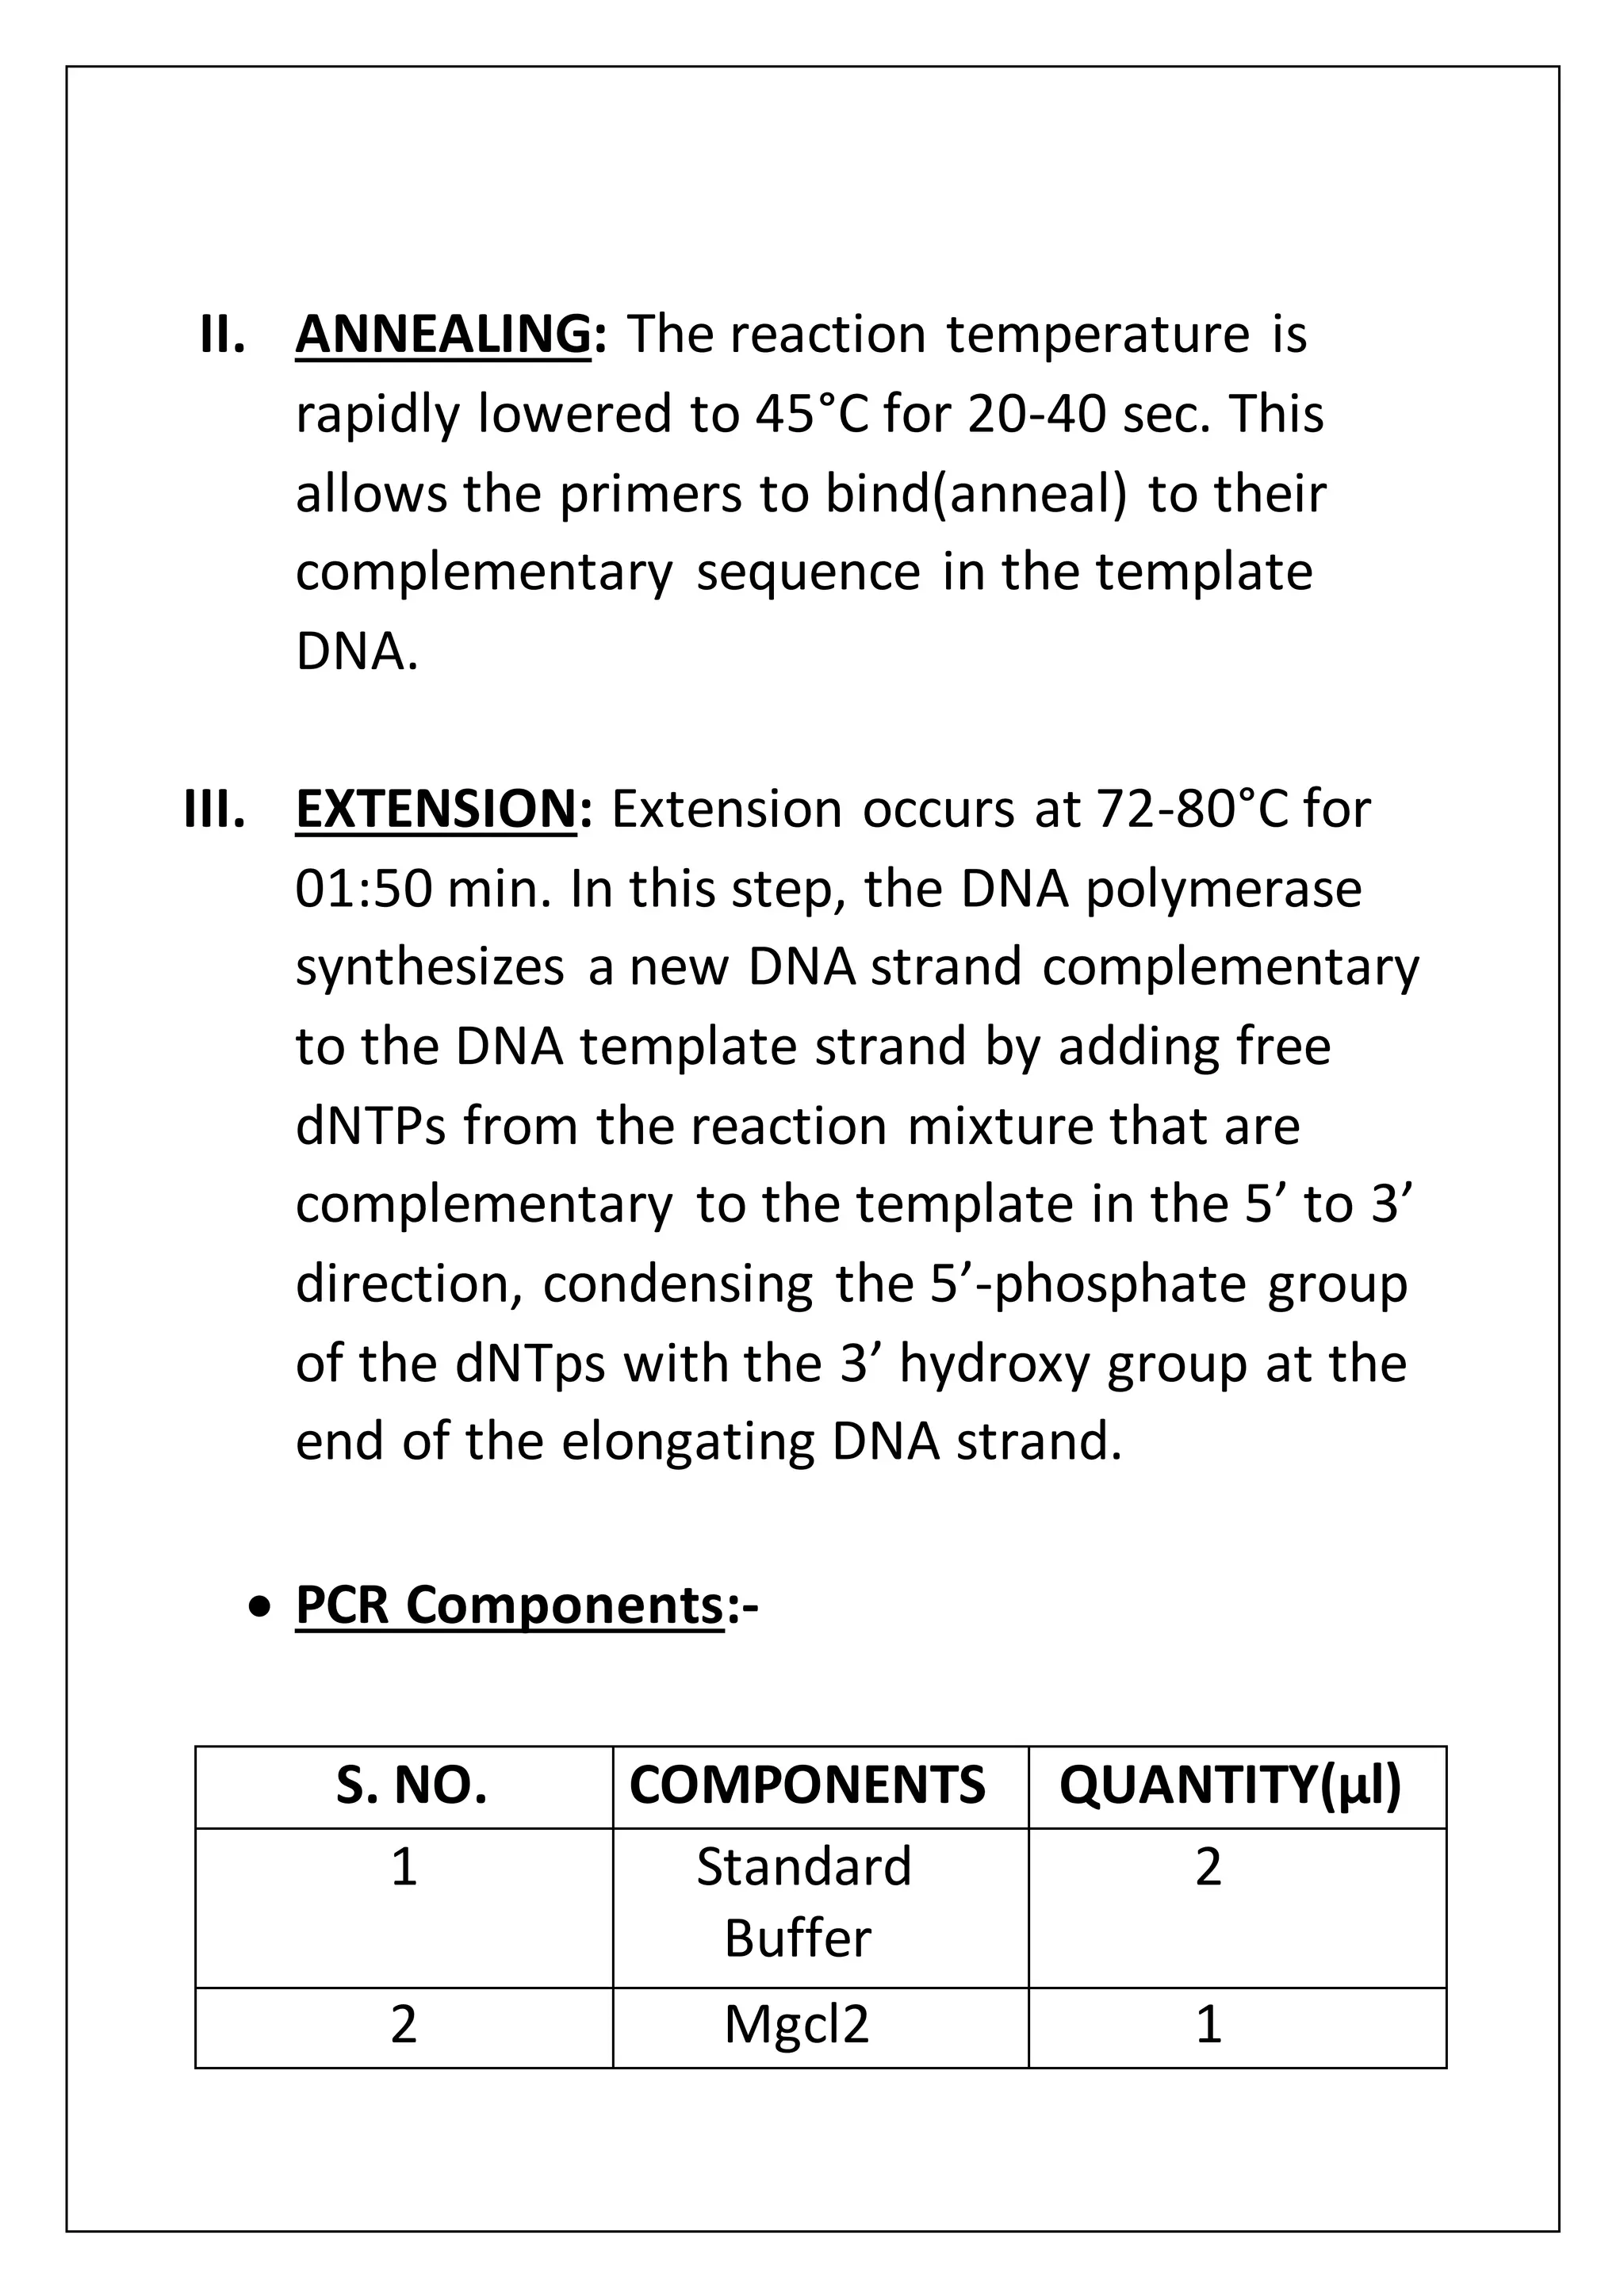
I. DENATURATION: This step involves heating
the reaction mixture to 94°C for 20-30 sec.
during this, the double stranded DNA is
denatured to single strands due to breakage
in weak hydrogen bonds.](https://image.slidesharecdn.com/generalintroductionof-180910080353/75/World-Of-Biotechnology-31-2048.jpg)


![v. Repeat the above process if another
culture plate is streaked.
Result:- Streaked plates are incubated at 37°C
for 24 hrs. Examine the colonies grown in the
plate carefully. All colonies should have the
same general appearance.
[1] [2]
Fig. ZIG-ZAG STREAKING[1]
QUADRANT STREAKING[2]](https://image.slidesharecdn.com/generalintroductionof-180910080353/75/World-Of-Biotechnology-47-2048.jpg)


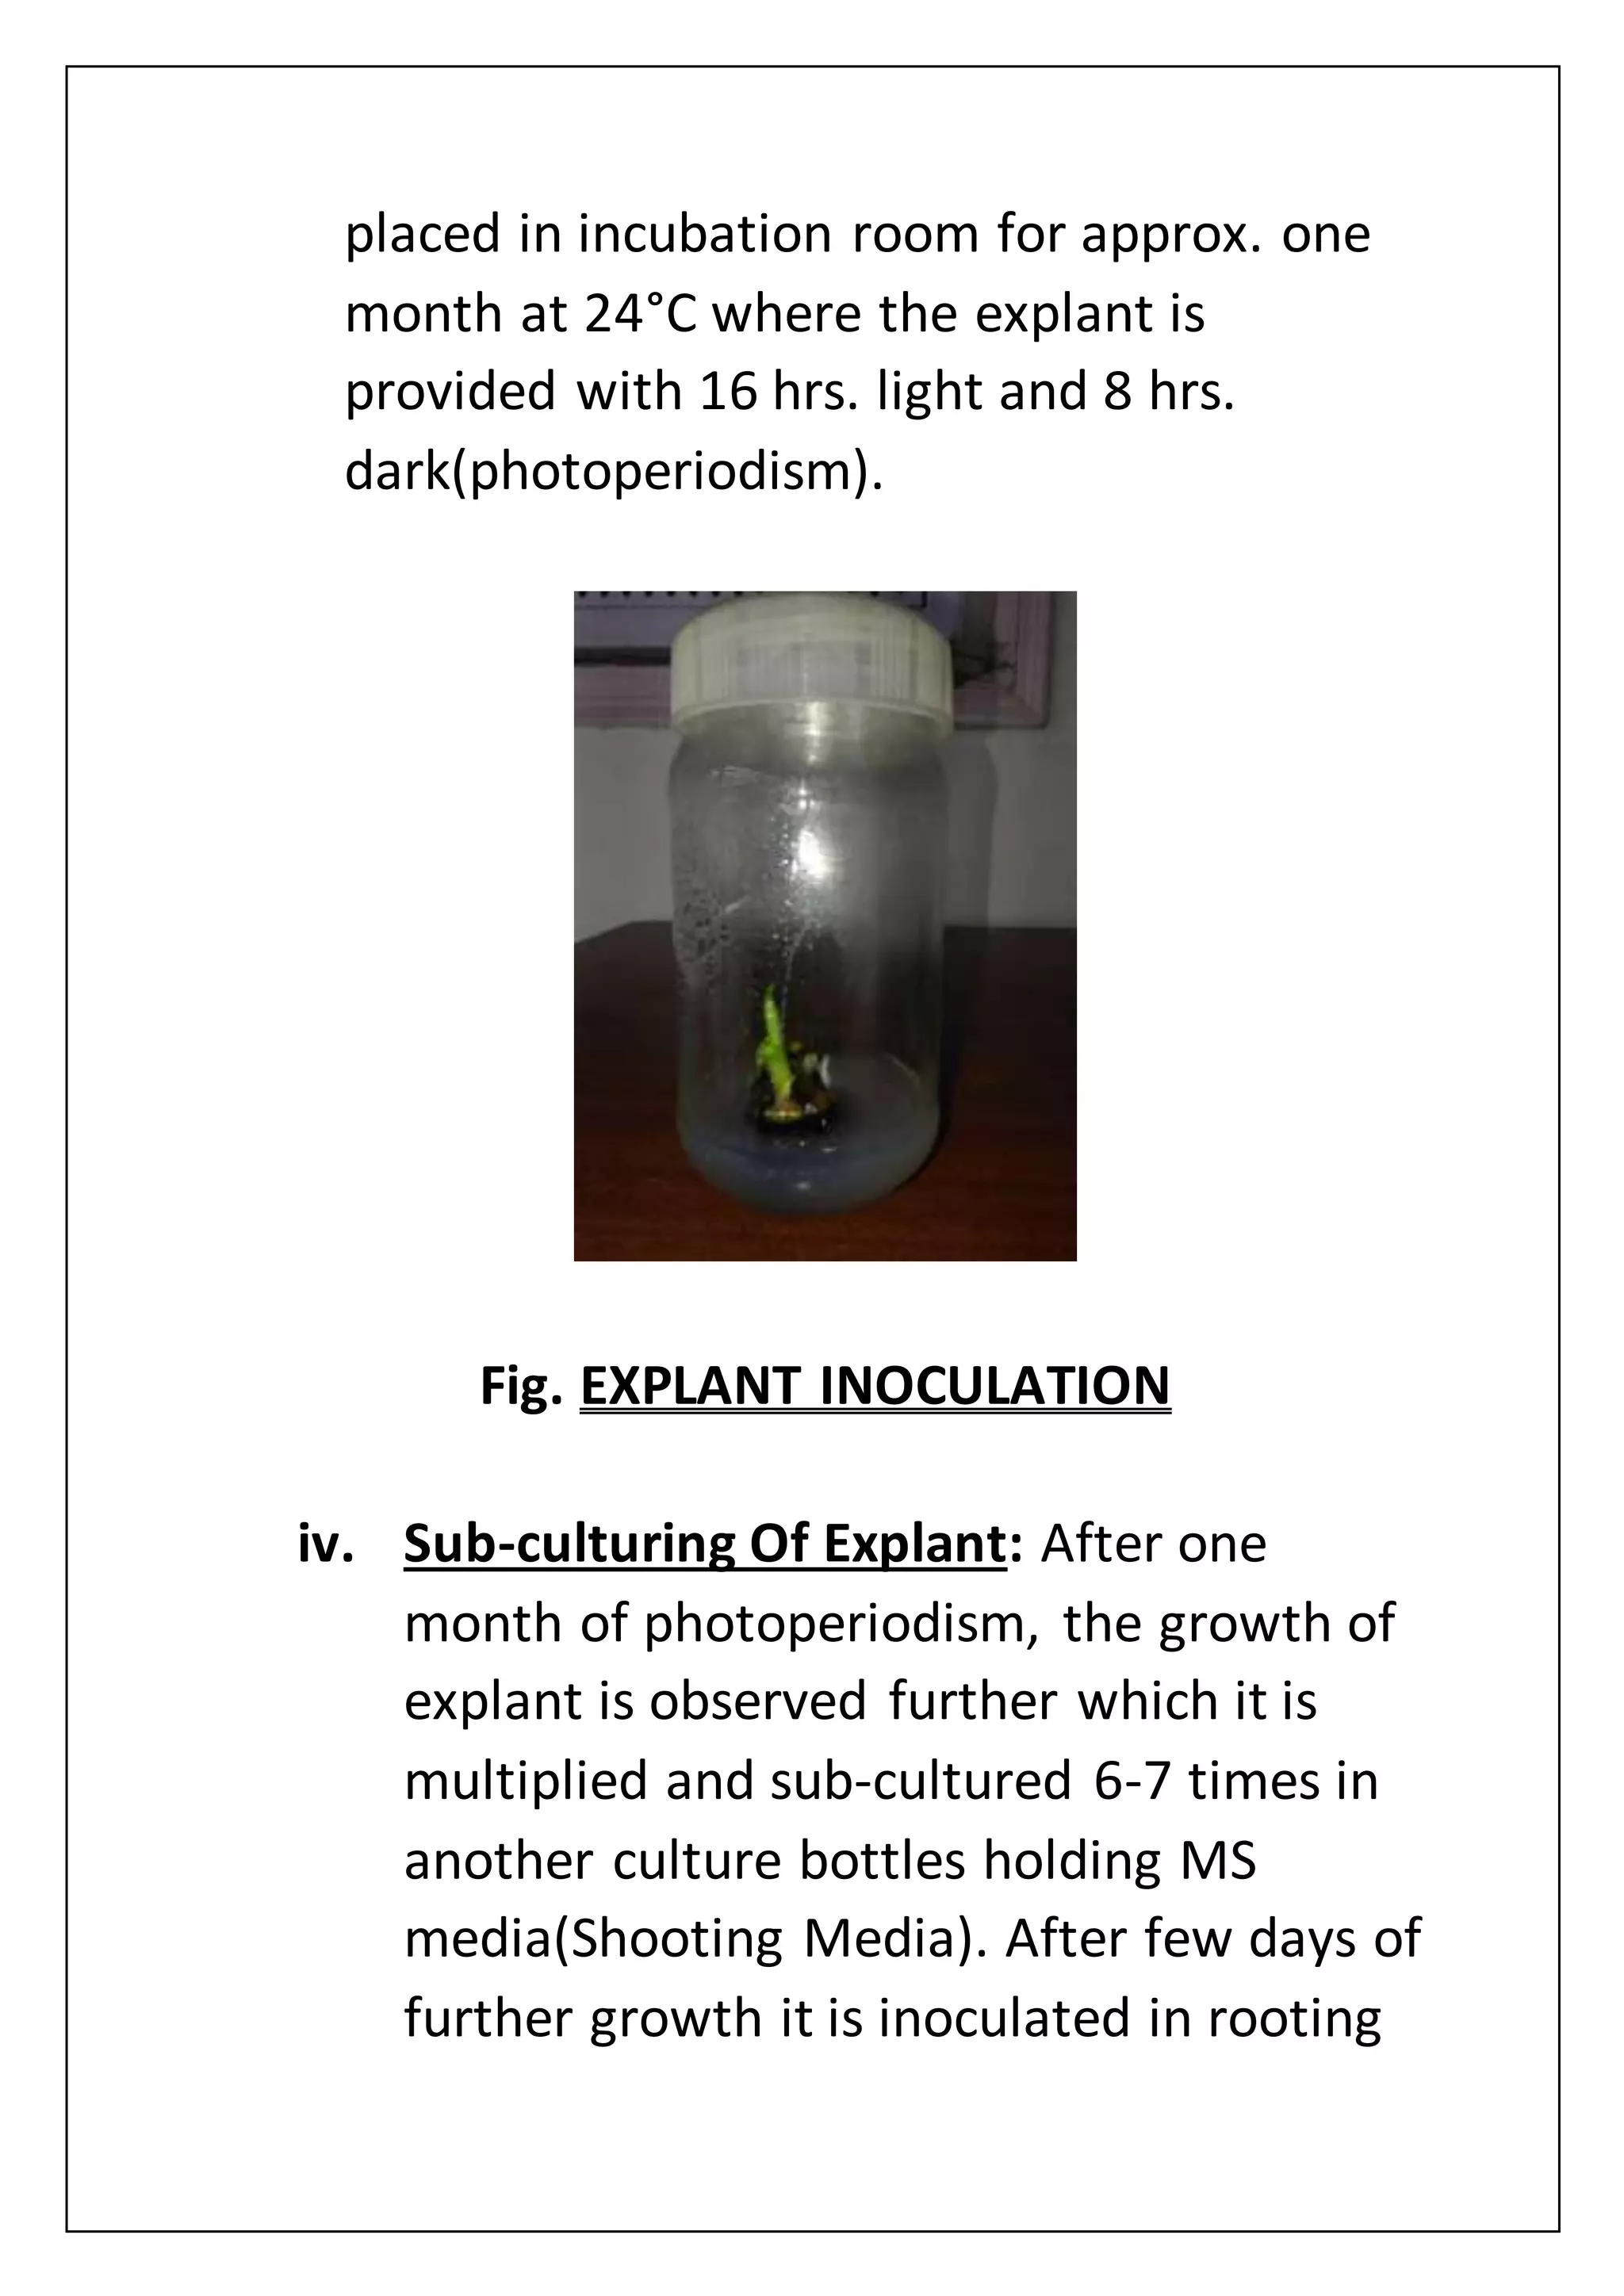
![media(MS media+charcoal). This time MS
media consists of auxin instead of
cytokinin.
[In shooting media the explant
multiplies in terms of branches while in
rooting media it elongates and give rise
to roots.]
[1] [2]
Fig. SHOOTING MEDIA[1]
ROOTING MEDIA[2]](https://image.slidesharecdn.com/generalintroductionof-180910080353/75/World-Of-Biotechnology-61-2048.jpg)