SlideShare a Scribd company logo
1 of 8
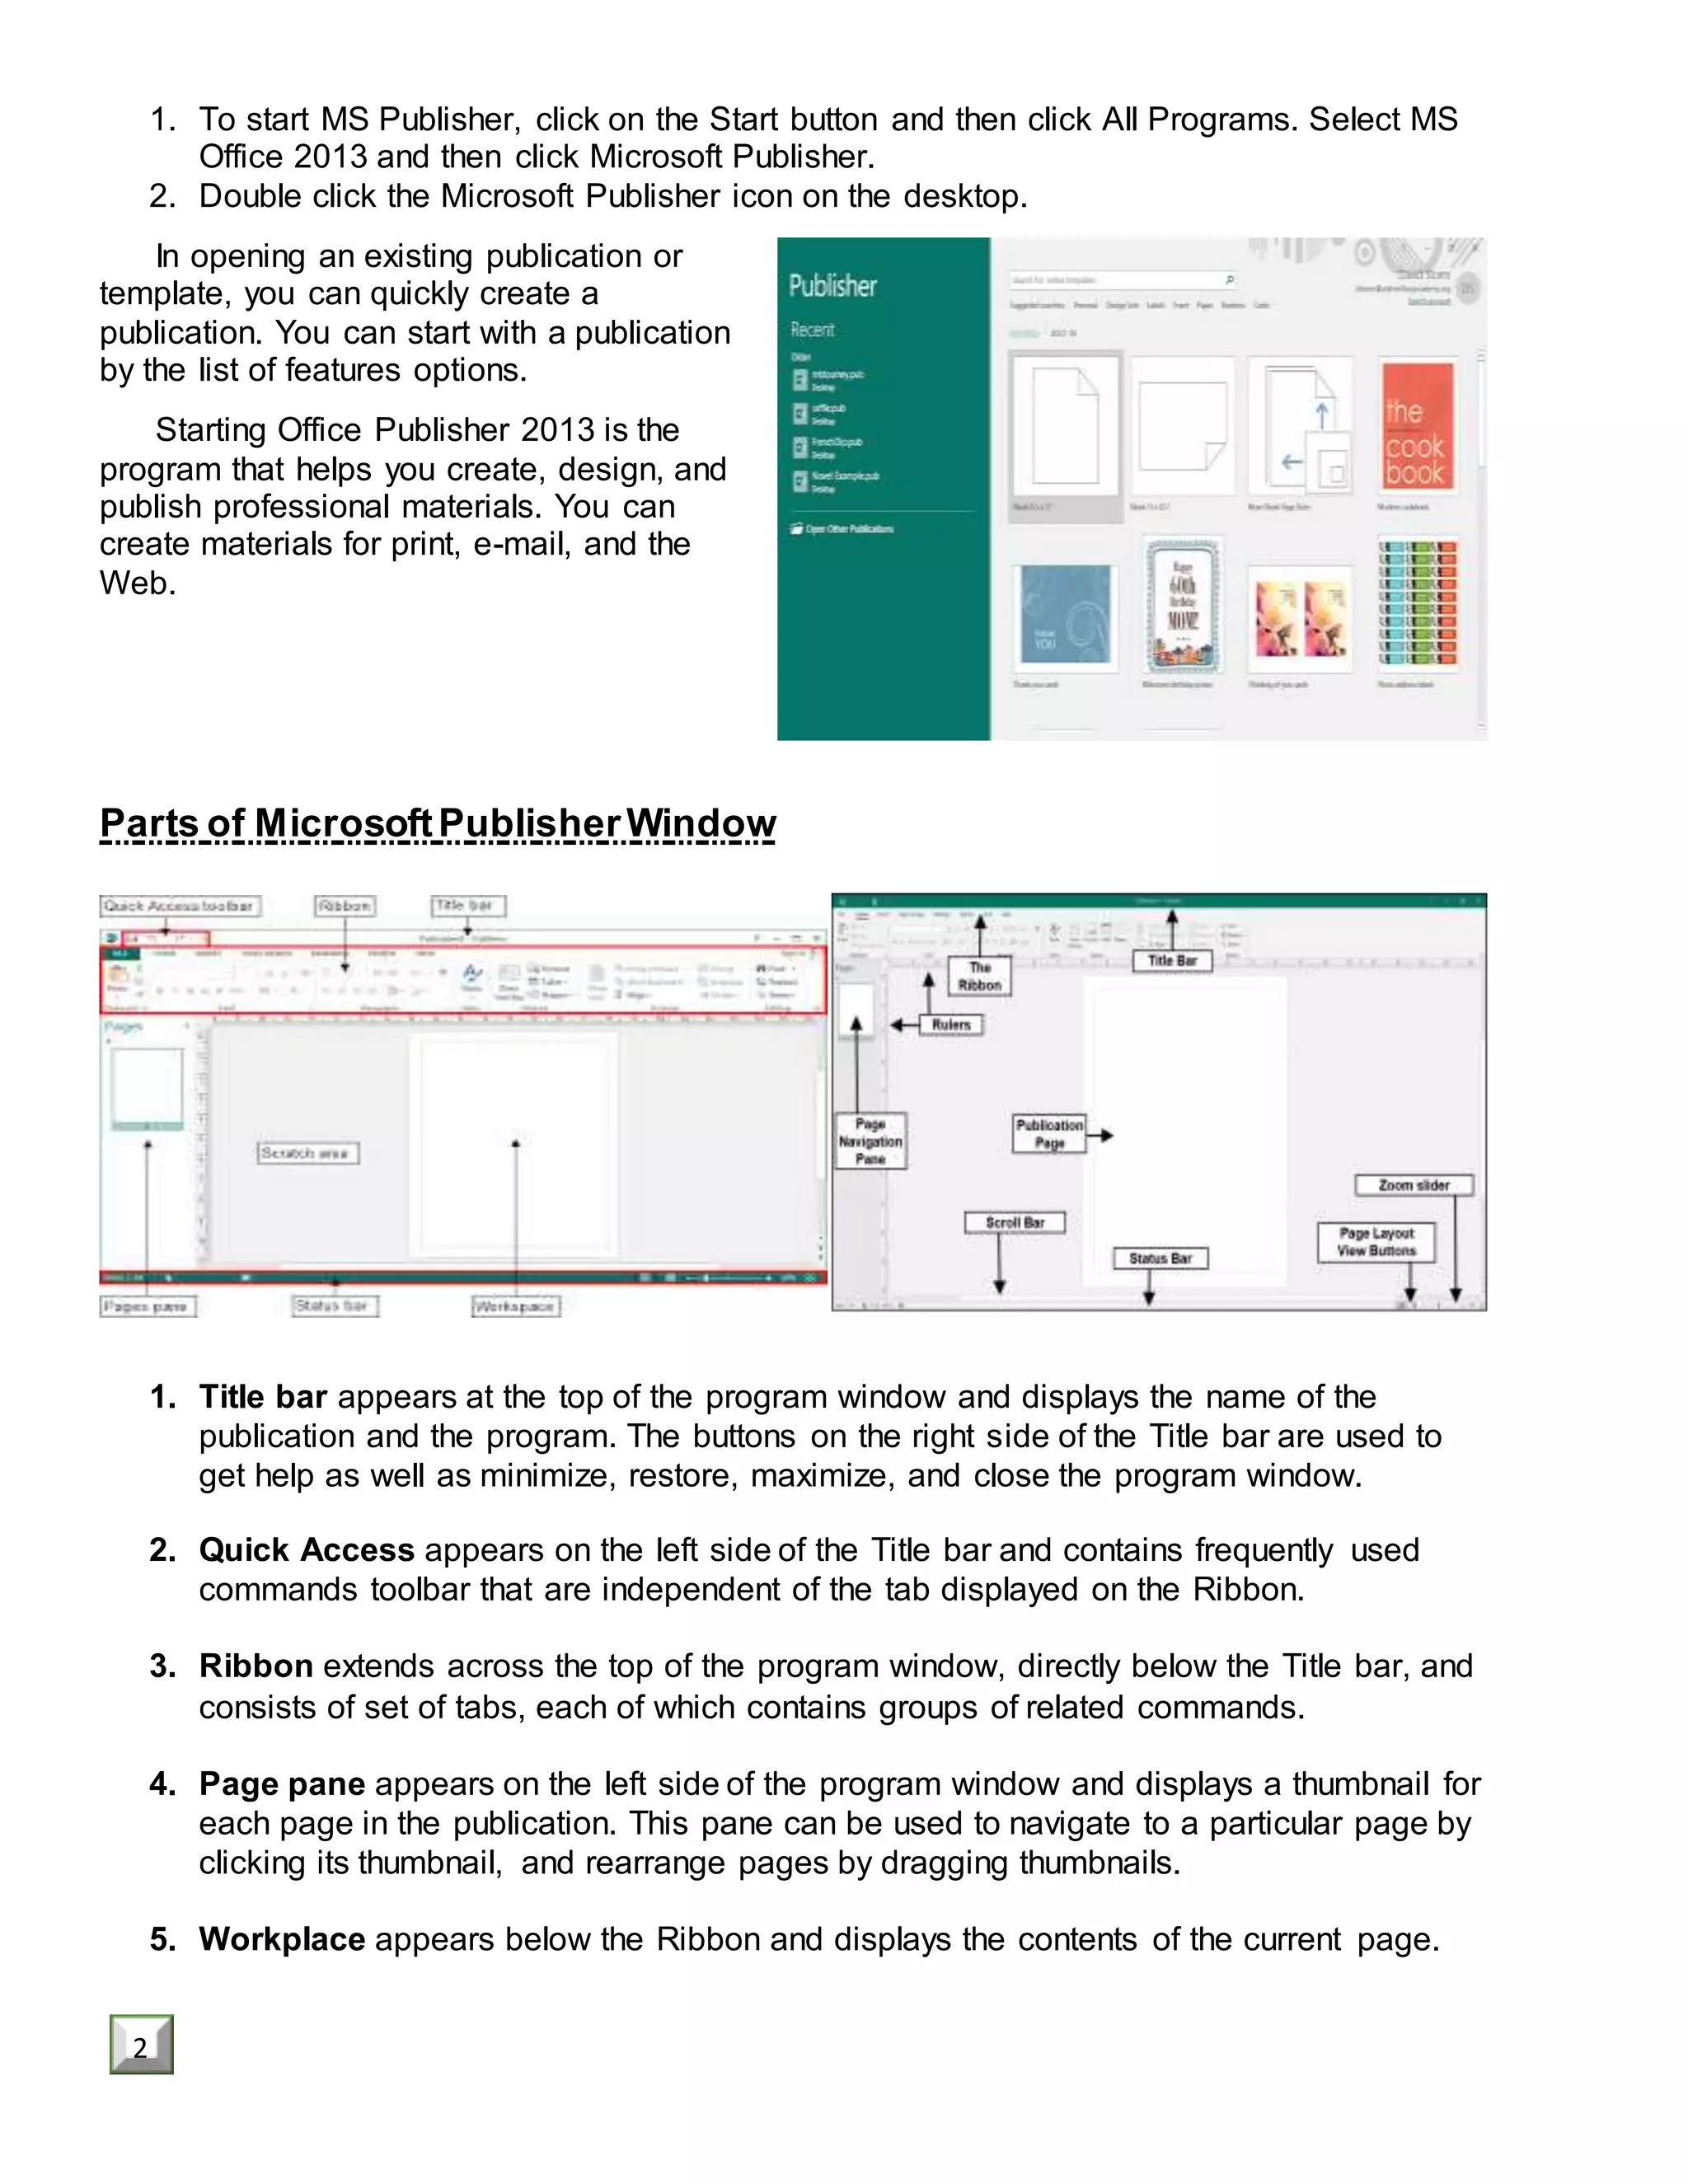
1. To start MS Publisher, click on the Start button and then click All Programs. Select MS
Office 2013 and then click Microsoft Publisher.
2. Double click the Microsoft Publisher icon on the desktop.
In opening an existing publication or
template, you can quickly create a
publication. You can start with a publication
by the list of features options.
Starting Office Publisher 2013 is the
program that helps you create, design, and
publish professional materials. You can
create materials for print, e-mail, and the
Web.
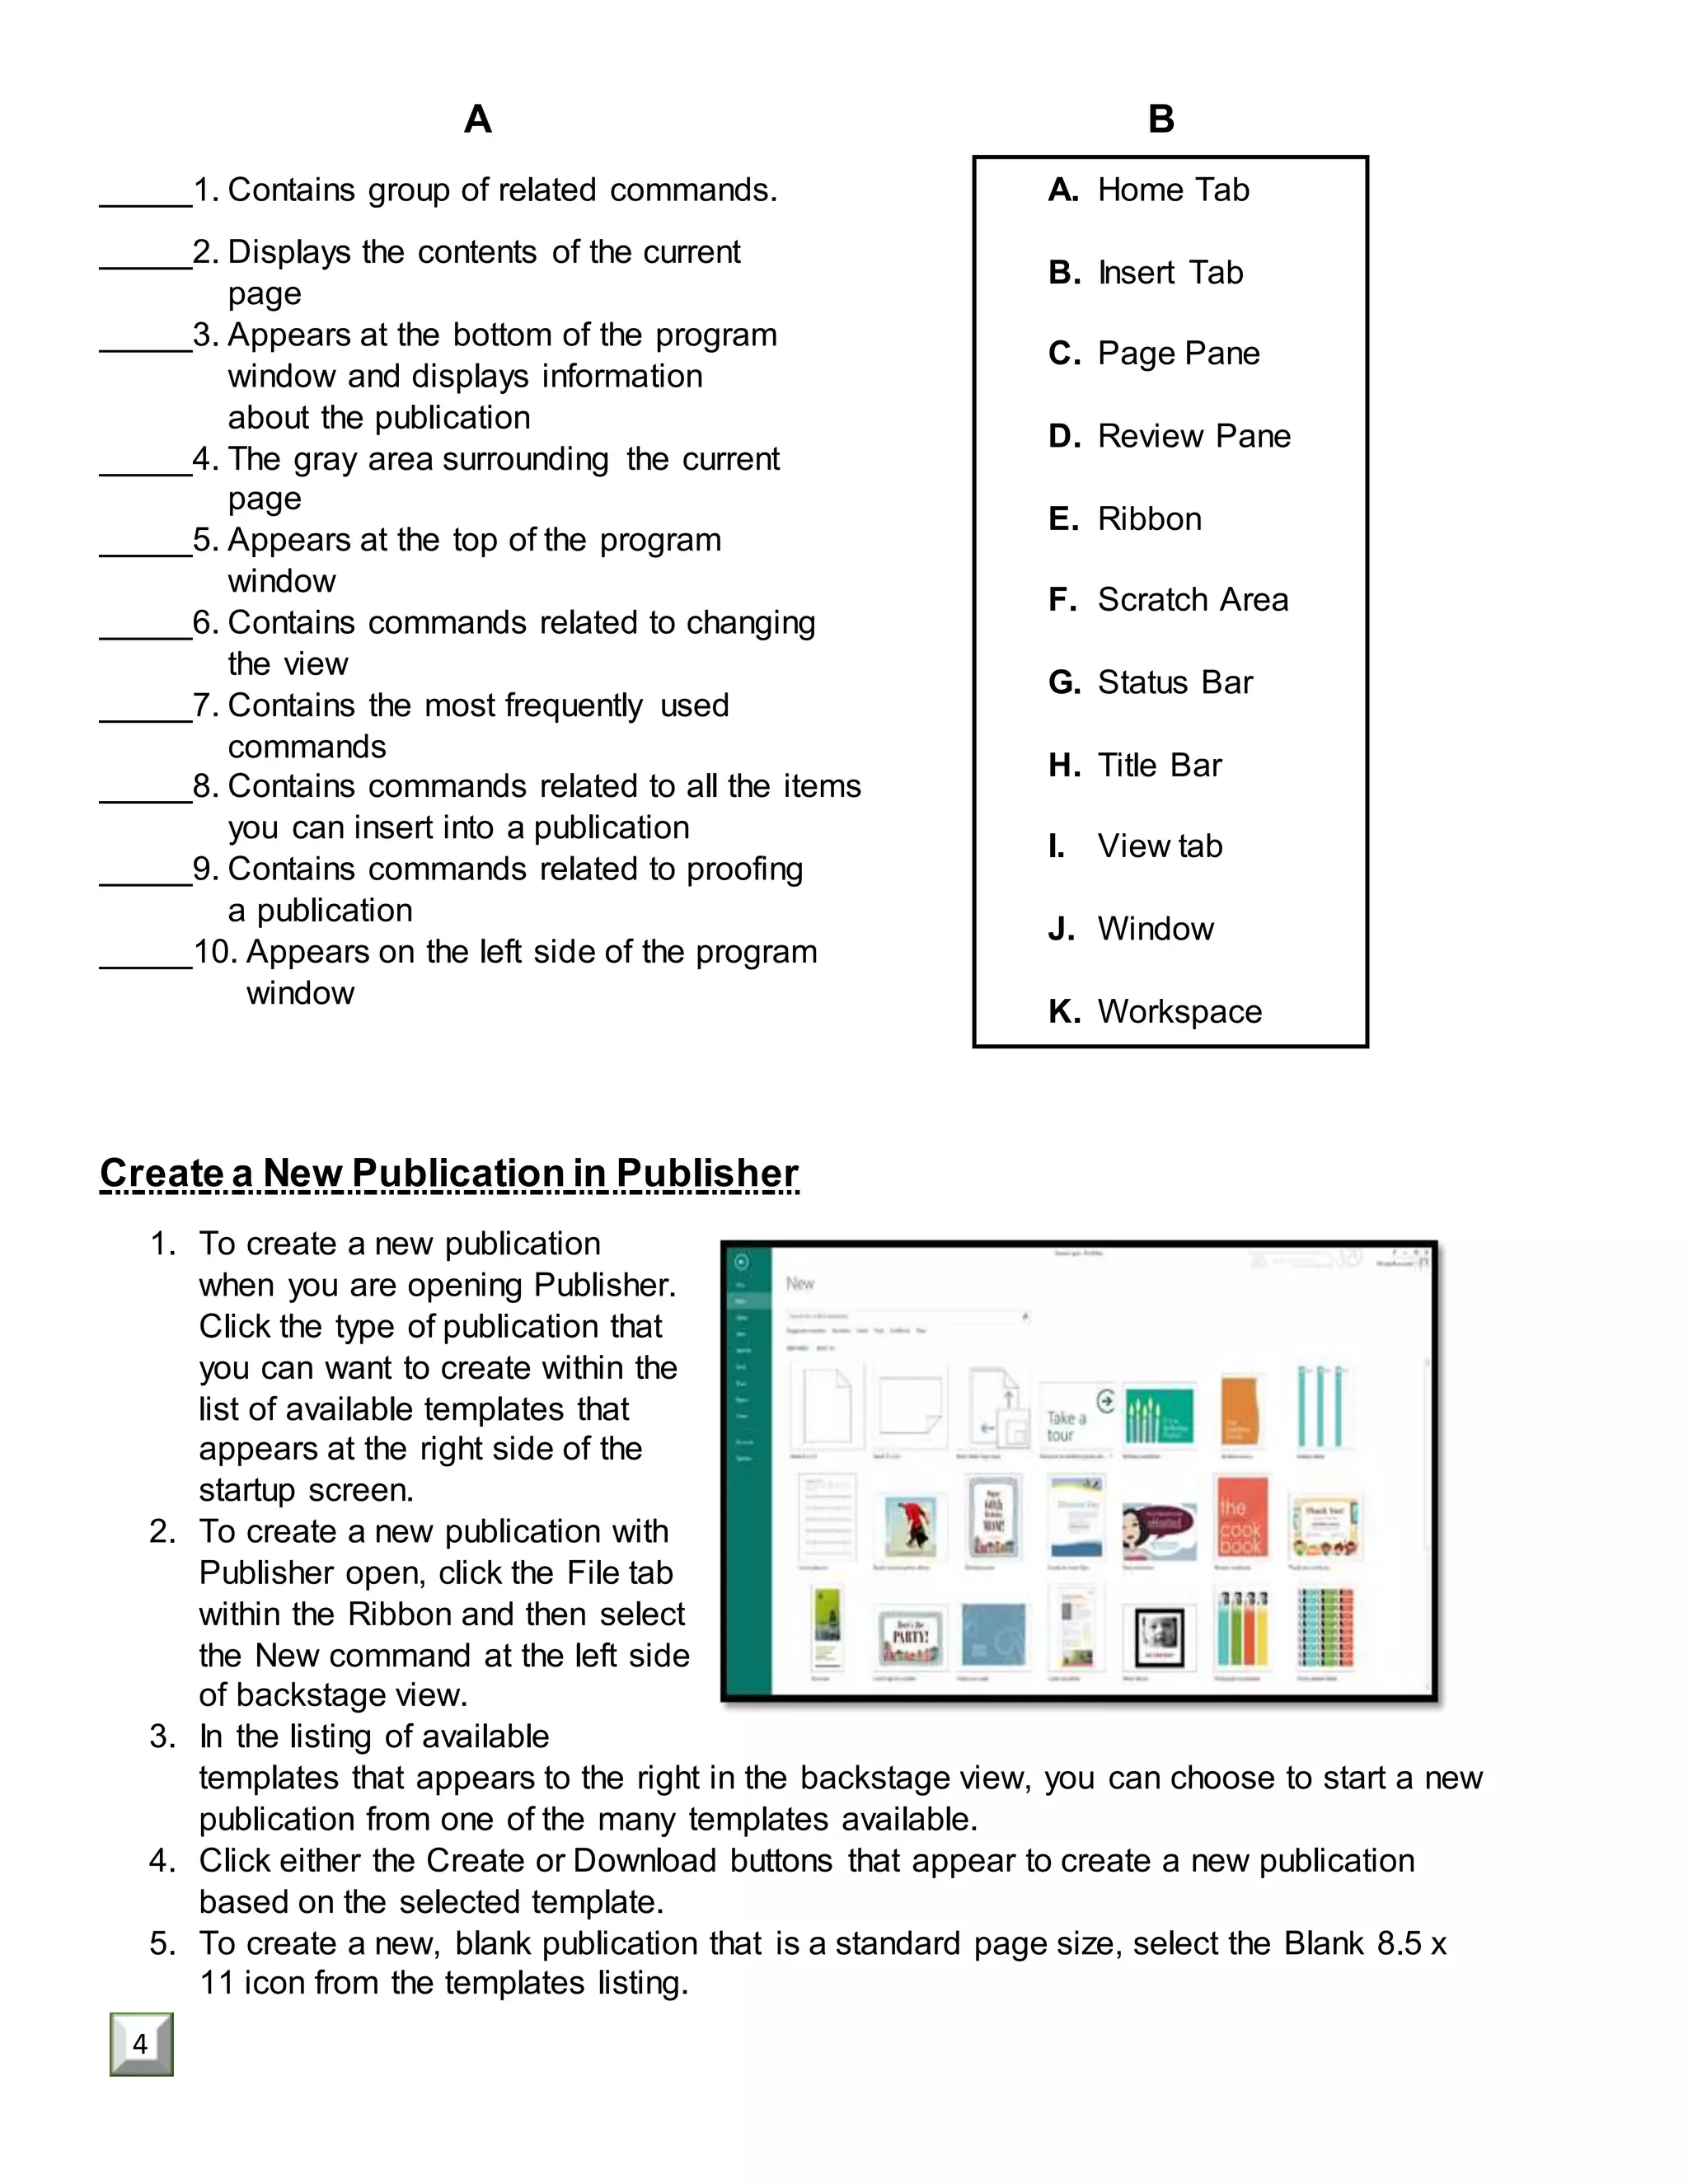
Parts of MicrosoftPublisherWindow
1. Title bar appears at the top of the program window and displays the name of the
publication and the program. The buttons on the right side of the Title bar are used to
get help as well as minimize, restore, maximize, and close the program window.
2. Quick Access appears on the left side of the Title bar and contains frequently used
commands toolbar that are independent of the tab displayed on the Ribbon.
3. Ribbon extends across the top of the program window, directly below the Title bar, and
consists of set of tabs, each of which contains groups of related commands.
4. Page pane appears on the left side of the program window and displays a thumbnail for
each page in the publication. This pane can be used to navigate to a particular page by
clicking its thumbnail, and rearrange pages by dragging thumbnails.
5. Workplace appears below the Ribbon and displays the contents of the current page.
2
A B
_____1. Contains group of related commands.
_____2. Displays the contents of the current
page
_____3. Appears at the bottom of the program
window and displays information
about the publication
_____4. The gray area surrounding the current
page
_____5. Appears at the top of the program
window
_____6. Contains commands related to changing
the view
_____7. Contains the most frequently used
commands
_____8. Contains commands related to all the items
you can insert into a publication
_____9. Contains commands related to proofing
a publication
_____10. Appears on the left side of the program
window
Create a New Publication in Publisher
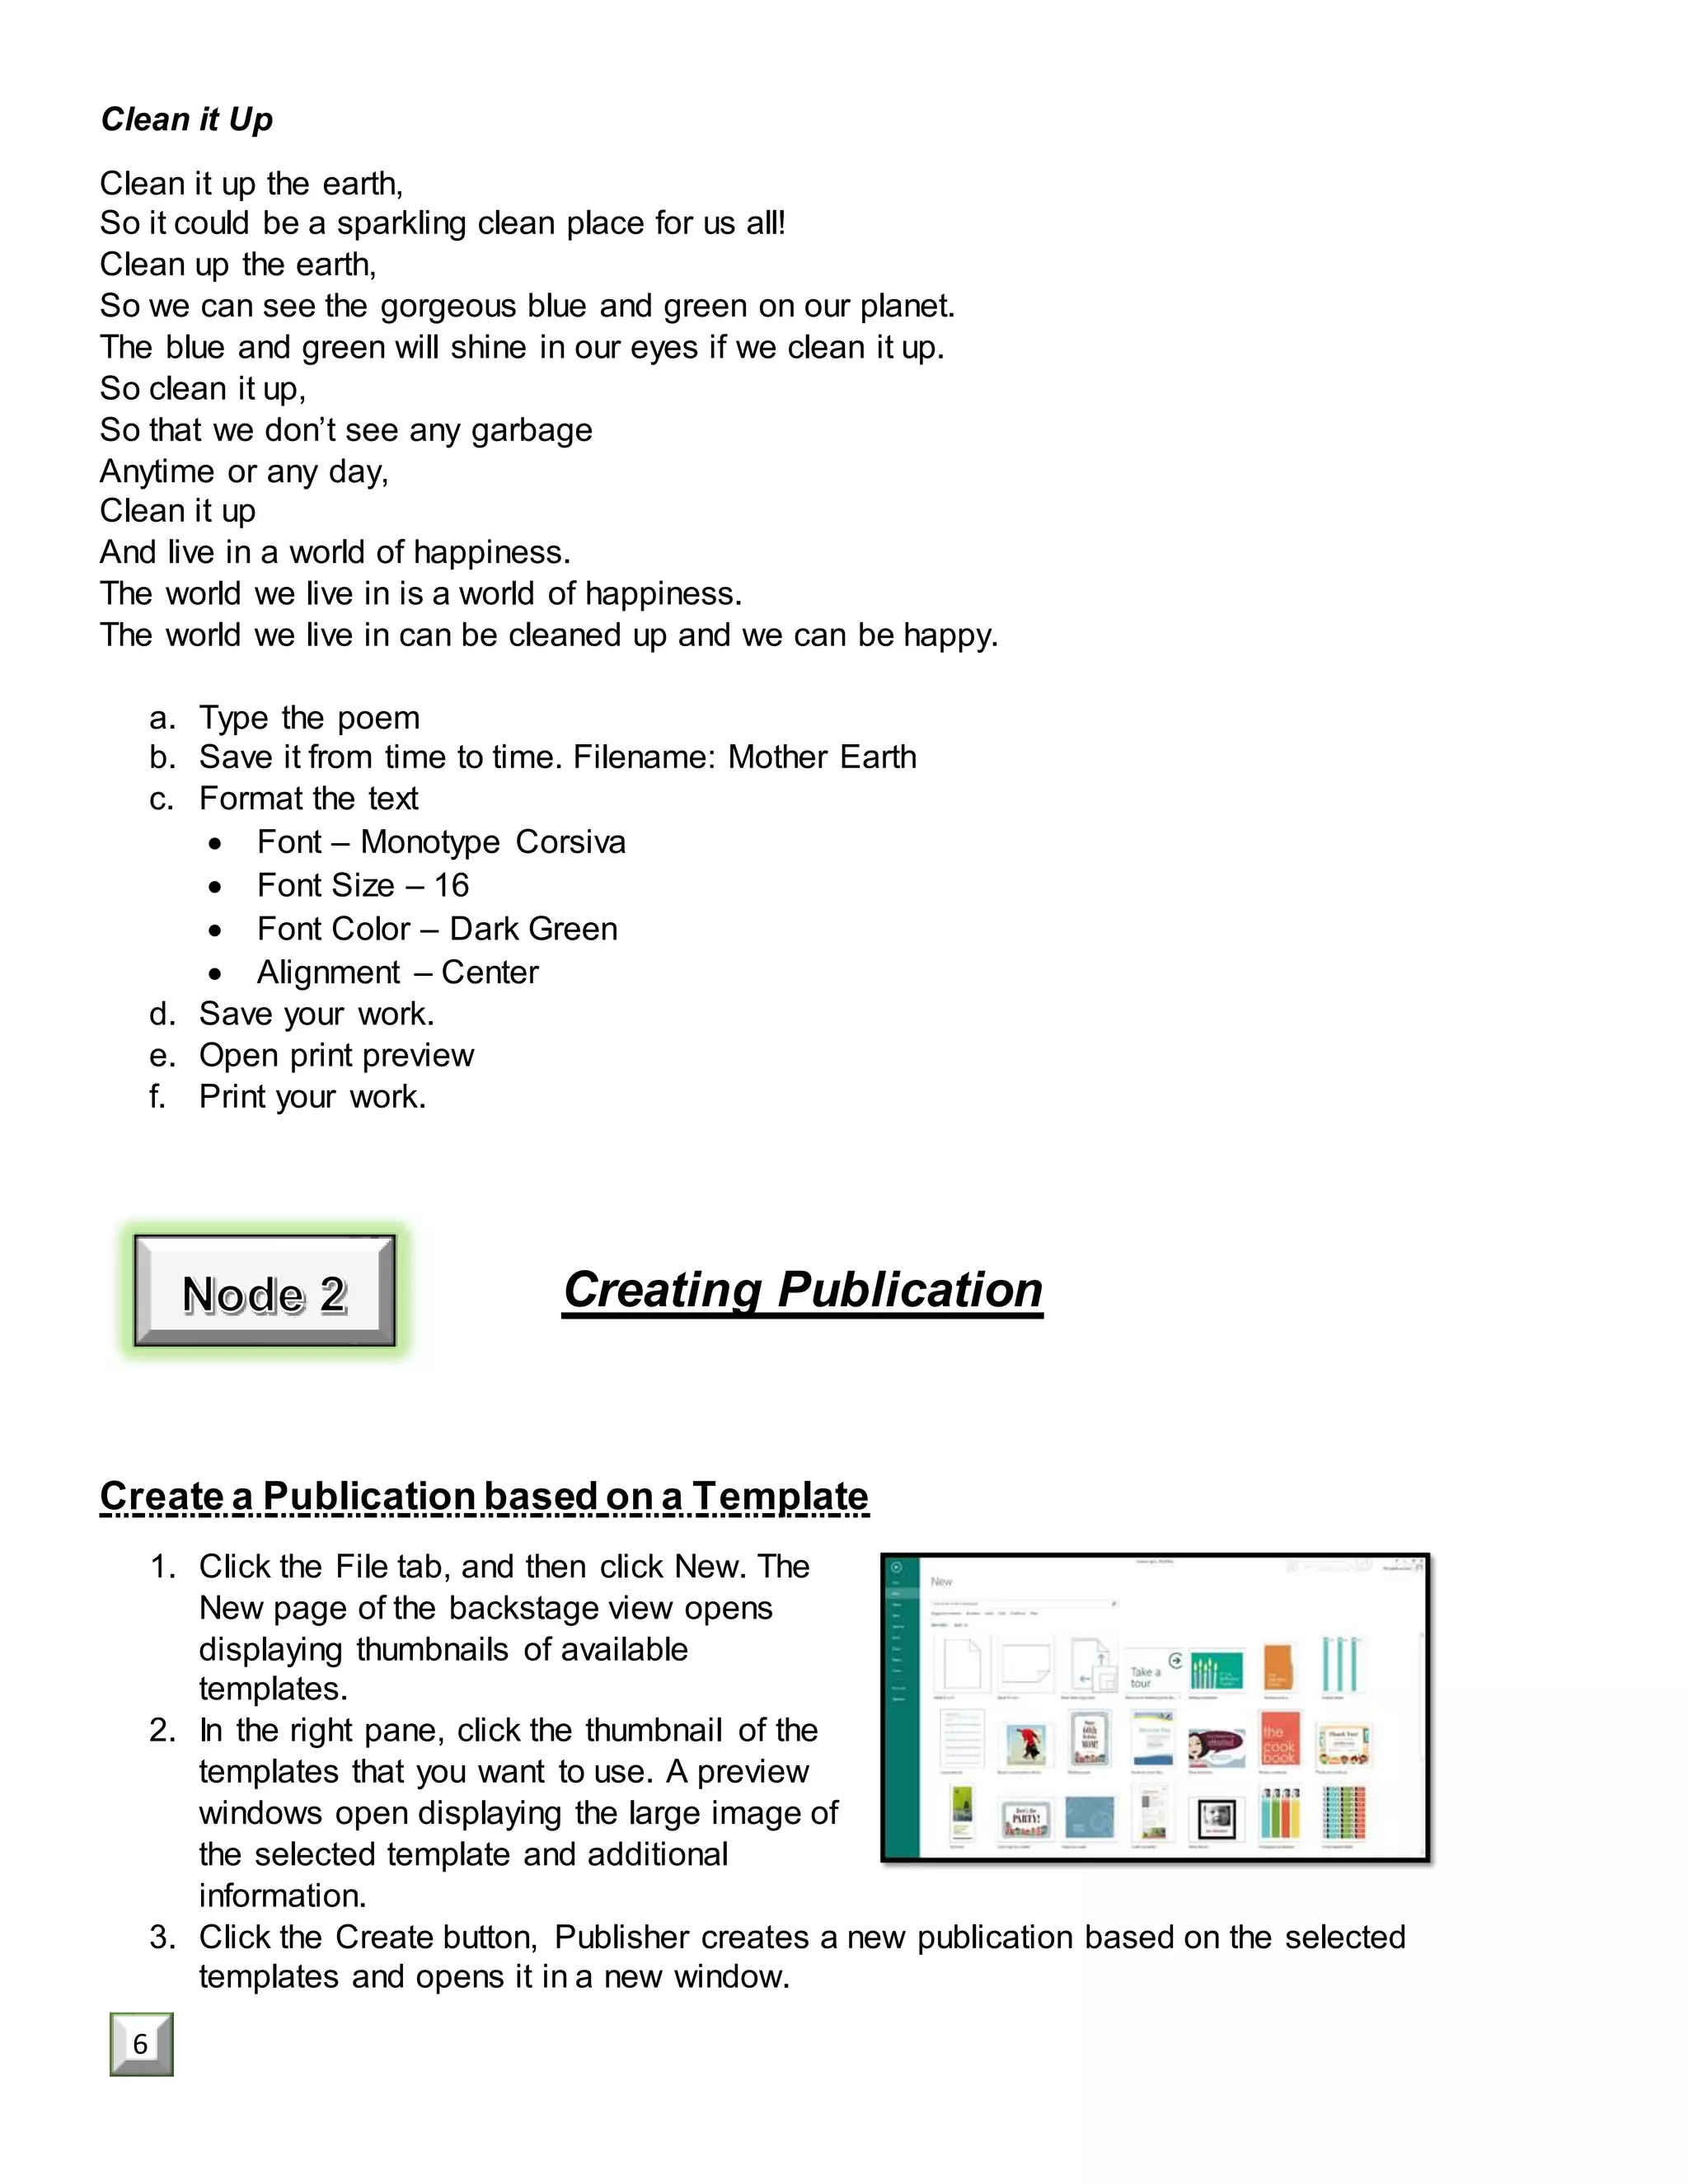
1. To create a new publication
when you are opening Publisher.
Click the type of publication that
you can want to create within the
list of available templates that
appears at the right side of the
startup screen.
2. To create a new publication with
Publisher open, click the File tab
within the Ribbon and then select
the New command at the left side
of backstage view.
3. In the listing of available
templates that appears to the right in the backstage view, you can choose to start a new
publication from one of the many templates available.
4. Click either the Create or Download buttons that appear to create a new publication
based on the selected template.
5. To create a new, blank publication that is a standard page size, select the Blank 8.5 x
11 icon from the templates listing.
A. Home Tab
B. Insert Tab
C. Page Pane
D. Review Pane
E. Ribbon
F. Scratch Area
G. Status Bar
H. Title Bar
I. View tab
J. Window
K. Workspace
4
Clean it Up
Clean it up the earth,
So it could be a sparkling clean place for us all!
Clean up the earth,
So we can see the gorgeous blue and green on our planet.
The blue and green will shine in our eyes if we clean it up.
So clean it up,
So that we don’t see any garbage
Anytime or any day,
Clean it up
And live in a world of happiness.
The world we live in is a world of happiness.
The world we live in can be cleaned up and we can be happy.
a. Type the poem
b. Save it from time to time. Filename: Mother Earth
c. Format the text
 Font – Monotype Corsiva
 Font Size – 16
 Font Color – Dark Green
 Alignment – Center
d. Save your work.
e. Open print preview
f. Print your work.
Creating Publication
Create a Publication based on a Template
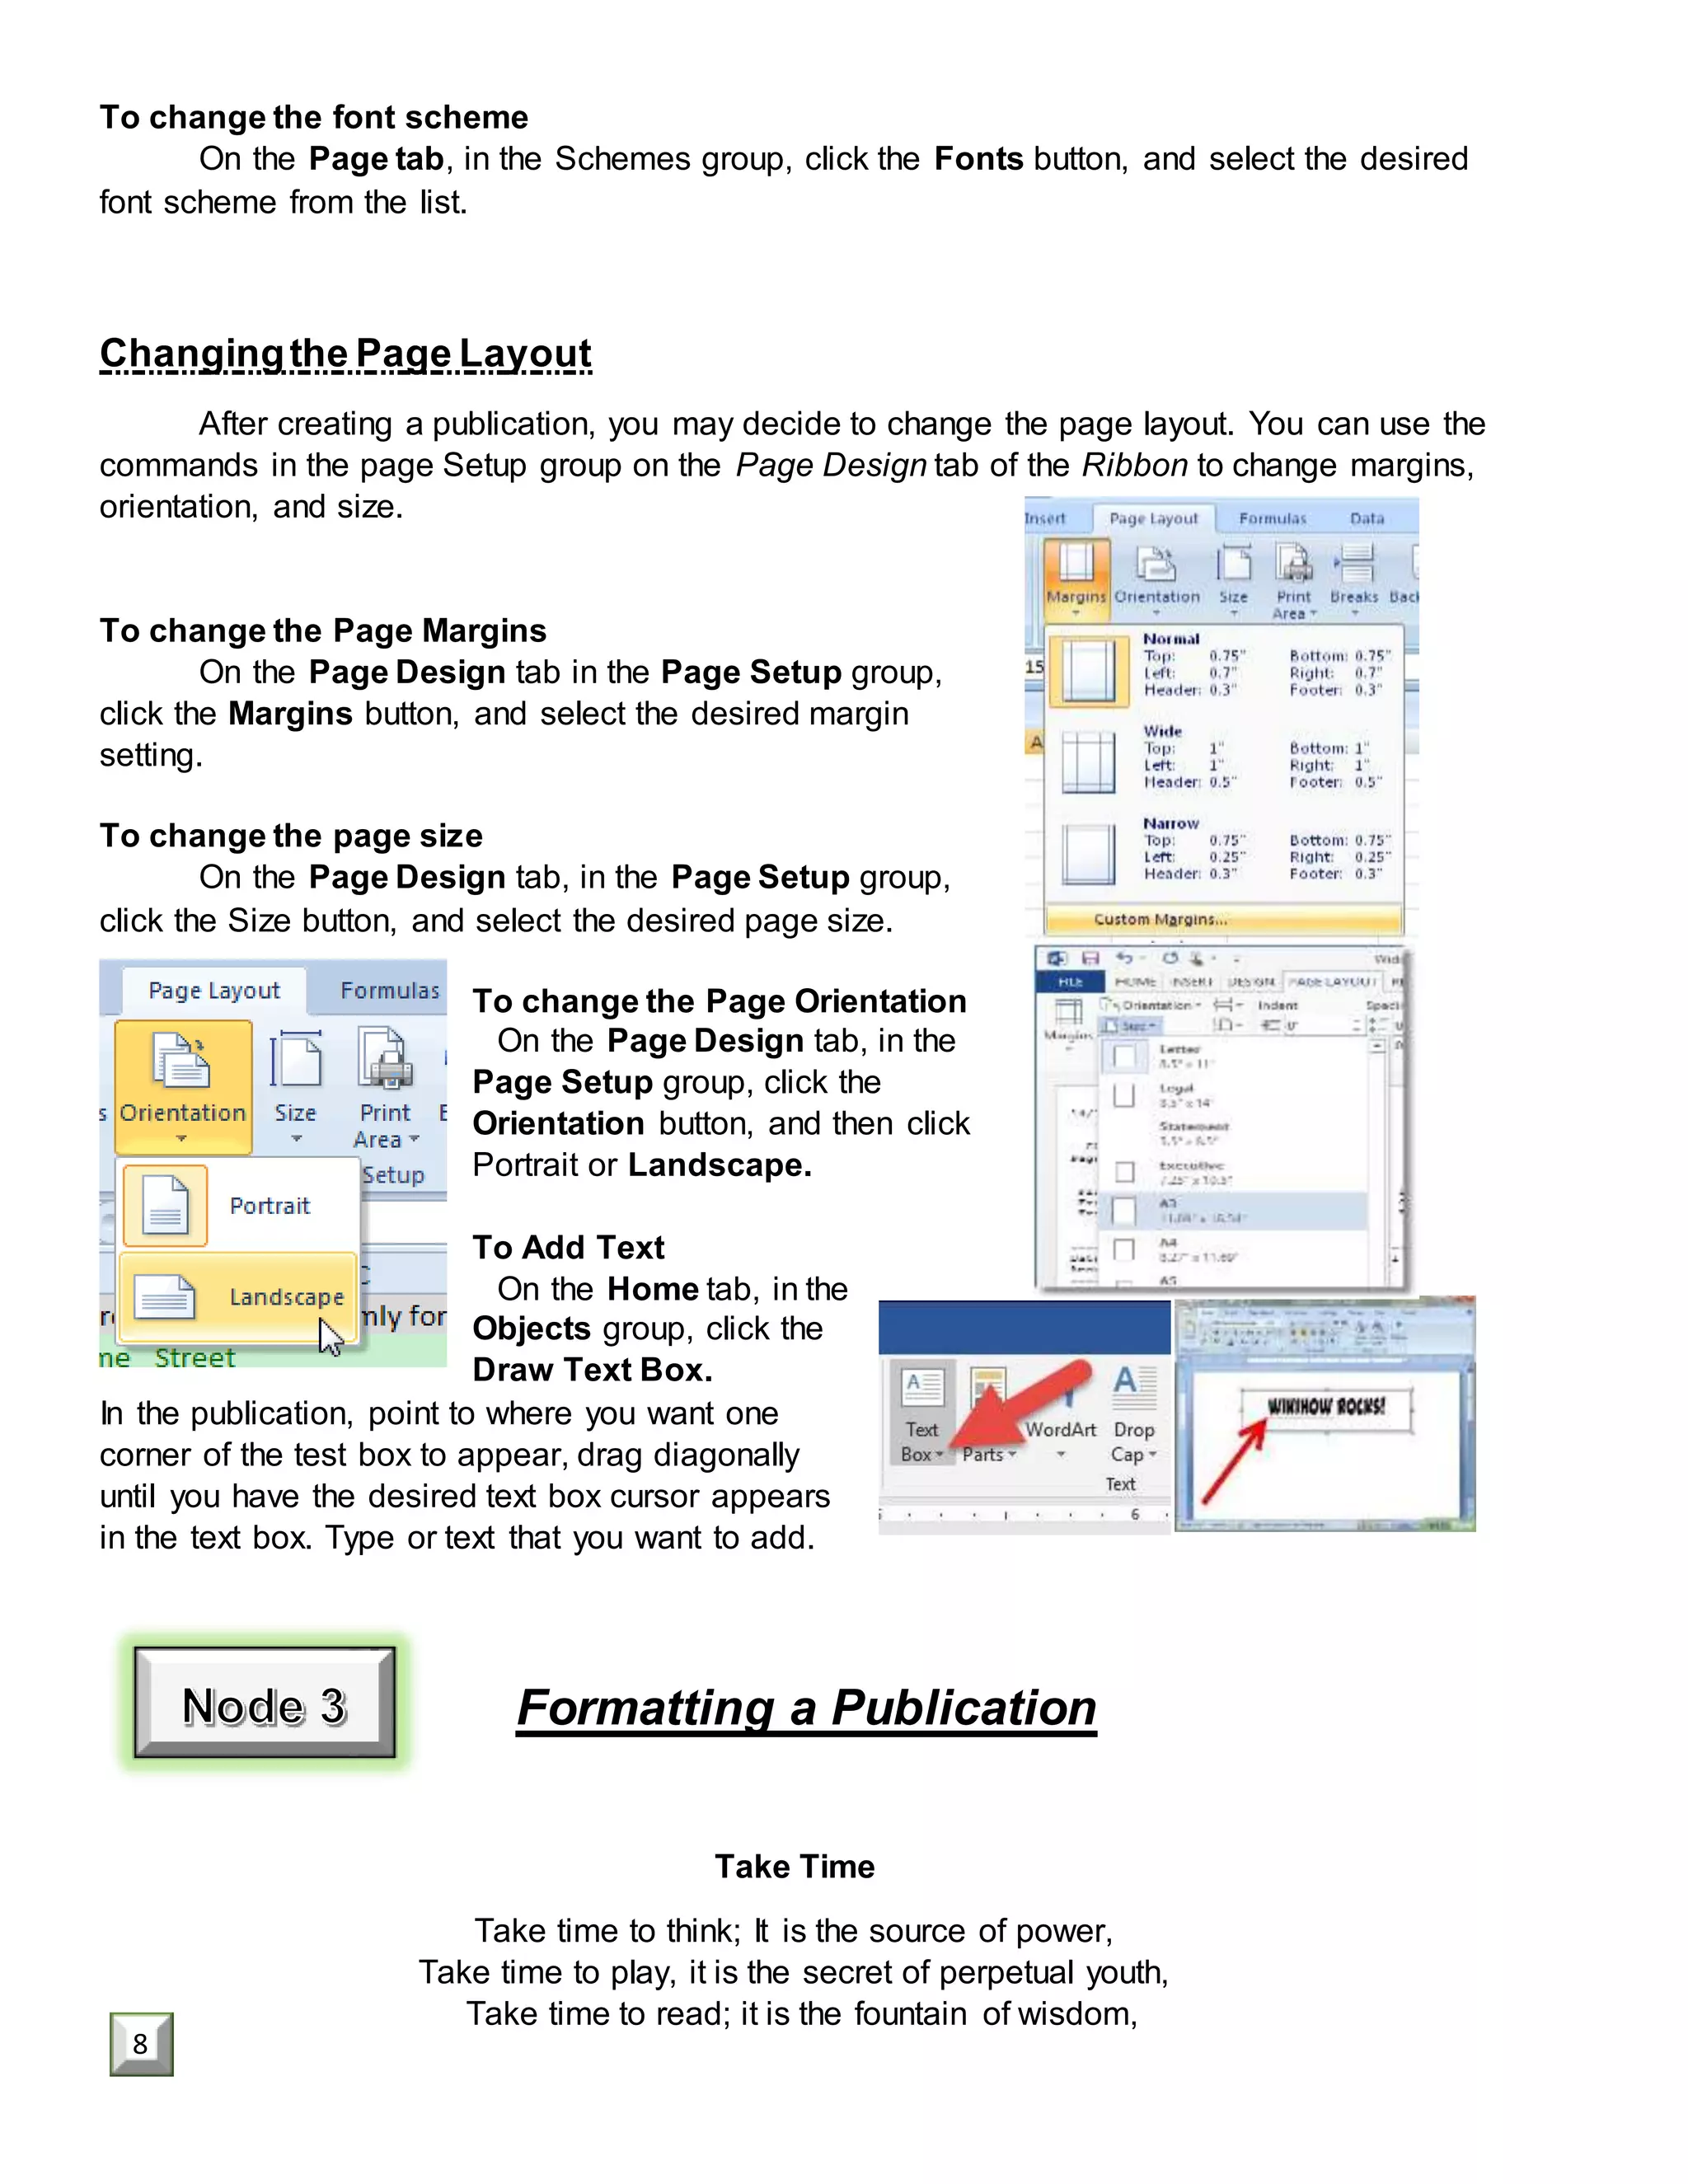
1. Click the File tab, and then click New. The
New page of the backstage view opens
displaying thumbnails of available
templates.
2. In the right pane, click the thumbnail of the
templates that you want to use. A preview
windows open displaying the large image of
the selected template and additional
information.
3. Click the Create button, Publisher creates a new publication based on the selected
templates and opens it in a new window.
6
To change the font scheme
On the Page tab, in the Schemes group, click the Fonts button, and select the desired
font scheme from the list.
Changingthe Page Layout
After creating a publication, you may decide to change the page layout. You can use the
commands in the page Setup group on the Page Design tab of the Ribbon to change margins,
orientation, and size.
To change the Page Margins
On the Page Design tab in the Page Setup group,
click the Margins button, and select the desired margin
setting.
To change the page size
On the Page Design tab, in the Page Setup group,
click the Size button, and select the desired page size.
To change the Page Orientation
On the Page Design tab, in the
Page Setup group, click the
Orientation button, and then click
Portrait or Landscape.
To Add Text
On the Home tab, in the
Objects group, click the
Draw Text Box.
In the publication, point to where you want one
corner of the test box to appear, drag diagonally
until you have the desired text box cursor appears
in the text box. Type or text that you want to add.
Formatting a Publication
Take Time
Take time to think; It is the source of power,
Take time to play, it is the secret of perpetual youth,
Take time to read; it is the fountain of wisdom,
8
To apply special text effect
1. Select the text that you want to format.
2. Under Text Box Tools, on the Format tab, in the WordArt Styles group, do one of the
following:
- To apply WordArt Styles, go to WordArt Styles gallery.
- To apply text effect, click the Text Effect button.
To change the direction of text
1. Select the text that you want to format.
2. Under Text Box Tools, on the Format tab, click Direction button in the Text group.
To format a Text box
1. Click in the box to select it.
2. Under Drawing Tools, on the Format tab, in the Shape Styles group, do one of the
following:
- To change the fill or outline color, click the Shape Fill or Shape Outline arrow and
select the desired color from the color palette.
- To apply shape effect, click Shape Effect button, point to the desired effect and
select the desired option from the option submenu.
- To apply a predefined shape style, select the desired style from Shape Styles
gallery.
To insert a picture
1. On the Insert tab, in the Illustrations group, click the Picture button.
2. In the Insert Picture dialog box, locate and select the picture that you want to insert,
and then click the Insert button.
When a picture is selected, the Picture Tools Format tab becomes available on the Ribbon.
The tools on this tab can be used to modify the picture and enhance its appearance.
To crop a picture
1. Click and select the picture that you want to crop.
2. Under Picture Tools, on the Format tab, In the Crop group, click Crop button.
3. Drag the cropping handles (found at the corner on the side of the picture) until the
picture shows only the part you want to keep.
4. When you are finished, click outside the picture or press the Esc.
To resize a text box
1. Click in the box to select it. Sizing handles appears in the corners and on the sides of
the text.
2. Drag any of the sizing handles toward the center of the text box to make it smaller or
away from the center to enlarge it.
To resize a picture
1. Click the picture to select it. Sizing handles appear in the corners and on the sides of
the picture.
2. Drag any of the sizing handles toward the center of the picture to make it smaller, or
away from the away from the center to enlarge it.
10
9. _______________________________________
10. _______________________________________
Crop Numbering ParagraphSpacing
Picture Ungroup Wrap text
Spacing button Character Spacing Bullets button
Font color
Creating More Publication
Creating a Bannerand a Poster
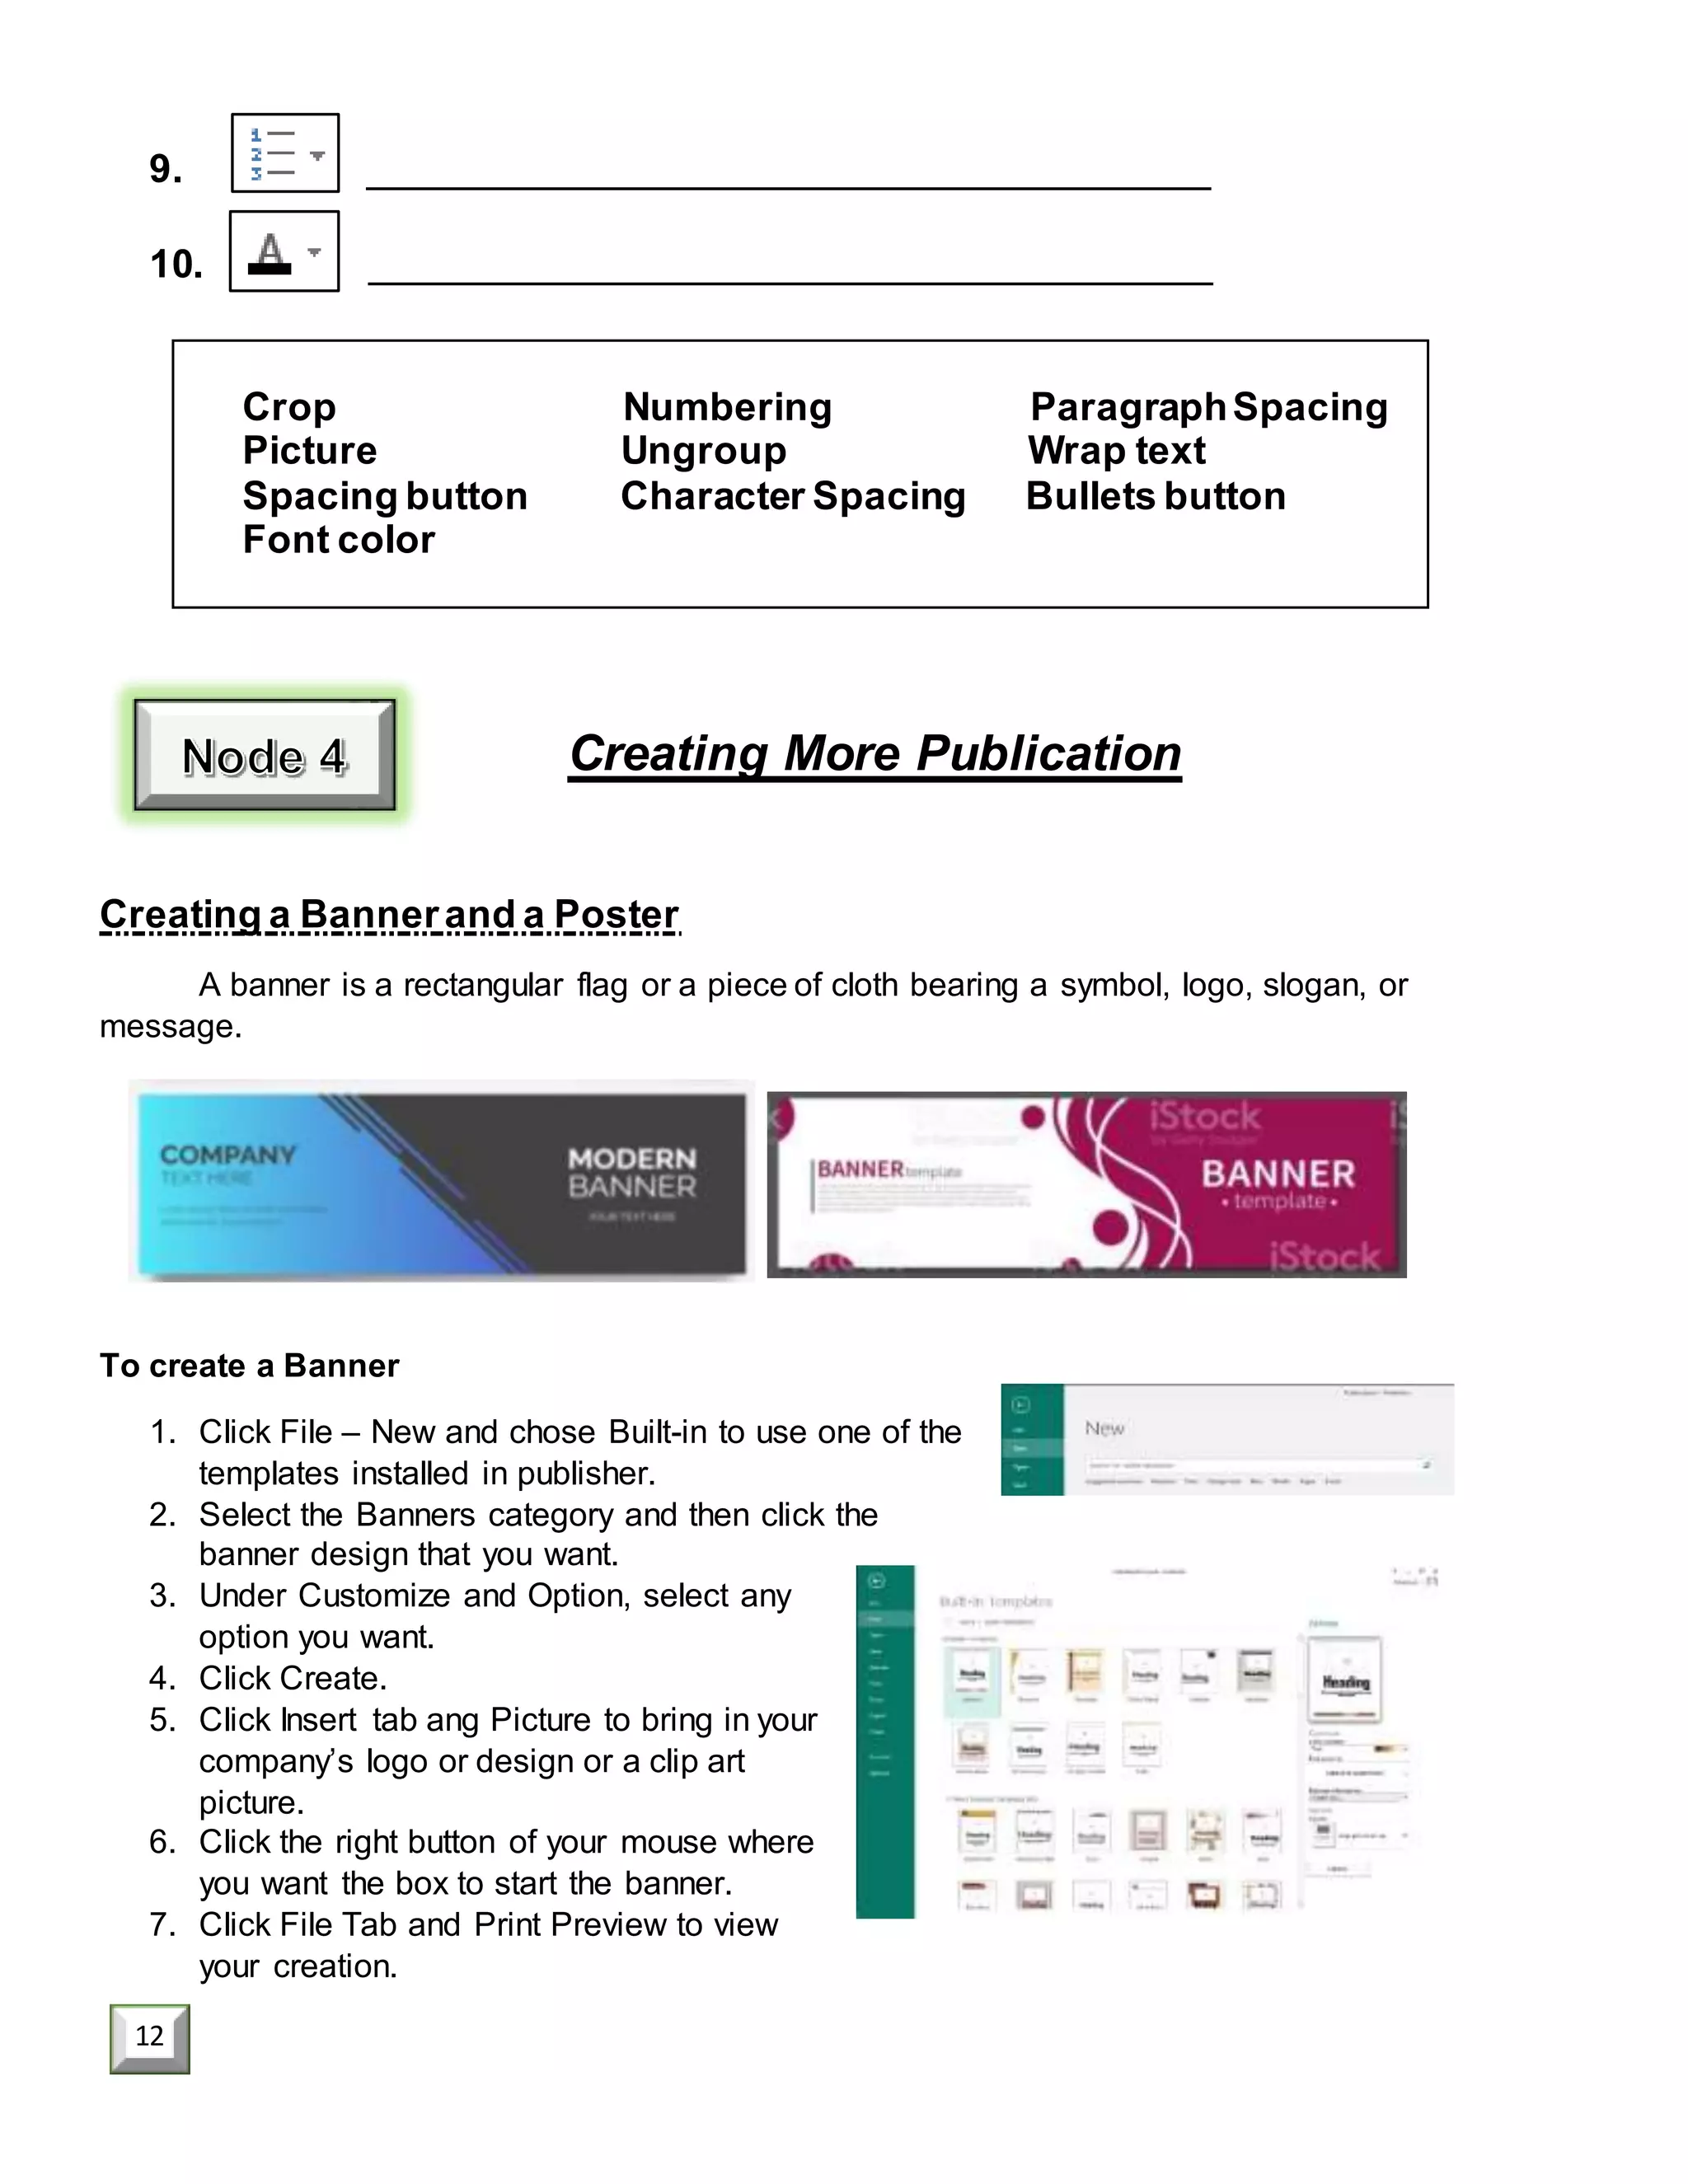
A banner is a rectangular flag or a piece of cloth bearing a symbol, logo, slogan, or
message.
To create a Banner
1. Click File – New and chose Built-in to use one of the
templates installed in publisher.
2. Select the Banners category and then click the
banner design that you want.
3. Under Customize and Option, select any
option you want.
4. Click Create.
5. Click Insert tab ang Picture to bring in your
company’s logo or design or a clip art
picture.
6. Click the right button of your mouse where
you want the box to start the banner.
7. Click File Tab and Print Preview to view
your creation.
12
Creating Greeting Cards
Using Microsoft Publisher, you can assemble
exactly the greeting card that you want. It
professionally refined designs allow you to create a
general holiday theme such as Christmas and New
Year. You can add personal touches in the form of
verses, messages, pictures, and company logos.
1. Pick a template
2. Start Publisher. Click Built-in – Christmas
Cards
3. Scroll through predesigned greeting card
publications. When you find one that you
like, click it to see a larger image preview.
4. Click Create.
Creating a Bannerand a Poster
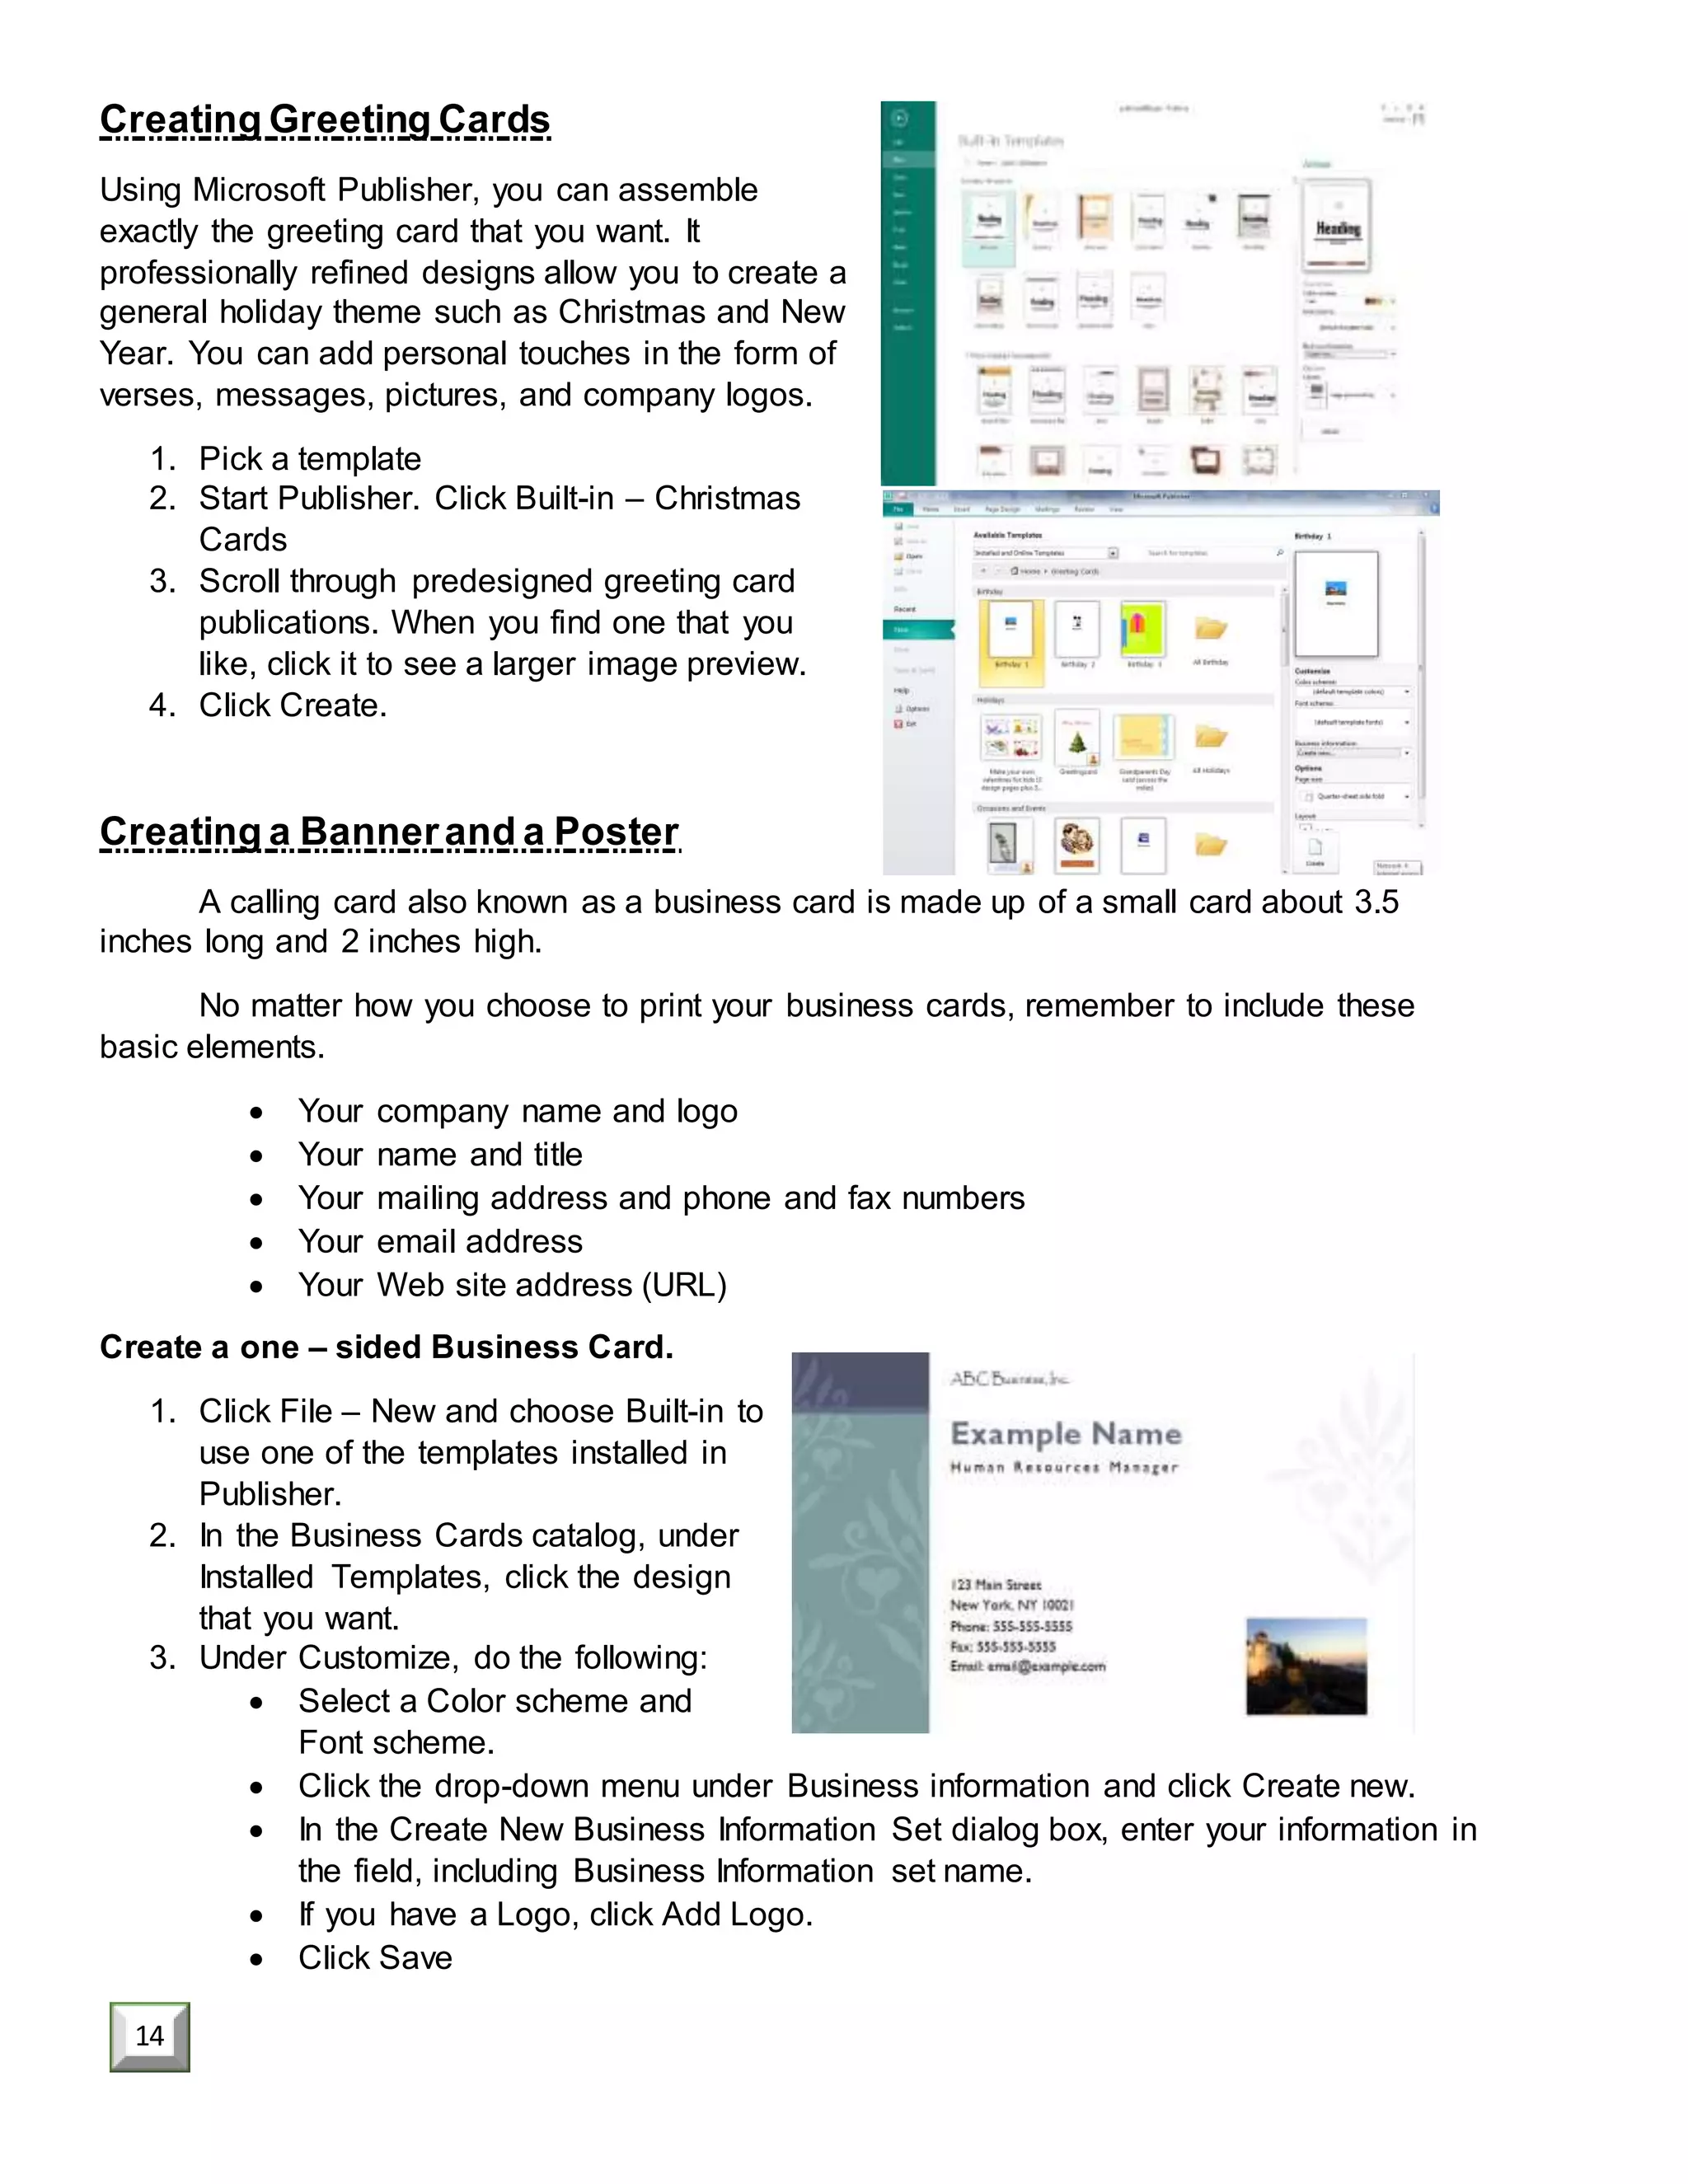
A calling card also known as a business card is made up of a small card about 3.5
inches long and 2 inches high.
No matter how you choose to print your business cards, remember to include these
basic elements.
 Your company name and logo
 Your name and title
 Your mailing address and phone and fax numbers
 Your email address
 Your Web site address (URL)
Create a one – sided Business Card.
1. Click File – New and choose Built-in to
use one of the templates installed in
Publisher.
2. In the Business Cards catalog, under
Installed Templates, click the design
that you want.
3. Under Customize, do the following:
 Select a Color scheme and
Font scheme.
 Click the drop-down menu under Business information and click Create new.
 In the Create New Business Information Set dialog box, enter your information in
the field, including Business Information set name.
 If you have a Logo, click Add Logo.
 Click Save
14
Grade 4   computer module 4th quarter even no. pages

More Related Content

What's hot

DAY 2 - Starting in Photoshop (Images and Layers)
DAY 2 - Starting in Photoshop (Images and Layers)DAY 2 - Starting in Photoshop (Images and Layers)
DAY 2 - Starting in Photoshop (Images and Layers)Sef Cambaliza
 
Photoshop Introduction
Photoshop IntroductionPhotoshop Introduction
Photoshop IntroductionZ Hoeben
 
Photoshop intro to basics
Photoshop intro to basicsPhotoshop intro to basics
Photoshop intro to basicsNatalie Hurd
 
Presentation on Adobe Photoshop
Presentation on Adobe PhotoshopPresentation on Adobe Photoshop
Presentation on Adobe PhotoshopOpenDev
 
Adobe Photoshop Basics - Session 1
Adobe Photoshop Basics - Session 1Adobe Photoshop Basics - Session 1
Adobe Photoshop Basics - Session 1xneptune
 
Presentation on Adobe Photoshop
Presentation on Adobe PhotoshopPresentation on Adobe Photoshop
Presentation on Adobe PhotoshopMohak Jain
 
Desktop publishing (power point)
Desktop publishing (power point)Desktop publishing (power point)
Desktop publishing (power point)kuromi12
 
Getting started with paint
Getting started with paintGetting started with paint
Getting started with paintMukul Kumar
 
etech-chap2-basic-word.pptx
etech-chap2-basic-word.pptxetech-chap2-basic-word.pptx
etech-chap2-basic-word.pptxJahredBetita
 
Desktop Publishing
Desktop PublishingDesktop Publishing
Desktop Publishingbjoe777
 
#2 4th ppt gr.1 microsoft paint aa
#2   4th ppt gr.1 microsoft paint  aa#2   4th ppt gr.1 microsoft paint  aa
#2 4th ppt gr.1 microsoft paint aaShirley Valera
 
An introduction to MS Publisher
An introduction to MS PublisherAn introduction to MS Publisher
An introduction to MS Publishersimonwhiffin
 
Basic exercises for photoshop
Basic exercises for photoshopBasic exercises for photoshop
Basic exercises for photoshopPauline Torion
 

What's hot (20)

DAY 2 - Starting in Photoshop (Images and Layers)
DAY 2 - Starting in Photoshop (Images and Layers)DAY 2 - Starting in Photoshop (Images and Layers)
DAY 2 - Starting in Photoshop (Images and Layers)
 
Photoshop Introduction
Photoshop IntroductionPhotoshop Introduction
Photoshop Introduction
 
publisher.ppt
publisher.pptpublisher.ppt
publisher.ppt
 
Photoshop intro to basics
Photoshop intro to basicsPhotoshop intro to basics
Photoshop intro to basics
 
TUTORIAL ON PHOTOSHOP
TUTORIAL ON PHOTOSHOPTUTORIAL ON PHOTOSHOP
TUTORIAL ON PHOTOSHOP
 
Presentation on Adobe Photoshop
Presentation on Adobe PhotoshopPresentation on Adobe Photoshop
Presentation on Adobe Photoshop
 
Adobe Photoshop Basics - Session 1
Adobe Photoshop Basics - Session 1Adobe Photoshop Basics - Session 1
Adobe Photoshop Basics - Session 1
 
Presentation on Adobe Photoshop
Presentation on Adobe PhotoshopPresentation on Adobe Photoshop
Presentation on Adobe Photoshop
 
The Selection Tools
The Selection ToolsThe Selection Tools
The Selection Tools
 
How to use Canva
How to use CanvaHow to use Canva
How to use Canva
 
Desktop publishing (power point)
Desktop publishing (power point)Desktop publishing (power point)
Desktop publishing (power point)
 
Adobe Photoshop: Retouching Tools
Adobe Photoshop: Retouching ToolsAdobe Photoshop: Retouching Tools
Adobe Photoshop: Retouching Tools
 
Getting started with paint
Getting started with paintGetting started with paint
Getting started with paint
 
etech-chap2-basic-word.pptx
etech-chap2-basic-word.pptxetech-chap2-basic-word.pptx
etech-chap2-basic-word.pptx
 
Drawing with paint
Drawing with paintDrawing with paint
Drawing with paint
 
Desktop Publishing
Desktop PublishingDesktop Publishing
Desktop Publishing
 
#2 4th ppt gr.1 microsoft paint aa
#2   4th ppt gr.1 microsoft paint  aa#2   4th ppt gr.1 microsoft paint  aa
#2 4th ppt gr.1 microsoft paint aa
 
An introduction to MS Publisher
An introduction to MS PublisherAn introduction to MS Publisher
An introduction to MS Publisher
 
Adobe illustrator basics
Adobe illustrator basicsAdobe illustrator basics
Adobe illustrator basics
 
Basic exercises for photoshop
Basic exercises for photoshopBasic exercises for photoshop
Basic exercises for photoshop
 

Similar to Grade 4 computer module 4th quarter even no. pages

technology-transfer-planning empowe.pptx
technology-transfer-planning empowe.pptxtechnology-transfer-planning empowe.pptx
technology-transfer-planning empowe.pptxAlleahGevero1
 
Open Office Impress : Lesson 08
Open Office Impress : Lesson 08Open Office Impress : Lesson 08
Open Office Impress : Lesson 08thinkict
 
Work Sample - Draft Publication Manual
Work Sample - Draft Publication ManualWork Sample - Draft Publication Manual
Work Sample - Draft Publication ManualMarshall Hopkins
 
chapter1computers2-160923133049.pdf
chapter1computers2-160923133049.pdfchapter1computers2-160923133049.pdf
chapter1computers2-160923133049.pdfjhoncarlvaldez
 
Microsoft Word 2010
Microsoft Word 2010Microsoft Word 2010
Microsoft Word 2010home
 
Pks ms powerpointl unit 3_bcomcs
Pks ms powerpointl unit 3_bcomcsPks ms powerpointl unit 3_bcomcs
Pks ms powerpointl unit 3_bcomcsKALAISELVI P
 
chapter1computers2-160923133049.pptx
chapter1computers2-160923133049.pptxchapter1computers2-160923133049.pptx
chapter1computers2-160923133049.pptxMirzaAARIF1
 
Microsoft Publisher 2013 Quickstart
Microsoft Publisher 2013 QuickstartMicrosoft Publisher 2013 Quickstart
Microsoft Publisher 2013 Quickstartcomatsg
 
Introduction to Microsoft Office
Introduction to Microsoft OfficeIntroduction to Microsoft Office
Introduction to Microsoft Officejeffrey233617
 
How To Make a Business Card on Photoshop
How To Make a Business Card on PhotoshopHow To Make a Business Card on Photoshop
How To Make a Business Card on PhotoshopDesign and Printing
 
Word2022 (1).pptx4c
Word2022 (1).pptx4cWord2022 (1).pptx4c
Word2022 (1).pptx4cmagicbus5
 
Adobe photoshop cs6
Adobe photoshop cs6Adobe photoshop cs6
Adobe photoshop cs6Ila Azmil
 
Adobe photoshop cs6
Adobe photoshop cs6Adobe photoshop cs6
Adobe photoshop cs6ilaazmil2
 
Adobe photoshop cs6 tutorial
Adobe photoshop cs6 tutorialAdobe photoshop cs6 tutorial
Adobe photoshop cs6 tutorialAgung Yuwono
 

Similar to Grade 4 computer module 4th quarter even no. pages (20)

technology-transfer-planning empowe.pptx
technology-transfer-planning empowe.pptxtechnology-transfer-planning empowe.pptx
technology-transfer-planning empowe.pptx
 
Productivity tools
Productivity toolsProductivity tools
Productivity tools
 
Open Office Impress : Lesson 08
Open Office Impress : Lesson 08Open Office Impress : Lesson 08
Open Office Impress : Lesson 08
 
Work Sample - Draft Publication Manual
Work Sample - Draft Publication ManualWork Sample - Draft Publication Manual
Work Sample - Draft Publication Manual
 
Computer Science.pptx
Computer Science.pptxComputer Science.pptx
Computer Science.pptx
 
chapter1computers2-160923133049.pdf
chapter1computers2-160923133049.pdfchapter1computers2-160923133049.pdf
chapter1computers2-160923133049.pdf
 
Microsoft Word 2010
Microsoft Word 2010Microsoft Word 2010
Microsoft Word 2010
 
Pks ms powerpointl unit 3_bcomcs
Pks ms powerpointl unit 3_bcomcsPks ms powerpointl unit 3_bcomcs
Pks ms powerpointl unit 3_bcomcs
 
chapter1computers2-160923133049.pptx
chapter1computers2-160923133049.pptxchapter1computers2-160923133049.pptx
chapter1computers2-160923133049.pptx
 
Microsoft Publisher 2013 Quickstart
Microsoft Publisher 2013 QuickstartMicrosoft Publisher 2013 Quickstart
Microsoft Publisher 2013 Quickstart
 
Introduction to Microsoft Office
Introduction to Microsoft OfficeIntroduction to Microsoft Office
Introduction to Microsoft Office
 
Using illustrator for posters by hmftj
Using illustrator for posters by hmftj Using illustrator for posters by hmftj
Using illustrator for posters by hmftj
 
How To Make a Business Card on Photoshop
How To Make a Business Card on PhotoshopHow To Make a Business Card on Photoshop
How To Make a Business Card on Photoshop
 
MS word.pptx
MS word.pptxMS word.pptx
MS word.pptx
 
d_ltr_print
d_ltr_printd_ltr_print
d_ltr_print
 
d_ltr_print
d_ltr_printd_ltr_print
d_ltr_print
 
Word2022 (1).pptx4c
Word2022 (1).pptx4cWord2022 (1).pptx4c
Word2022 (1).pptx4c
 
Adobe photoshop cs6
Adobe photoshop cs6Adobe photoshop cs6
Adobe photoshop cs6
 
Adobe photoshop cs6
Adobe photoshop cs6Adobe photoshop cs6
Adobe photoshop cs6
 
Adobe photoshop cs6 tutorial
Adobe photoshop cs6 tutorialAdobe photoshop cs6 tutorial
Adobe photoshop cs6 tutorial
 

Recently uploaded

Separation of Lanthanides/ Lanthanides and Actinides
Separation of Lanthanides/ Lanthanides and ActinidesSeparation of Lanthanides/ Lanthanides and Actinides
Separation of Lanthanides/ Lanthanides and ActinidesFatimaKhan178732
 
Alper Gobel In Media Res Media Component
Alper Gobel In Media Res Media ComponentAlper Gobel In Media Res Media Component
Alper Gobel In Media Res Media ComponentInMediaRes1
 
Crayon Activity Handout For the Crayon A
Crayon Activity Handout For the Crayon ACrayon Activity Handout For the Crayon A
Crayon Activity Handout For the Crayon AUnboundStockton
 
Mastering the Unannounced Regulatory Inspection
Mastering the Unannounced Regulatory InspectionMastering the Unannounced Regulatory Inspection
Mastering the Unannounced Regulatory InspectionSafetyChain Software
 
Micromeritics - Fundamental and Derived Properties of Powders
Micromeritics - Fundamental and Derived Properties of PowdersMicromeritics - Fundamental and Derived Properties of Powders
Micromeritics - Fundamental and Derived Properties of PowdersChitralekhaTherkar
 
Presentation by Andreas Schleicher Tackling the School Absenteeism Crisis 30 ...
Presentation by Andreas Schleicher Tackling the School Absenteeism Crisis 30 ...Presentation by Andreas Schleicher Tackling the School Absenteeism Crisis 30 ...
Presentation by Andreas Schleicher Tackling the School Absenteeism Crisis 30 ...EduSkills OECD
 
The Most Excellent Way | 1 Corinthians 13
The Most Excellent Way | 1 Corinthians 13The Most Excellent Way | 1 Corinthians 13
The Most Excellent Way | 1 Corinthians 13Steve Thomason
 
Grant Readiness 101 TechSoup and Remy Consulting
Grant Readiness 101 TechSoup and Remy ConsultingGrant Readiness 101 TechSoup and Remy Consulting
Grant Readiness 101 TechSoup and Remy ConsultingTechSoup
 
Presiding Officer Training module 2024 lok sabha elections
Presiding Officer Training module 2024 lok sabha electionsPresiding Officer Training module 2024 lok sabha elections
Presiding Officer Training module 2024 lok sabha electionsanshu789521
 
BASLIQ CURRENT LOOKBOOK LOOKBOOK(1) (1).pdf
BASLIQ CURRENT LOOKBOOK  LOOKBOOK(1) (1).pdfBASLIQ CURRENT LOOKBOOK  LOOKBOOK(1) (1).pdf
BASLIQ CURRENT LOOKBOOK LOOKBOOK(1) (1).pdfSoniaTolstoy
 
PSYCHIATRIC History collection FORMAT.pptx
PSYCHIATRIC   History collection FORMAT.pptxPSYCHIATRIC   History collection FORMAT.pptx
PSYCHIATRIC History collection FORMAT.pptxPoojaSen20
 
Accessible design: Minimum effort, maximum impact
Accessible design: Minimum effort, maximum impactAccessible design: Minimum effort, maximum impact
Accessible design: Minimum effort, maximum impactdawncurless
 
Kisan Call Centre - To harness potential of ICT in Agriculture by answer farm...
Kisan Call Centre - To harness potential of ICT in Agriculture by answer farm...Kisan Call Centre - To harness potential of ICT in Agriculture by answer farm...
Kisan Call Centre - To harness potential of ICT in Agriculture by answer farm...Krashi Coaching
 
CARE OF CHILD IN INCUBATOR..........pptx
CARE OF CHILD IN INCUBATOR..........pptxCARE OF CHILD IN INCUBATOR..........pptx
CARE OF CHILD IN INCUBATOR..........pptxGaneshChakor2
 
SOCIAL AND HISTORICAL CONTEXT - LFTVD.pptx
SOCIAL AND HISTORICAL CONTEXT - LFTVD.pptxSOCIAL AND HISTORICAL CONTEXT - LFTVD.pptx
SOCIAL AND HISTORICAL CONTEXT - LFTVD.pptxiammrhaywood
 
Employee wellbeing at the workplace.pptx
Employee wellbeing at the workplace.pptxEmployee wellbeing at the workplace.pptx
Employee wellbeing at the workplace.pptxNirmalaLoungPoorunde1
 
Contemporary philippine arts from the regions_PPT_Module_12 [Autosaved] (1).pptx
Contemporary philippine arts from the regions_PPT_Module_12 [Autosaved] (1).pptxContemporary philippine arts from the regions_PPT_Module_12 [Autosaved] (1).pptx
Contemporary philippine arts from the regions_PPT_Module_12 [Autosaved] (1).pptxRoyAbrique
 
Introduction to AI in Higher Education_draft.pptx
Introduction to AI in Higher Education_draft.pptxIntroduction to AI in Higher Education_draft.pptx
Introduction to AI in Higher Education_draft.pptxpboyjonauth
 

Recently uploaded (20)

Separation of Lanthanides/ Lanthanides and Actinides
Separation of Lanthanides/ Lanthanides and ActinidesSeparation of Lanthanides/ Lanthanides and Actinides
Separation of Lanthanides/ Lanthanides and Actinides
 
Alper Gobel In Media Res Media Component
Alper Gobel In Media Res Media ComponentAlper Gobel In Media Res Media Component
Alper Gobel In Media Res Media Component
 
Crayon Activity Handout For the Crayon A
Crayon Activity Handout For the Crayon ACrayon Activity Handout For the Crayon A
Crayon Activity Handout For the Crayon A
 
Model Call Girl in Tilak Nagar Delhi reach out to us at 🔝9953056974🔝
Model Call Girl in Tilak Nagar Delhi reach out to us at 🔝9953056974🔝Model Call Girl in Tilak Nagar Delhi reach out to us at 🔝9953056974🔝
Model Call Girl in Tilak Nagar Delhi reach out to us at 🔝9953056974🔝
 
Mastering the Unannounced Regulatory Inspection
Mastering the Unannounced Regulatory InspectionMastering the Unannounced Regulatory Inspection
Mastering the Unannounced Regulatory Inspection
 
Micromeritics - Fundamental and Derived Properties of Powders
Micromeritics - Fundamental and Derived Properties of PowdersMicromeritics - Fundamental and Derived Properties of Powders
Micromeritics - Fundamental and Derived Properties of Powders
 
Presentation by Andreas Schleicher Tackling the School Absenteeism Crisis 30 ...
Presentation by Andreas Schleicher Tackling the School Absenteeism Crisis 30 ...Presentation by Andreas Schleicher Tackling the School Absenteeism Crisis 30 ...
Presentation by Andreas Schleicher Tackling the School Absenteeism Crisis 30 ...
 
The Most Excellent Way | 1 Corinthians 13
The Most Excellent Way | 1 Corinthians 13The Most Excellent Way | 1 Corinthians 13
The Most Excellent Way | 1 Corinthians 13
 
Grant Readiness 101 TechSoup and Remy Consulting
Grant Readiness 101 TechSoup and Remy ConsultingGrant Readiness 101 TechSoup and Remy Consulting
Grant Readiness 101 TechSoup and Remy Consulting
 
Presiding Officer Training module 2024 lok sabha elections
Presiding Officer Training module 2024 lok sabha electionsPresiding Officer Training module 2024 lok sabha elections
Presiding Officer Training module 2024 lok sabha elections
 
BASLIQ CURRENT LOOKBOOK LOOKBOOK(1) (1).pdf
BASLIQ CURRENT LOOKBOOK  LOOKBOOK(1) (1).pdfBASLIQ CURRENT LOOKBOOK  LOOKBOOK(1) (1).pdf
BASLIQ CURRENT LOOKBOOK LOOKBOOK(1) (1).pdf
 
PSYCHIATRIC History collection FORMAT.pptx
PSYCHIATRIC   History collection FORMAT.pptxPSYCHIATRIC   History collection FORMAT.pptx
PSYCHIATRIC History collection FORMAT.pptx
 
Accessible design: Minimum effort, maximum impact
Accessible design: Minimum effort, maximum impactAccessible design: Minimum effort, maximum impact
Accessible design: Minimum effort, maximum impact
 
Kisan Call Centre - To harness potential of ICT in Agriculture by answer farm...
Kisan Call Centre - To harness potential of ICT in Agriculture by answer farm...Kisan Call Centre - To harness potential of ICT in Agriculture by answer farm...
Kisan Call Centre - To harness potential of ICT in Agriculture by answer farm...
 
CARE OF CHILD IN INCUBATOR..........pptx
CARE OF CHILD IN INCUBATOR..........pptxCARE OF CHILD IN INCUBATOR..........pptx
CARE OF CHILD IN INCUBATOR..........pptx
 
SOCIAL AND HISTORICAL CONTEXT - LFTVD.pptx
SOCIAL AND HISTORICAL CONTEXT - LFTVD.pptxSOCIAL AND HISTORICAL CONTEXT - LFTVD.pptx
SOCIAL AND HISTORICAL CONTEXT - LFTVD.pptx
 
Employee wellbeing at the workplace.pptx
Employee wellbeing at the workplace.pptxEmployee wellbeing at the workplace.pptx
Employee wellbeing at the workplace.pptx
 
Contemporary philippine arts from the regions_PPT_Module_12 [Autosaved] (1).pptx
Contemporary philippine arts from the regions_PPT_Module_12 [Autosaved] (1).pptxContemporary philippine arts from the regions_PPT_Module_12 [Autosaved] (1).pptx
Contemporary philippine arts from the regions_PPT_Module_12 [Autosaved] (1).pptx
 
Código Creativo y Arte de Software | Unidad 1
Código Creativo y Arte de Software | Unidad 1Código Creativo y Arte de Software | Unidad 1
Código Creativo y Arte de Software | Unidad 1
 
Introduction to AI in Higher Education_draft.pptx
Introduction to AI in Higher Education_draft.pptxIntroduction to AI in Higher Education_draft.pptx
Introduction to AI in Higher Education_draft.pptx
 

Grade 4 computer module 4th quarter even no. pages

  • 1. 1. To start MS Publisher, click on the Start button and then click All Programs. Select MS Office 2013 and then click Microsoft Publisher. 2. Double click the Microsoft Publisher icon on the desktop. In opening an existing publication or template, you can quickly create a publication. You can start with a publication by the list of features options. Starting Office Publisher 2013 is the program that helps you create, design, and publish professional materials. You can create materials for print, e-mail, and the Web. Parts of MicrosoftPublisherWindow 1. Title bar appears at the top of the program window and displays the name of the publication and the program. The buttons on the right side of the Title bar are used to get help as well as minimize, restore, maximize, and close the program window. 2. Quick Access appears on the left side of the Title bar and contains frequently used commands toolbar that are independent of the tab displayed on the Ribbon. 3. Ribbon extends across the top of the program window, directly below the Title bar, and consists of set of tabs, each of which contains groups of related commands. 4. Page pane appears on the left side of the program window and displays a thumbnail for each page in the publication. This pane can be used to navigate to a particular page by clicking its thumbnail, and rearrange pages by dragging thumbnails. 5. Workplace appears below the Ribbon and displays the contents of the current page. 2
  • 2. A B _____1. Contains group of related commands. _____2. Displays the contents of the current page _____3. Appears at the bottom of the program window and displays information about the publication _____4. The gray area surrounding the current page _____5. Appears at the top of the program window _____6. Contains commands related to changing the view _____7. Contains the most frequently used commands _____8. Contains commands related to all the items you can insert into a publication _____9. Contains commands related to proofing a publication _____10. Appears on the left side of the program window Create a New Publication in Publisher 1. To create a new publication when you are opening Publisher. Click the type of publication that you can want to create within the list of available templates that appears at the right side of the startup screen. 2. To create a new publication with Publisher open, click the File tab within the Ribbon and then select the New command at the left side of backstage view. 3. In the listing of available templates that appears to the right in the backstage view, you can choose to start a new publication from one of the many templates available. 4. Click either the Create or Download buttons that appear to create a new publication based on the selected template. 5. To create a new, blank publication that is a standard page size, select the Blank 8.5 x 11 icon from the templates listing. A. Home Tab B. Insert Tab C. Page Pane D. Review Pane E. Ribbon F. Scratch Area G. Status Bar H. Title Bar I. View tab J. Window K. Workspace 4
  • 3. Clean it Up Clean it up the earth, So it could be a sparkling clean place for us all! Clean up the earth, So we can see the gorgeous blue and green on our planet. The blue and green will shine in our eyes if we clean it up. So clean it up, So that we don’t see any garbage Anytime or any day, Clean it up And live in a world of happiness. The world we live in is a world of happiness. The world we live in can be cleaned up and we can be happy. a. Type the poem b. Save it from time to time. Filename: Mother Earth c. Format the text  Font – Monotype Corsiva  Font Size – 16  Font Color – Dark Green  Alignment – Center d. Save your work. e. Open print preview f. Print your work. Creating Publication Create a Publication based on a Template 1. Click the File tab, and then click New. The New page of the backstage view opens displaying thumbnails of available templates. 2. In the right pane, click the thumbnail of the templates that you want to use. A preview windows open displaying the large image of the selected template and additional information. 3. Click the Create button, Publisher creates a new publication based on the selected templates and opens it in a new window. 6
  • 4. To change the font scheme On the Page tab, in the Schemes group, click the Fonts button, and select the desired font scheme from the list. Changingthe Page Layout After creating a publication, you may decide to change the page layout. You can use the commands in the page Setup group on the Page Design tab of the Ribbon to change margins, orientation, and size. To change the Page Margins On the Page Design tab in the Page Setup group, click the Margins button, and select the desired margin setting. To change the page size On the Page Design tab, in the Page Setup group, click the Size button, and select the desired page size. To change the Page Orientation On the Page Design tab, in the Page Setup group, click the Orientation button, and then click Portrait or Landscape. To Add Text On the Home tab, in the Objects group, click the Draw Text Box. In the publication, point to where you want one corner of the test box to appear, drag diagonally until you have the desired text box cursor appears in the text box. Type or text that you want to add. Formatting a Publication Take Time Take time to think; It is the source of power, Take time to play, it is the secret of perpetual youth, Take time to read; it is the fountain of wisdom, 8
  • 5. To apply special text effect 1. Select the text that you want to format. 2. Under Text Box Tools, on the Format tab, in the WordArt Styles group, do one of the following: - To apply WordArt Styles, go to WordArt Styles gallery. - To apply text effect, click the Text Effect button. To change the direction of text 1. Select the text that you want to format. 2. Under Text Box Tools, on the Format tab, click Direction button in the Text group. To format a Text box 1. Click in the box to select it. 2. Under Drawing Tools, on the Format tab, in the Shape Styles group, do one of the following: - To change the fill or outline color, click the Shape Fill or Shape Outline arrow and select the desired color from the color palette. - To apply shape effect, click Shape Effect button, point to the desired effect and select the desired option from the option submenu. - To apply a predefined shape style, select the desired style from Shape Styles gallery. To insert a picture 1. On the Insert tab, in the Illustrations group, click the Picture button. 2. In the Insert Picture dialog box, locate and select the picture that you want to insert, and then click the Insert button. When a picture is selected, the Picture Tools Format tab becomes available on the Ribbon. The tools on this tab can be used to modify the picture and enhance its appearance. To crop a picture 1. Click and select the picture that you want to crop. 2. Under Picture Tools, on the Format tab, In the Crop group, click Crop button. 3. Drag the cropping handles (found at the corner on the side of the picture) until the picture shows only the part you want to keep. 4. When you are finished, click outside the picture or press the Esc. To resize a text box 1. Click in the box to select it. Sizing handles appears in the corners and on the sides of the text. 2. Drag any of the sizing handles toward the center of the text box to make it smaller or away from the center to enlarge it. To resize a picture 1. Click the picture to select it. Sizing handles appear in the corners and on the sides of the picture. 2. Drag any of the sizing handles toward the center of the picture to make it smaller, or away from the away from the center to enlarge it. 10
  • 6. 9. _______________________________________ 10. _______________________________________ Crop Numbering ParagraphSpacing Picture Ungroup Wrap text Spacing button Character Spacing Bullets button Font color Creating More Publication Creating a Bannerand a Poster A banner is a rectangular flag or a piece of cloth bearing a symbol, logo, slogan, or message. To create a Banner 1. Click File – New and chose Built-in to use one of the templates installed in publisher. 2. Select the Banners category and then click the banner design that you want. 3. Under Customize and Option, select any option you want. 4. Click Create. 5. Click Insert tab ang Picture to bring in your company’s logo or design or a clip art picture. 6. Click the right button of your mouse where you want the box to start the banner. 7. Click File Tab and Print Preview to view your creation. 12
  • 7. Creating Greeting Cards Using Microsoft Publisher, you can assemble exactly the greeting card that you want. It professionally refined designs allow you to create a general holiday theme such as Christmas and New Year. You can add personal touches in the form of verses, messages, pictures, and company logos. 1. Pick a template 2. Start Publisher. Click Built-in – Christmas Cards 3. Scroll through predesigned greeting card publications. When you find one that you like, click it to see a larger image preview. 4. Click Create. Creating a Bannerand a Poster A calling card also known as a business card is made up of a small card about 3.5 inches long and 2 inches high. No matter how you choose to print your business cards, remember to include these basic elements.  Your company name and logo  Your name and title  Your mailing address and phone and fax numbers  Your email address  Your Web site address (URL) Create a one – sided Business Card. 1. Click File – New and choose Built-in to use one of the templates installed in Publisher. 2. In the Business Cards catalog, under Installed Templates, click the design that you want. 3. Under Customize, do the following:  Select a Color scheme and Font scheme.  Click the drop-down menu under Business information and click Create new.  In the Create New Business Information Set dialog box, enter your information in the field, including Business Information set name.  If you have a Logo, click Add Logo.  Click Save 14