Download to read offline


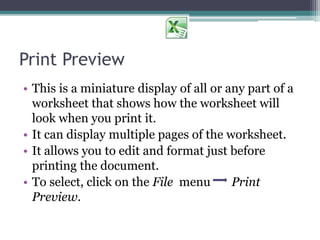

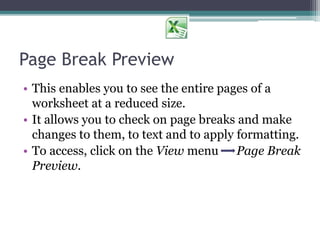


The document describes different views that can be used when working with a worksheet, including Normal View, Print Preview, Page Break Preview, Full Screen View, Zoom View, and Custom View. Each view changes how the worksheet is displayed on screen and allows the user to see and edit the worksheet in different ways, such as simulating how it will look when printed, checking page breaks, or zooming in or out. Views can be accessed through the View menu.