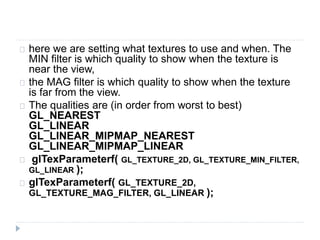
Download to read offline


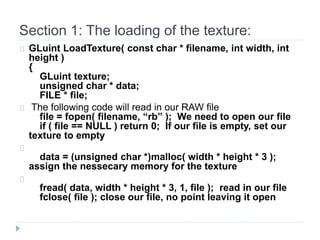

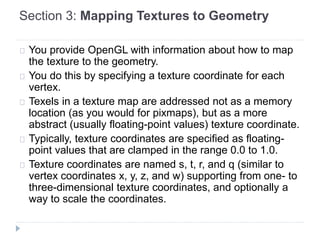
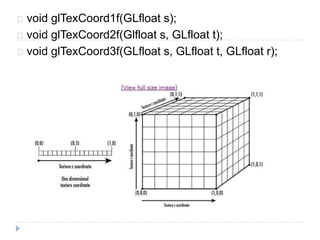
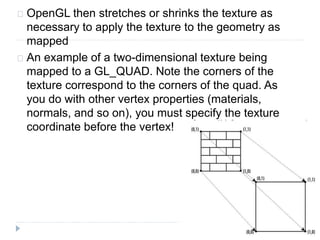
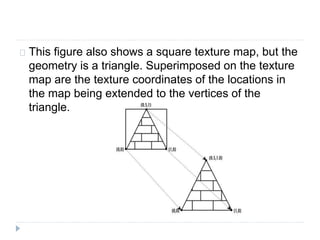
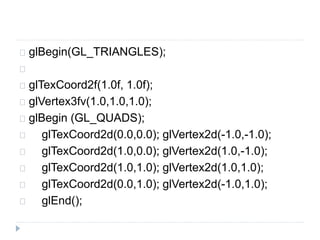

The document discusses OpenGL texturing. It describes how textures are loaded and applied to geometry. Textures are loaded using LoadTexture, which reads in texture data from a file. Textures are then enabled and bound. Texture parameters like filtering and wrapping modes are also set. Texture coordinates are assigned to vertices to map portions of the texture onto the geometry. When finished, textures can be cleaned up by deleting them to free memory.