Download as PDF, PPTX


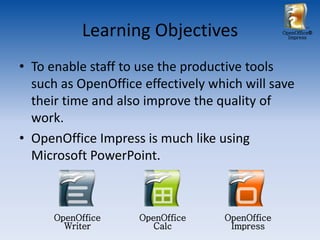
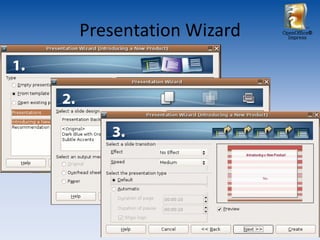
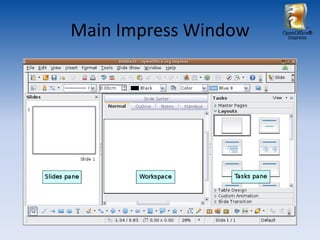
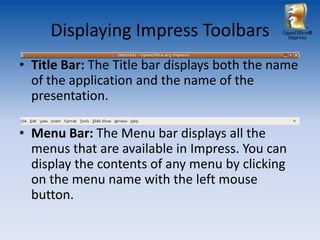
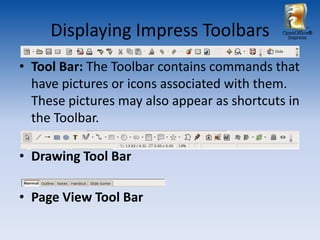
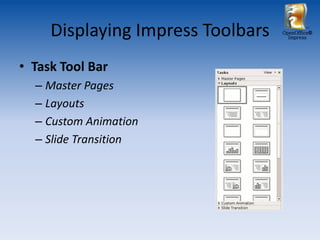

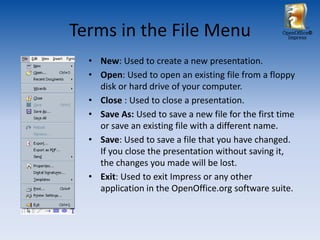
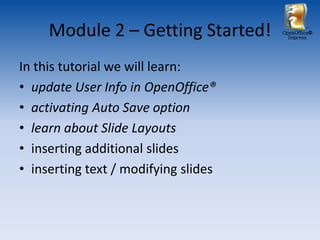
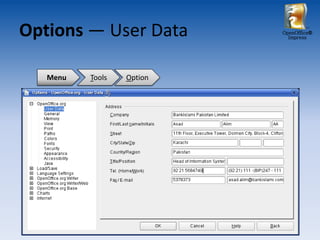
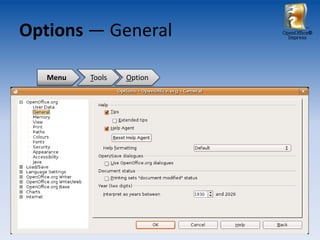
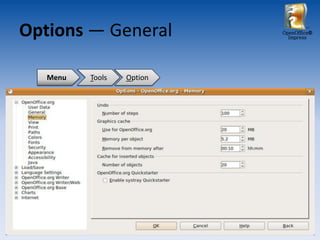
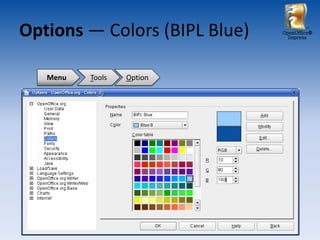
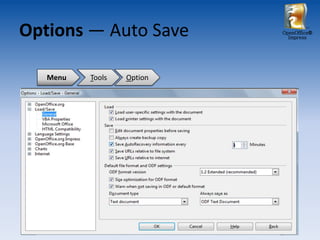
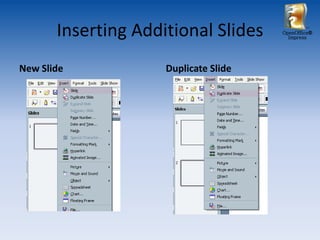
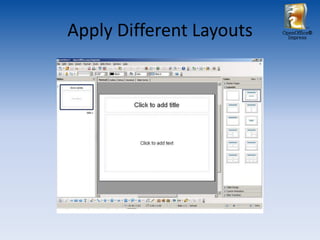
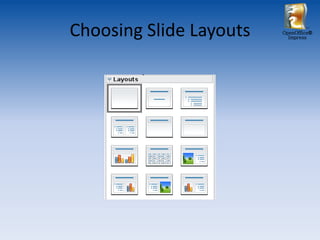
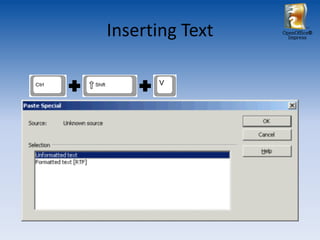
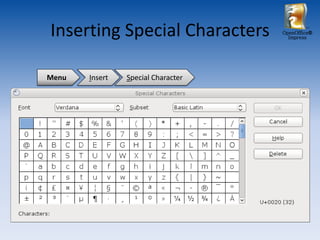

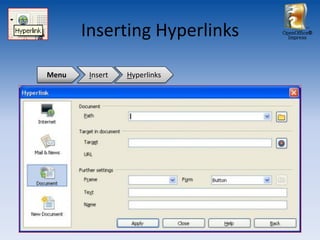
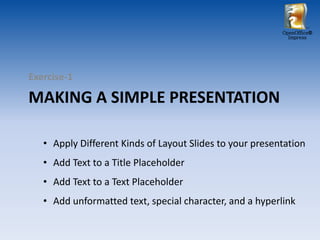
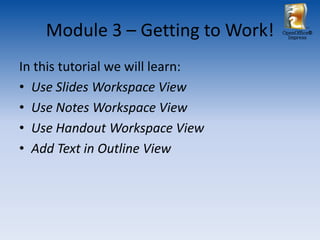
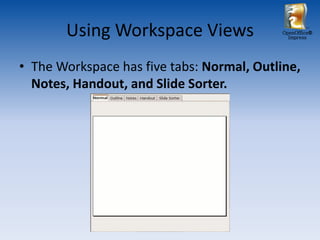
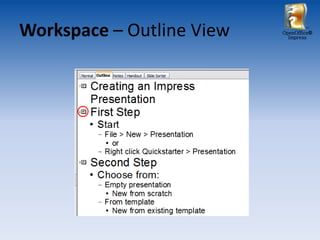

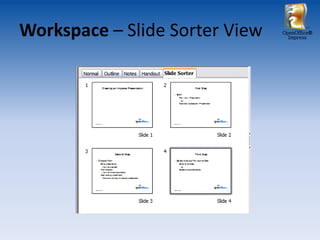
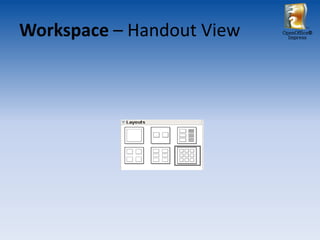
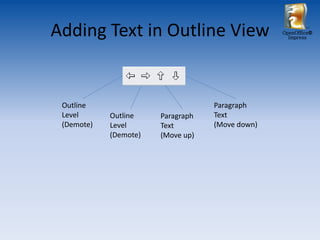
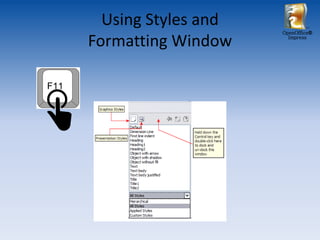
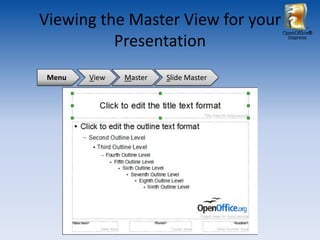
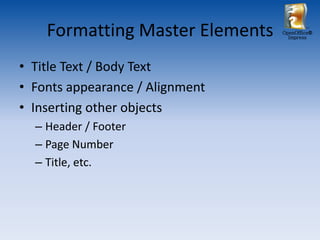
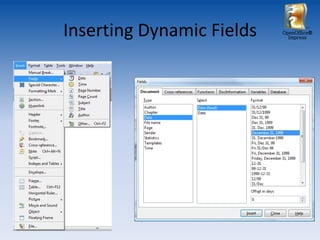
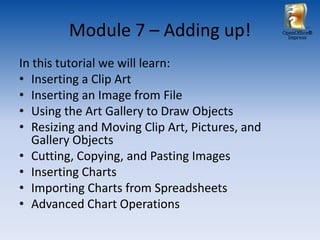

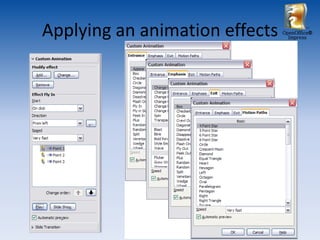
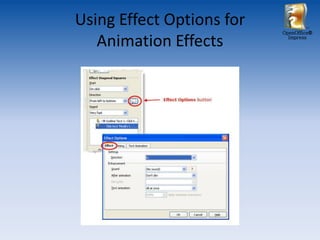
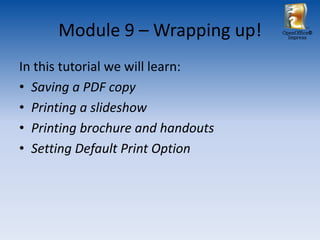
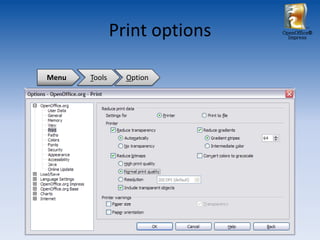
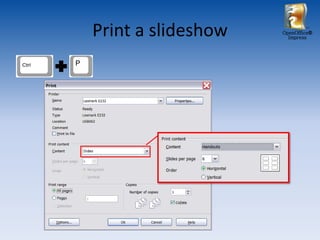

This document provides an overview and tutorial for using OpenOffice Impress, a presentation creation software similar to Microsoft PowerPoint. The tutorial covers topics such as navigating the main Impress window and toolbars, creating and formatting slides, adding text, images, charts and other objects, working with slide masters to set global formatting, and performing other common presentation tasks. The goal is to enable users to effectively use Impress's features to create and modify presentations, which will save their time and improve the quality of their work. The tutorial contains exercises for users to practice the skills covered.