Downloaded 511 times


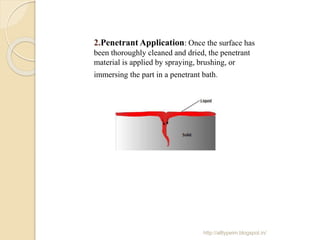


Liquid penetrant testing is a non-destructive testing method used to reveal surface discontinuities in materials. It works by applying a penetrant that seeps into flaws, removing excess penetrant, and then using a developer to draw the penetrant out of flaws so they are visible. The general steps are surface preparation to clean the part, applying penetrant and letting it dwell, removing excess penetrant, applying developer, and inspecting under light to detect any indications of flaws. It is a sensitive method suitable for many materials but can only detect surface-breaking defects.