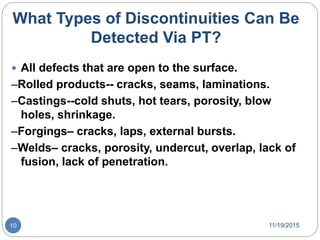
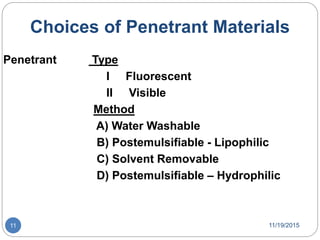
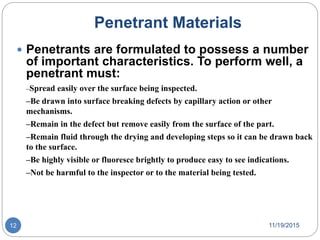
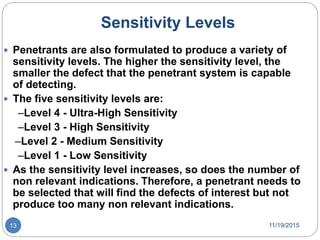
Downloaded 720 times

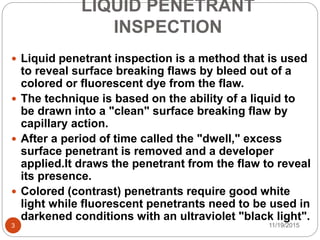
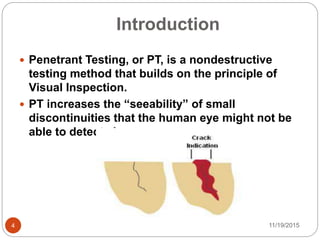


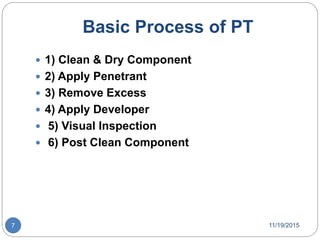


This document provides an overview of liquid penetrant inspection (LPI), a nondestructive testing method used to detect surface-breaking flaws. It discusses how LPI works by drawing colored dye into flaws via capillarity, and the basic six-step LPI process: 1) cleaning, 2) penetrant application, 3) excess penetrant removal, 4) developer application, 5) inspection, and 6) post-cleaning. The document also covers penetrant and developer materials and their properties, factors that influence the process, and advantages and limitations of LPI for nondestructive surface flaw detection.