Downloaded 17 times


![Learner analysis
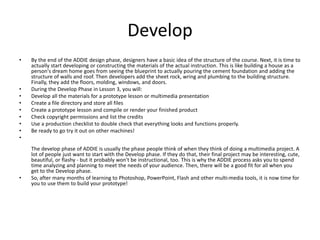
[Analyze learner and context]
• To identify learners’ current skill, preferences and attitude
• To identify characteristics of the instructional setting
• To identify the setting in which the skills will eventually be used
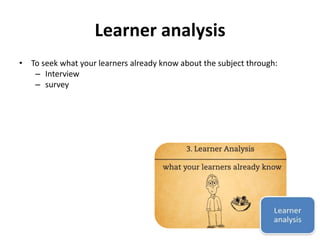
• To seek what your learners already know about the subject through:
– Interview
– survey
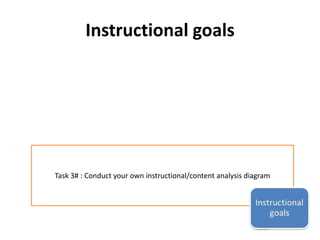
Task4# : Analysis Worksheet 3
Task5# : Analysis Worksheet 4](https://image.slidesharecdn.com/lecturenote001-140923225621-phpapp01/85/ISD-Lecture-note-001-17-320.jpg)


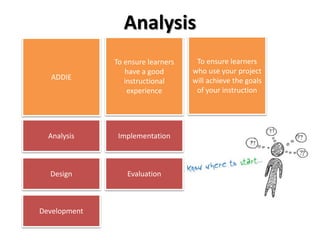
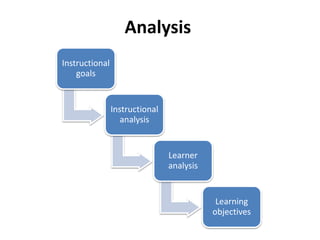
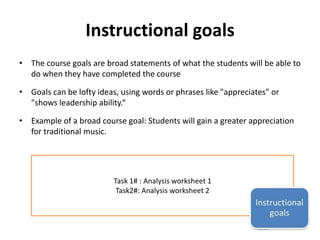
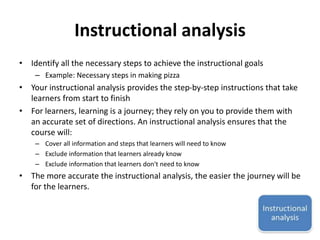
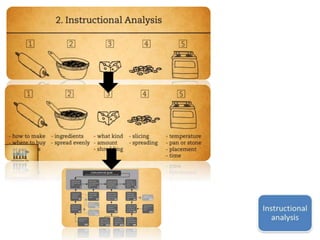
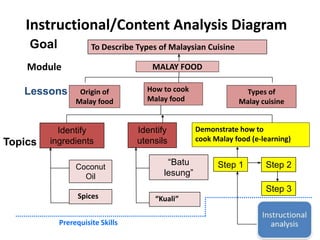
This document provides an overview of the ADDIE model for instructional design. It describes each phase of the ADDIE process: Analysis, Design, Development, Implementation, and Evaluation. For the Analysis phase, it outlines steps like conducting an instructional analysis, learner analysis, and writing learning objectives. The Design phase involves creating a blueprint or course map. In the Development phase, instructional materials are created. The Implementation phase involves testing the materials. Finally, the Evaluation phase consists of assessing the overall effectiveness of the instruction.


![Andragogy[3]](https://cdn.slidesharecdn.com/ss_thumbnails/andragogy3-090915133449-phpapp02-thumbnail.jpg?width=640&height=640&fit=bounds)


