Download to read offline

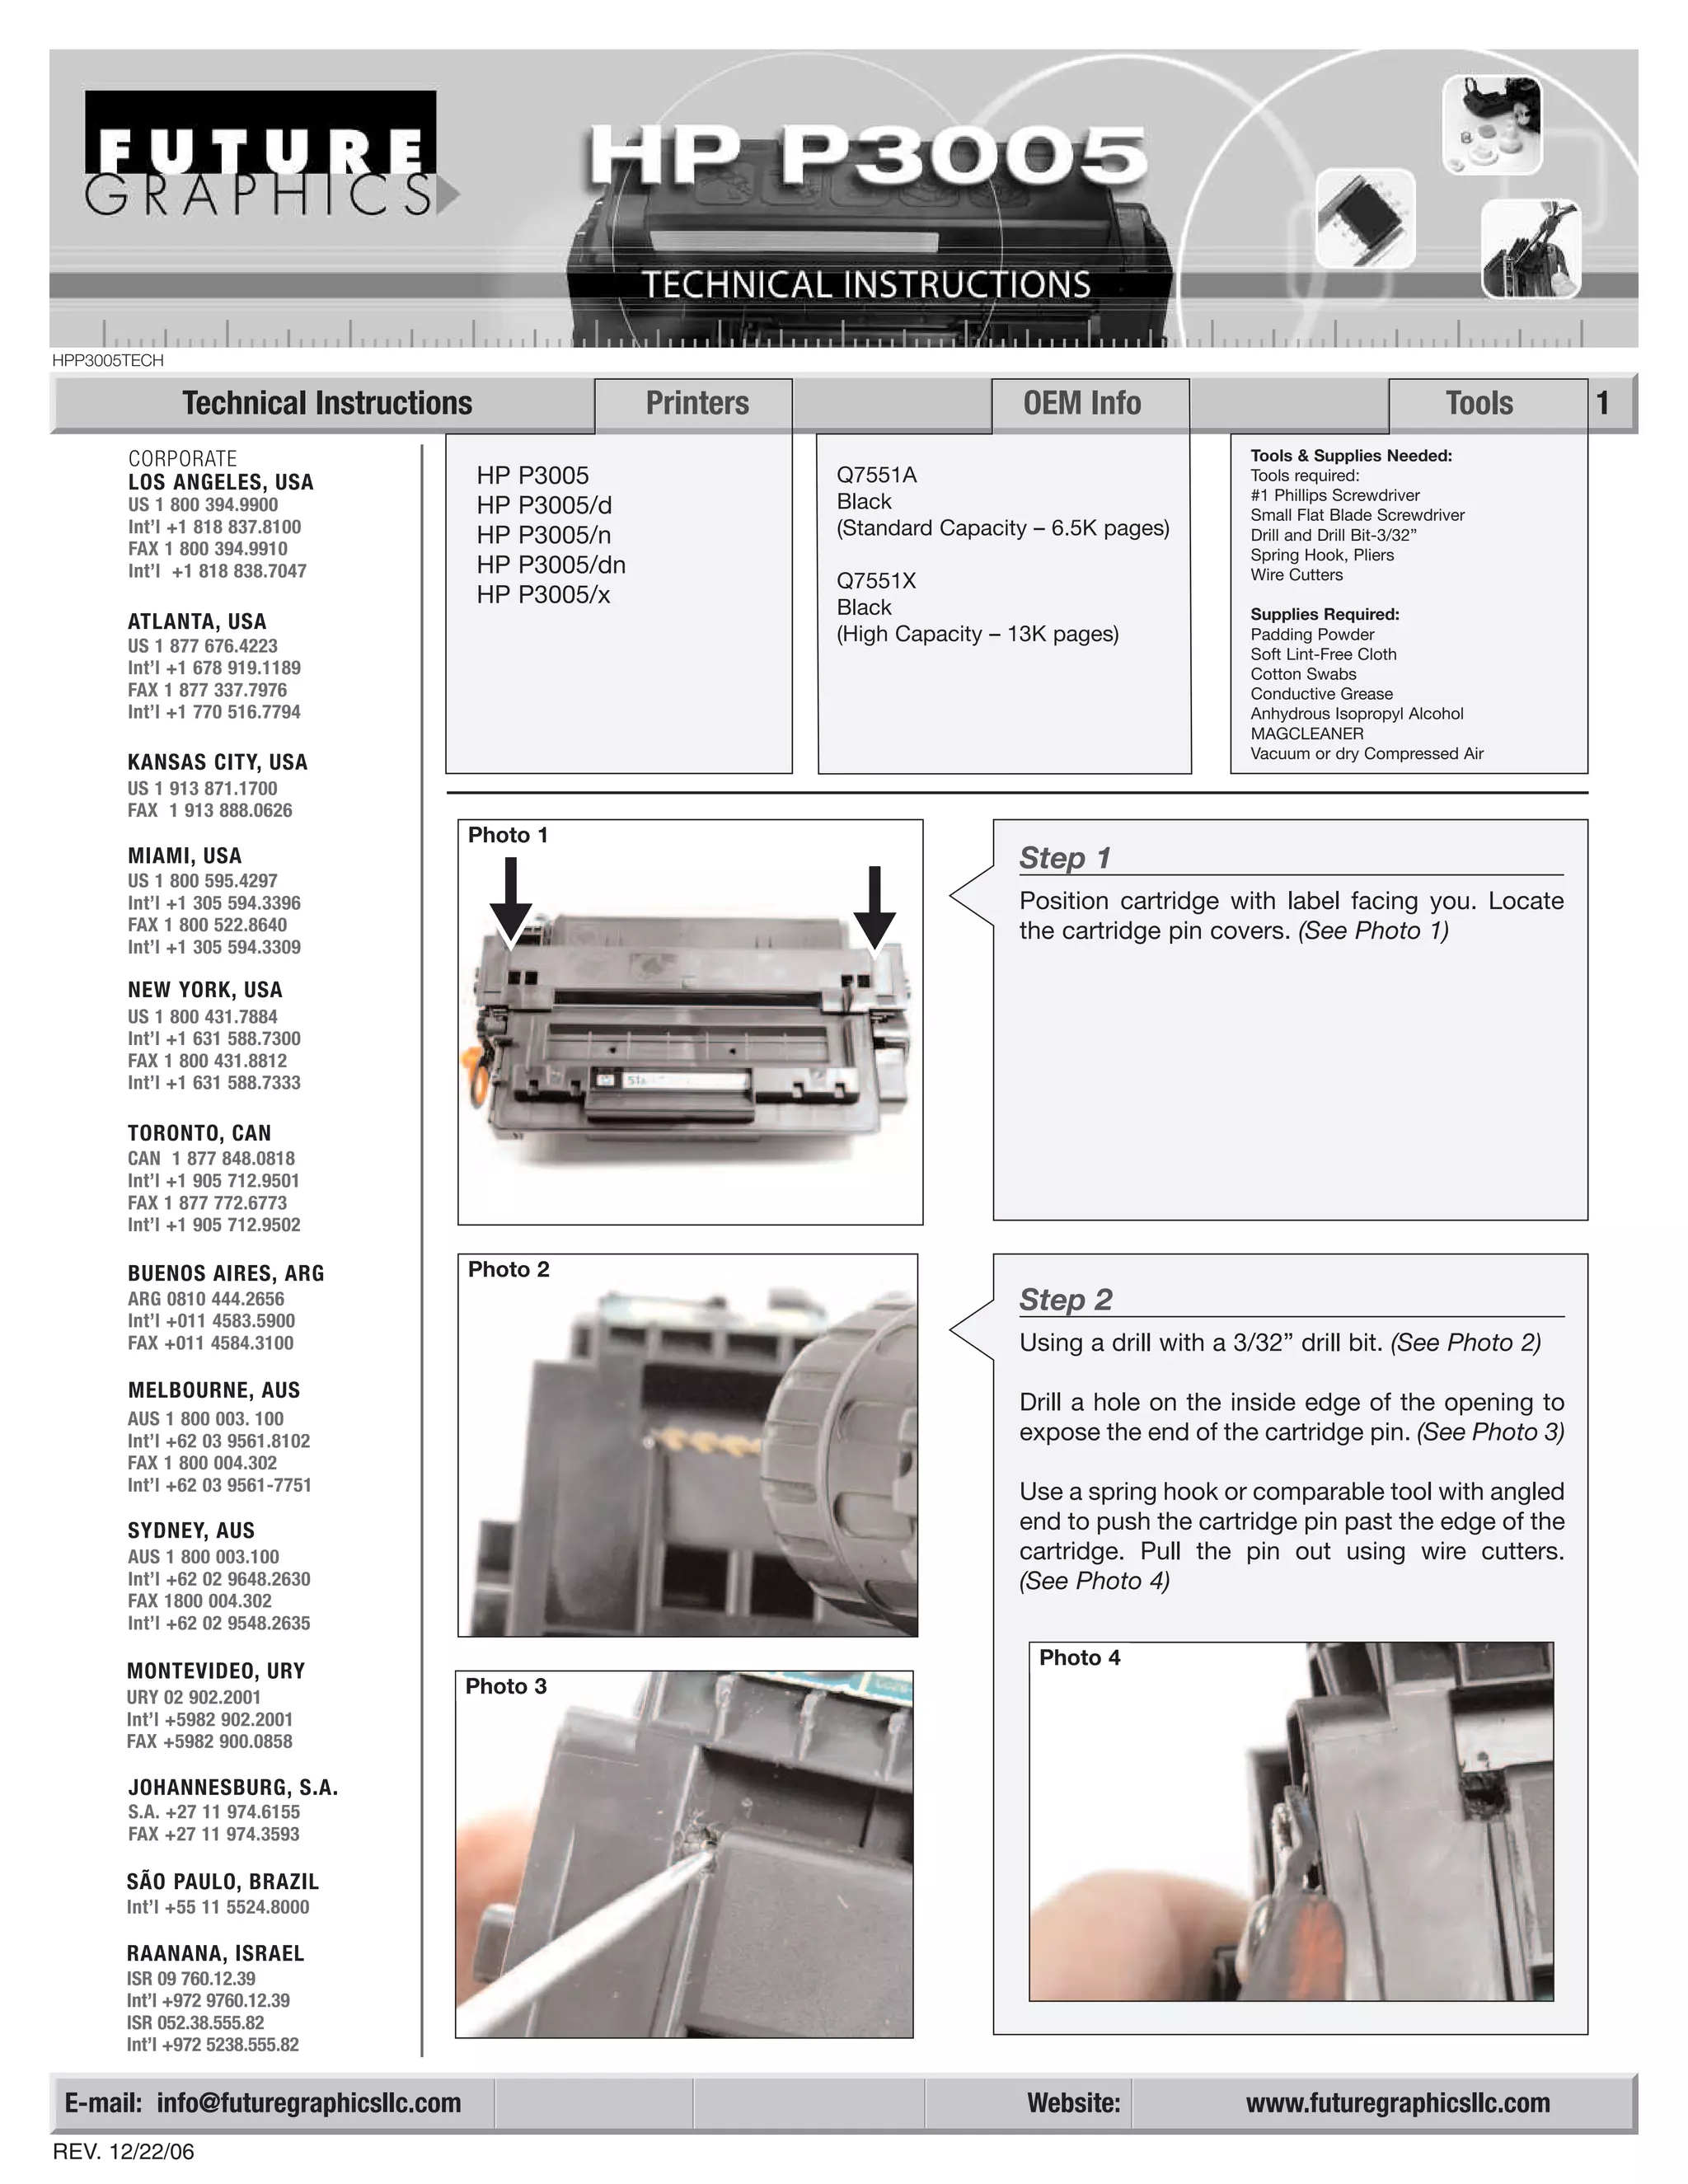
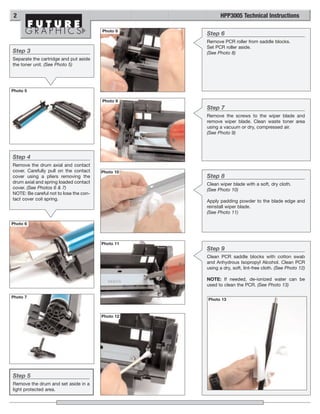
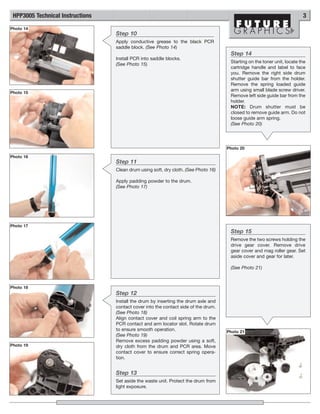
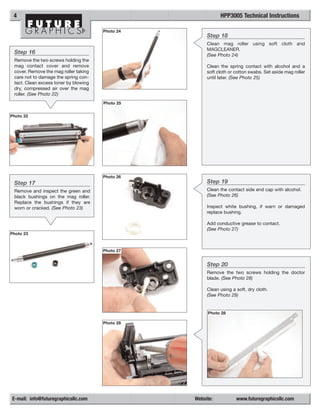
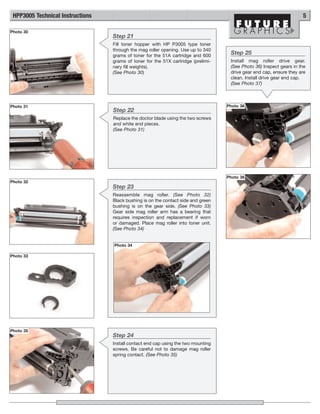
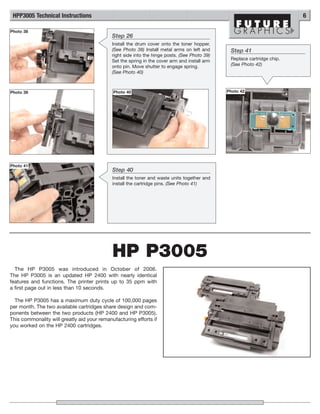

The document provides technical instructions for remanufacturing HP P3005 toner cartridges. It outlines 41 steps to disassemble and reassemble the cartridge, including removing components like the drum, doctor blade, and mag roller. Tools and supplies needed are listed such as a drill, padding powder, and conductive grease. Photos accompany each step to illustrate the process. Brief specifications of the HP P3005 printer and commonality with prior HP 2400 cartridges are also mentioned.


