Download to read offline
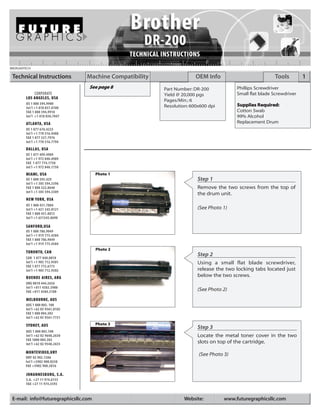
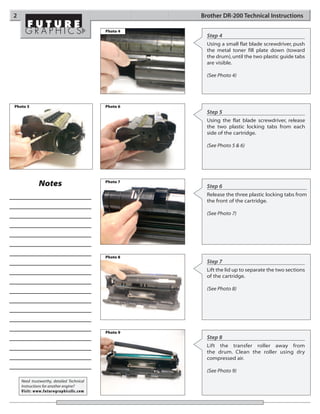
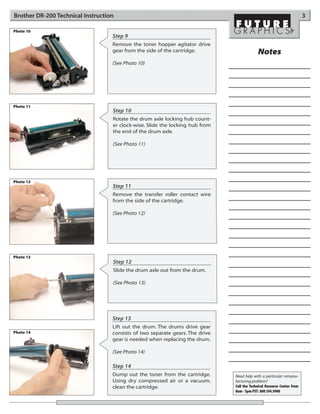
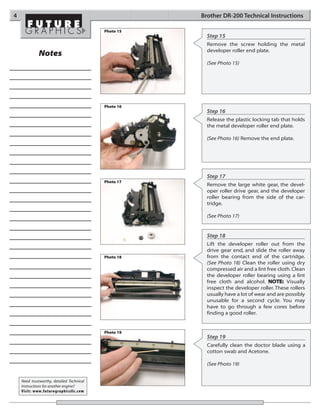

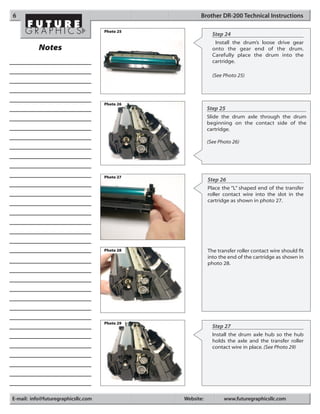
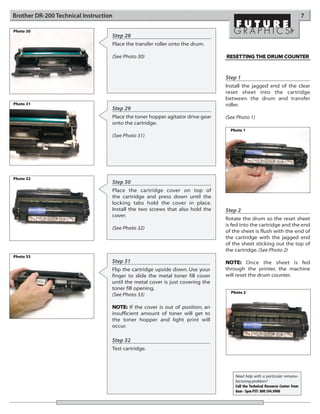
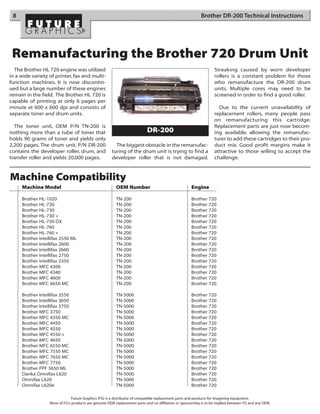

This document provides technical instructions for remanufacturing the Brother DR-200 drum unit. It outlines 14 steps to disassemble the drum unit, clean its components, and reassemble it. Key steps include removing the drum and developer roller, cleaning them with compressed air or alcohol, and ensuring proper installation of gears and locking tabs during reassembly. The document also provides instructions for resetting the drum counter and lists Brother printer models that use the DR-200 drum unit.


![5G Explained! A High Level Overview [Introduction]](https://cdn.slidesharecdn.com/ss_thumbnails/5gexplainedahighleveloverview-260119165306-cc137a3e-thumbnail.jpg?width=640&height=640&fit=bounds)
