Downloaded 196 times
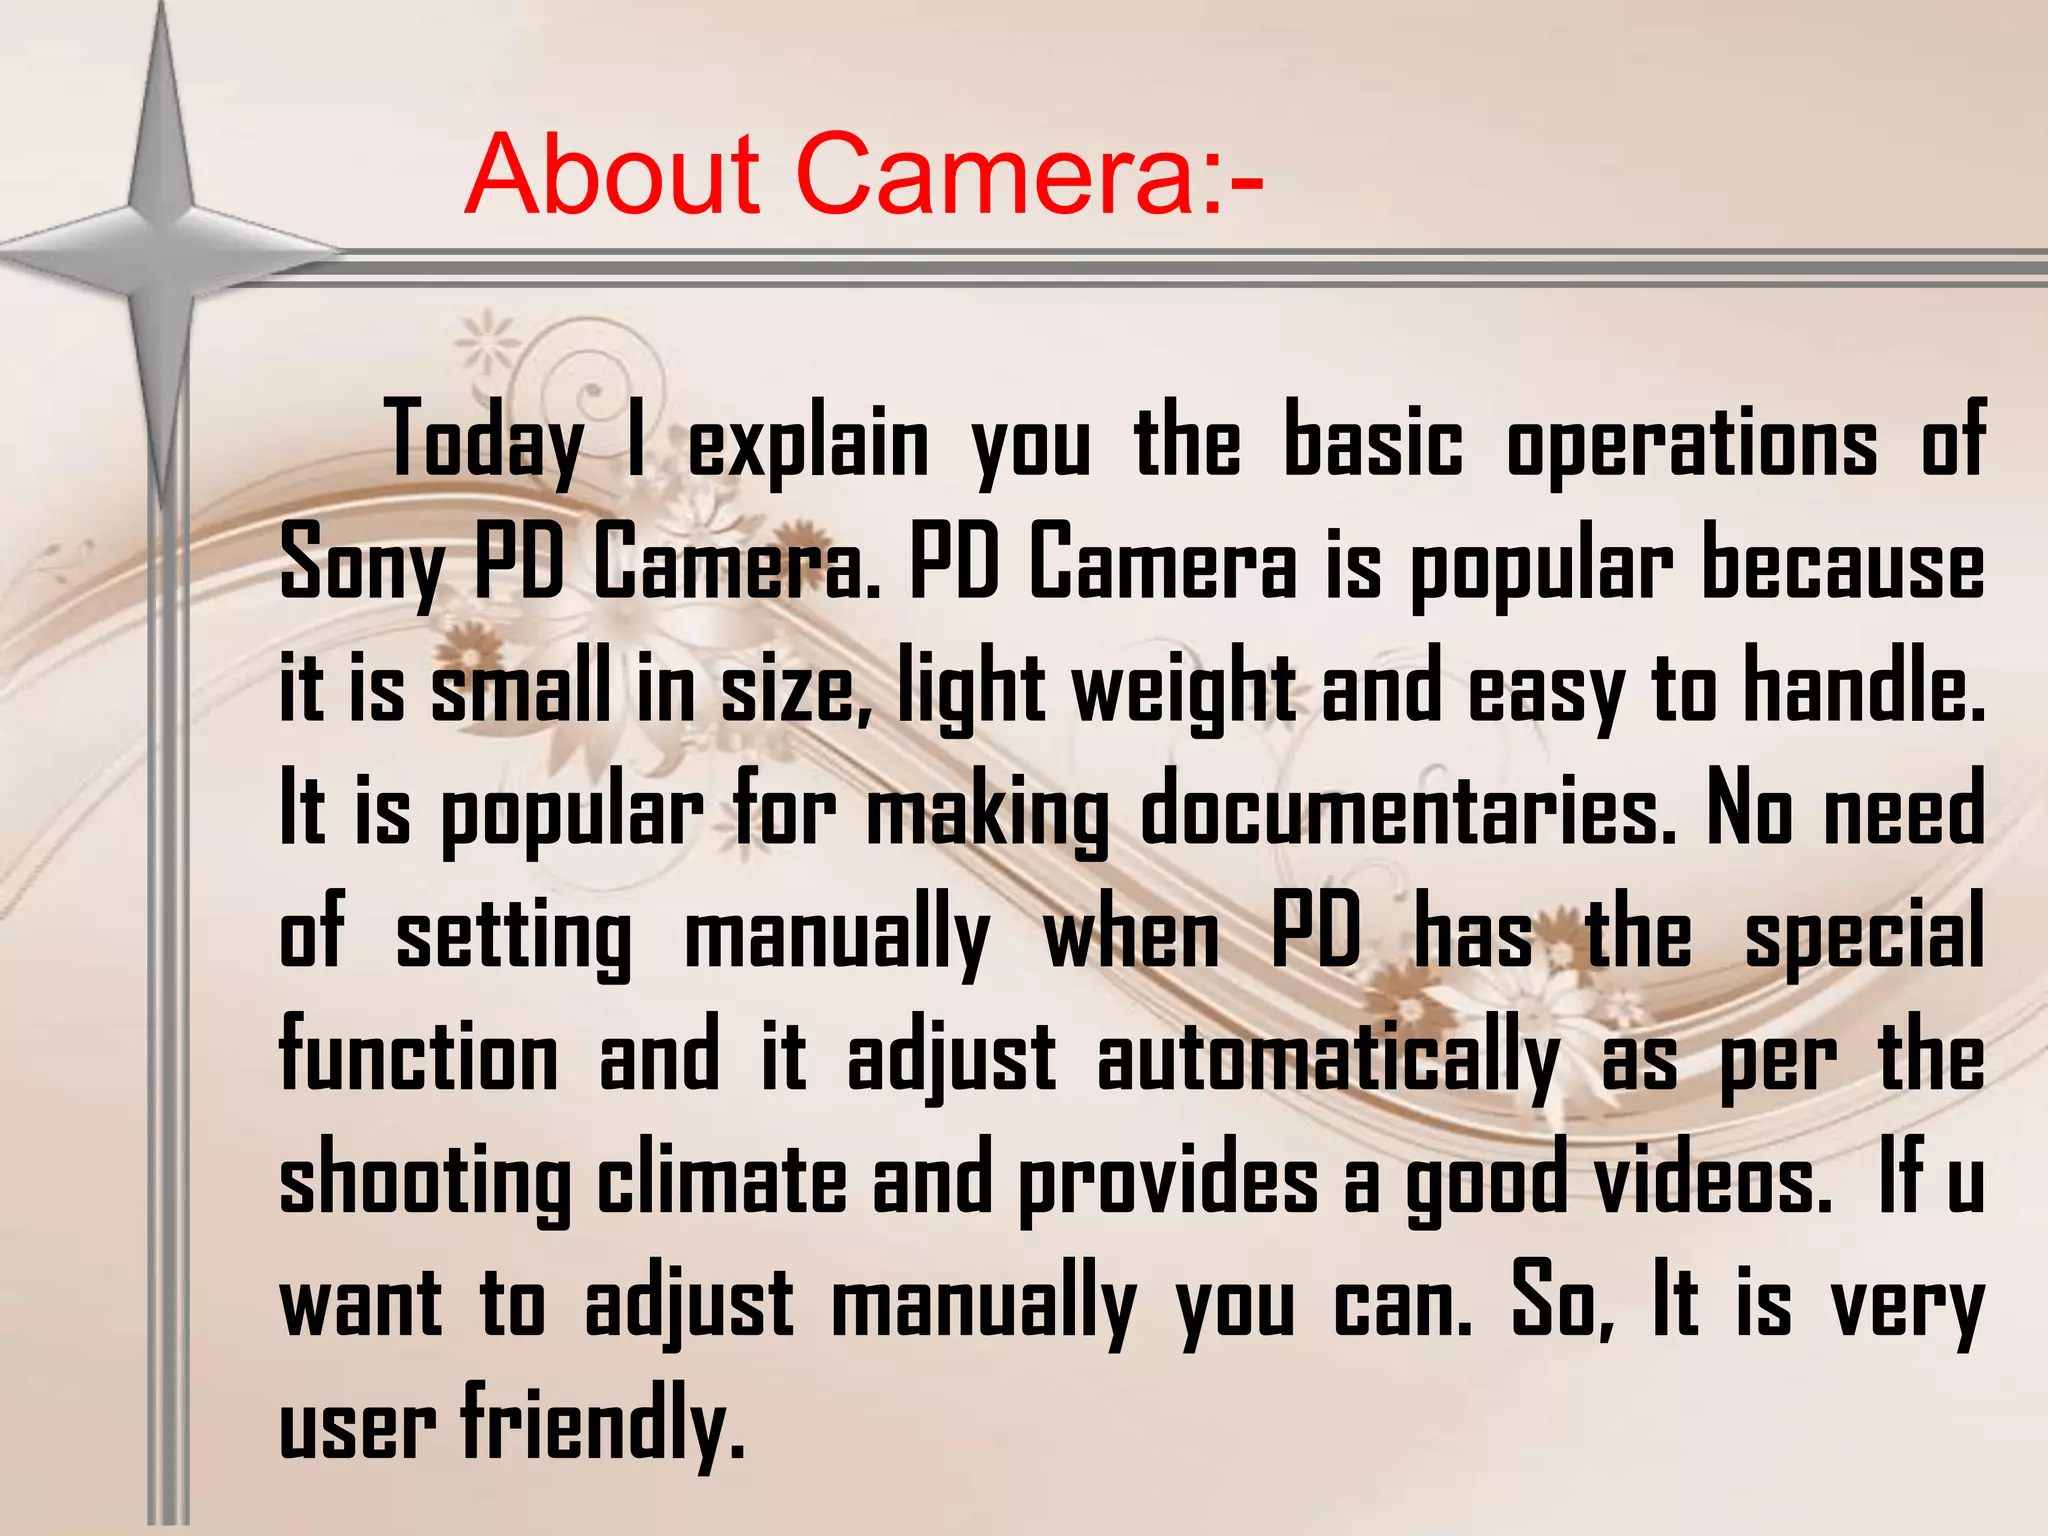
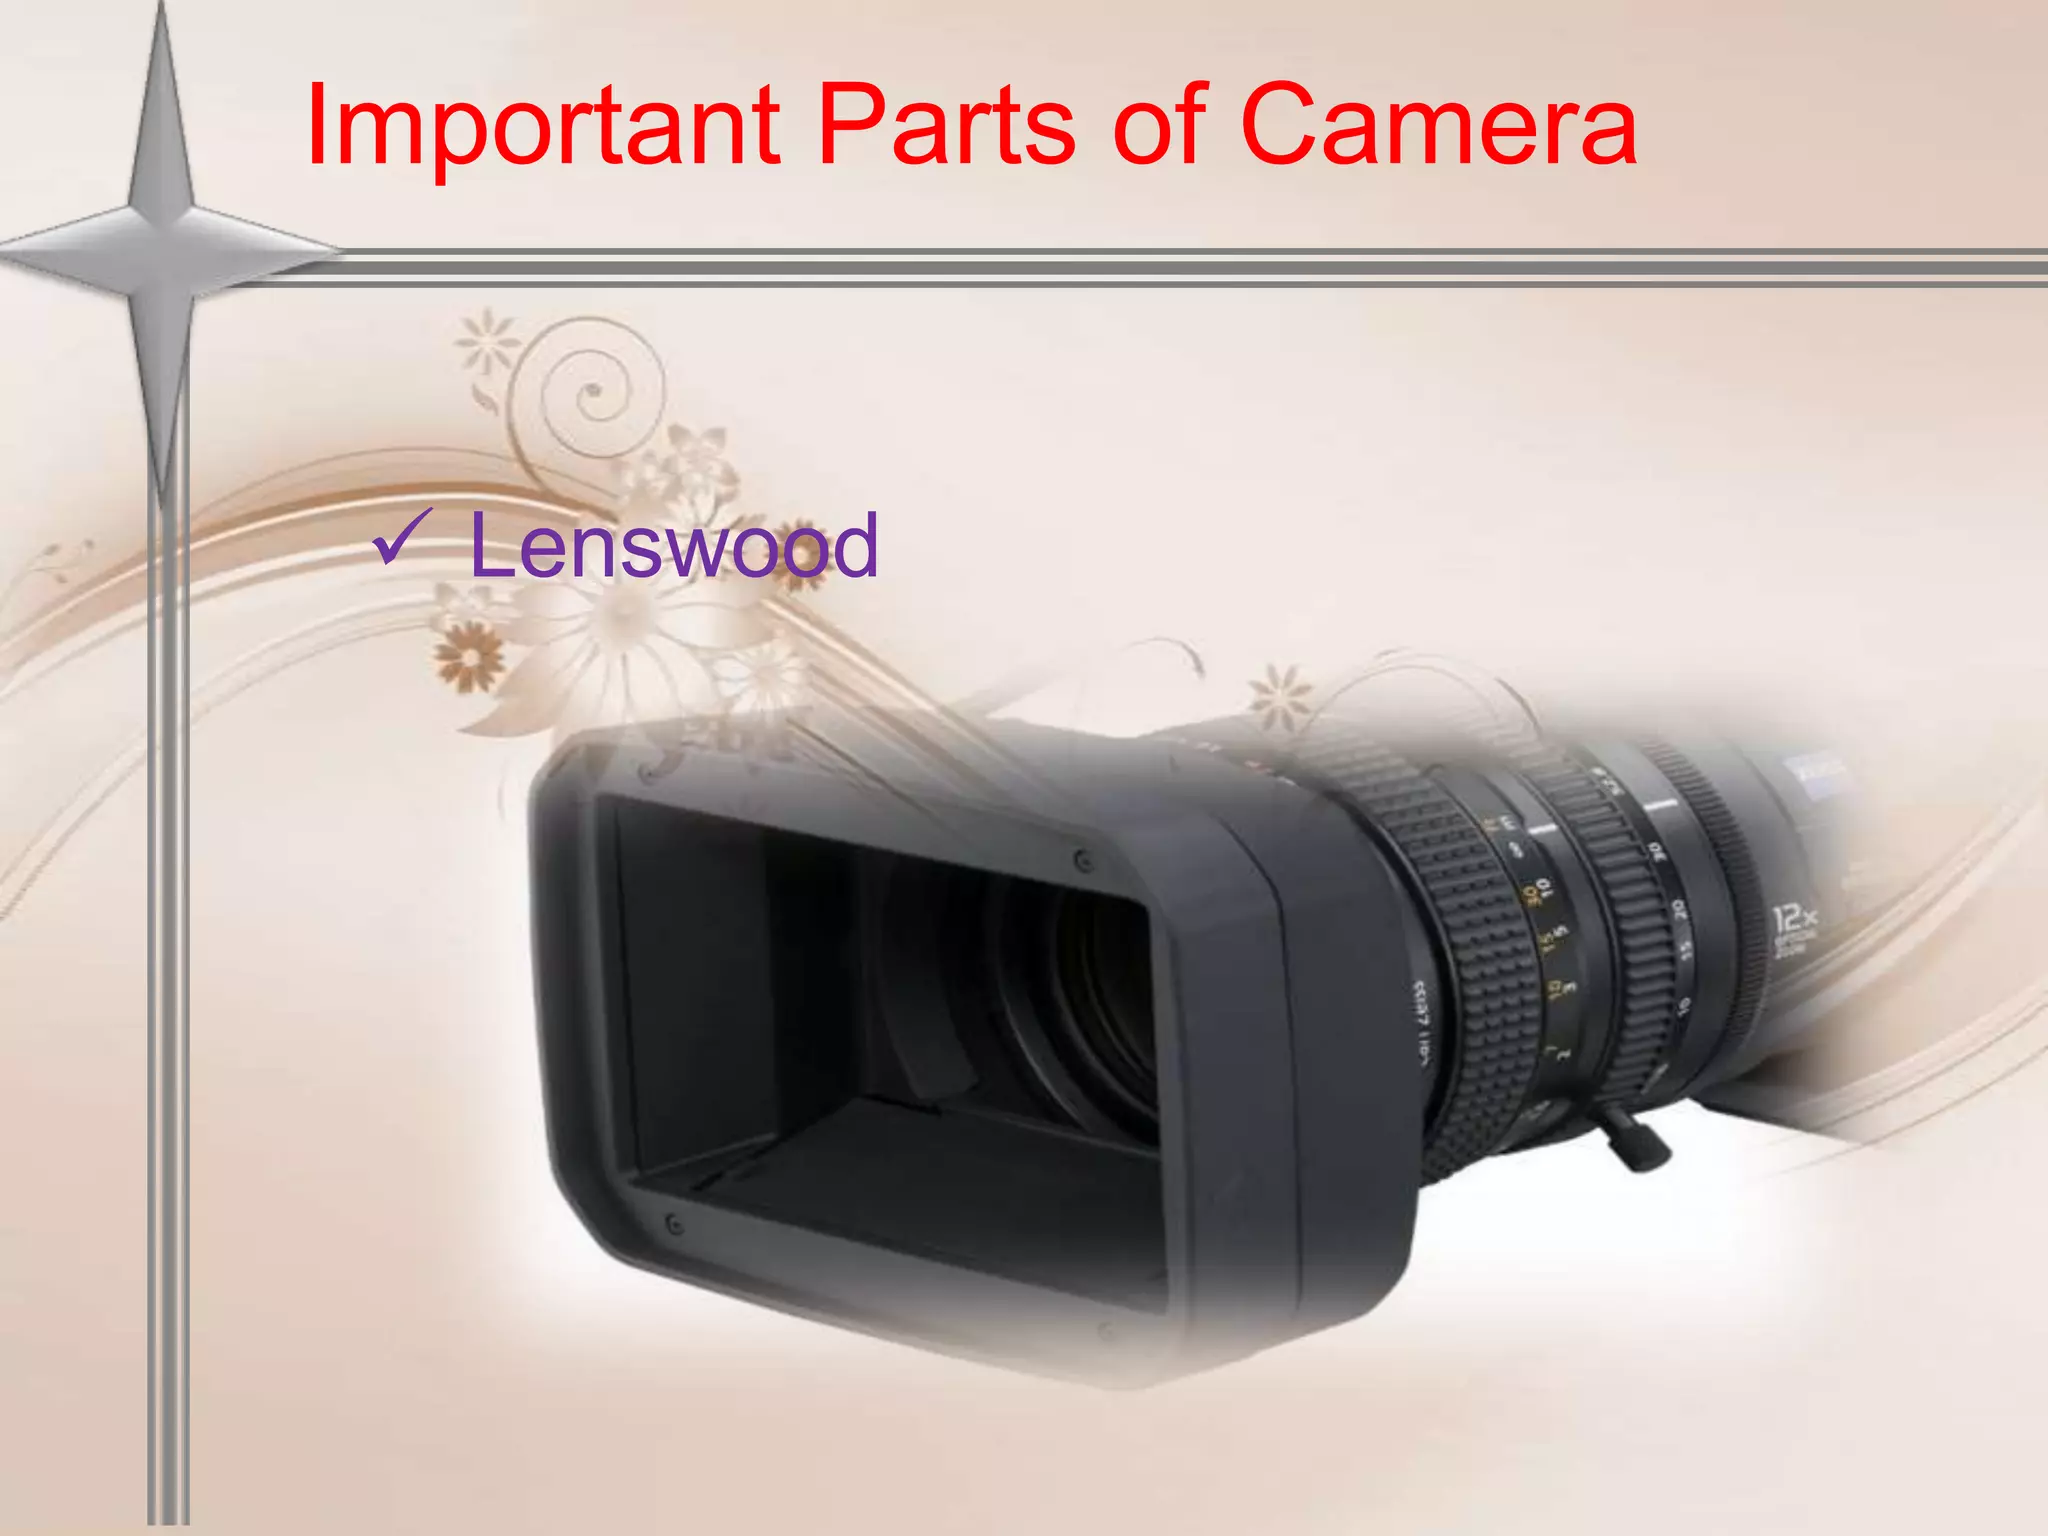
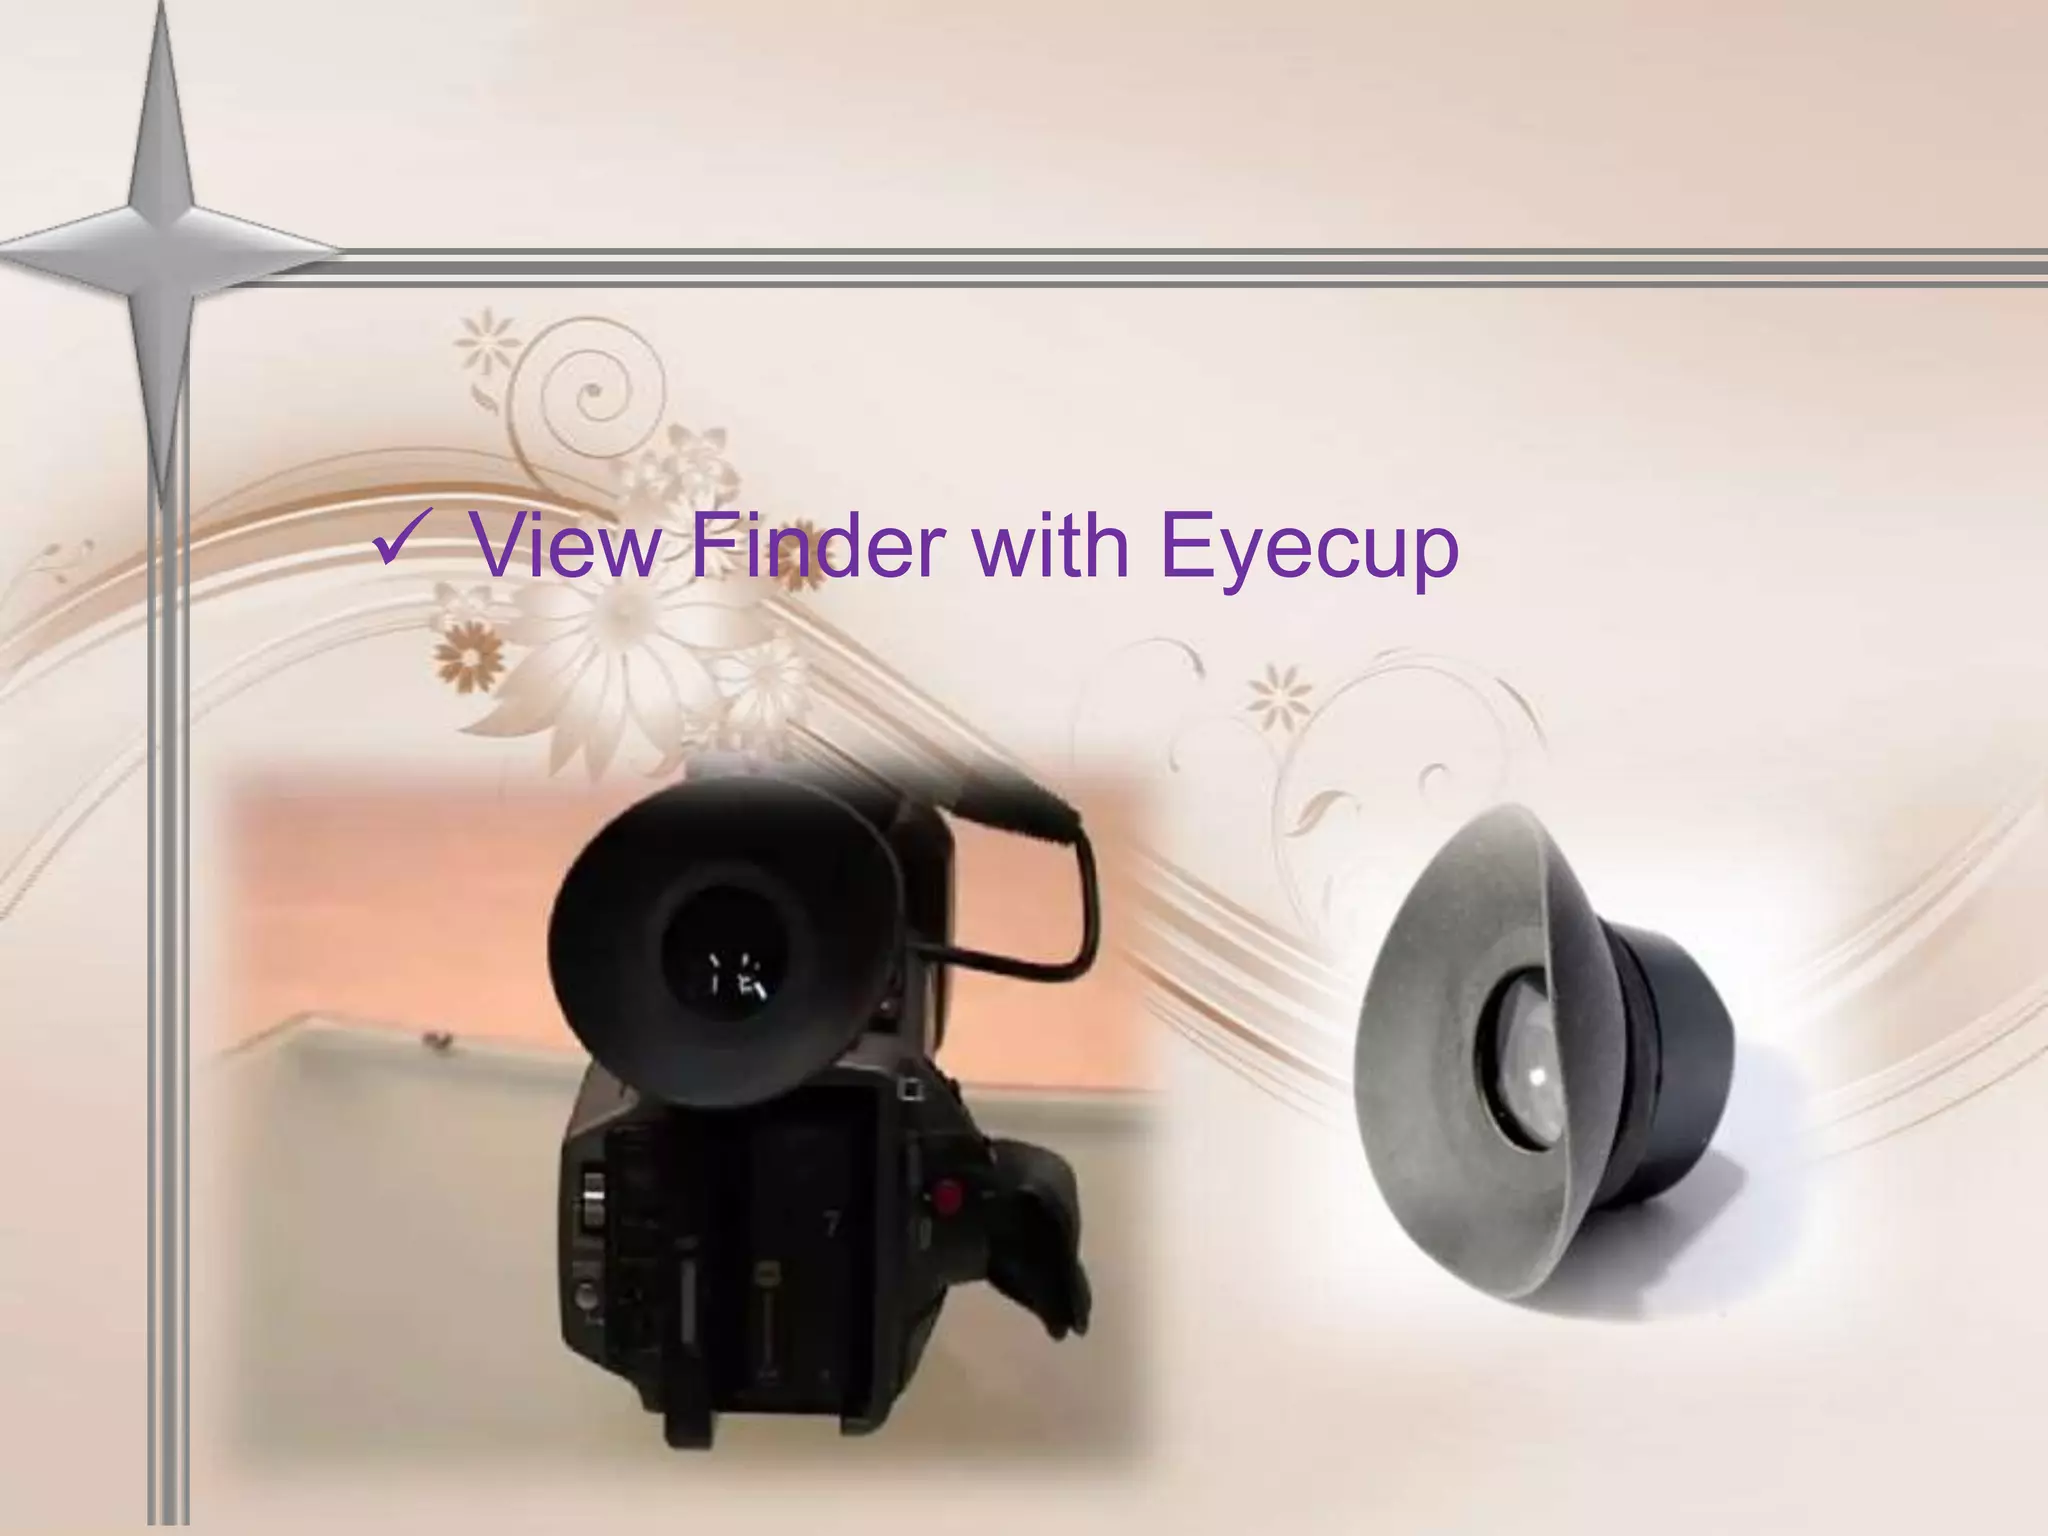
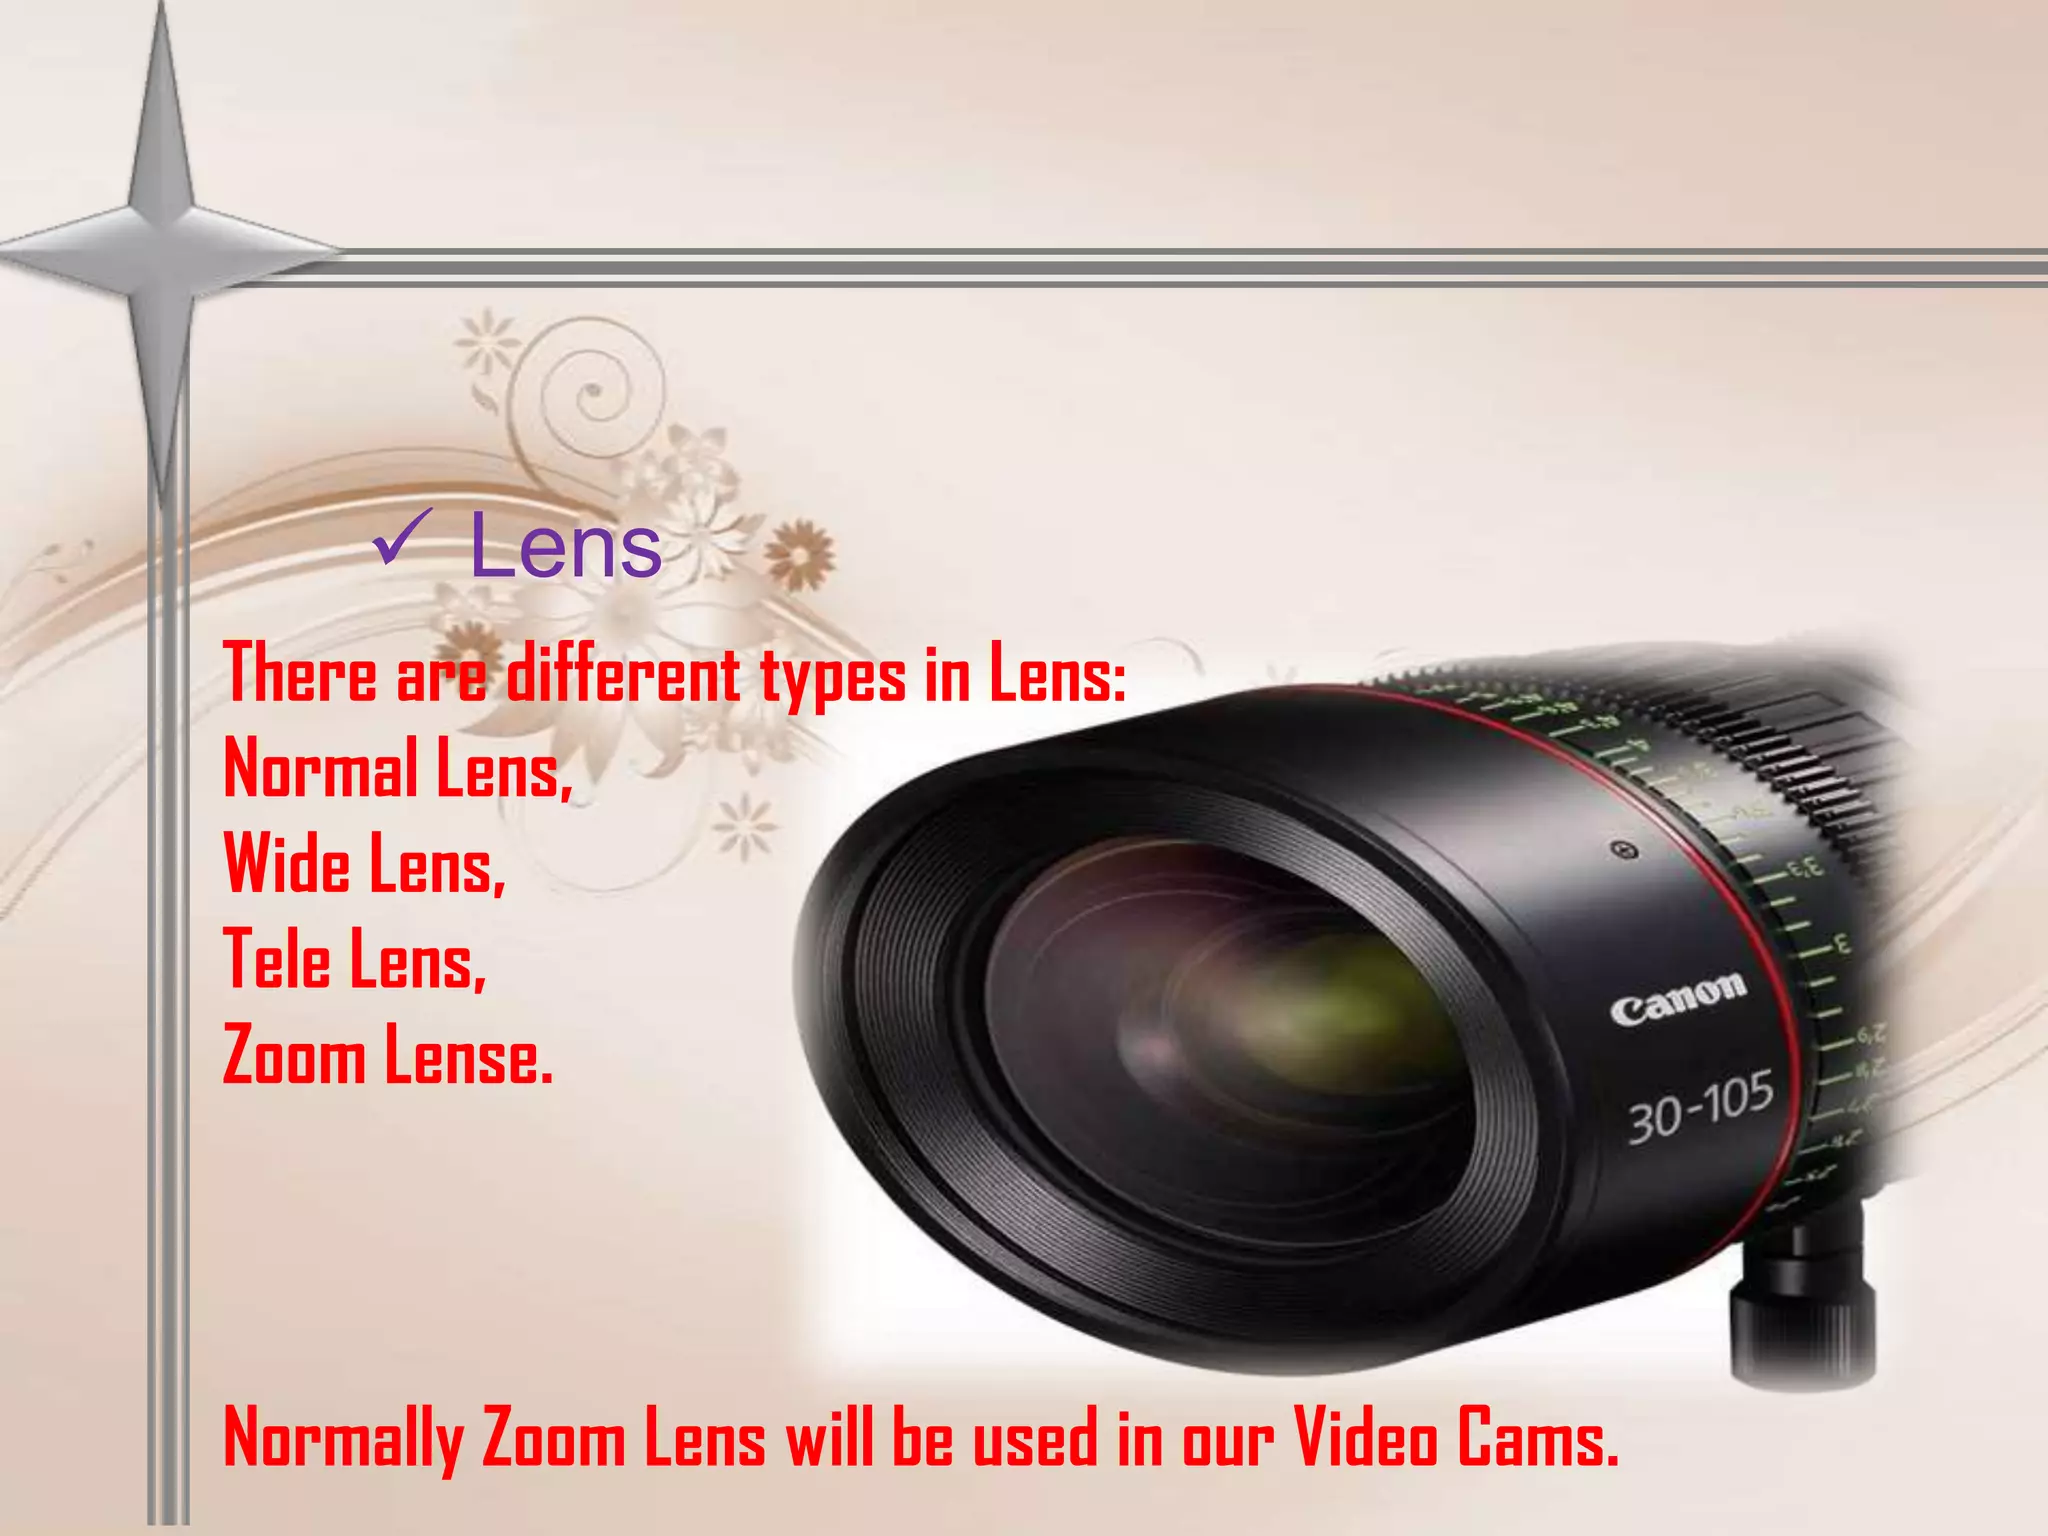

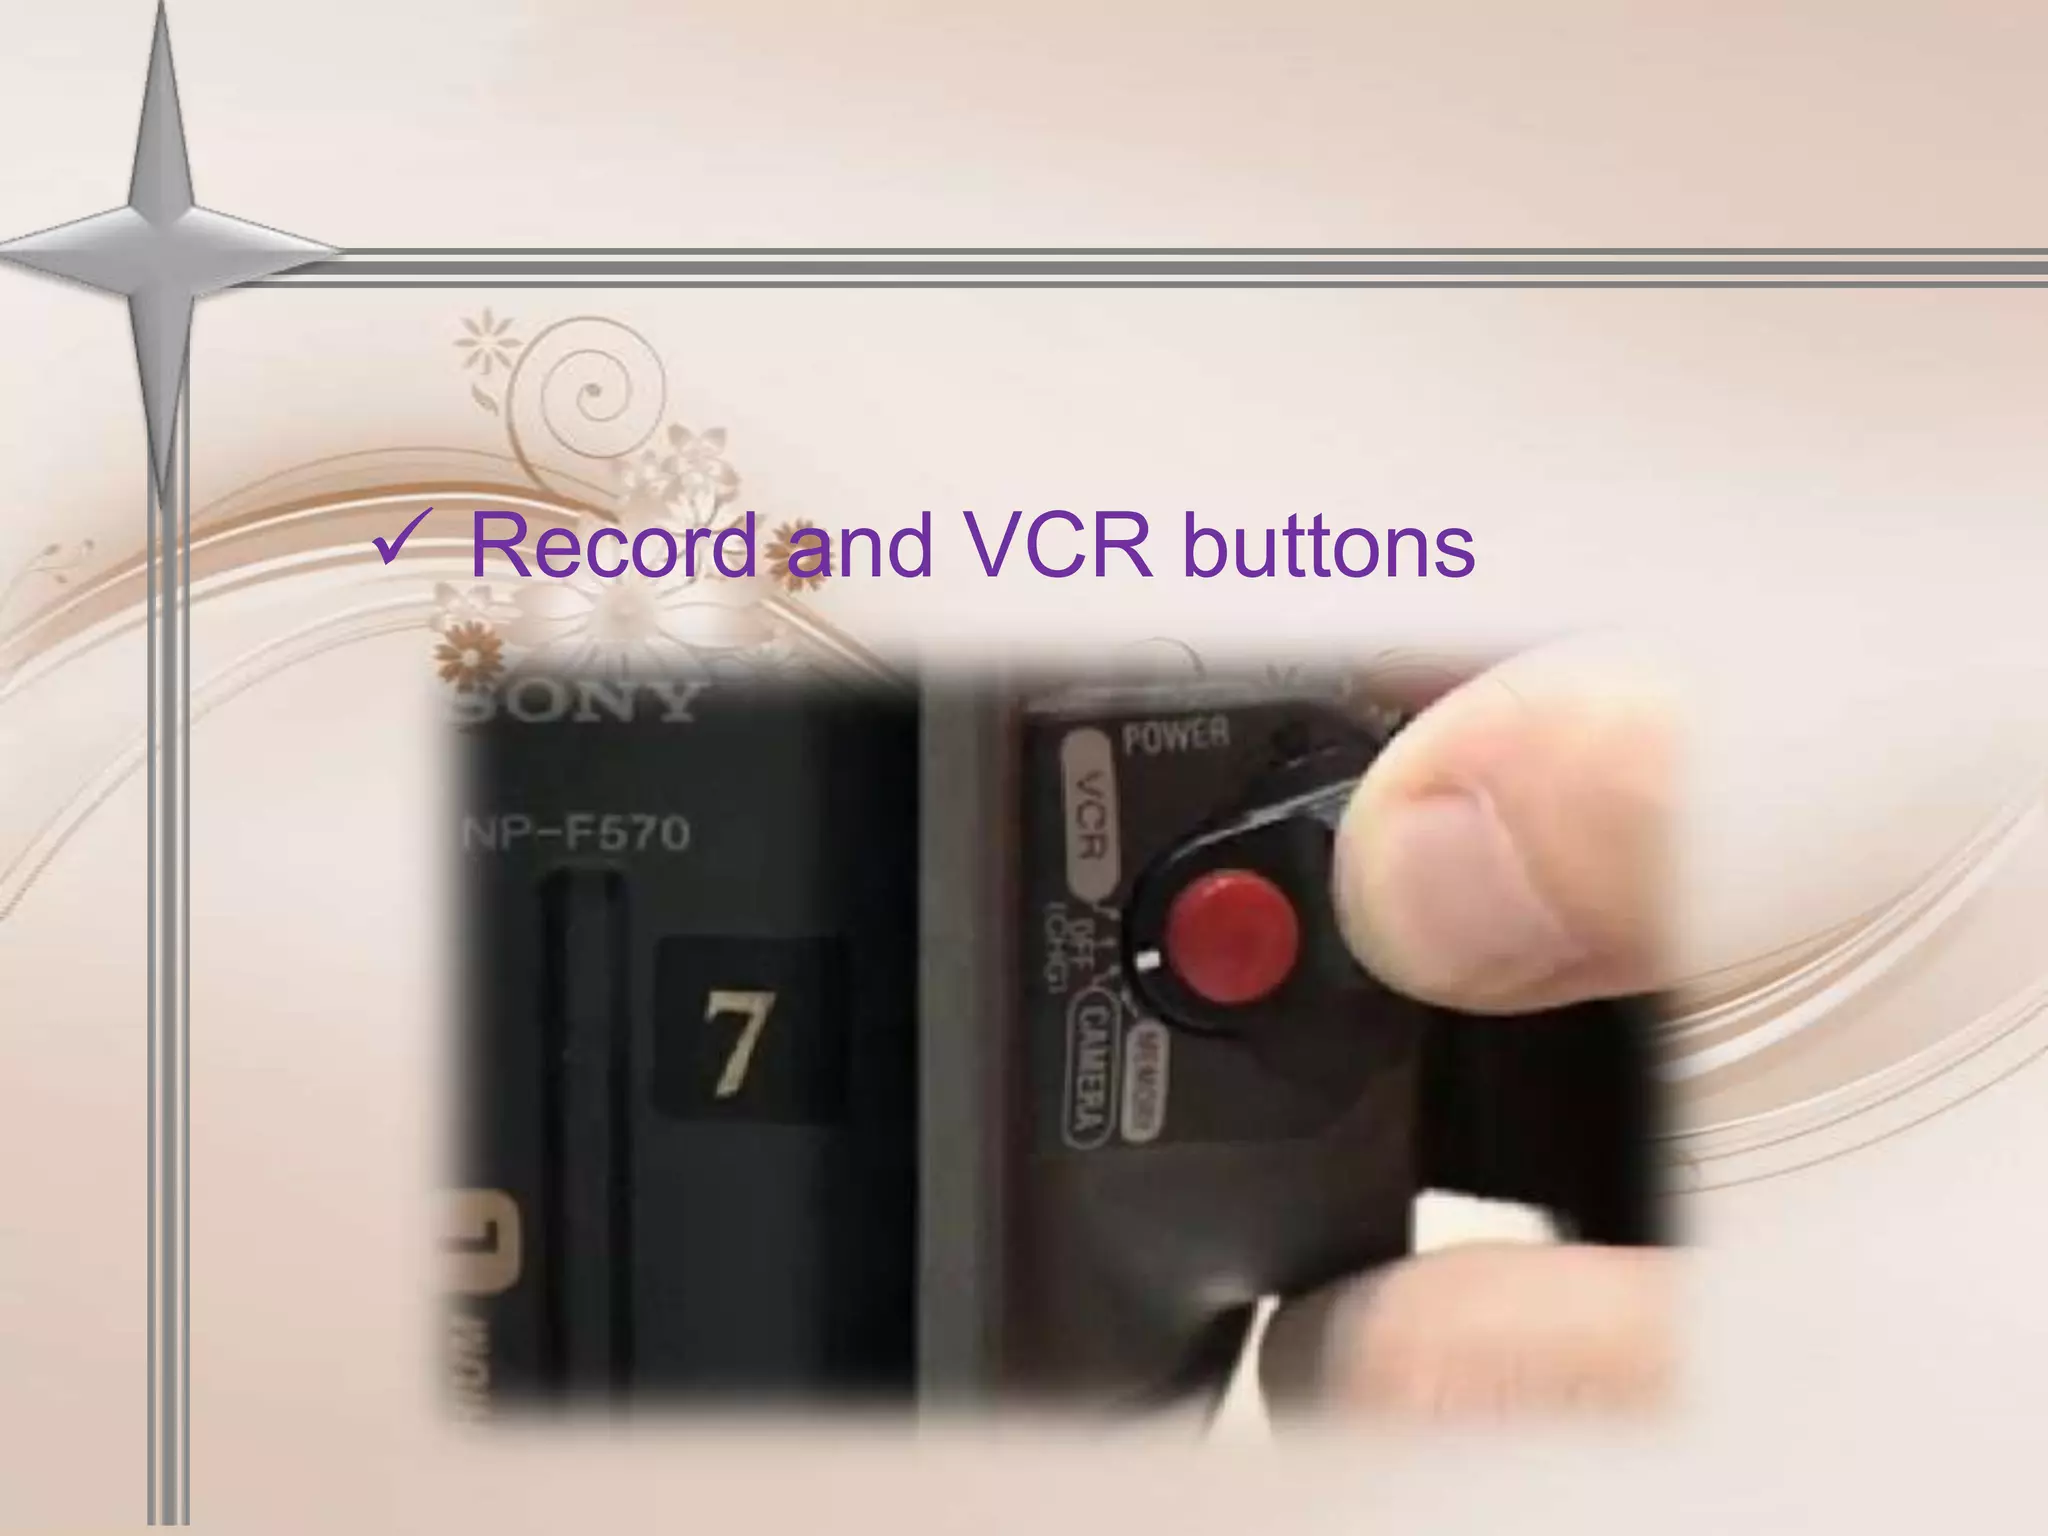
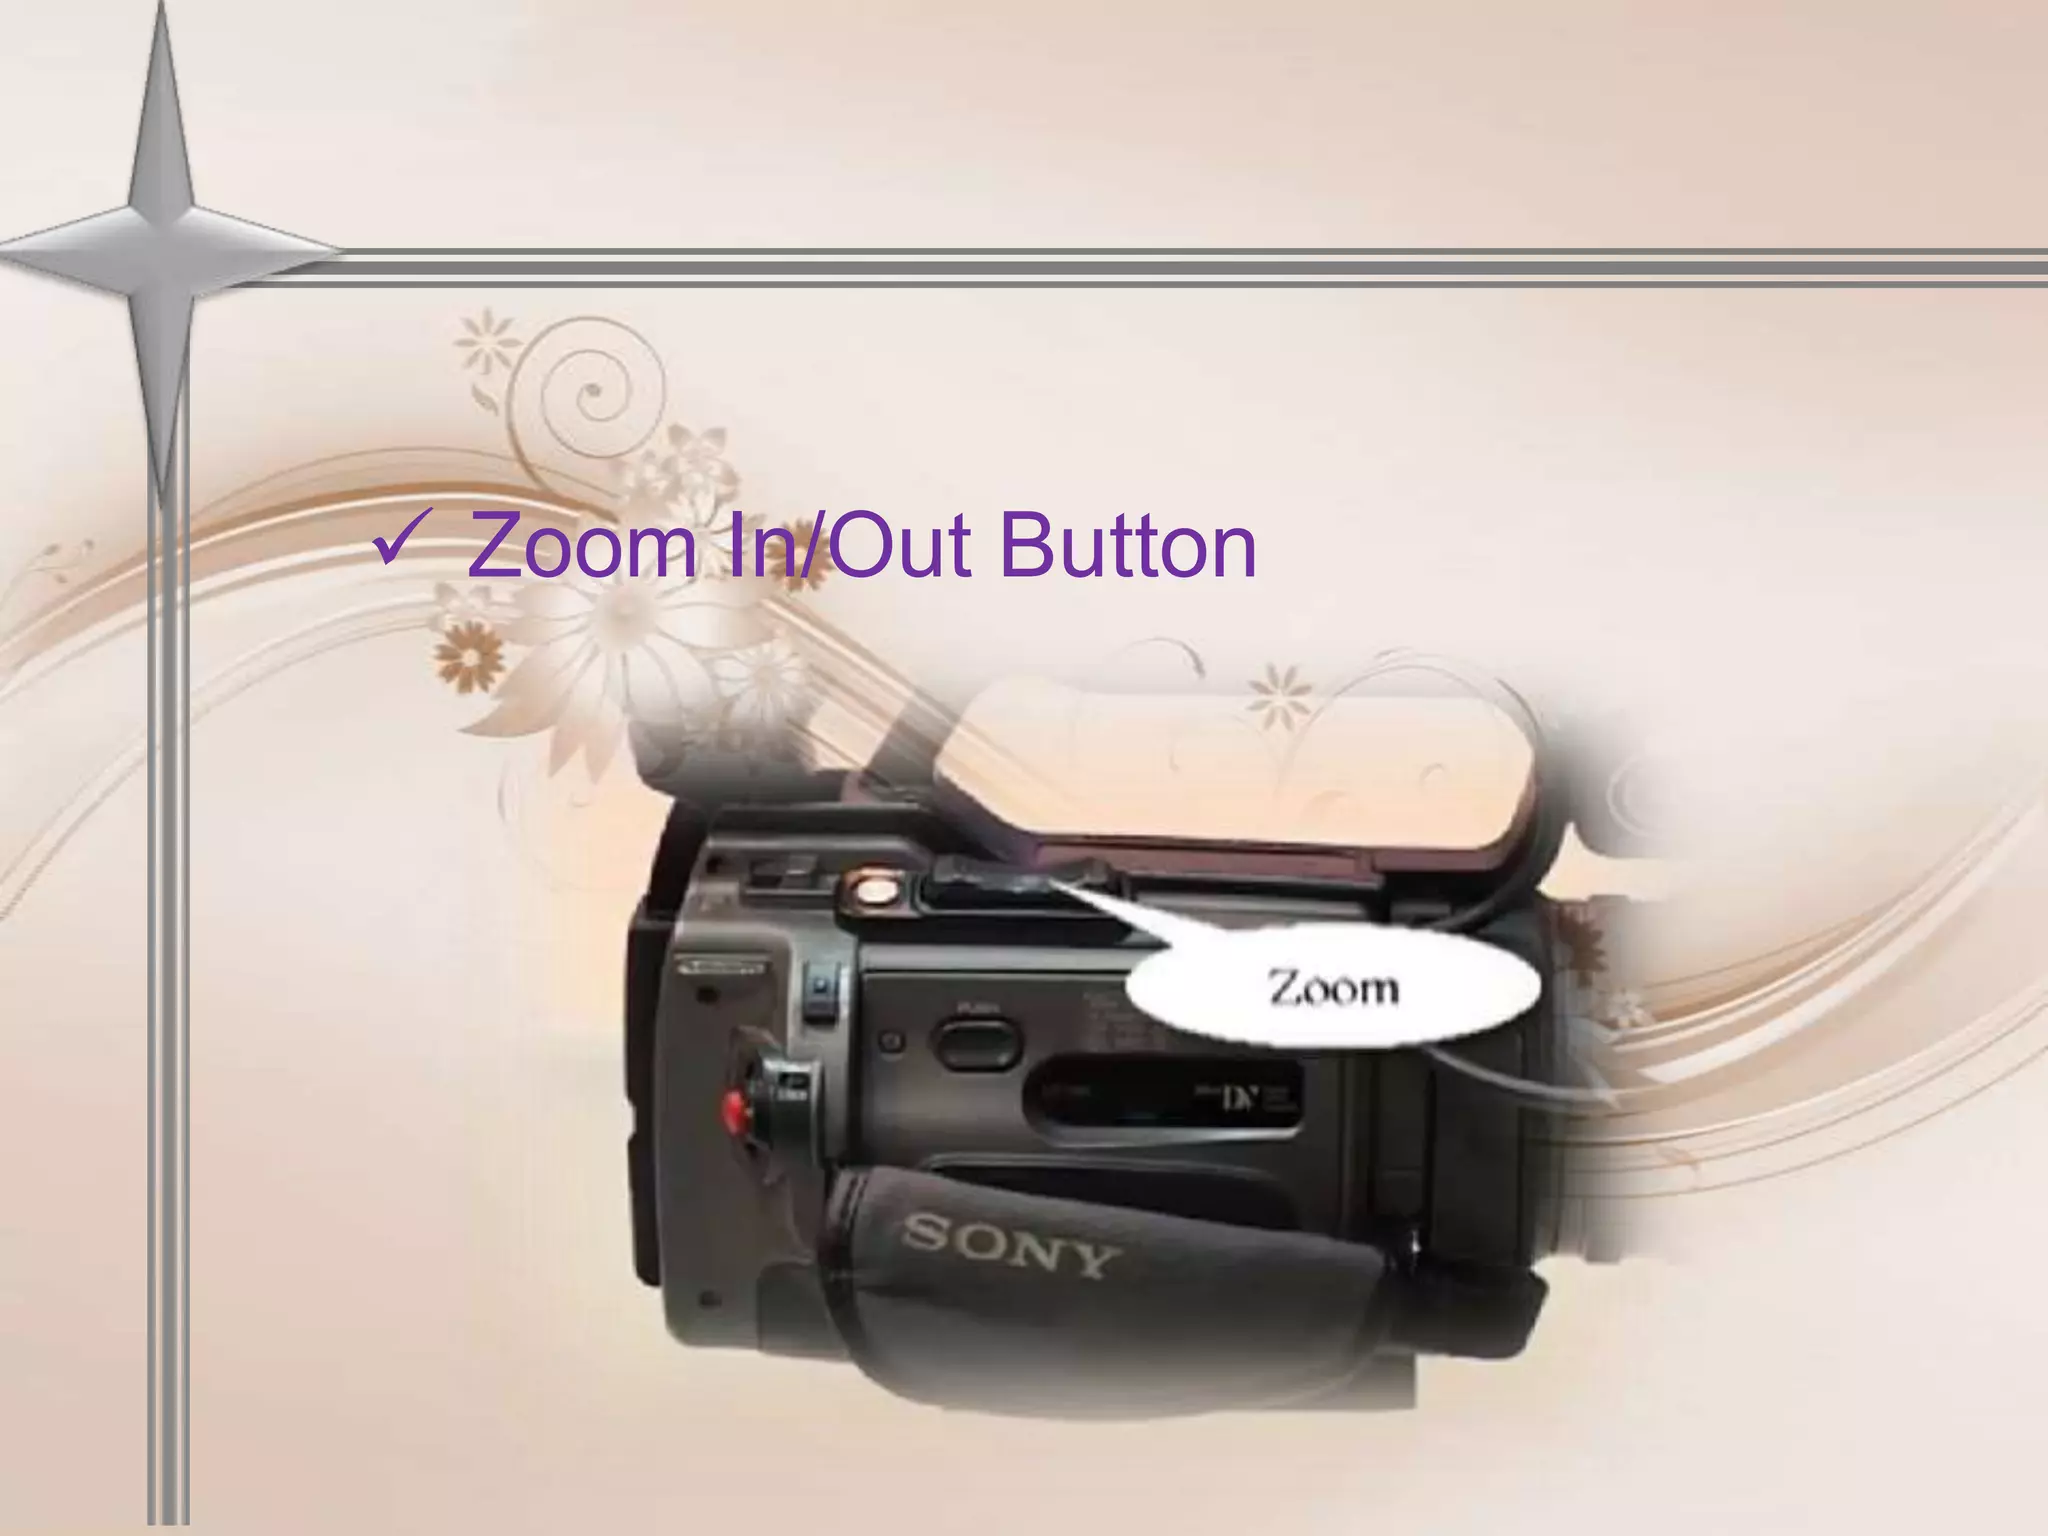
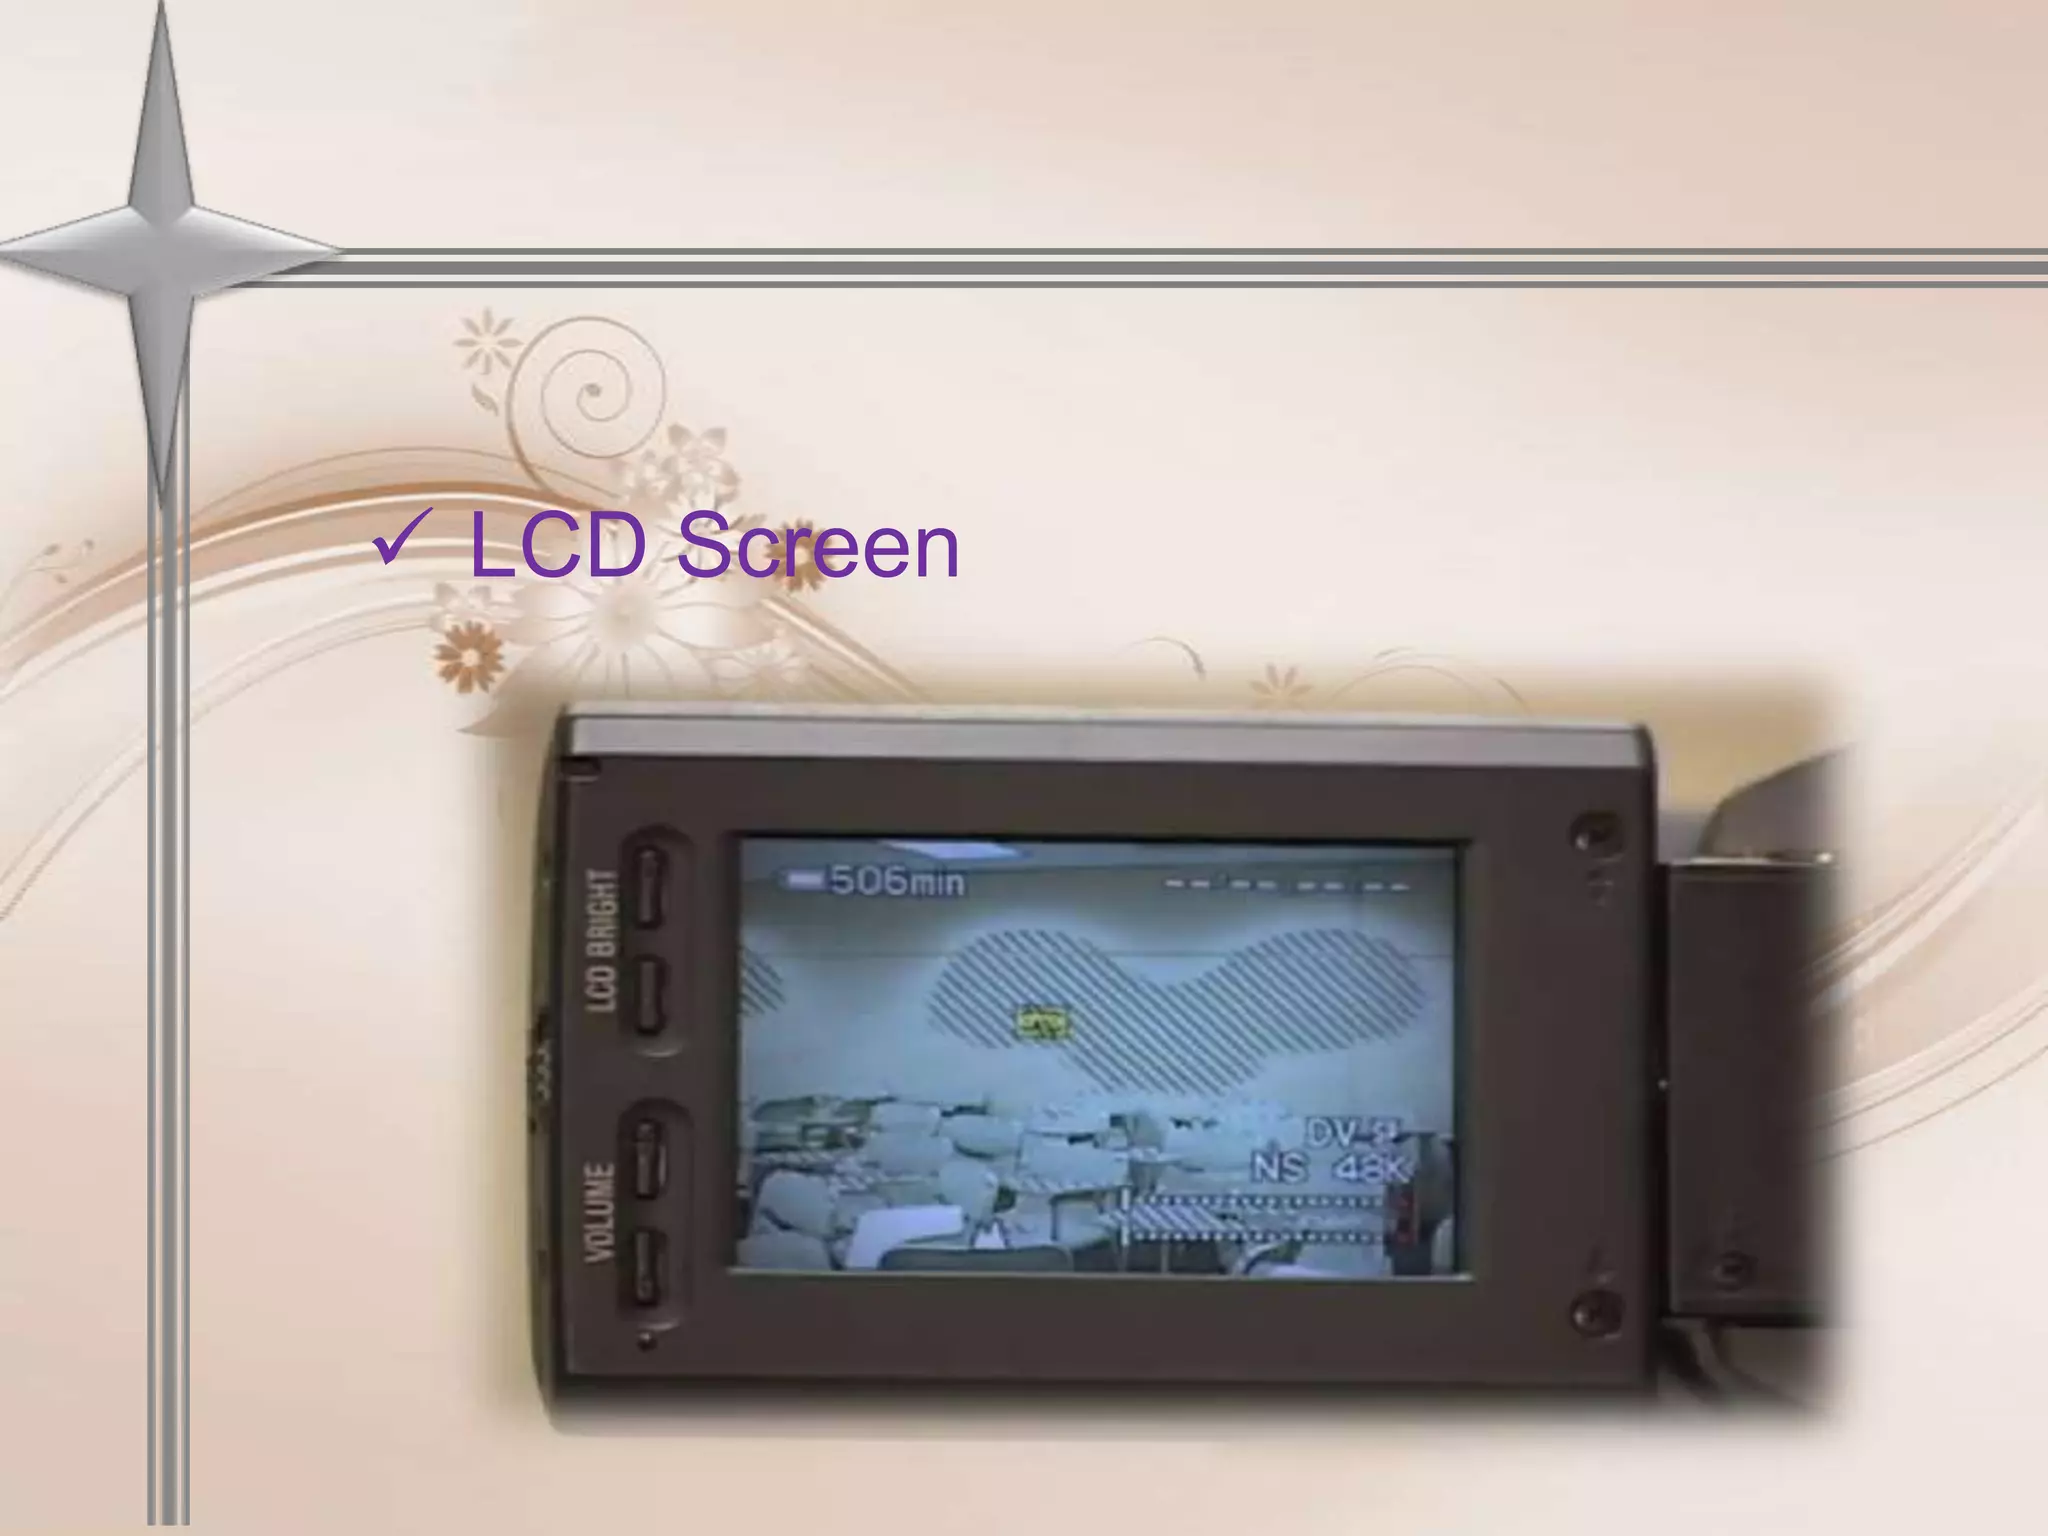
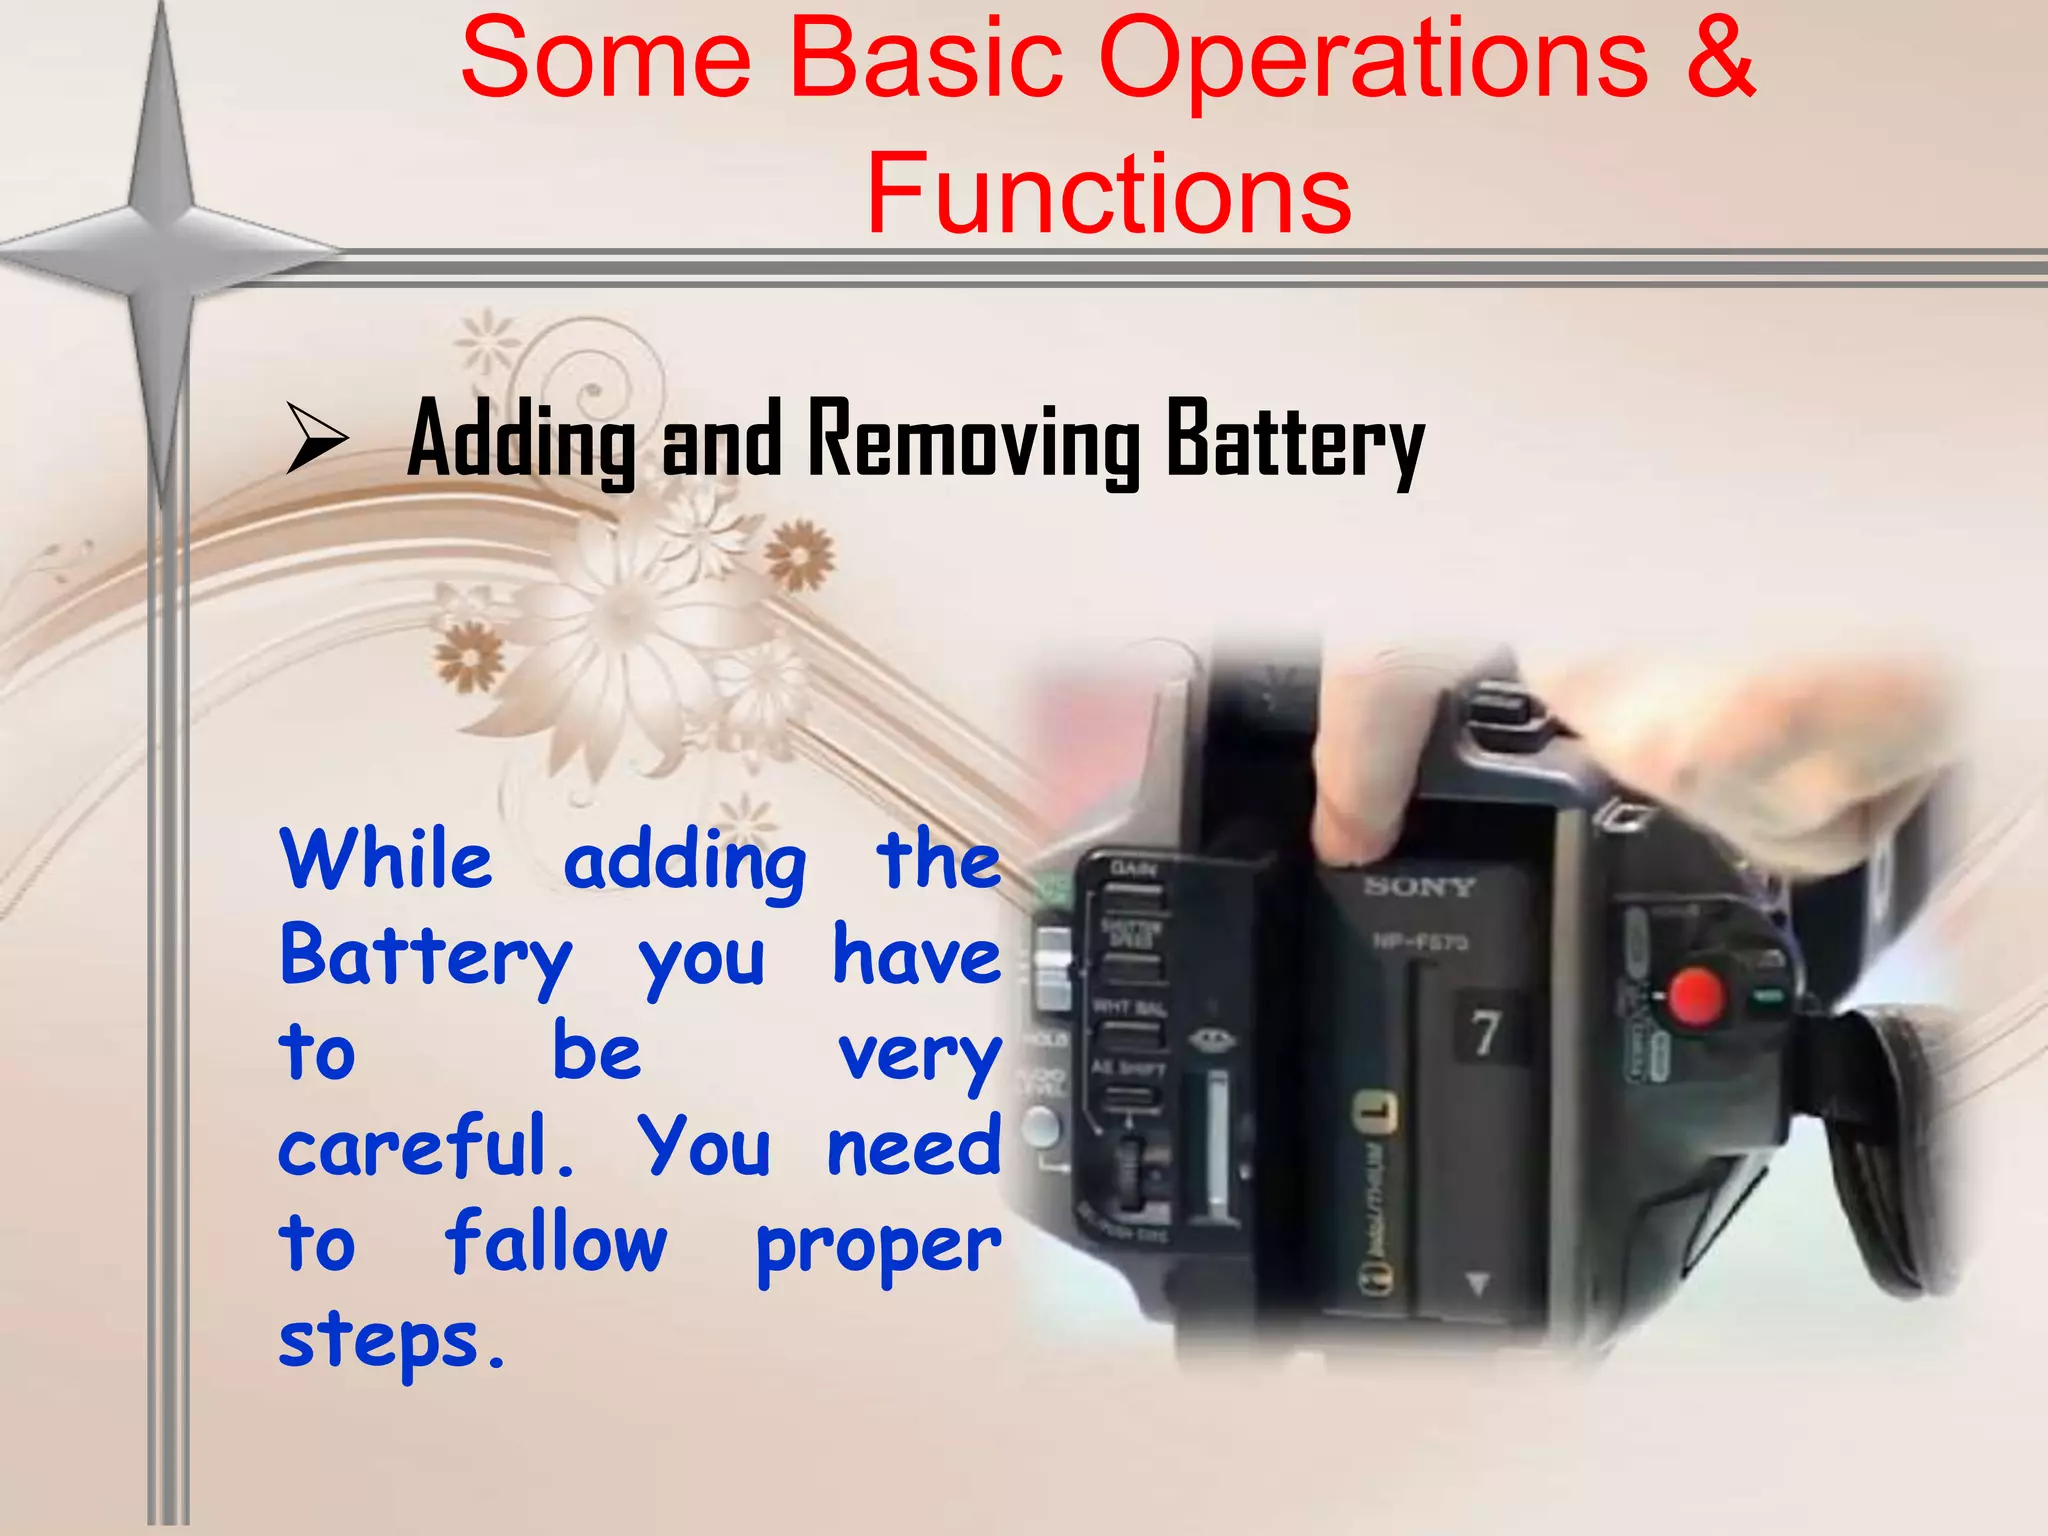
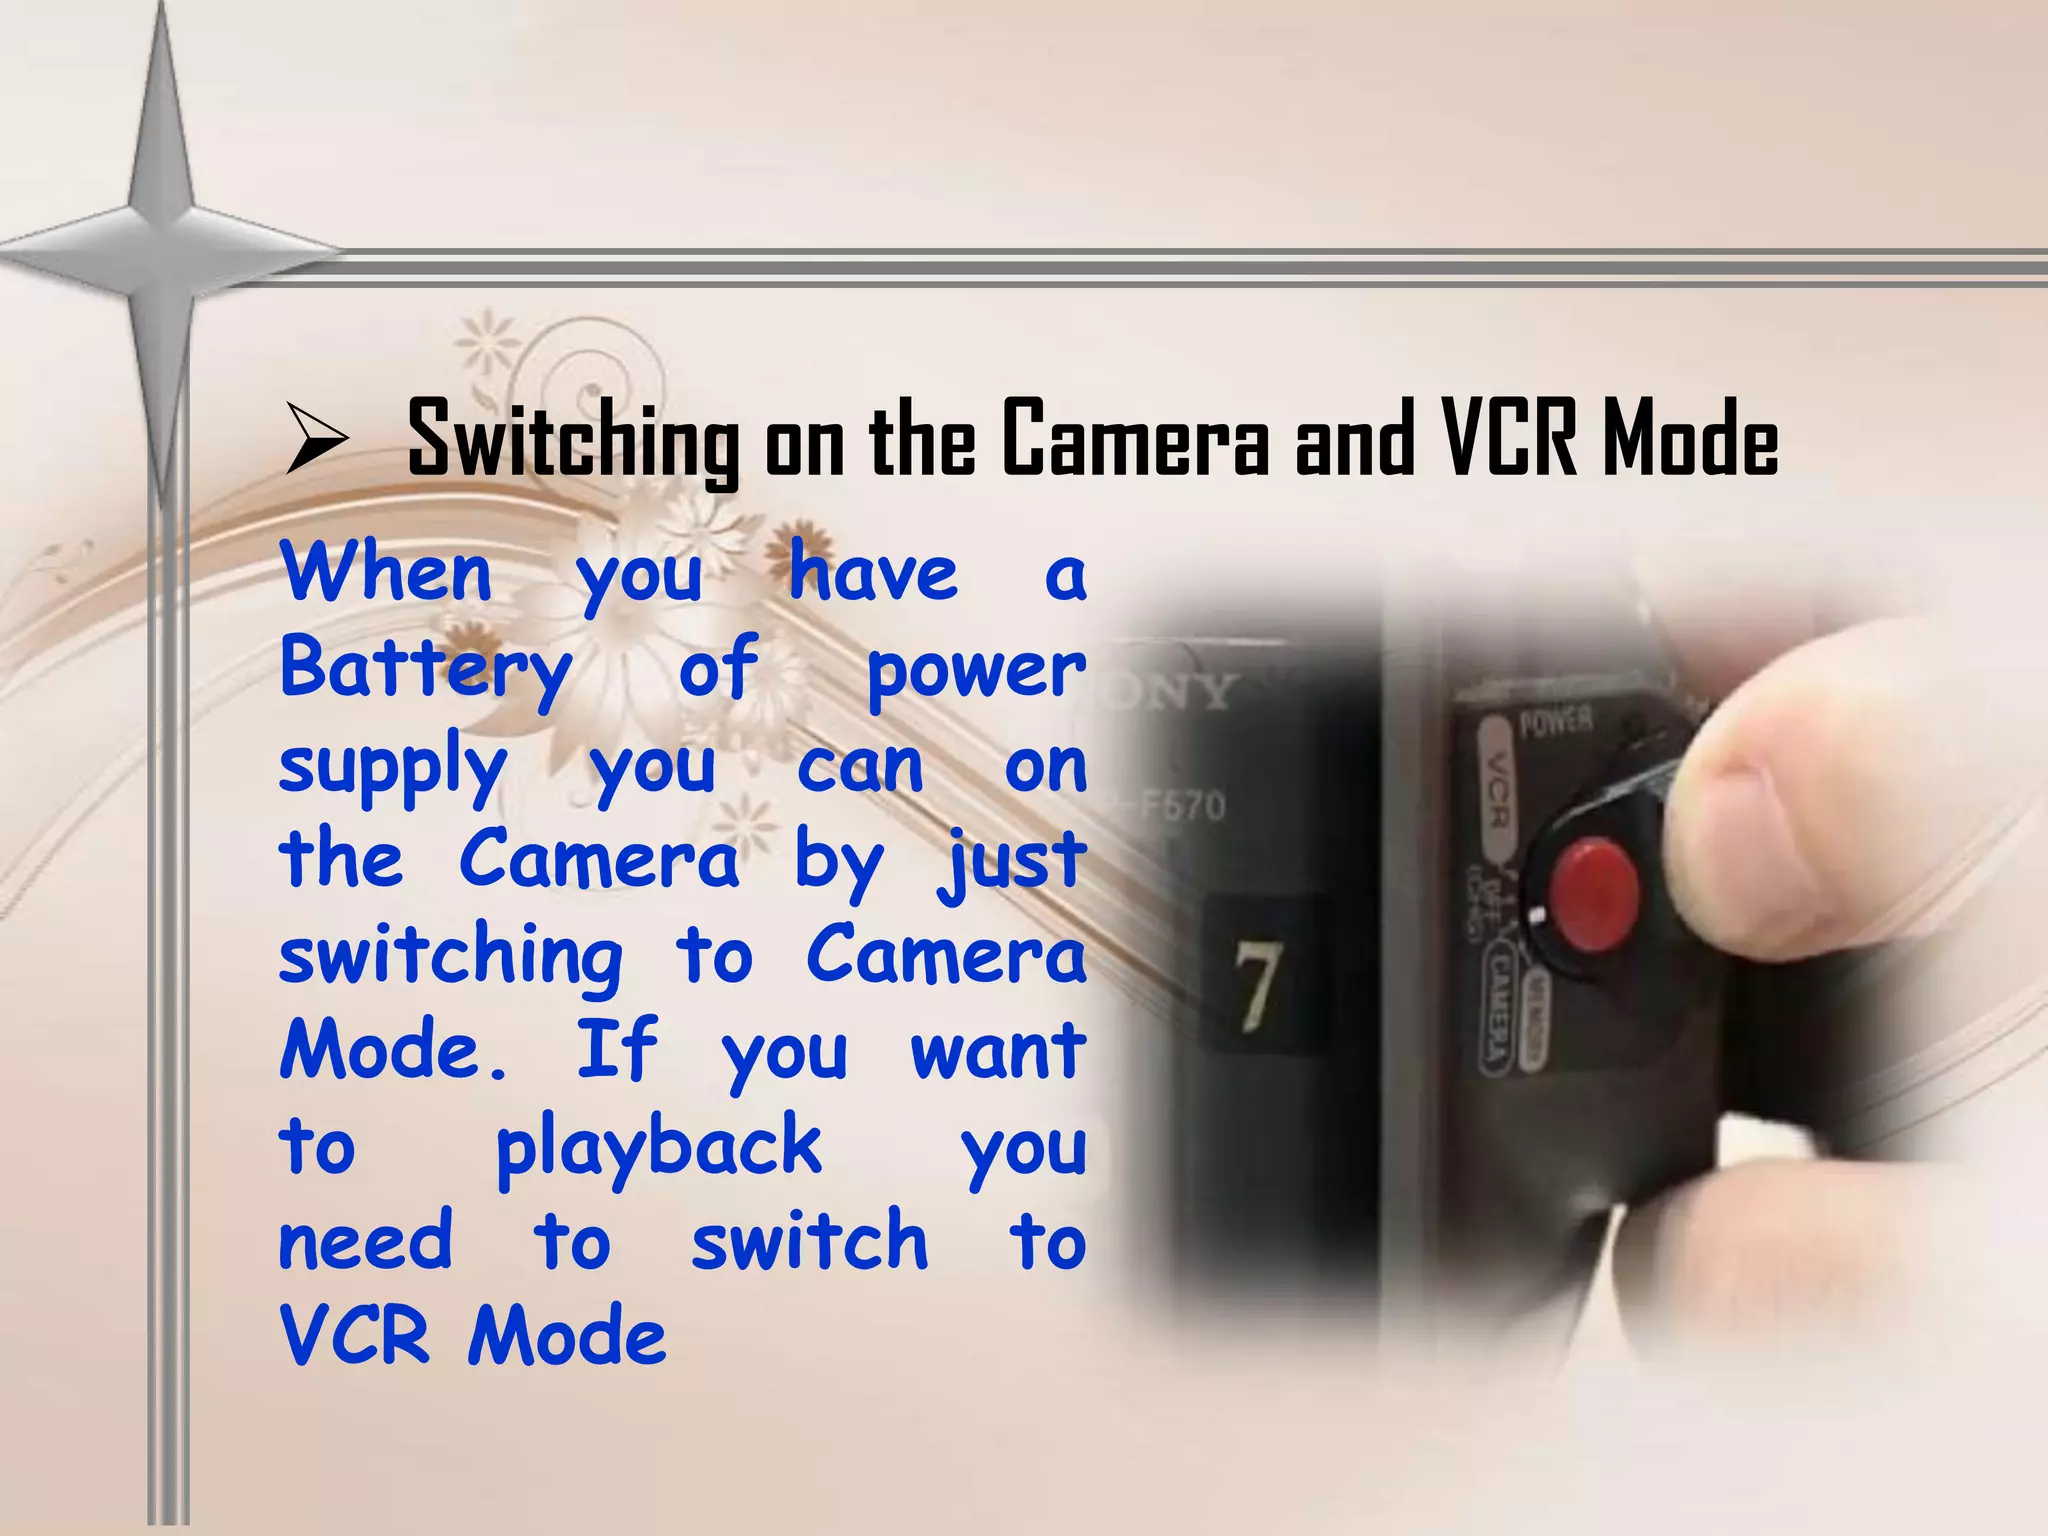
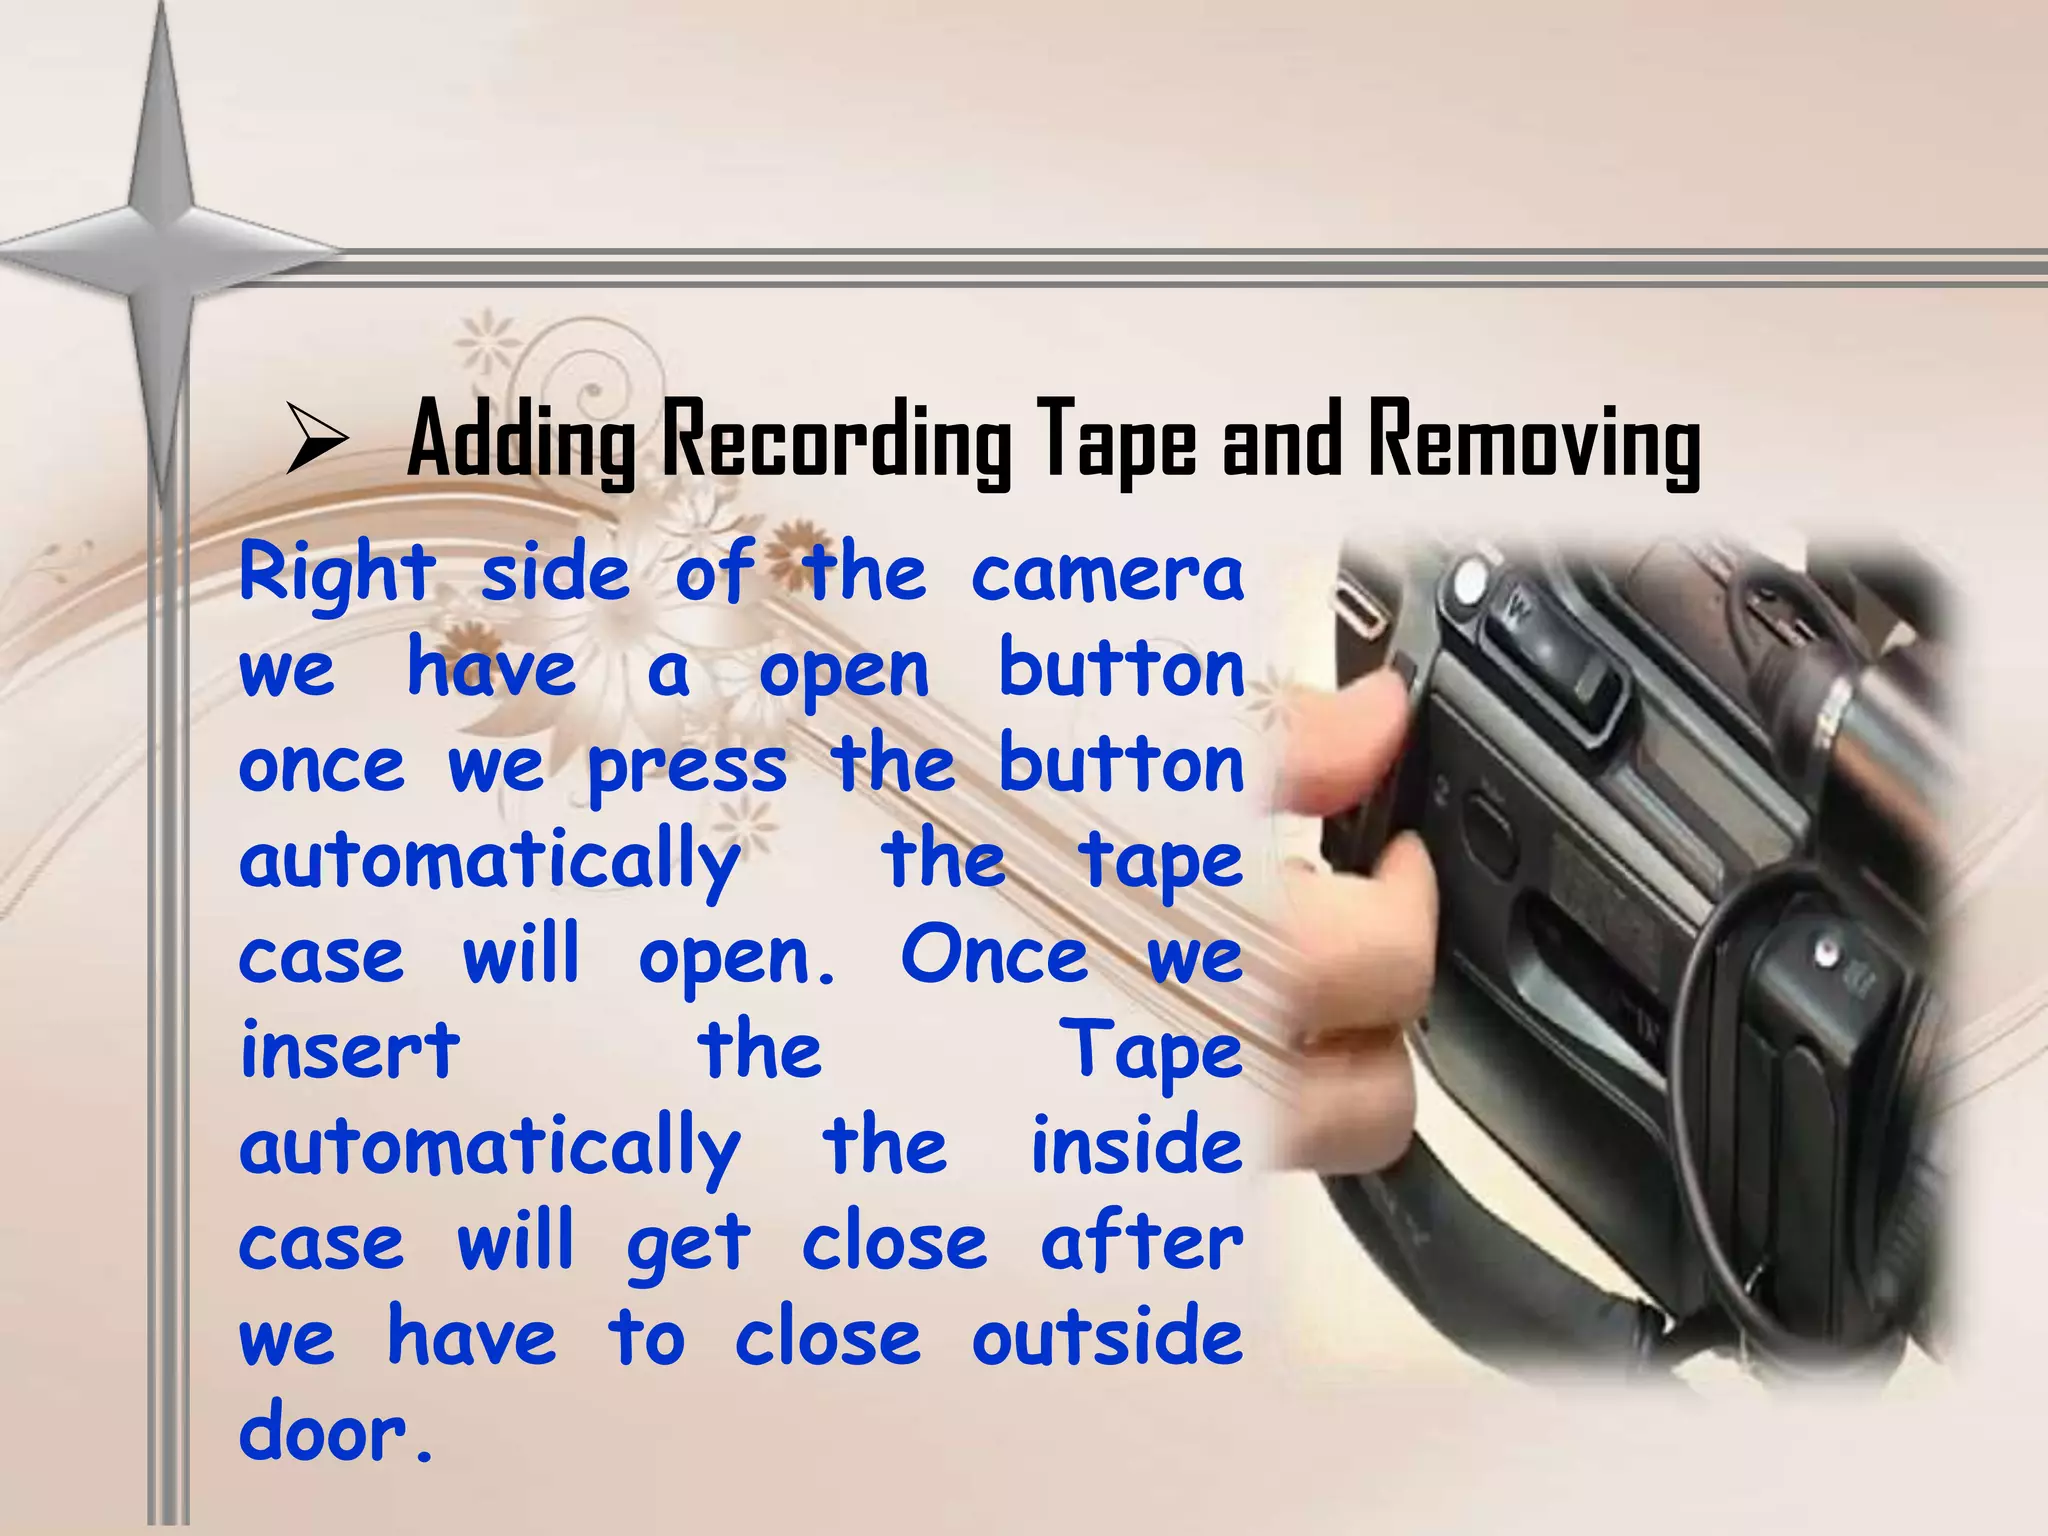
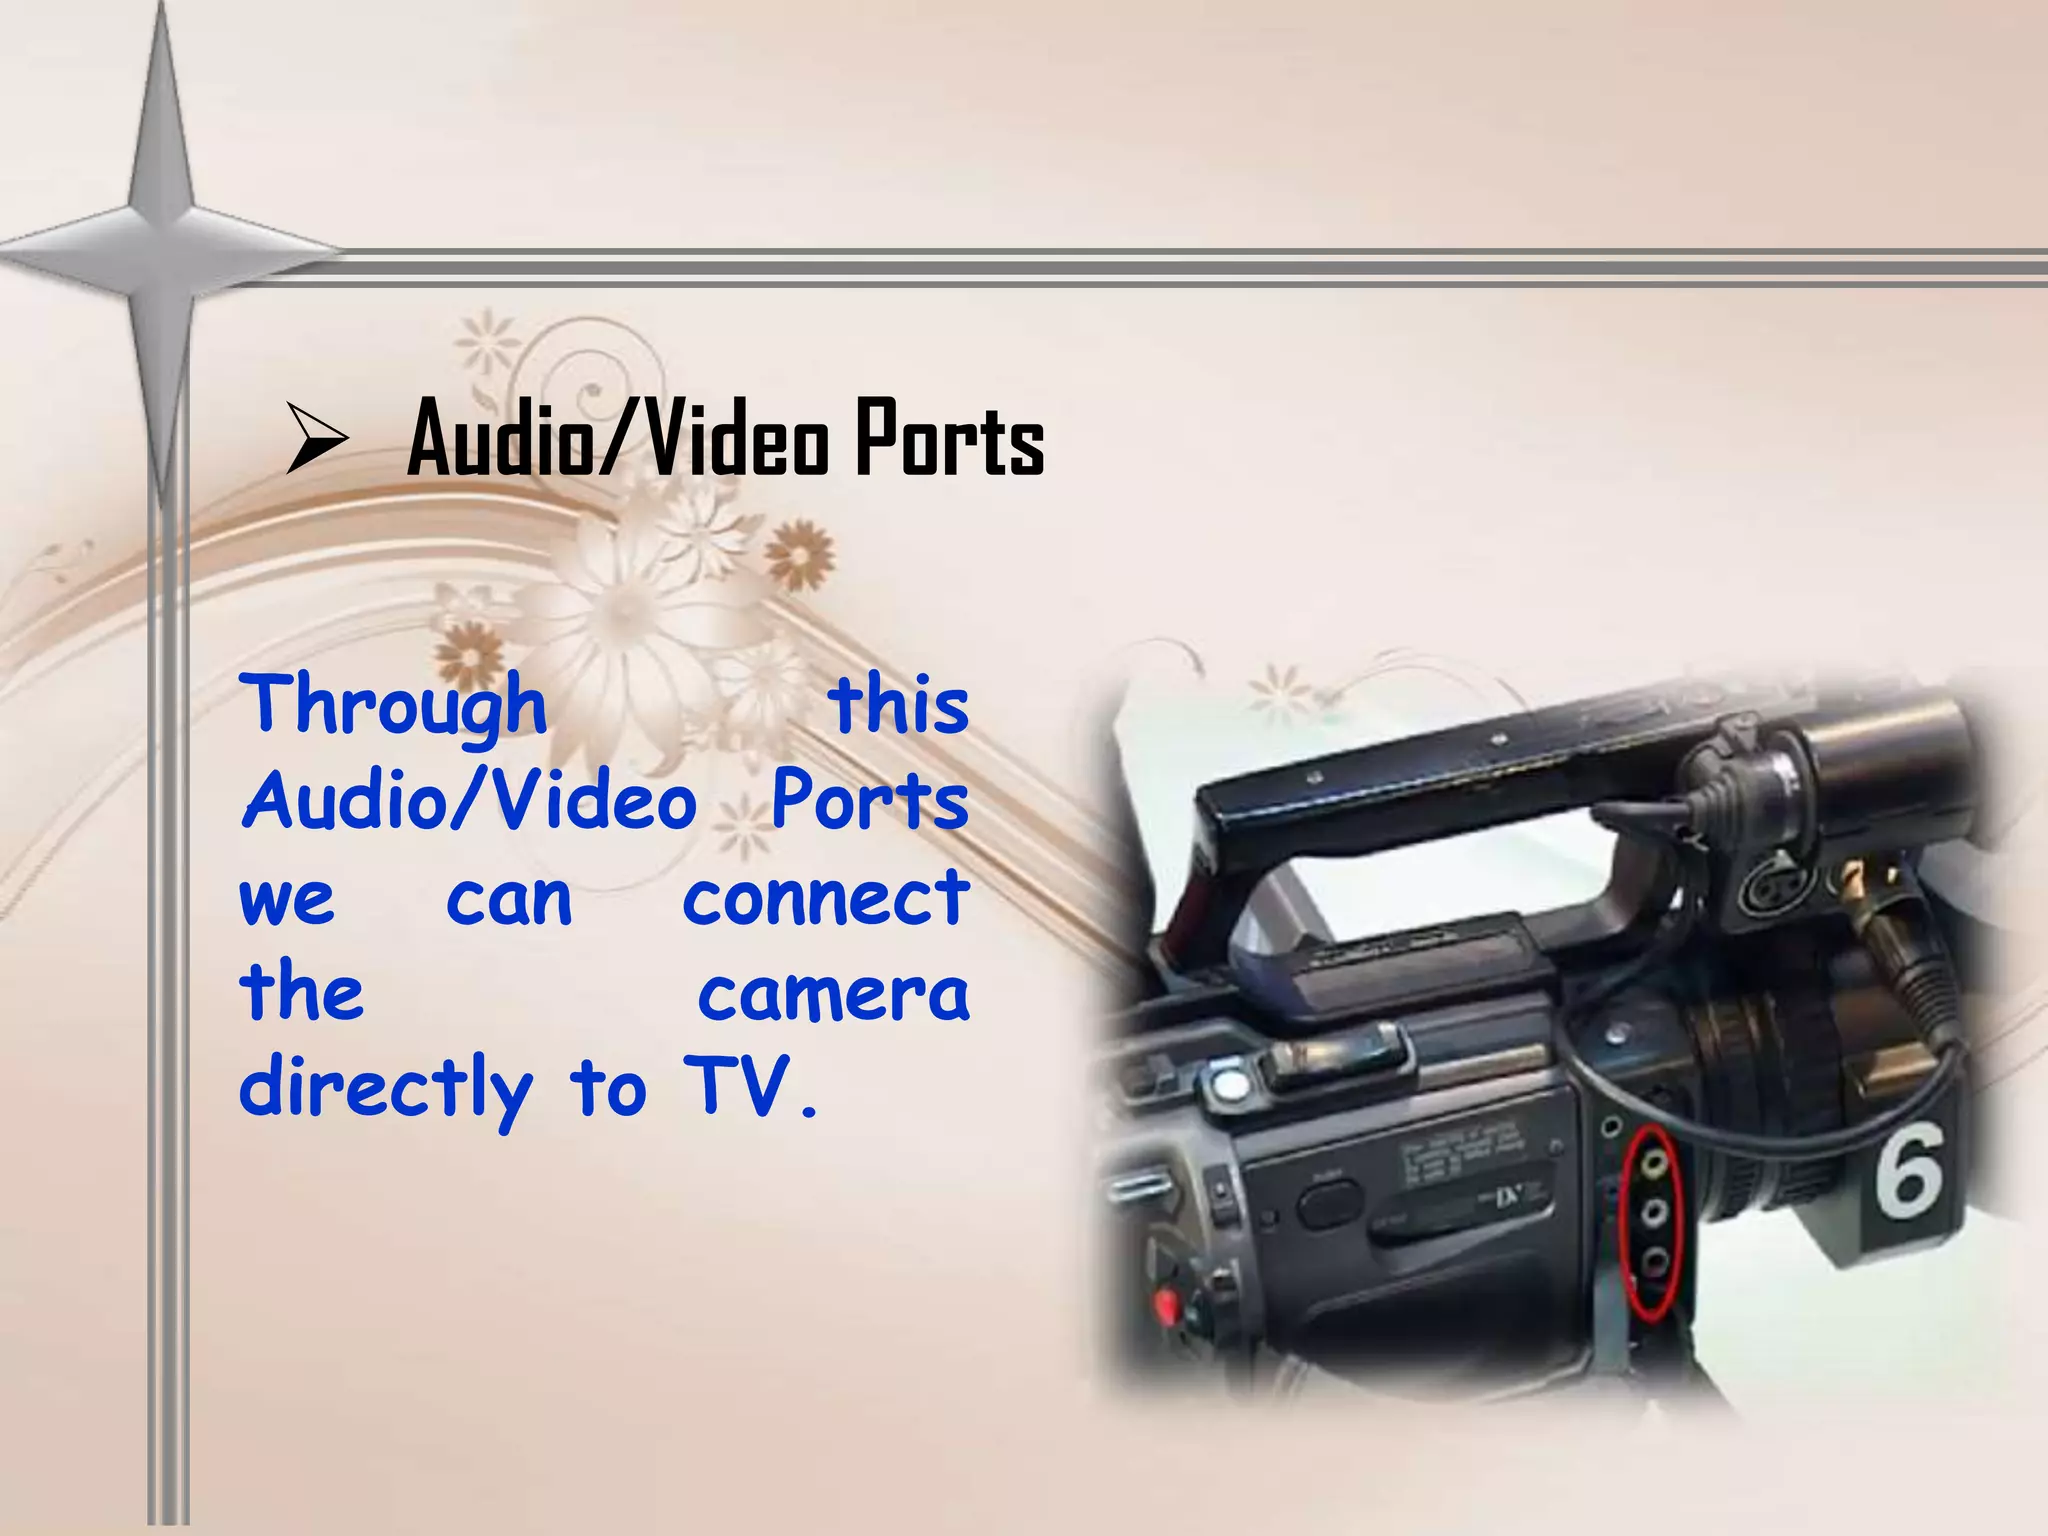
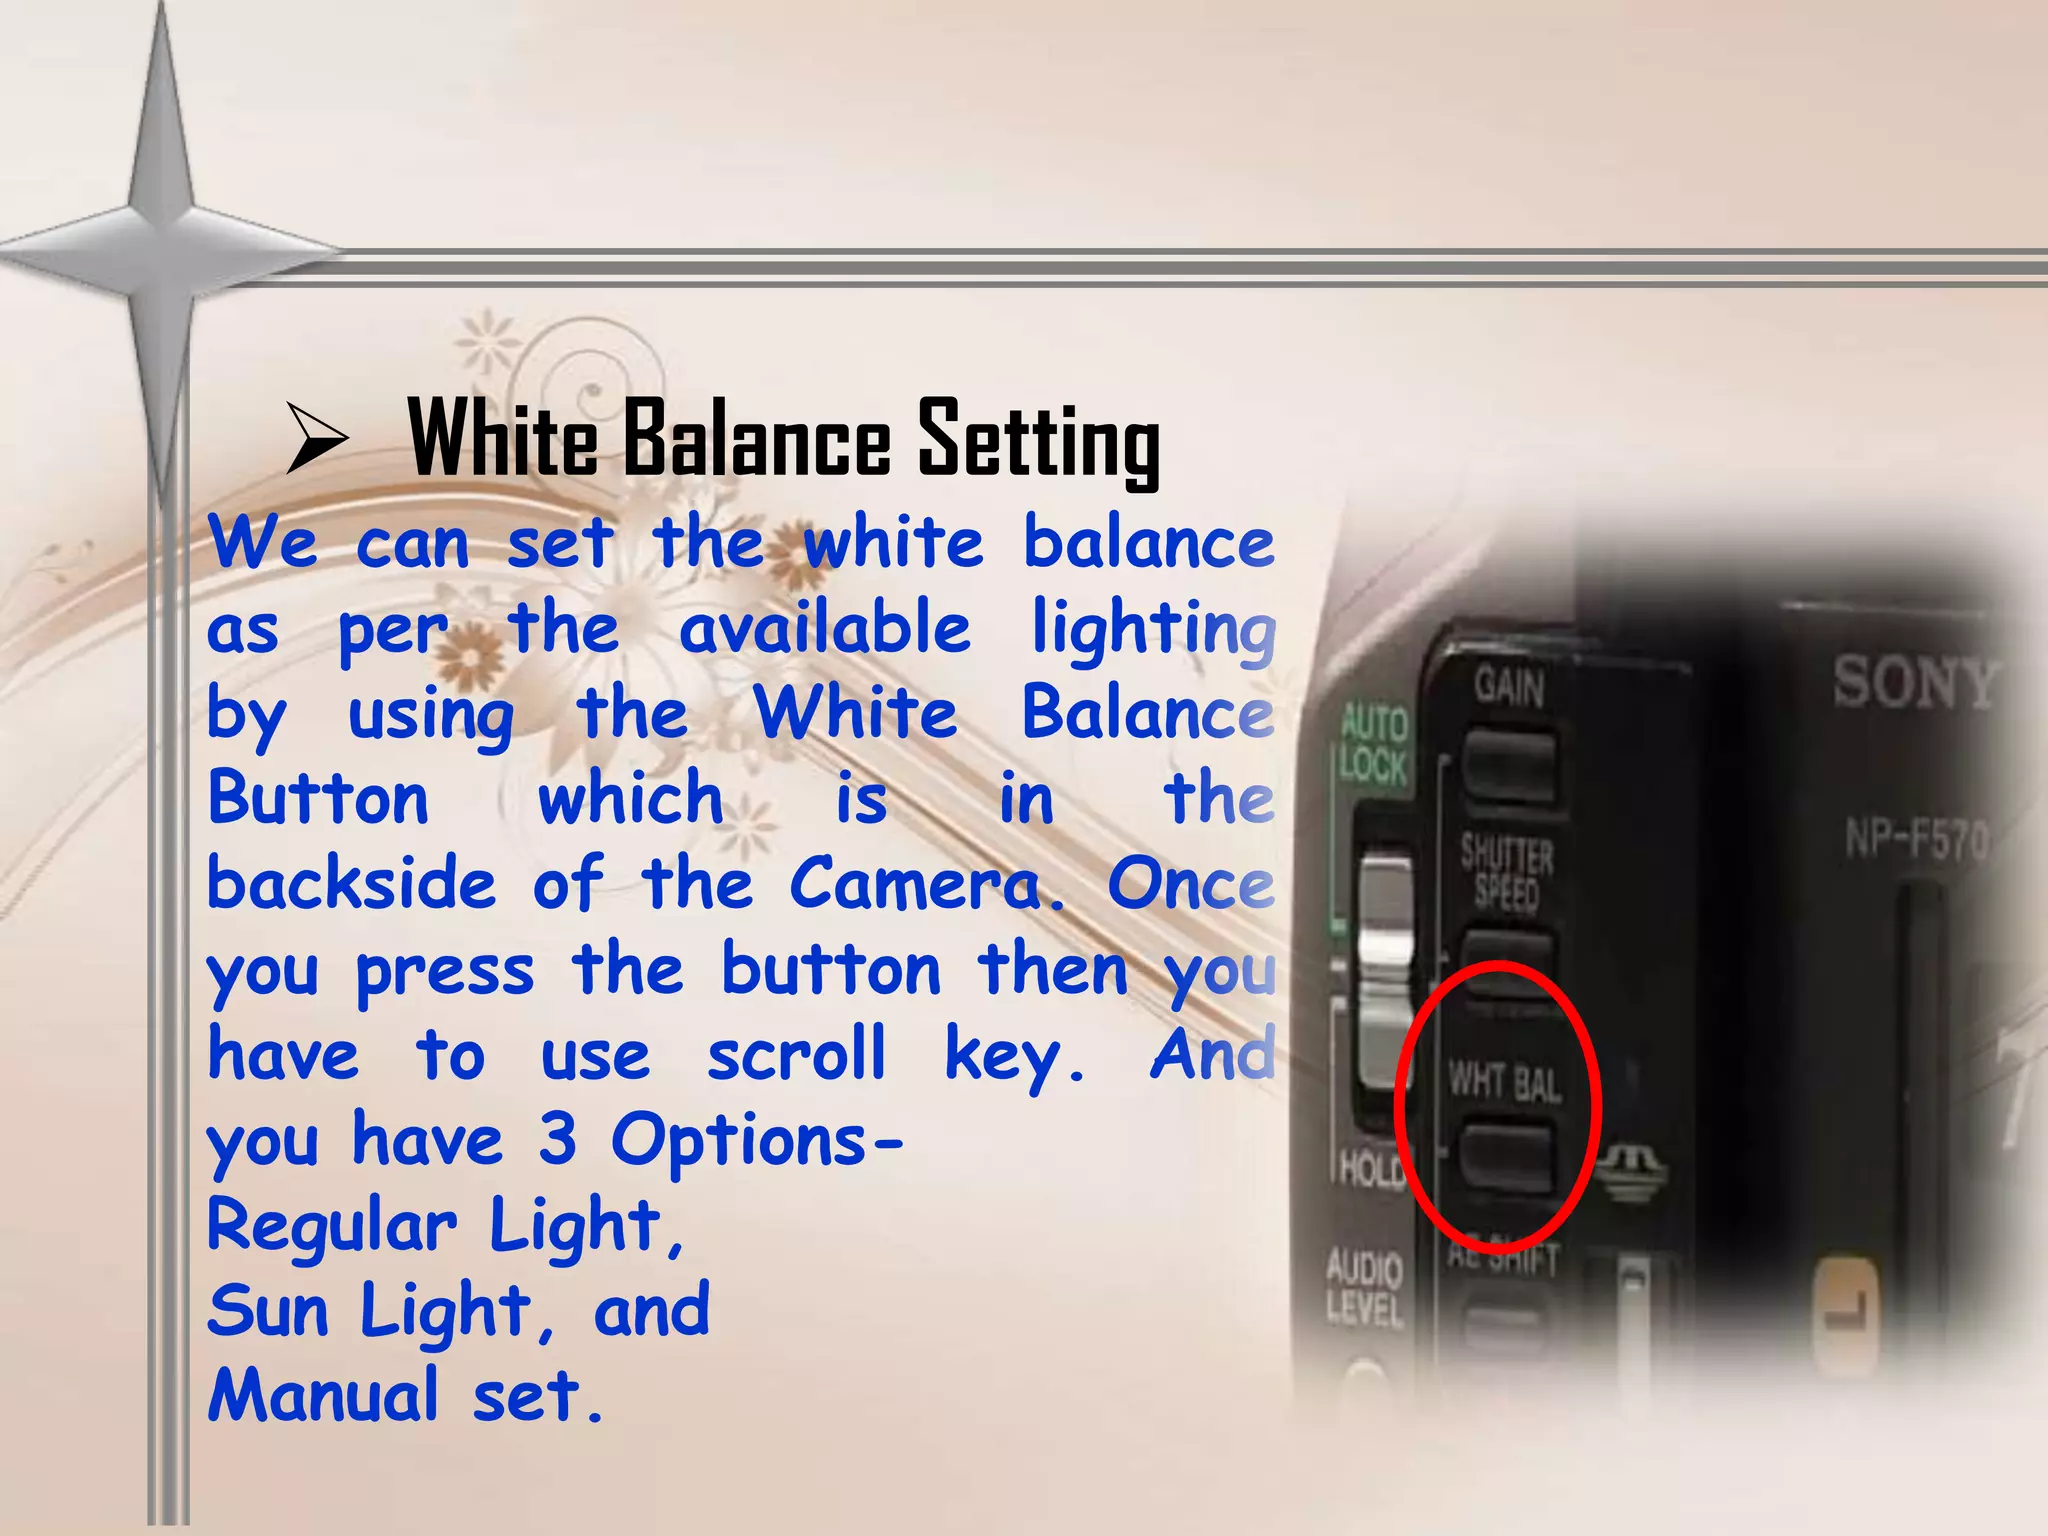
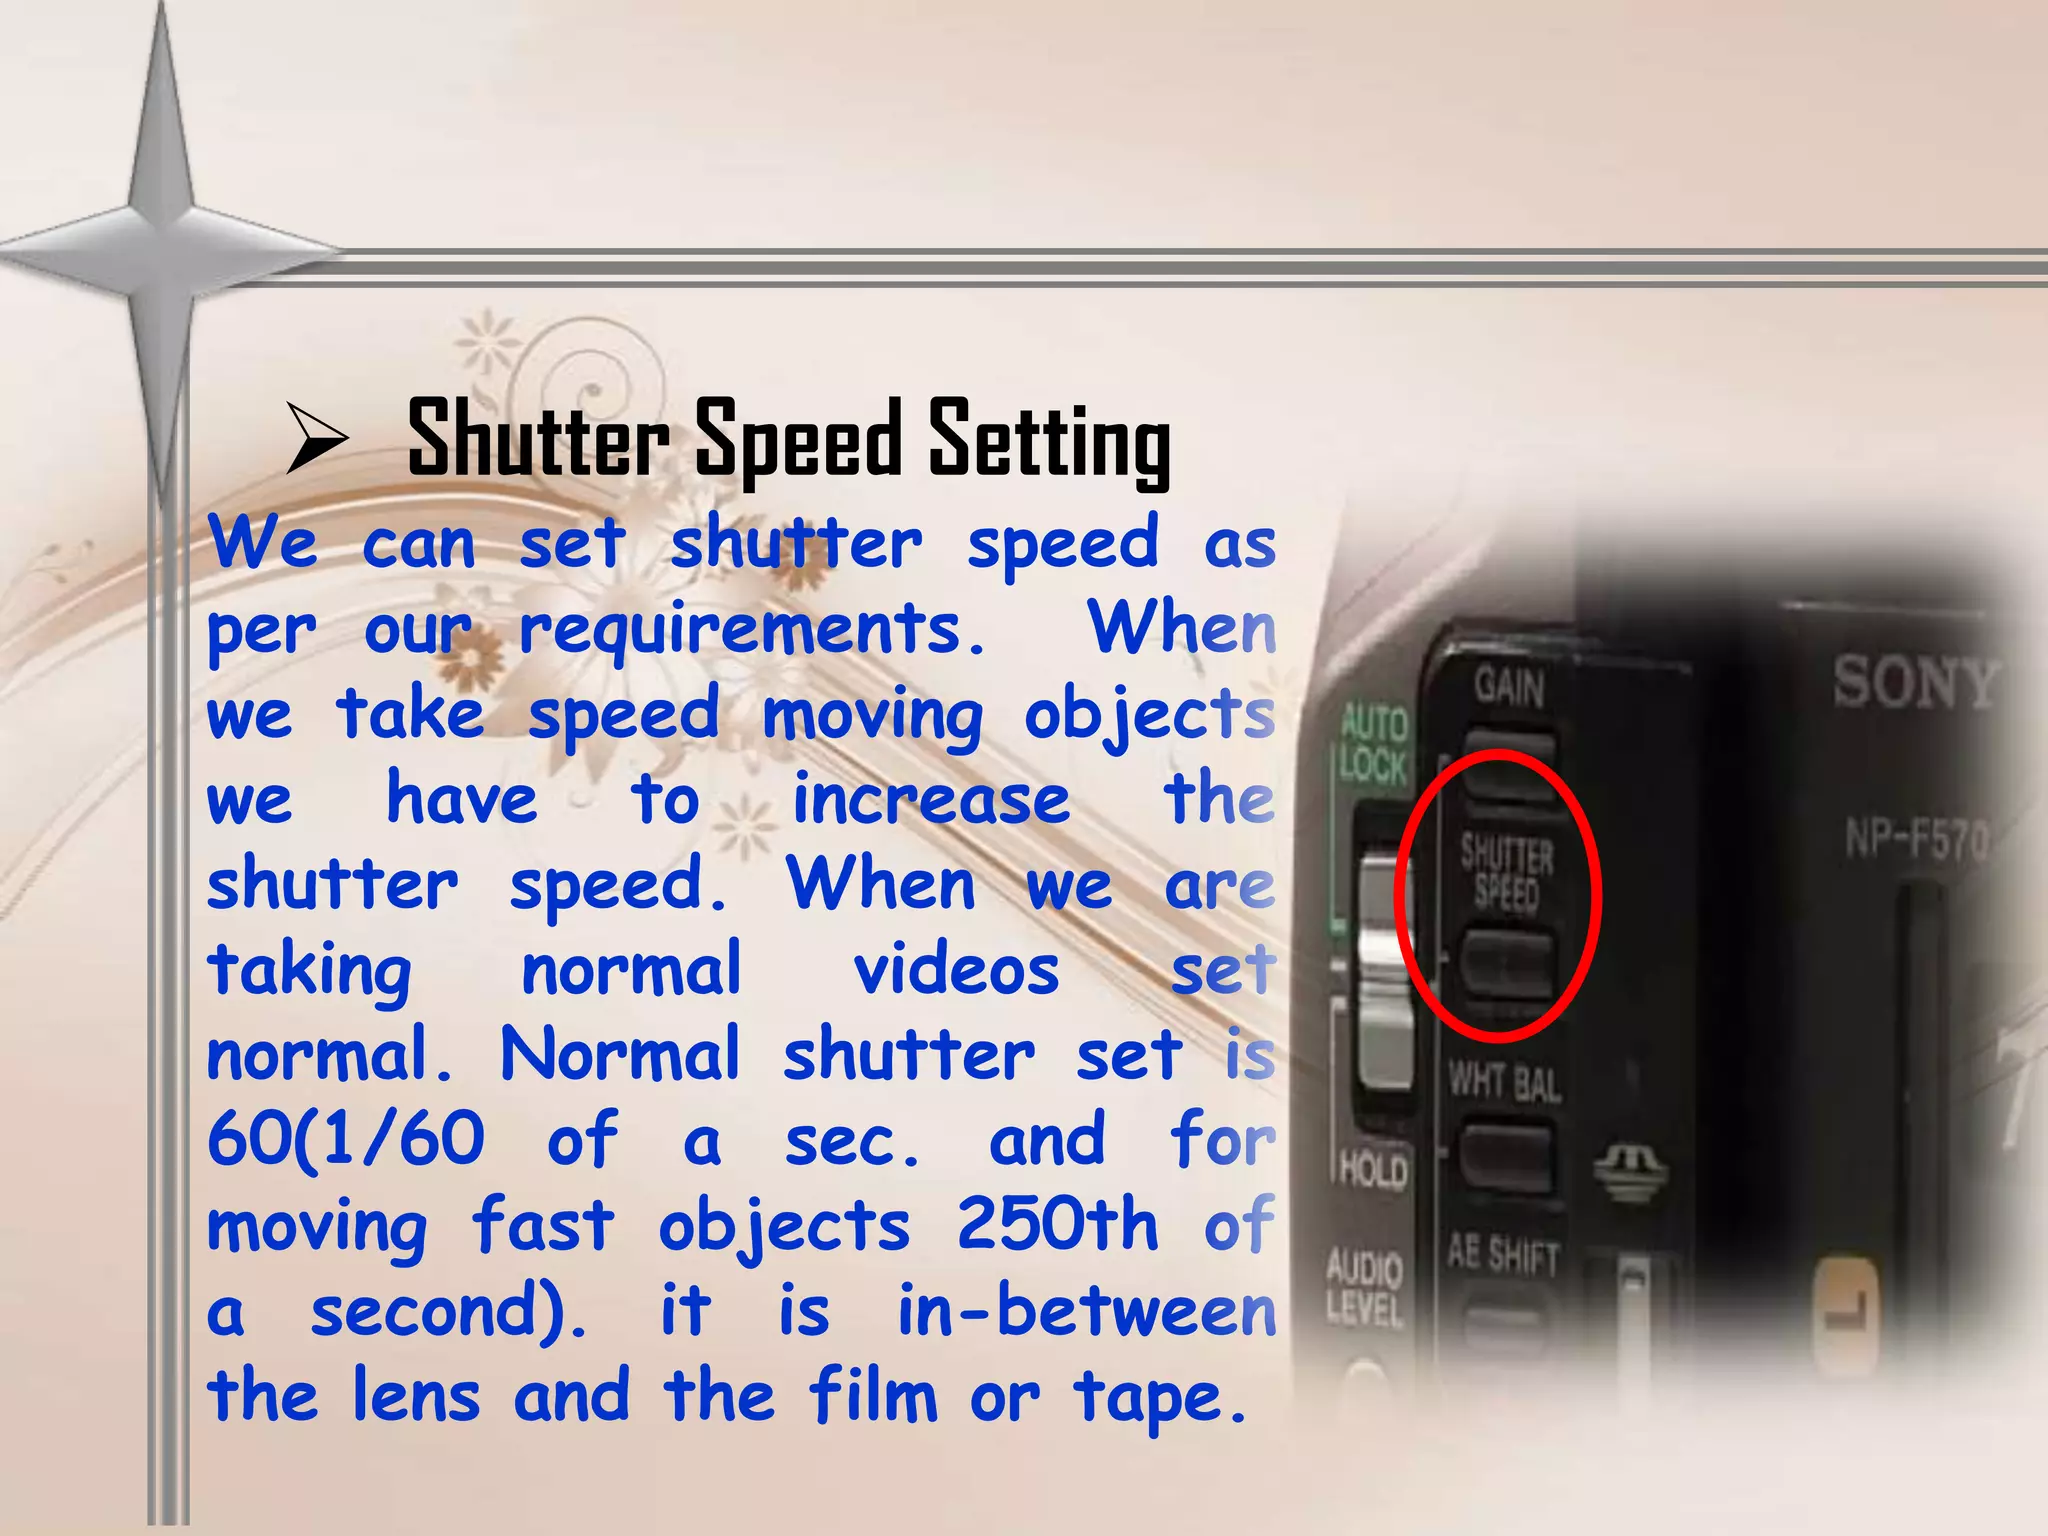
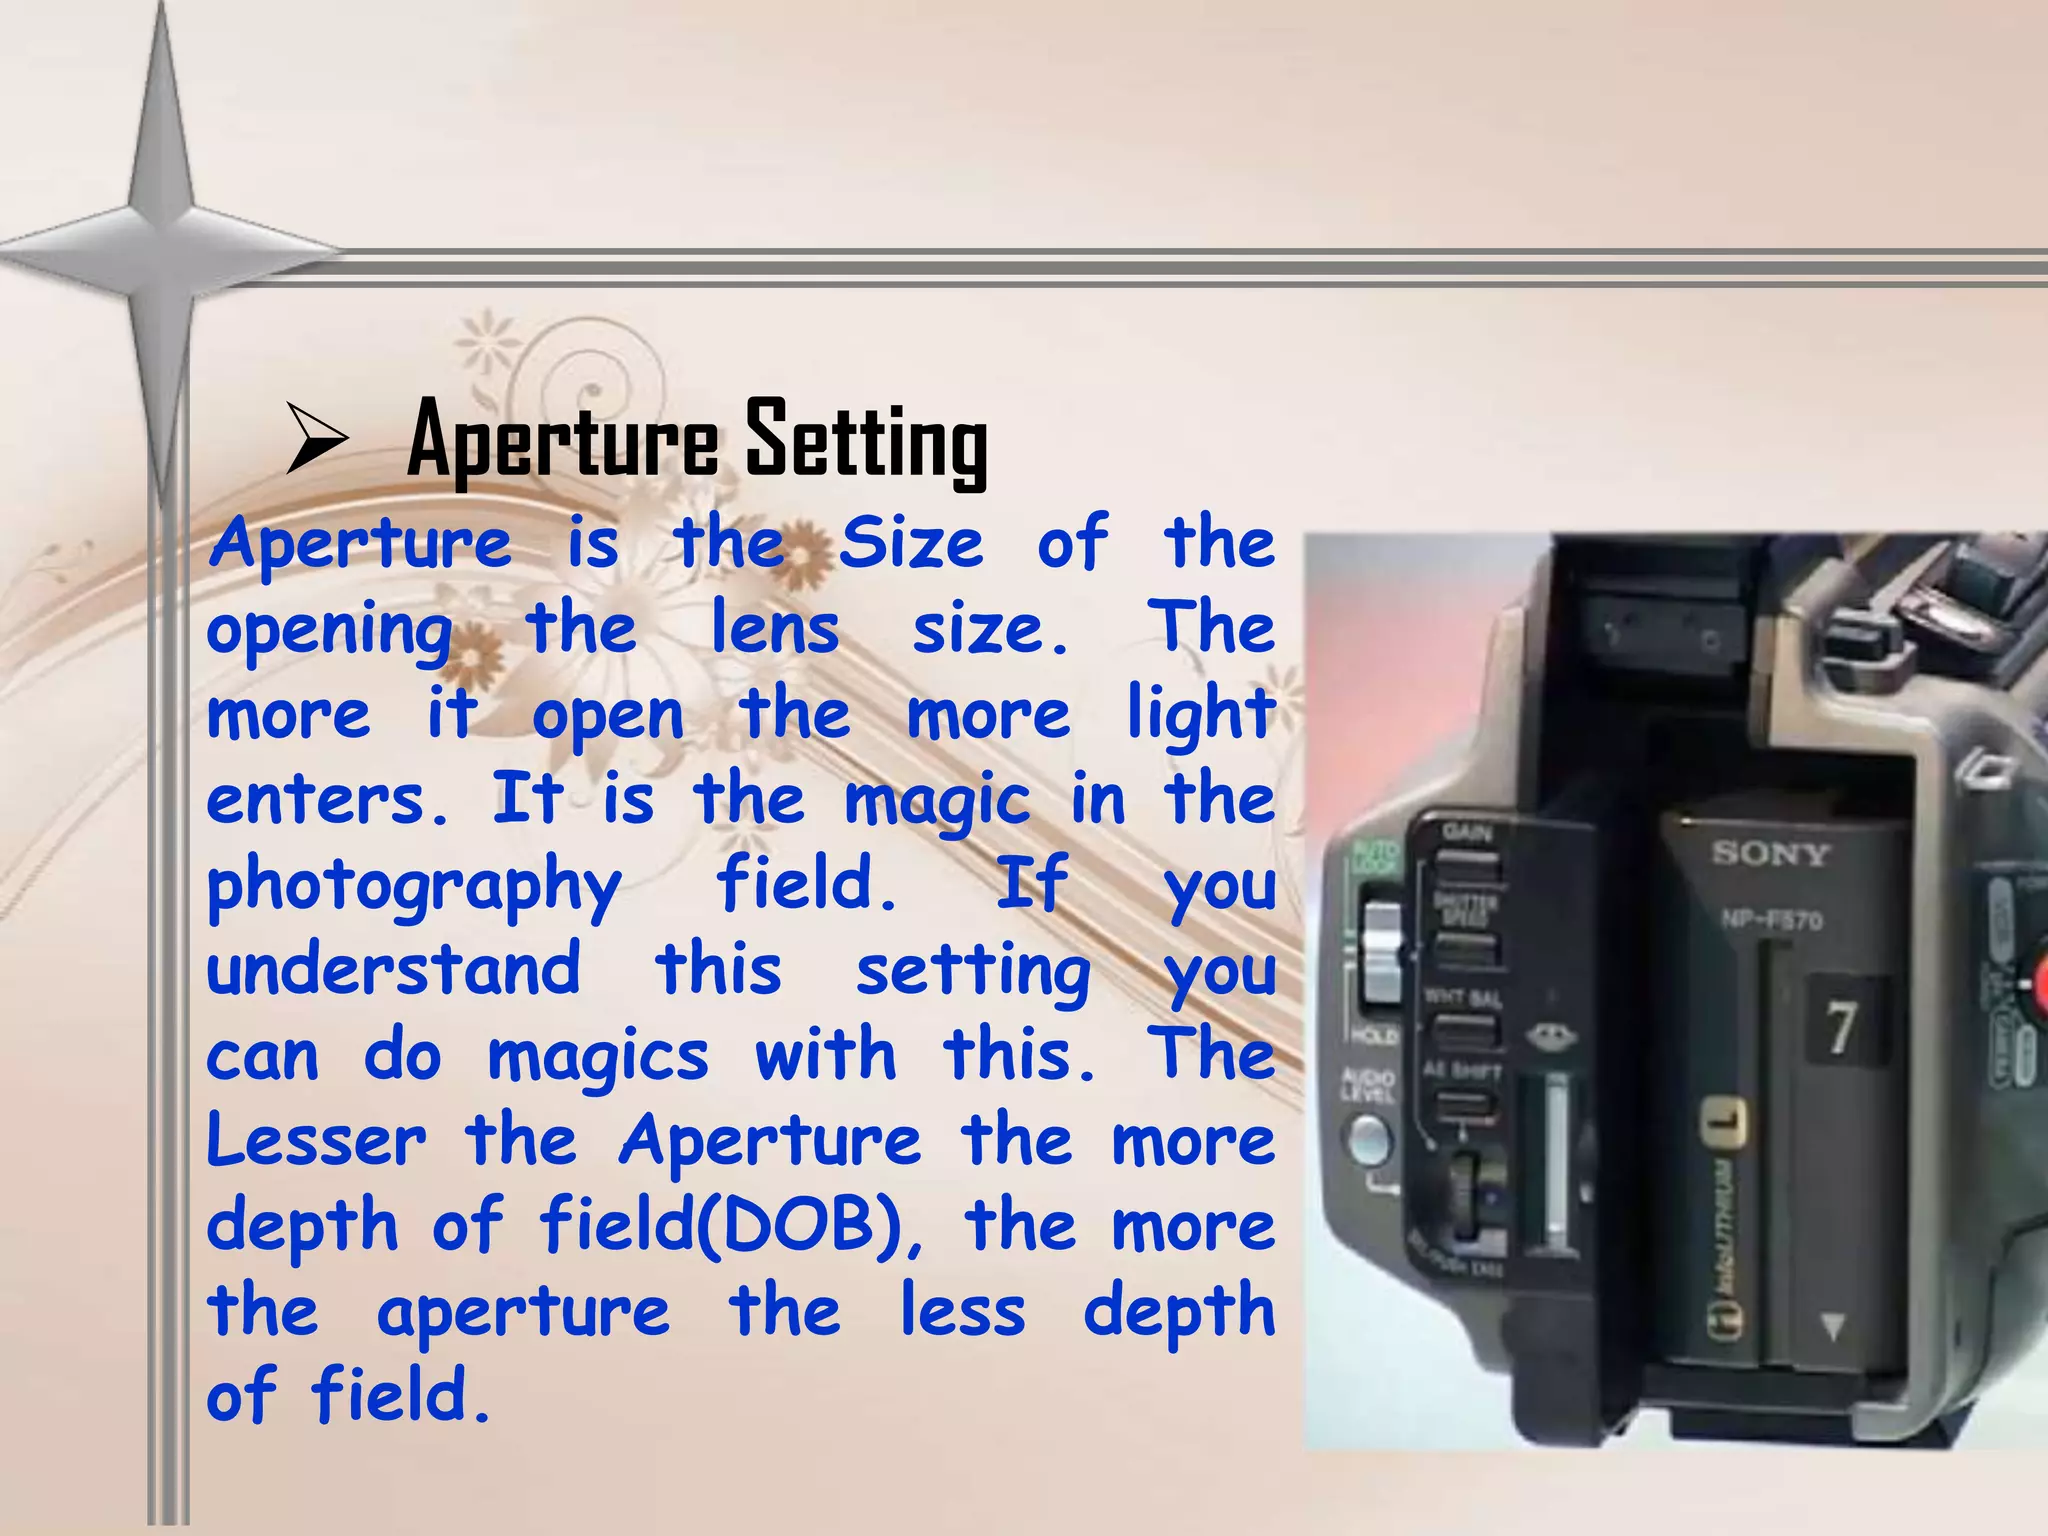
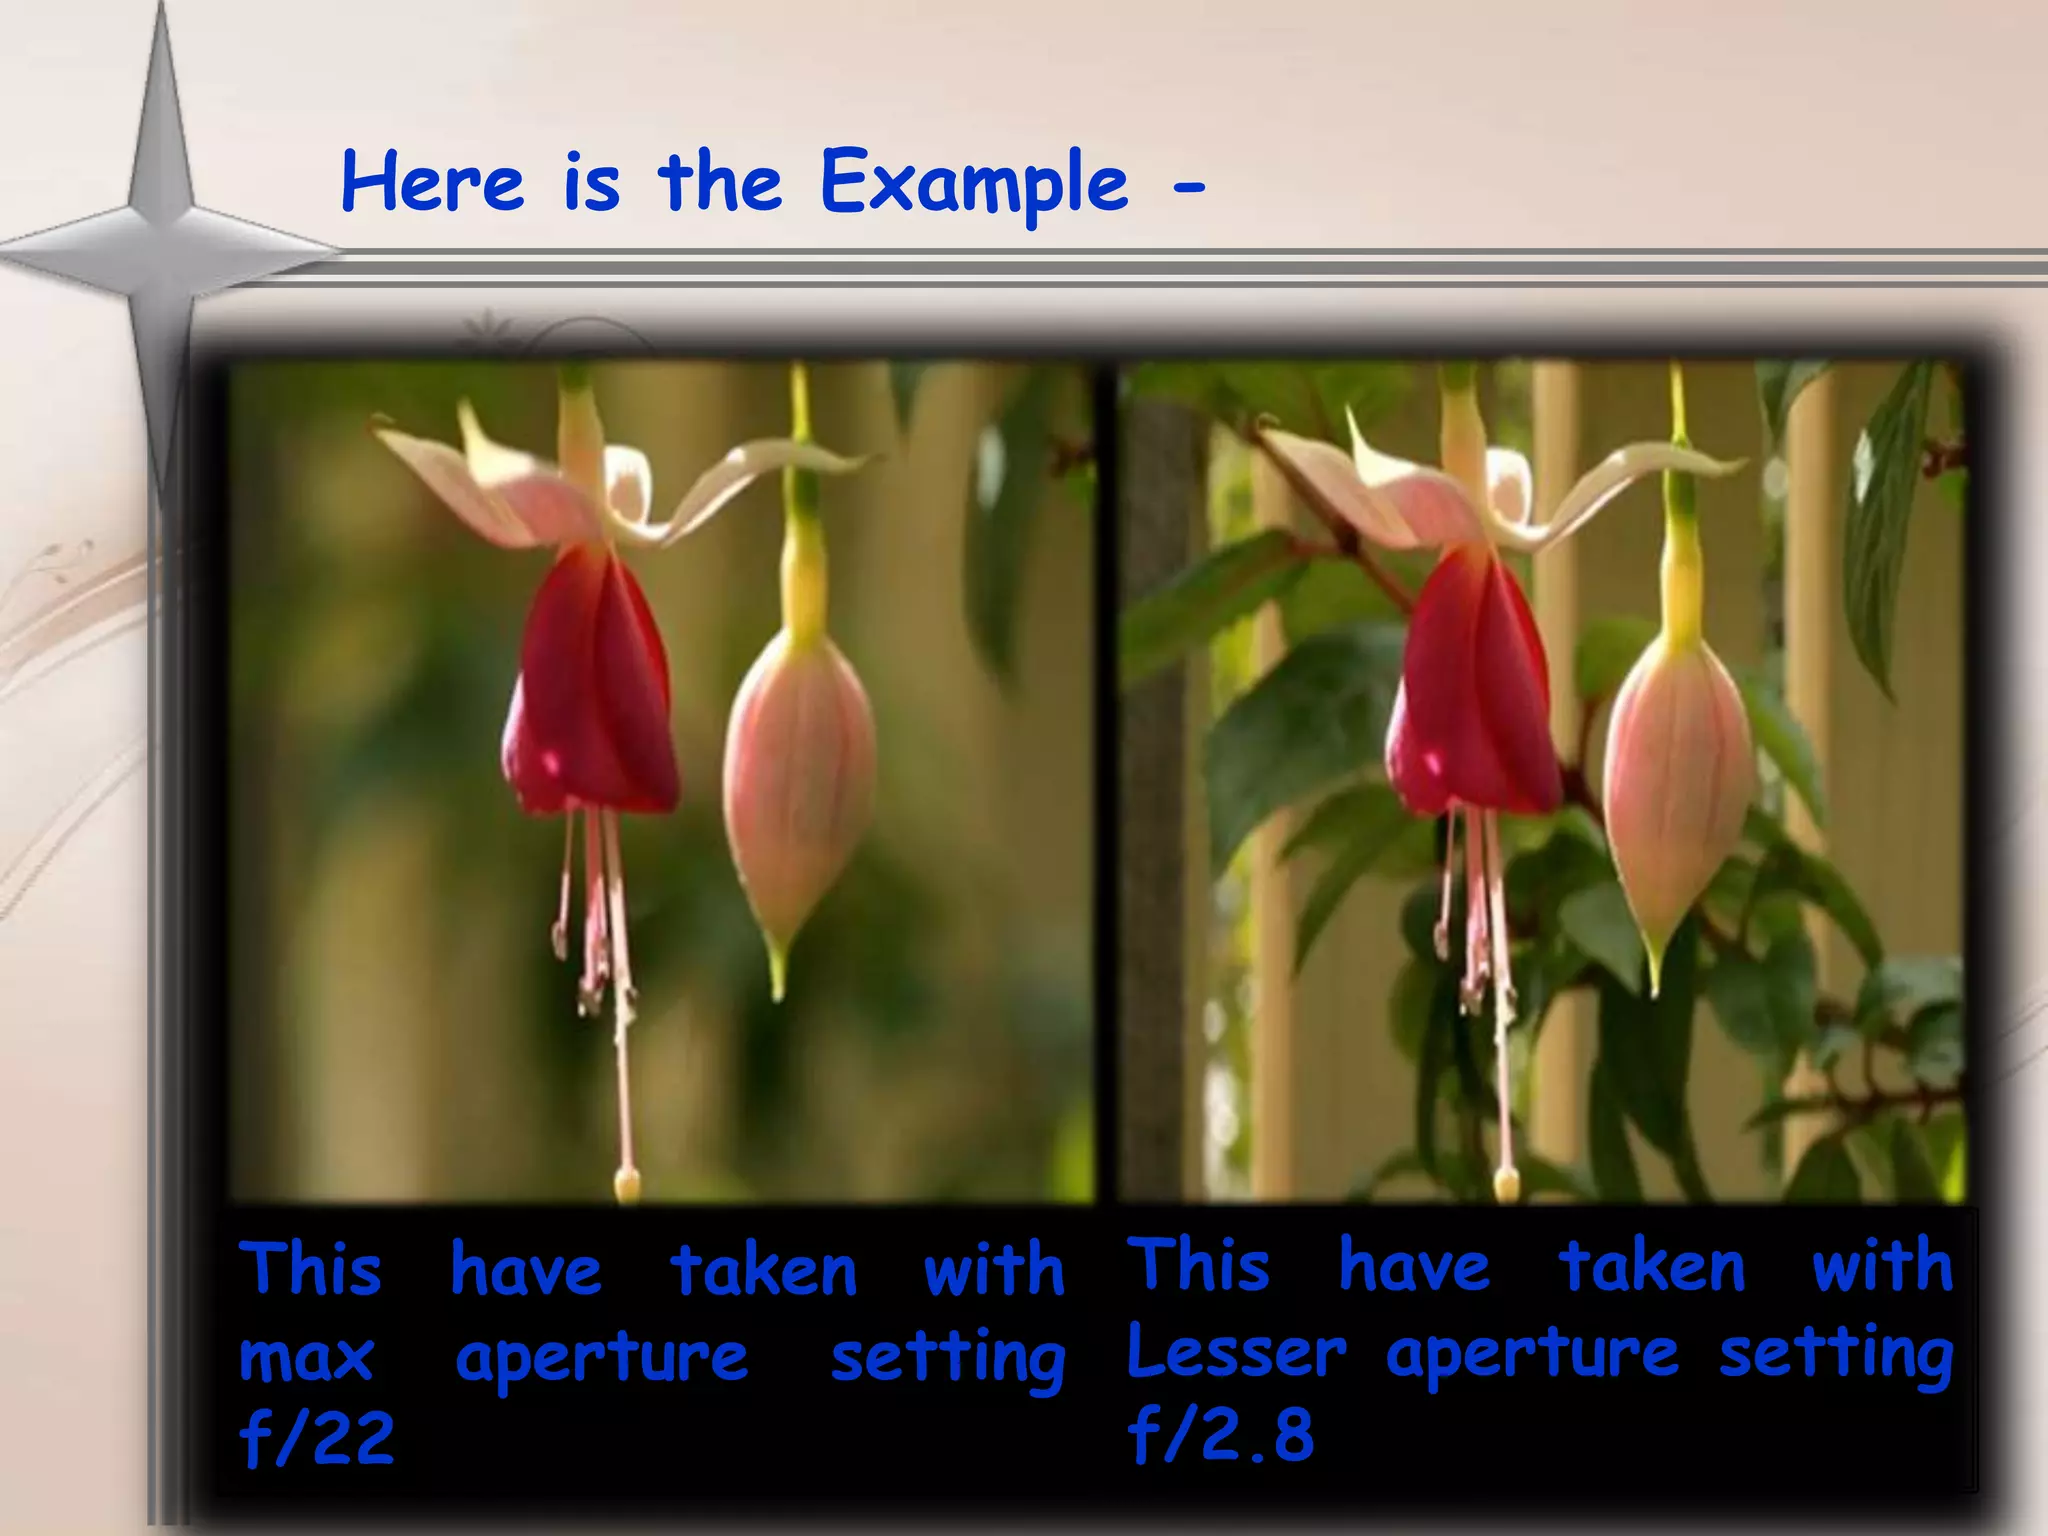
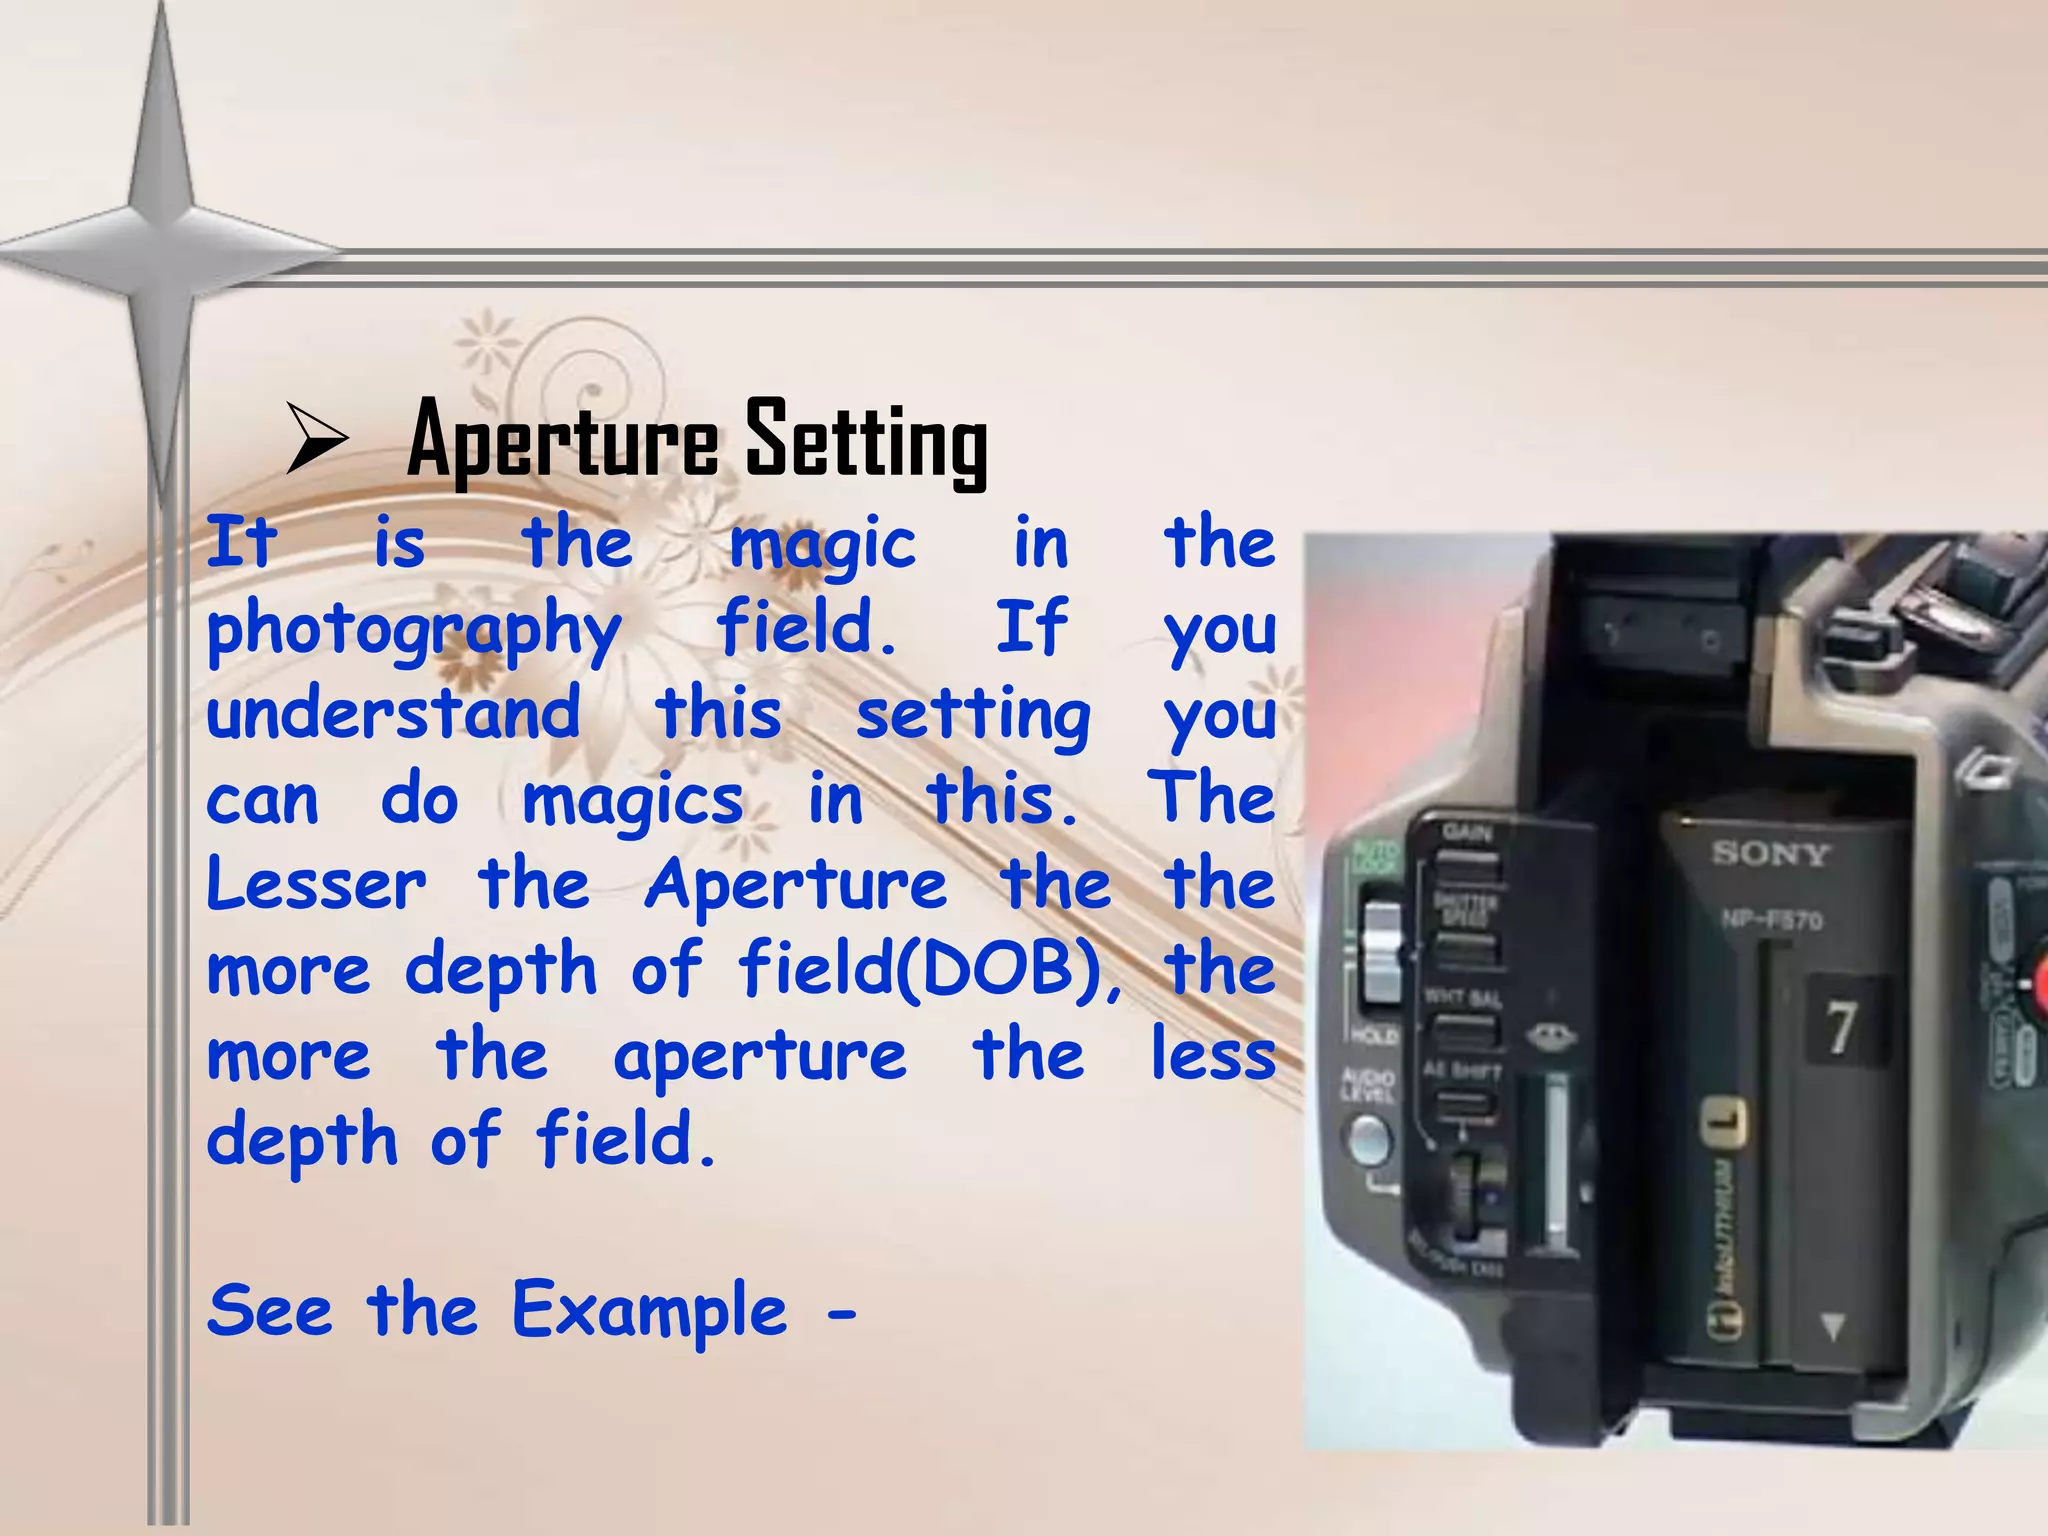

The document provides an overview of the basic operations and functions of a Sony PD camera. It describes the important parts of the camera including the lens, viewfinder, record/VCR buttons, LCD screen, and audio ports. It explains how to perform basic operations such as adding a battery, switching between camera and playback modes, inserting a recording tape, and using audio/video ports. It also covers using manual settings for audio, white balance, shutter speed, and aperture. Examples are given to illustrate aperture settings and their impact on depth of field. Finally, it provides some cautions for operating the camera.


![2. [pro forma] camera getting started guide(4)](https://cdn.slidesharecdn.com/ss_thumbnails/2-170705214618-thumbnail.jpg?width=640&height=640&fit=bounds)


![Cam operation -_day_2[1]](https://cdn.slidesharecdn.com/ss_thumbnails/camoperation-day21-120812125748-phpapp02-thumbnail.jpg?width=640&height=640&fit=bounds)


