Downloaded 2,033 times


This document provides an overview of digital storytelling and its implementation in the classroom. It discusses: 1) The benefits of digital storytelling for student learning such as developing multimedia literacy, communication skills, and motivation. 2) The steps involved in creating a digital documentary (digidoc) including selecting topics, conducting research and interviews, gathering media, developing a narrative, and sharing the final product. 3) Software such as Windows Movie Maker that can be used to edit video, audio, images and create transitions/effects.
Introduction to digital storytelling and its importance in education, focusing on personalized learning through technology.
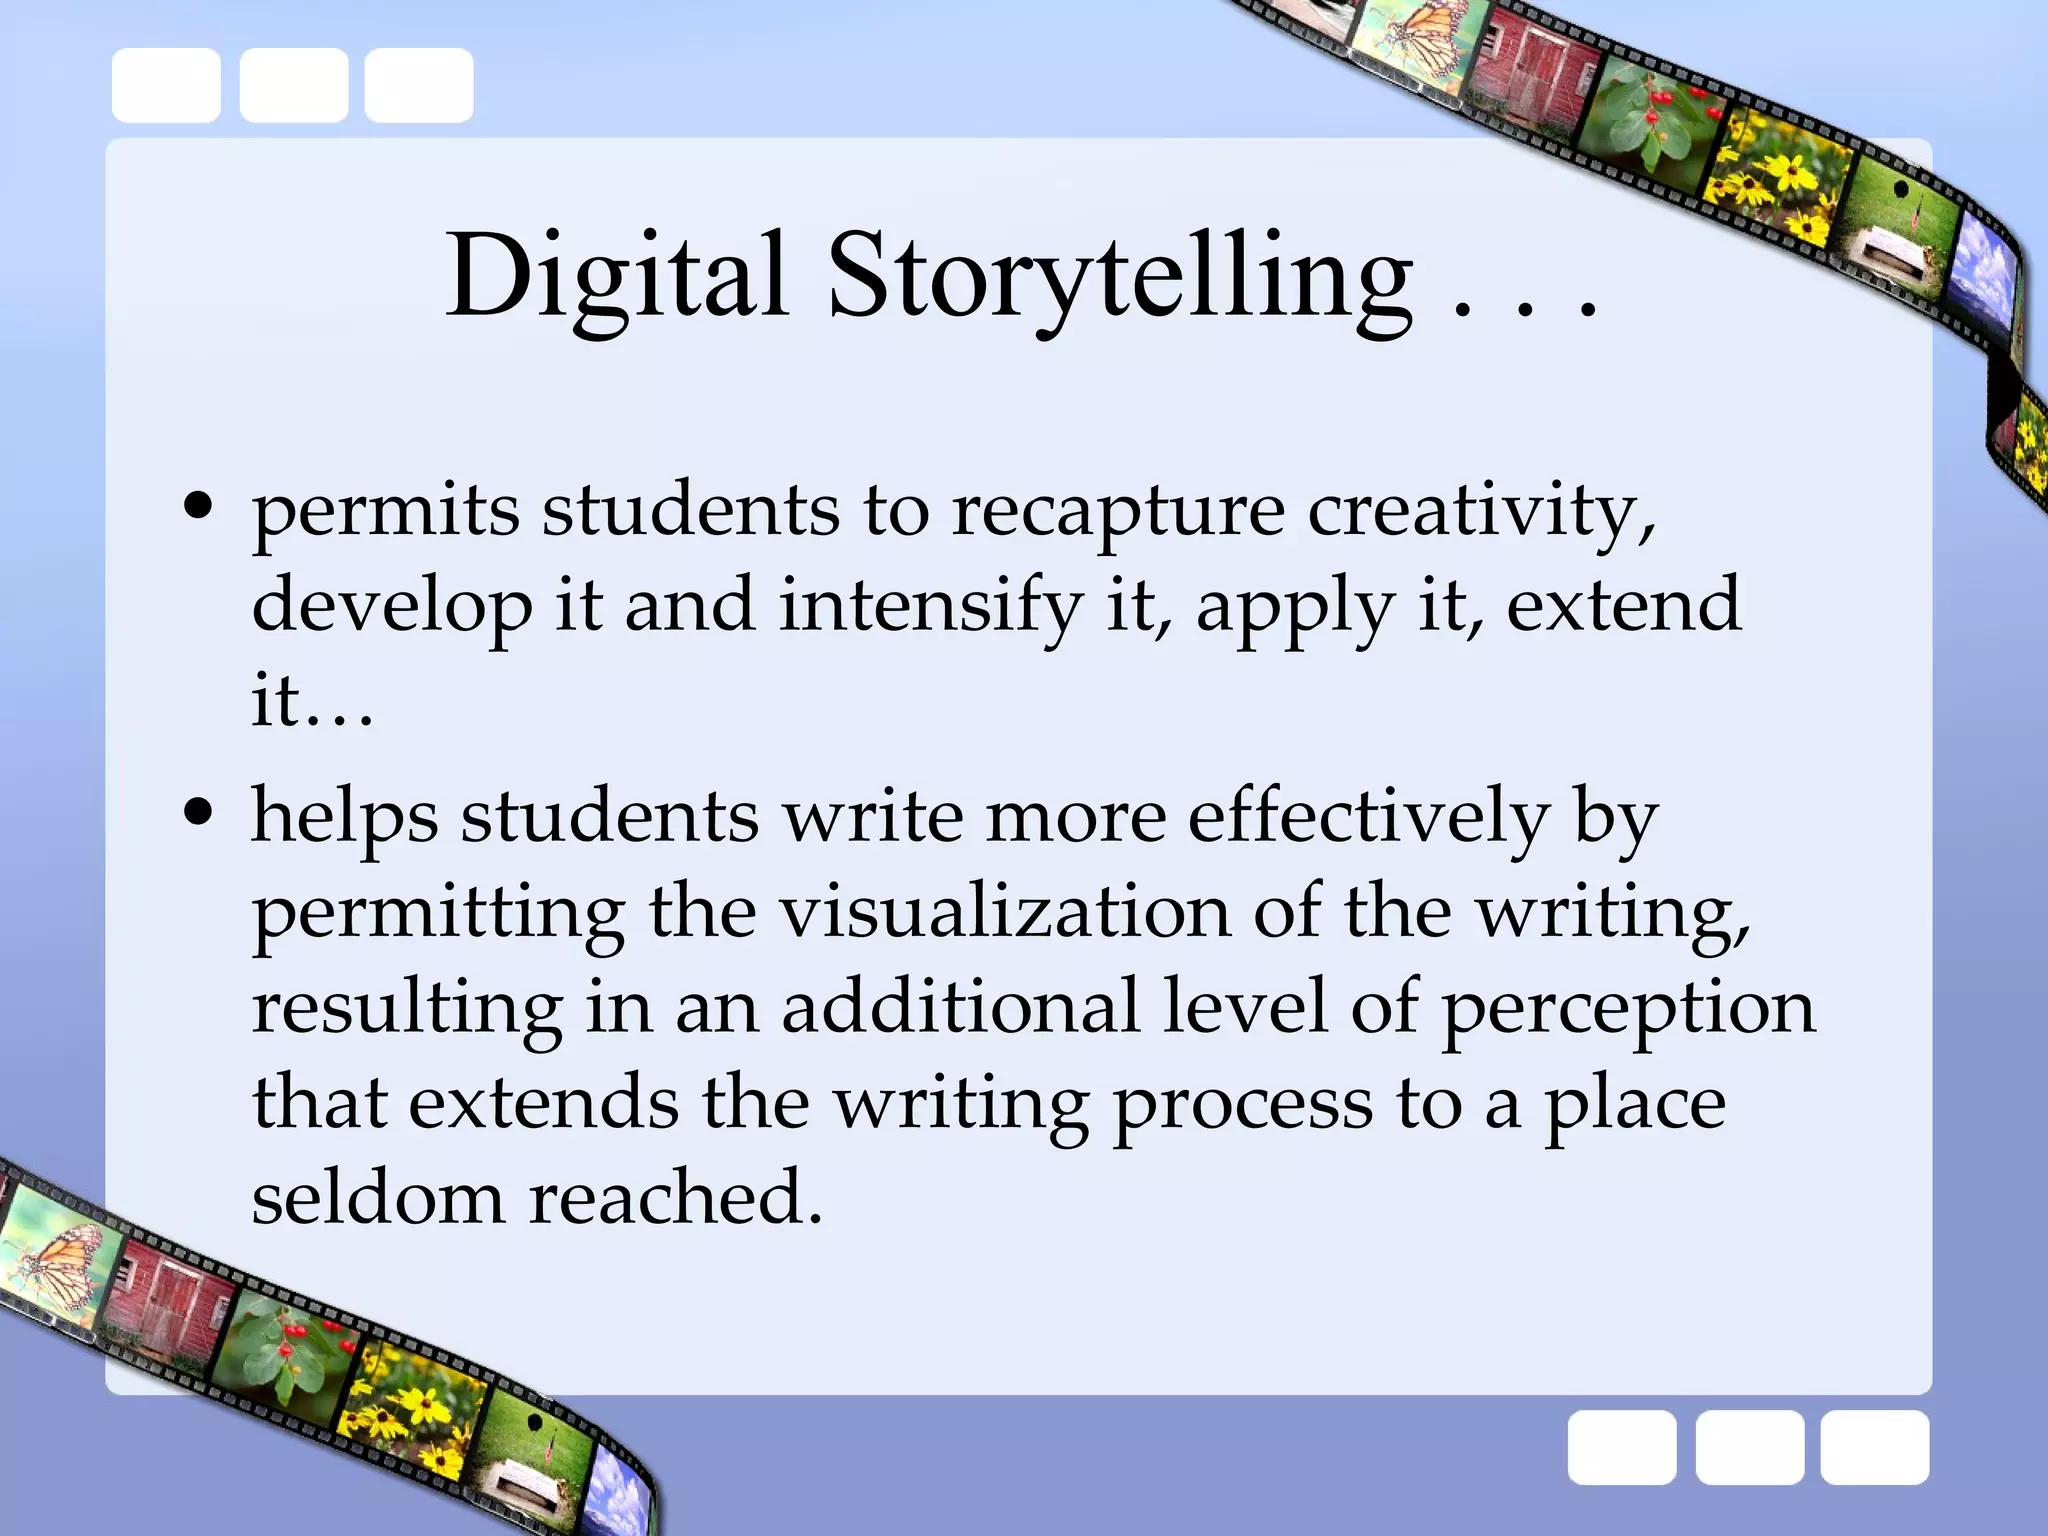
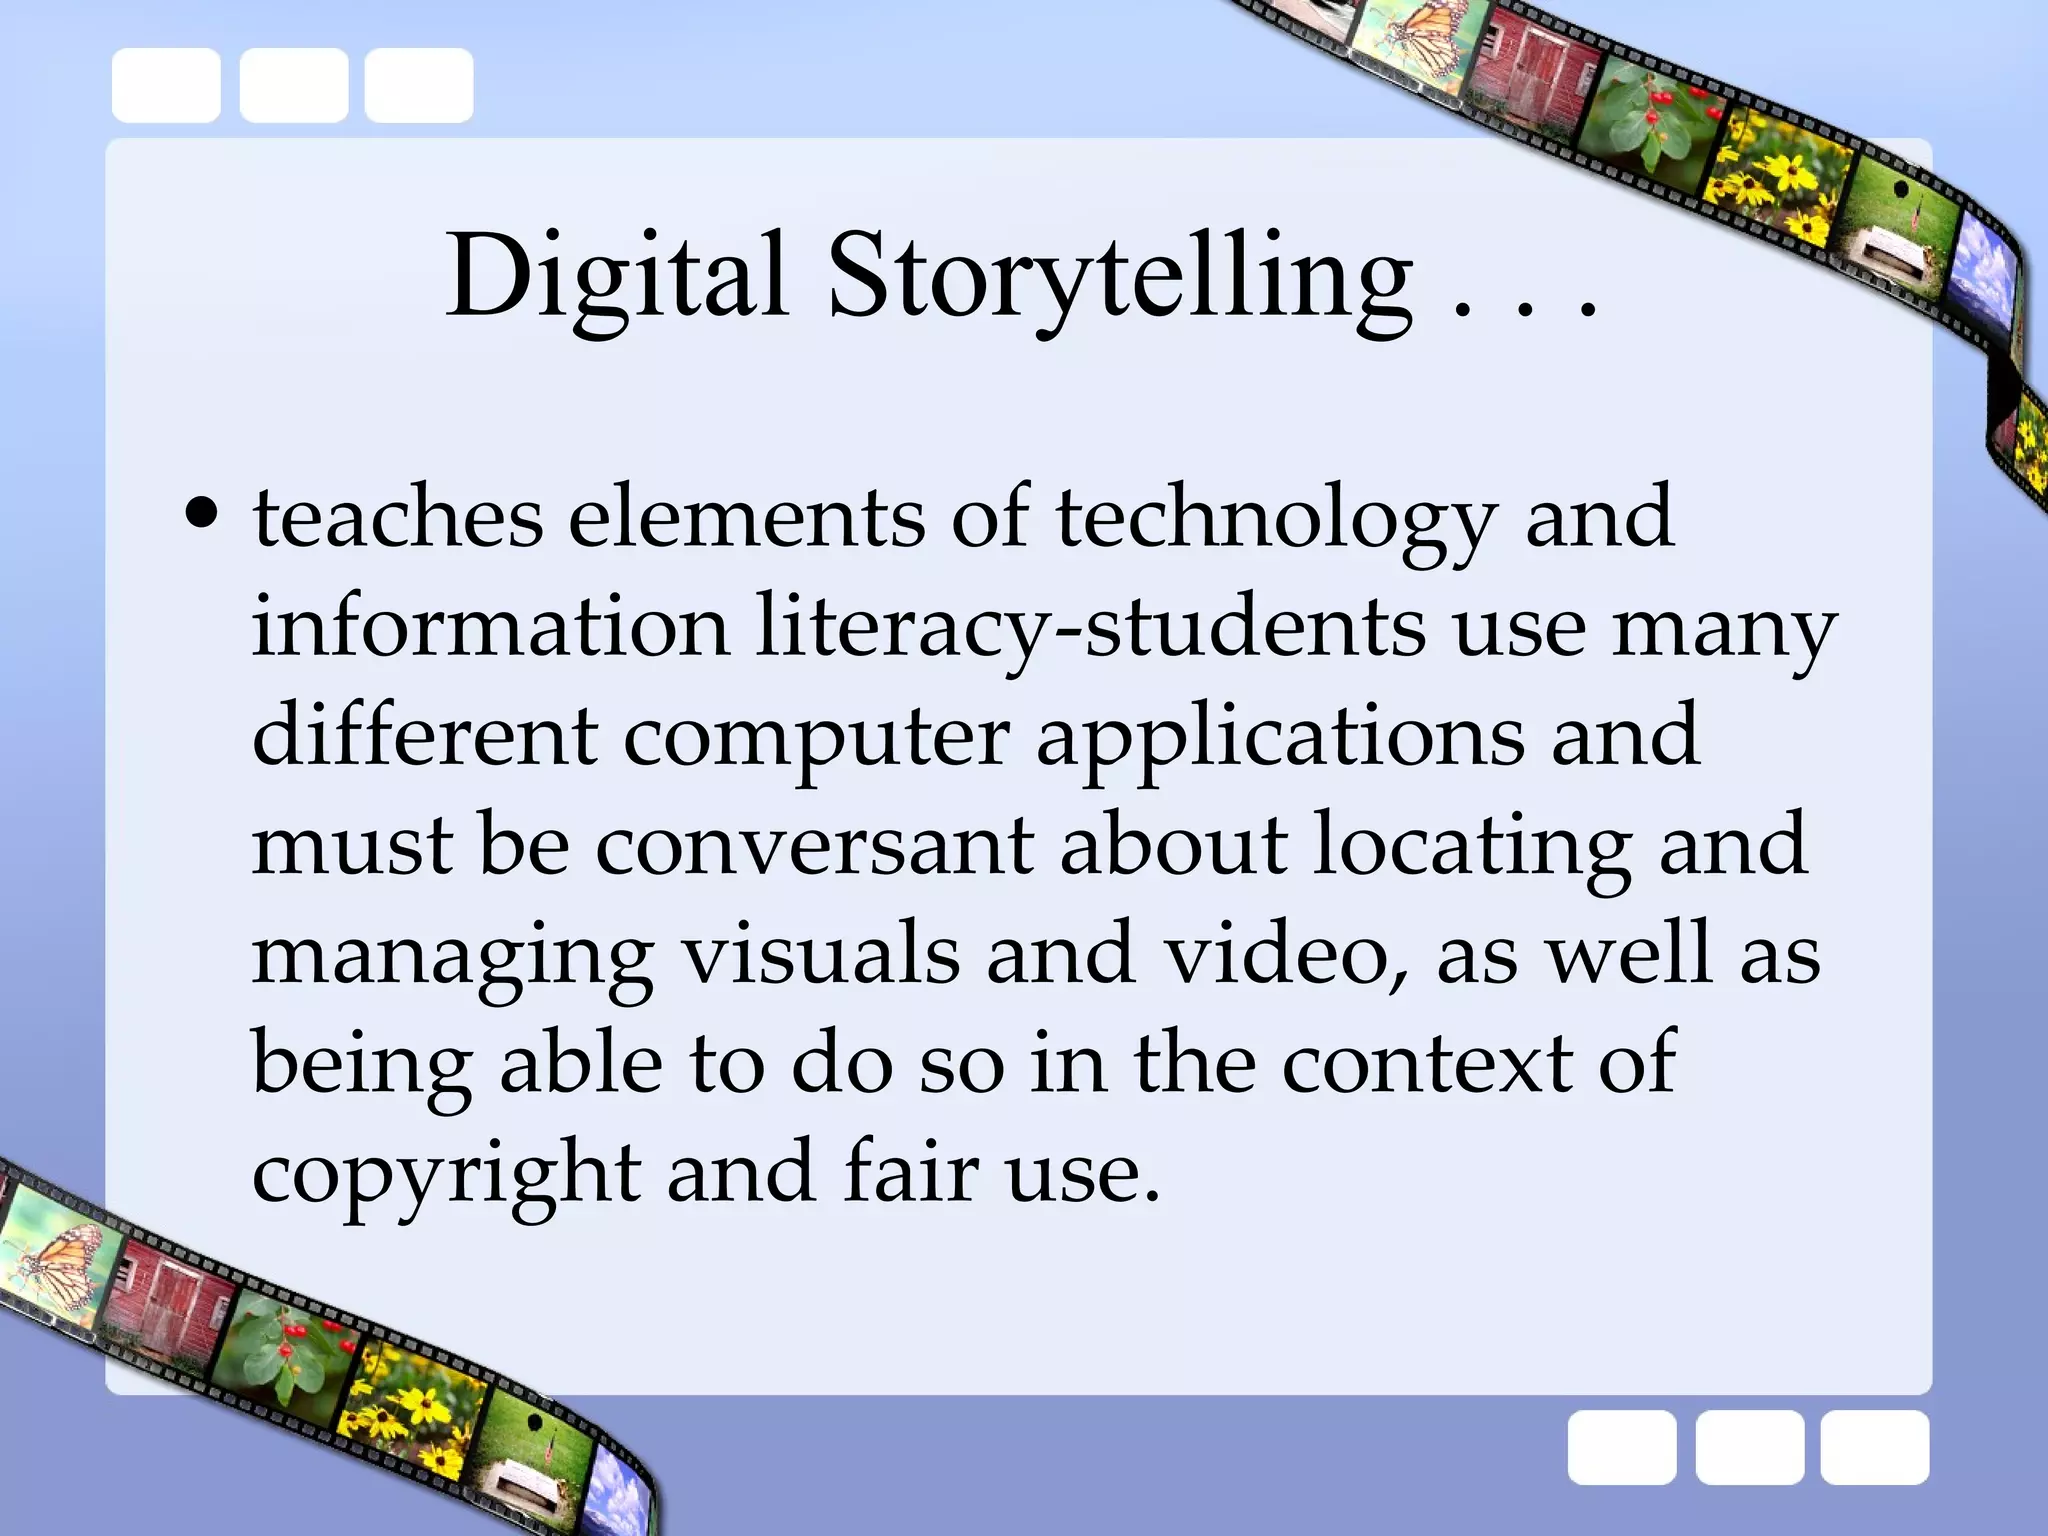
Defining digital storytelling, its components, and its benefits in developing students' creativity, communication, and media literacy.
Exploring the reasons for implementing digital storytelling in classrooms, including differentiated instruction and engagement strategies.
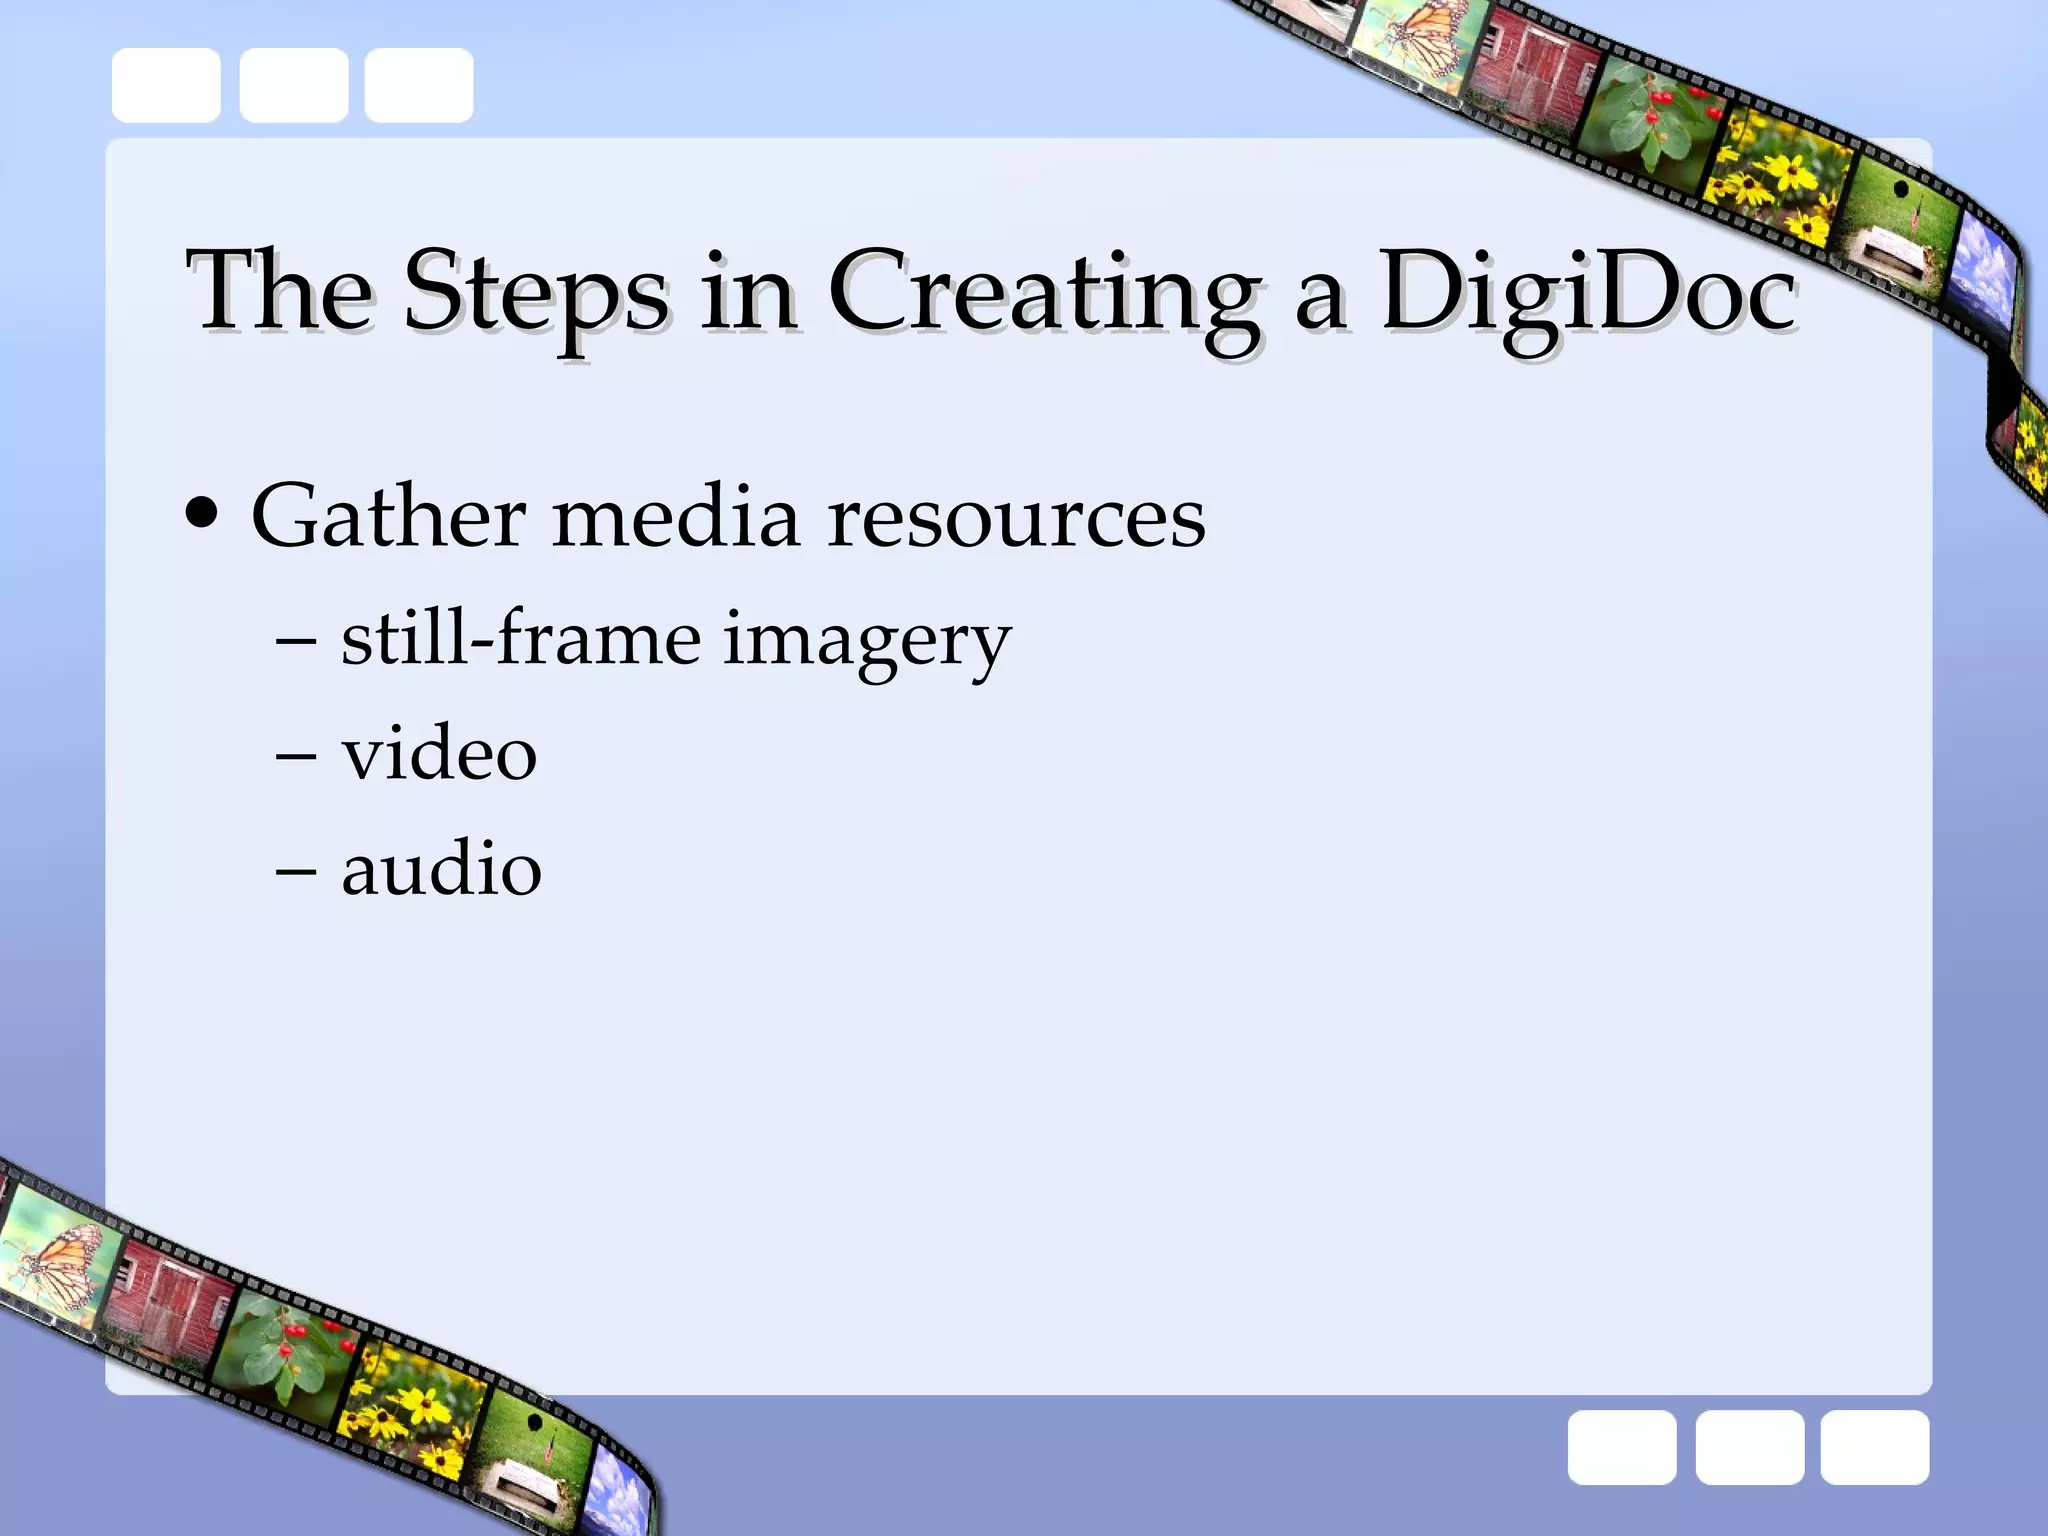
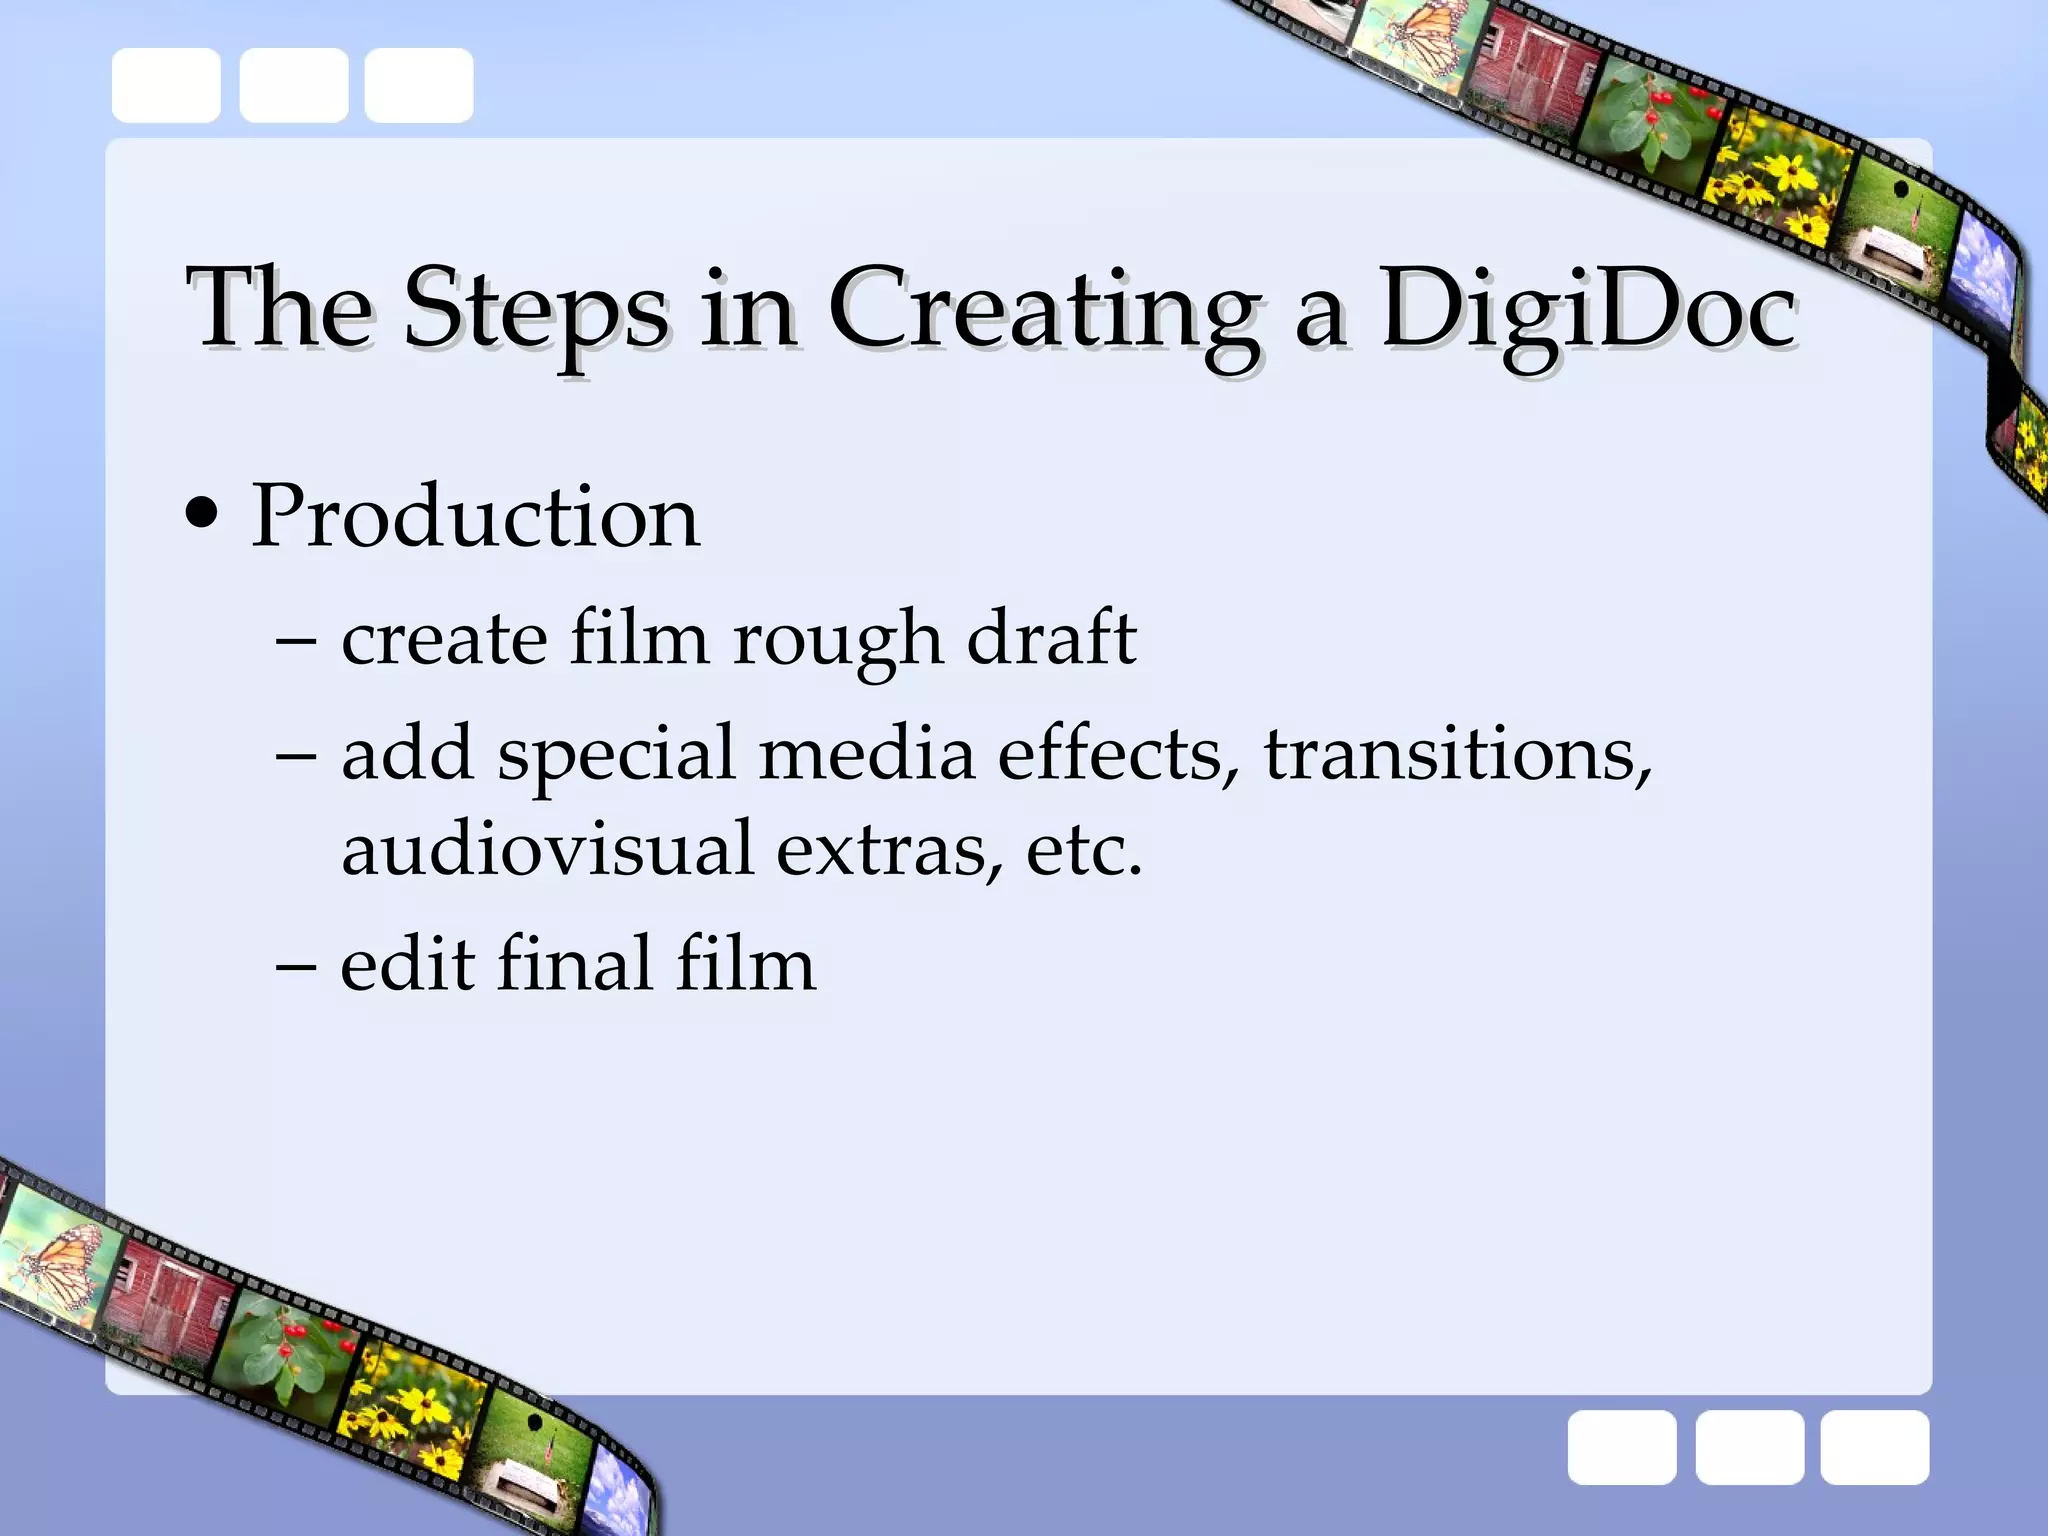
Detailed steps in the creation of digital documentaries, including topic selection, research, media gathering, and production.
Methods for assessing digital stories and the scaffolding techniques to help students progress in storytelling.
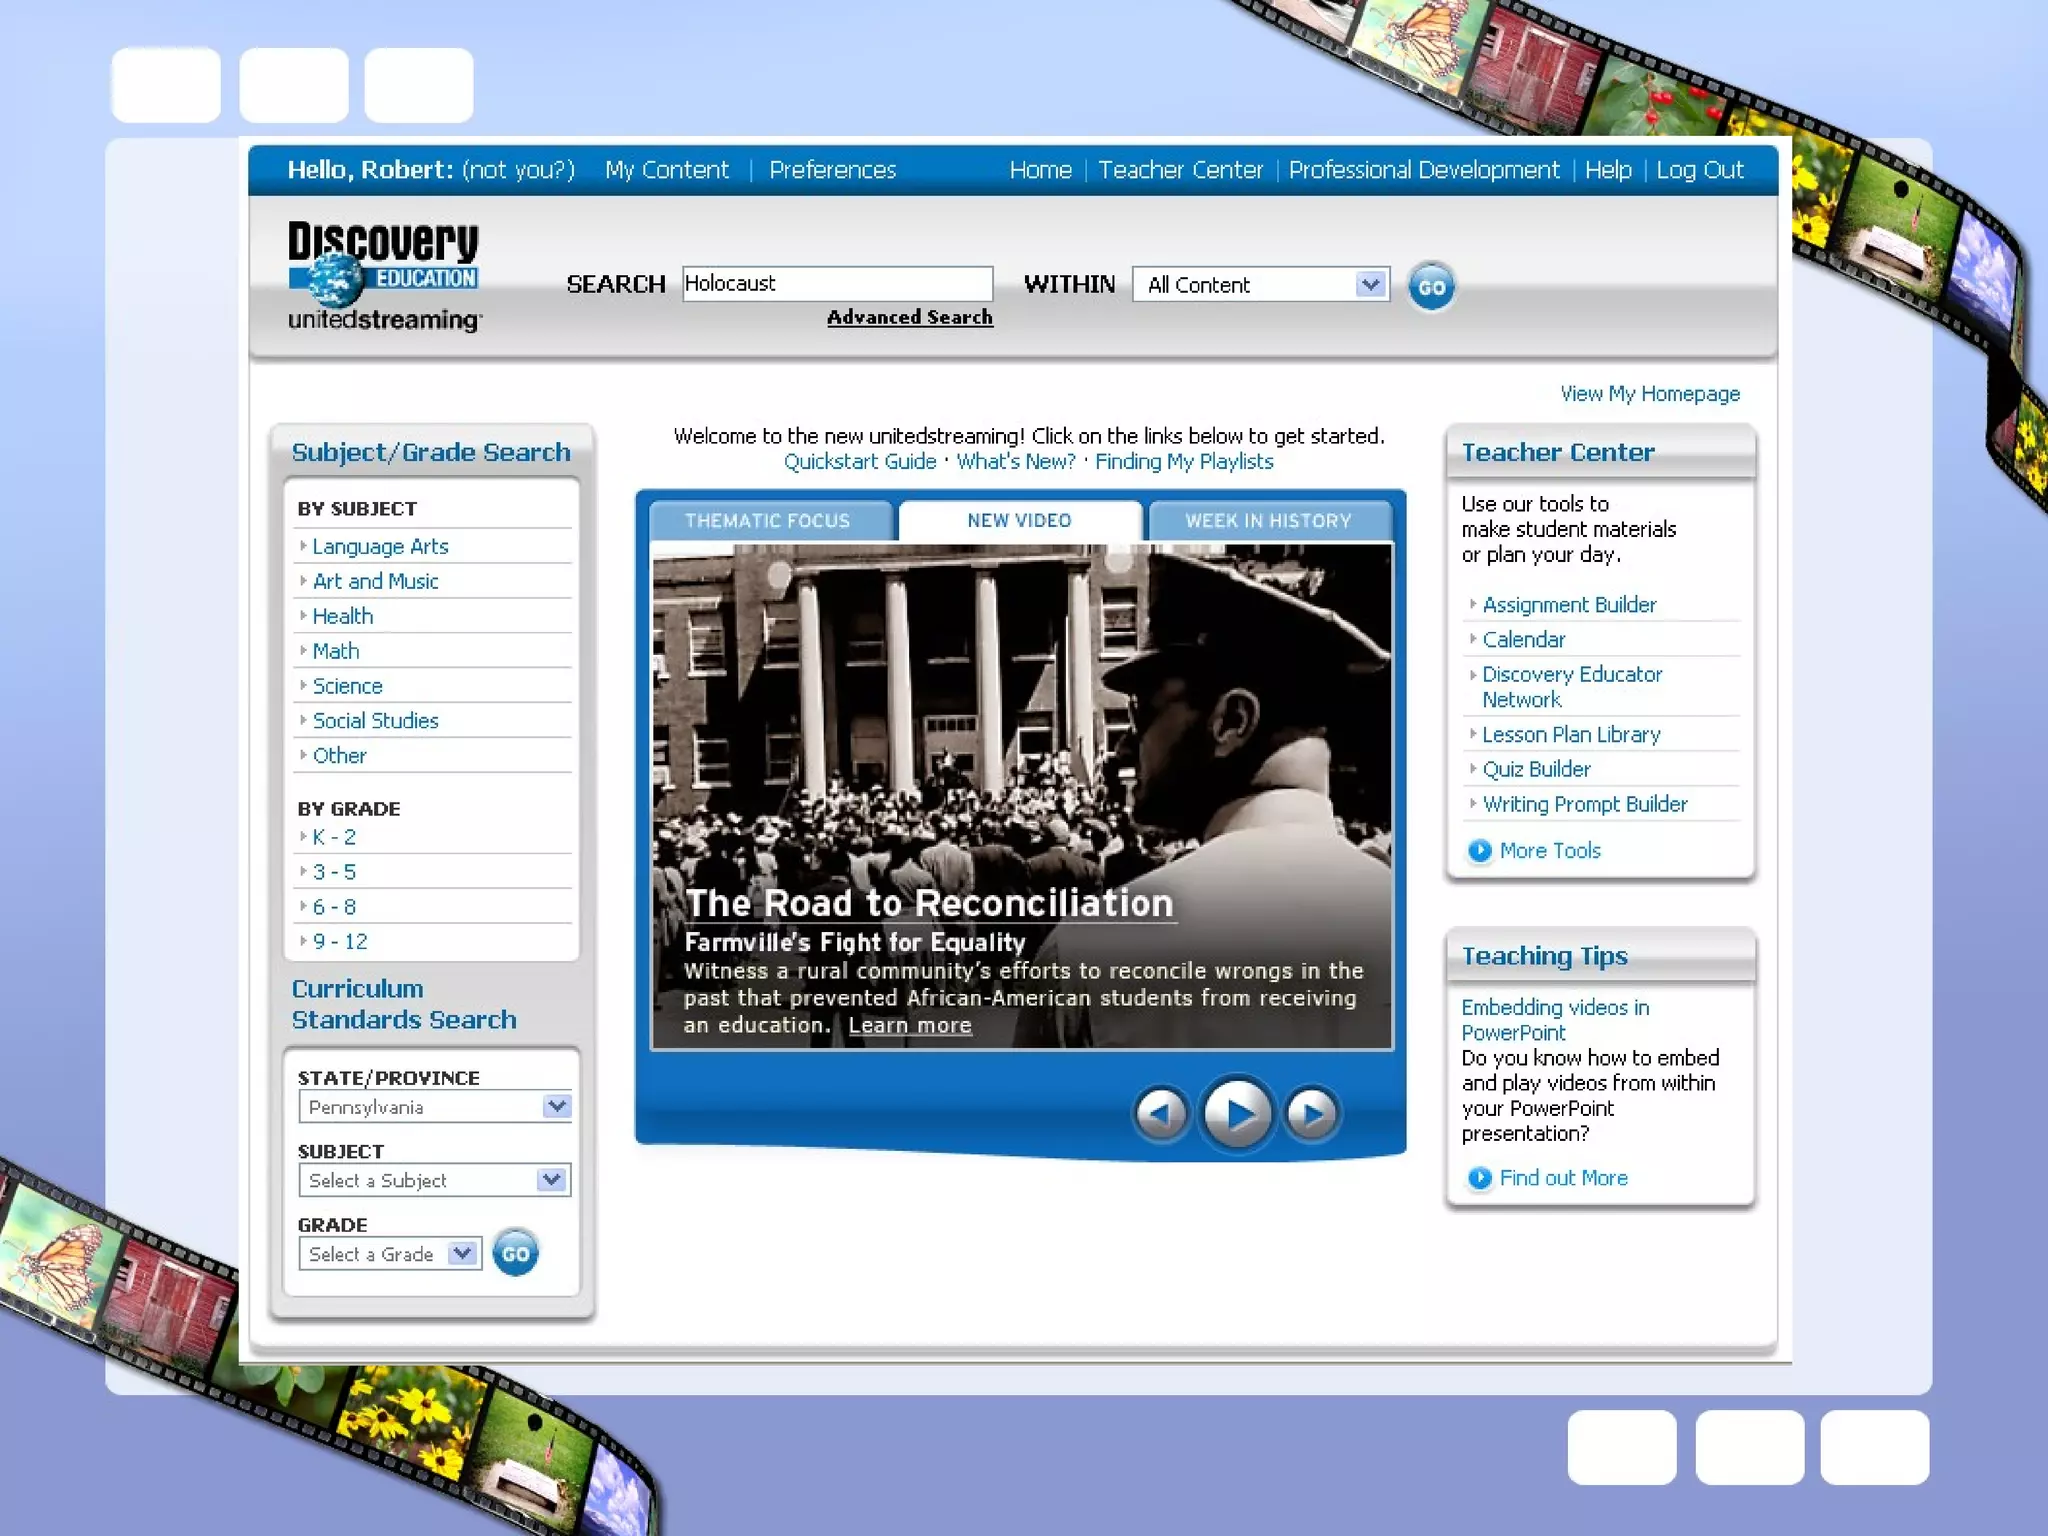
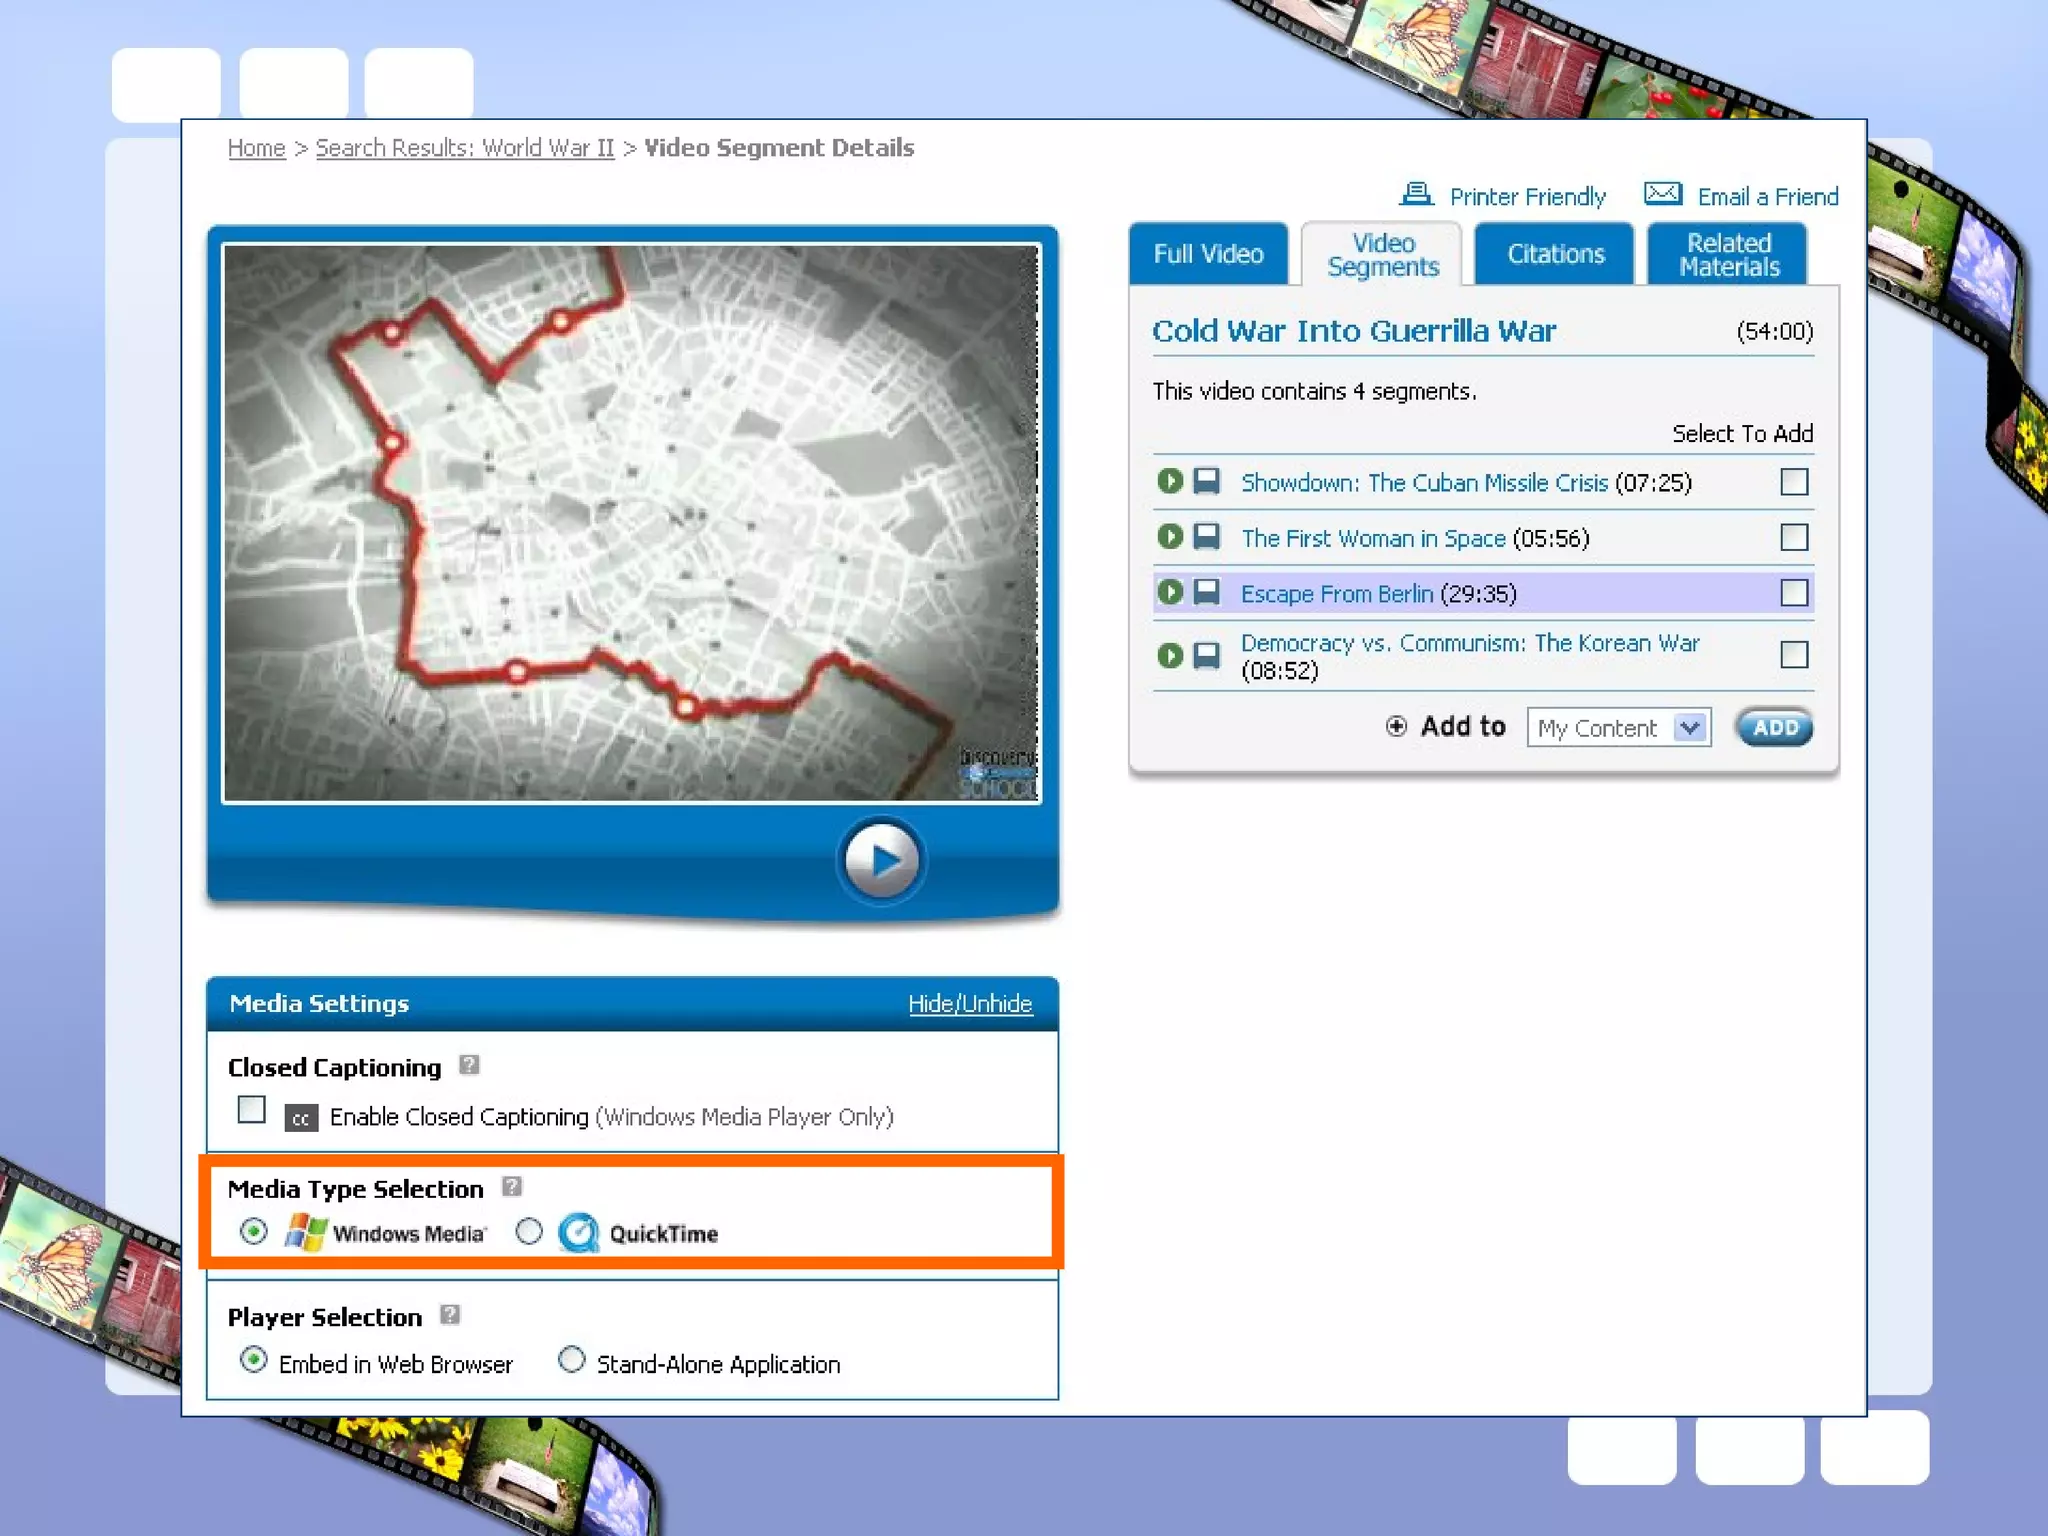
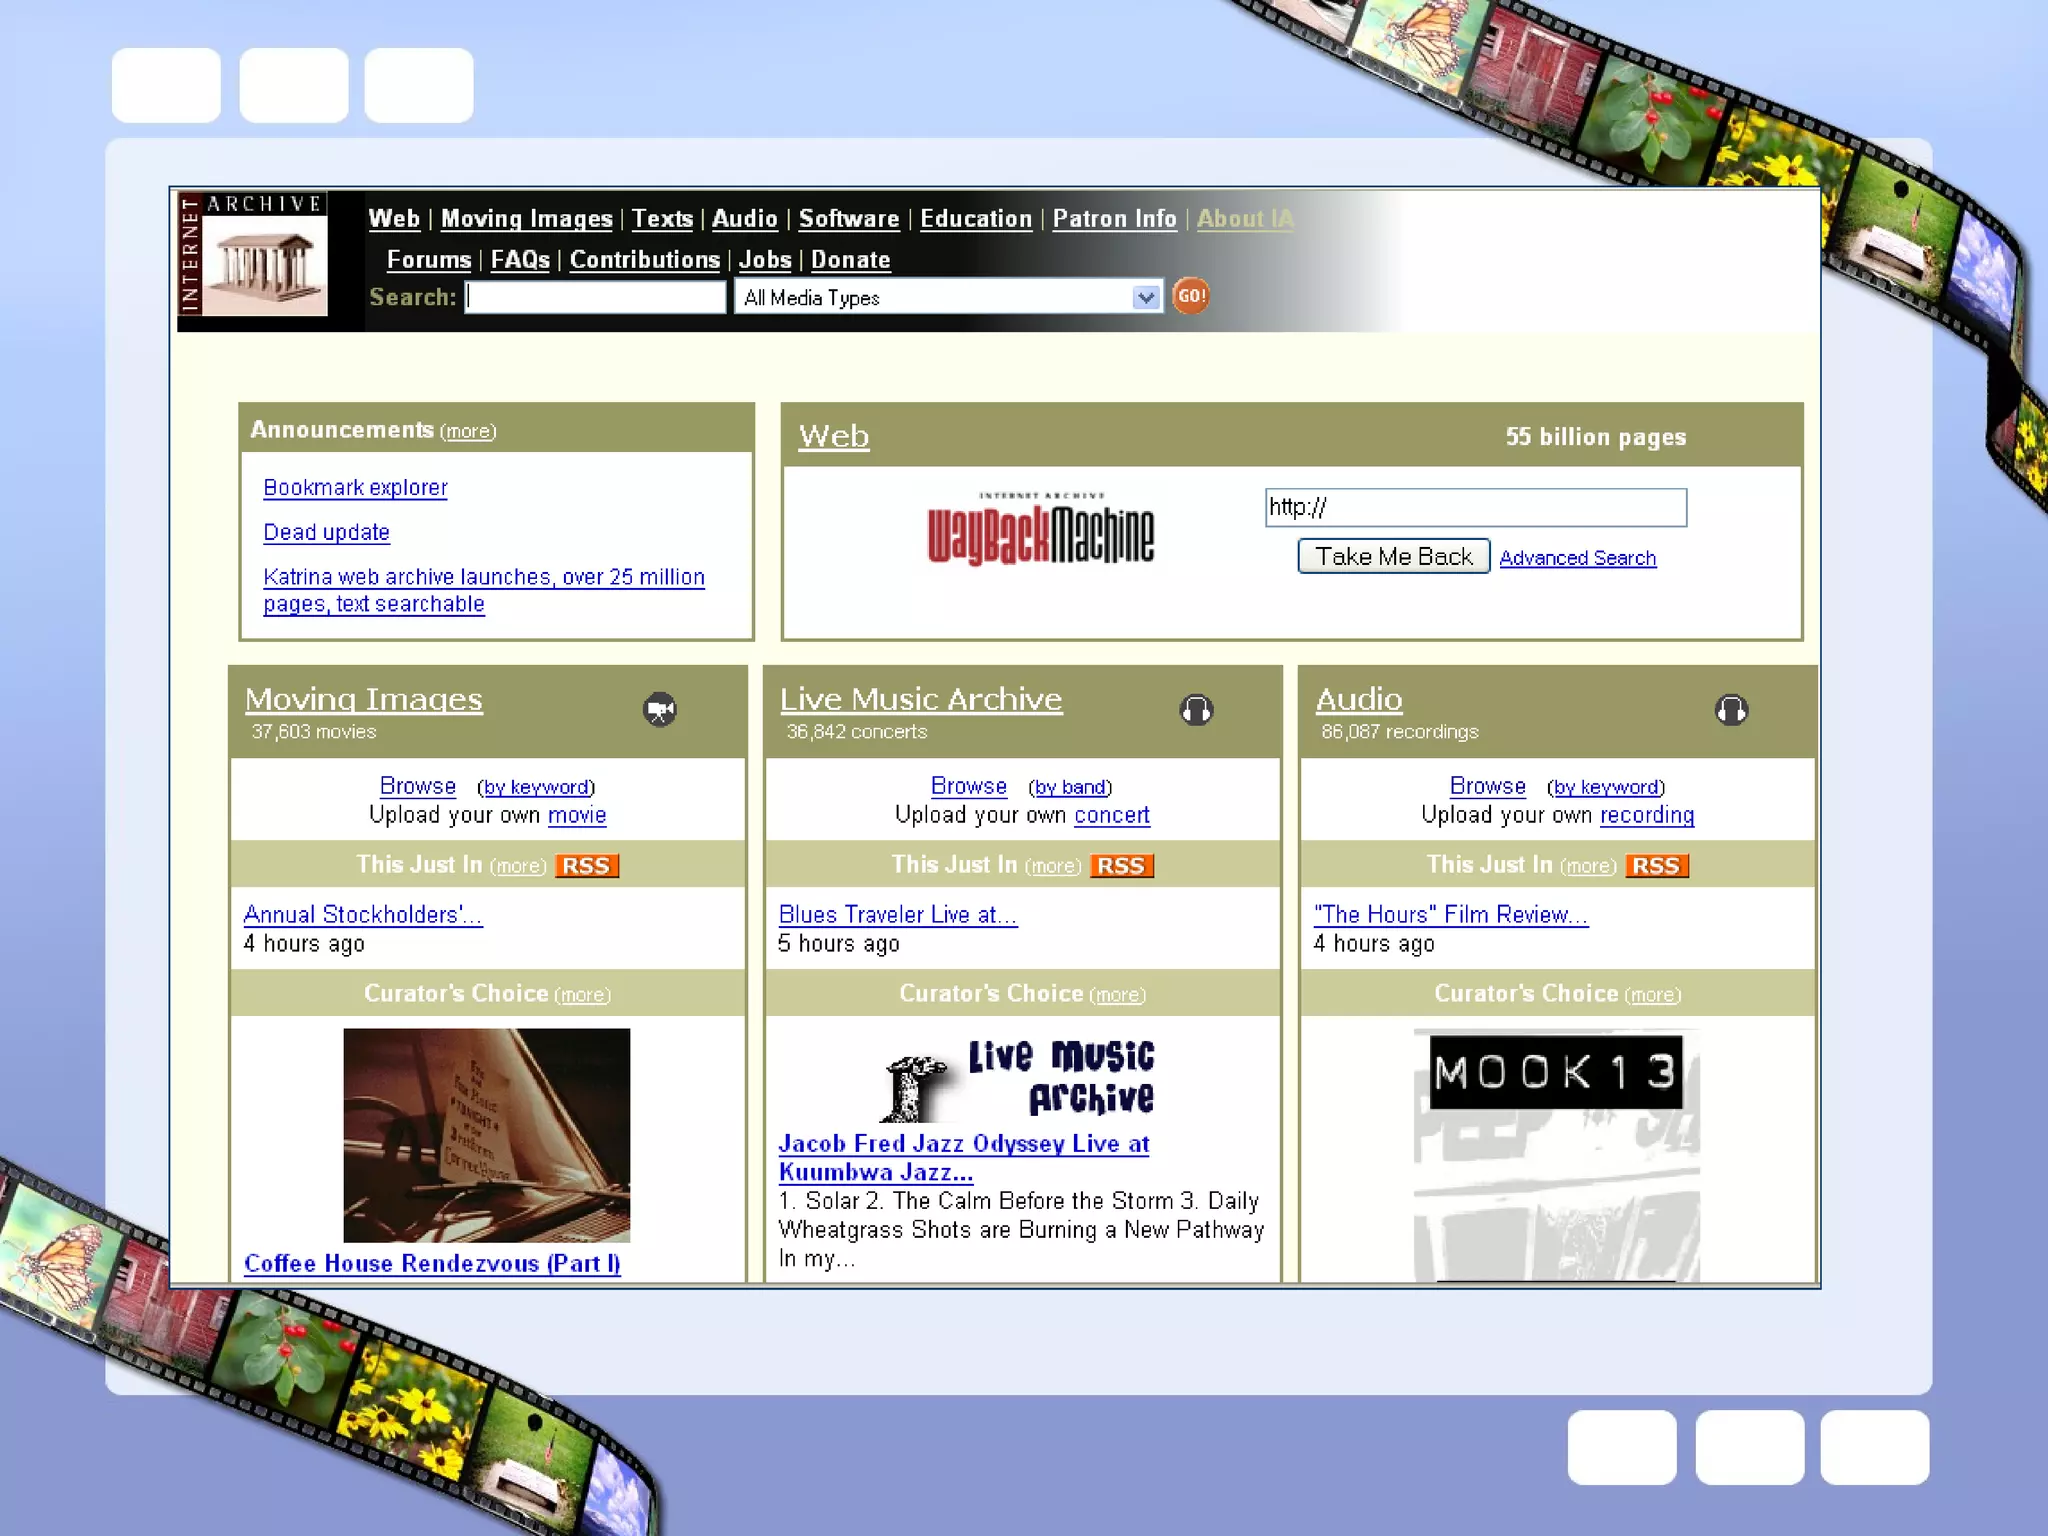
Finding and utilizing various resources including libraries, archives, and professional development materials for effective storytelling.
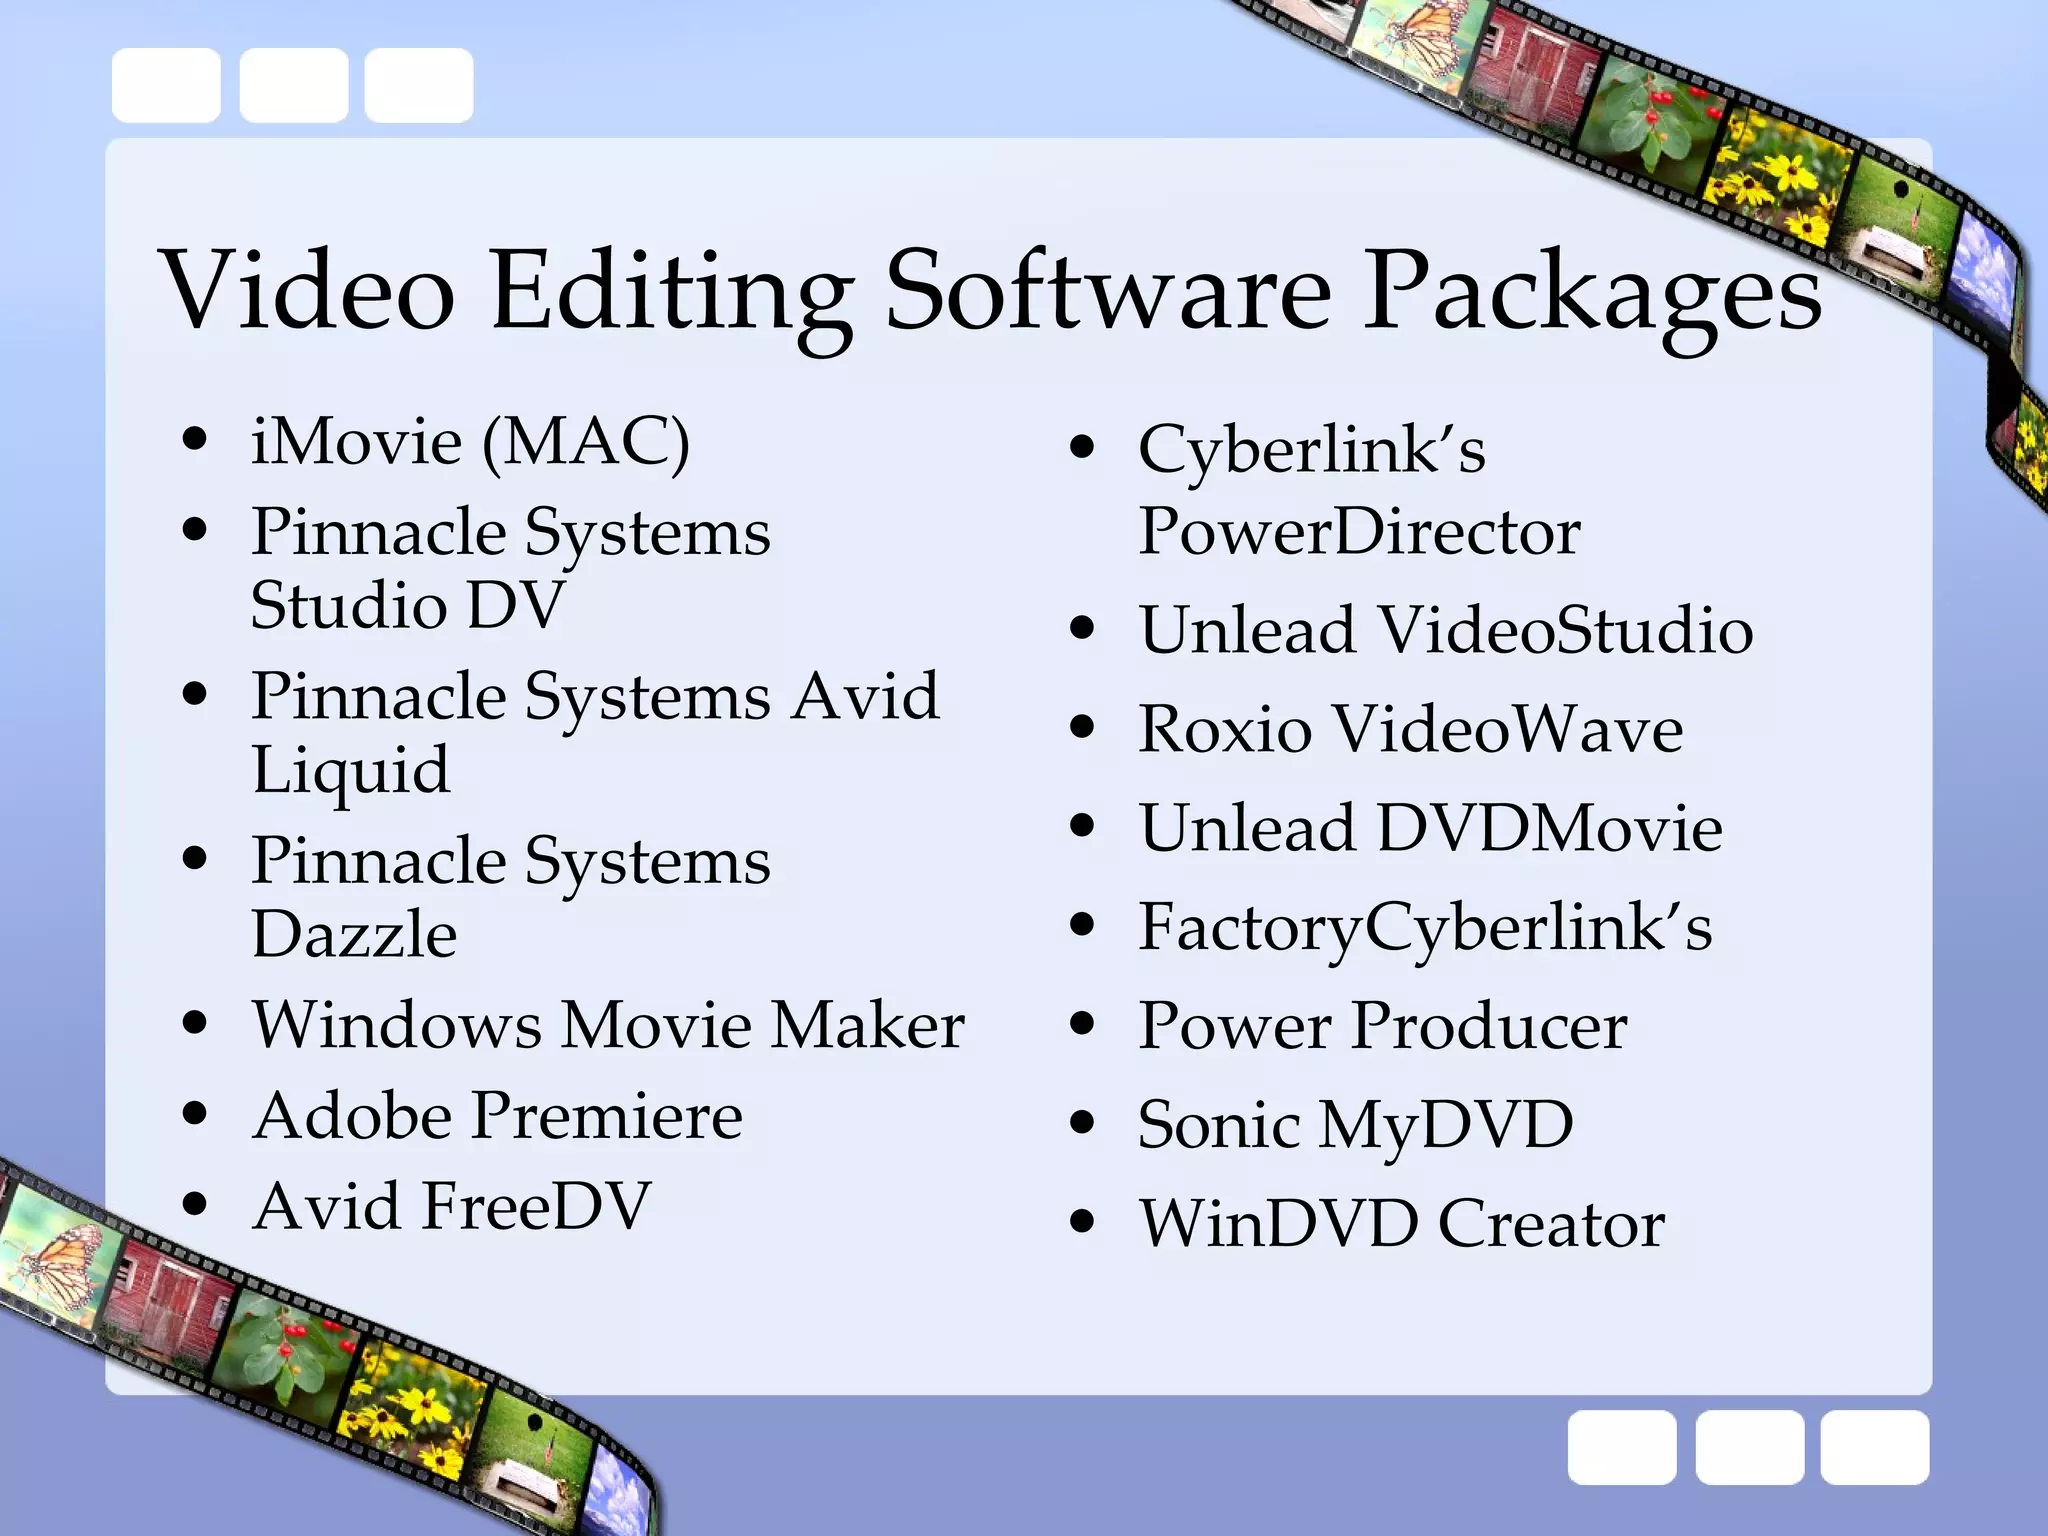
Overview of hardware and software needed for digital storytelling, including cameras, editing software, and project organization.
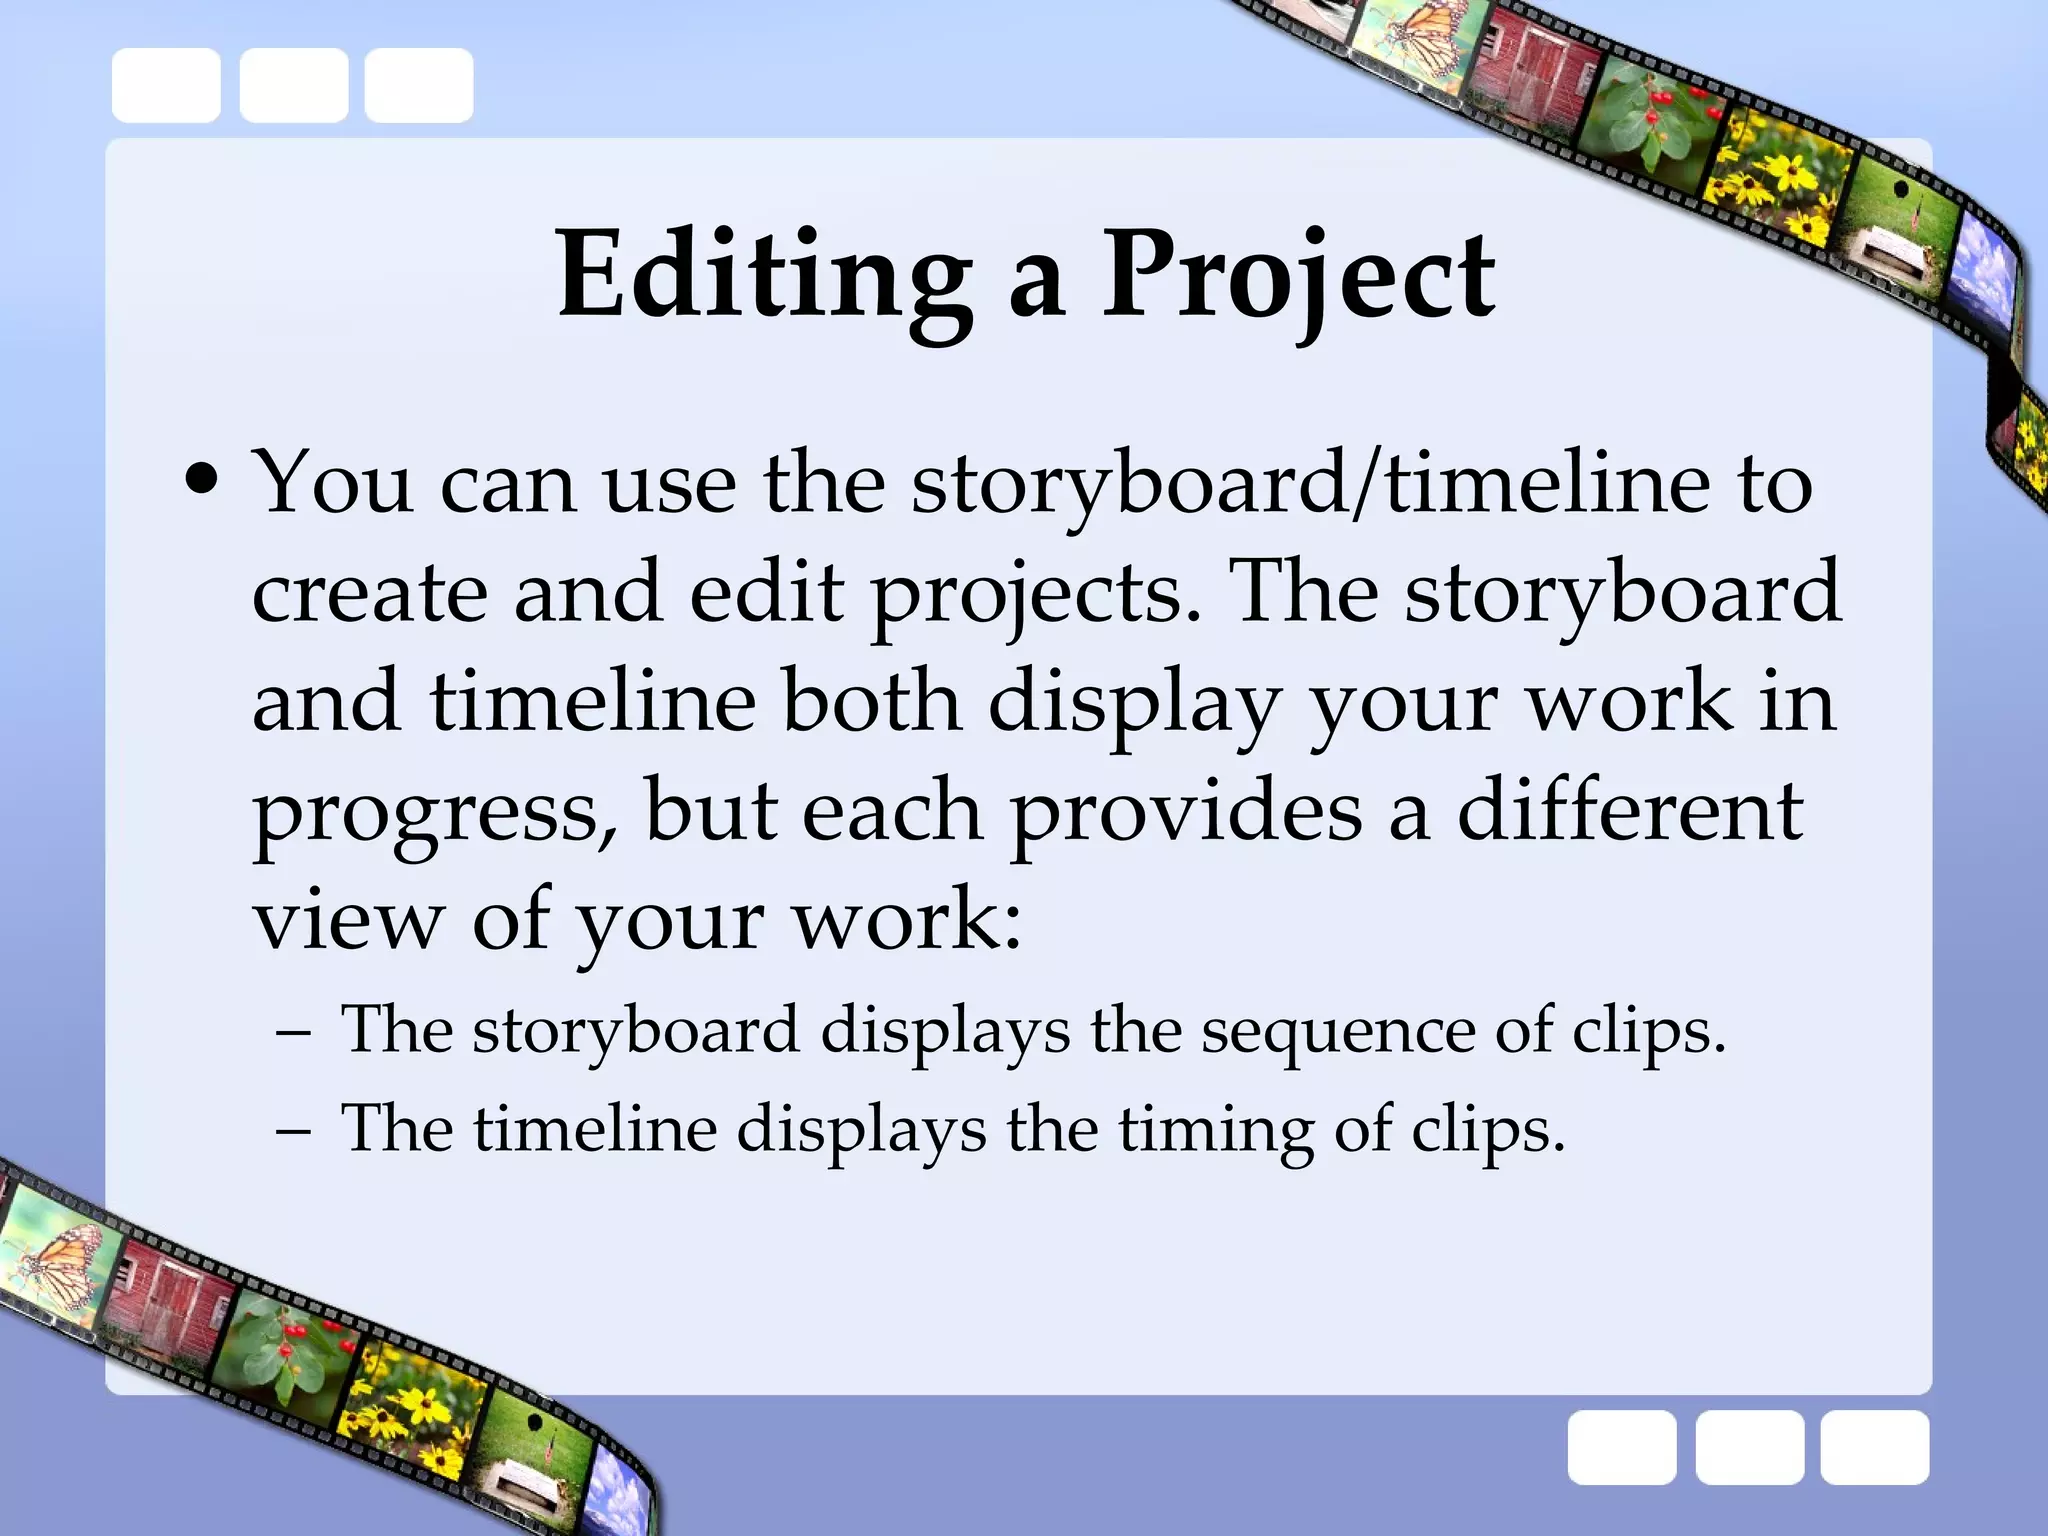
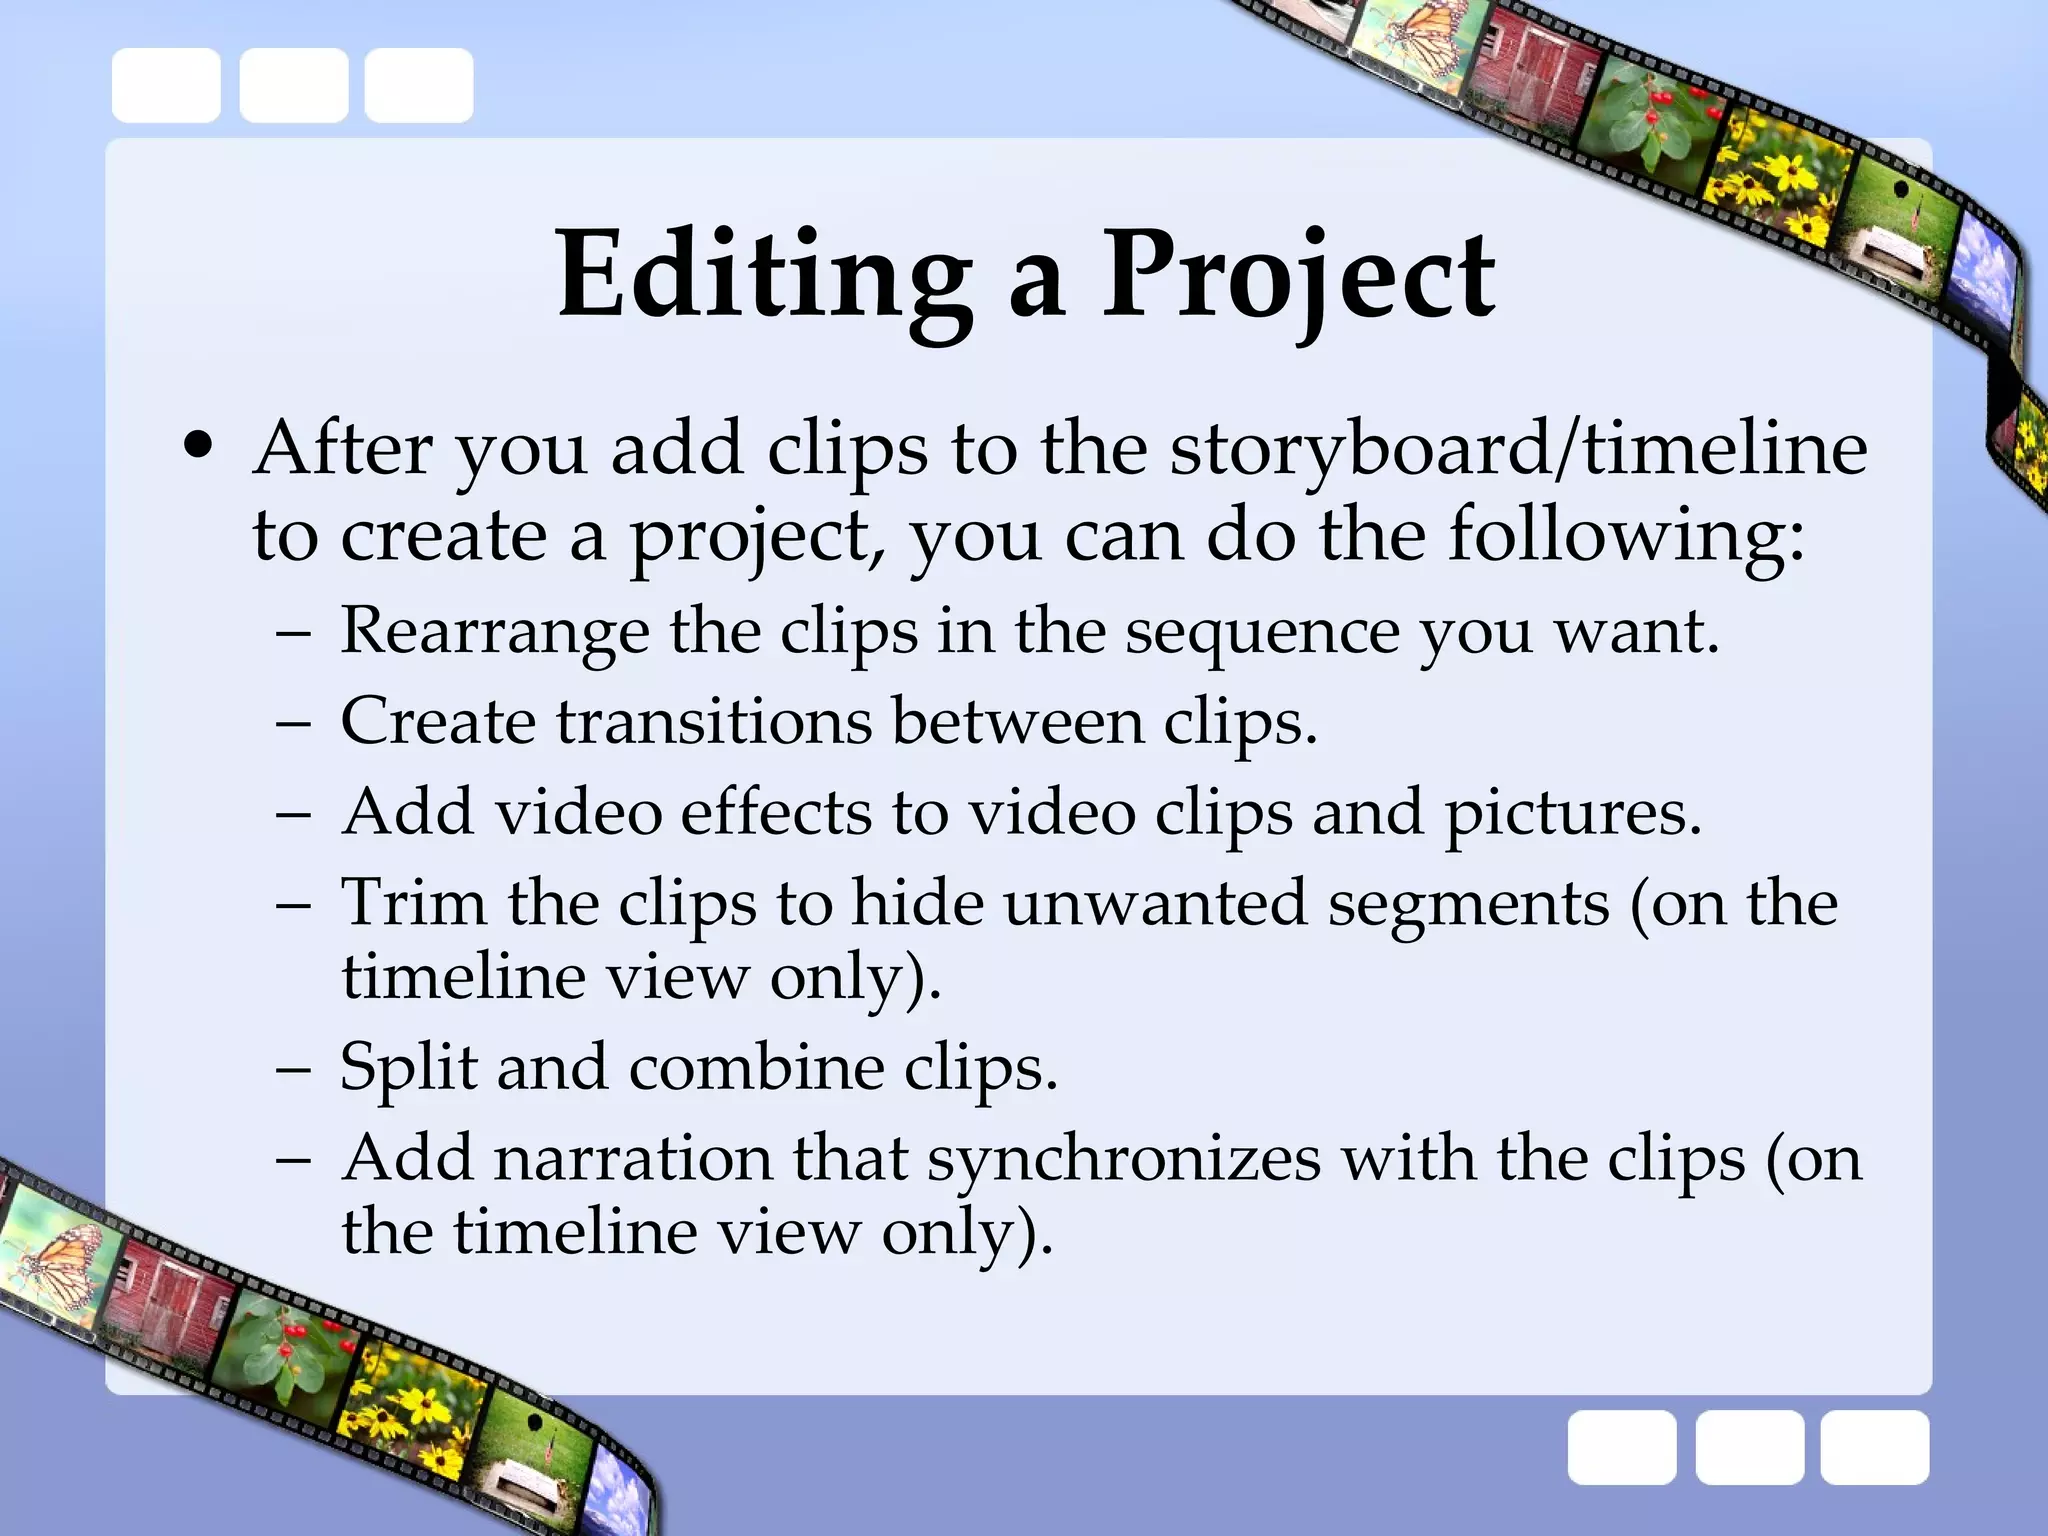
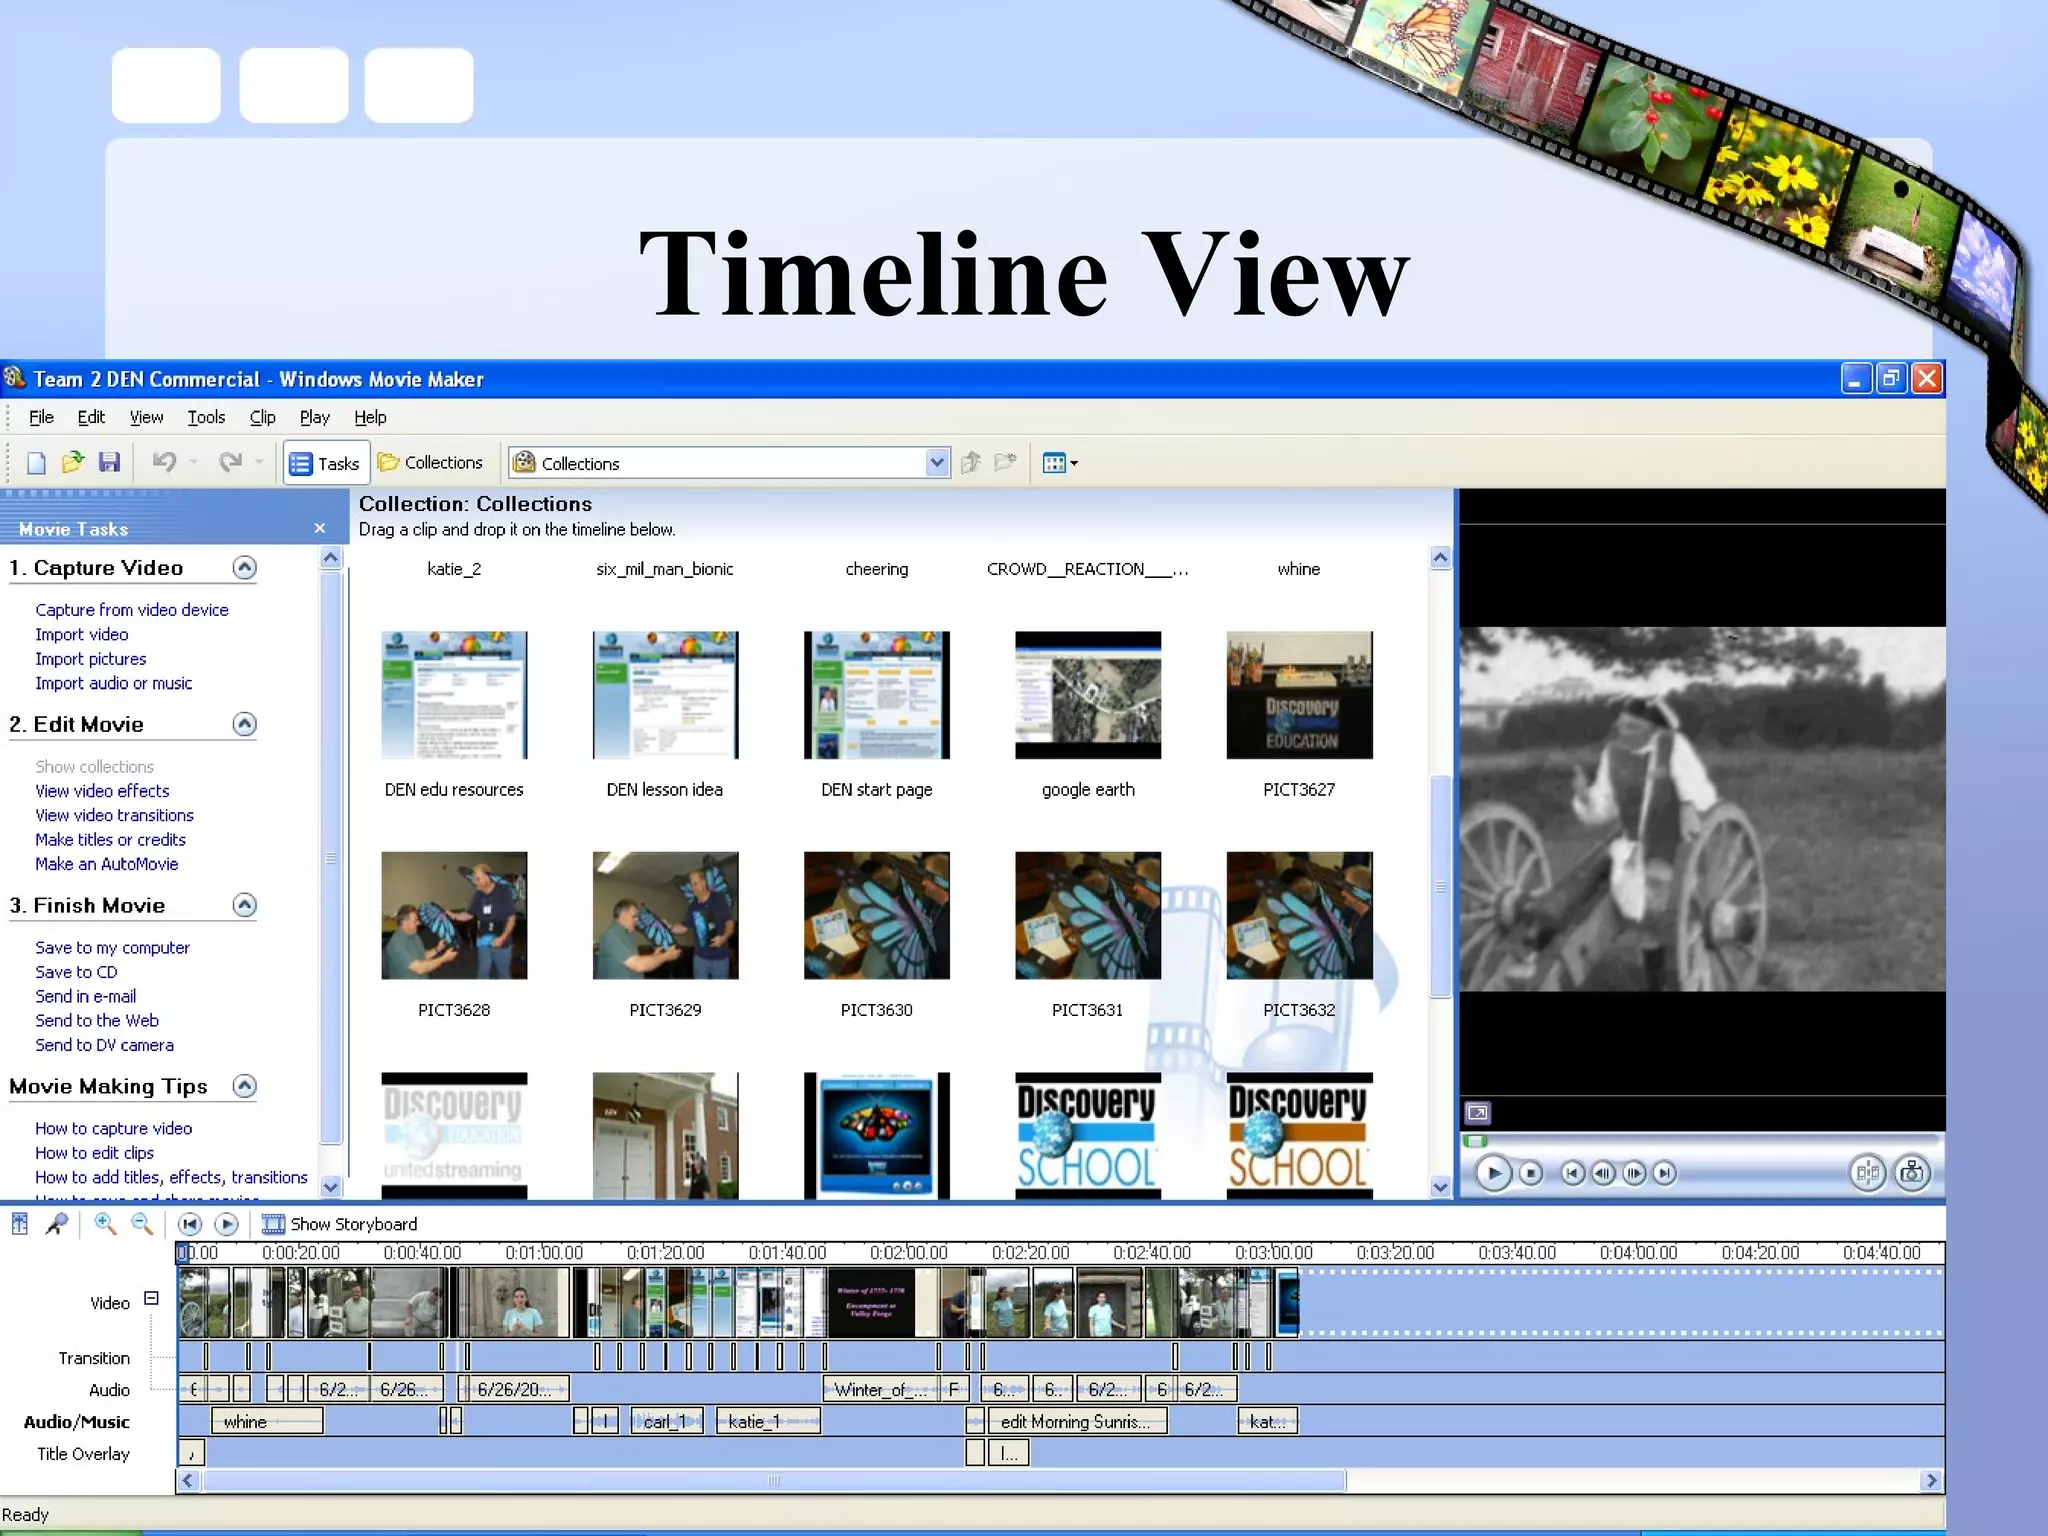
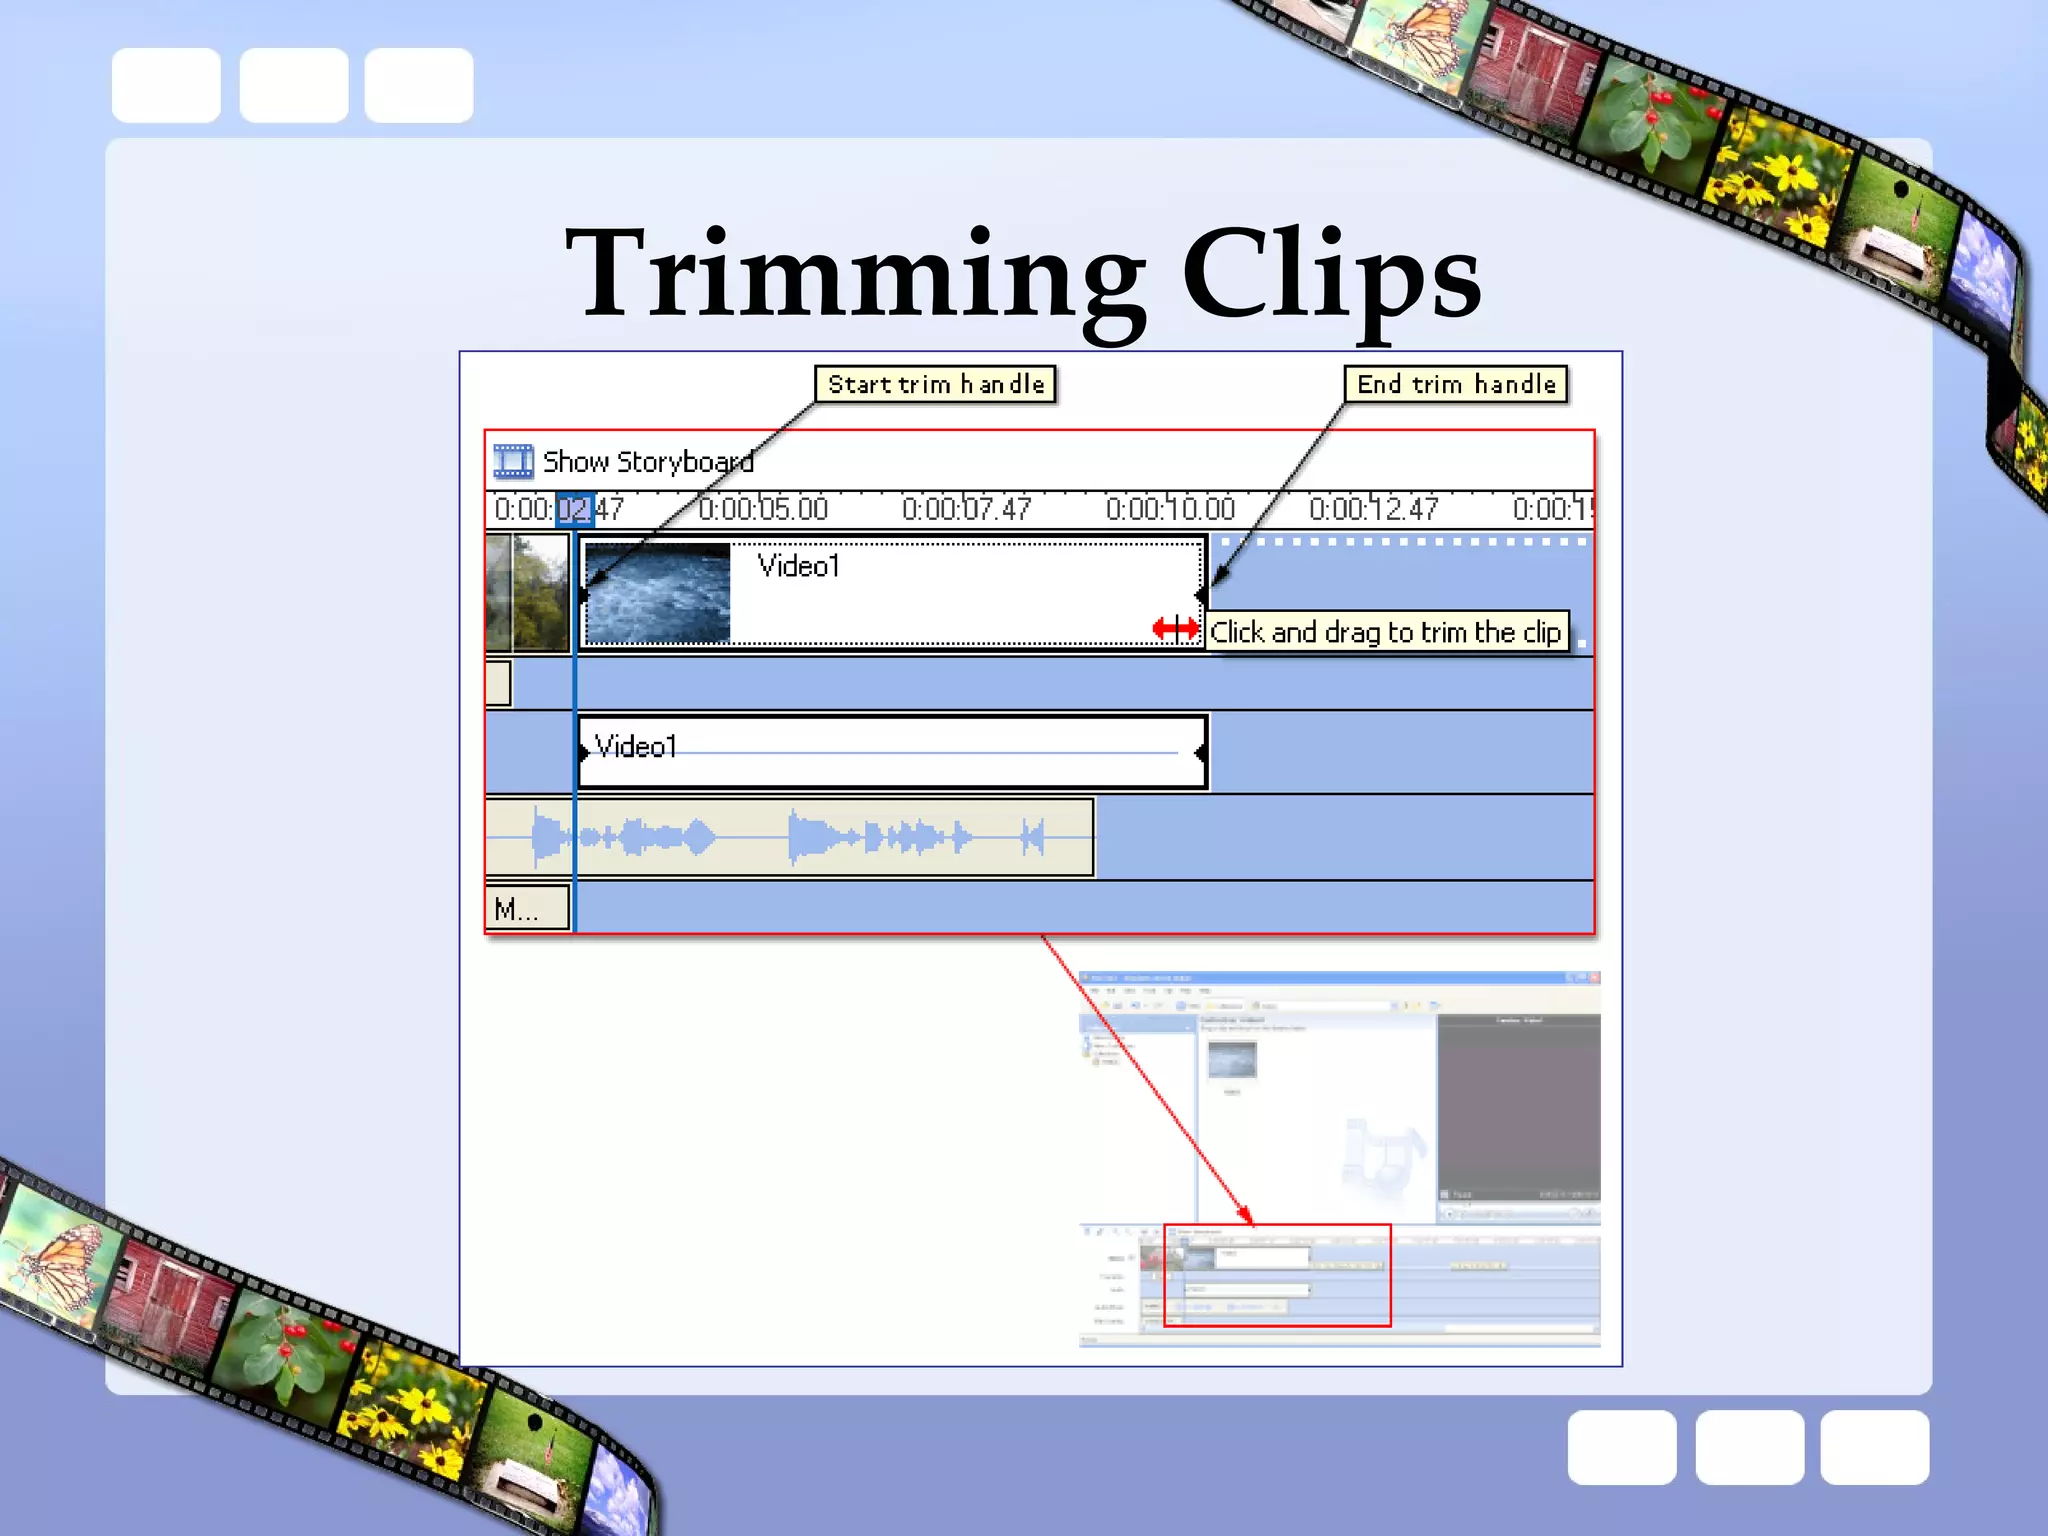
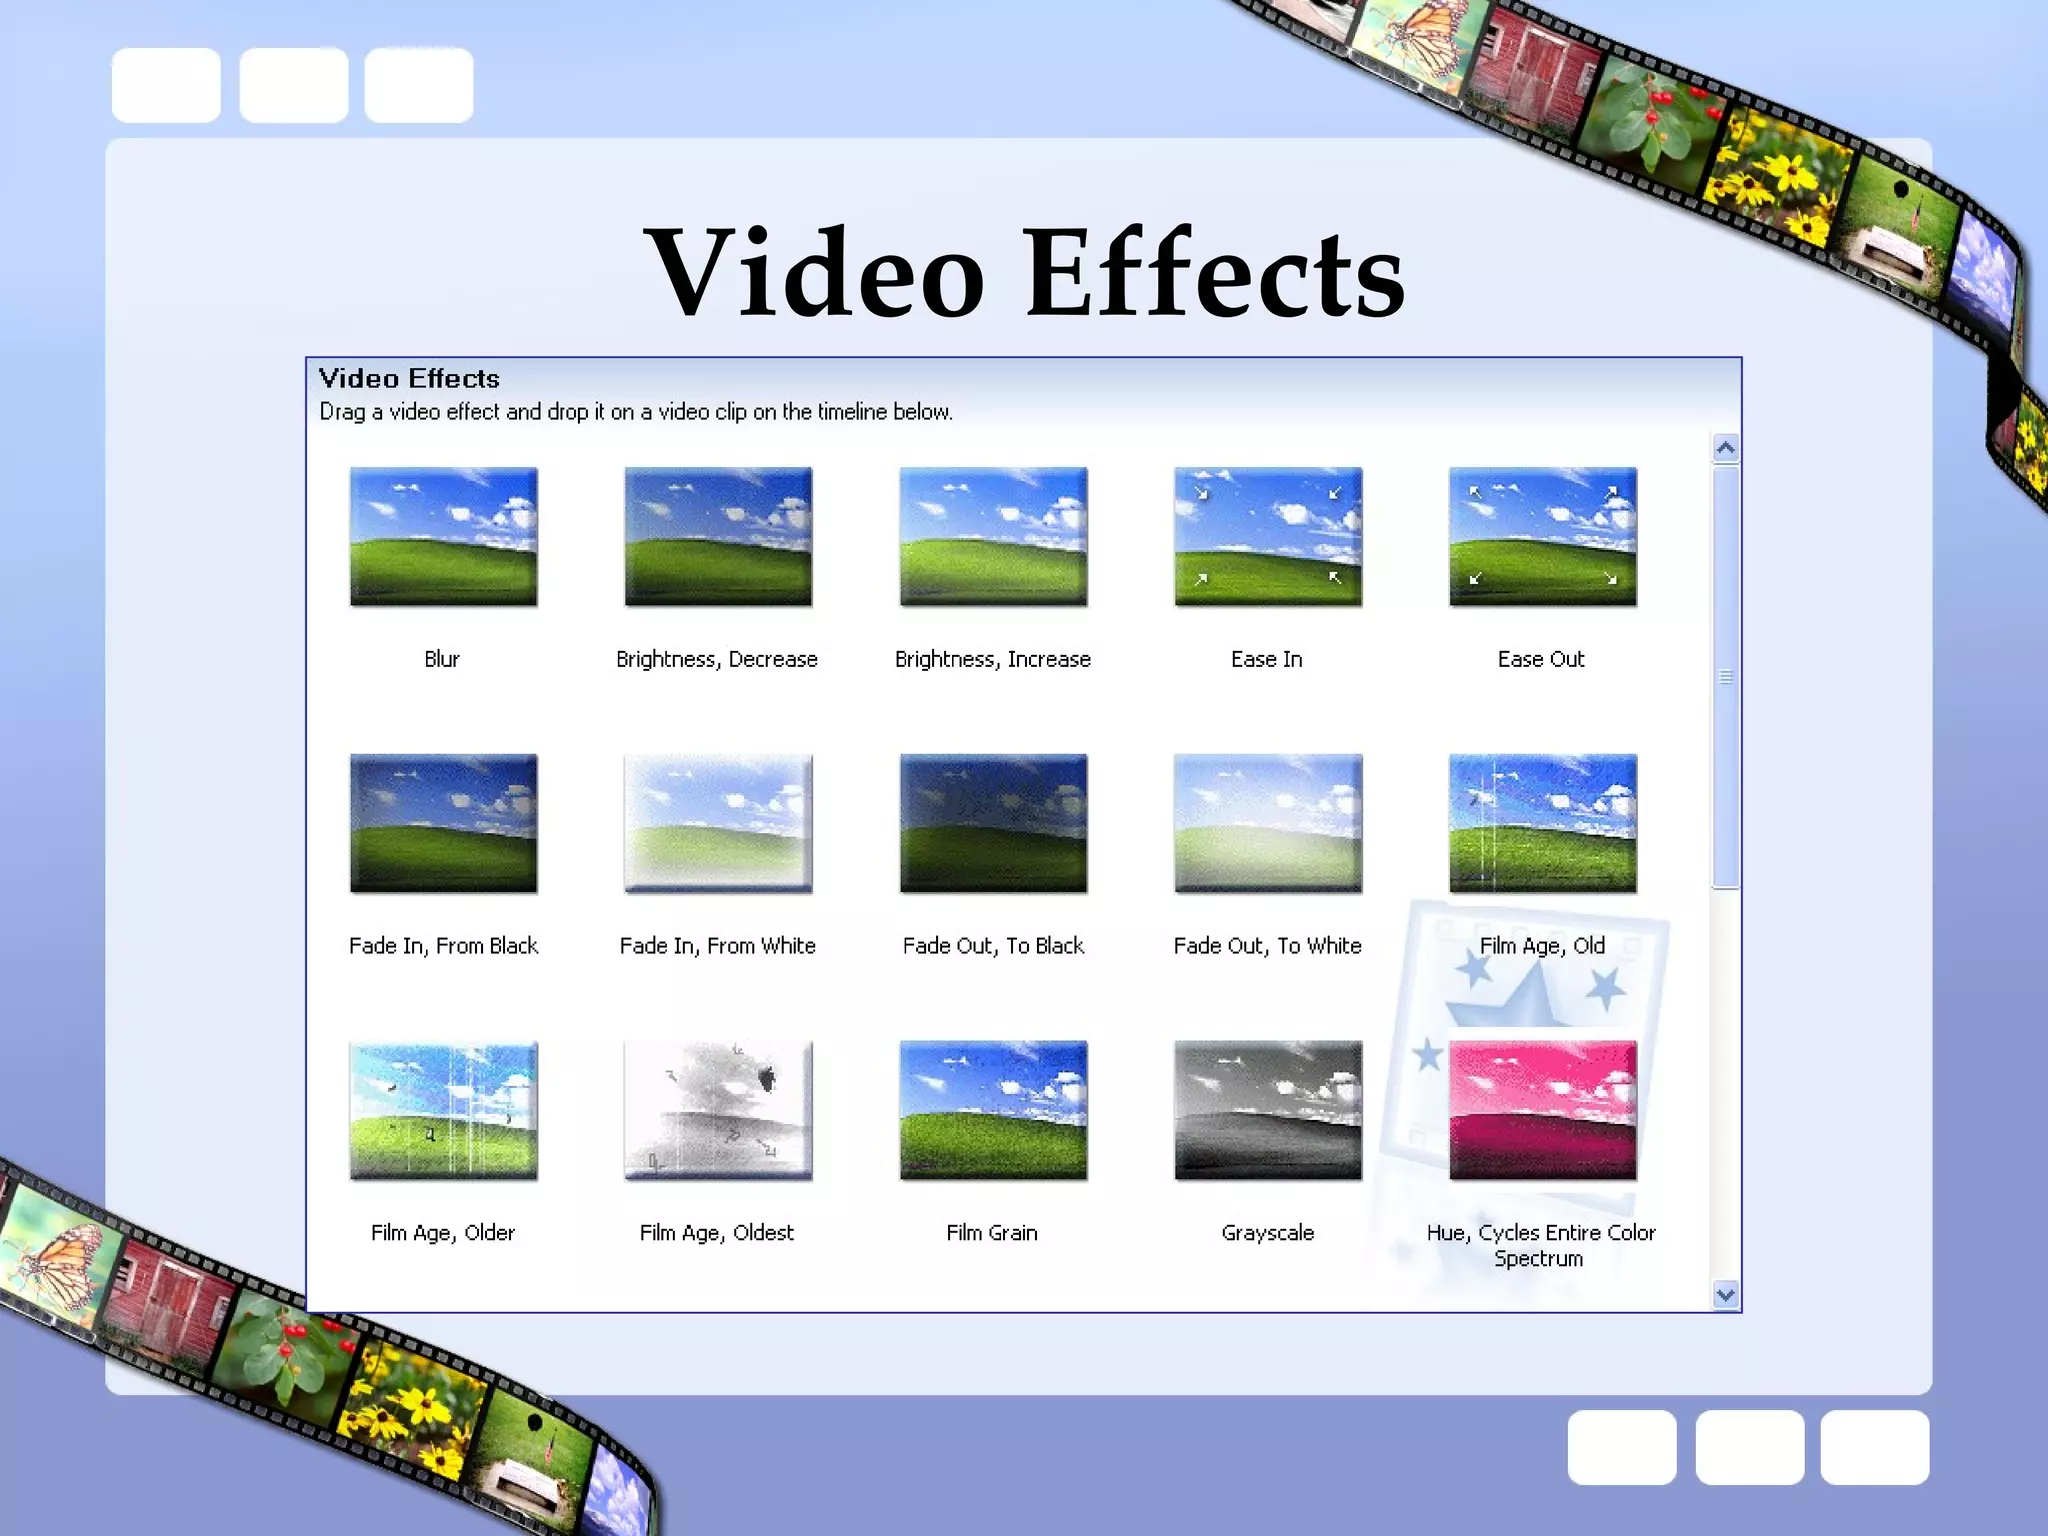
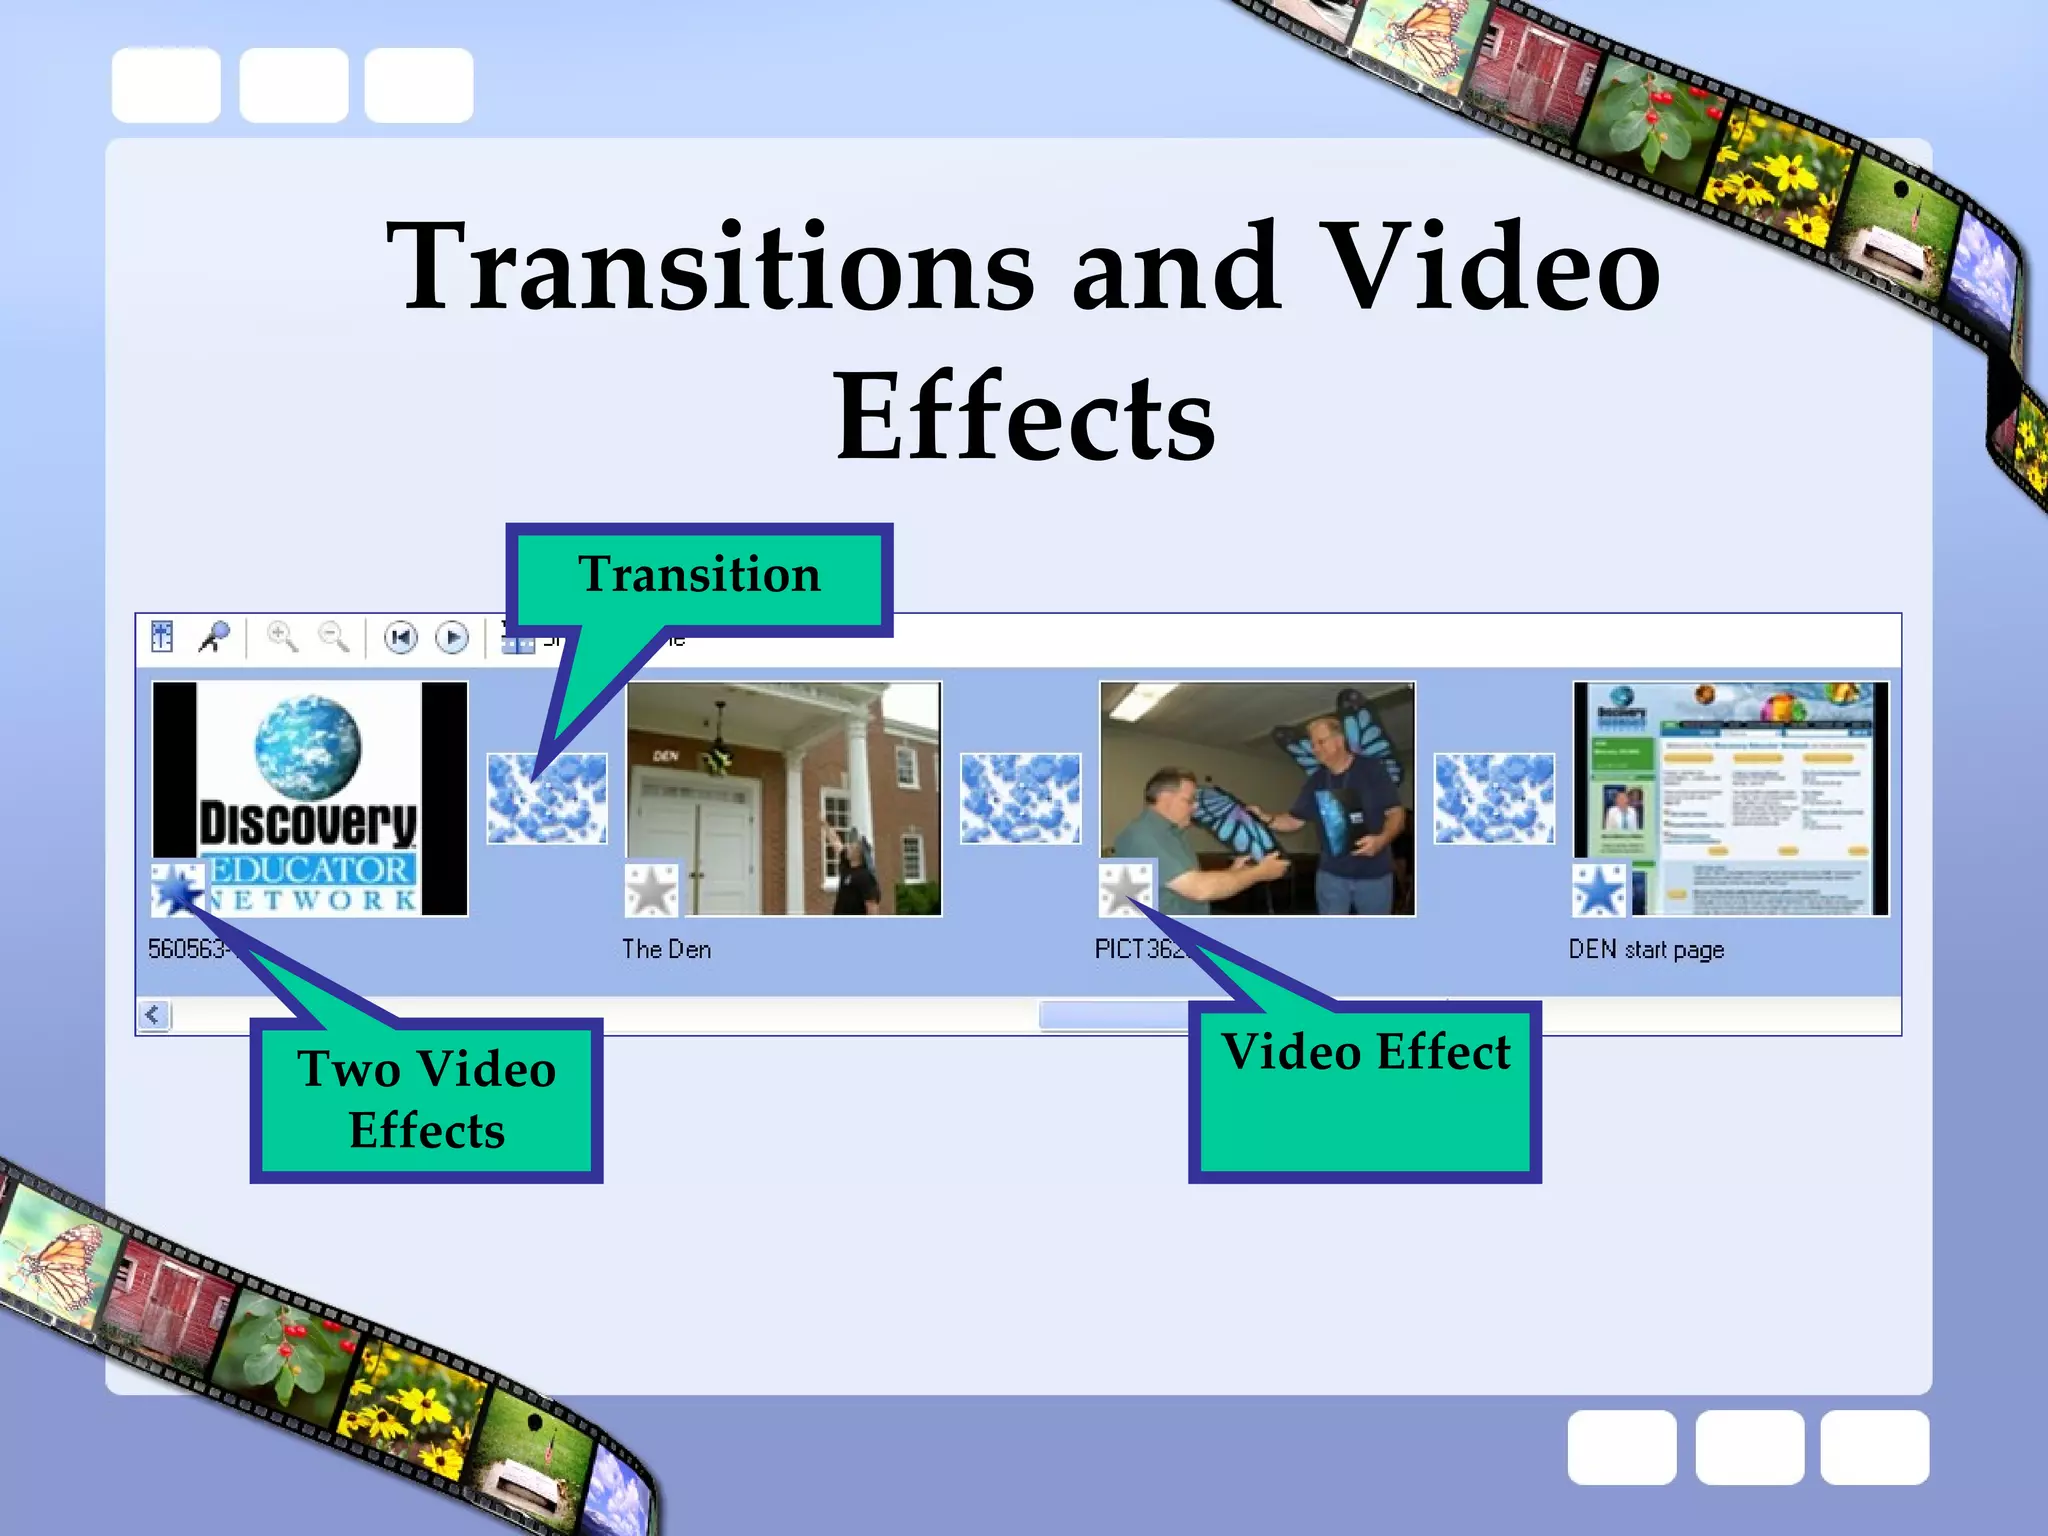
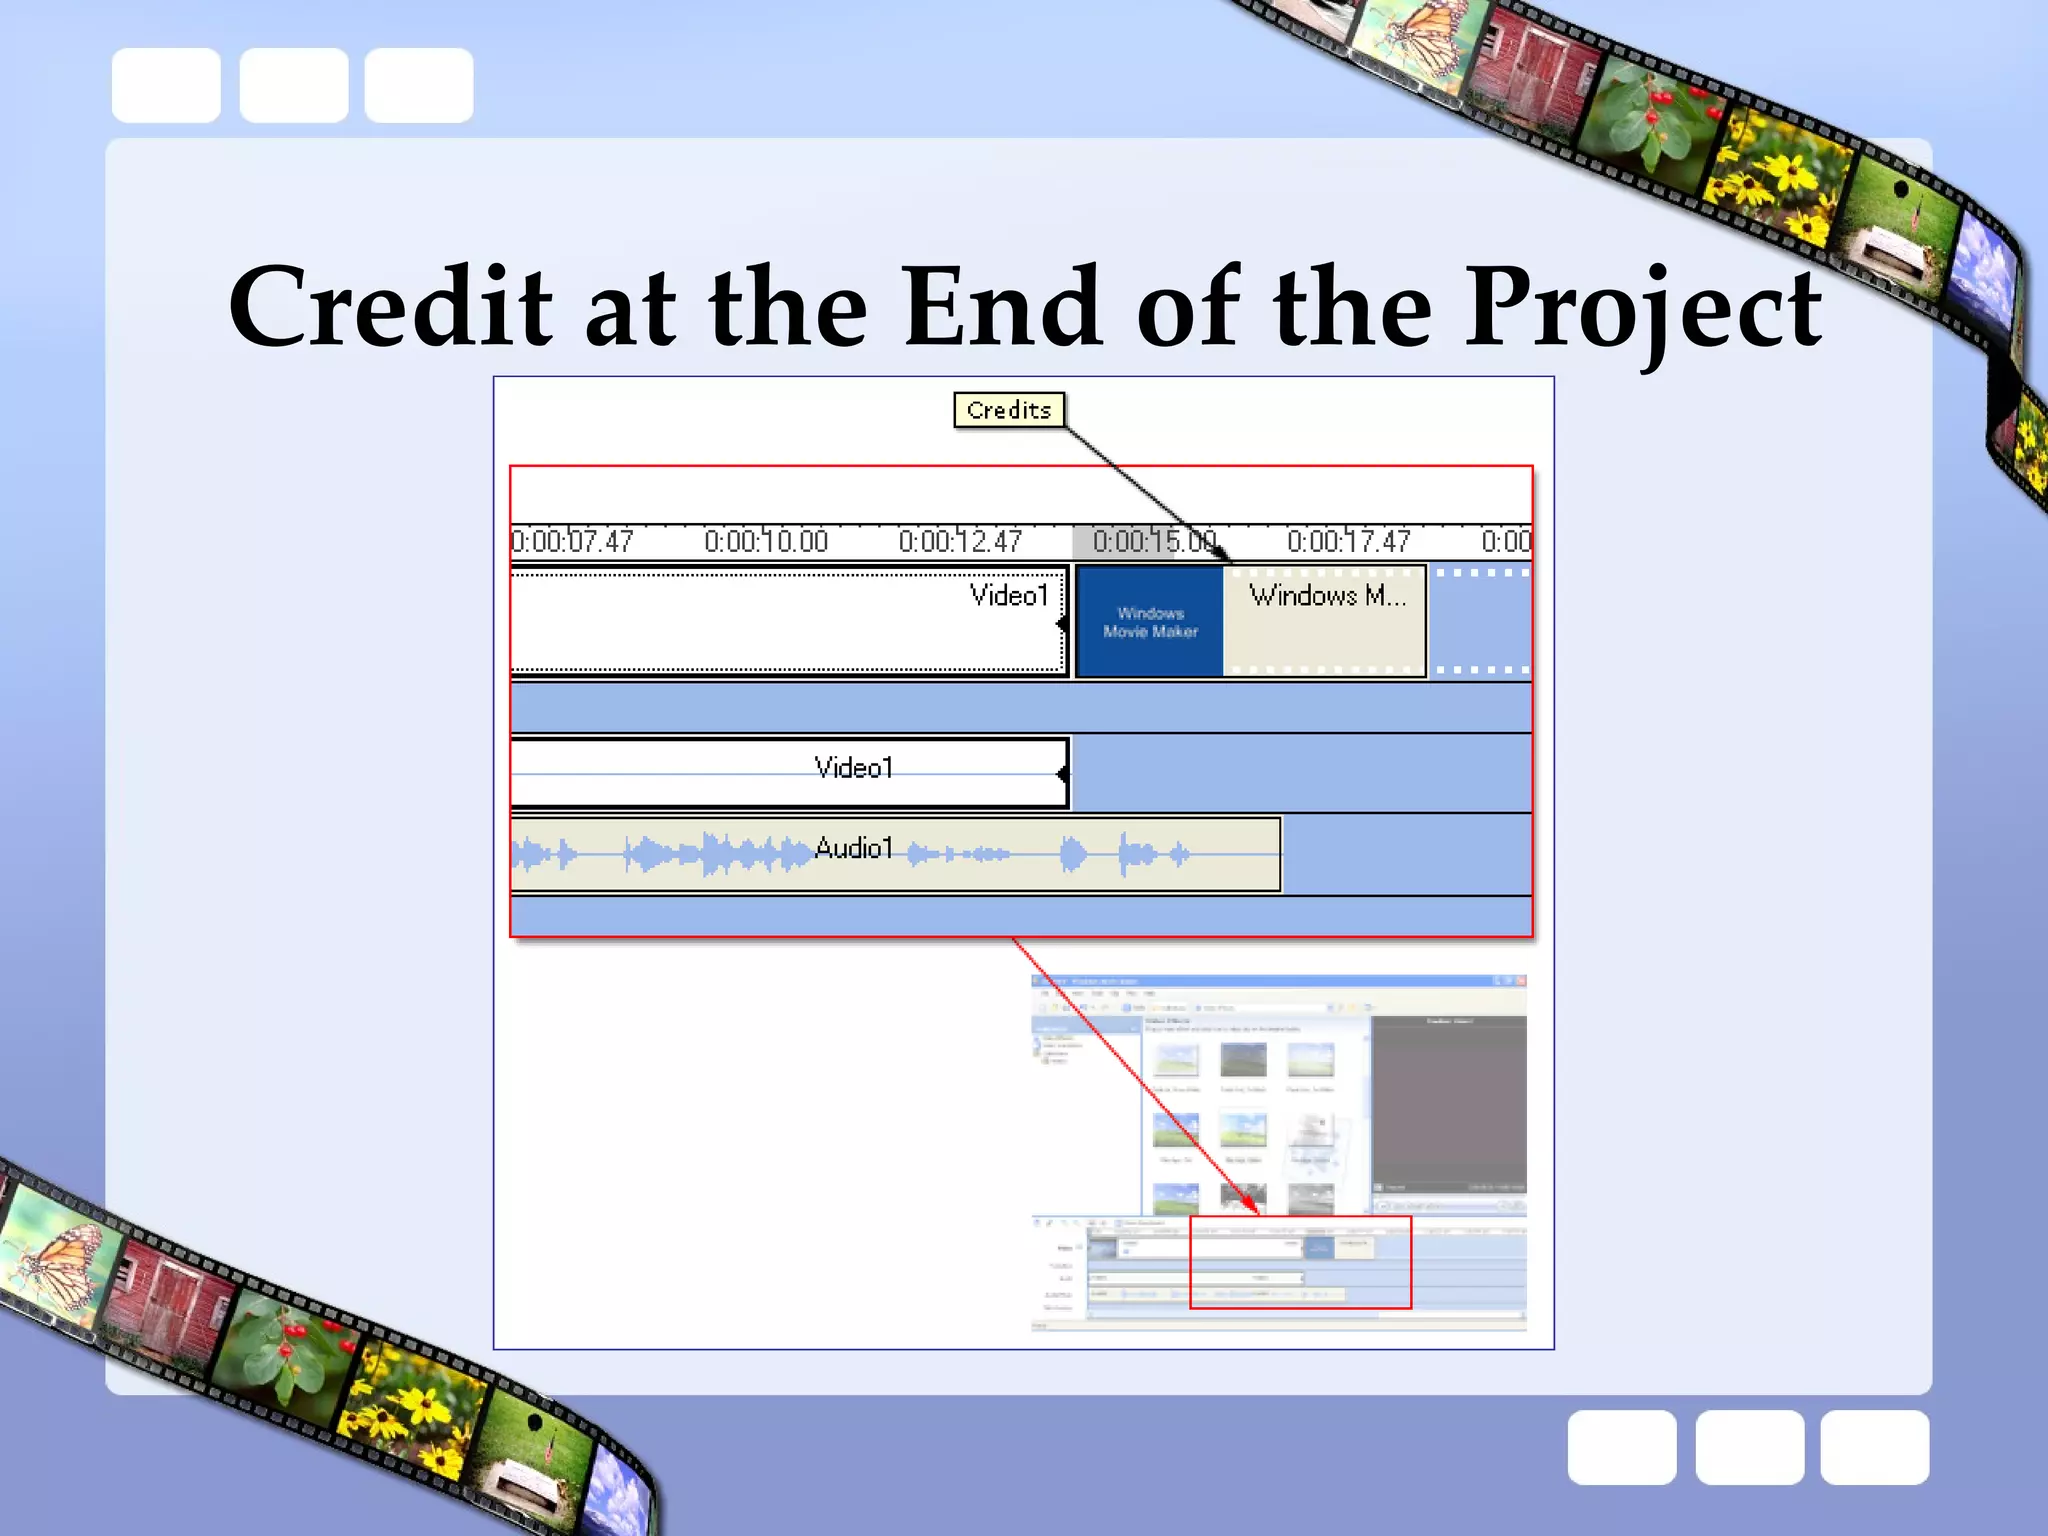
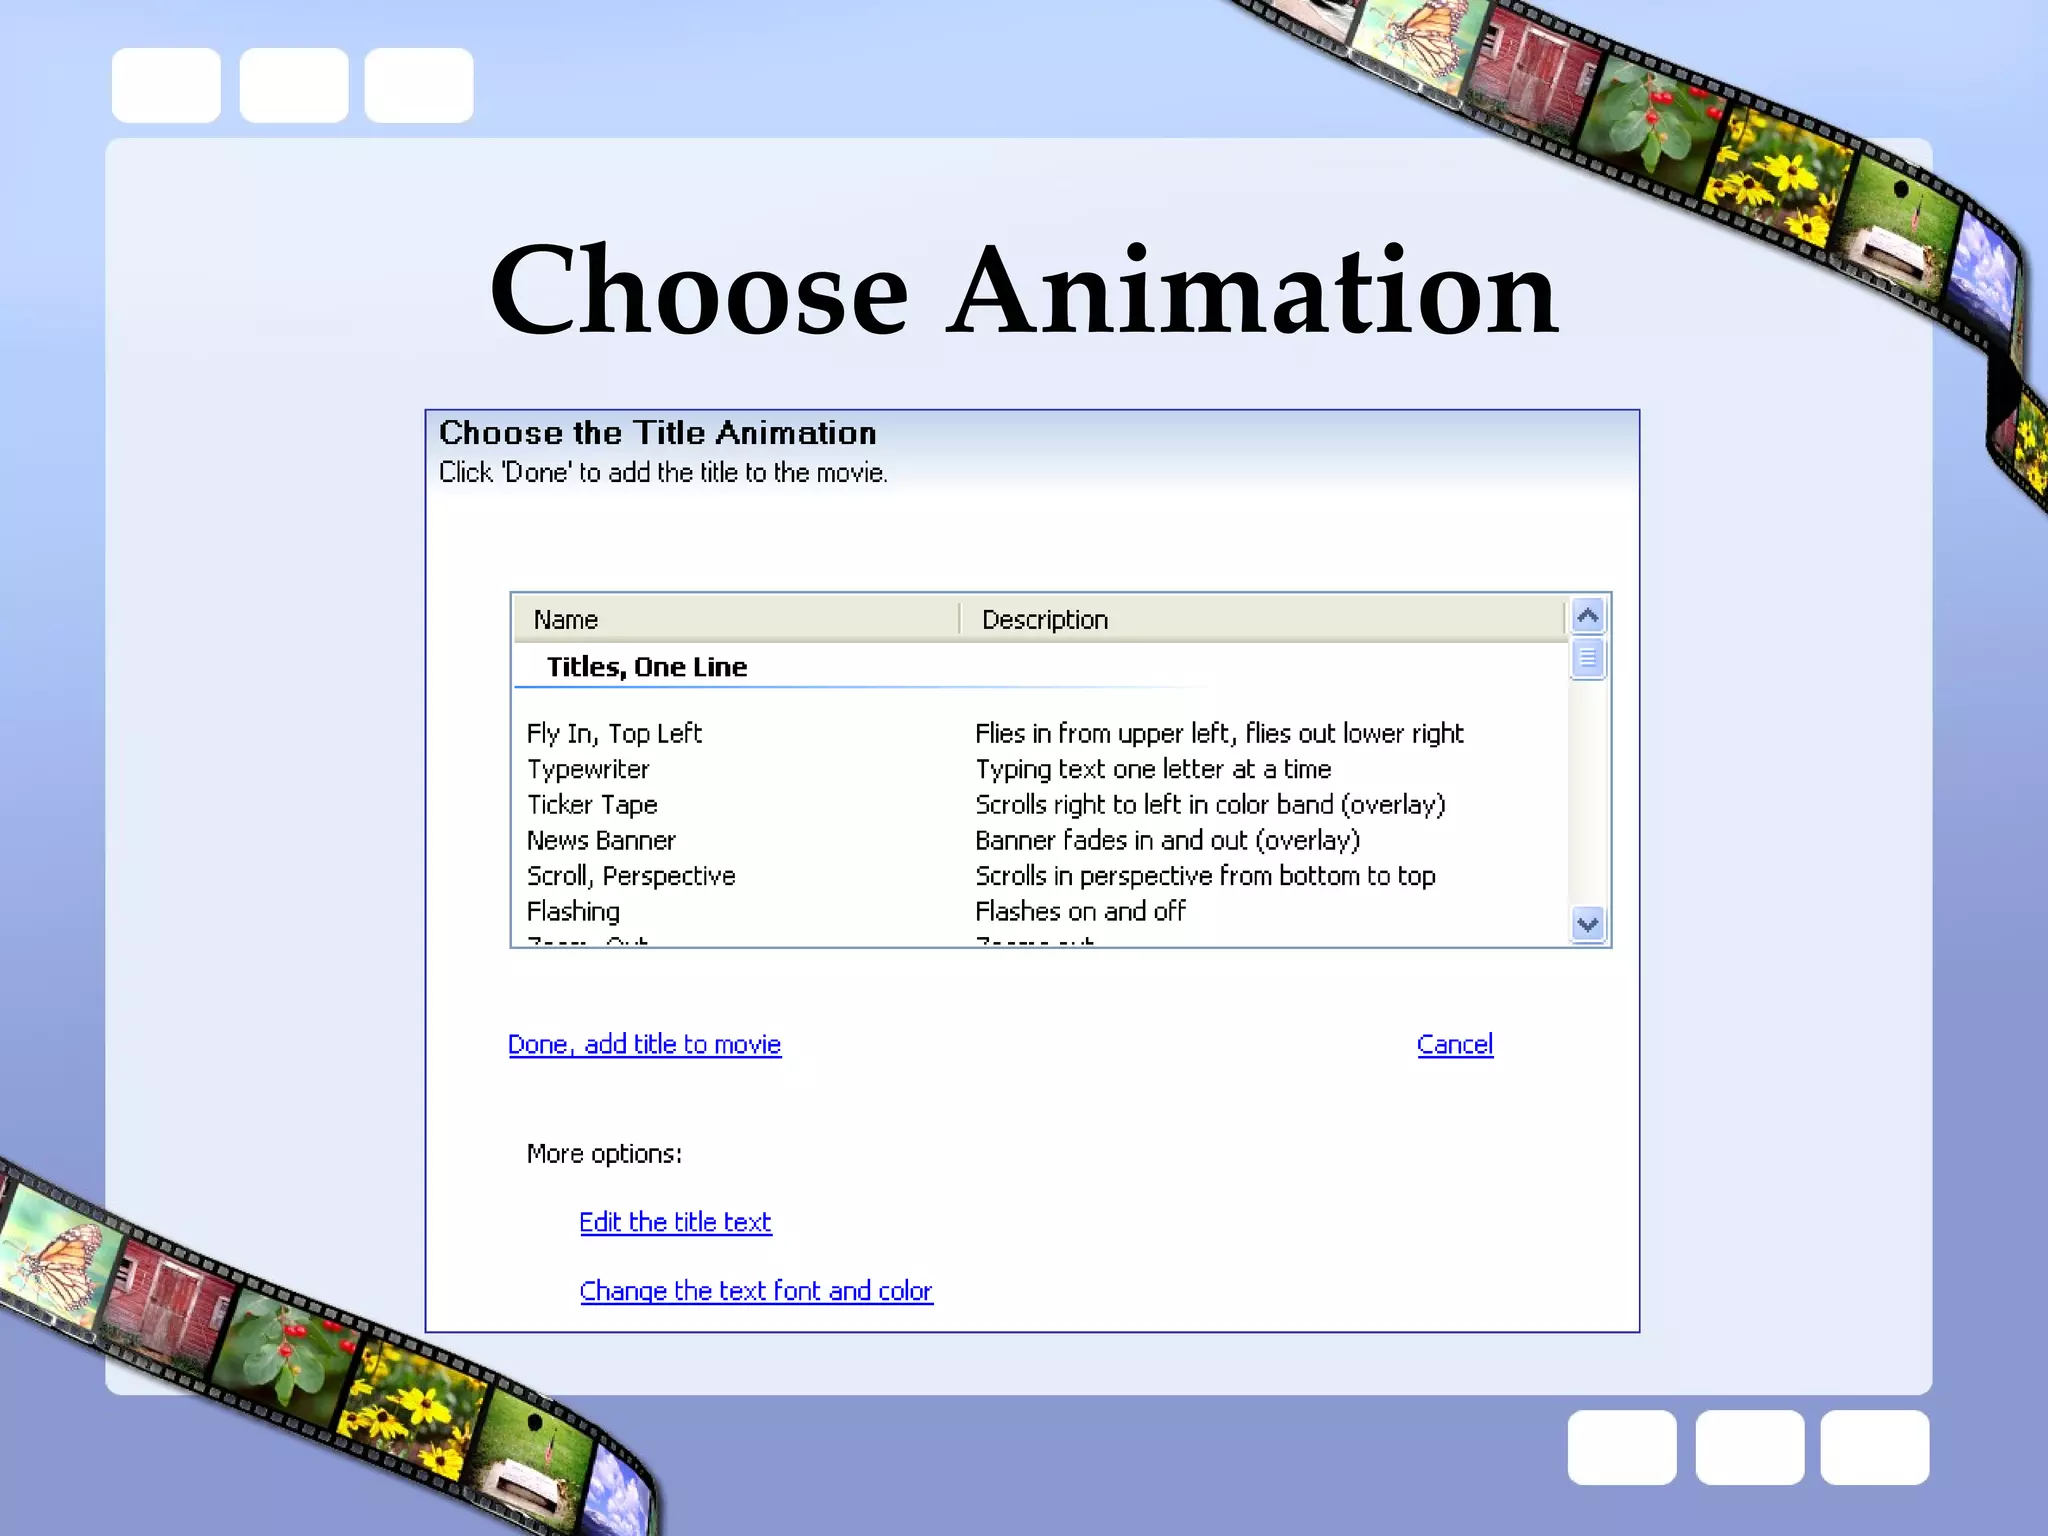
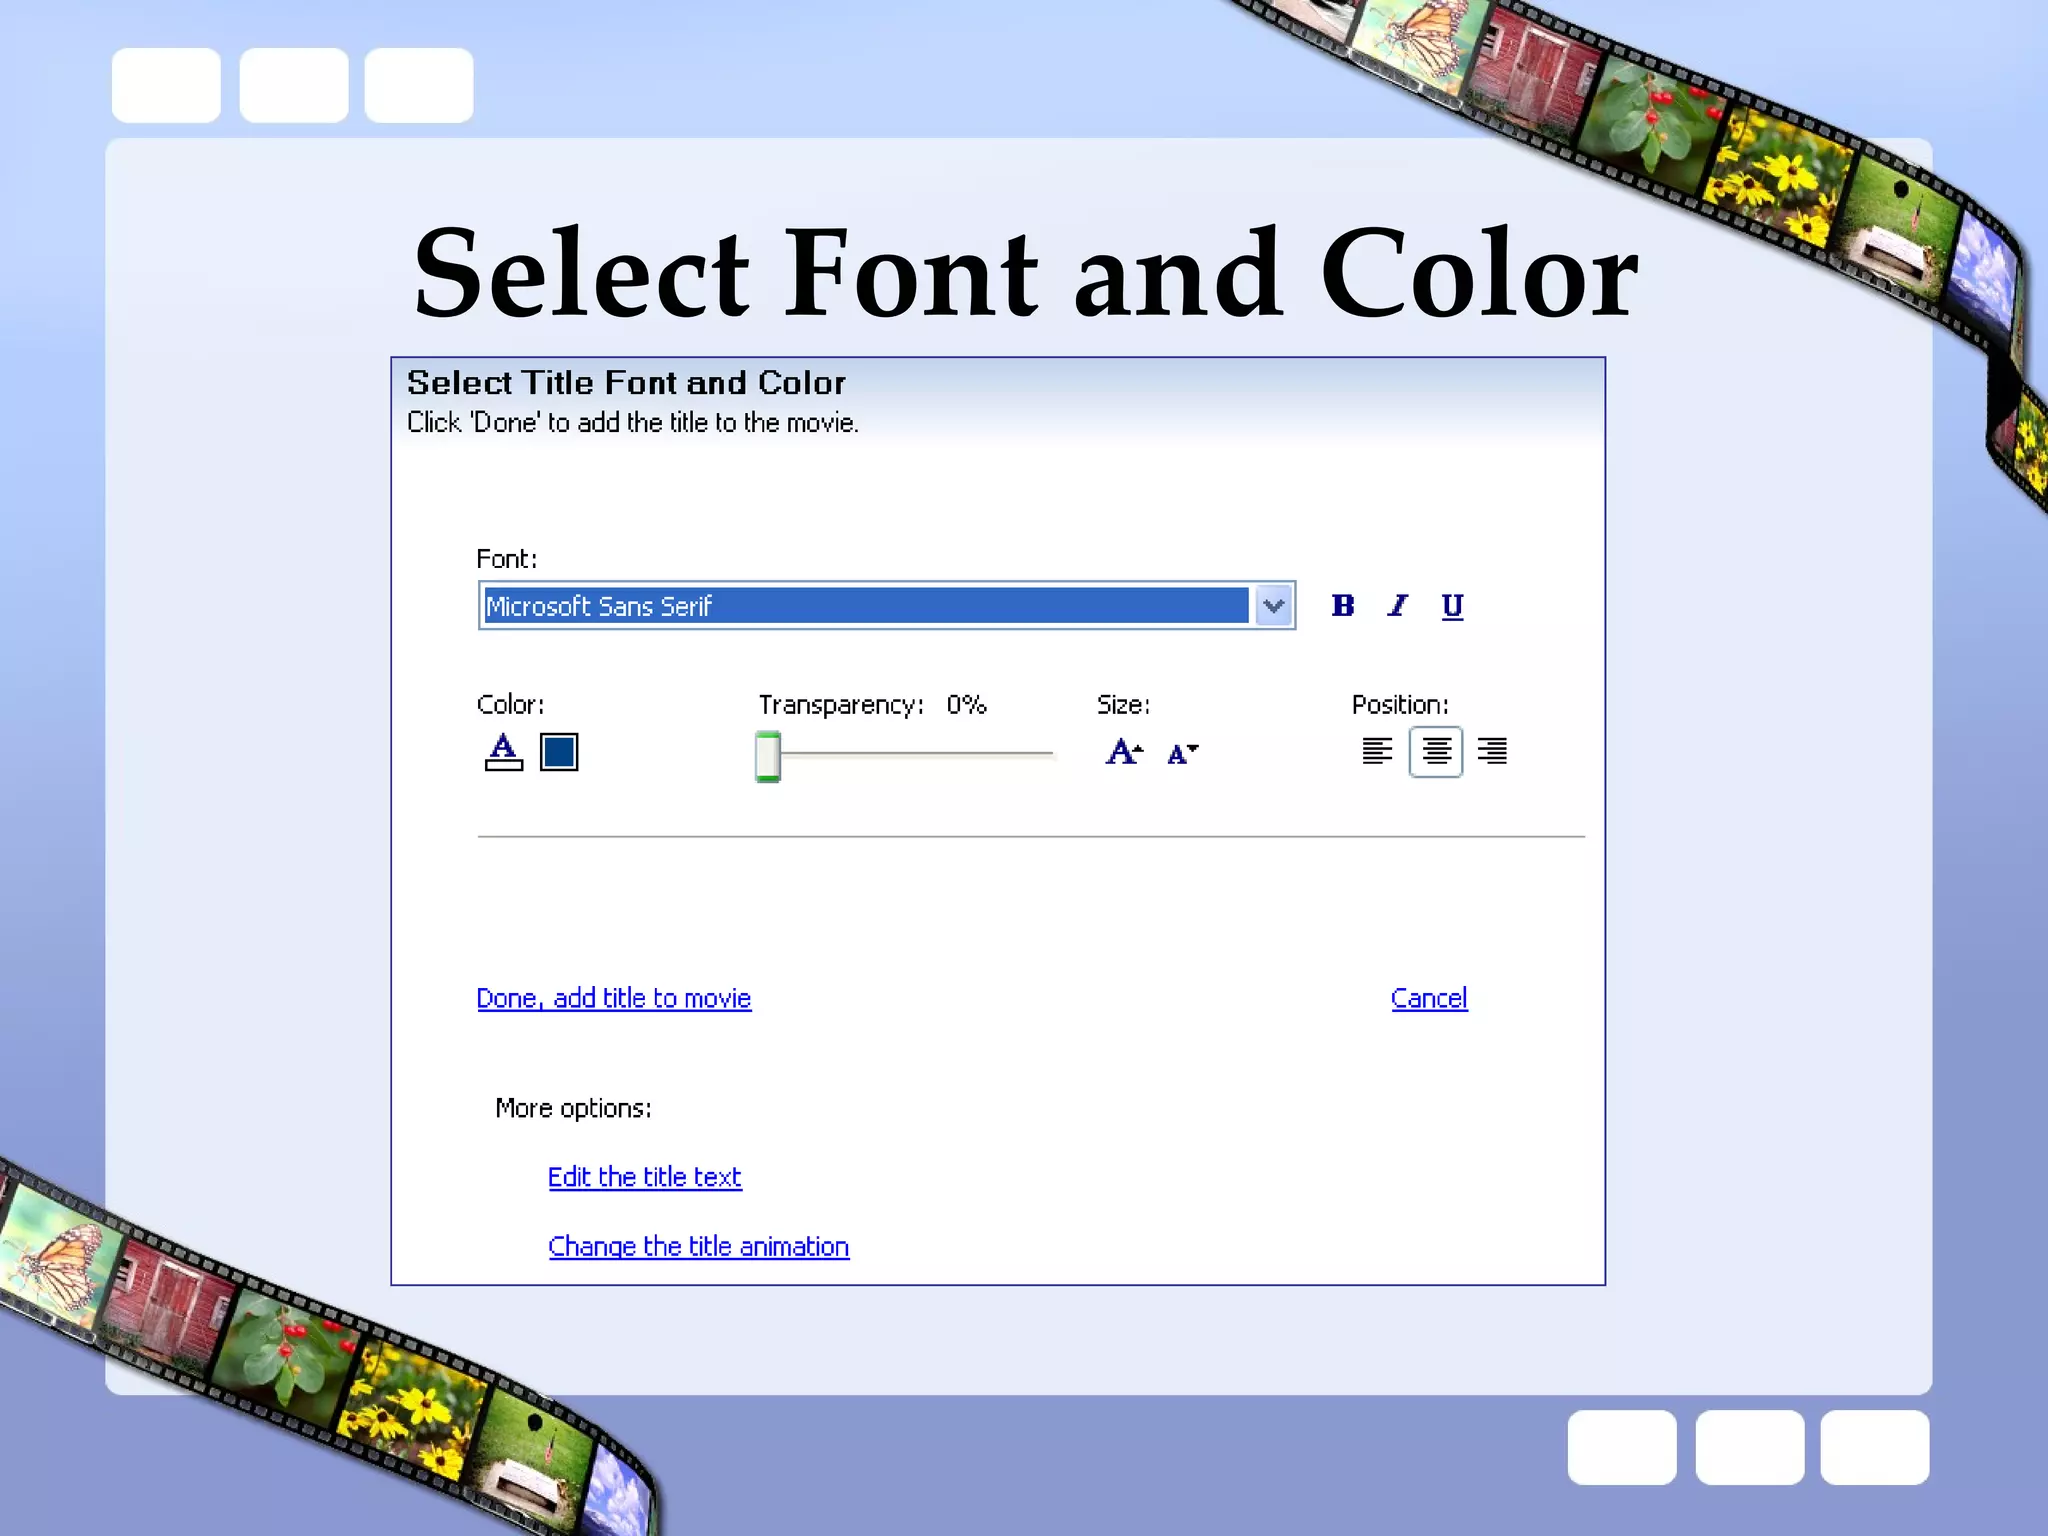
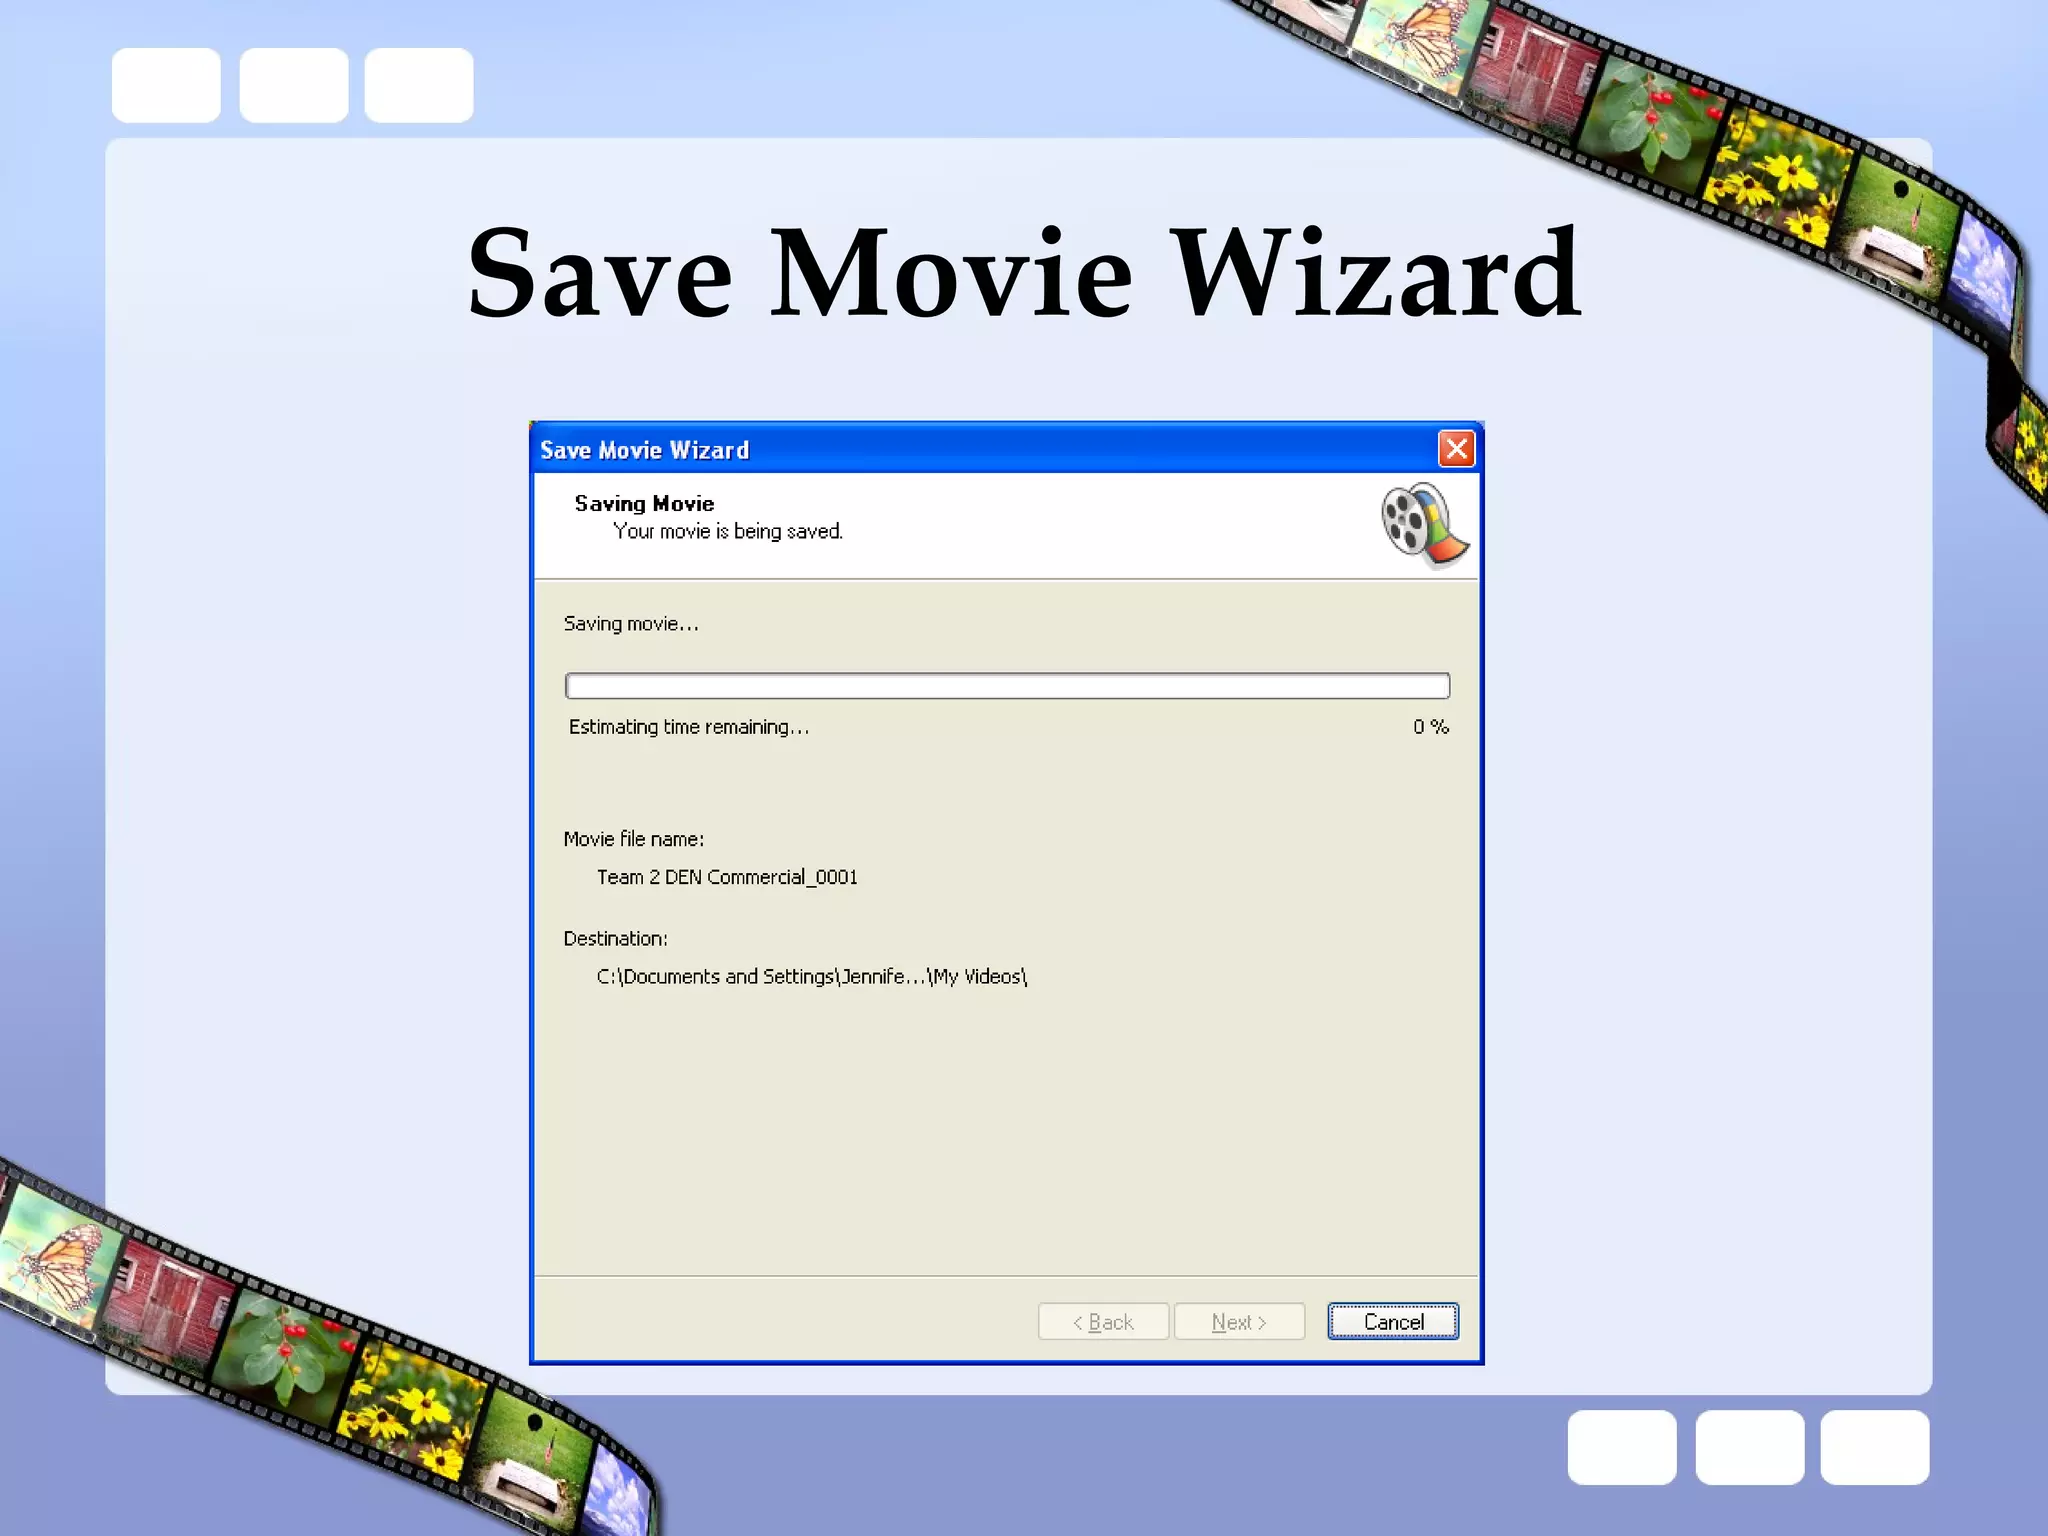
Instructions on editing projects in Windows Movie Maker, covering various tasks such as importing media, adjusting audio, and finalizing movies.
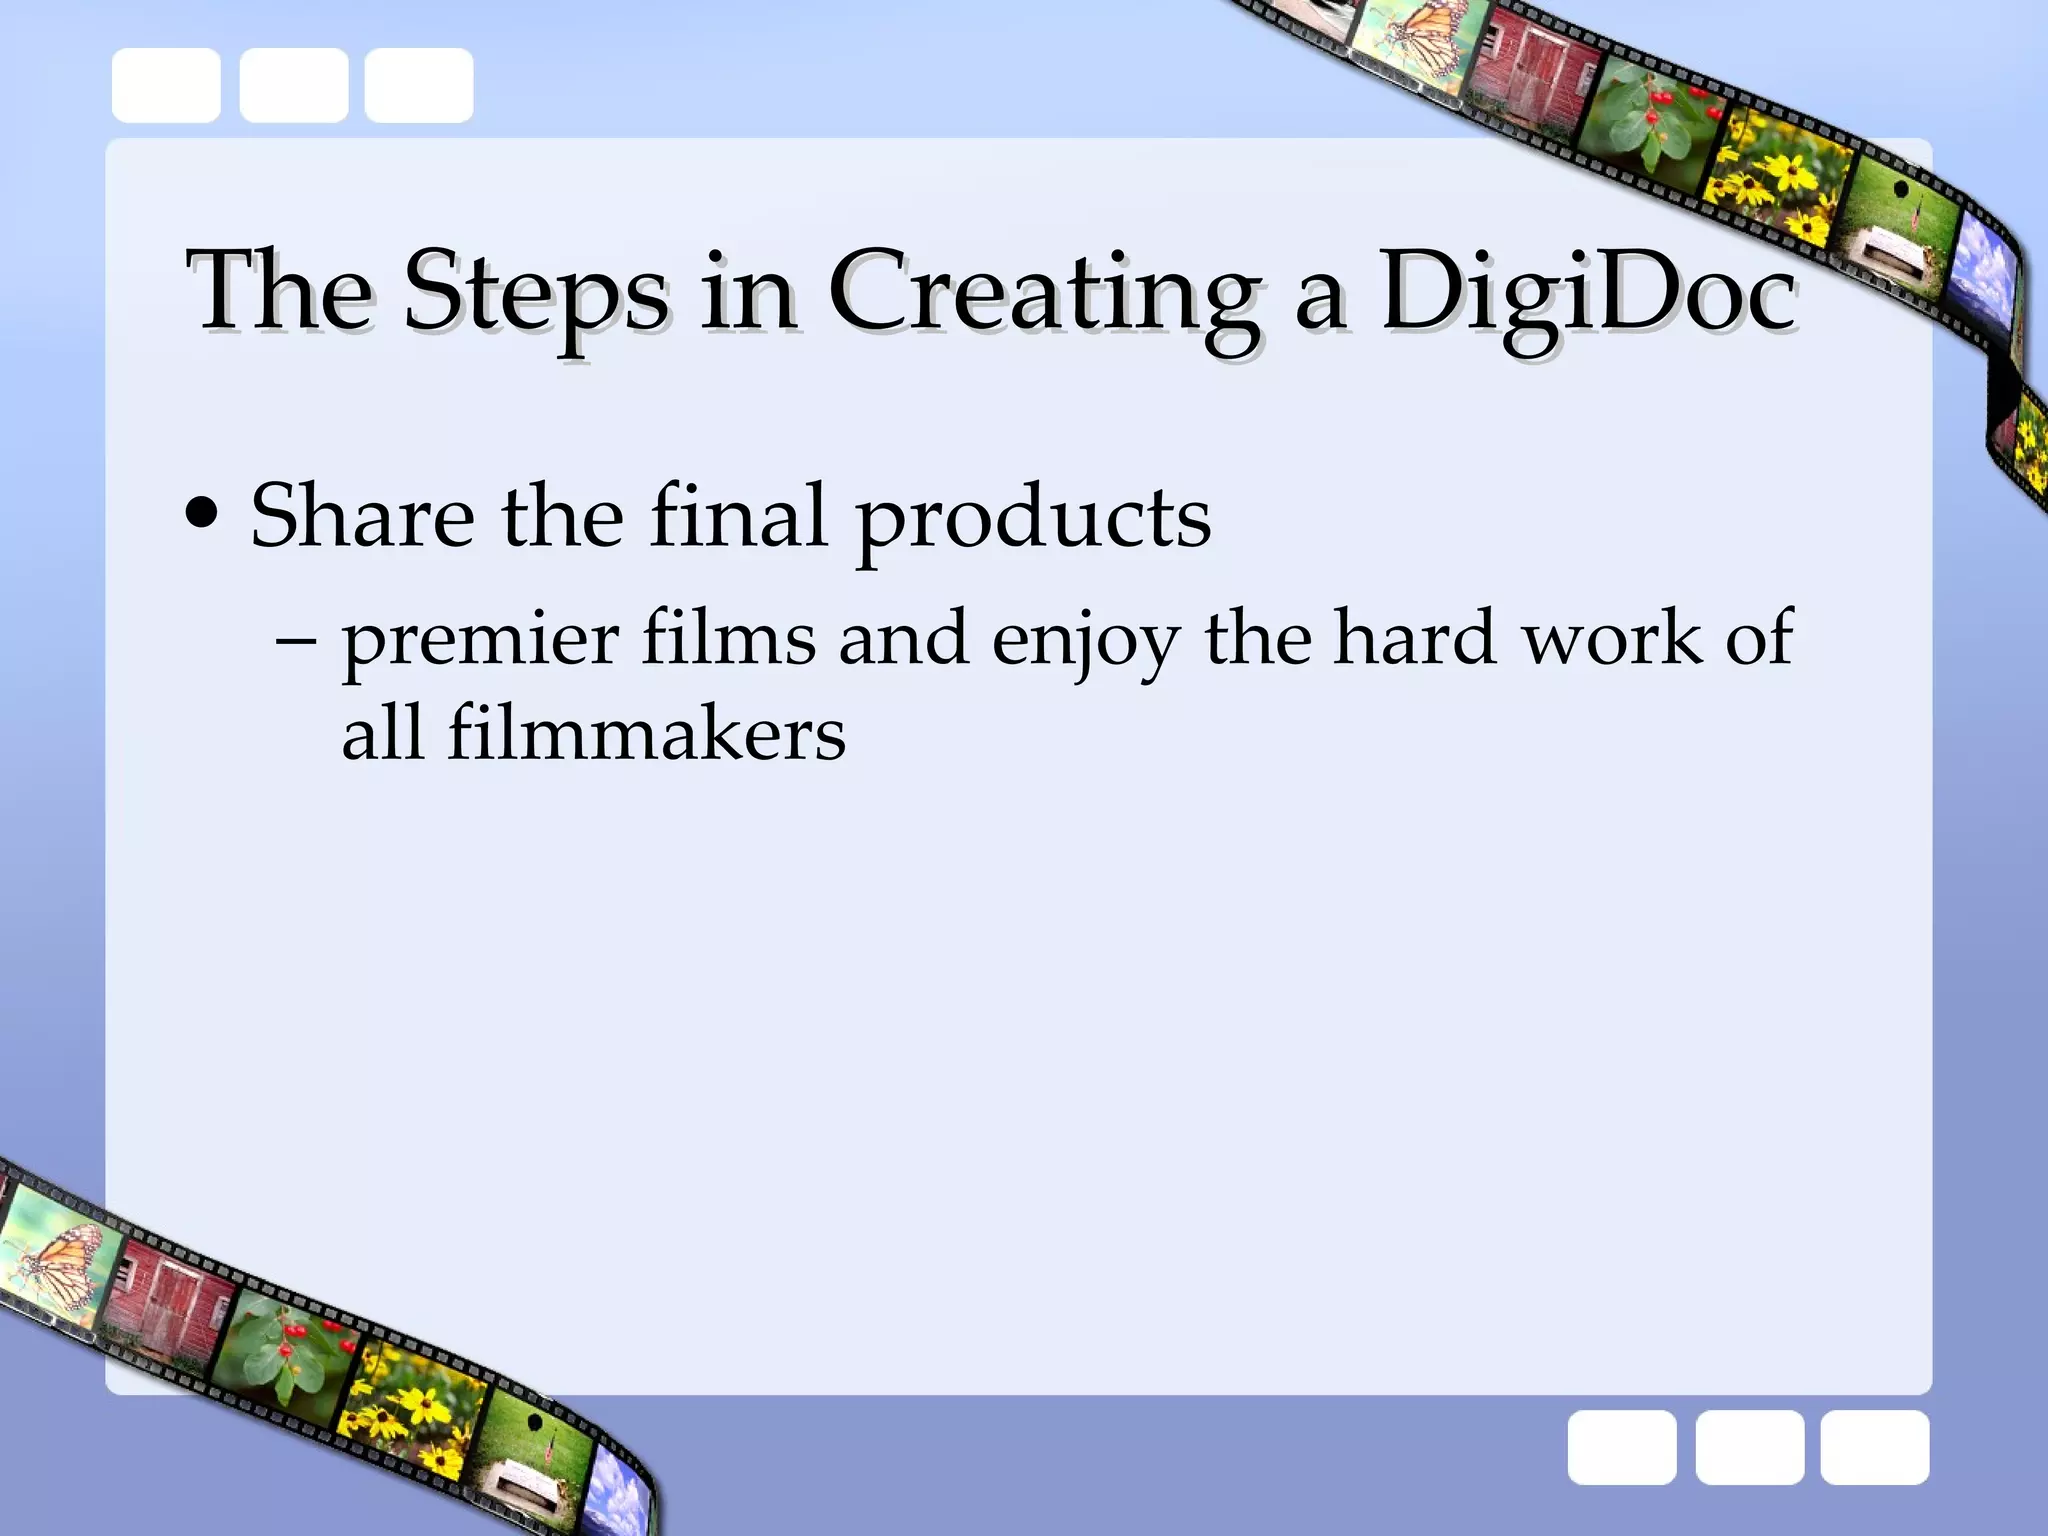
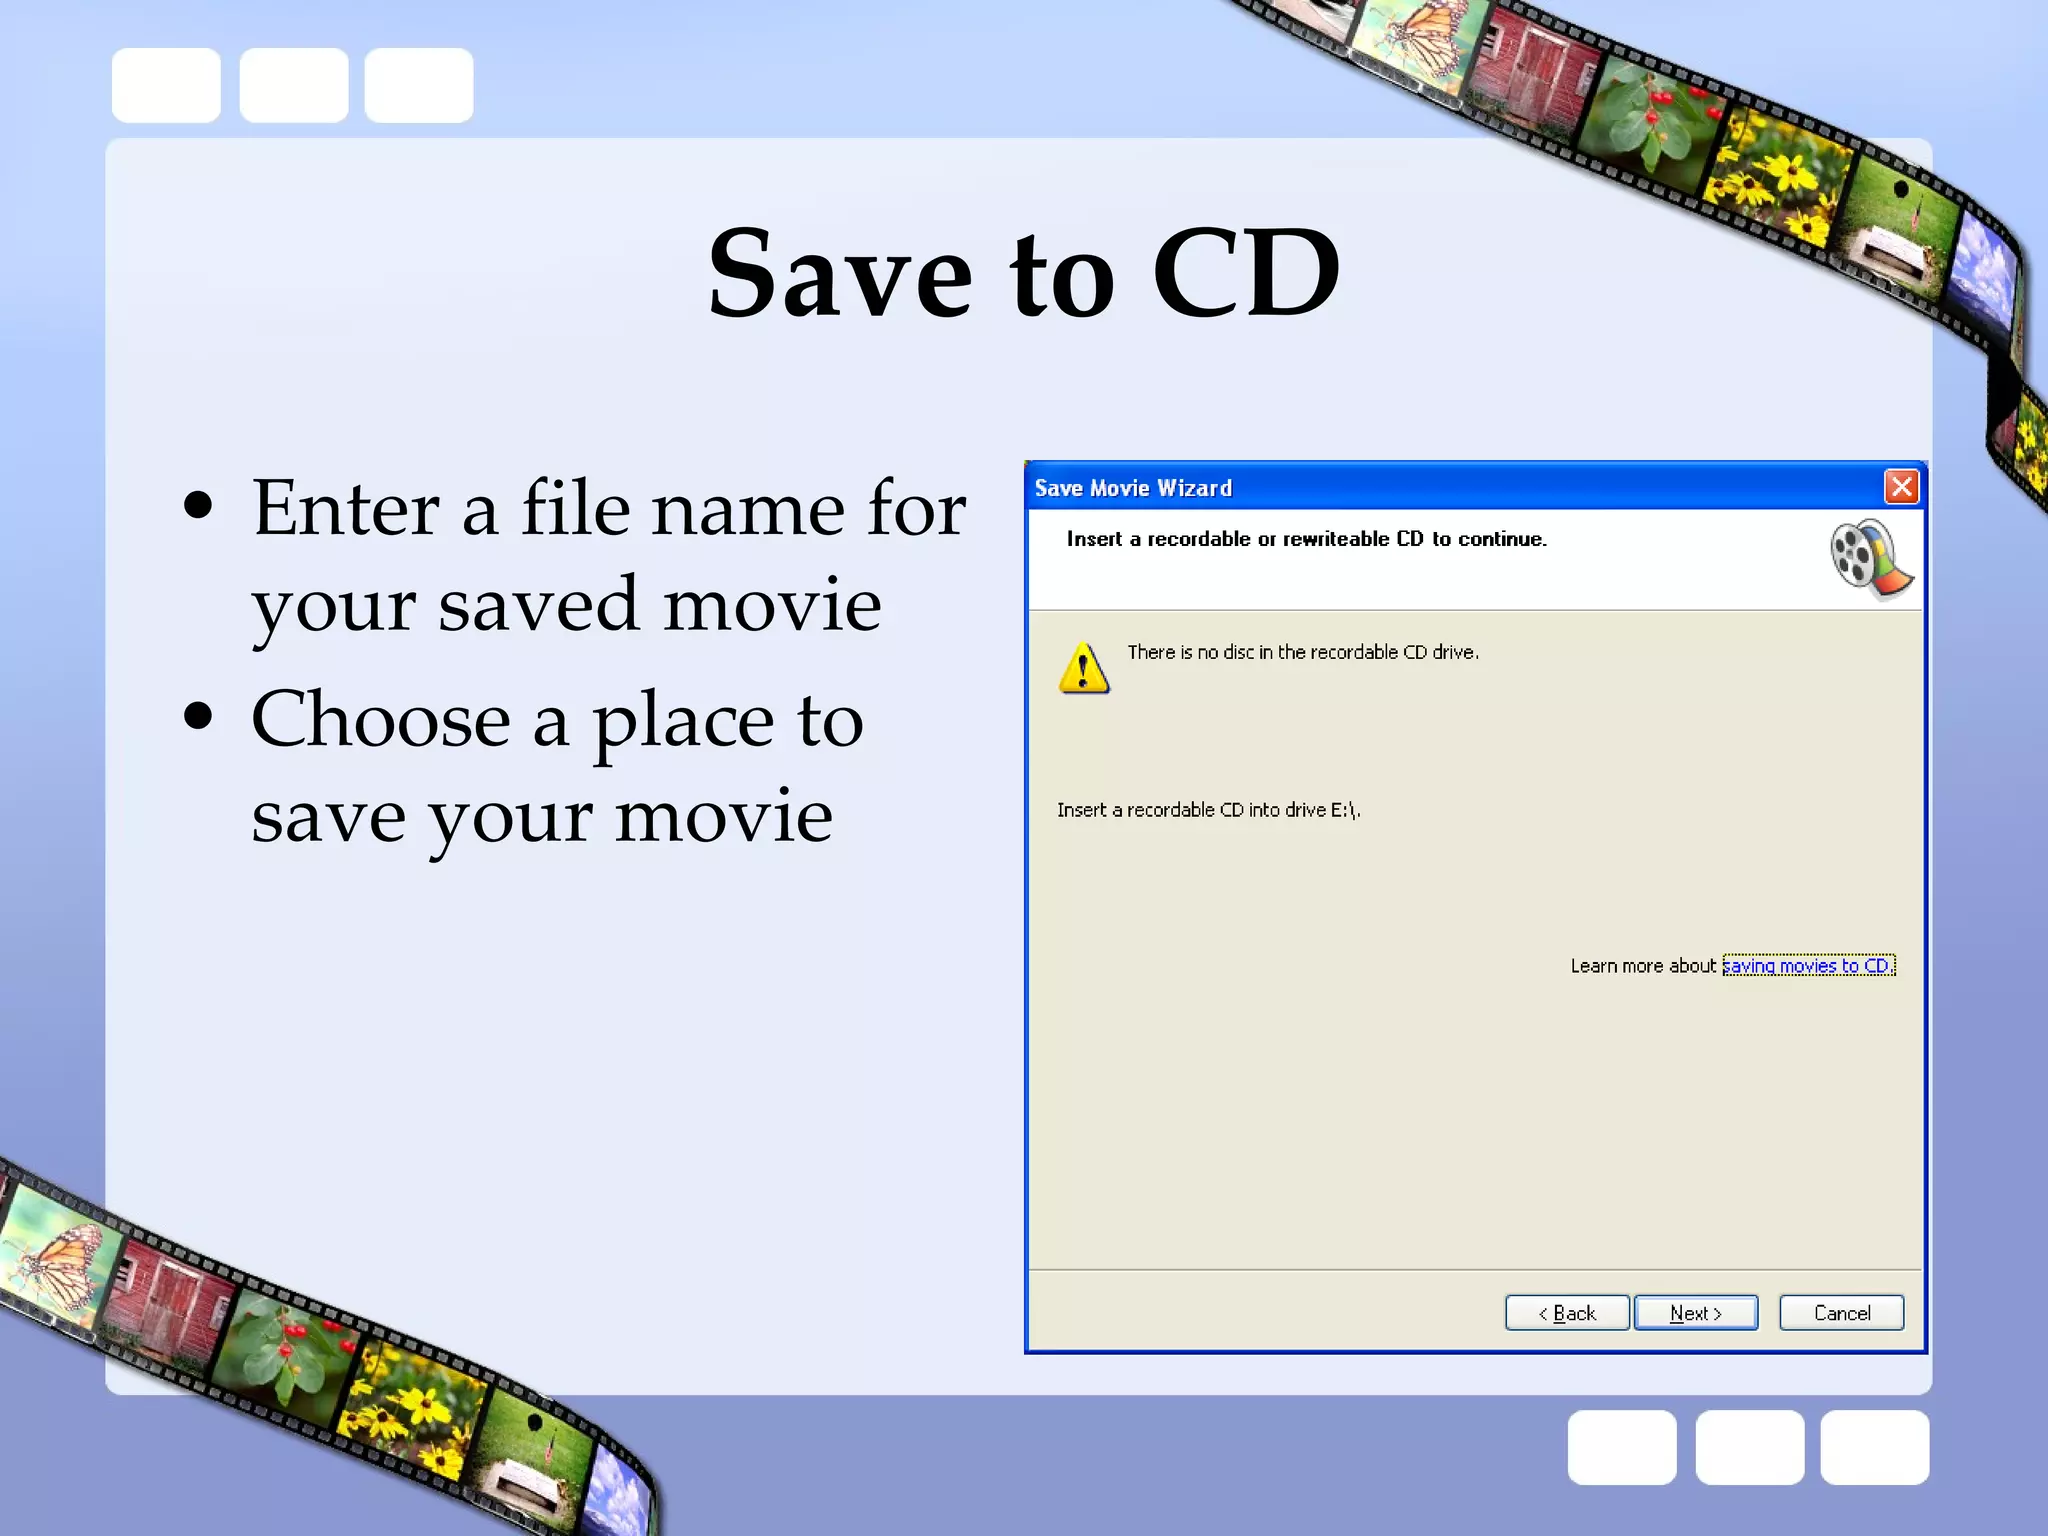
Concluding the digital storytelling process, focusing on saving, sharing, and distributing the final projects effectively.


