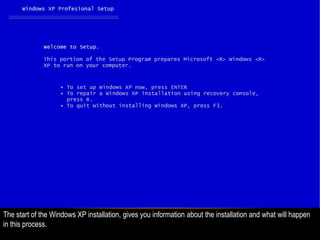
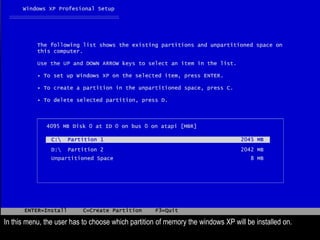
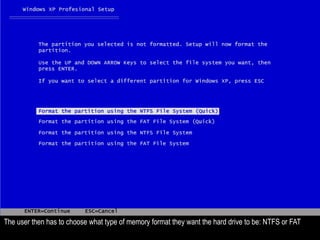
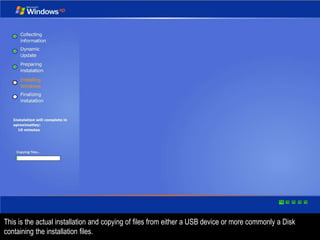
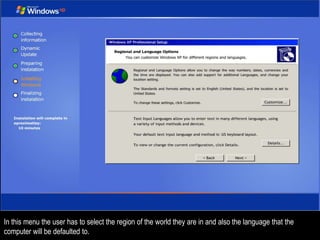
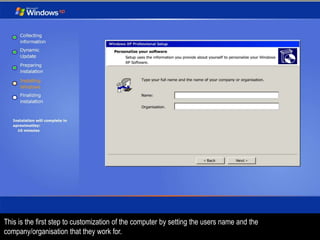
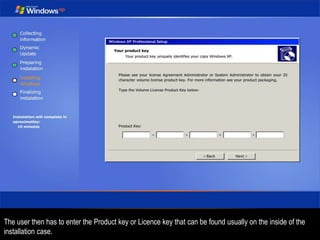
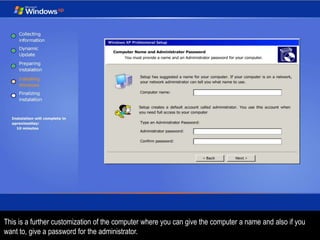
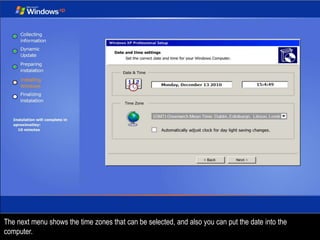
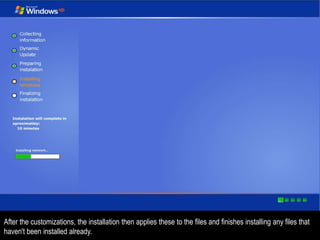
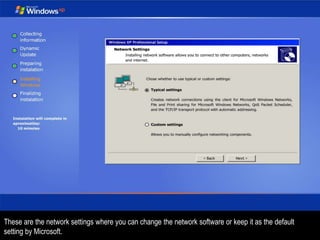
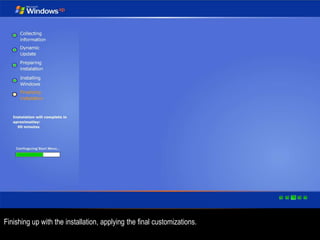
Thomas Fifield
WINDOWS XP INSTALLATION
The start of the Windows XP installation, gives you information about the installation and what will happen
in this process.
This is the licencing agreement for the Windows XP installation telling the person that is installing the
software the legal information and other information.
In this menu, the user has to choose which partition of memory the windows XP will be installed on.
The user then has to choose what type of memory format they want the hard drive to be: NTFS or FAT
The files are then taken to this memory unit and placed into folders
This is the actual installation and copying of files from either a USB device or more commonly a Disk
containing the installation files.
In this menu the user has to select the region of the world they are in and also the language that the
computer will be defaulted to.
This is the first step to customization of the computer by setting the users name and the
company/organisation that they work for.
The user then has to enter the Product key or Licence key that can be found usually on the inside of the
installation case.
This is a further customization of the computer where you can give the computer a name and also if you
want to, give a password for the administrator.
The next menu shows the time zones that can be selected, and also you can put the date into the
computer.
After the customizations, the installation then applies these to the files and finishes installing any files that
haven't been installed already.
These are the network settings where you can change the network software or keep it as the default
setting by Microsoft.
This menu allows the user to make the user a part of a domain or create a new domain
Finishing up with the installation, applying the final customizations.

Windows xp installation

  • 1.
  • 2.
    The start ofthe Windows XP installation, gives you information about the installation and what will happen in this process.
  • 3.
    This is thelicencing agreement for the Windows XP installation telling the person that is installing the software the legal information and other information.
  • 4.
    In this menu,the user has to choose which partition of memory the windows XP will be installed on.
  • 5.
    The user thenhas to choose what type of memory format they want the hard drive to be: NTFS or FAT
  • 6.
    The files arethen taken to this memory unit and placed into folders
  • 7.
    This is theactual installation and copying of files from either a USB device or more commonly a Disk containing the installation files.
  • 8.
    In this menuthe user has to select the region of the world they are in and also the language that the computer will be defaulted to.
  • 9.
    This is thefirst step to customization of the computer by setting the users name and the company/organisation that they work for.
  • 10.
    The user thenhas to enter the Product key or Licence key that can be found usually on the inside of the installation case.
  • 11.
    This is afurther customization of the computer where you can give the computer a name and also if you want to, give a password for the administrator.
  • 12.
    The next menushows the time zones that can be selected, and also you can put the date into the computer.
  • 13.
    After the customizations,the installation then applies these to the files and finishes installing any files that haven't been installed already.
  • 14.
    These are thenetwork settings where you can change the network software or keep it as the default setting by Microsoft.
  • 15.
    This menu allowsthe user to make the user a part of a domain or create a new domain
  • 16.
    Finishing up withthe installation, applying the final customizations.