Downloaded 169 times


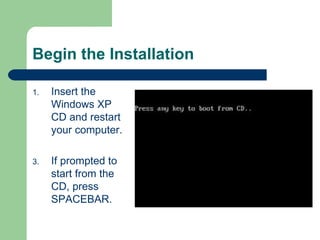
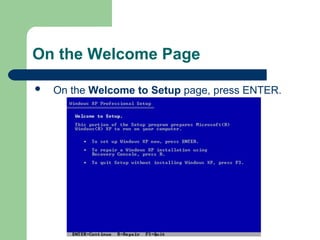
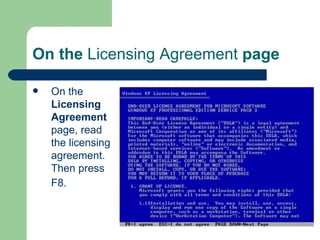
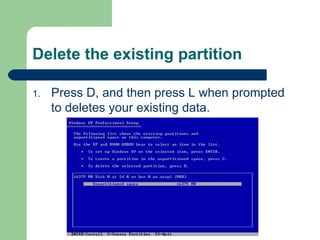
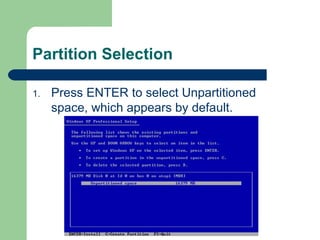
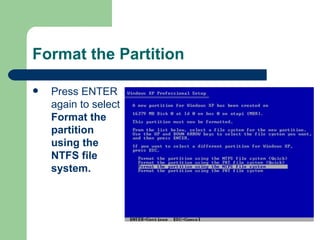
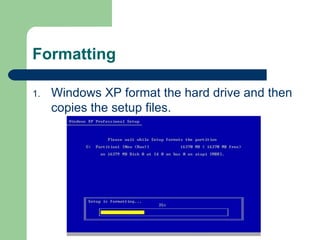
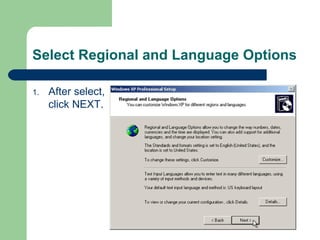

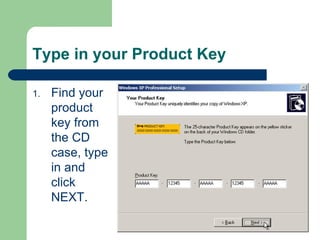
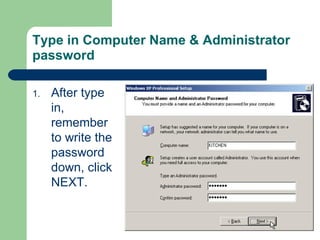
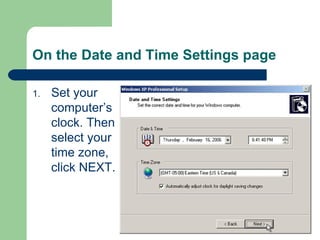
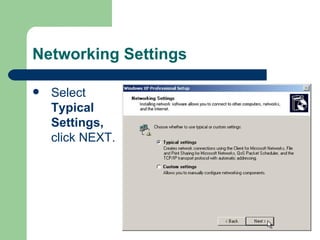
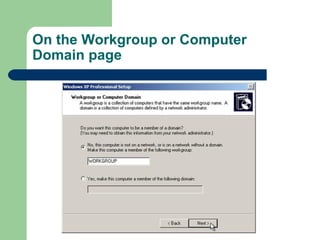


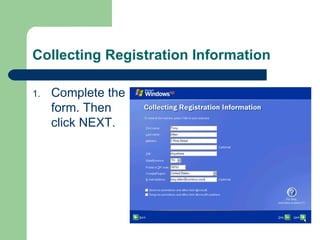
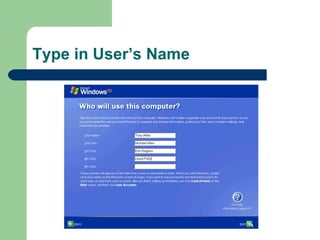
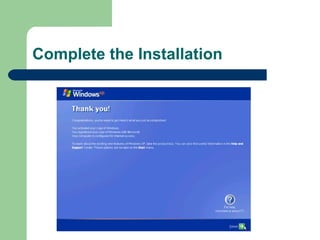

The document provides step-by-step instructions for installing Windows XP on a computer. It details inserting the Windows XP CD, accepting license agreements, formatting and partitioning the hard drive, setting the computer name and administrator password, configuring time and networking settings, completing product activation and registration, and marking the end of the installation process. The instructions are presented in over 20 sequentially numbered steps to guide the user through the full Windows XP setup.


