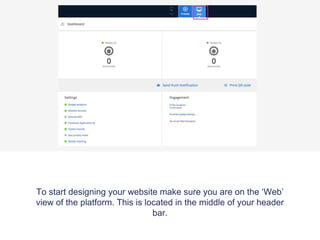
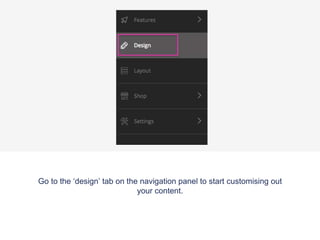
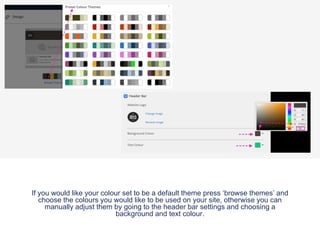
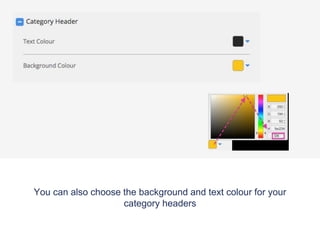
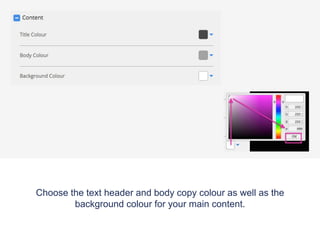
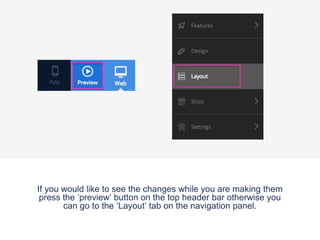
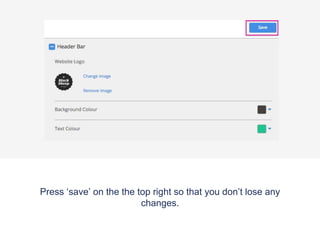
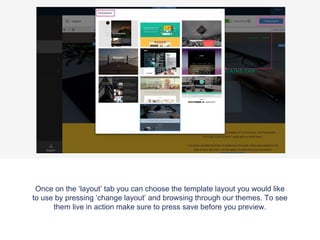
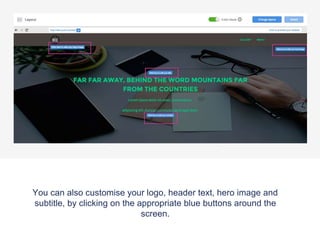
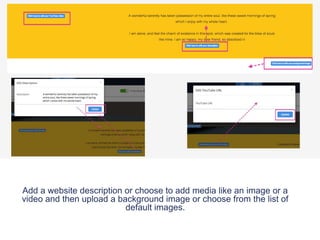
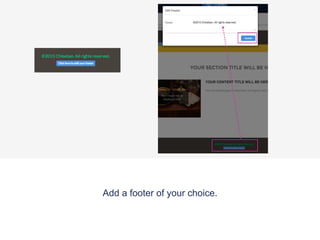
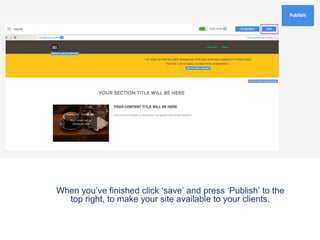
1. To start designing your website make sure you are on the ‘Web’
view of the platform. This is located in the middle of your header
bar.
2. Go to the ‘design’ tab on the navigation panel to start customising out
your content.
3. Upload a logo by pressing the ‘browse’ button making sure your
dimensions are 200 pixels by 200 pixels, otherwise it will be
automatically resized.
4. If you would like your colour set to be a default theme press ‘browse themes’ and
choose the colours you would like to be used on your site, otherwise you can
manually adjust them by going to the header bar settings and choosing a
background and text colour.
5. You can also choose the background and text colour for your
category headers
6. Choose the text header and body copy colour as well as the
background colour for your main content.
7. If you would like to see the changes while you are making them
press the ‘preview’ button on the top header bar otherwise you
can go to the ‘Layout’ tab on the navigation panel.
8. Press ‘save’ on the the top right so that you don’t lose any
changes.
9. Once on the ‘layout’ tab you can choose the template layout you would like
to use by pressing ‘change layout’ and browsing through our themes. To see
them live in action make sure to press save before you preview.
10. You can also customise your logo, header text, hero image and
subtitle, by clicking on the appropriate blue buttons around the
screen.
11. Add a website description or choose to add media like an image or a
video and then upload a background image or choose from the list of
default images.