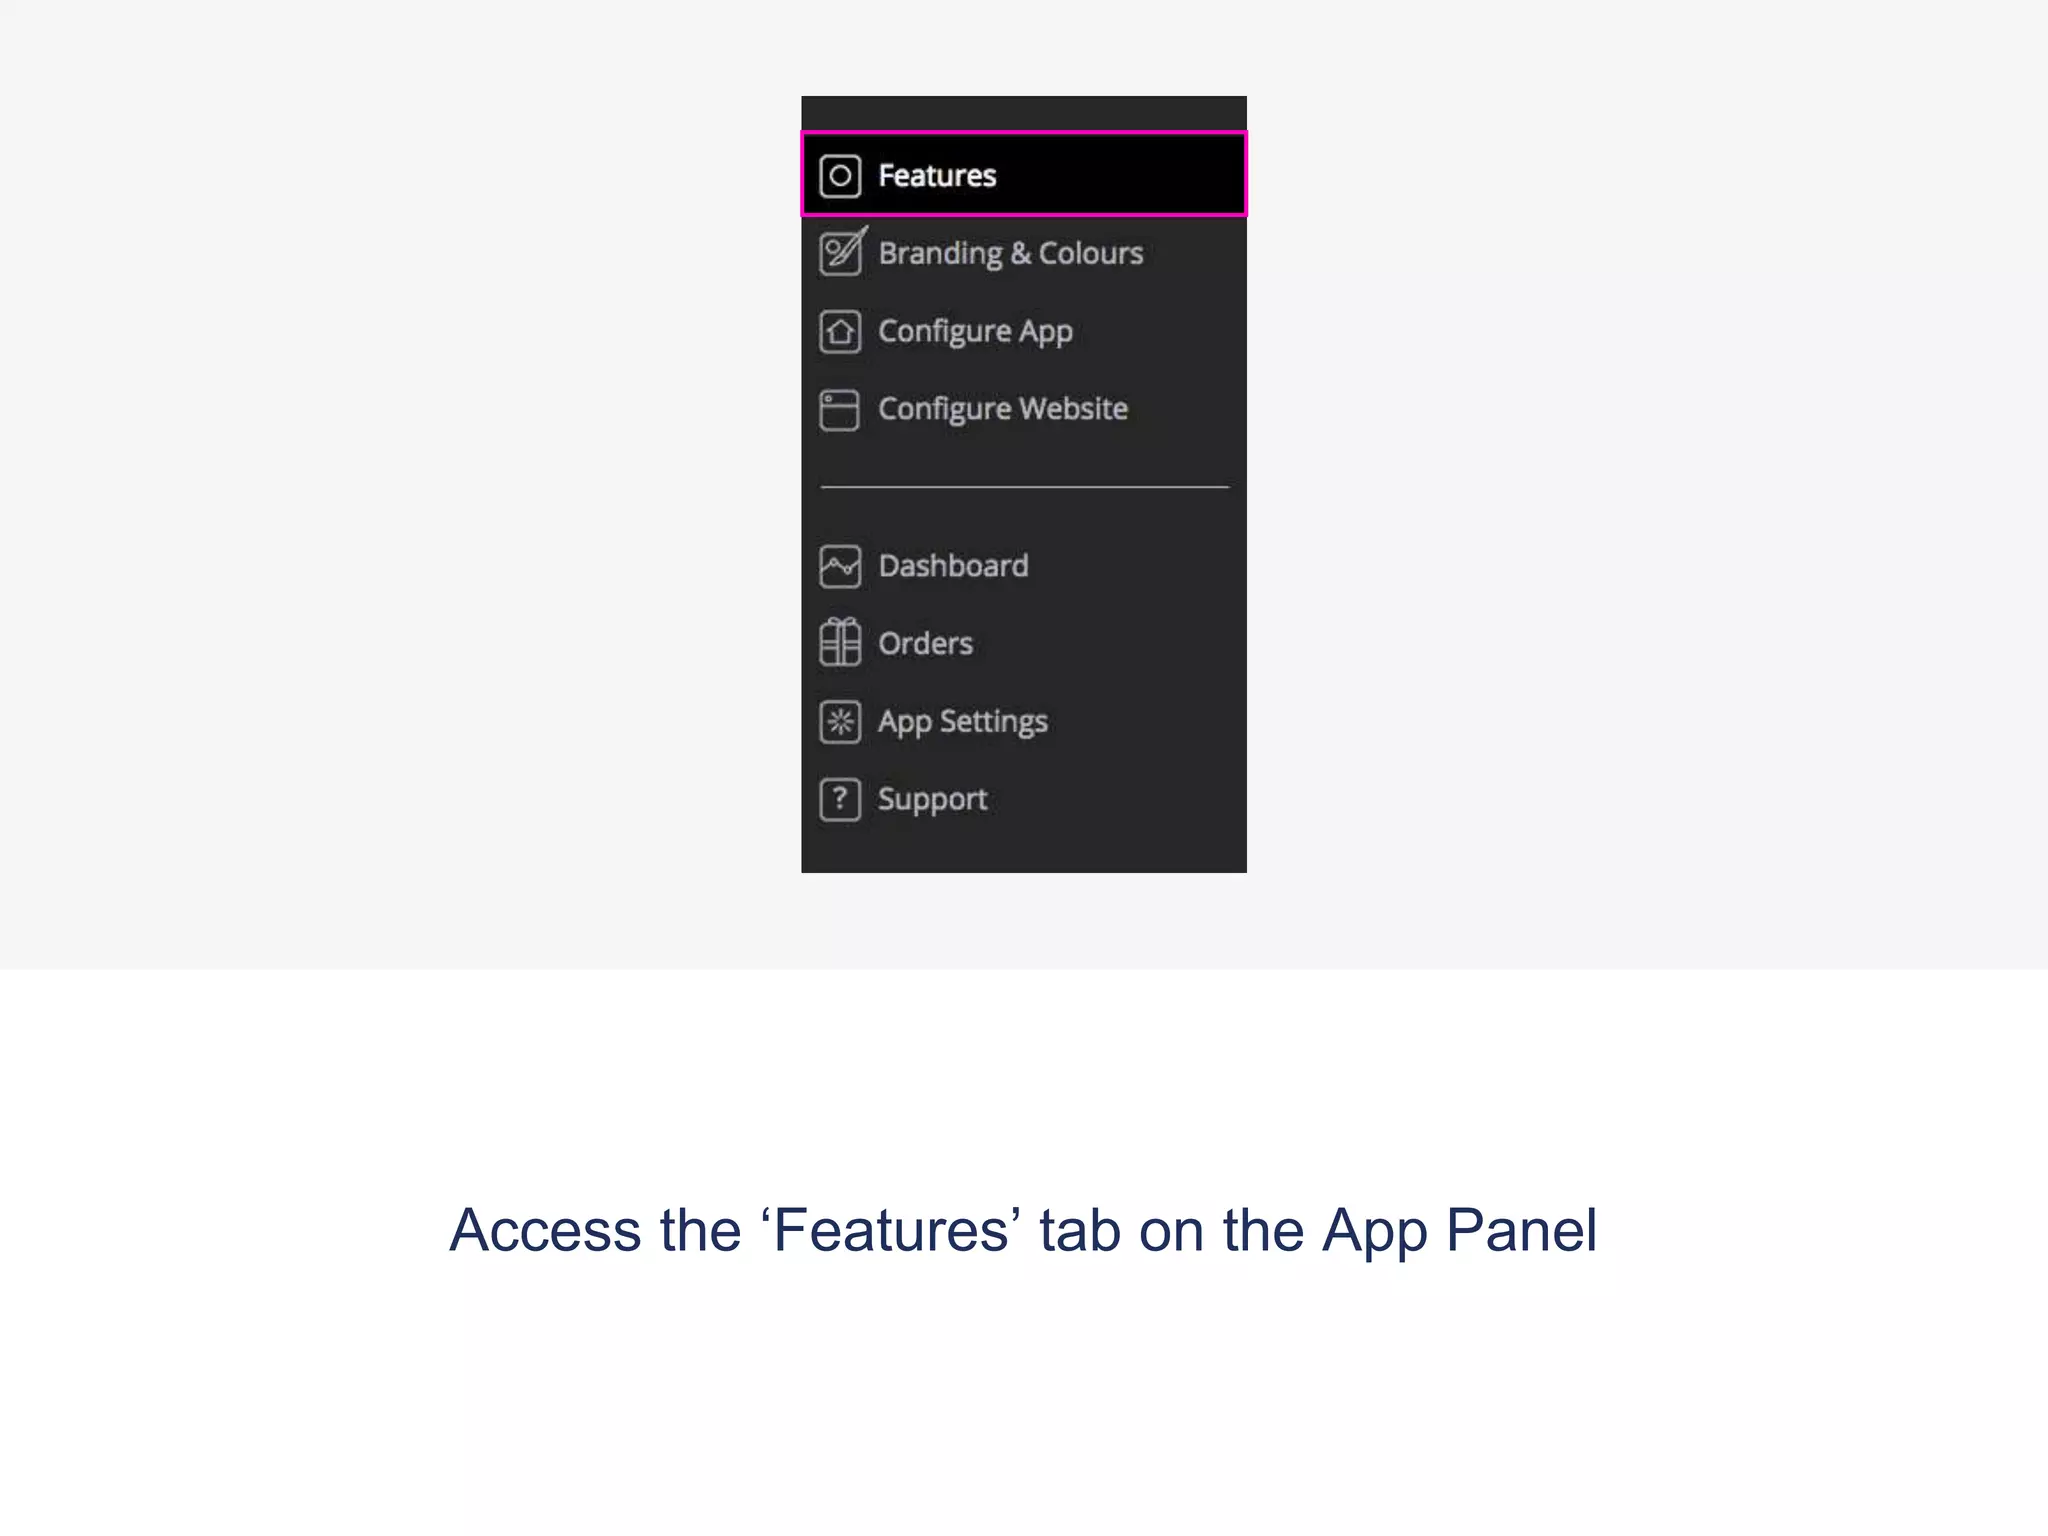
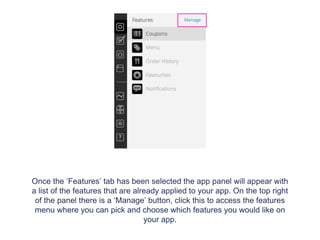
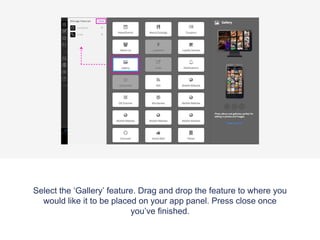
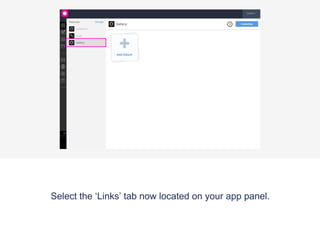
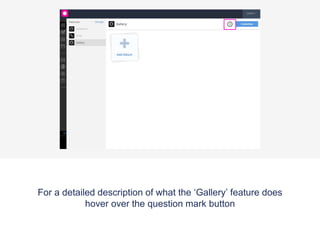
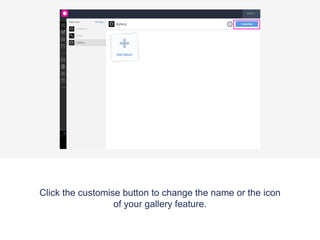
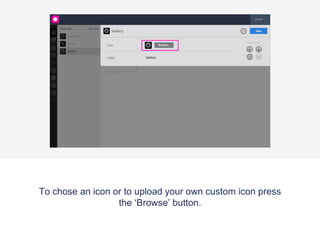
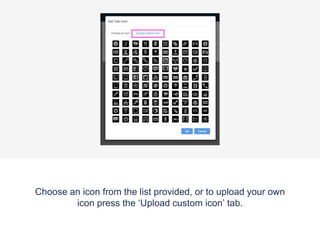
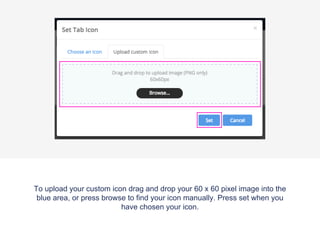
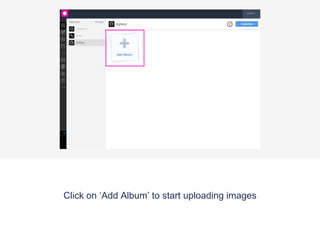
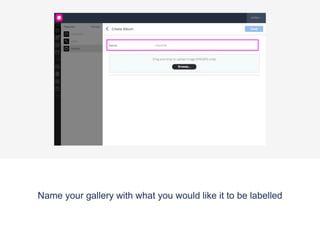
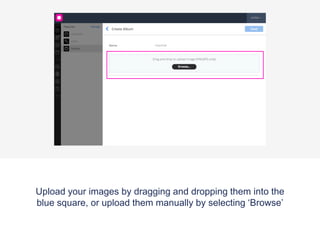
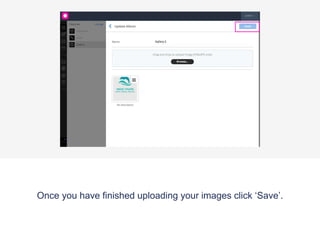
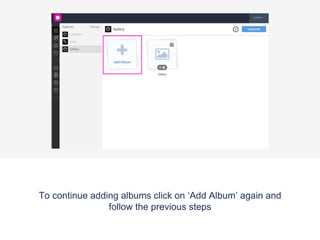
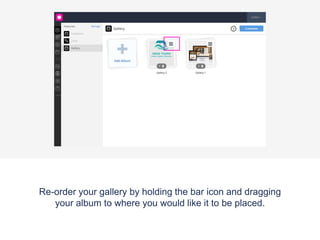
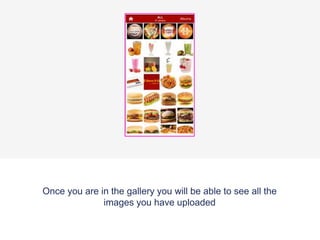
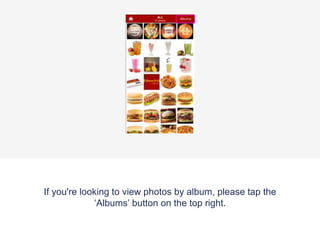
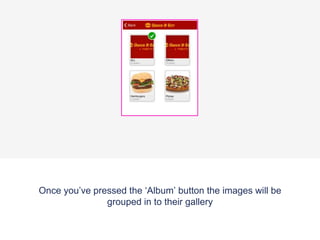
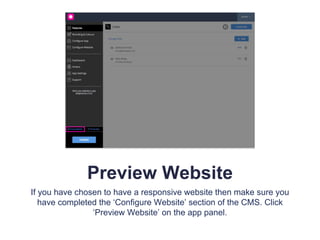
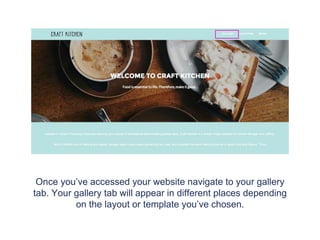
To start editing your app/website feature, you can be on either
the ‘App’ or ‘Web’ View located on the top Header Bar.
Access the ‘Features’ tab on the App Panel
Once the ‘Features’ tab has been selected the app panel will appear with
a list of the features that are already applied to your app. On the top right
of the panel there is a ‘Manage’ button, click this to access the features
menu where you can pick and choose which features you would like on
your app.
Select the ‘Gallery’ feature. ’Add’ the feature and then move it to
where you would like it to be placed on your app panel. Press
‘Close' once you’ve finished.
Select the ‘Gallery’ tab now located on your app panel.
For a detailed description of what the ‘Gallery’ feature does
hover over the question mark button
Click the customise button to change the name or the icon
of your gallery feature.
To chose an icon or to upload your own custom icon press
the ‘Browse’ button.
Choose an icon from the list provided, or to upload your own
icon press the ‘Upload custom icon’ tab.
To upload your custom icon drag and drop your 60 x 60 pixel image into the
blue area, or press browse to find your icon manually. Press set when you
have chosen your icon.
Press ‘Save’ once you have finished customising your
features name and icon.
Click on ‘Add Album’ to start uploading images
Name your gallery with what you would like it to be labelled
Upload your images by dragging and dropping them into the
blue square, or upload them manually by selecting ‘Browse’
Hover over your image to change the description, delete the
image or drag it to re-order your gallery
Once you have finished uploading your images click ‘Save’.
To continue adding albums click on ‘Add Album’ again and
follow the previous steps
On each album you'll see a number (which shows the number of photos in that
album) and a recycle bin icon next to it (to delete the full album). You can edit each
album or add more photos to it by clicking on the image
Re-order your gallery by holding the bar icon and dragging
your album to where you would like it to be placed.
Preview App
To view your new app feature download the Putti Preview
App and navigate to your gallery tab.
Once you are in the gallery you will be able to see all the
images you have uploaded
If you're looking to view photos by album, please tap the
‘Albums’ button on the top right.
Once you’ve pressed the ‘Album’ button the images will be
grouped in to their gallery
Preview Website
If you have chosen to have a responsive website then make sure you
have completed the ‘Layout’ section of the CMS (under ‘Web’ View).
Click ‘Preview’ on the top header bar to view the Gallery tab on your
website.
Once you’ve accessed your website navigate to your gallery
tab. Your gallery tab will appear in different places depending
on the layout or template you’ve chosen.
If you would like to view your images in albums then click the
‘Gallery’ button in the centre
You can click on any photo to view it in full size and click on the
'Close' button below once you're done viewing it.
Gallery Tutorial

Gallery Tutorial

  • 1.
    To start editingyour app/website feature, you can be on either the ‘App’ or ‘Web’ View located on the top Header Bar.
  • 2.
    Access the ‘Features’tab on the App Panel
  • 3.
    Once the ‘Features’tab has been selected the app panel will appear with a list of the features that are already applied to your app. On the top right of the panel there is a ‘Manage’ button, click this to access the features menu where you can pick and choose which features you would like on your app.
  • 4.
    Select the ‘Gallery’feature. ’Add’ the feature and then move it to where you would like it to be placed on your app panel. Press ‘Close' once you’ve finished.
  • 5.
    Select the ‘Gallery’tab now located on your app panel.
  • 6.
    For a detaileddescription of what the ‘Gallery’ feature does hover over the question mark button
  • 7.
    Click the customisebutton to change the name or the icon of your gallery feature.
  • 8.
    To chose anicon or to upload your own custom icon press the ‘Browse’ button.
  • 9.
    Choose an iconfrom the list provided, or to upload your own icon press the ‘Upload custom icon’ tab.
  • 10.
    To upload yourcustom icon drag and drop your 60 x 60 pixel image into the blue area, or press browse to find your icon manually. Press set when you have chosen your icon.
  • 11.
    Press ‘Save’ onceyou have finished customising your features name and icon.
  • 12.
    Click on ‘AddAlbum’ to start uploading images
  • 13.
    Name your gallerywith what you would like it to be labelled
  • 14.
    Upload your imagesby dragging and dropping them into the blue square, or upload them manually by selecting ‘Browse’
  • 15.
    Hover over yourimage to change the description, delete the image or drag it to re-order your gallery
  • 16.
    Once you havefinished uploading your images click ‘Save’.
  • 17.
    To continue addingalbums click on ‘Add Album’ again and follow the previous steps
  • 18.
    On each albumyou'll see a number (which shows the number of photos in that album) and a recycle bin icon next to it (to delete the full album). You can edit each album or add more photos to it by clicking on the image
  • 19.
    Re-order your galleryby holding the bar icon and dragging your album to where you would like it to be placed.
  • 20.
    Preview App To viewyour new app feature download the Putti Preview App and navigate to your gallery tab.
  • 21.
    Once you arein the gallery you will be able to see all the images you have uploaded
  • 22.
    If you're lookingto view photos by album, please tap the ‘Albums’ button on the top right.
  • 23.
    Once you’ve pressedthe ‘Album’ button the images will be grouped in to their gallery
  • 24.
    Preview Website If youhave chosen to have a responsive website then make sure you have completed the ‘Layout’ section of the CMS (under ‘Web’ View). Click ‘Preview’ on the top header bar to view the Gallery tab on your website.
  • 25.
    Once you’ve accessedyour website navigate to your gallery tab. Your gallery tab will appear in different places depending on the layout or template you’ve chosen.
  • 26.
    If you wouldlike to view your images in albums then click the ‘Gallery’ button in the centre
  • 27.
    You can clickon any photo to view it in full size and click on the 'Close' button below once you're done viewing it.