Downloaded 117 times


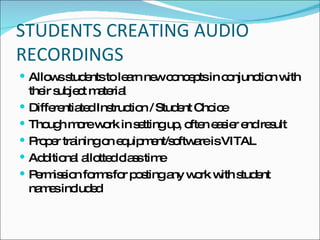
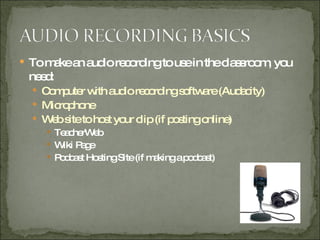
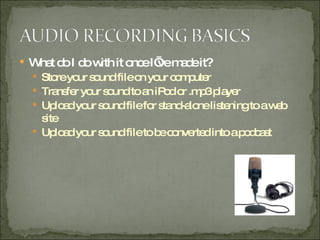
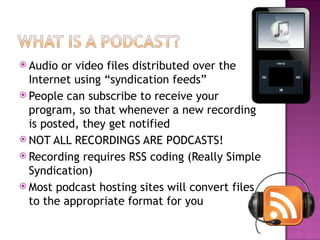
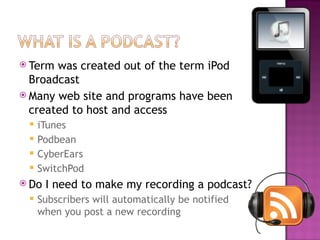
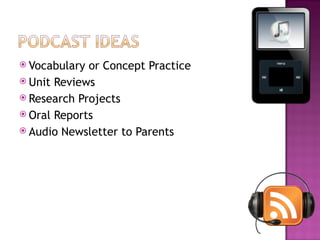
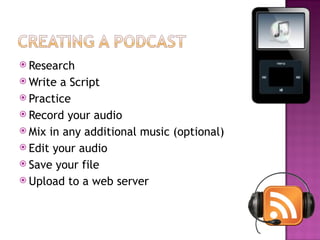
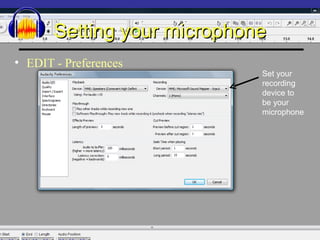
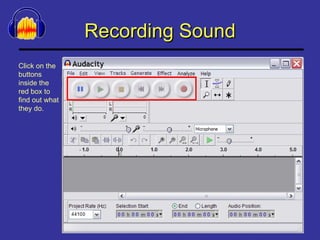
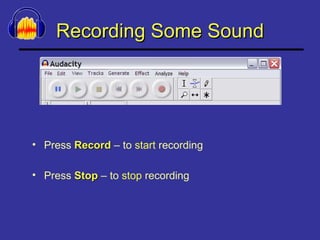
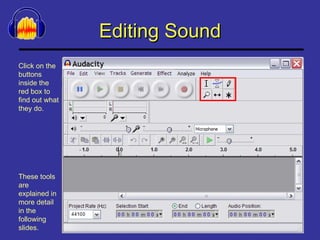
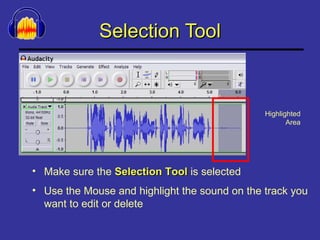
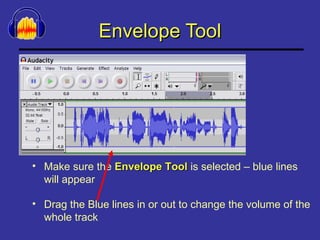
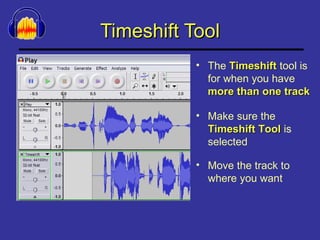
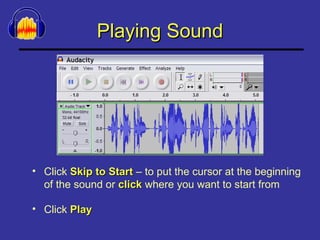
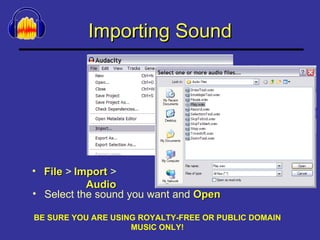
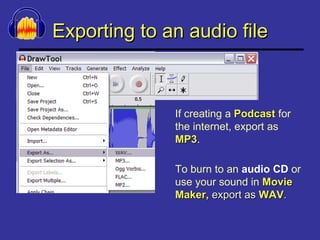


The Burrell School District in-service on February 16, 2009, focused on the use of audio recordings and podcasts as educational tools, emphasizing different learning styles and ways to engage students. Participants learned about creating and utilizing audio content in the classroom, including necessary equipment and software, as well as best practices for posting such content online. The session included hands-on practice with Audacity for recording and editing audio, fostering differentiated instruction and student choice.


![[EDUCATIONAL TECHNOLOGY 2] Audio media](https://cdn.slidesharecdn.com/ss_thumbnails/audiomedia-150130044555-conversion-gate01-thumbnail.jpg?width=640&height=640&fit=bounds)


![Getting Started with Apache Spark: Big Data Made Simple [Free Meetup]](https://cdn.slidesharecdn.com/ss_thumbnails/apachesparkgettingstarted-260203175547-8361bcc3-thumbnail.jpg?width=640&height=640&fit=bounds)


