Downloaded 173 times
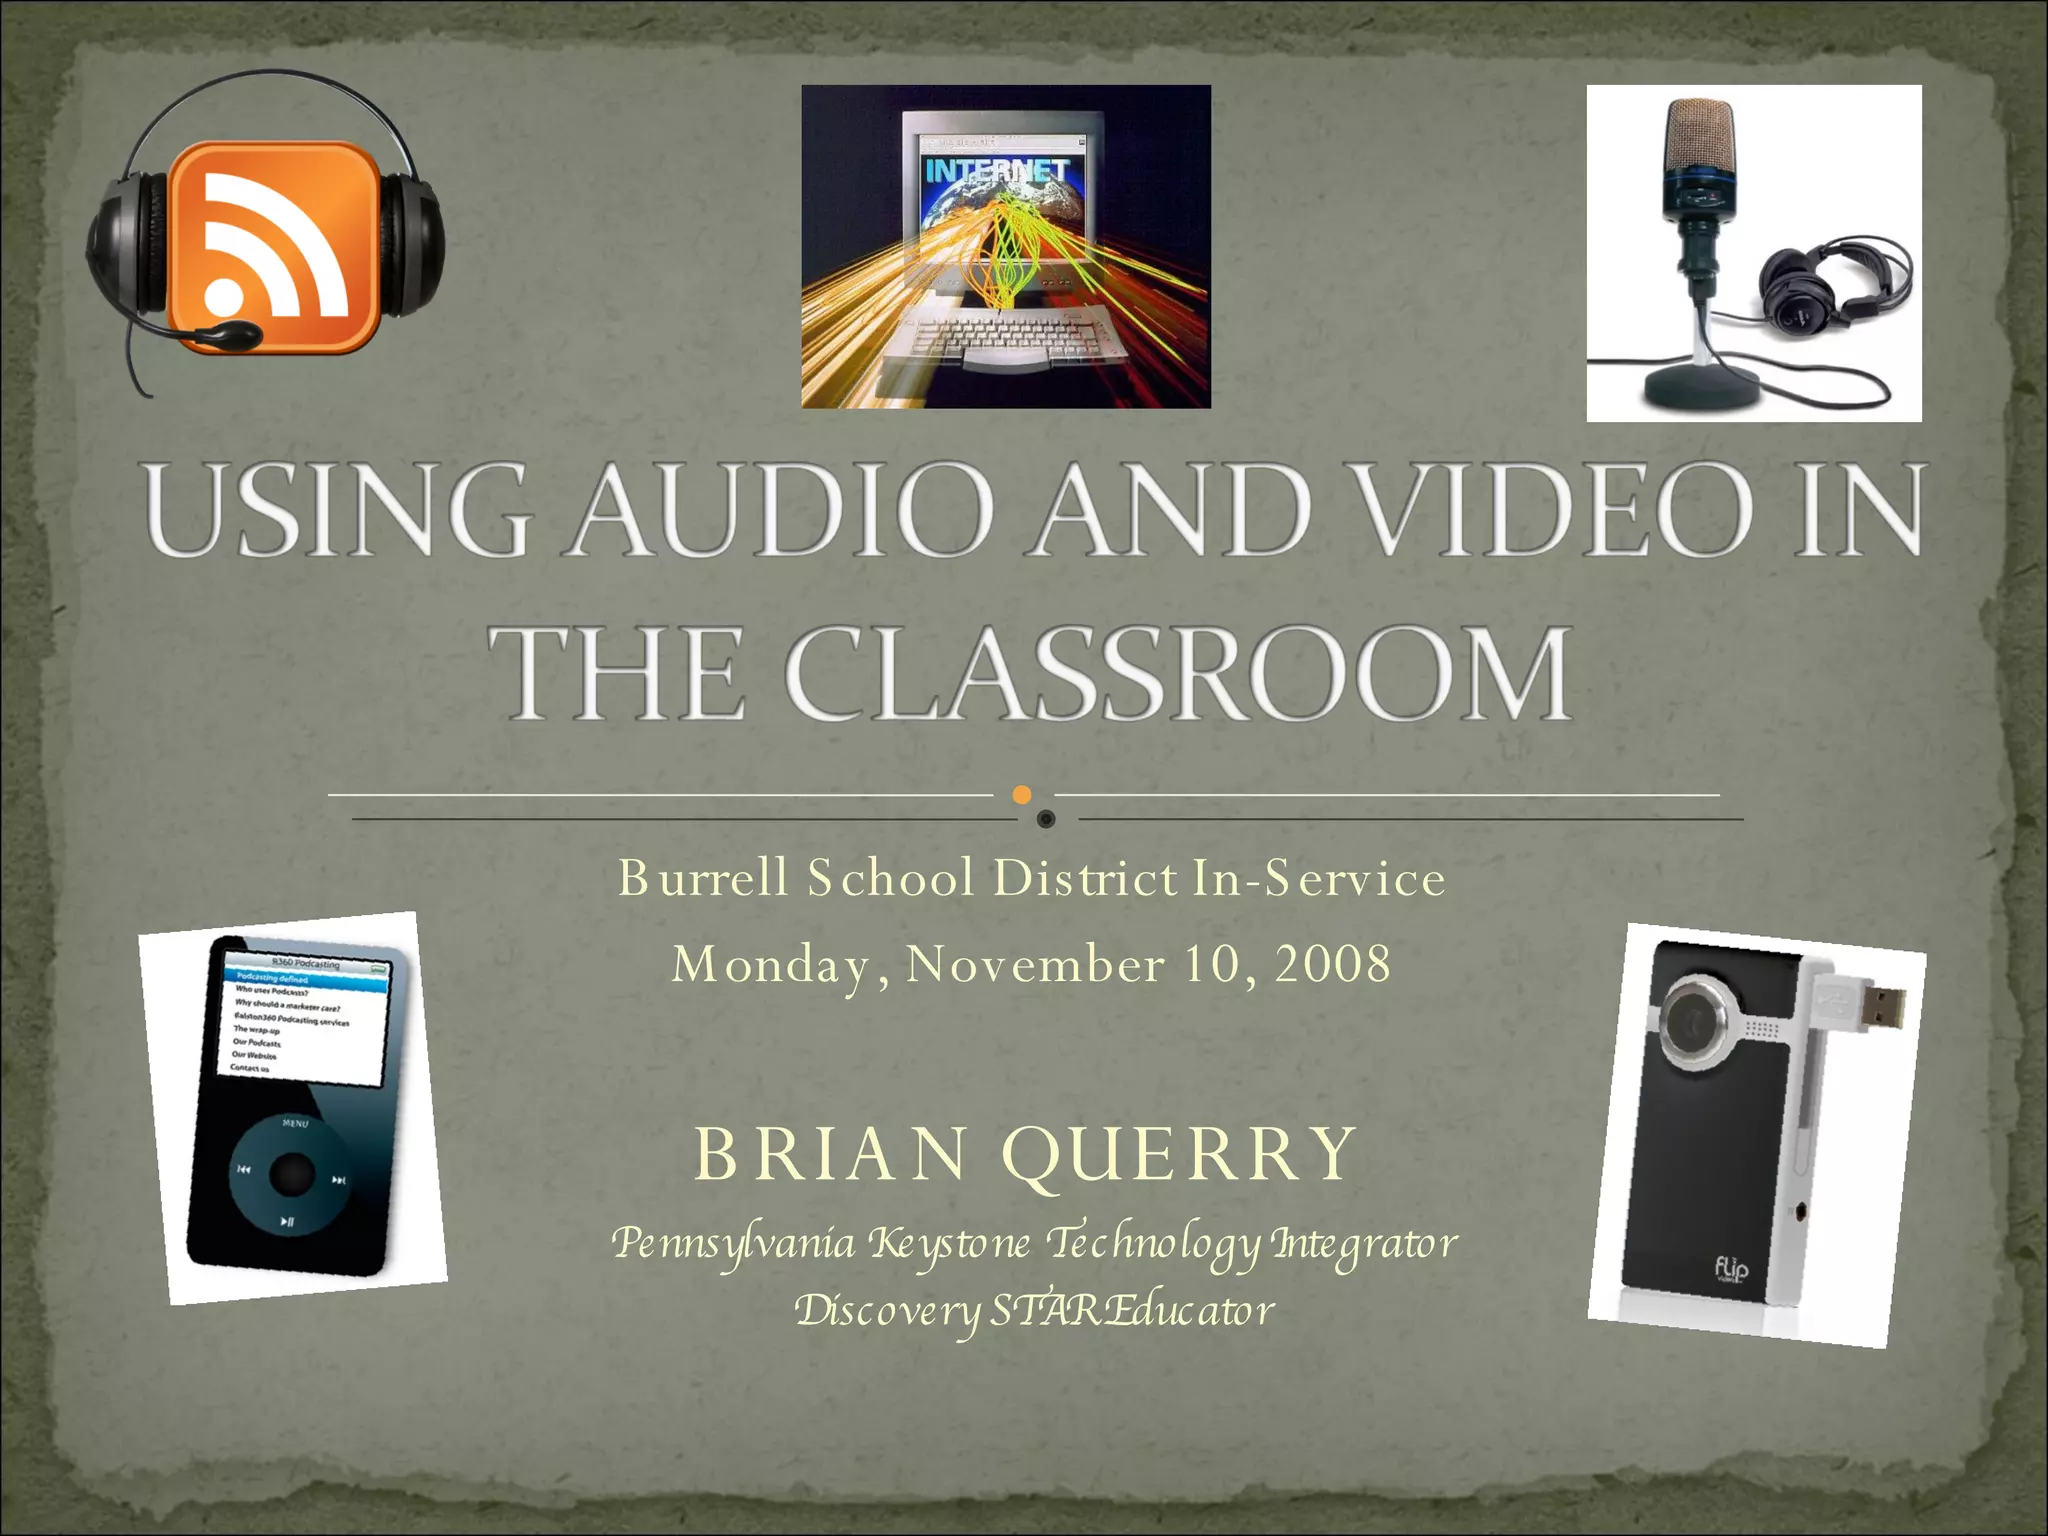
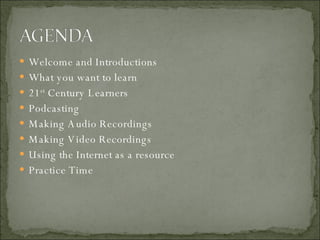
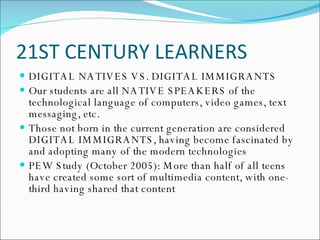
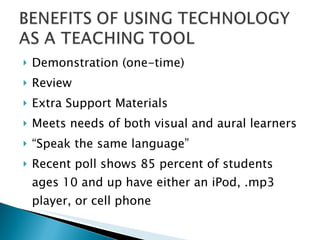
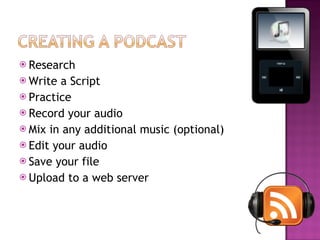
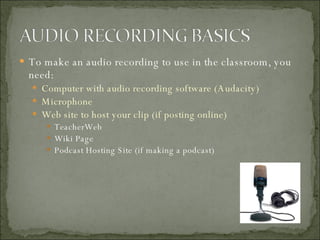
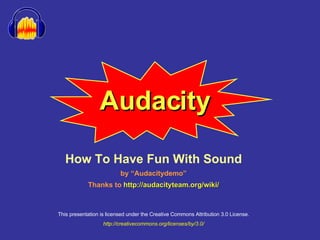
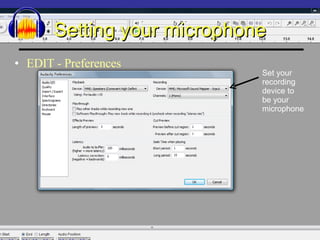

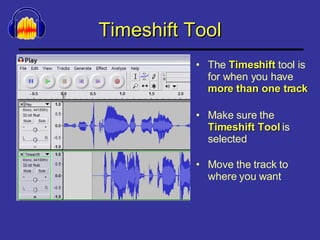
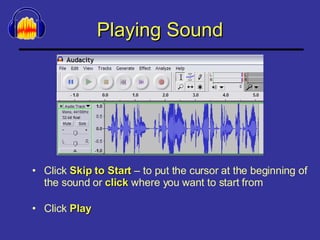
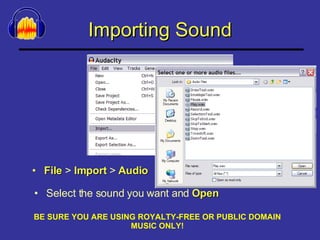
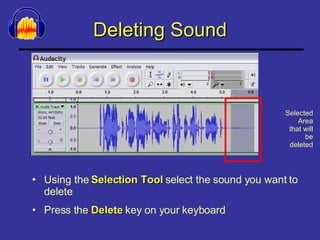
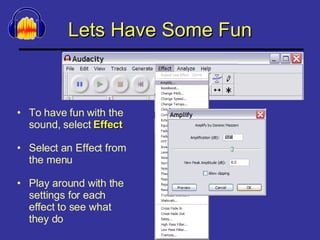
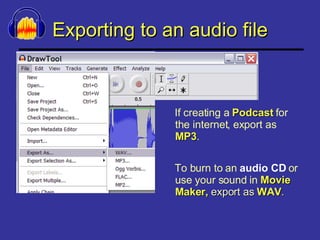


The document outlines a professional development in-service session for the Burrell School District focusing on integrating technology in the classroom, particularly through podcasting and video recording. It emphasizes the need for educators to understand the language of digital natives and provides practical steps and tools for creating audio and video content. Participants are encouraged to practice using software like Audacity and discuss the implications of using multimedia in education while detailing the requirements for creating and sharing recordings.