Downloaded 8,316 times
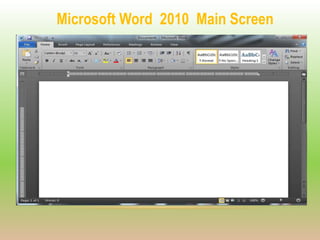
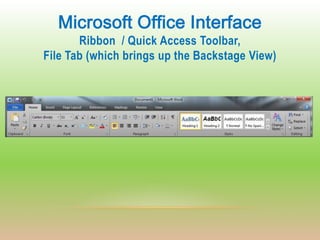
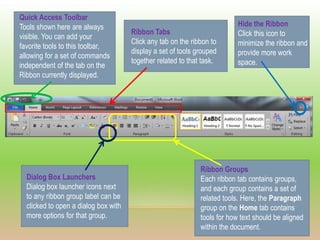

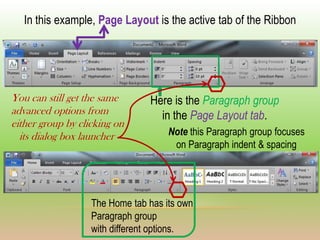


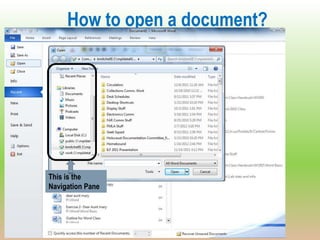
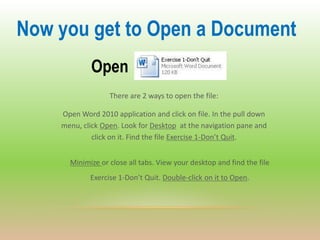
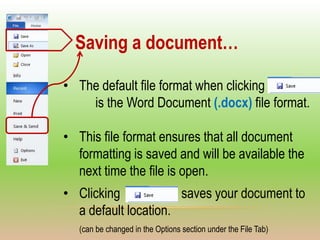


Microsoft Word 2010 is a word processing program that allows users to create documents and reports. It has a ribbon interface with tabs for formatting tools. Users can open, save, print, edit text, and insert images in documents. Formatting options include fonts, paragraph styles, page layout, and reviews.