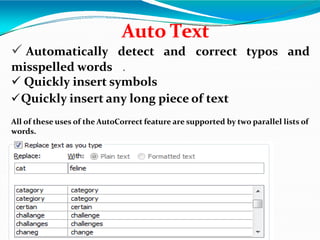
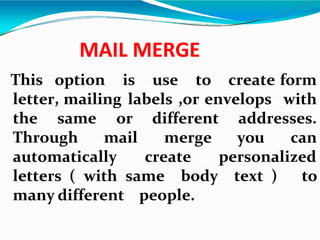
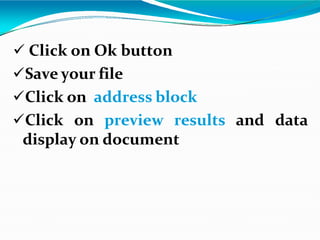
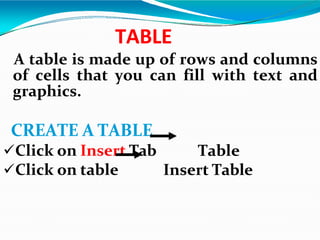
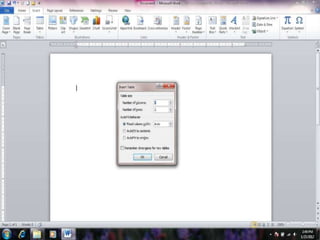
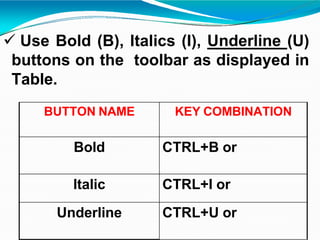
This document provides instructions for using various features in Microsoft Word. It describes how to start Word, create and open documents, save documents, set page layout and margins, insert headers and footers, use copy and paste, find and replace text, add bookmarks, change font styles and size, add paragraphs and spacing, insert bullets and numbering, add borders and shading, change case, use the background, format painter, check spelling and grammar, perform mail merge, and create and print tables.


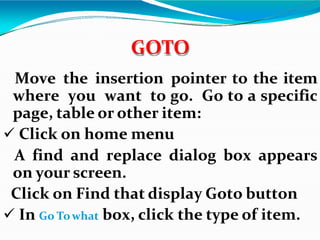


![ Use any of these keyboard shortcuts
to increase or decrease the font size as
shown in Table
SHORTCUT KEY COMBINATION
CTRL+] Increase one point at a time.
CTRL+[ Decrease one point at a time.
CTRL+SHIFT+
>
Increase by 10 points, 12 points,
14 points and so on.
CTRL+SHIFT+
<
Decrease by 10 points, 12
points, 14 points and so on.](https://image.slidesharecdn.com/msword-230904045032-93e3a3fe/85/MS-WORD-pptx-43-320.jpg)