Download as PDF, PPTX
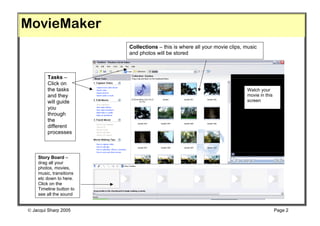
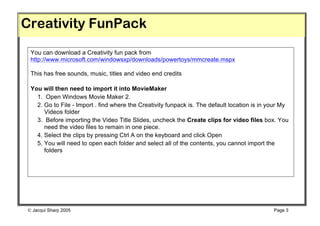


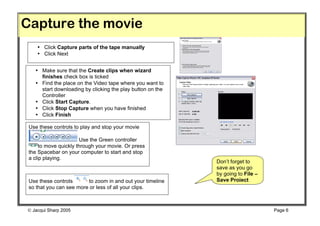

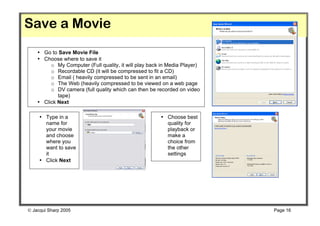
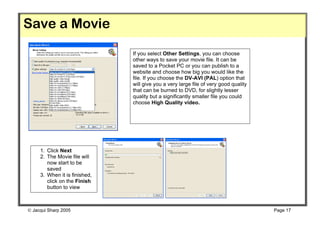

The document provides step-by-step instructions for creating a movie using Movie Maker. It describes how to import video clips, photos, music and other media; edit the clips; add titles, transitions and visual effects; adjust audio levels; and save the finished movie in various formats. The instructions guide the user through all aspects of the movie creation process within Movie Maker.


