Download as PDF, PPTX
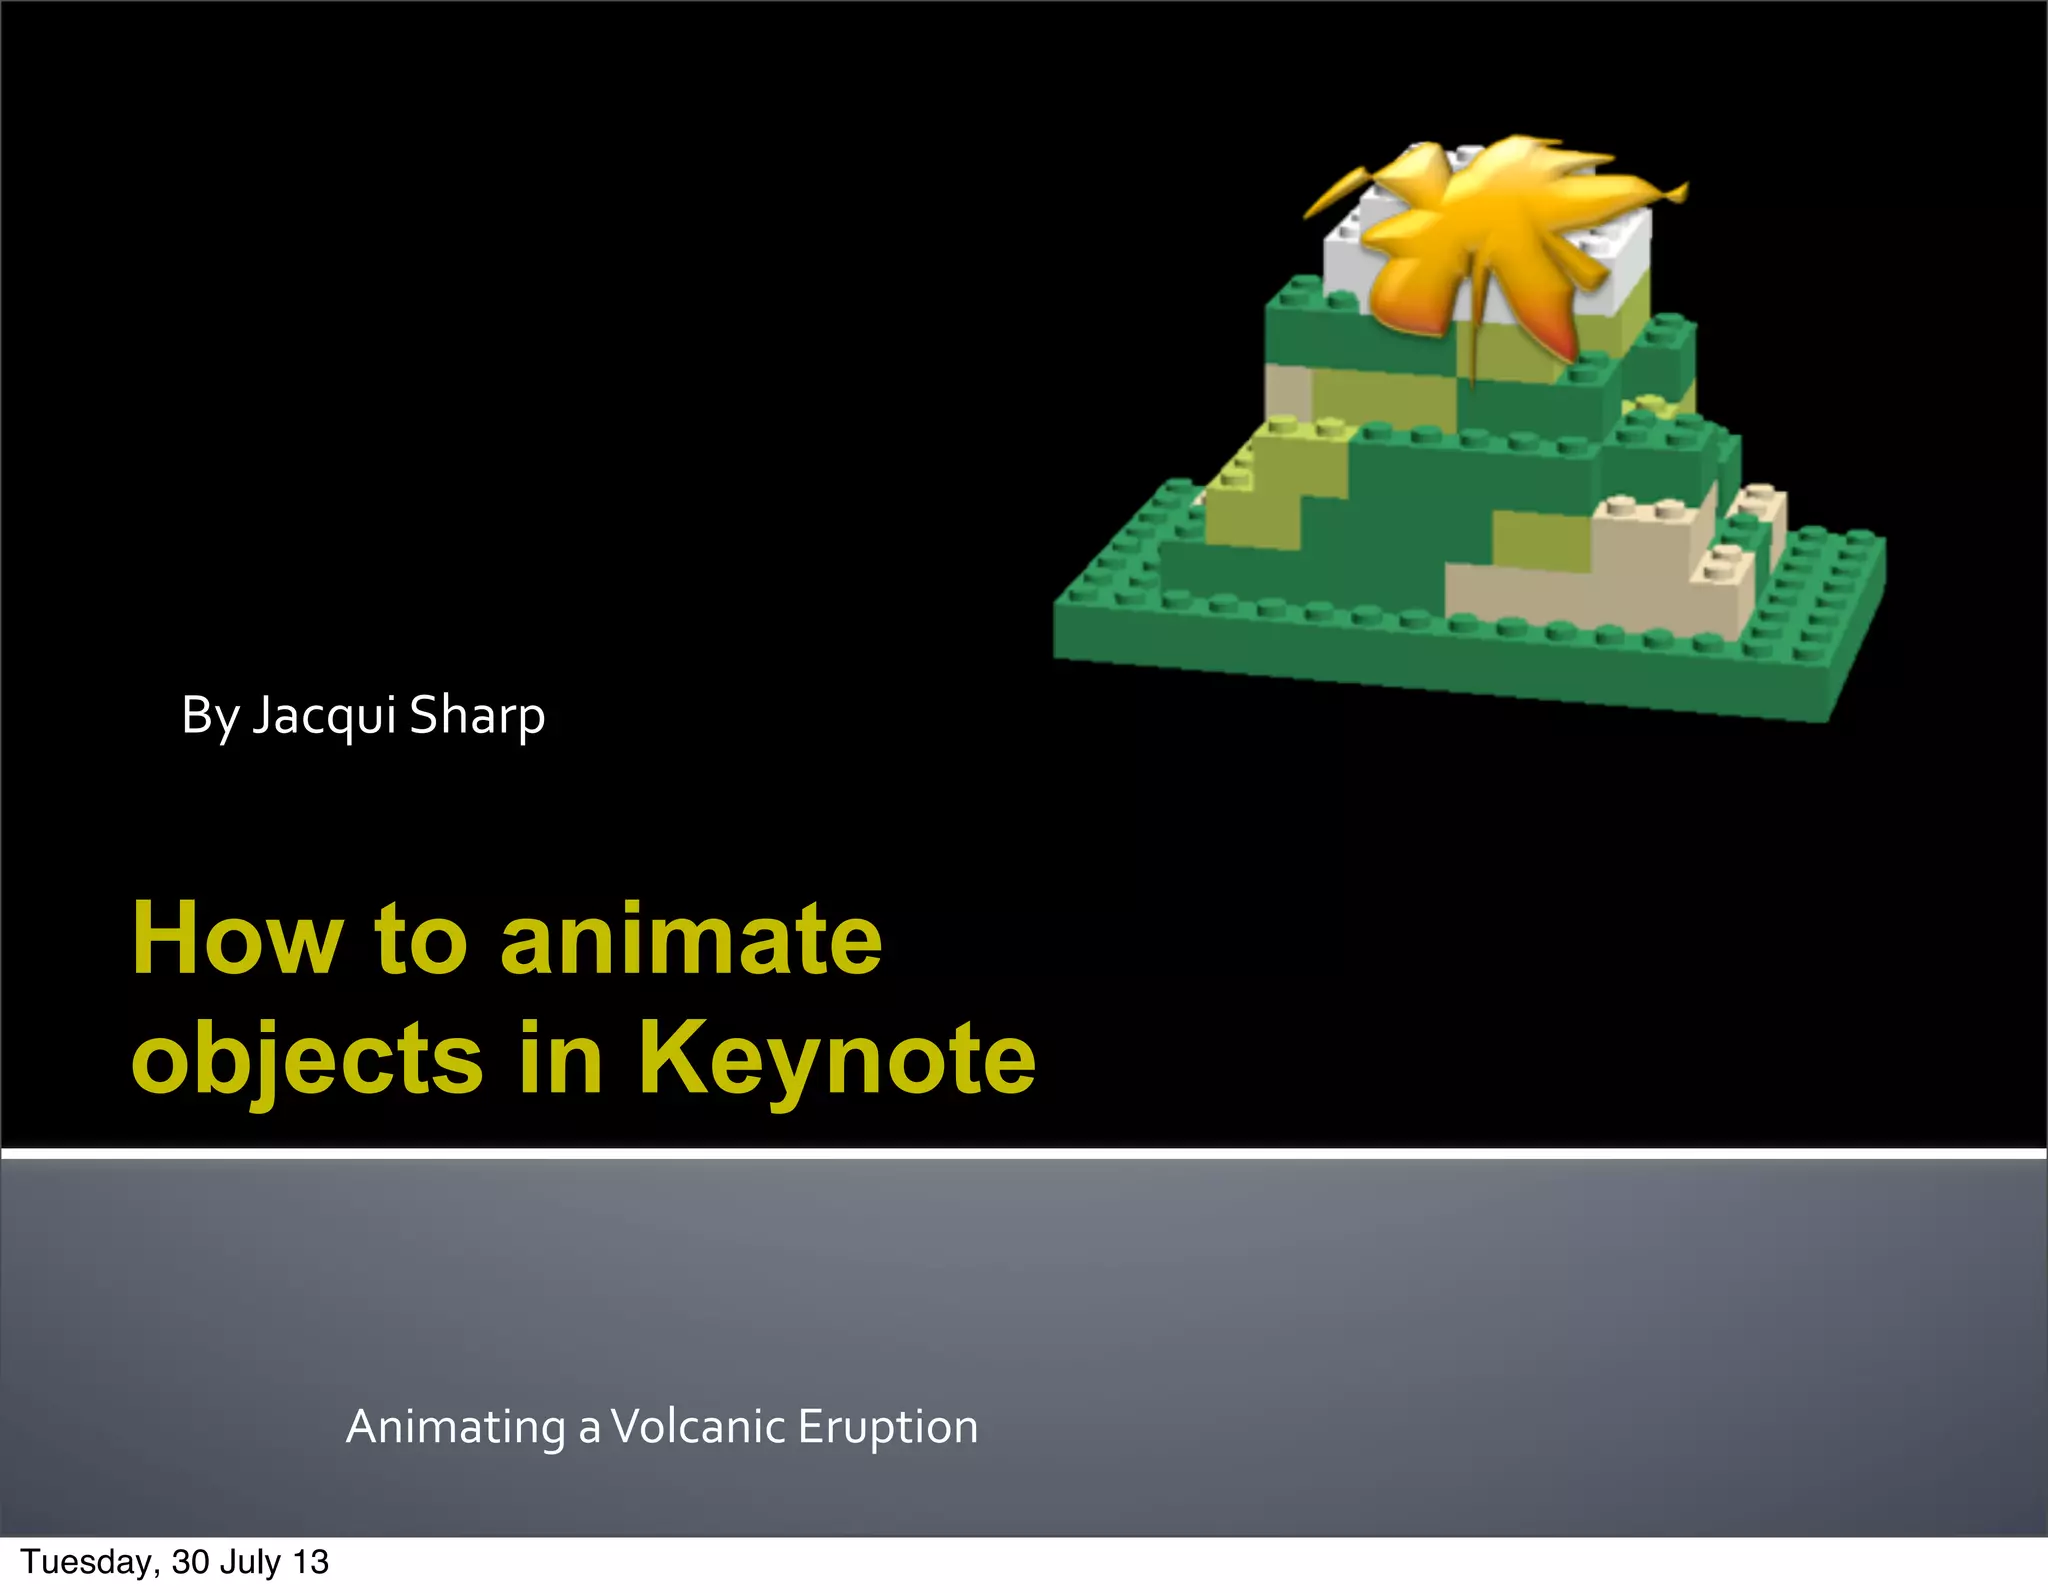
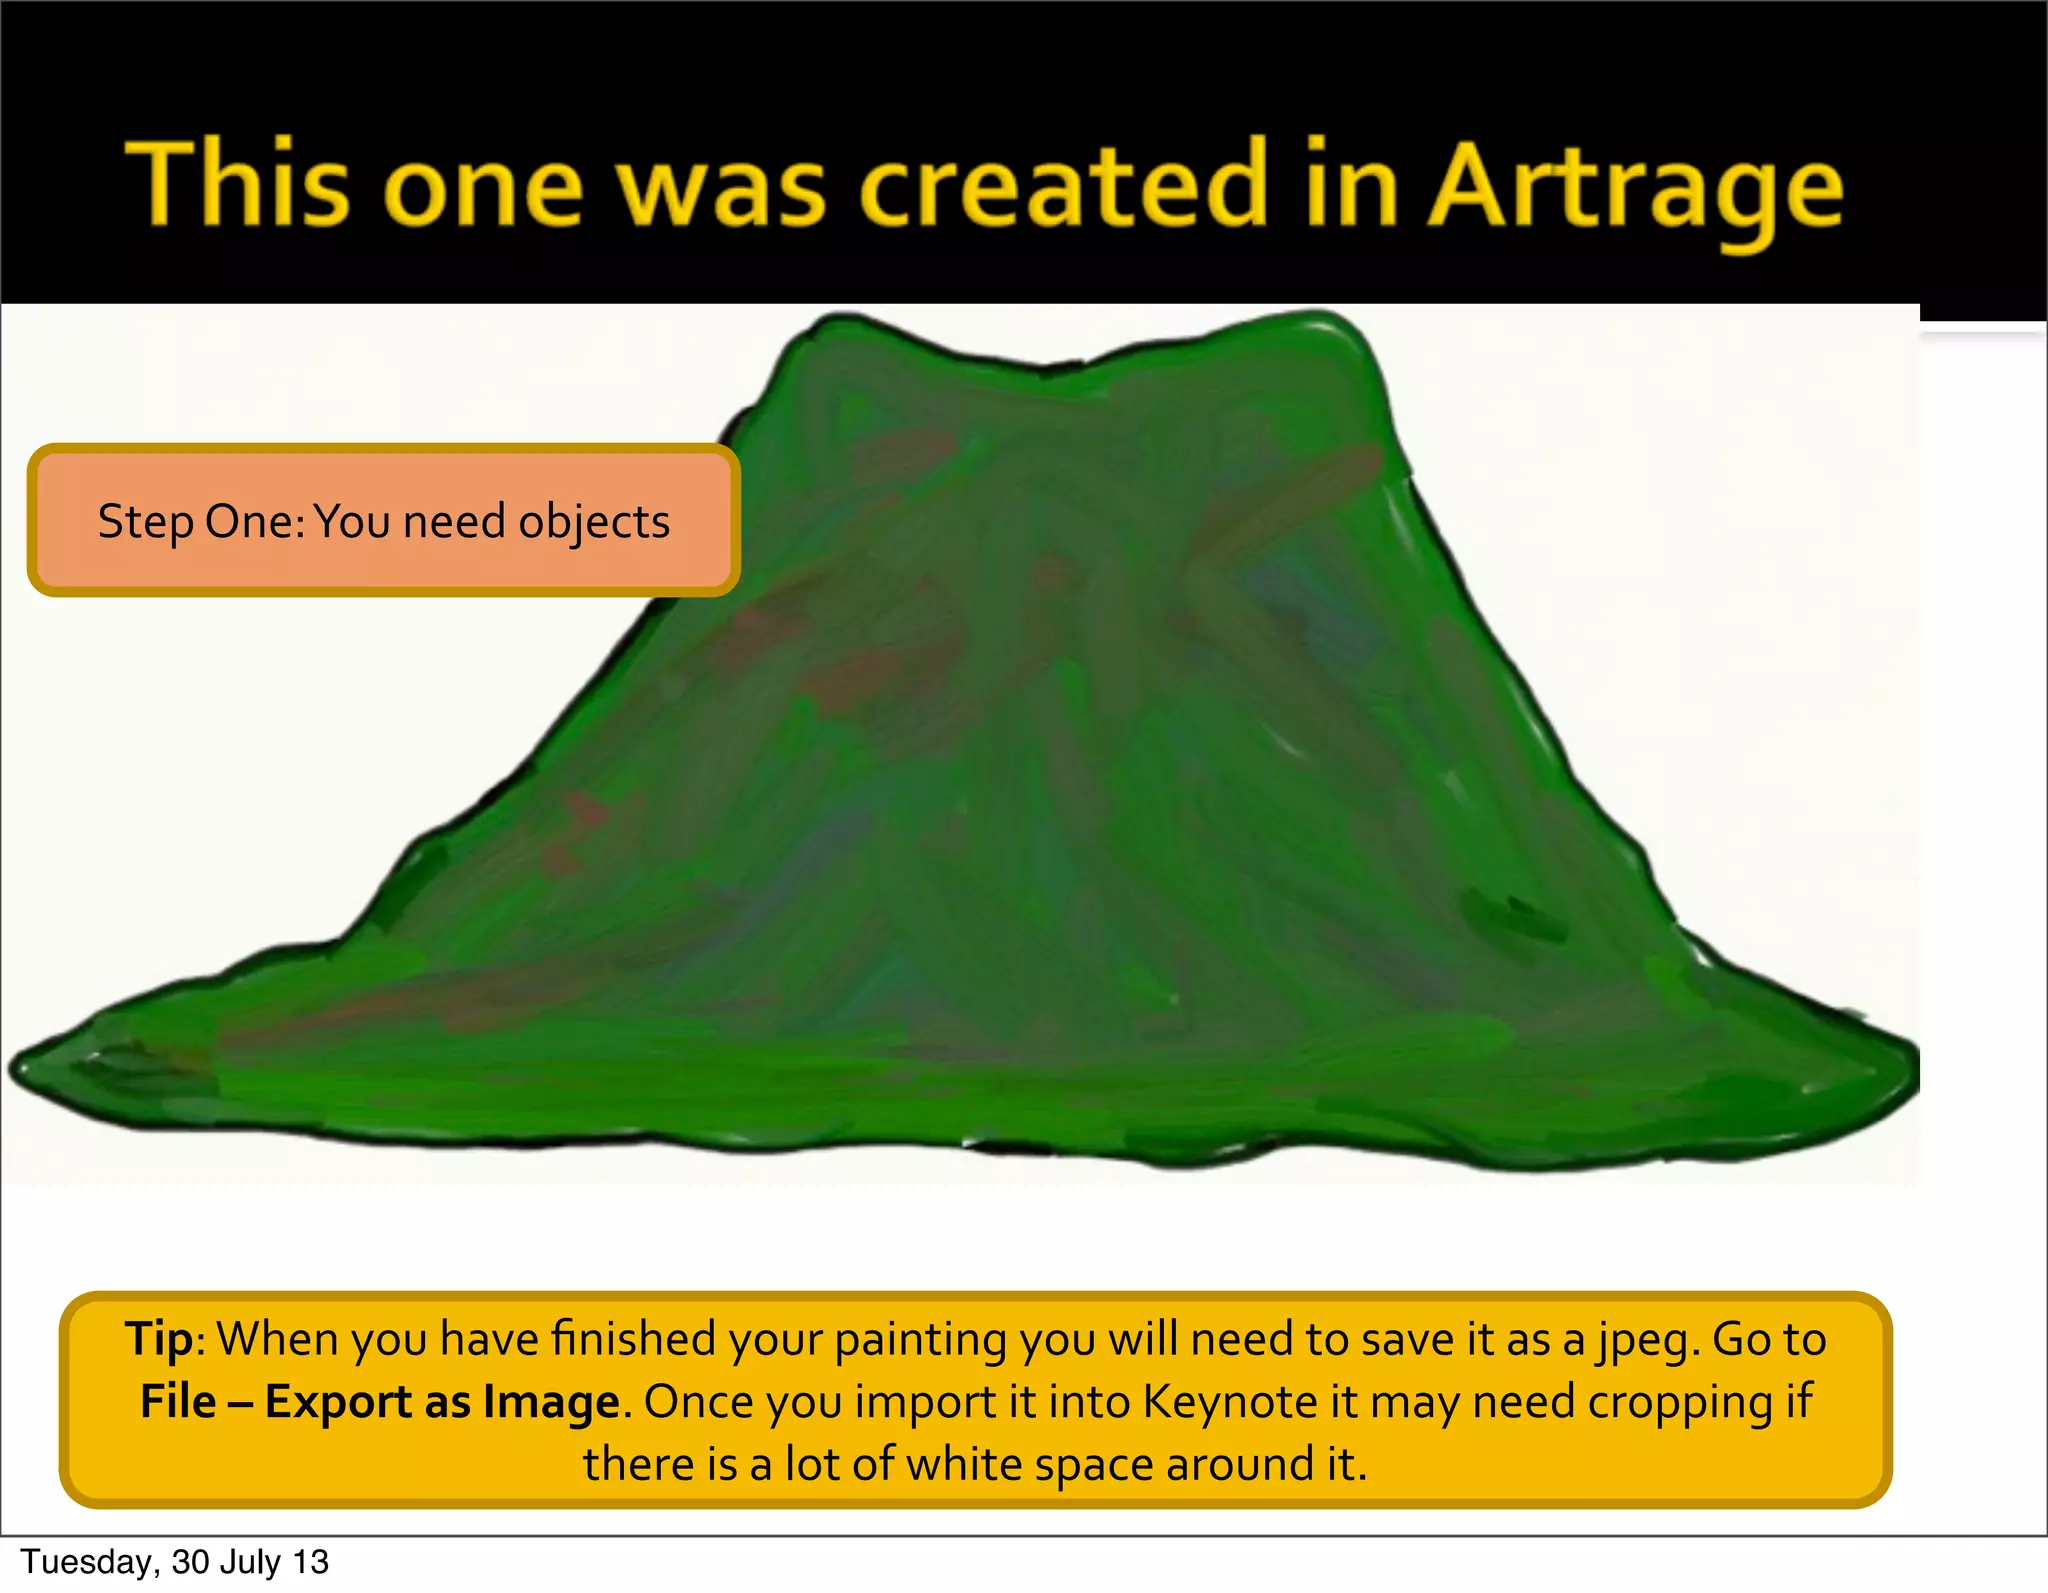
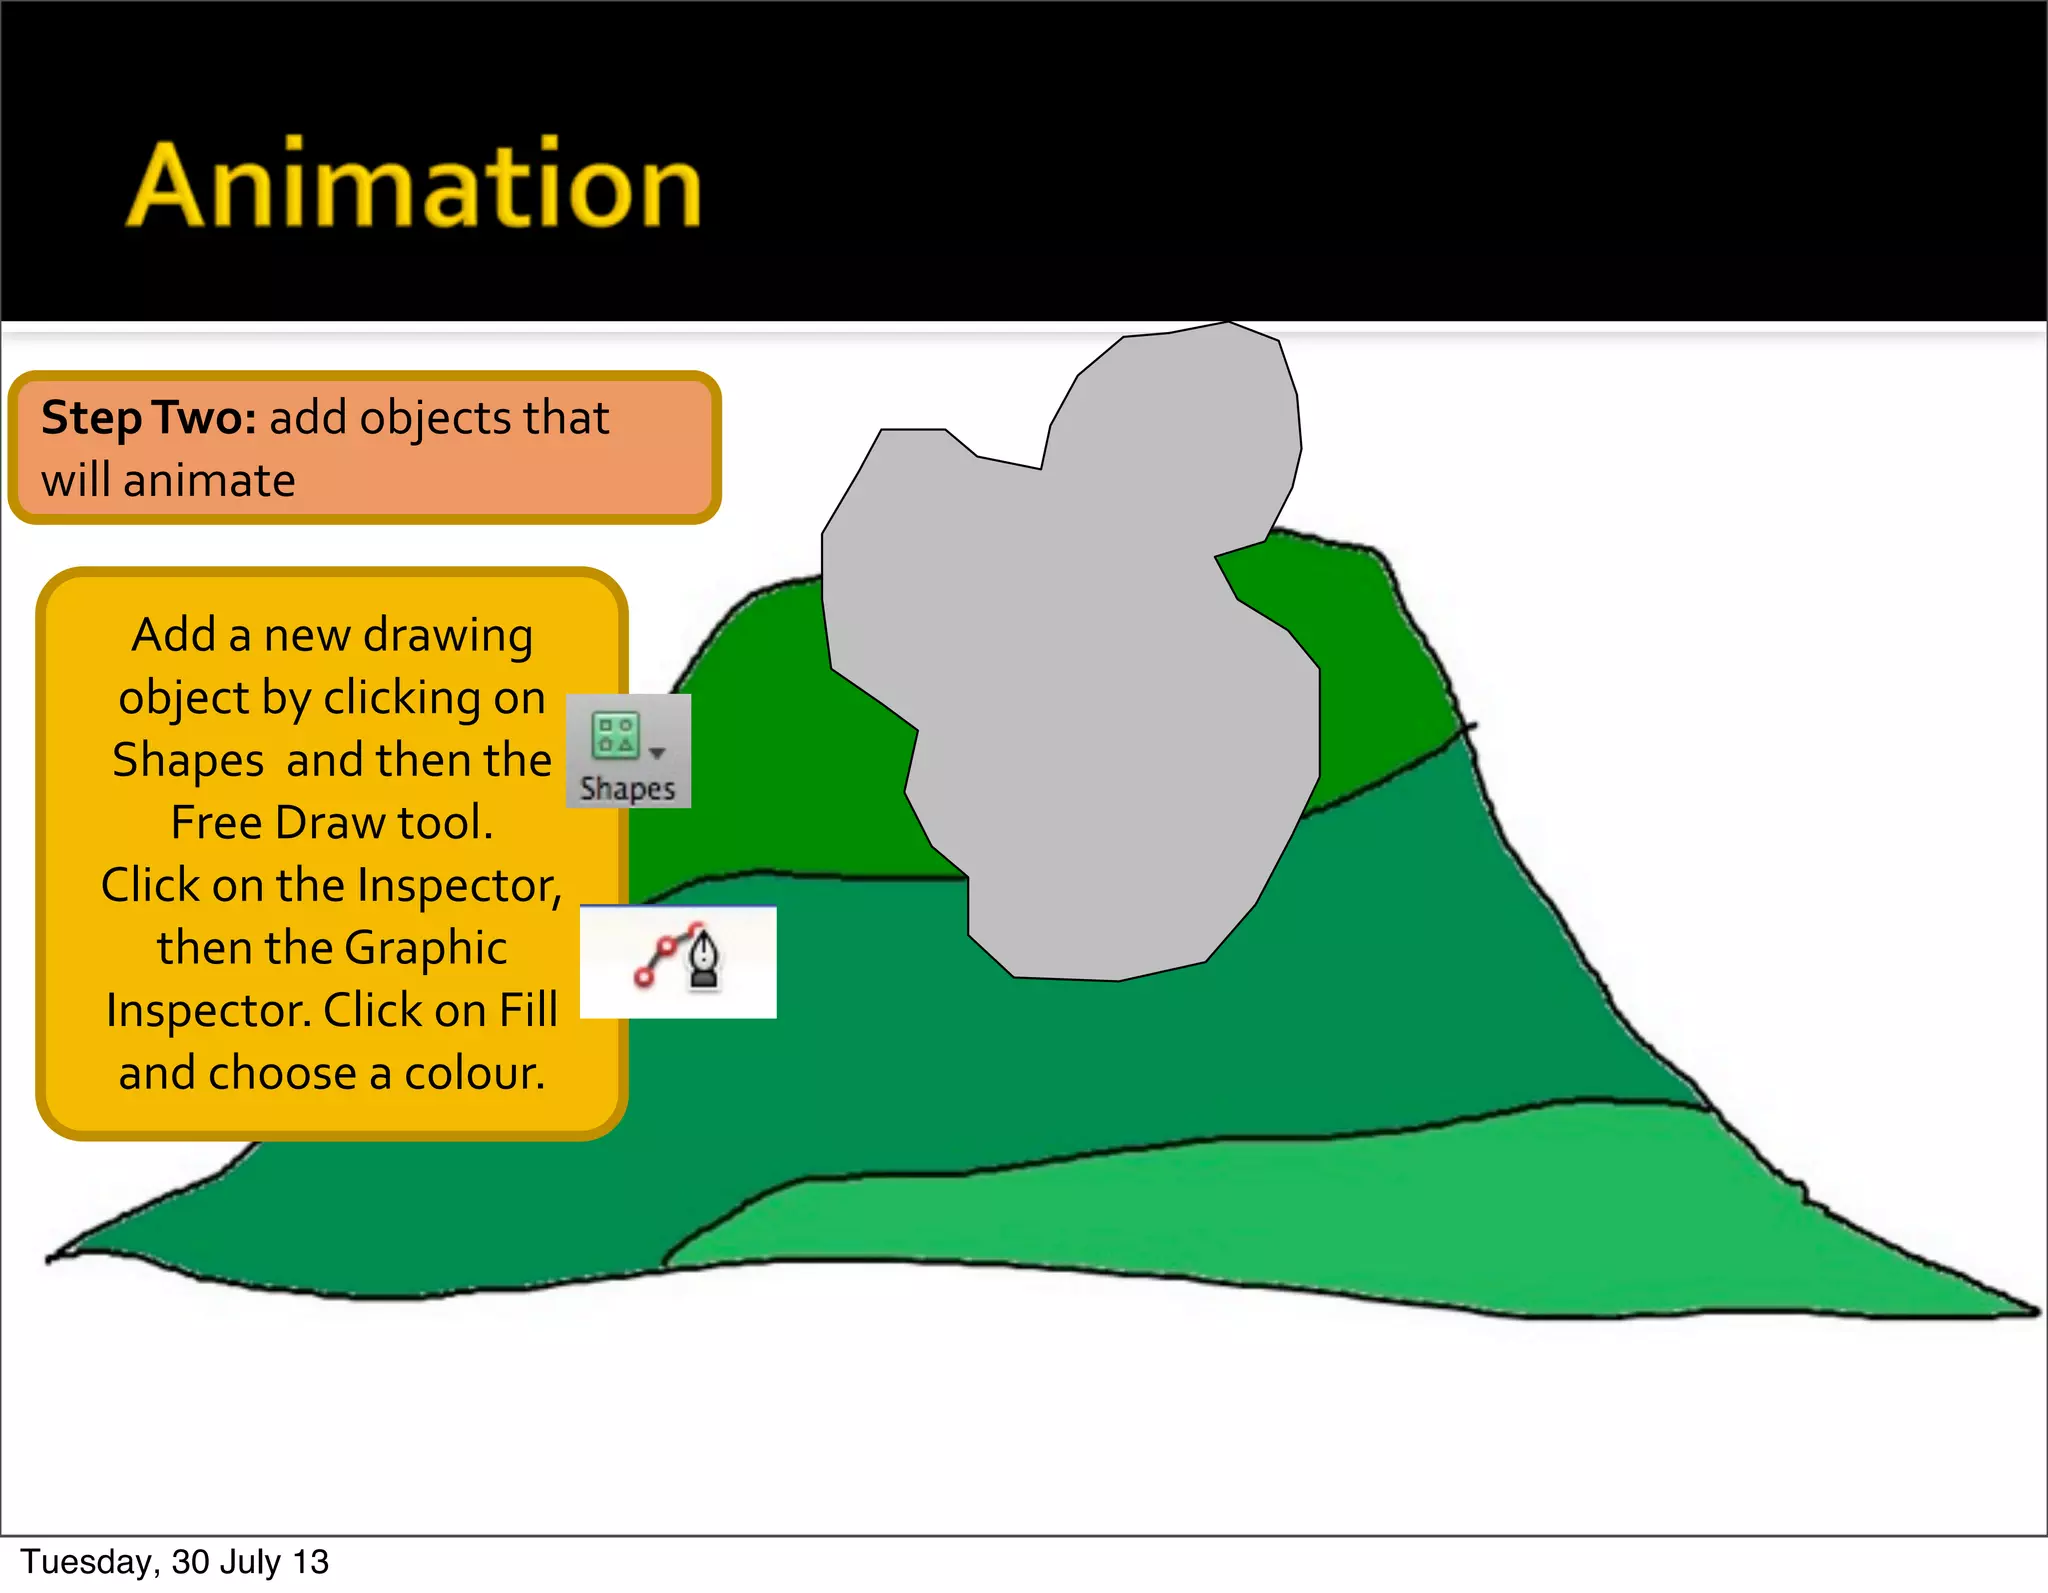
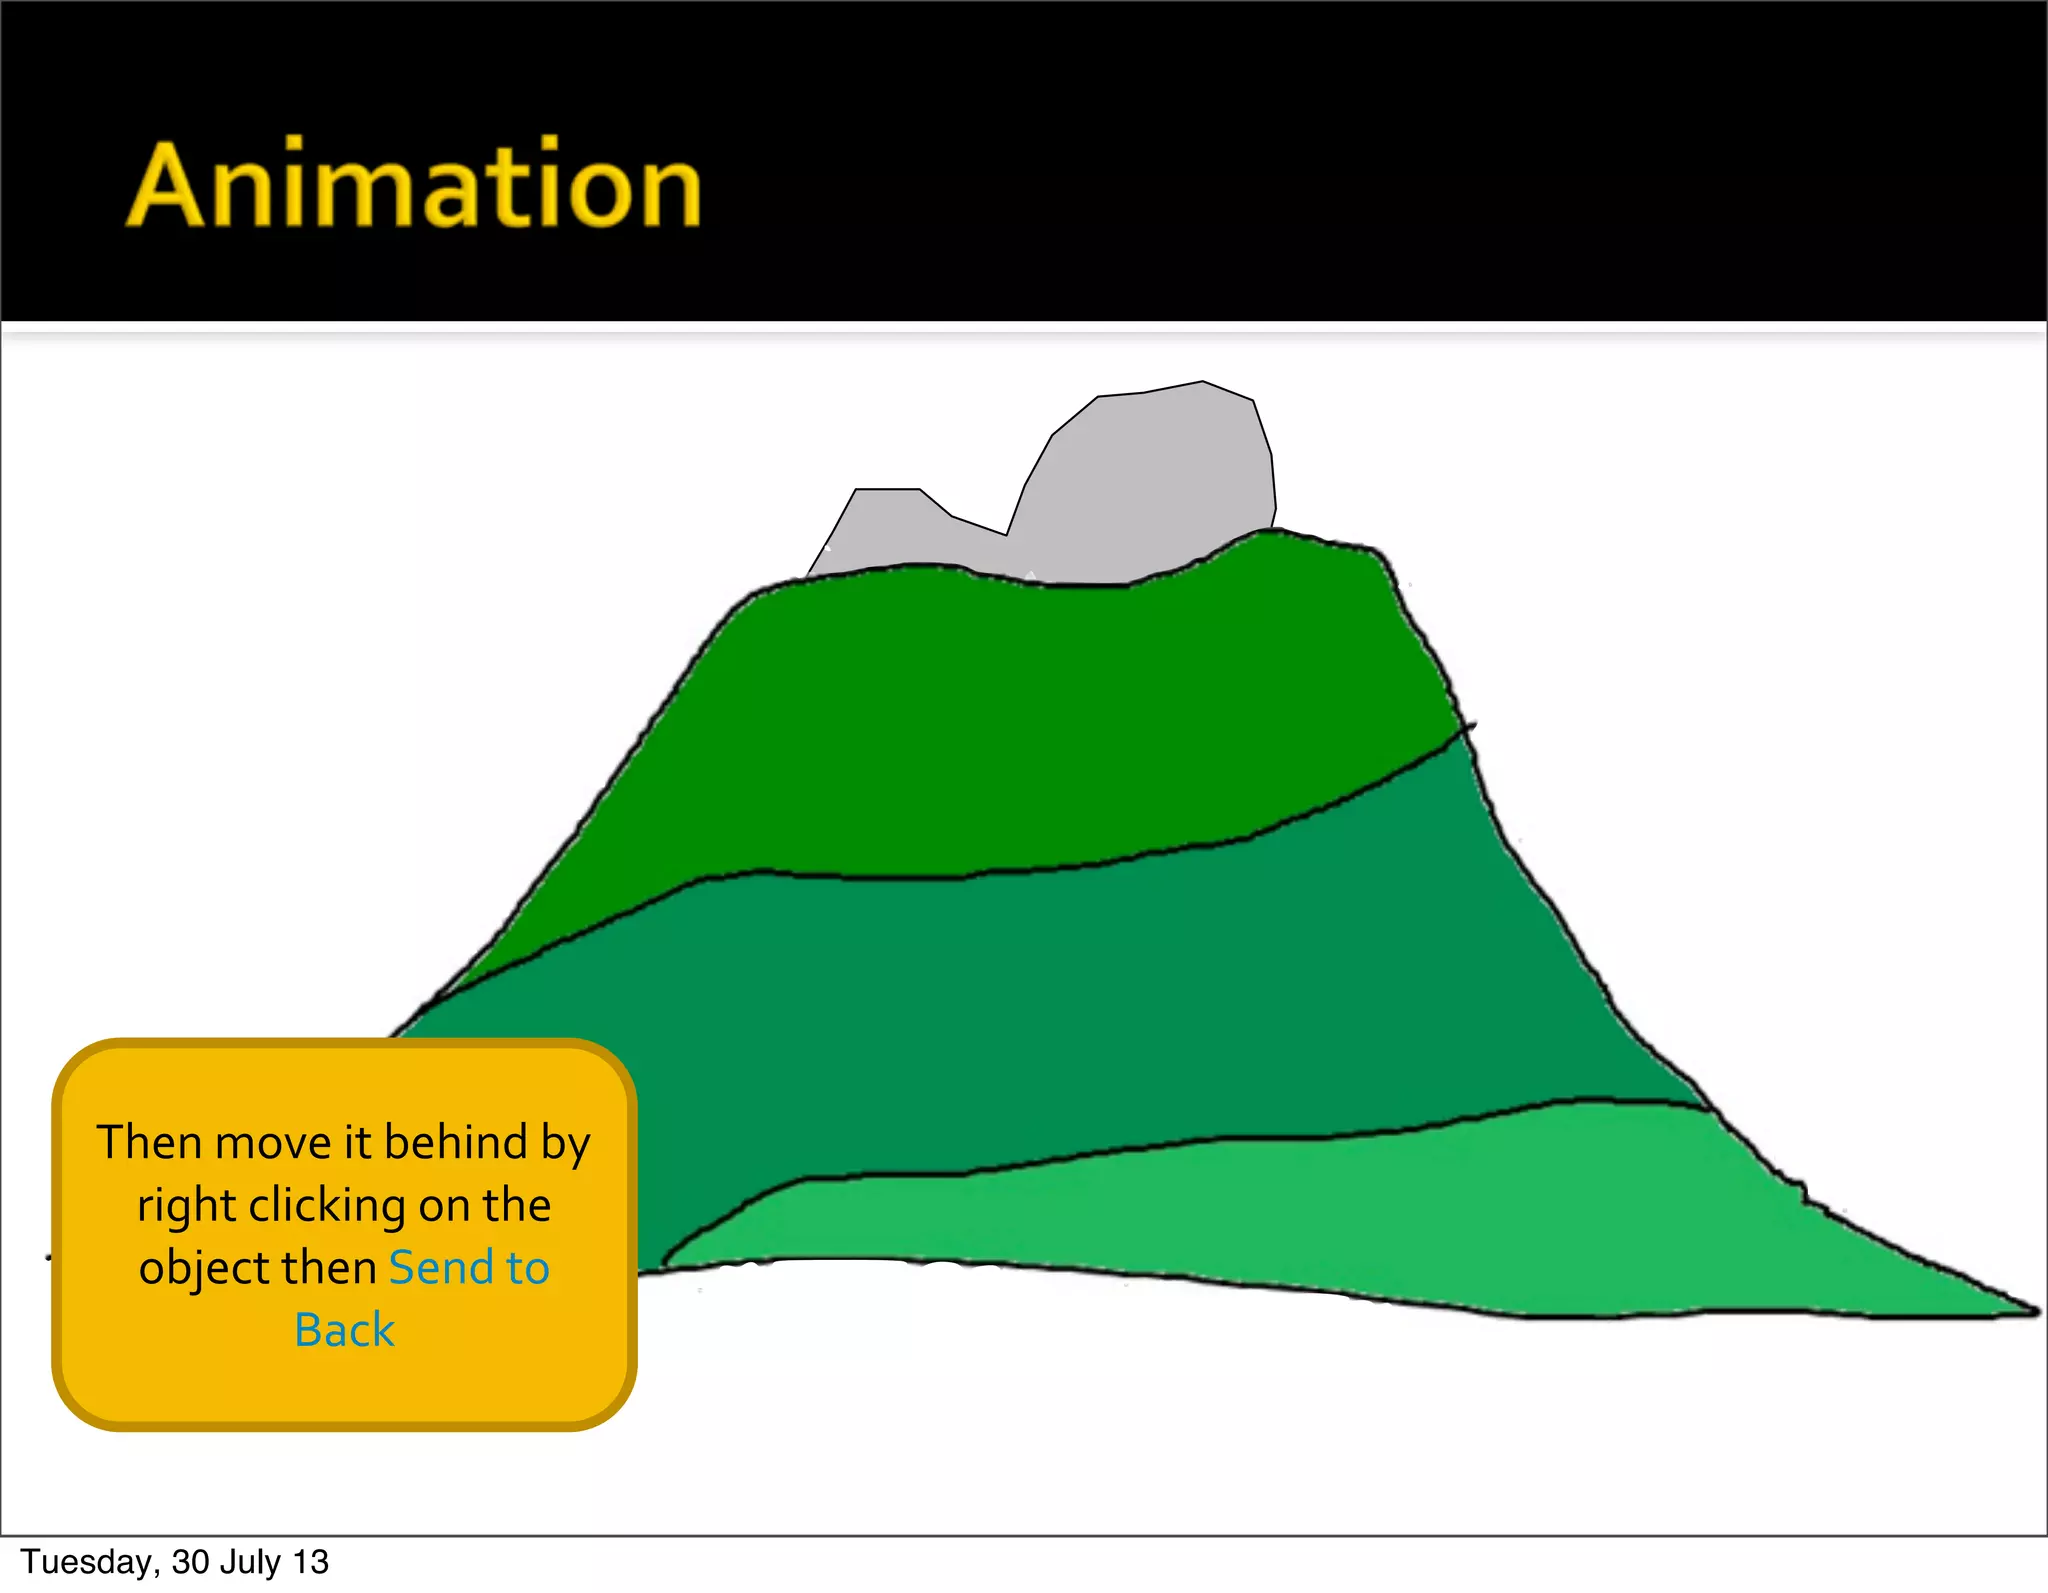
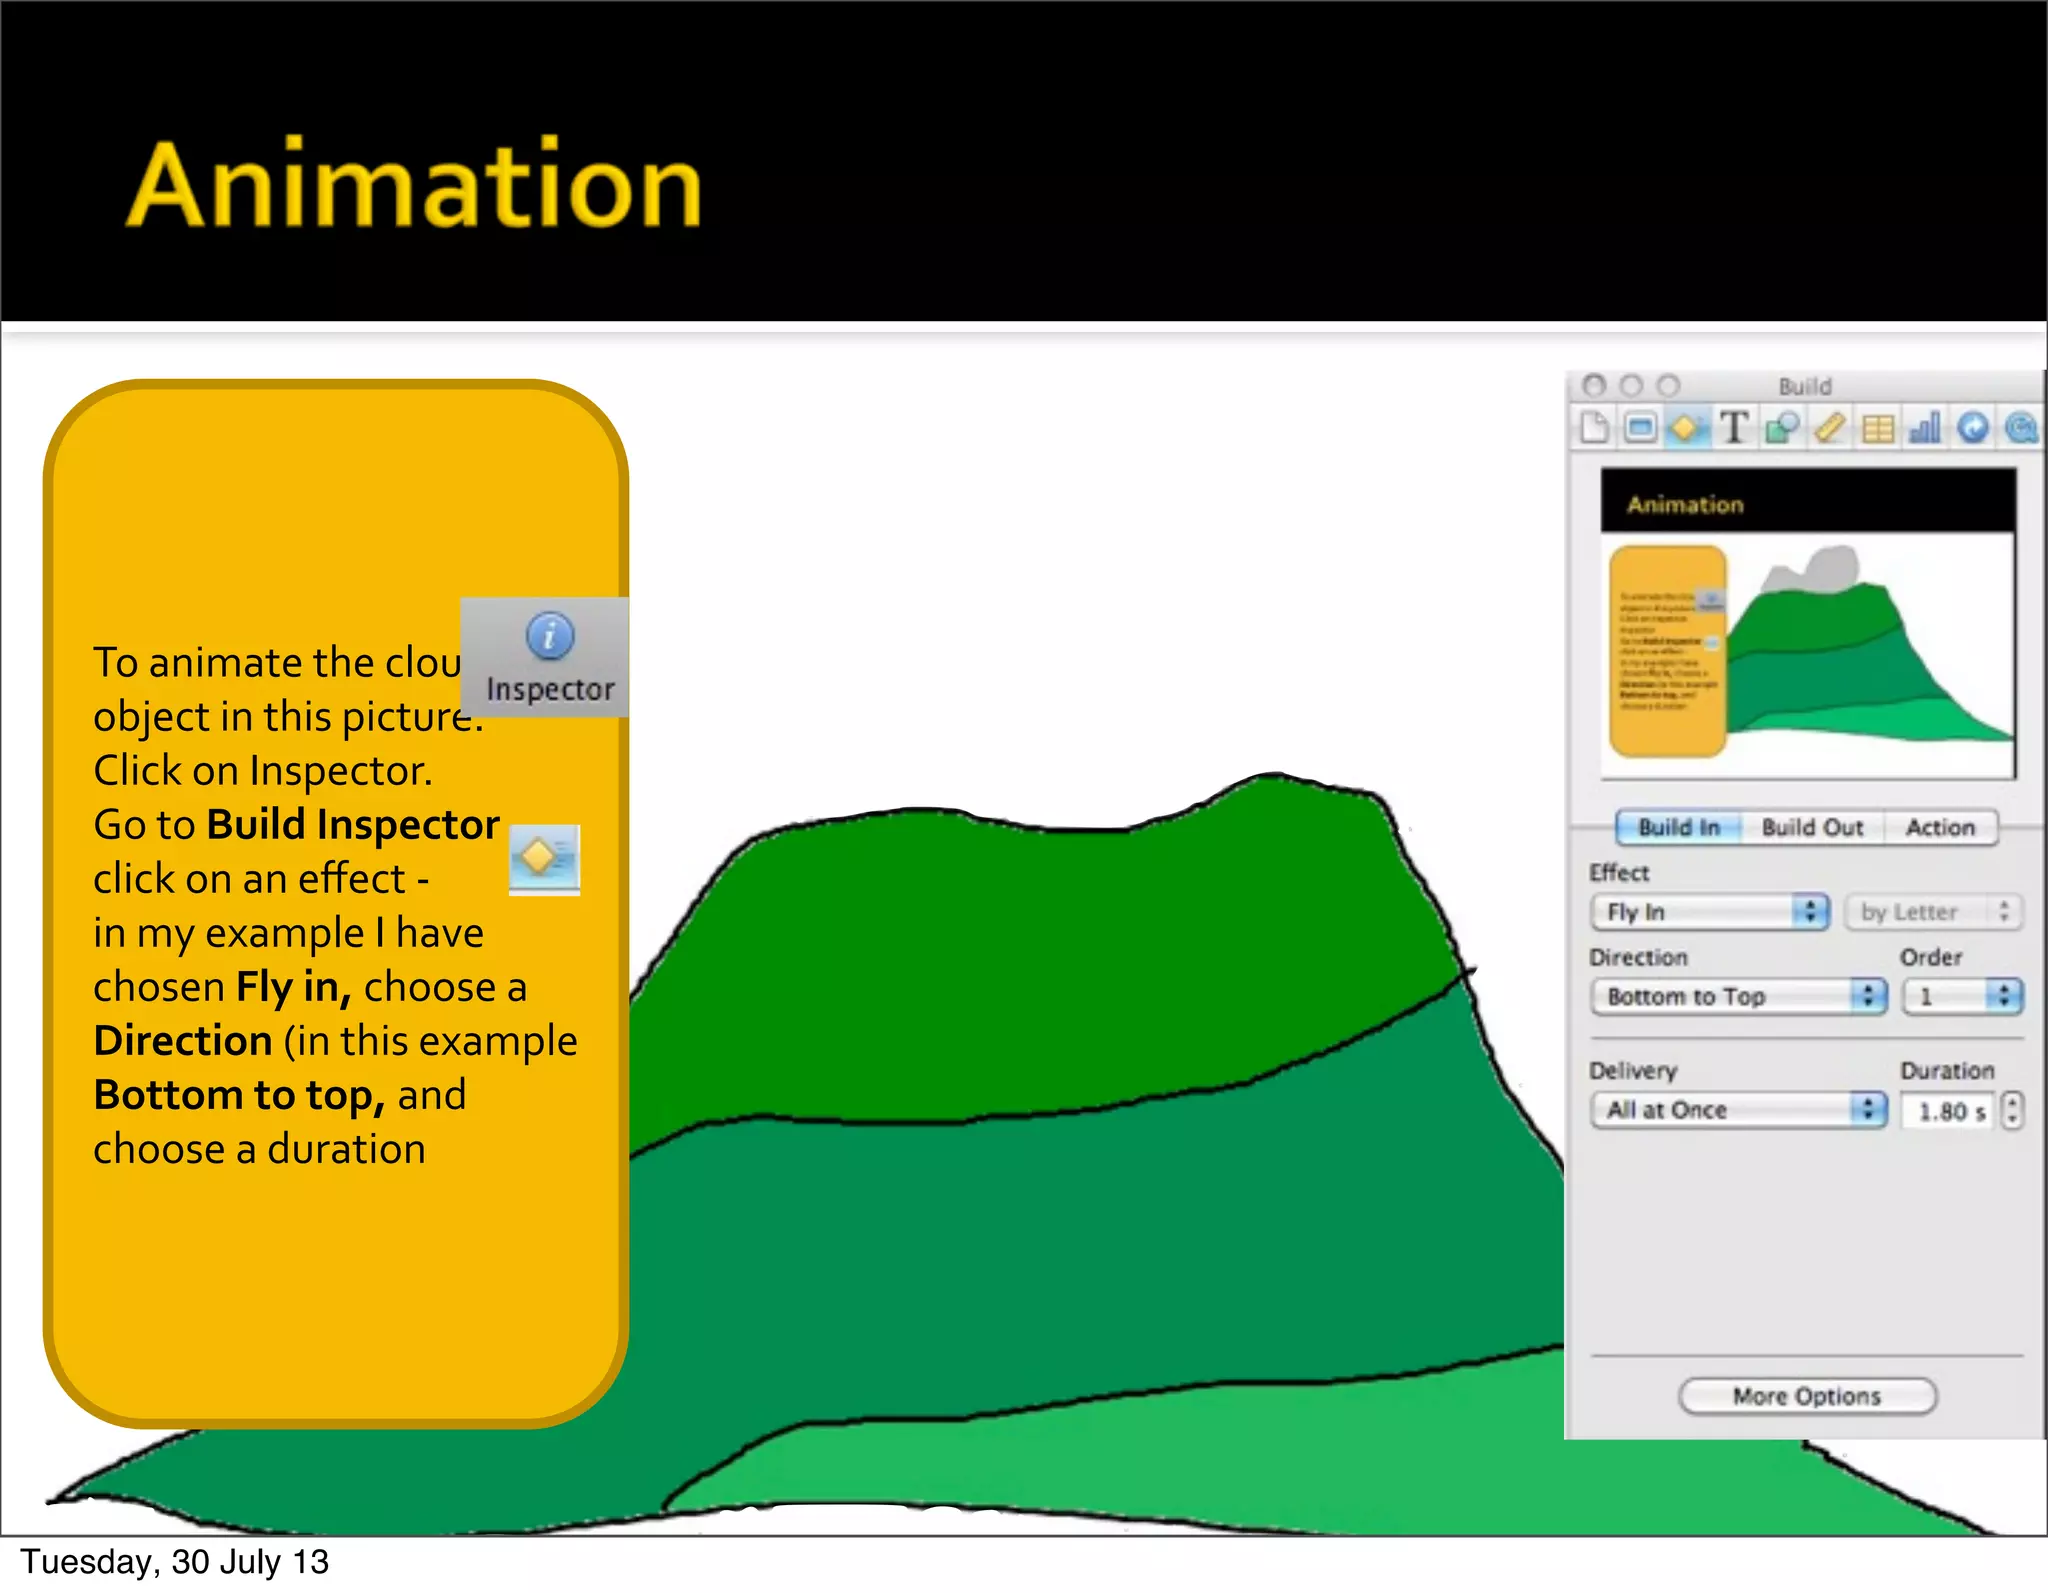
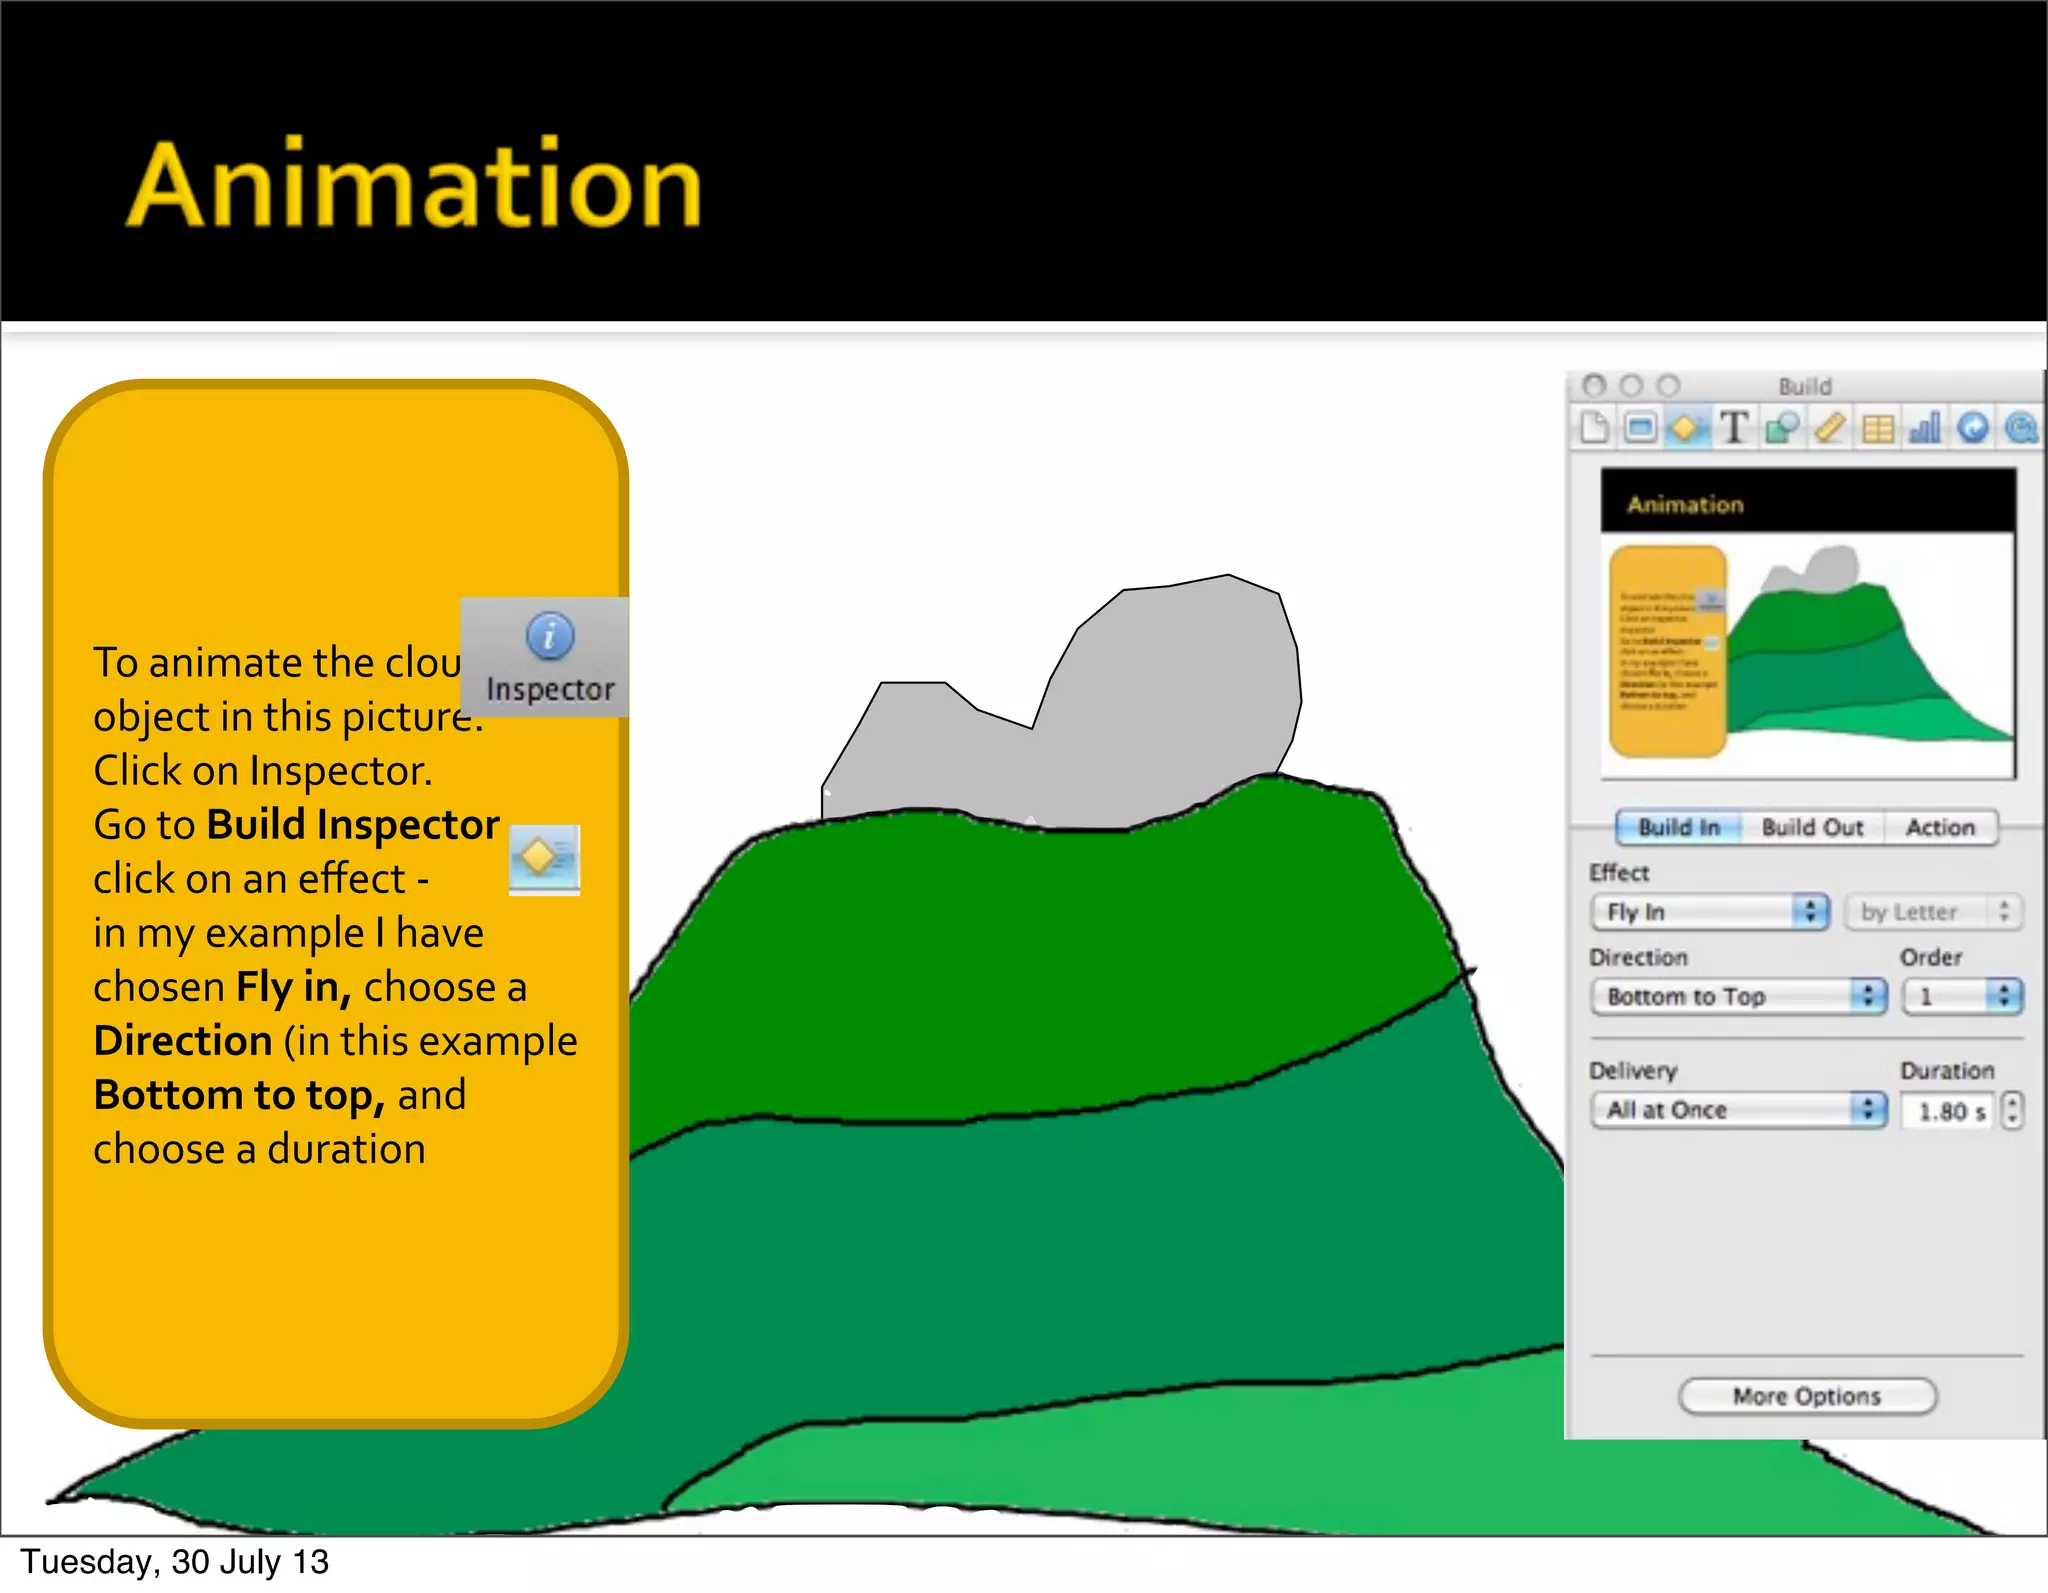
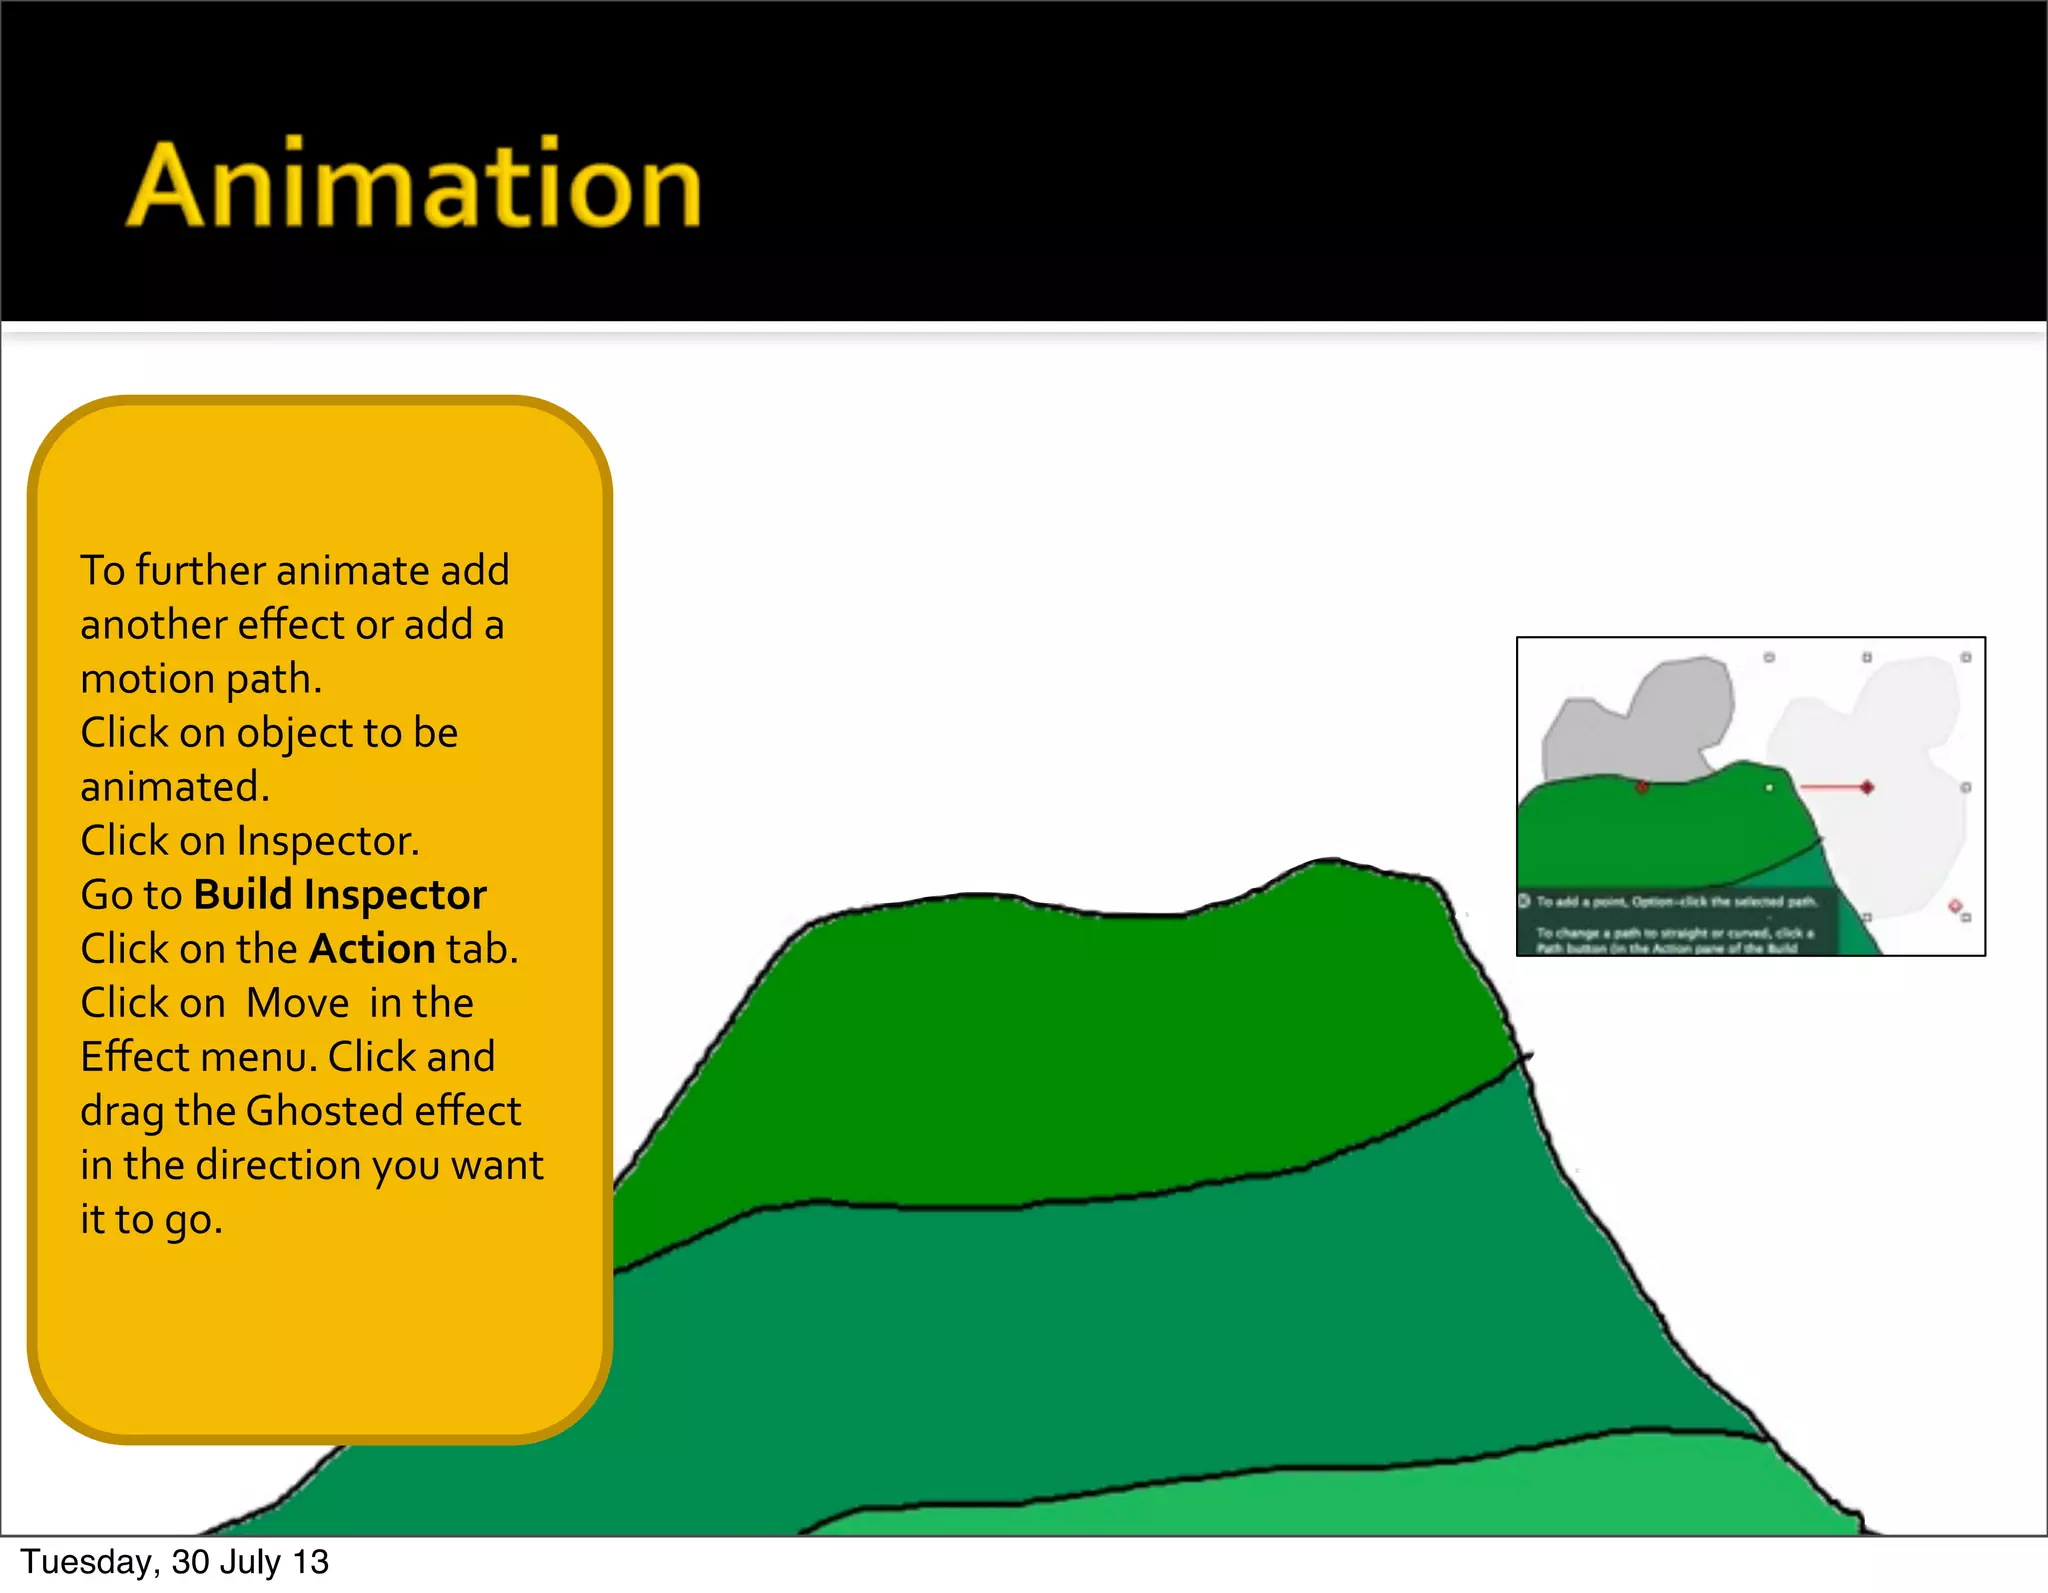
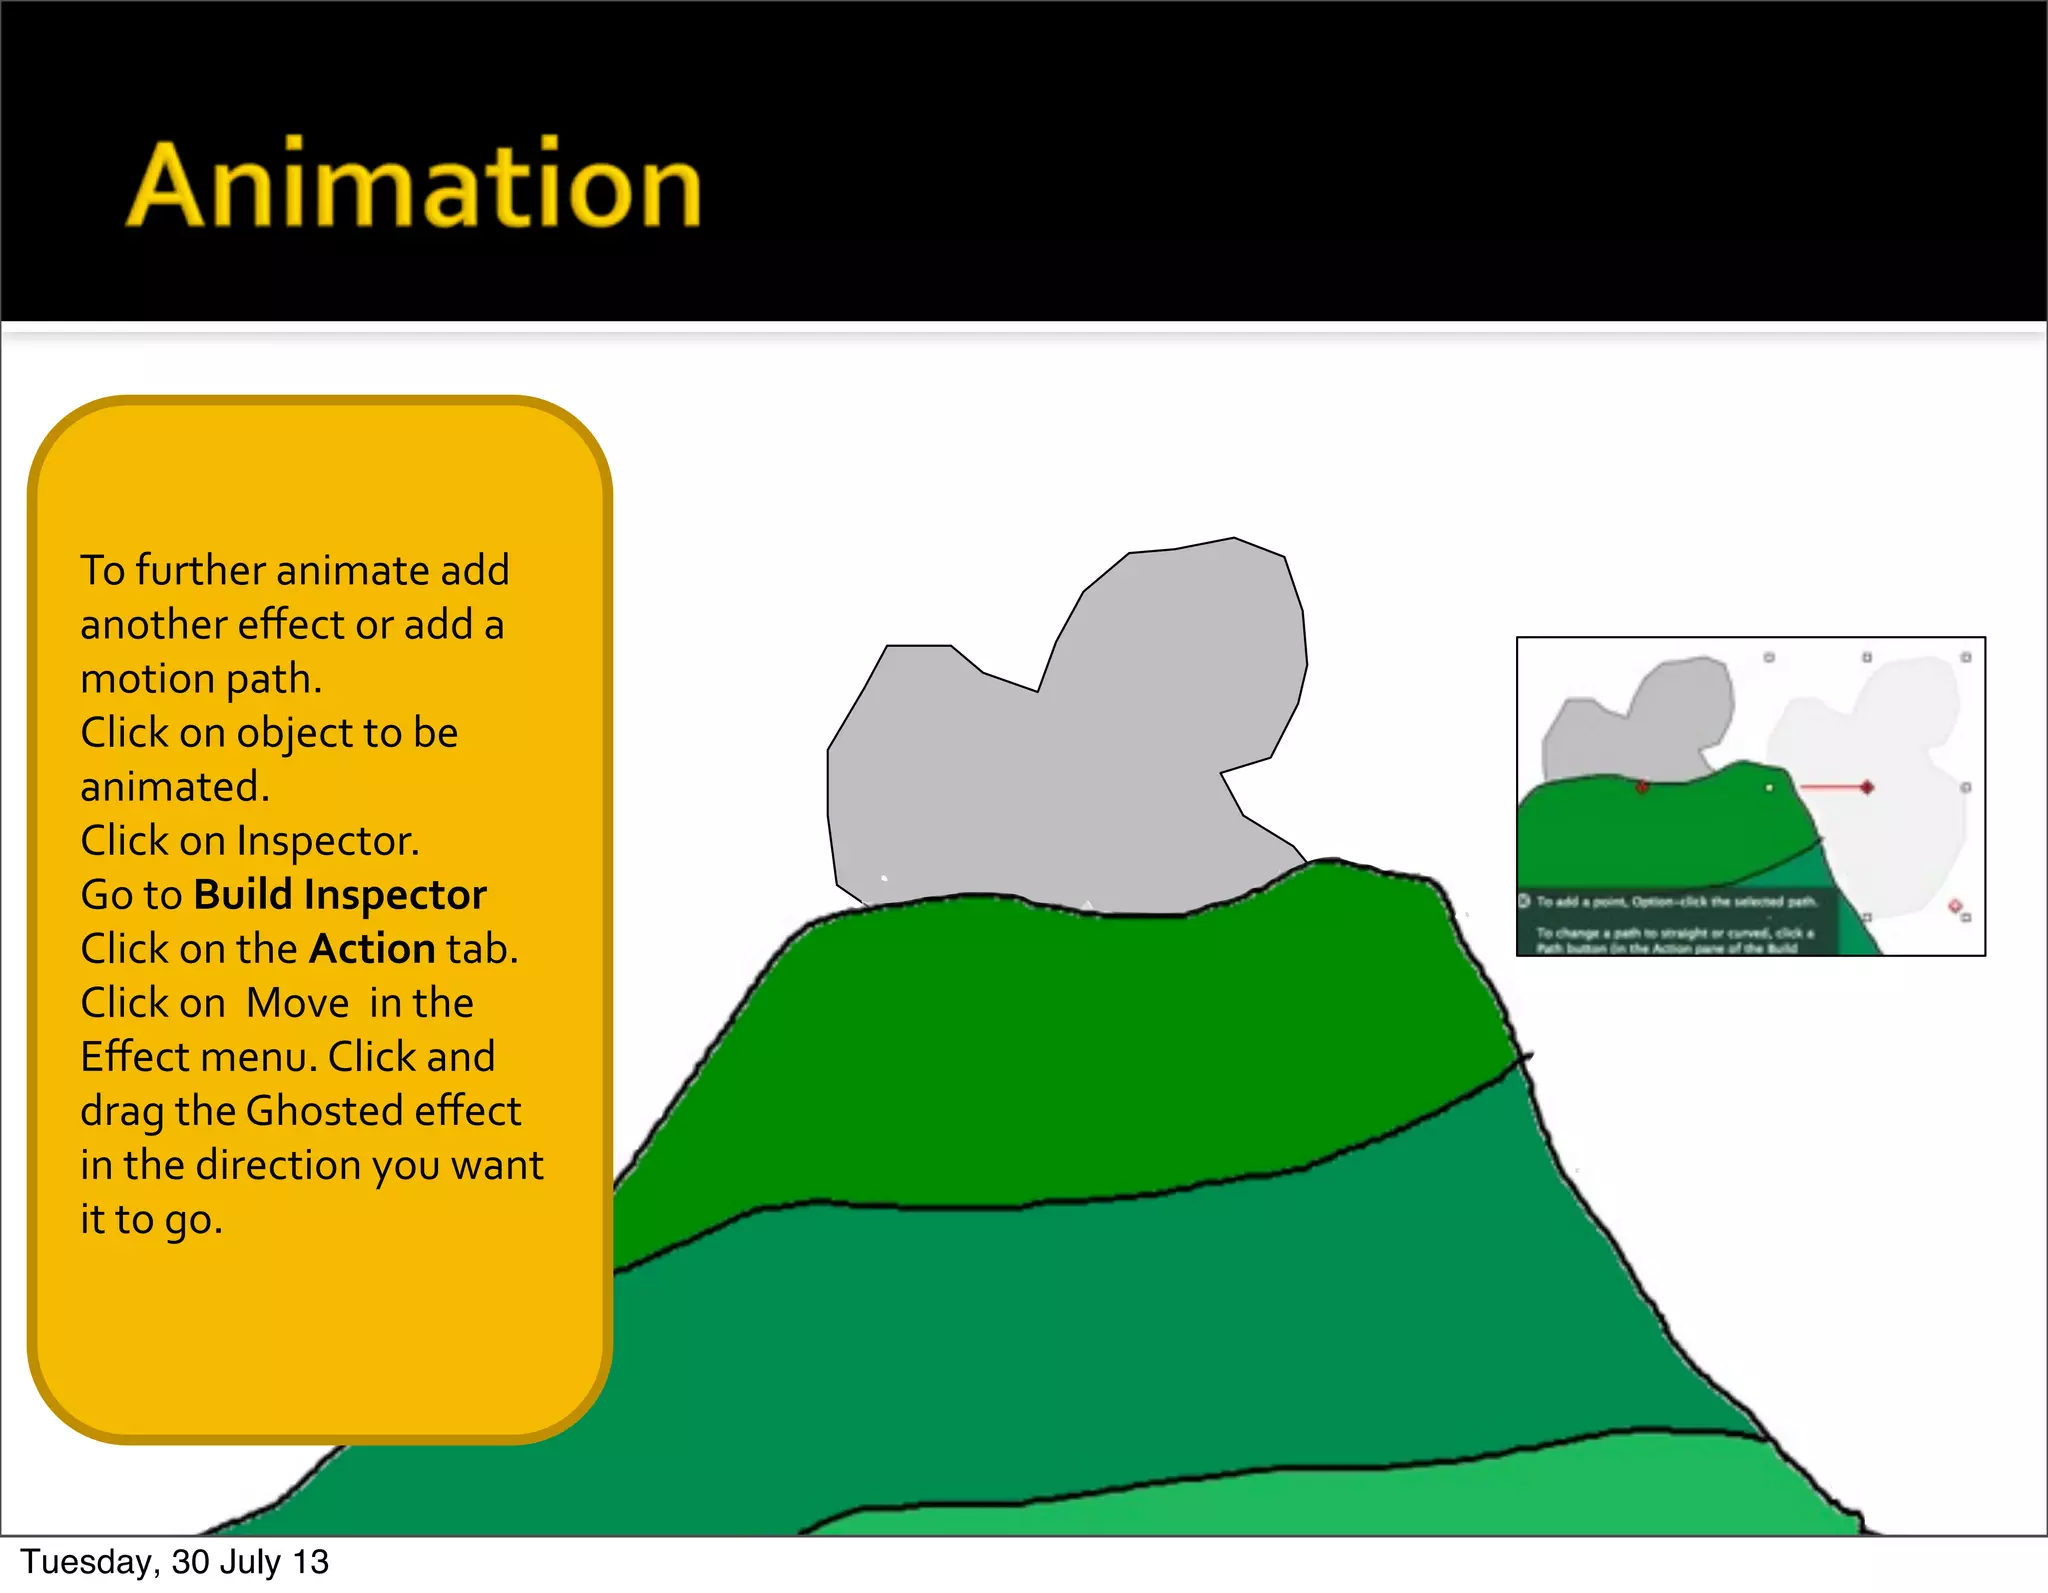

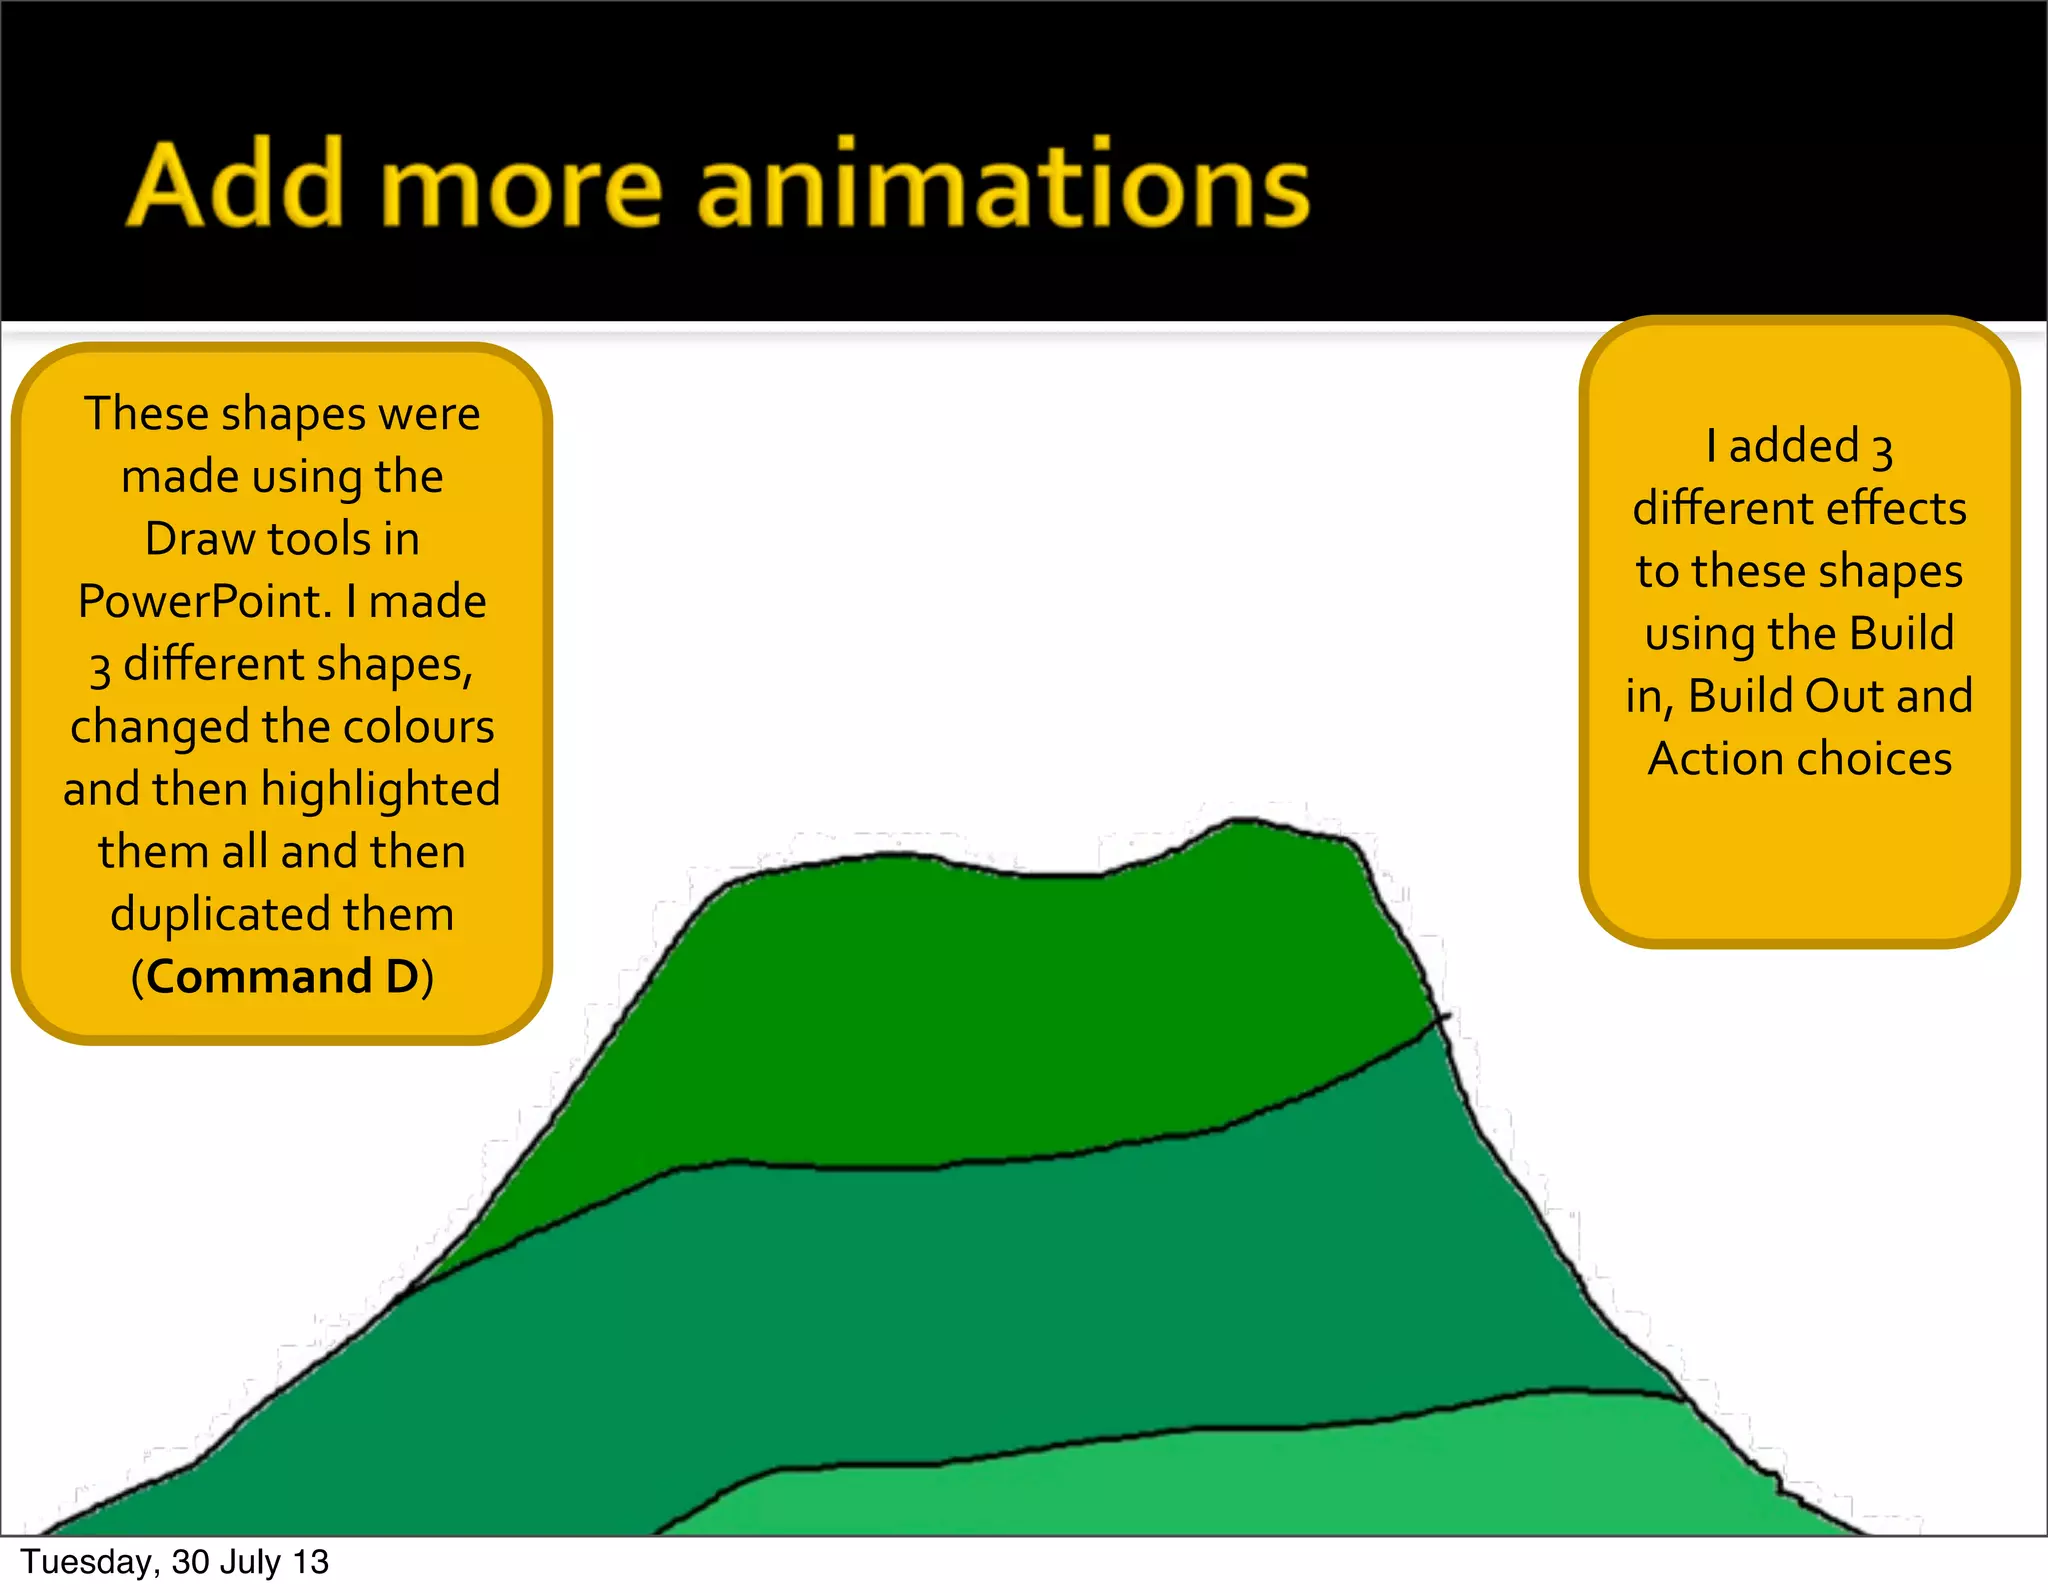
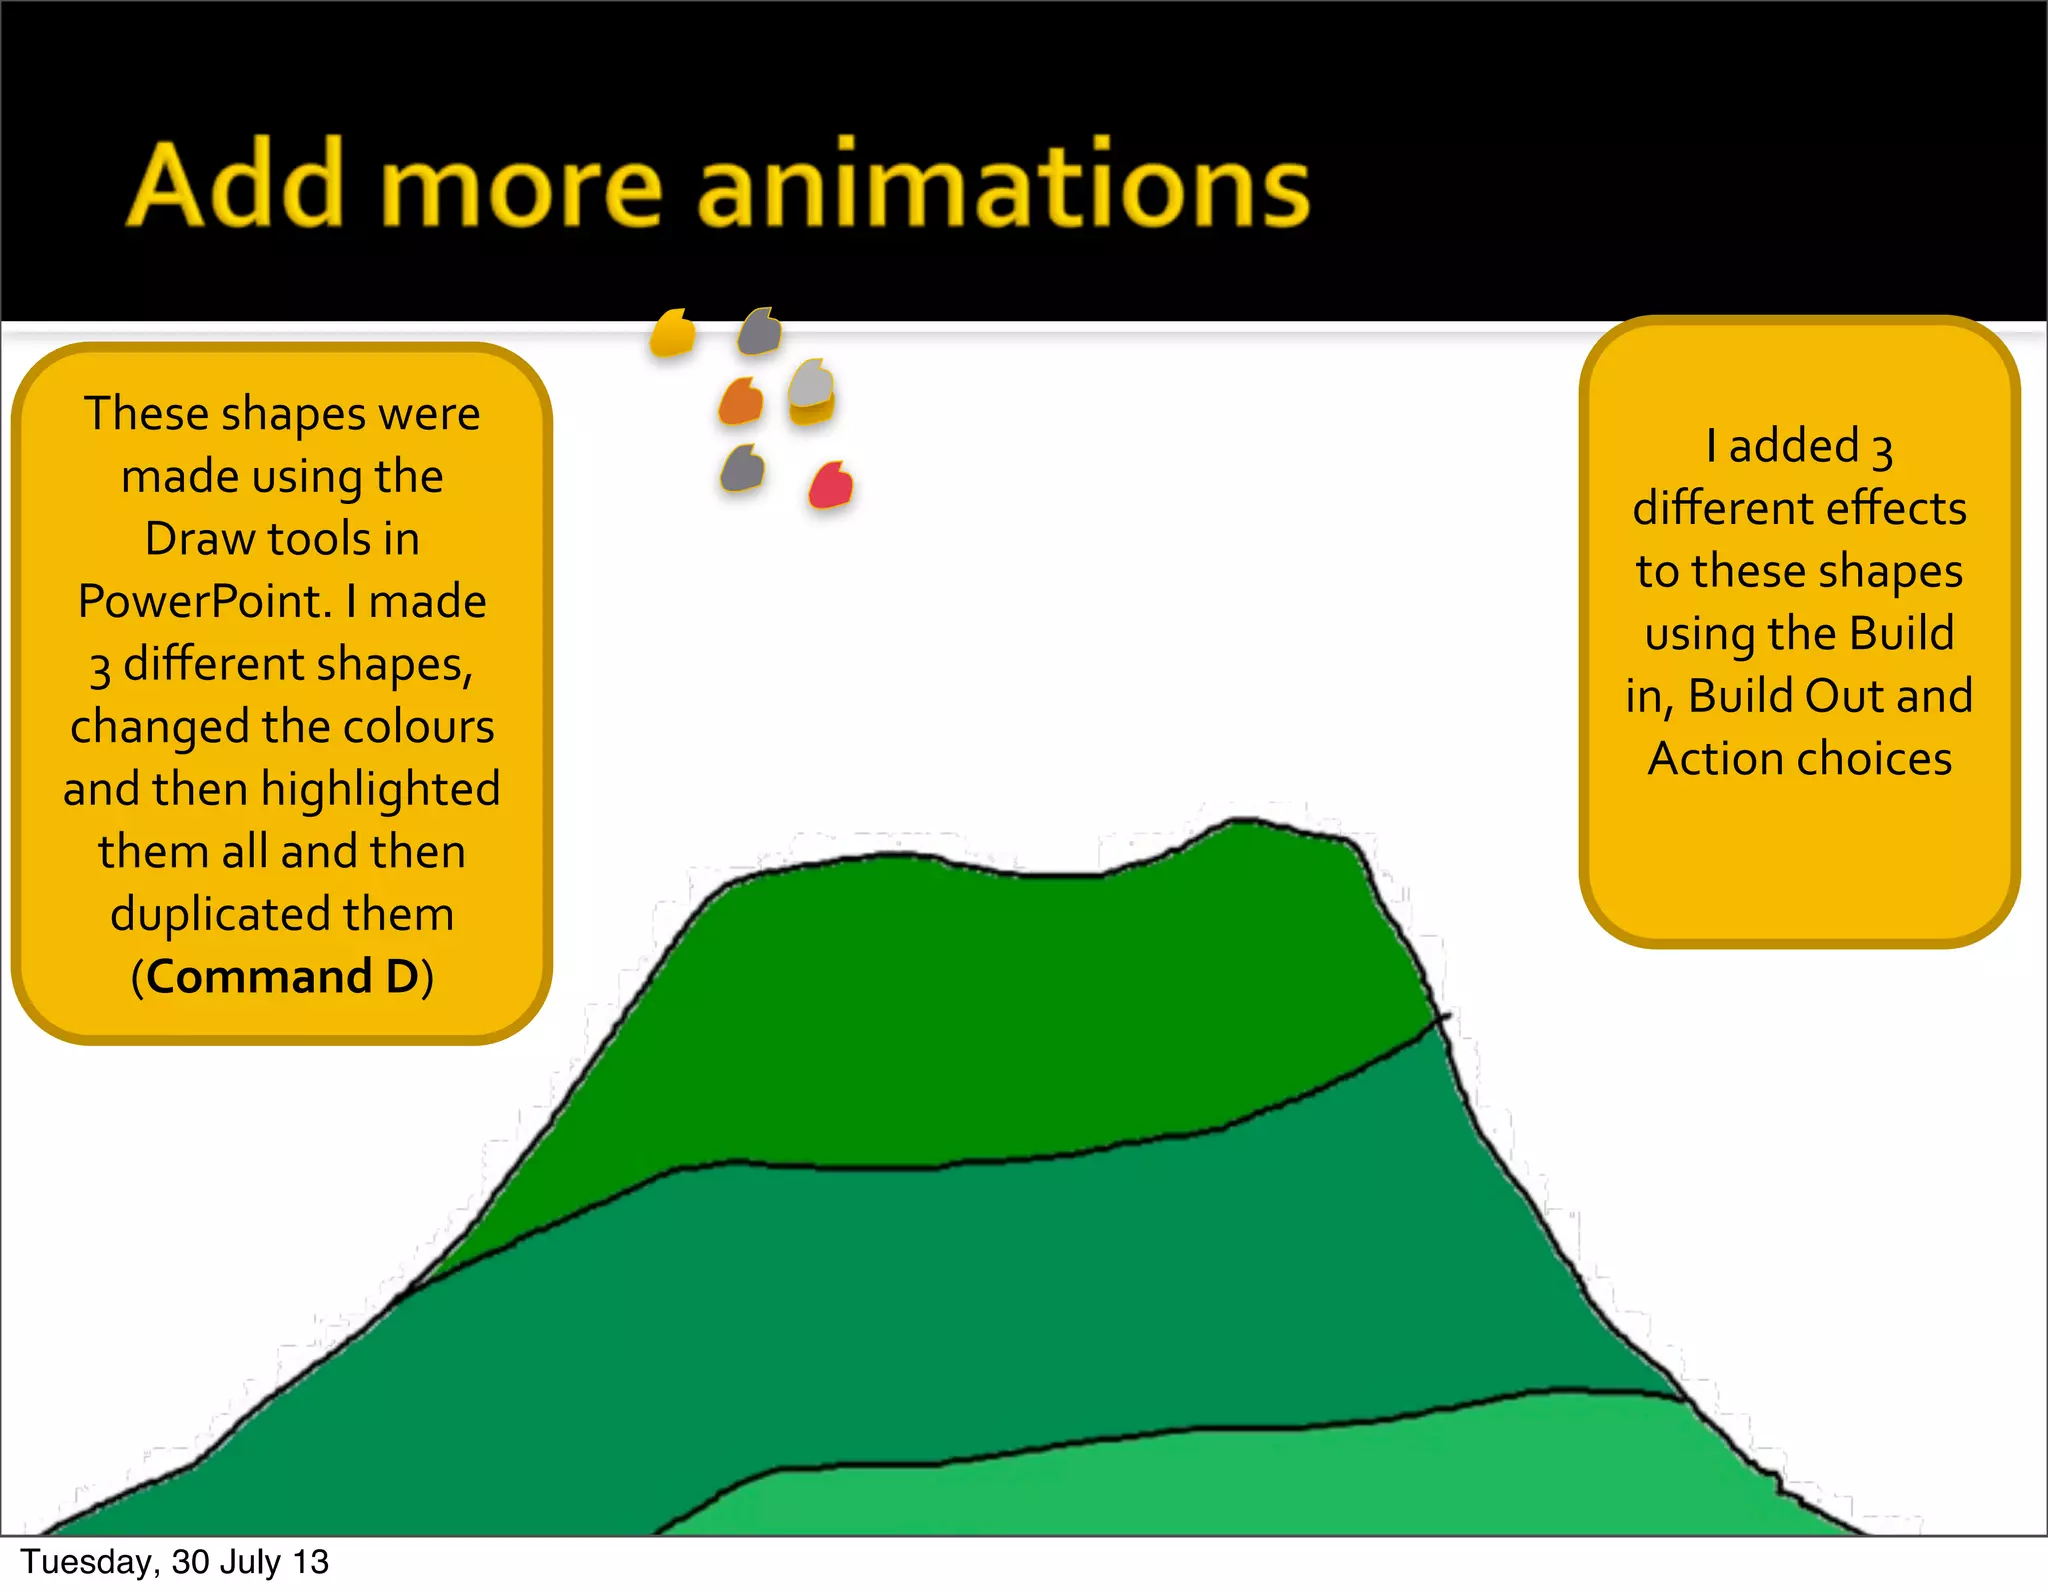
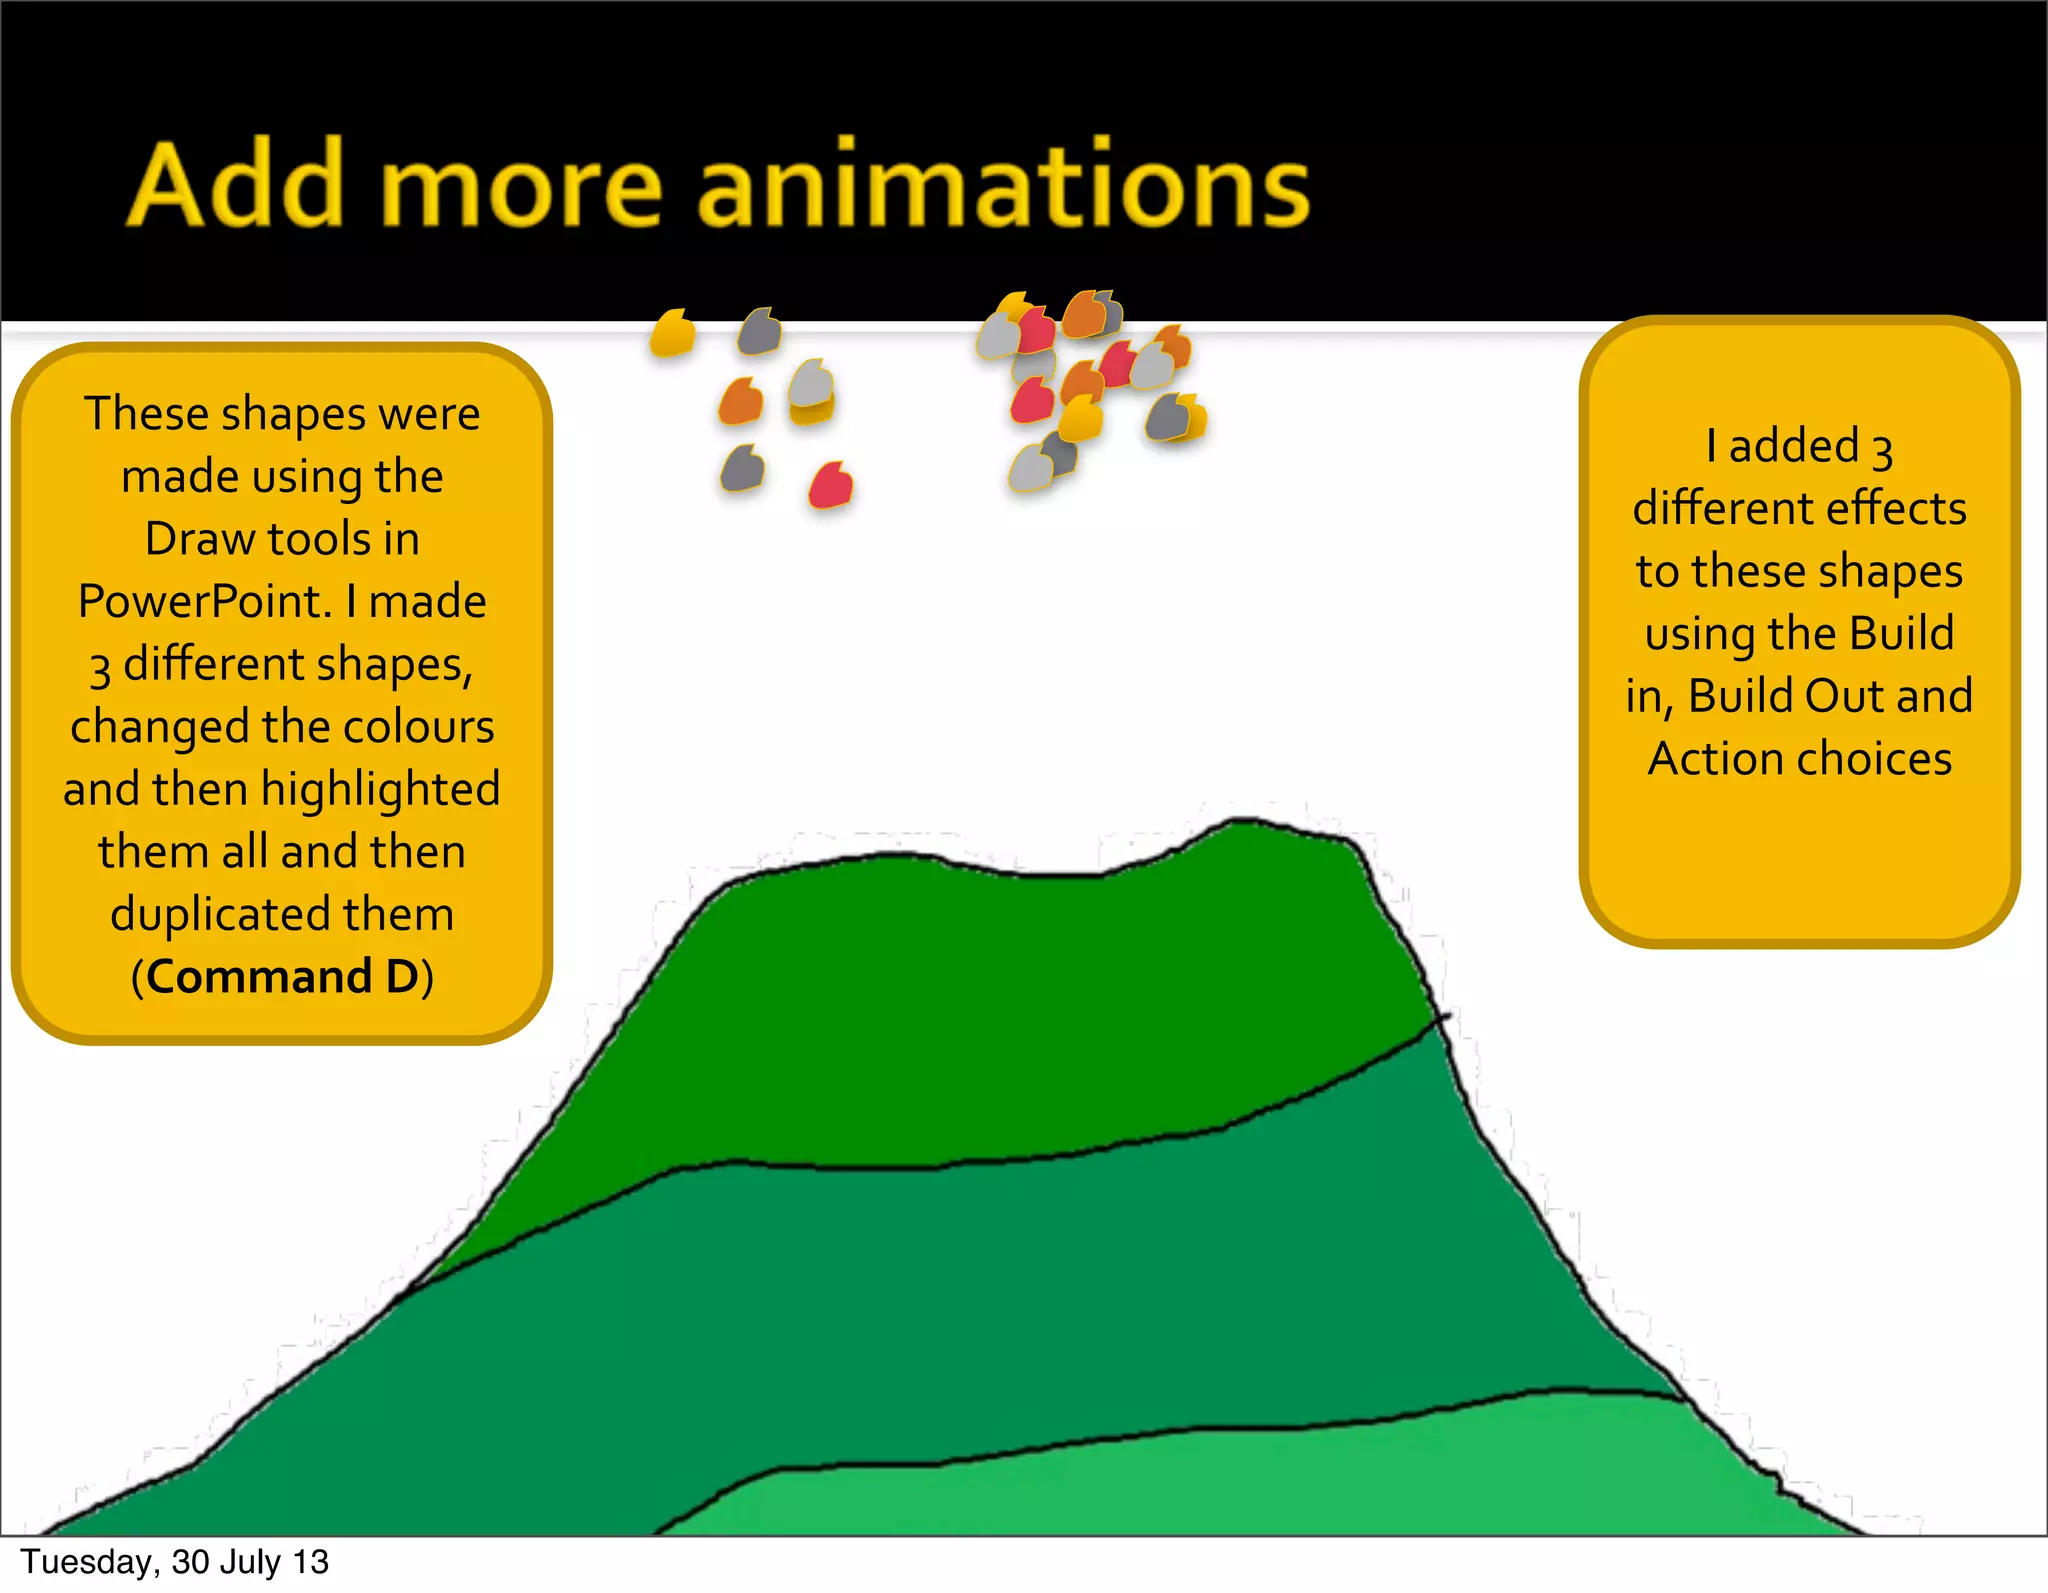

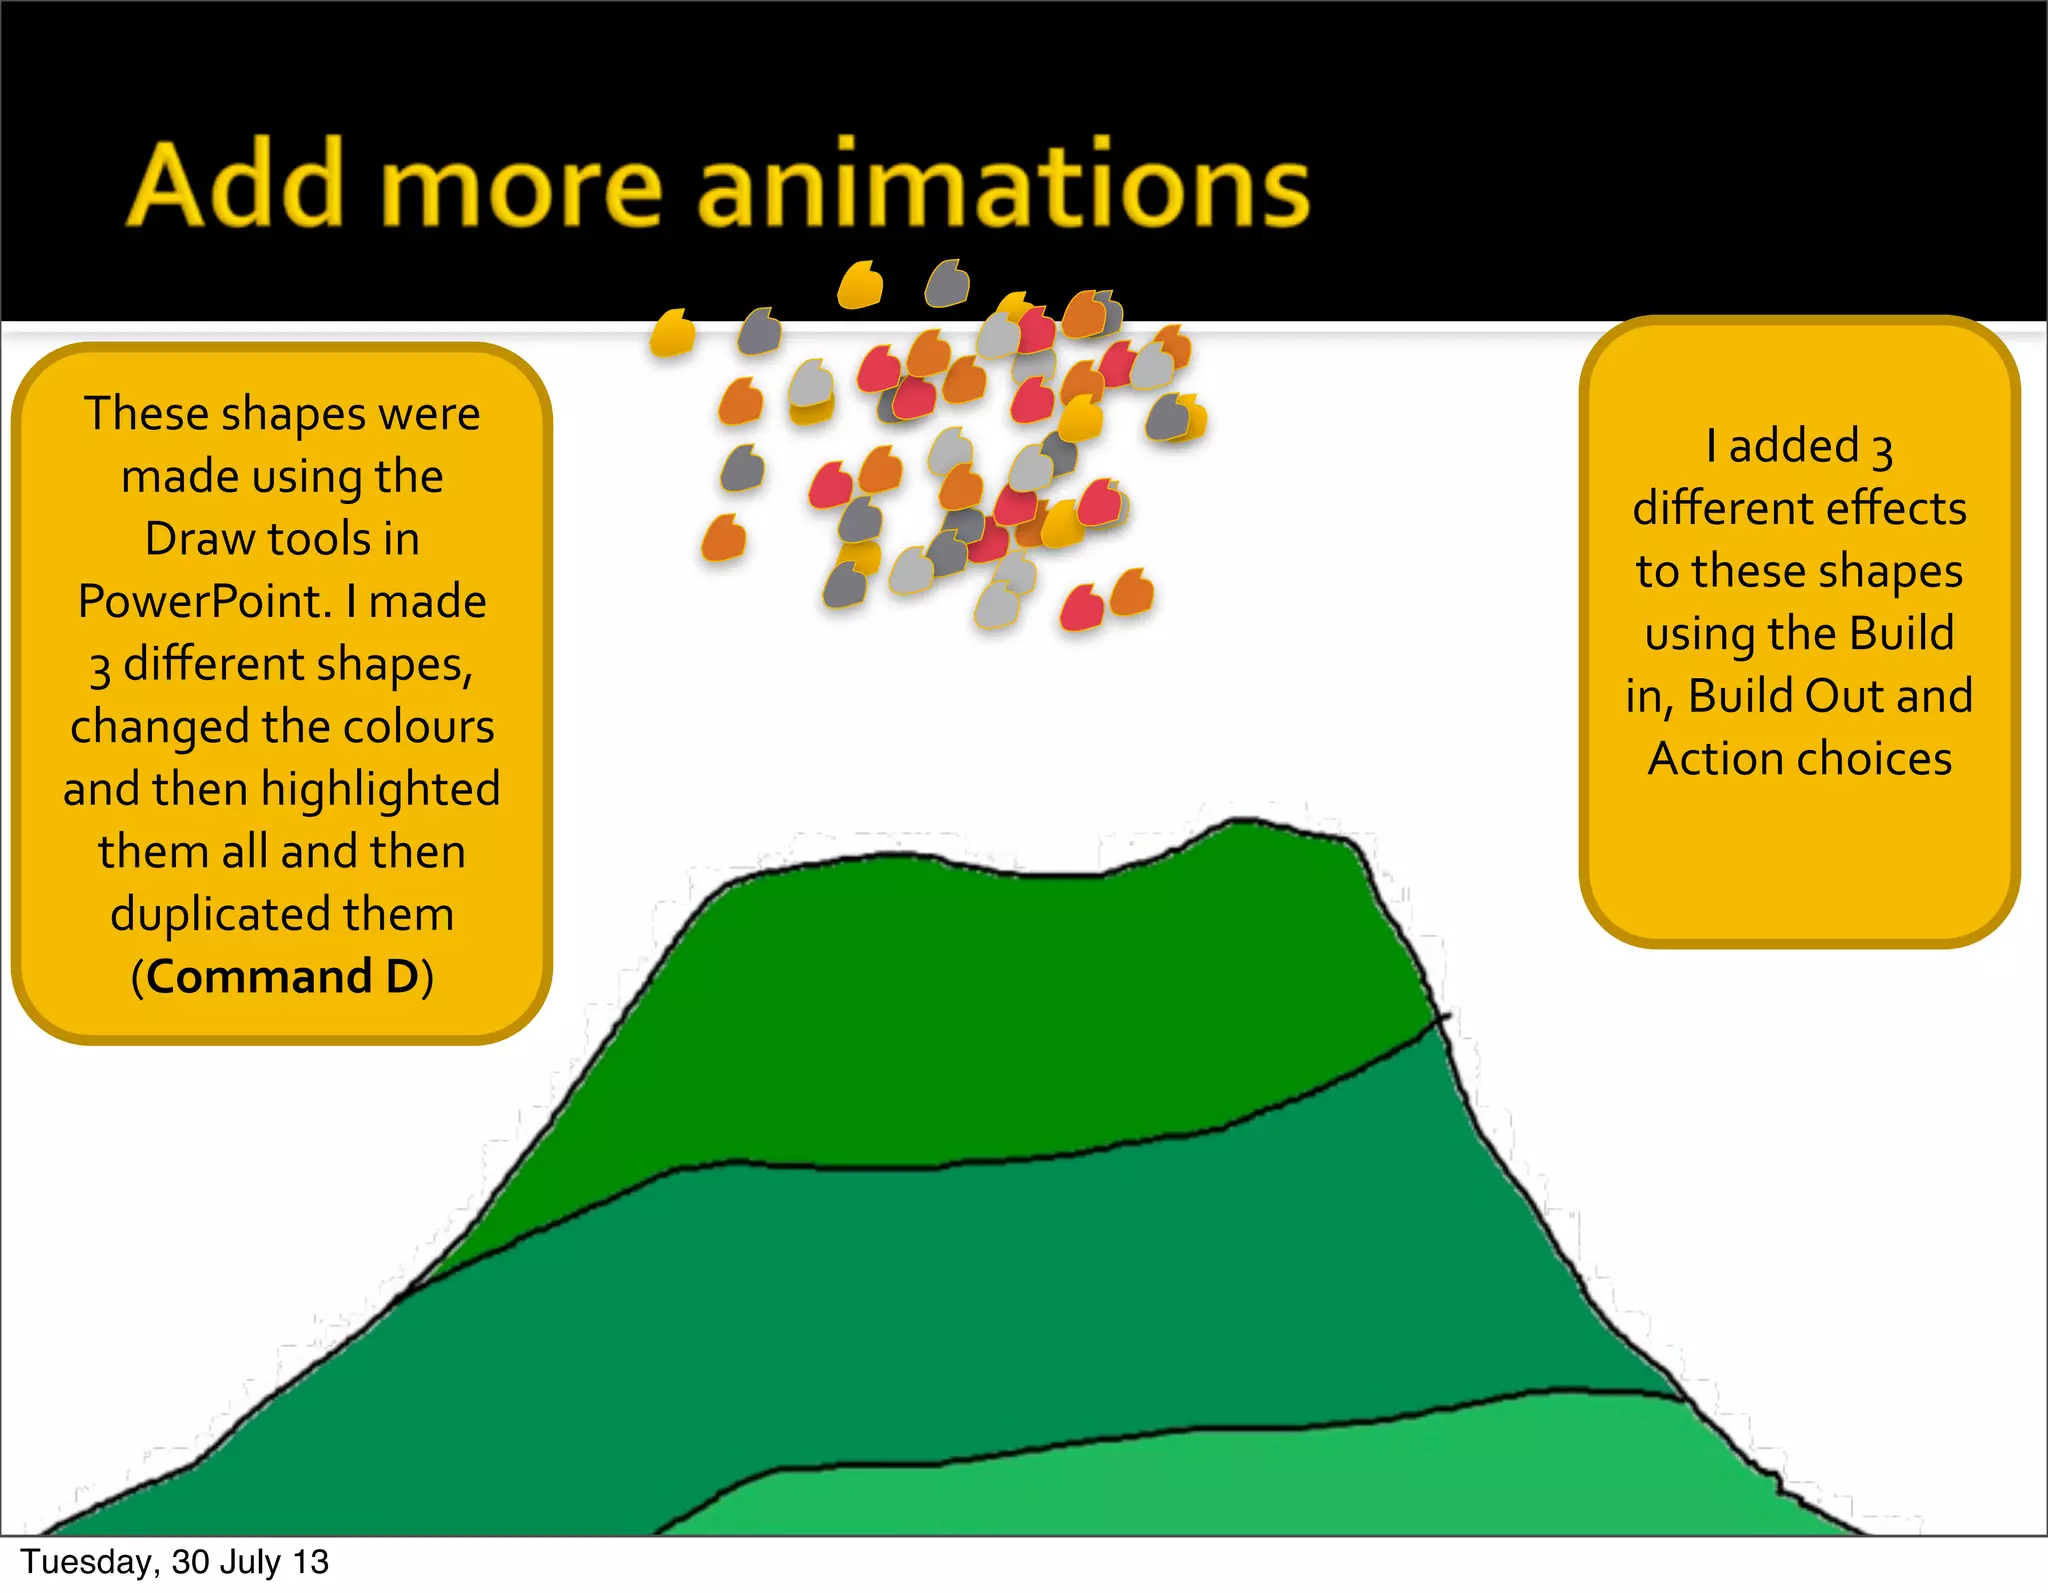

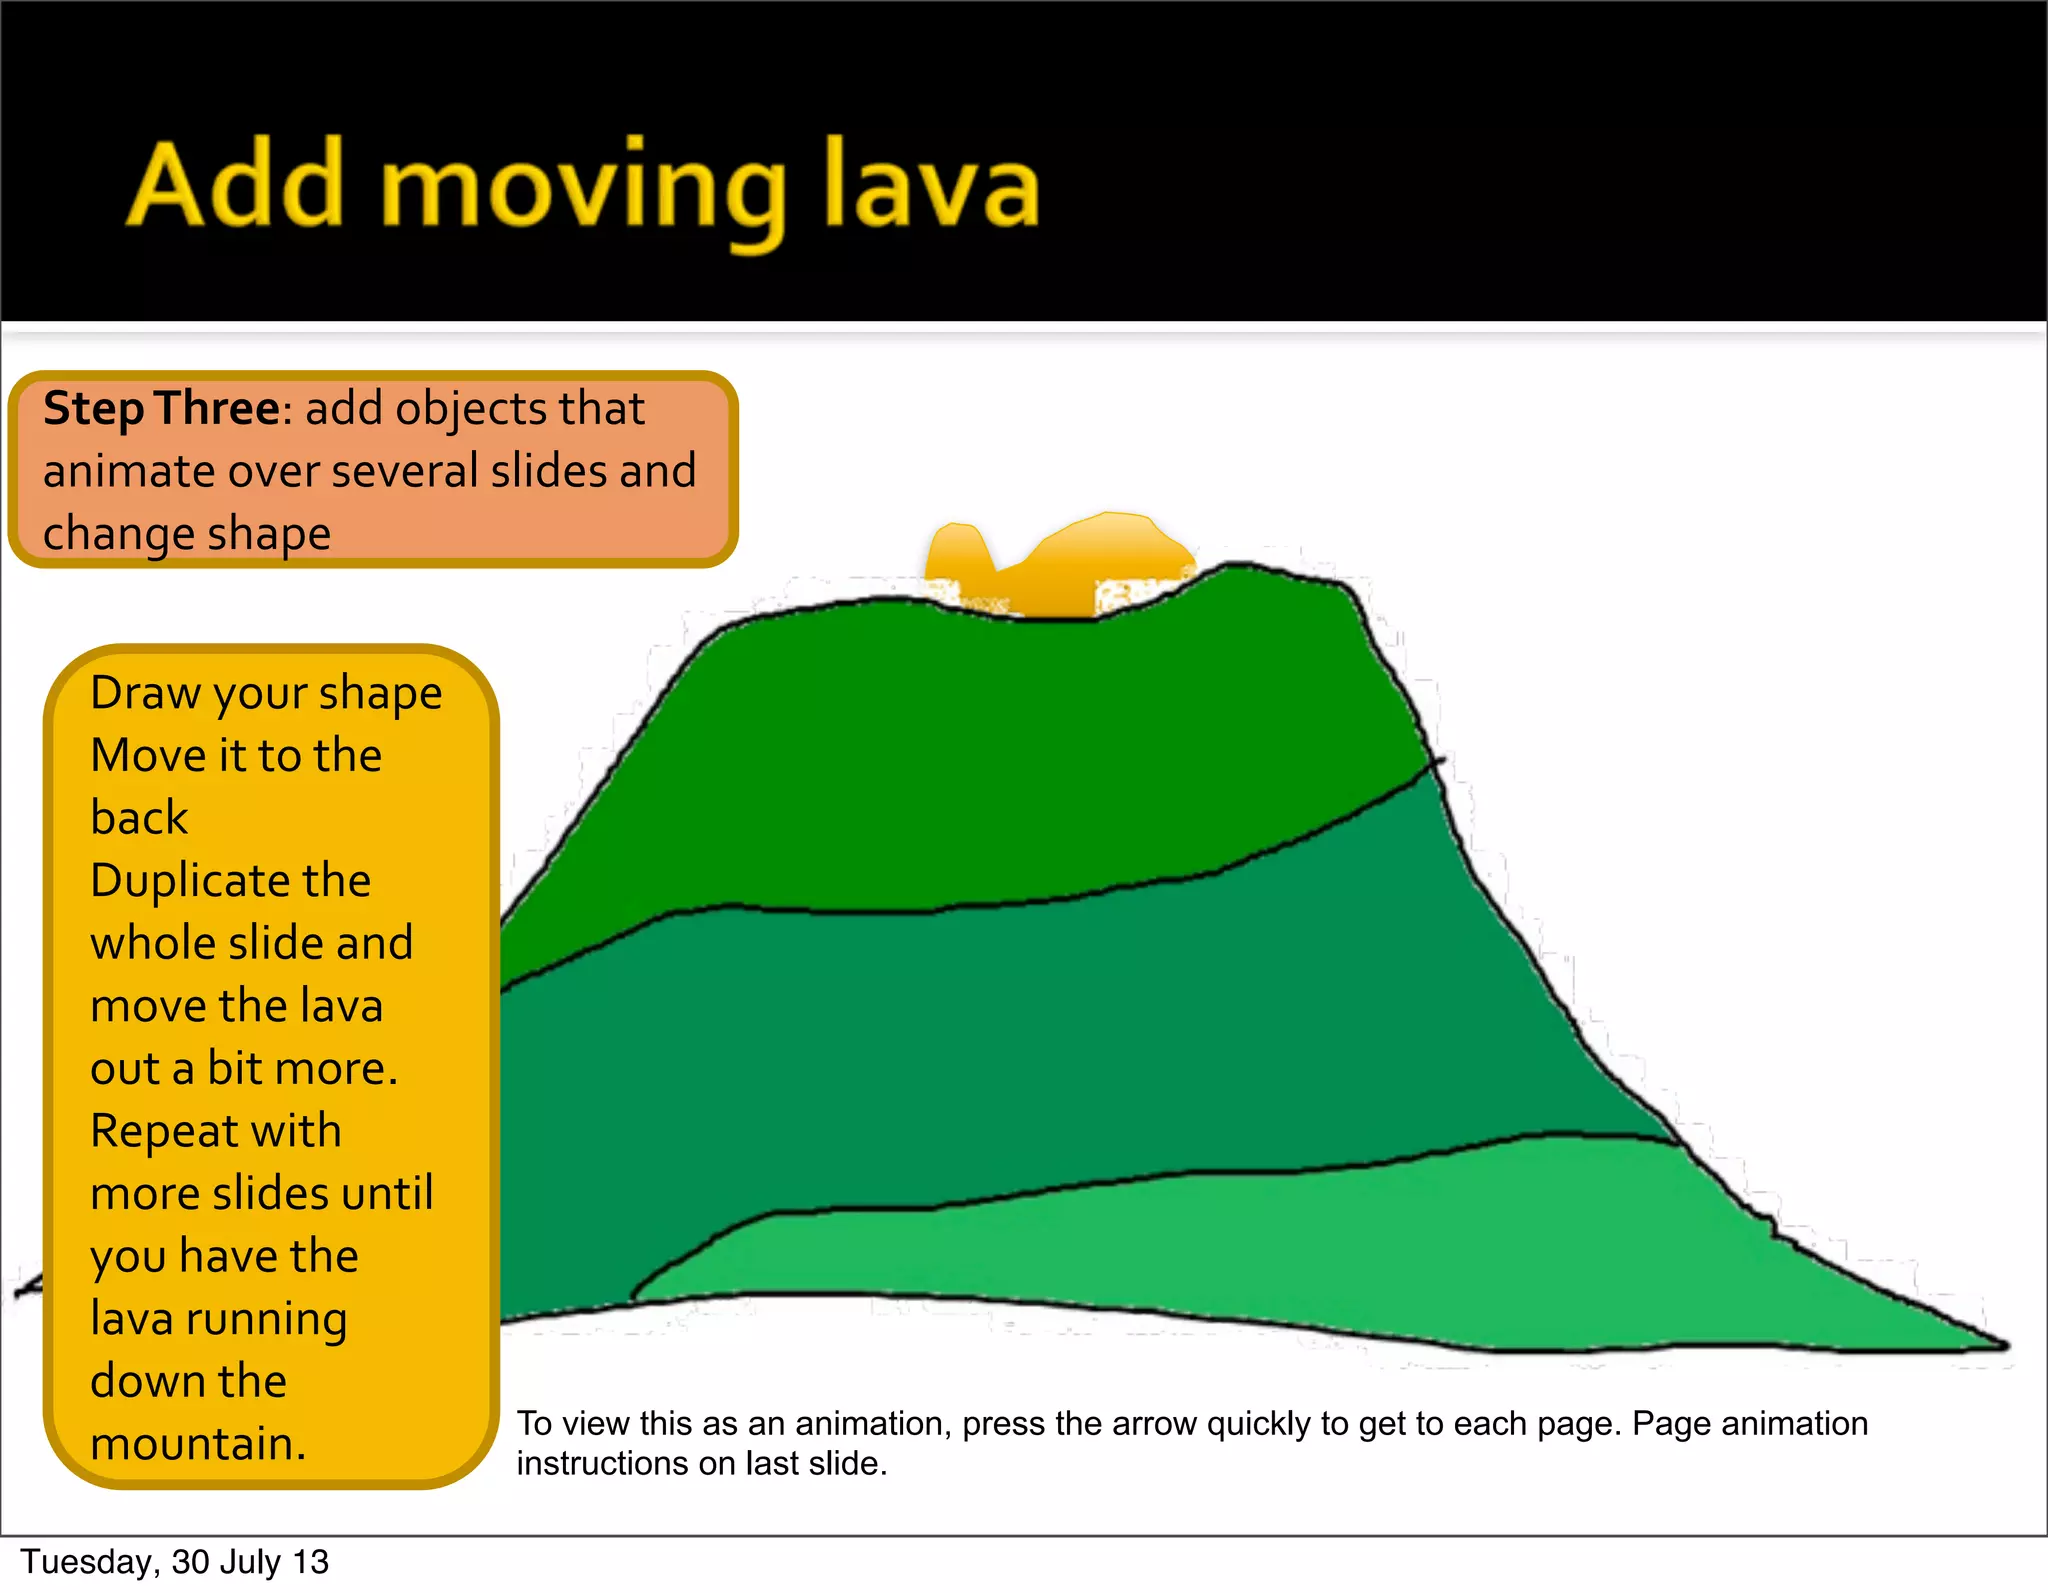
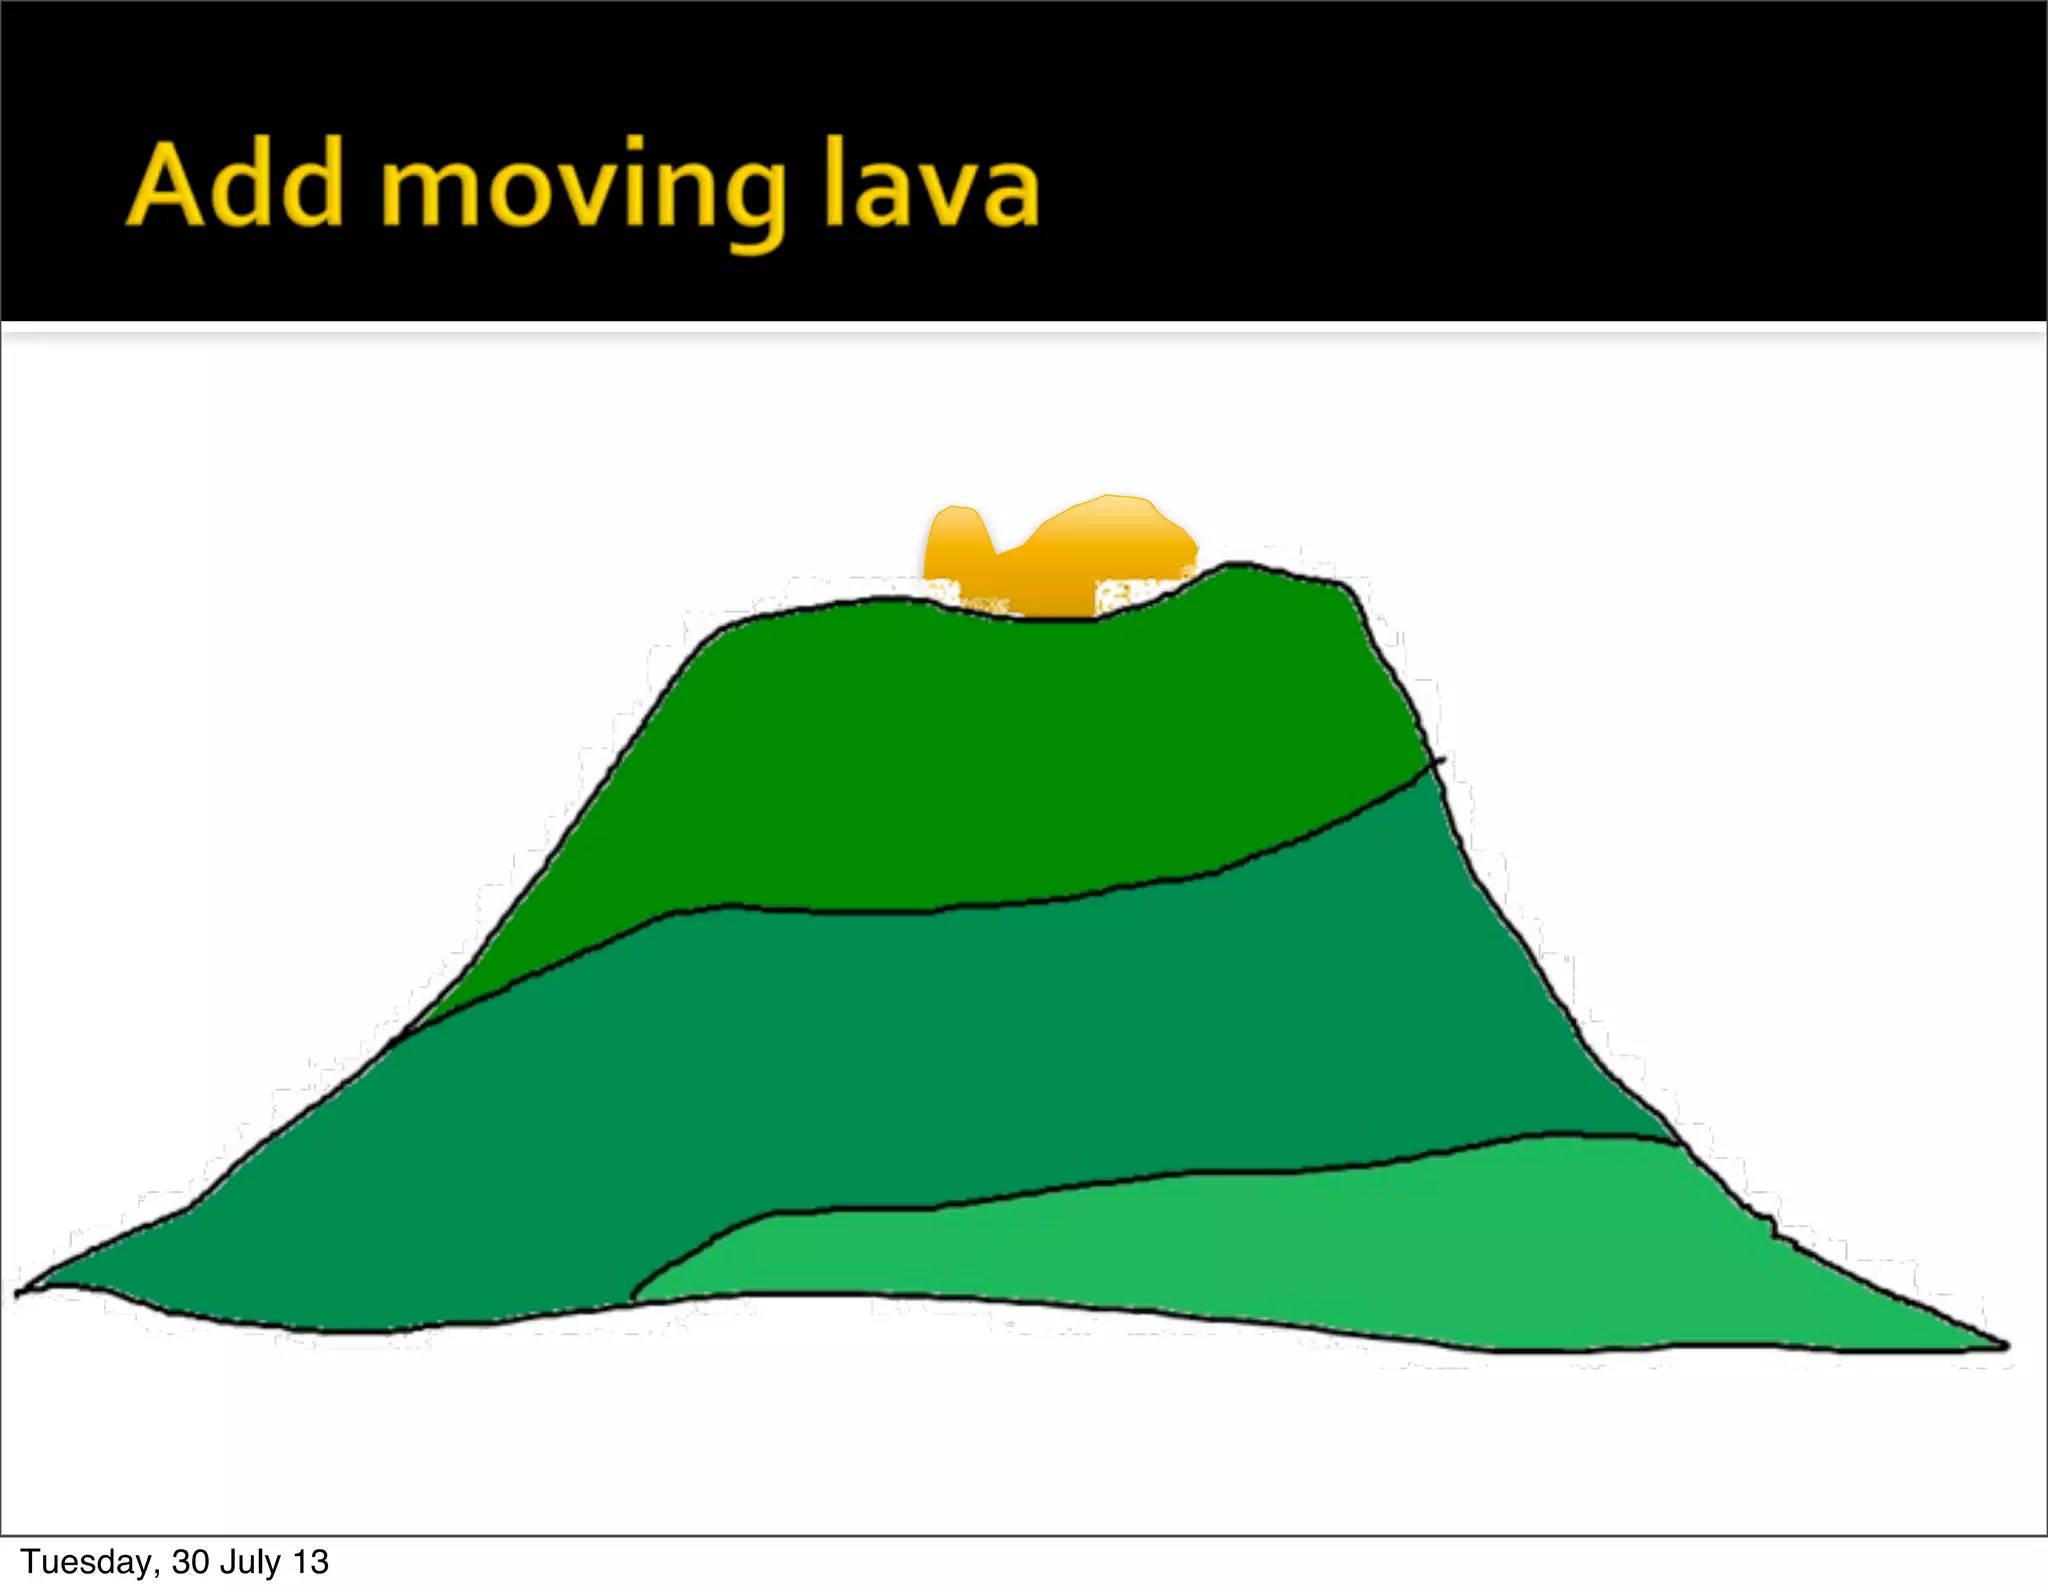

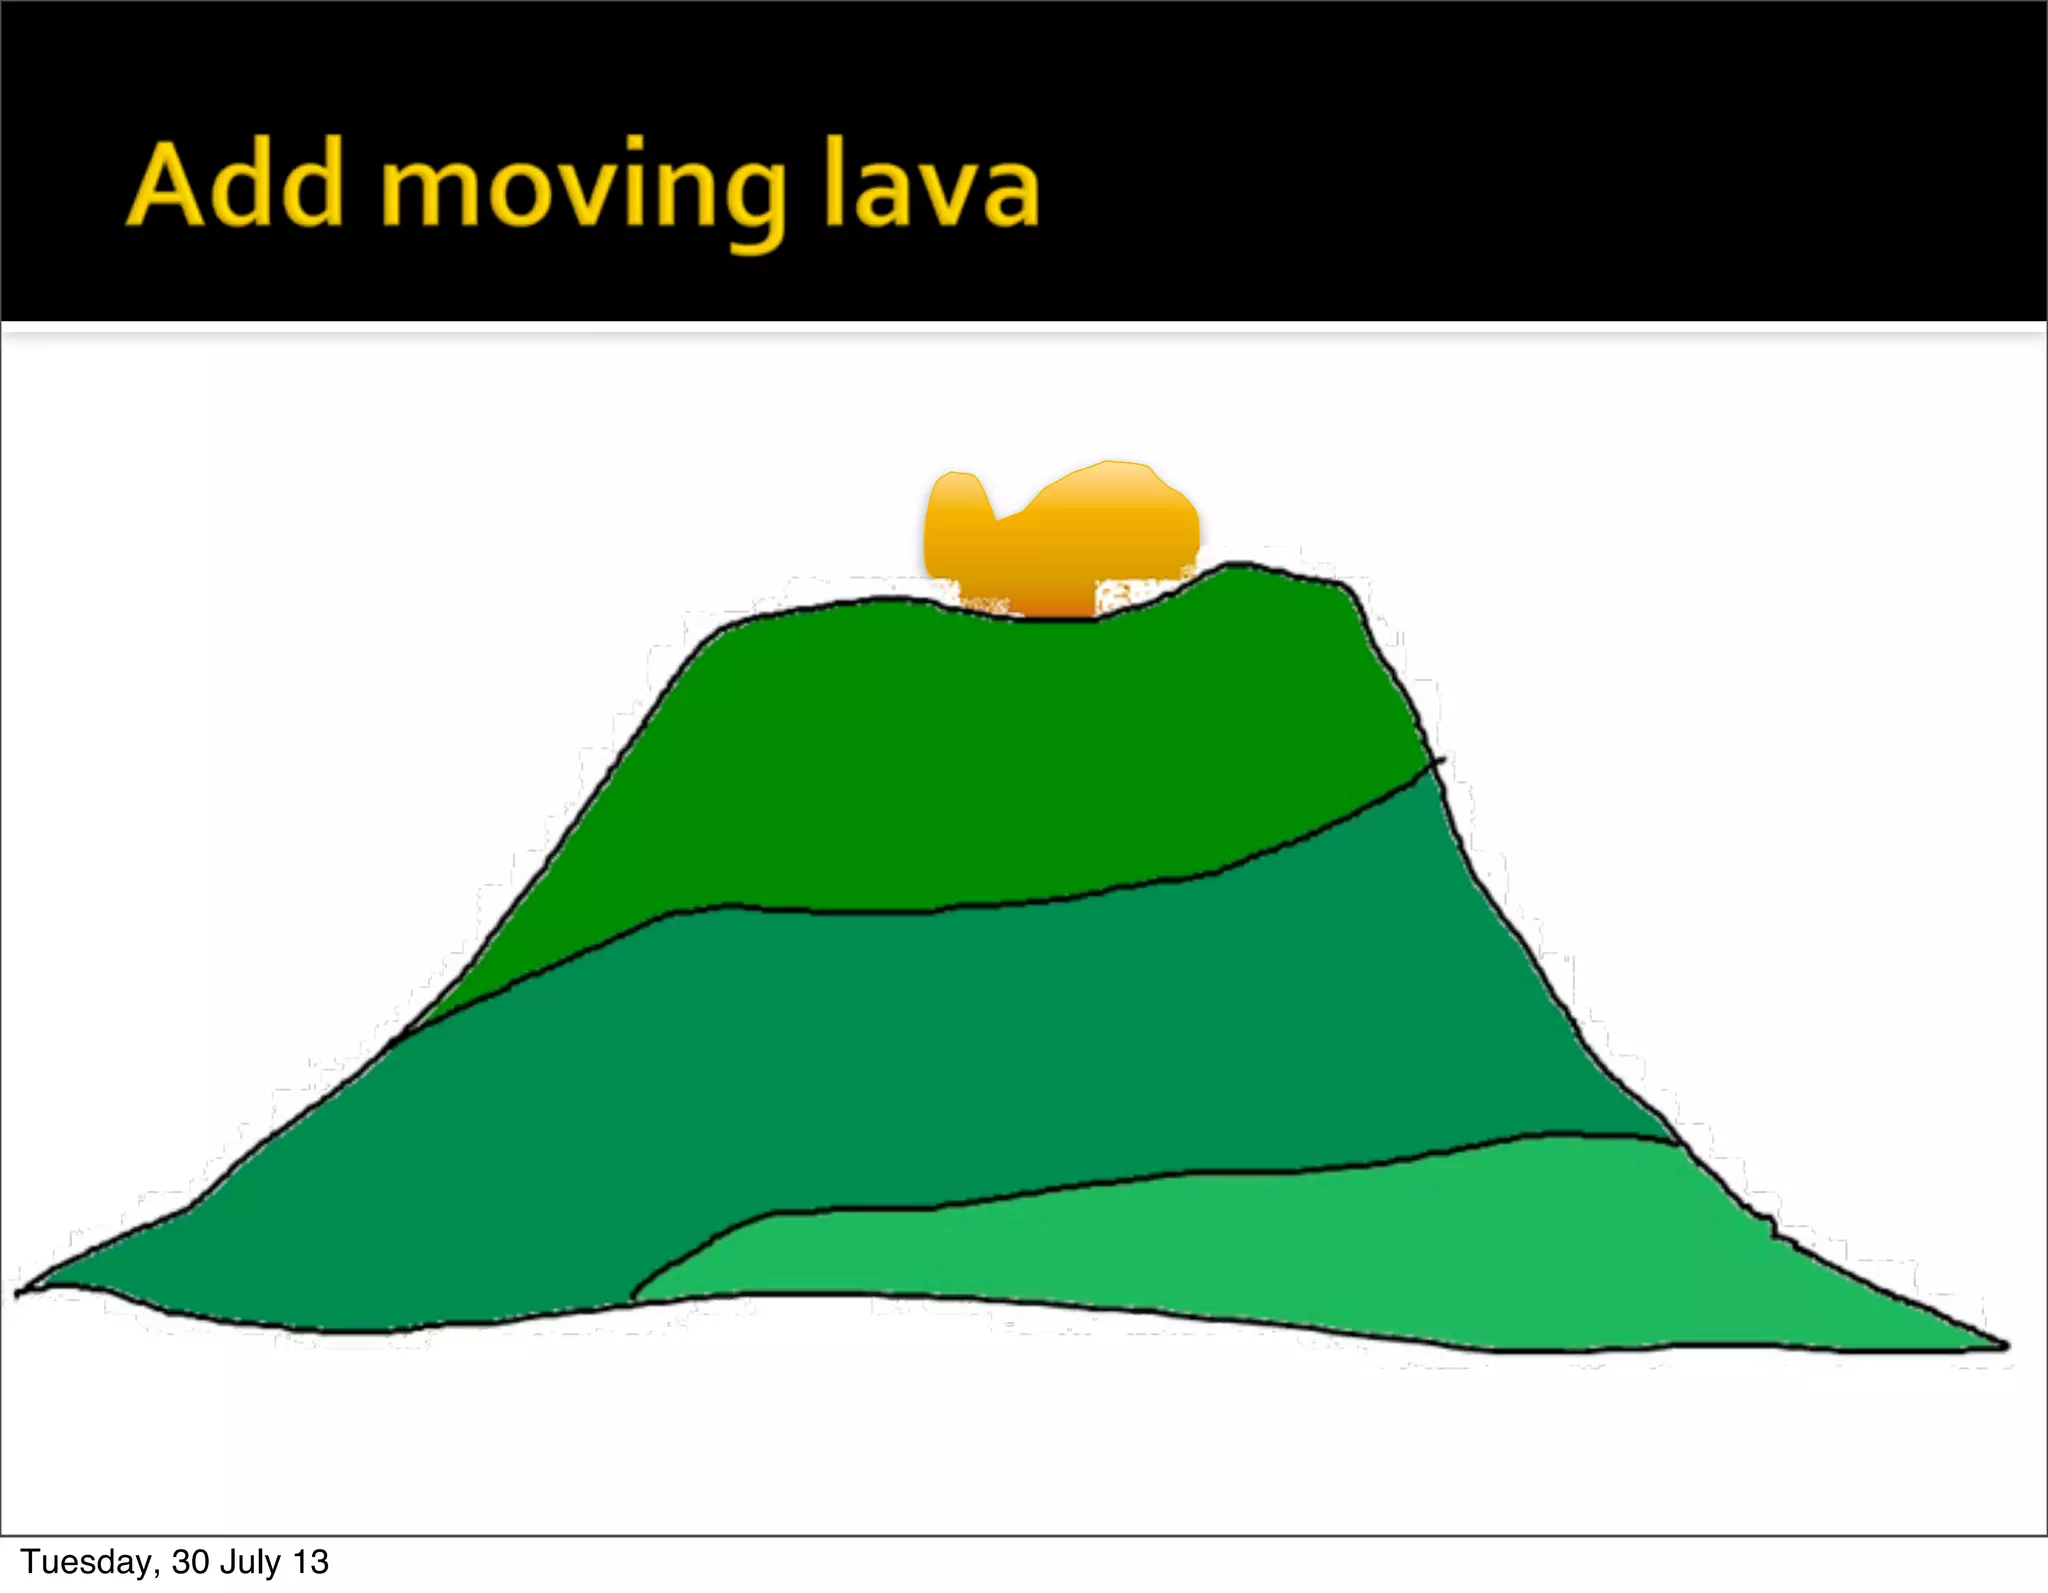

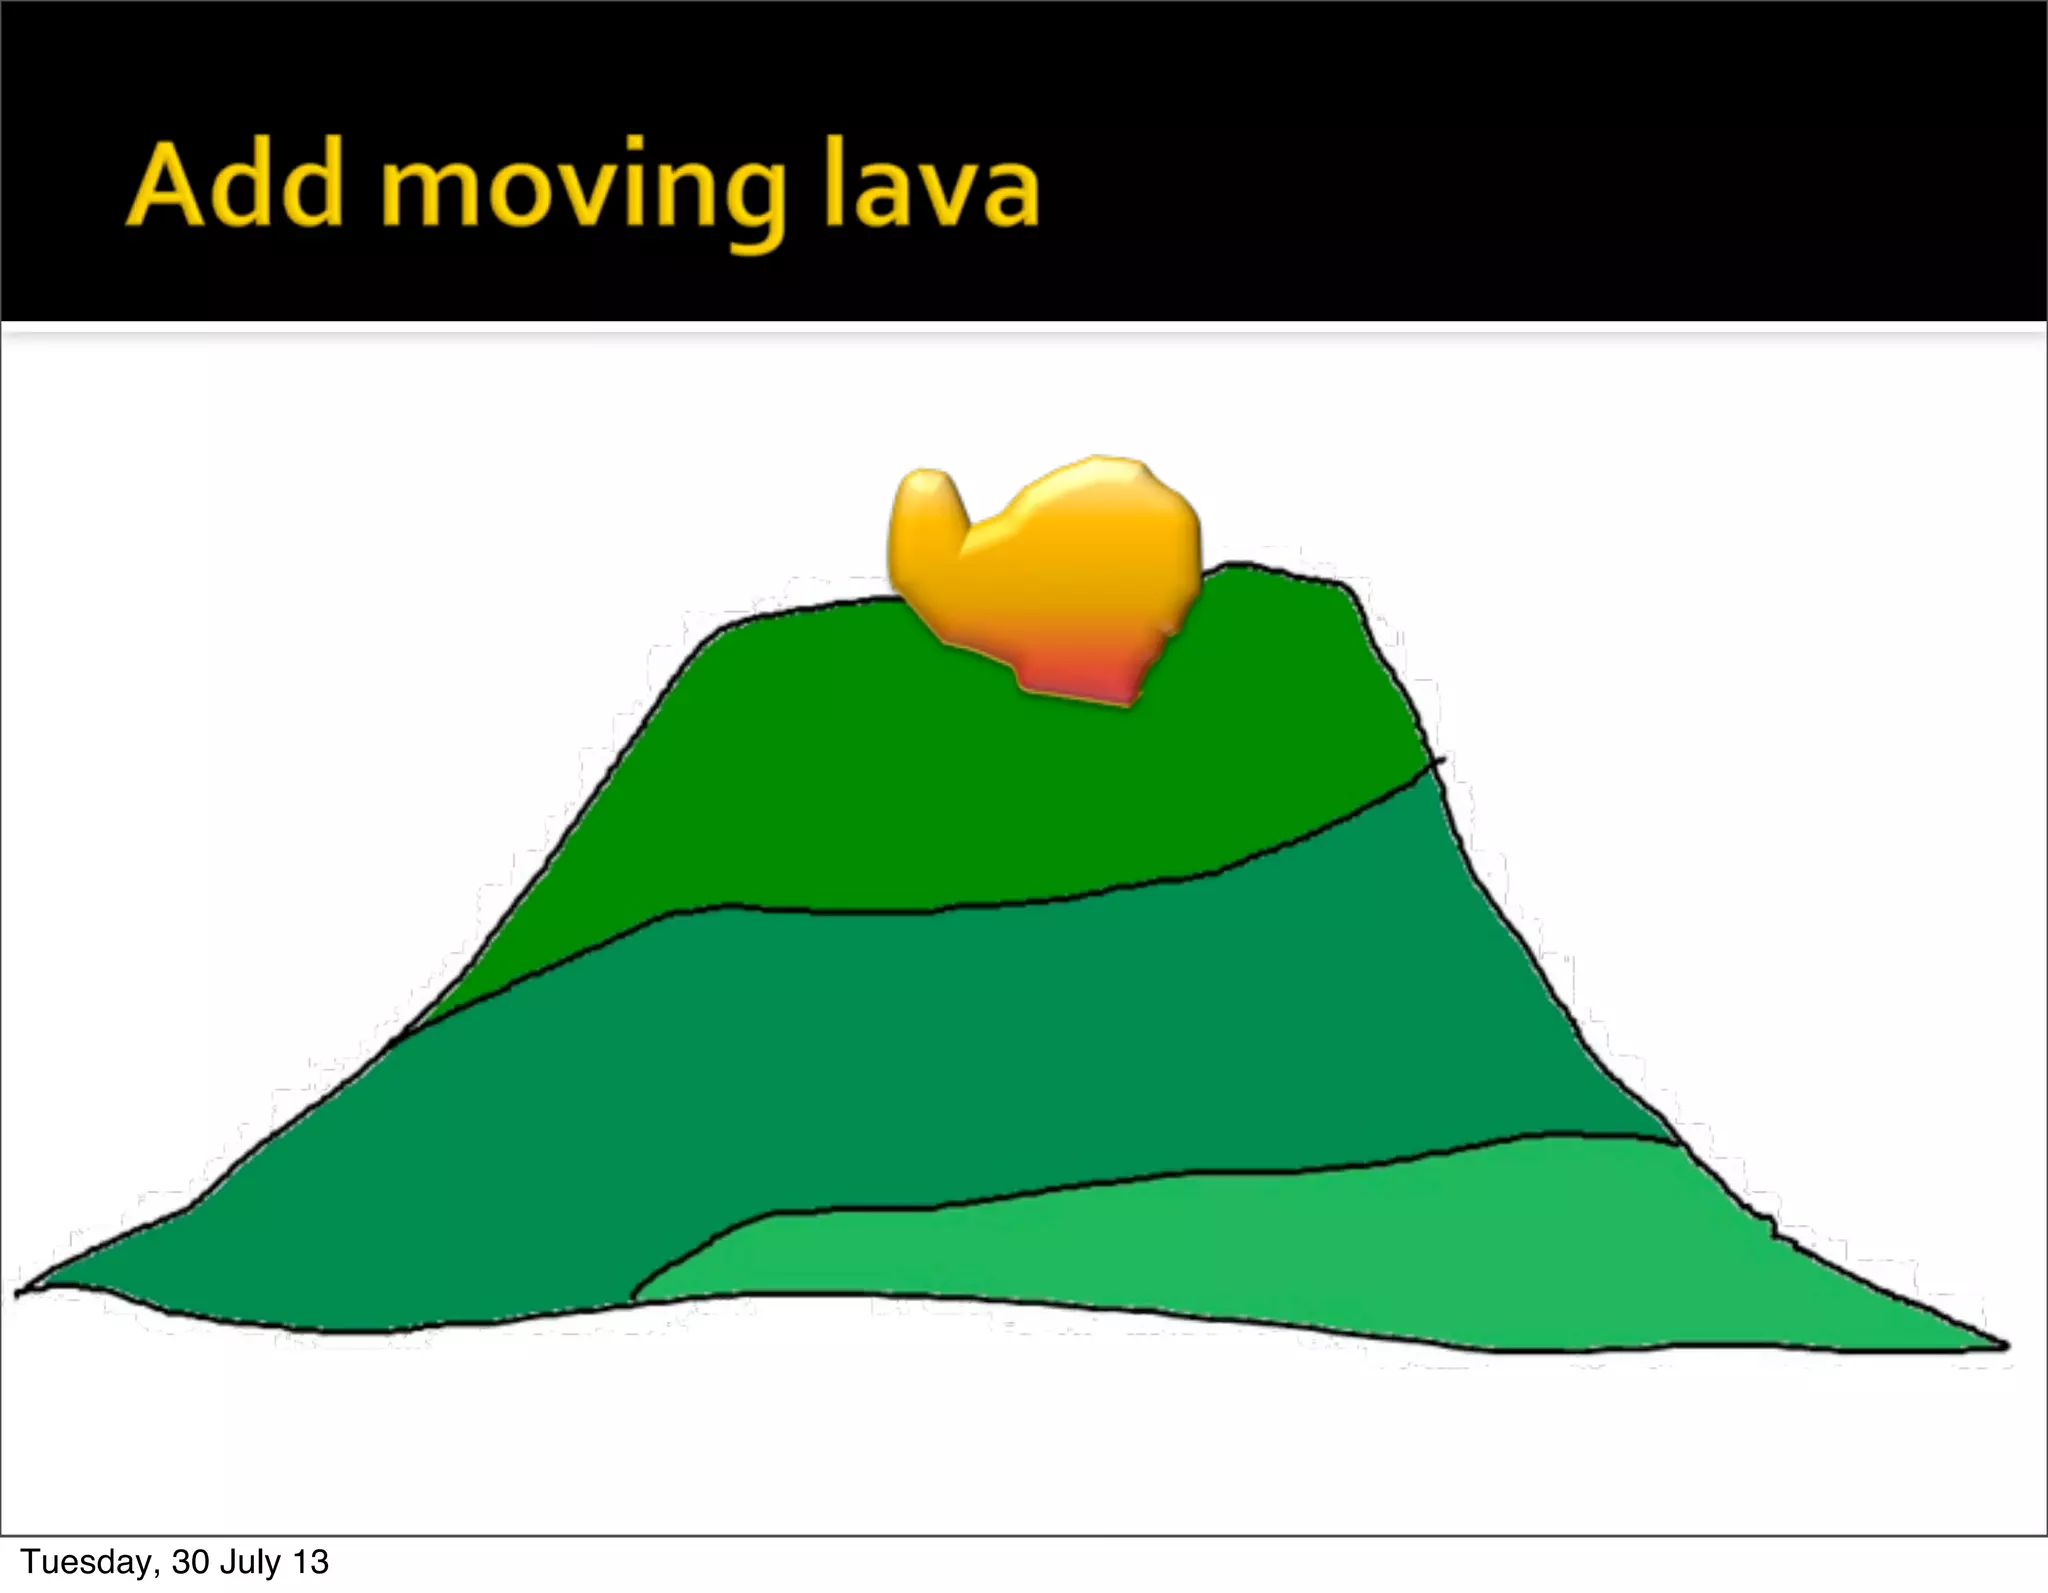
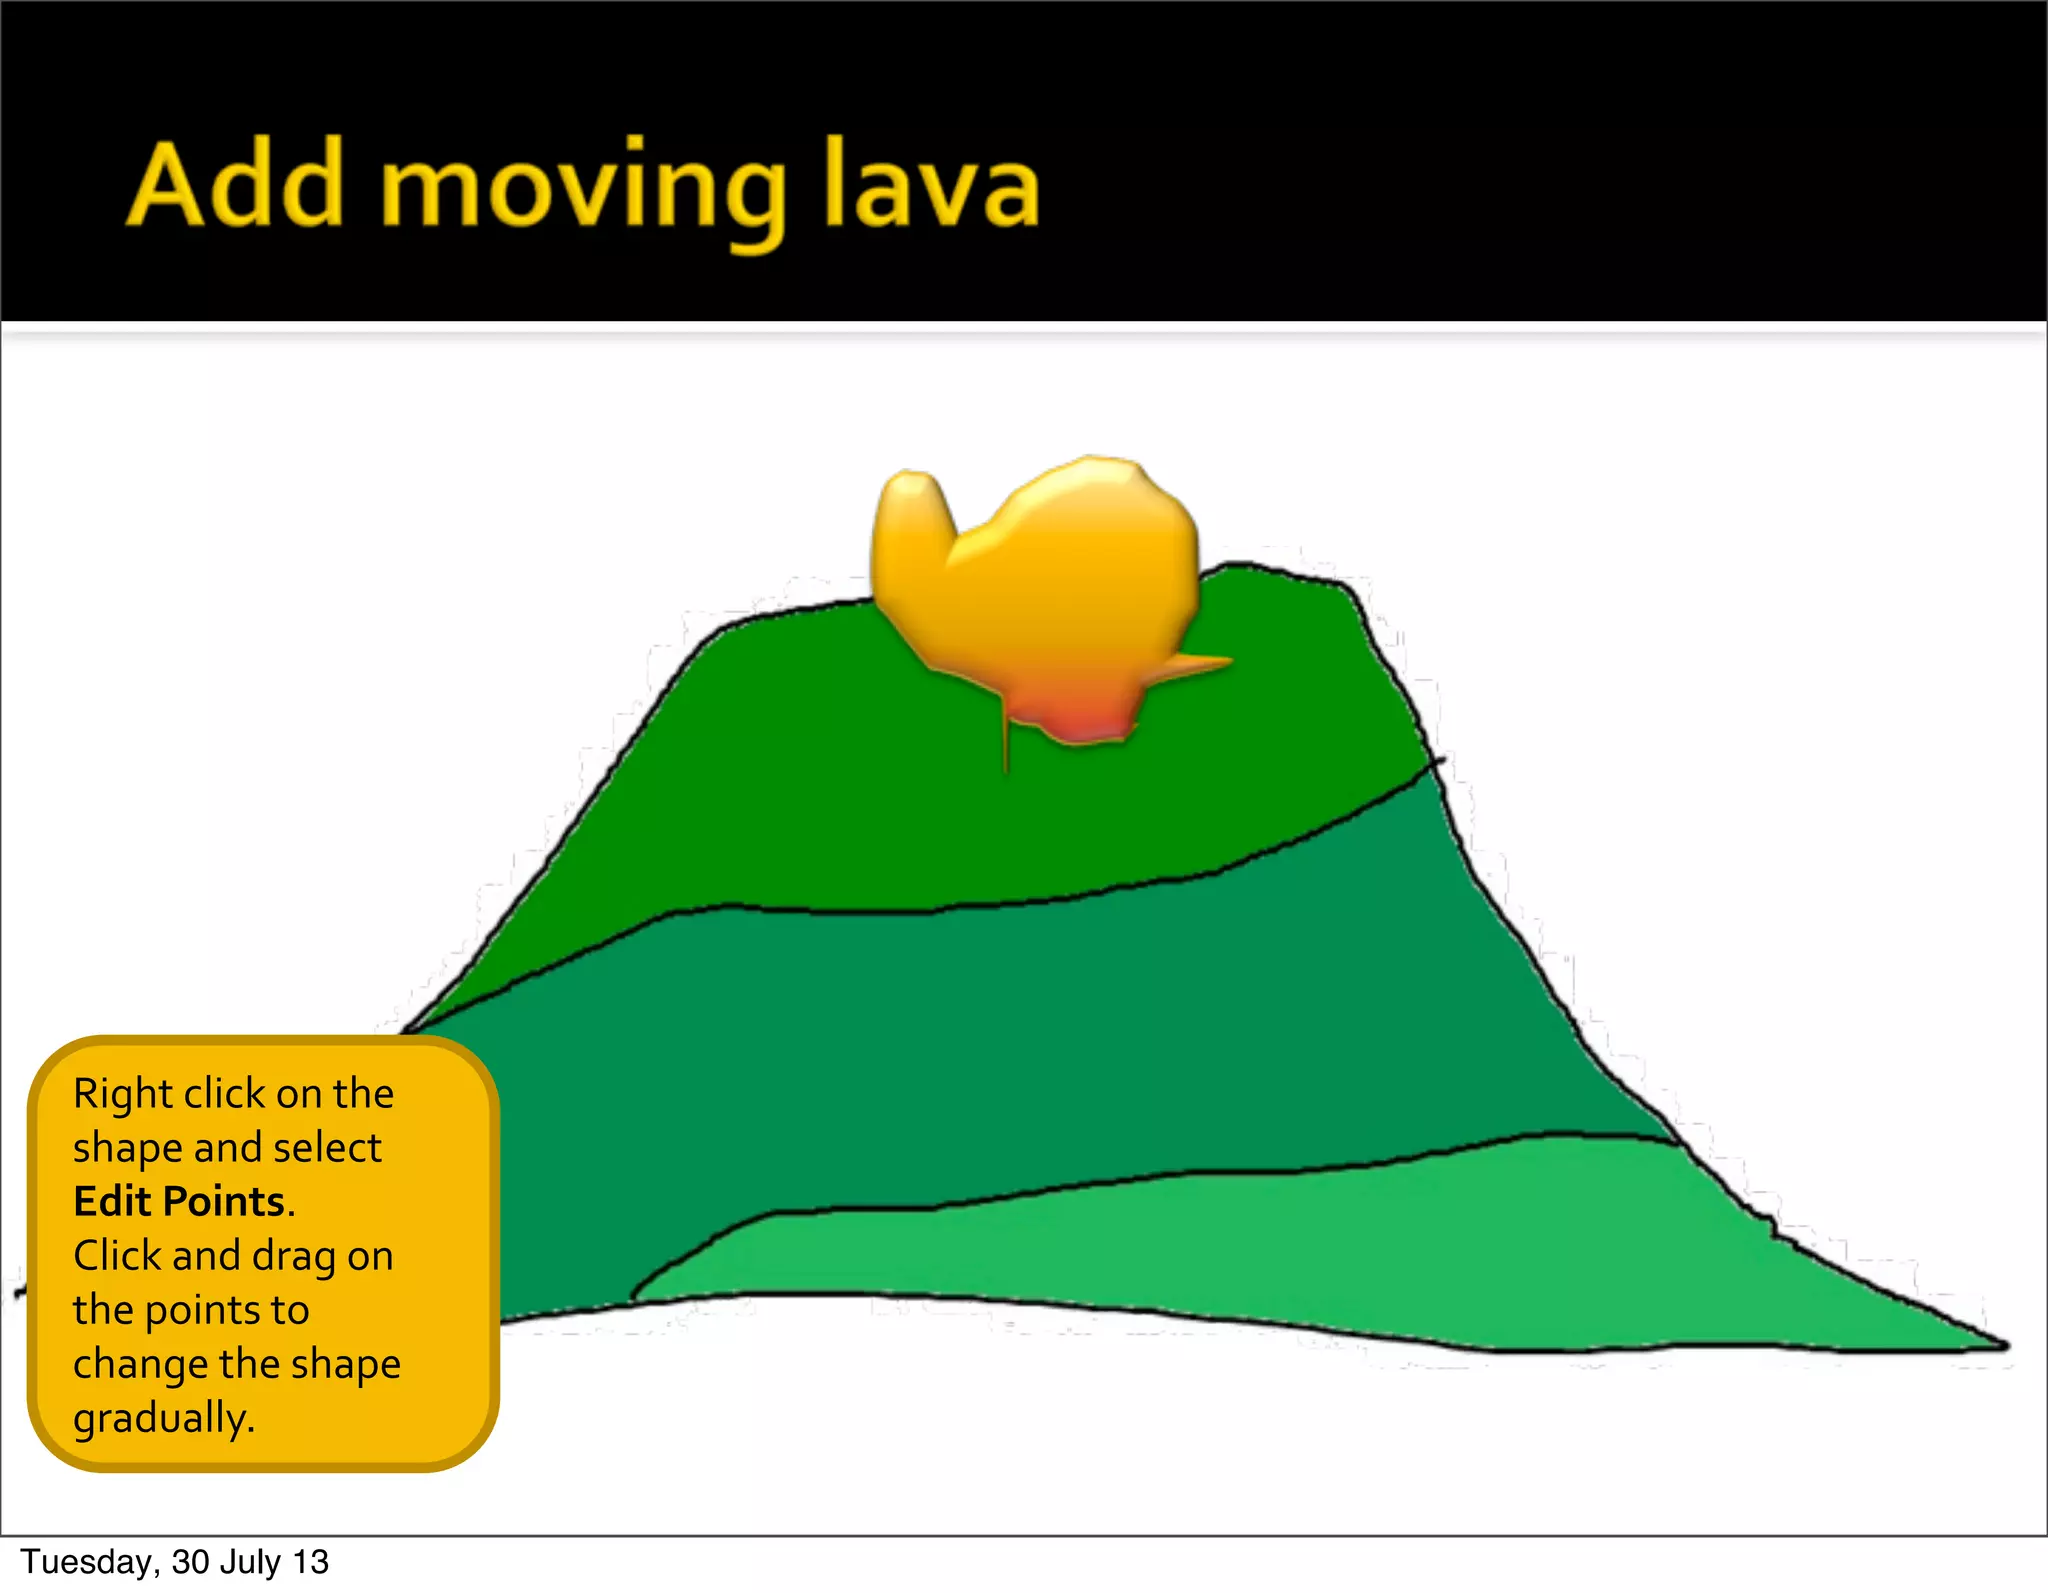

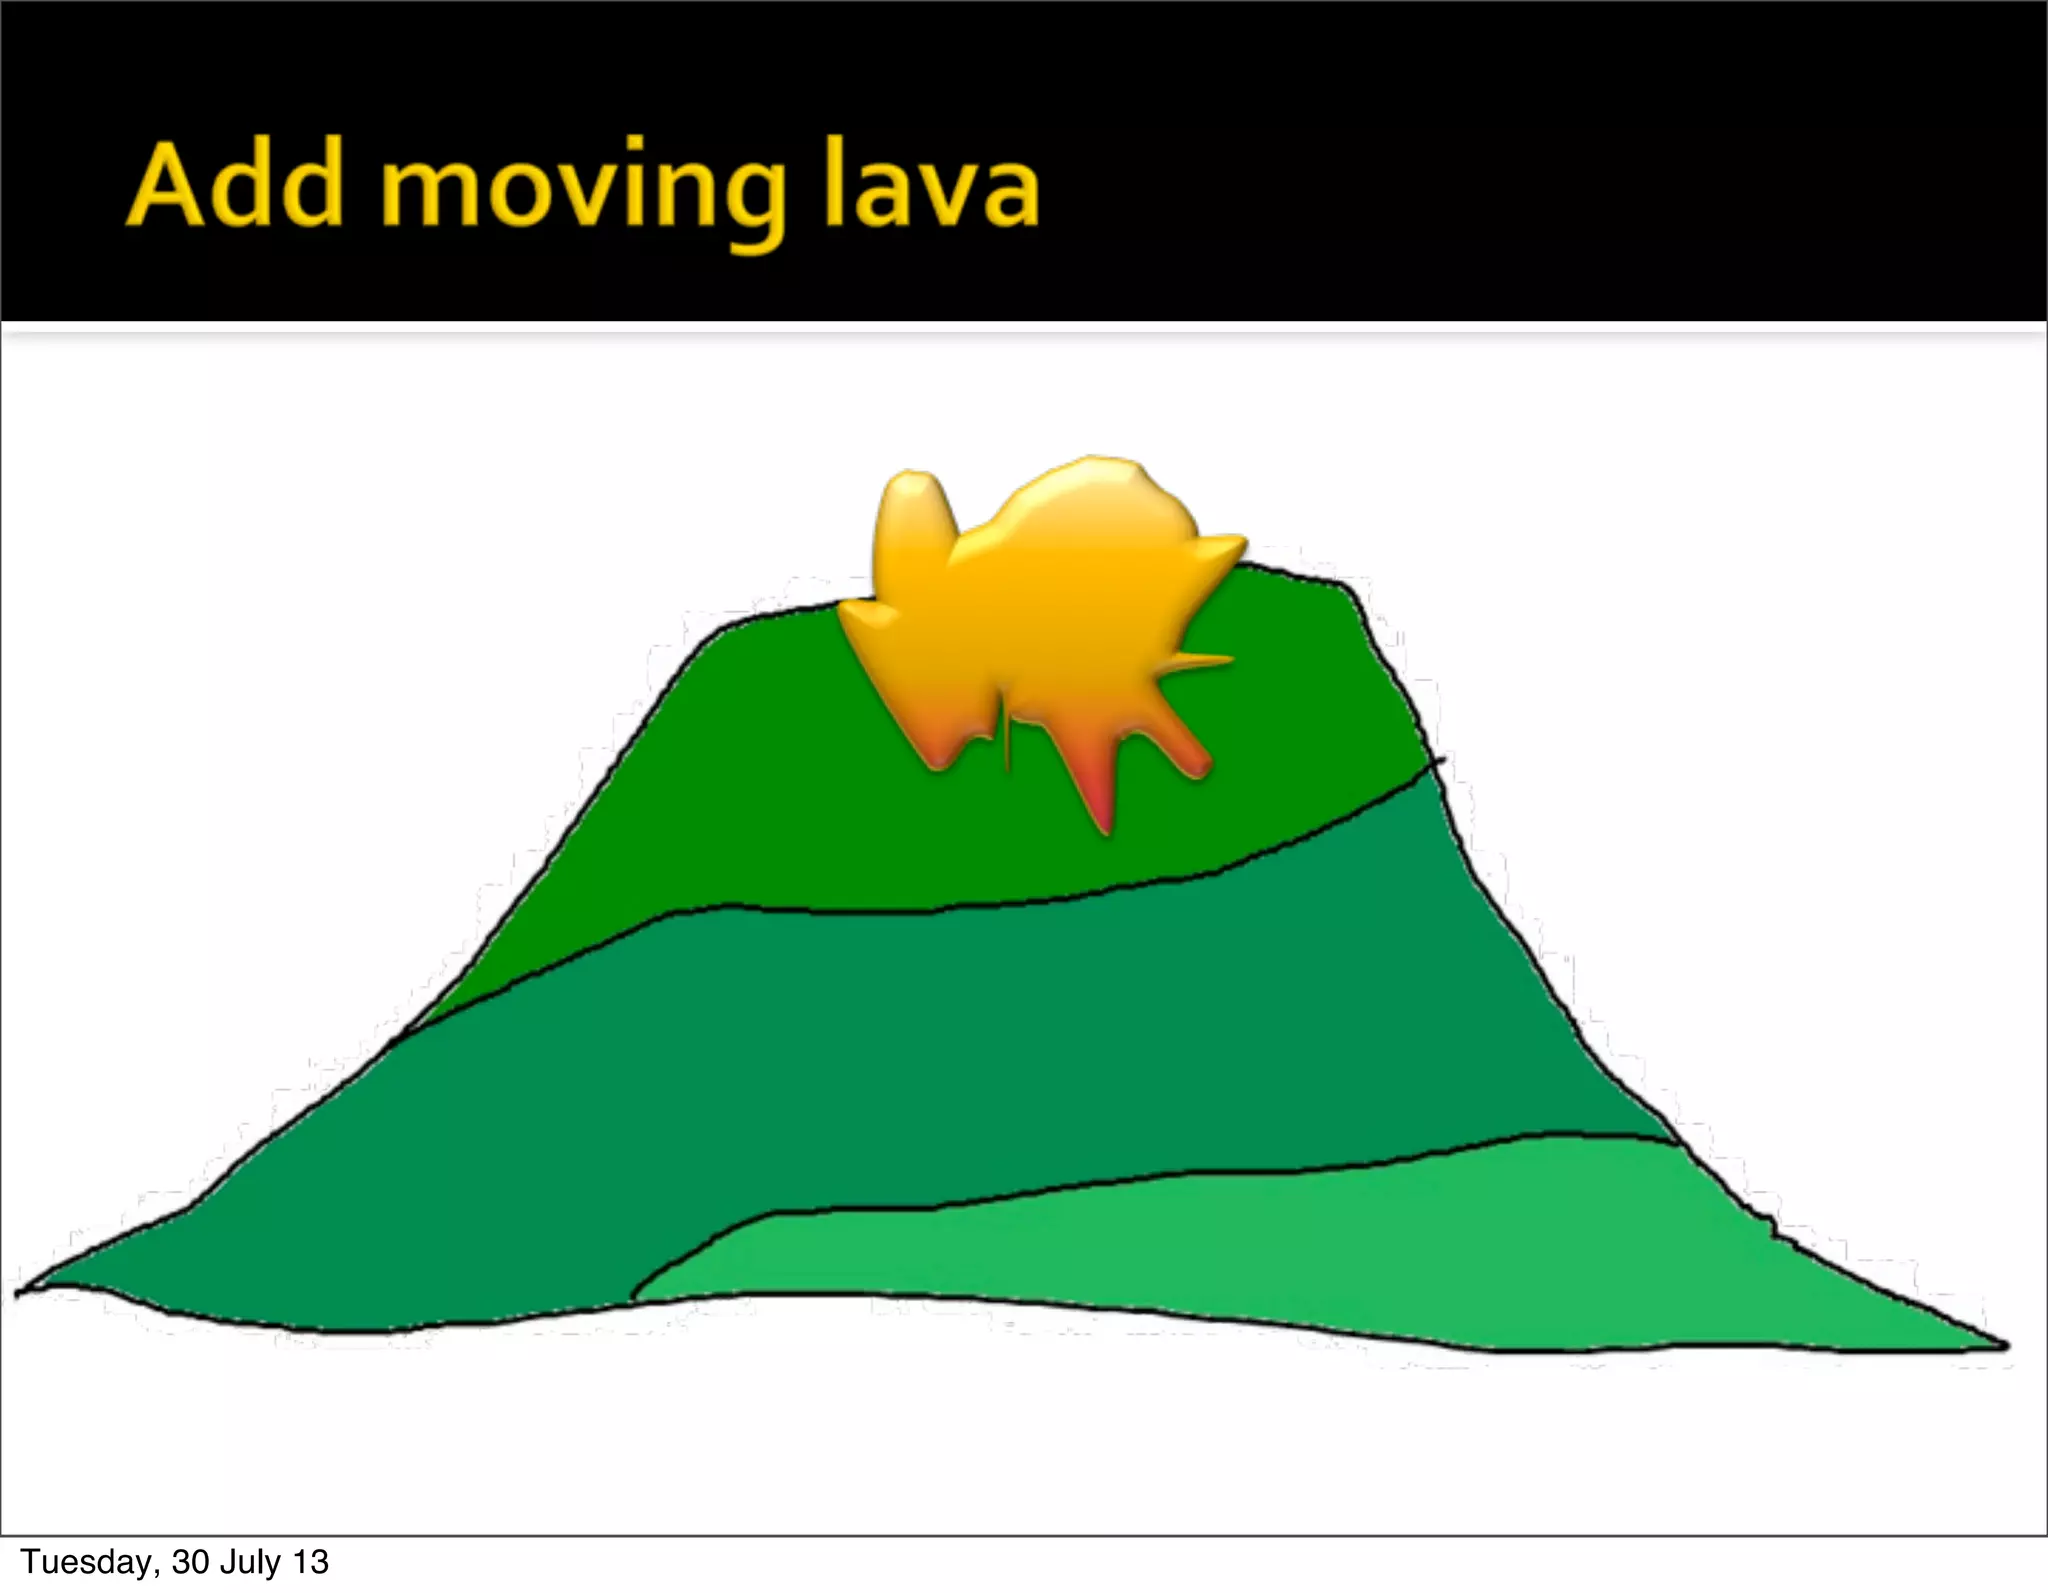
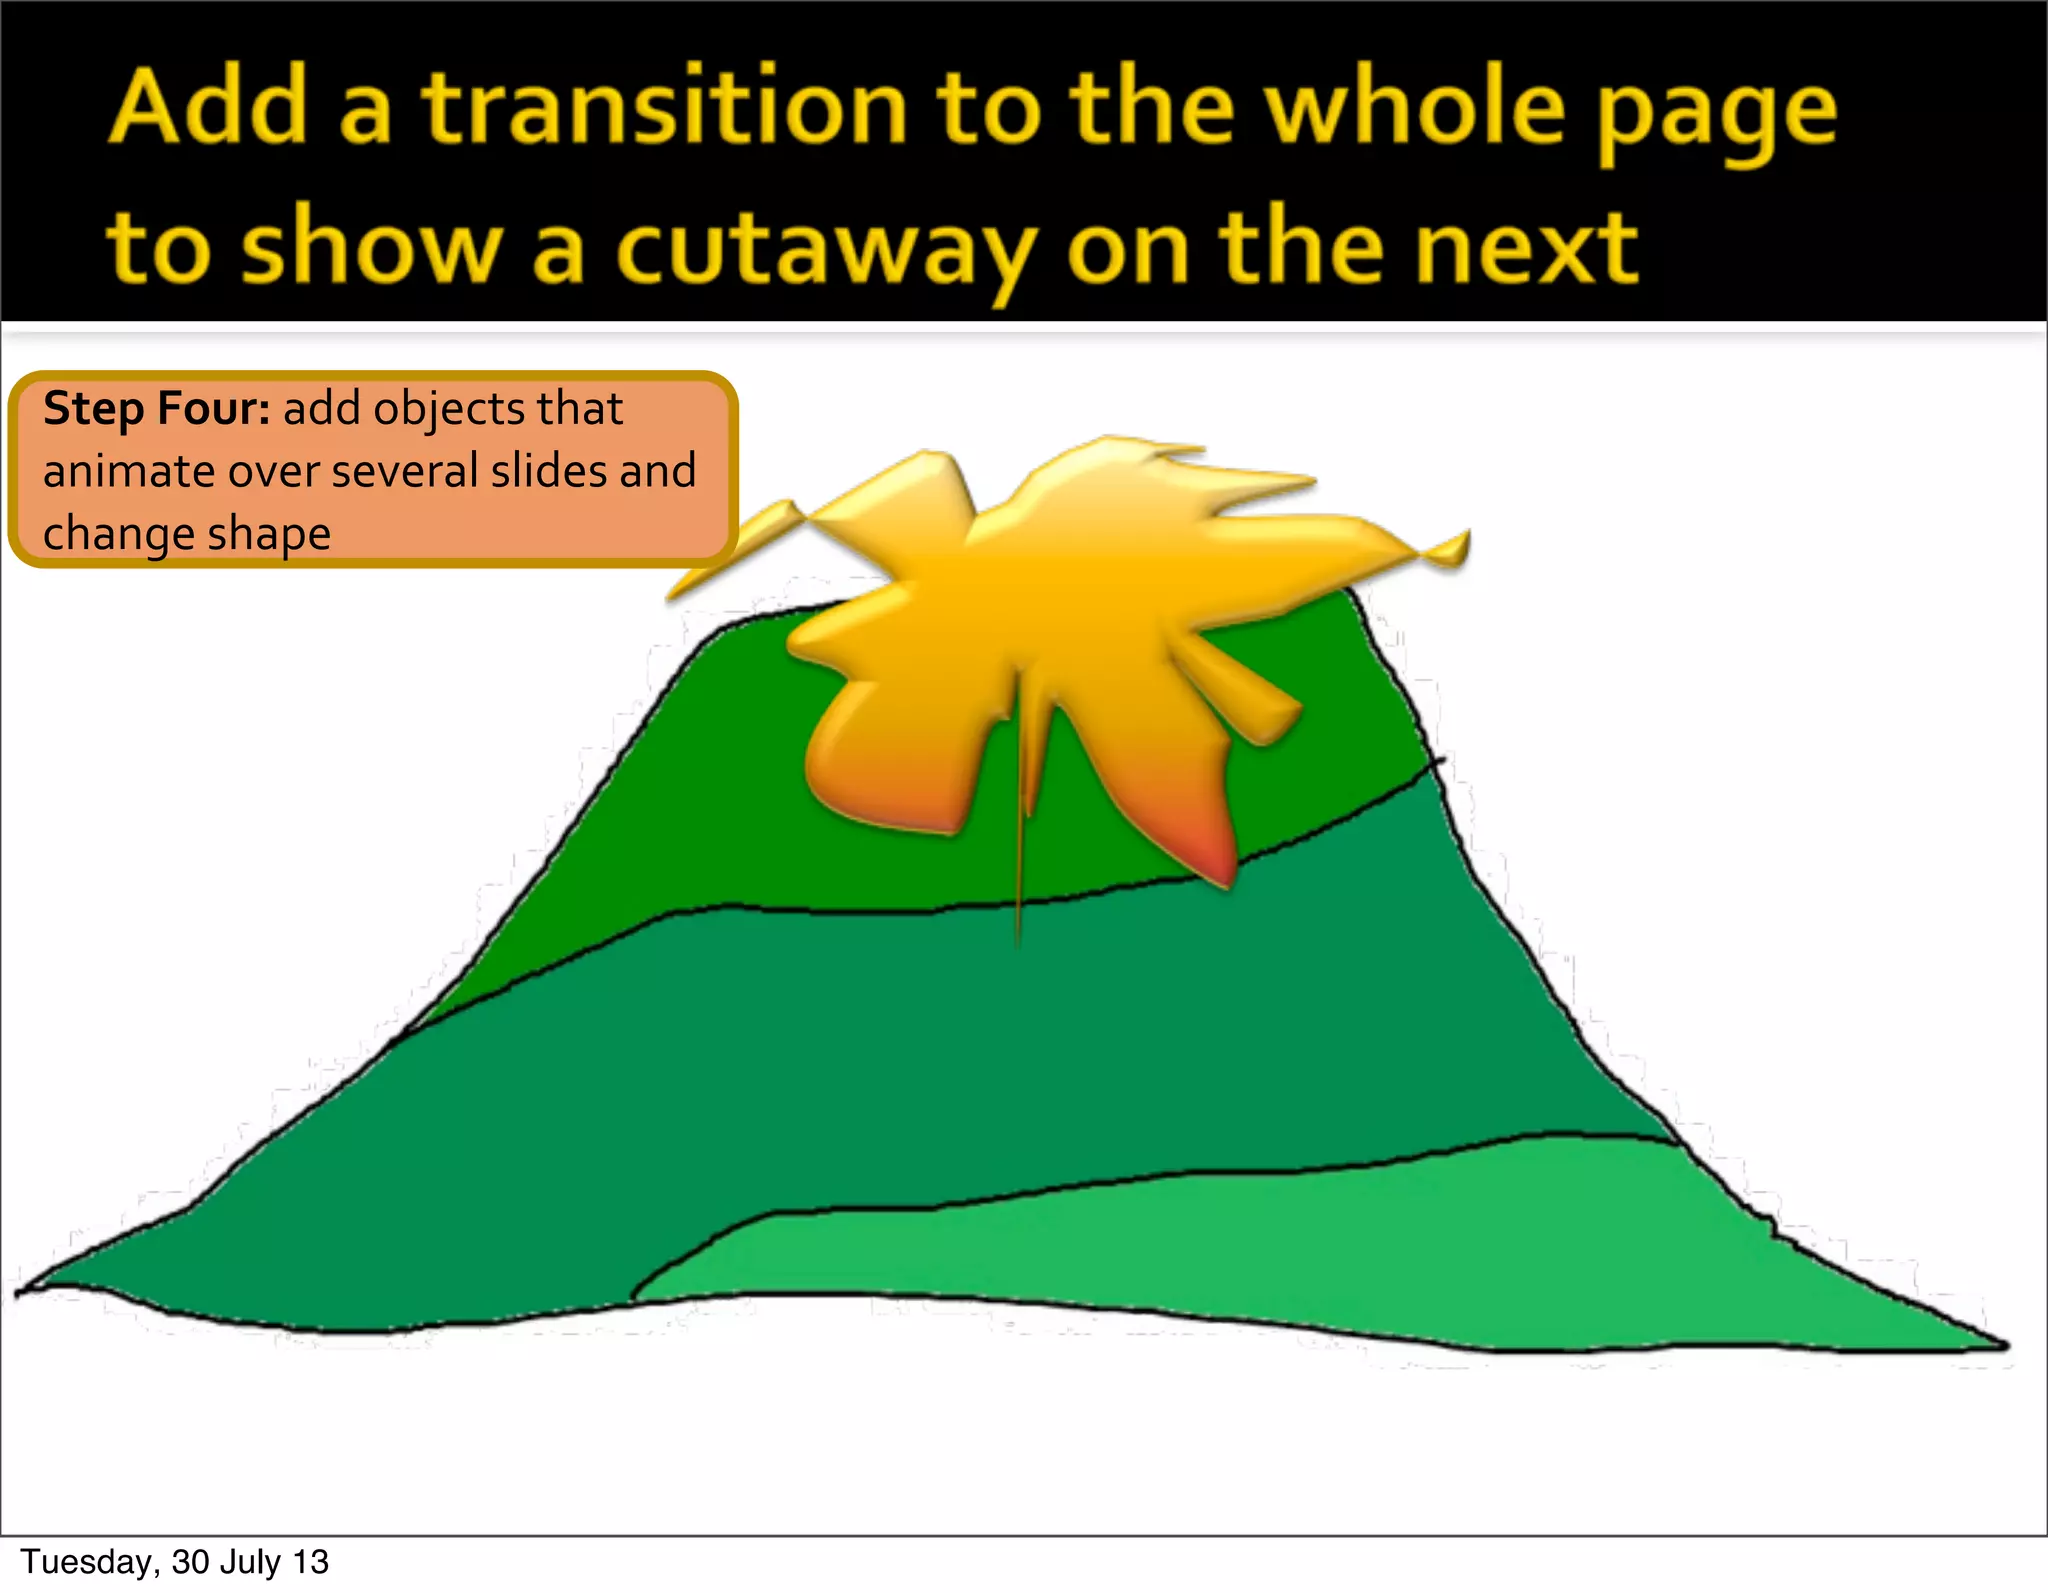
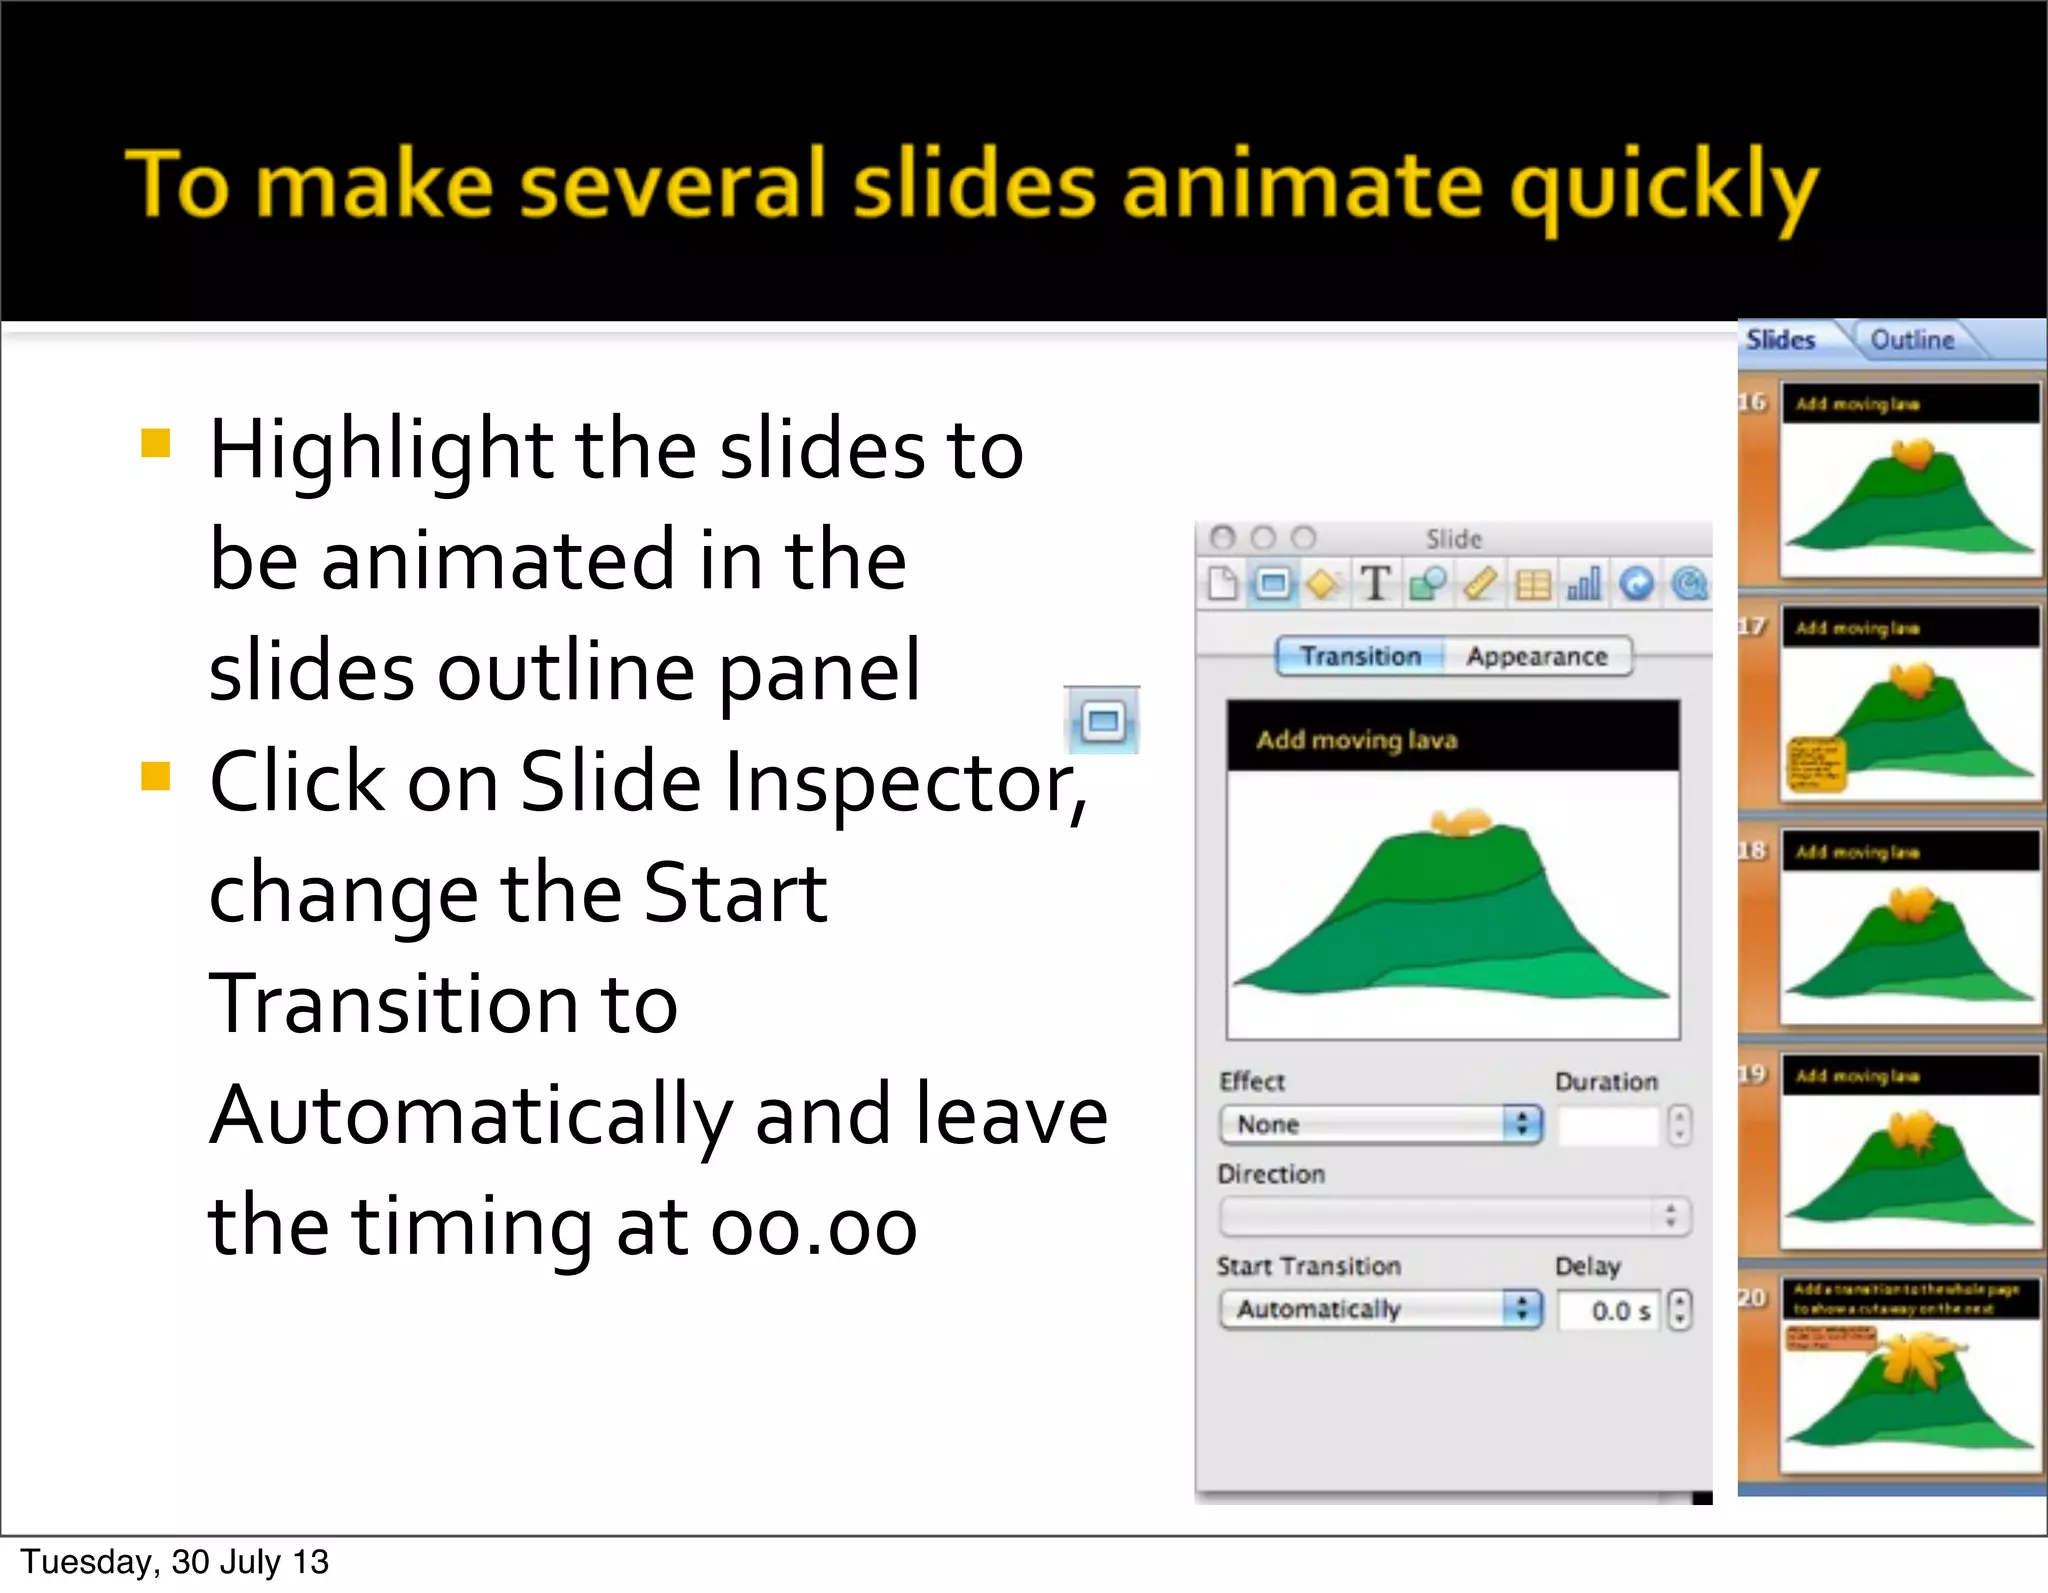

The document provides steps for animating objects in Keynote. It explains how to add objects that will animate, such as clouds or shapes. It describes how to select objects and use the inspector and build inspector to add effects like fly in, move, or motion paths to animate the objects. Tips are included for importing images or screenshots and cropping as needed. The steps demonstrate how to animate a volcanic eruption by drawing lava, duplicating slides to show the lava flowing down the mountain, and animating clouds with different effects.


![3. production experiments [comp]](https://cdn.slidesharecdn.com/ss_thumbnails/3-171219092936-thumbnail.jpg?width=640&height=640&fit=bounds)