
Download to read offline


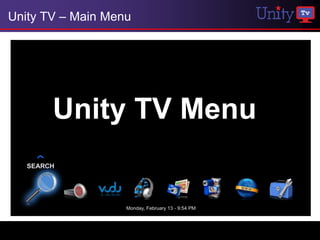
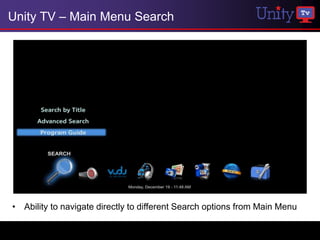
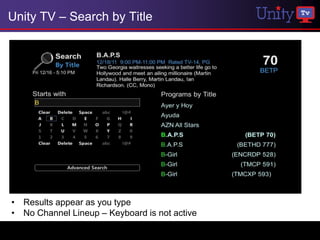
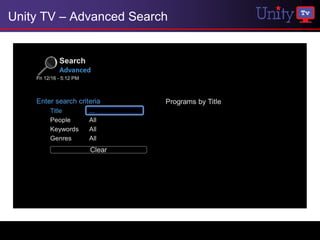
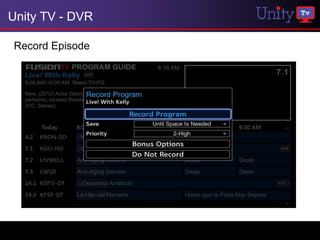
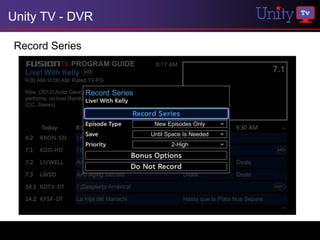
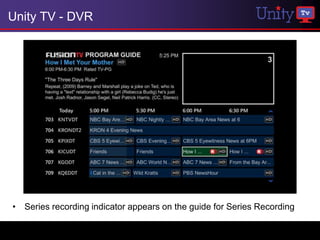
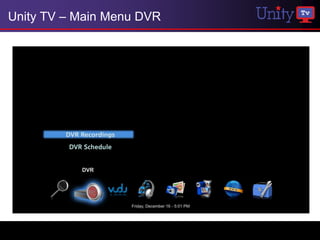

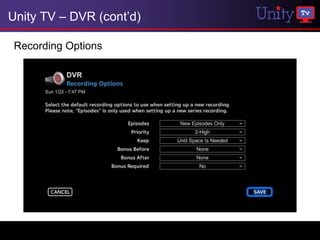
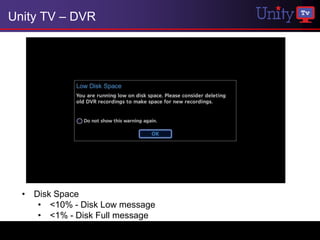
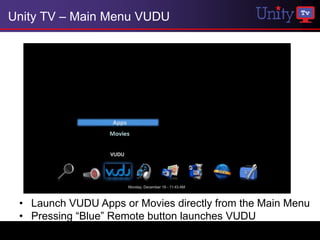
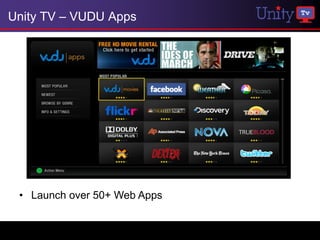
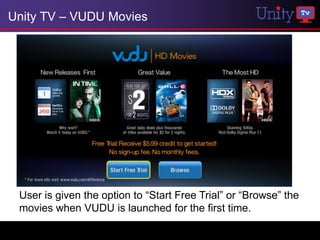
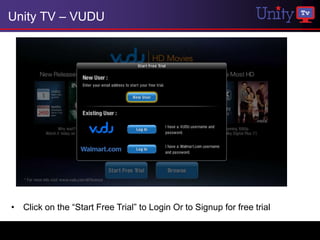


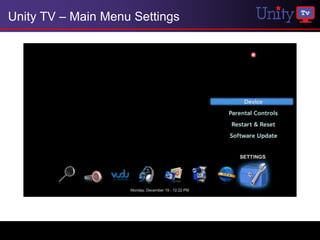
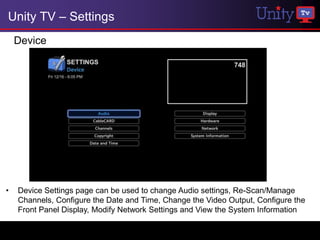
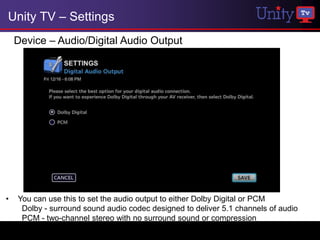
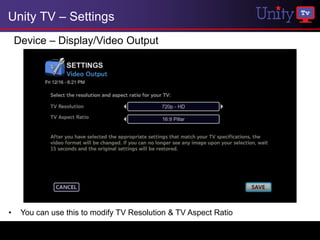
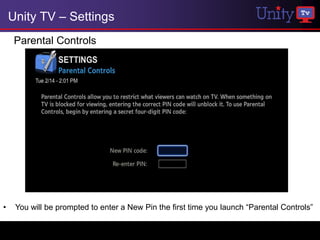

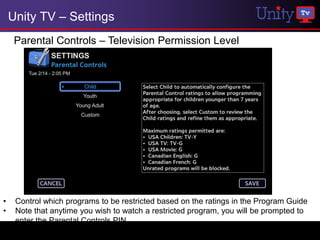
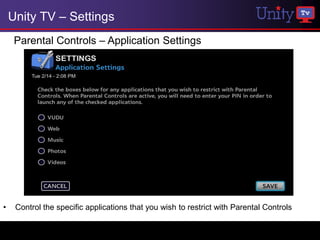

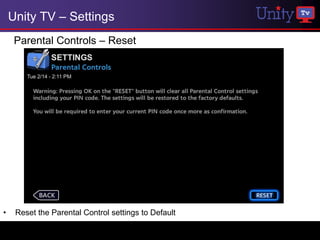
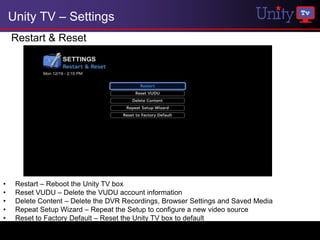
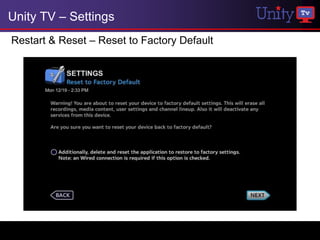
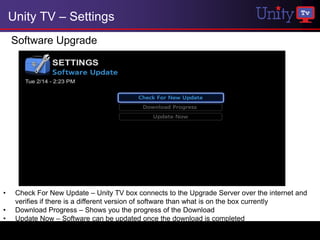
The document provides instructions on how to use various features and menus of the Unity TV set-top box. It describes the main menu, program guide, search functions, DVR recording and playback options, VUDU movie rental and streaming, personal media playback from USB drives, settings menu to control display, audio, network, and other device options. Parental controls, software upgrades, and resetting features are also summarized.


