Windows Movie Maker allows users to create videos by importing images and videos into a folder, then dragging them into the Movie Maker storyboard to set the order. Titles can be added by selecting "Make titles or credits" in the edit movie menu.
Creating videos in
WindowsMovie Maker
1. Create a folder and name it moviemaker
2. Place at least 10-15 (size will vary depending on the
length of your song) images in the moviemaker
folder. The images should be the same size to
maintain quality and prevent distortion.
3. Place any videos in this folder that are intended for
this project.
4. Open Window Movie Maker by choosing Start |
Programs | Windows Movie Maker. If you can’t find
it, try Start | Programs | Accessories |Windows
Movie Maker
3.
Adding images tothe movie
• Import images that have already been
properly resized by choosing Import
pictures under Capture Video.
• Navigate to your folder that contains the
images.
4.
• If youdon’t have a specific order for the images
to appear in the presentation, you can select all
of them at once by clicking on the first image
and then click on the Ctrl + A button (shortcut
for select all). With them all selected, drag and
drop them into the boxes below. Those boxes
are referred to as the storyboard. If you do
have a specific order for them to appear in the
presentation, you can drag and drop one at a
time.
5.
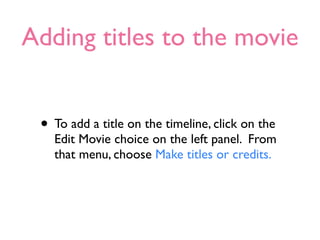
Adding titles tothe movie
• To add a title on the timeline, click on the
Edit Movie choice on the left panel. From
that menu, choose Make titles or credits.