Download as PDF, PPTX

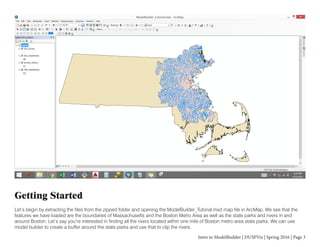

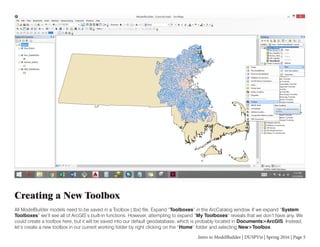

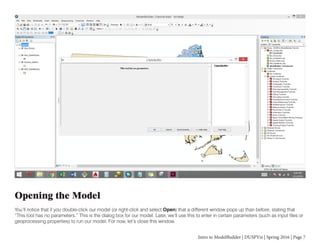


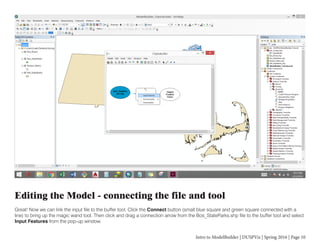
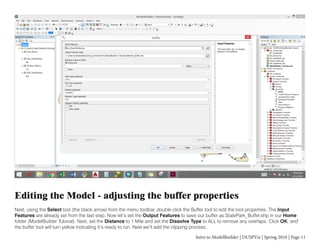


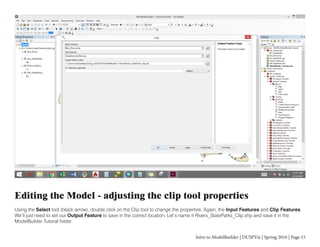


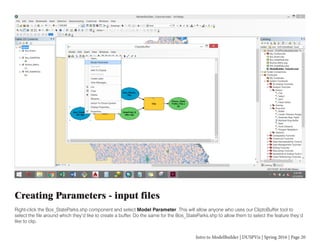

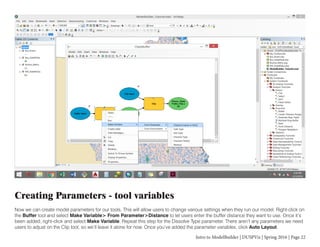

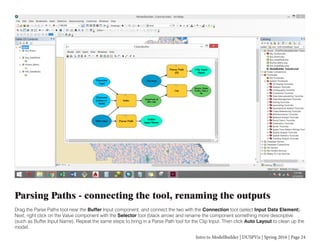


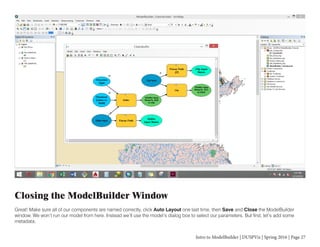

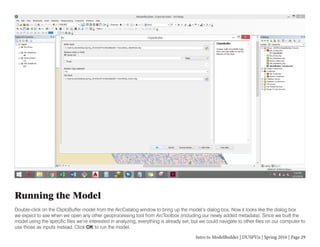
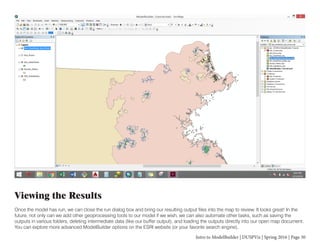
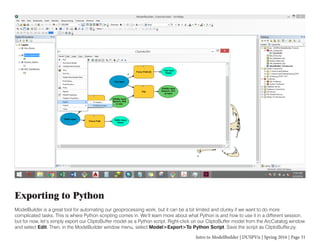

This document provides an introduction to using ESRI's ArcGIS ModelBuilder tool. It explains that ModelBuilder allows users to combine geoprocessing tools in a visual workflow to automate mapping processes. The document then walks through building a simple model that buffers a state park boundary and uses the buffer to clip nearby rivers. It demonstrates how to add input features, tools, connect them, set properties, run the model, and view the output within ArcGIS. Finally, it shows how to modify the model to make the input features and tool parameters adjustable when running the model.