Download to read offline
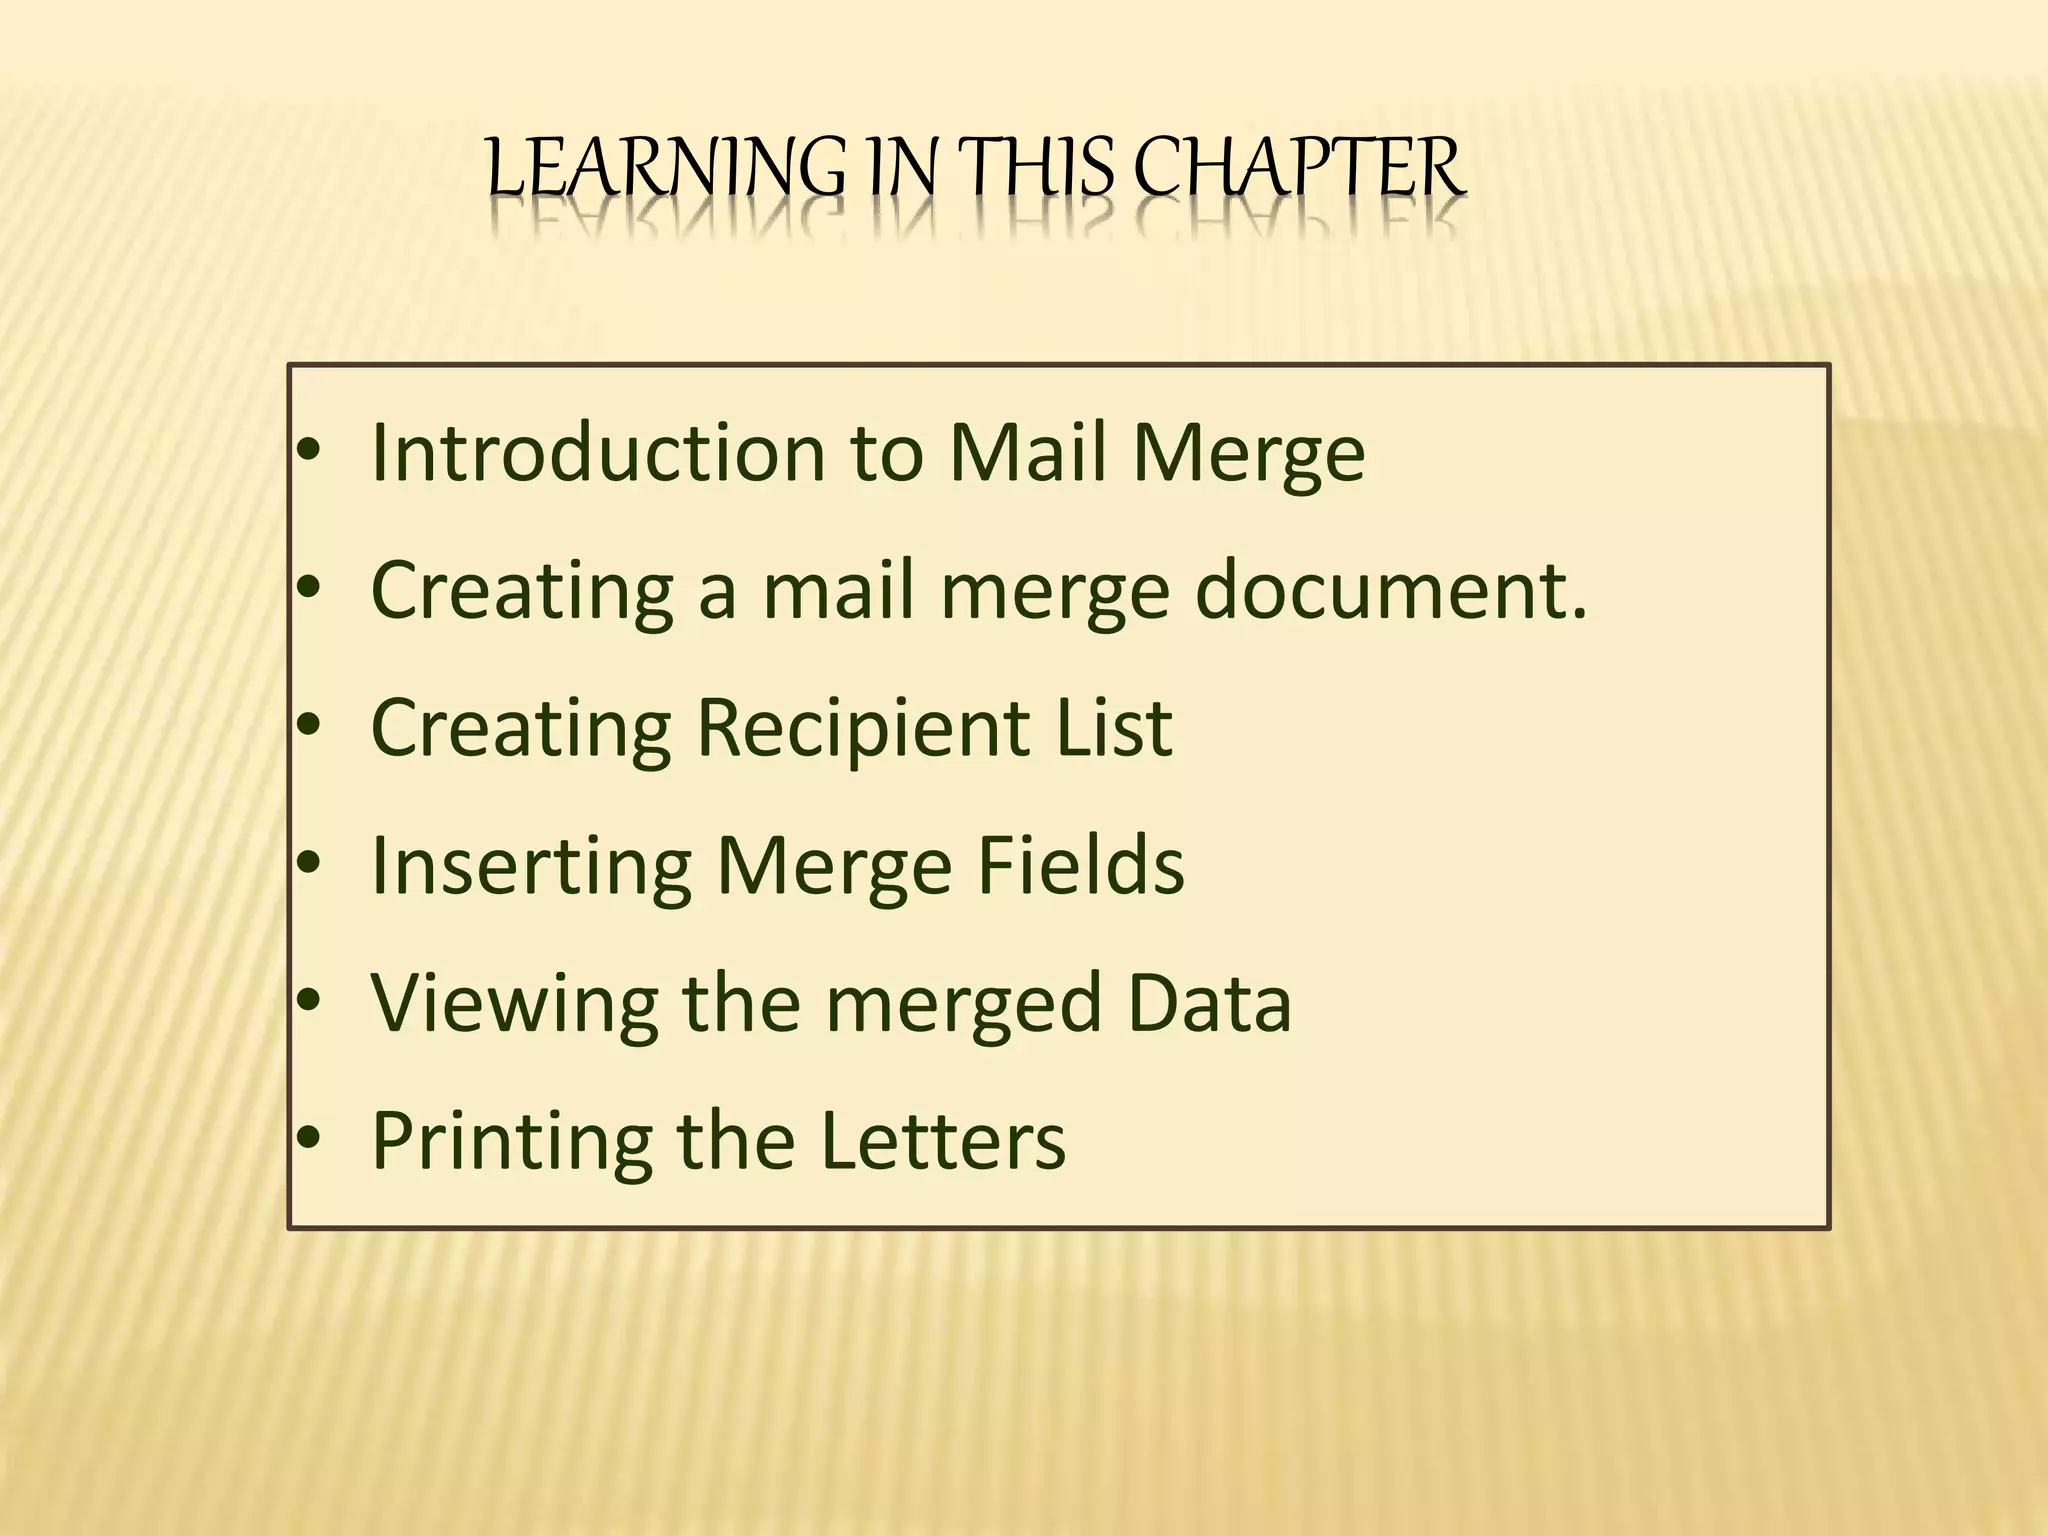
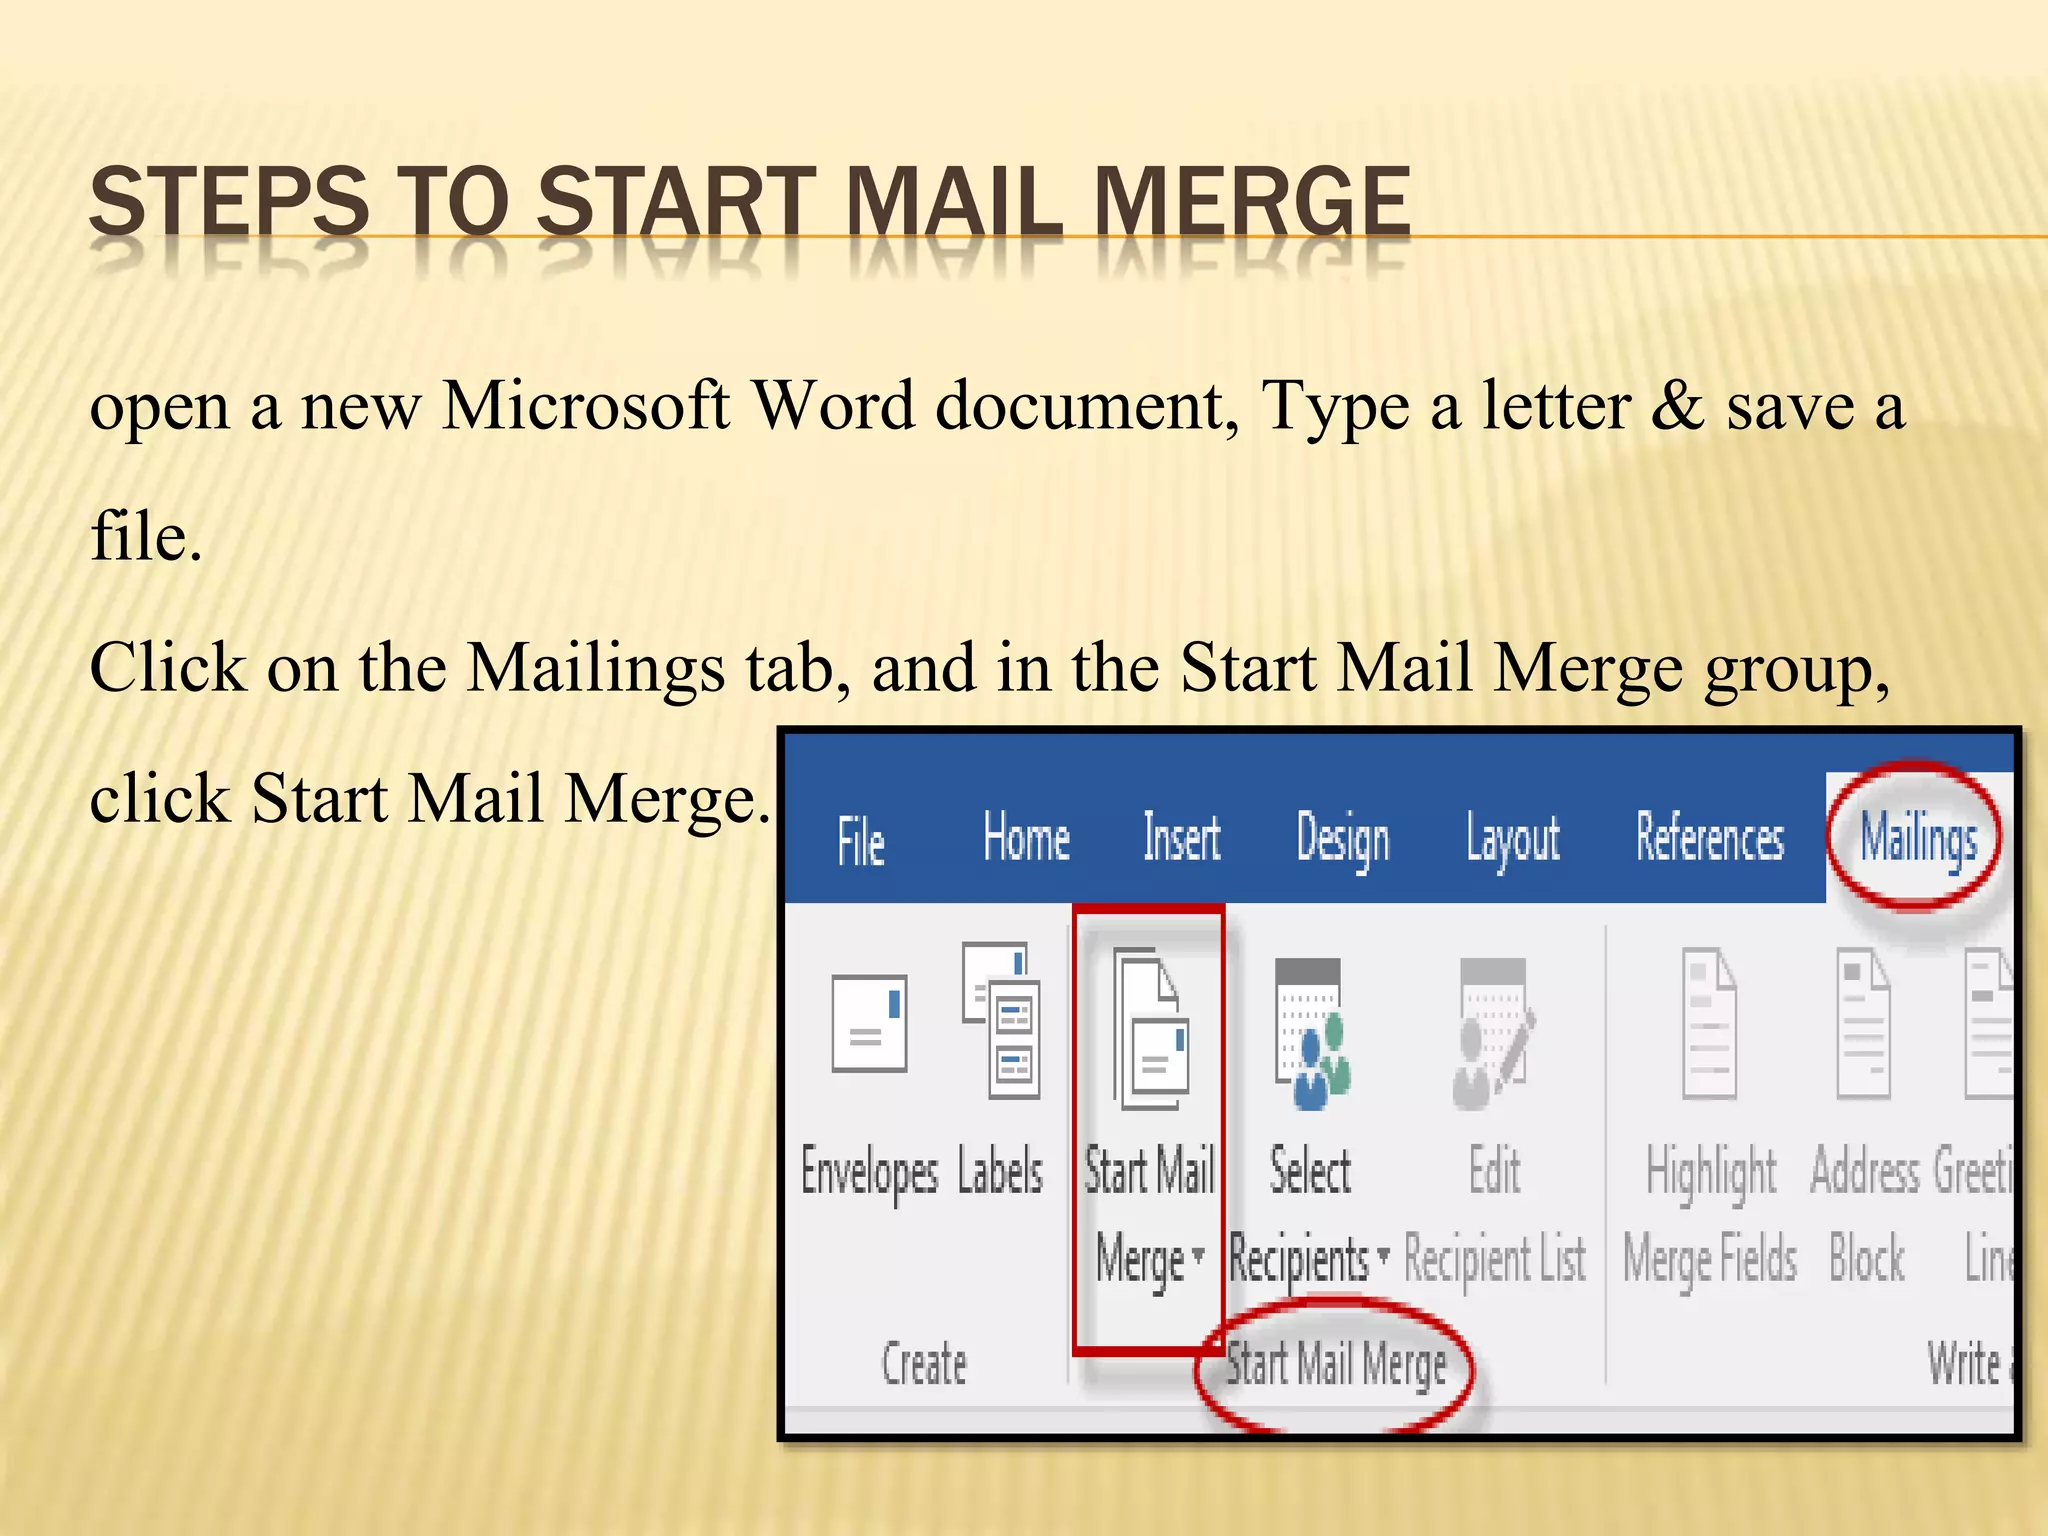
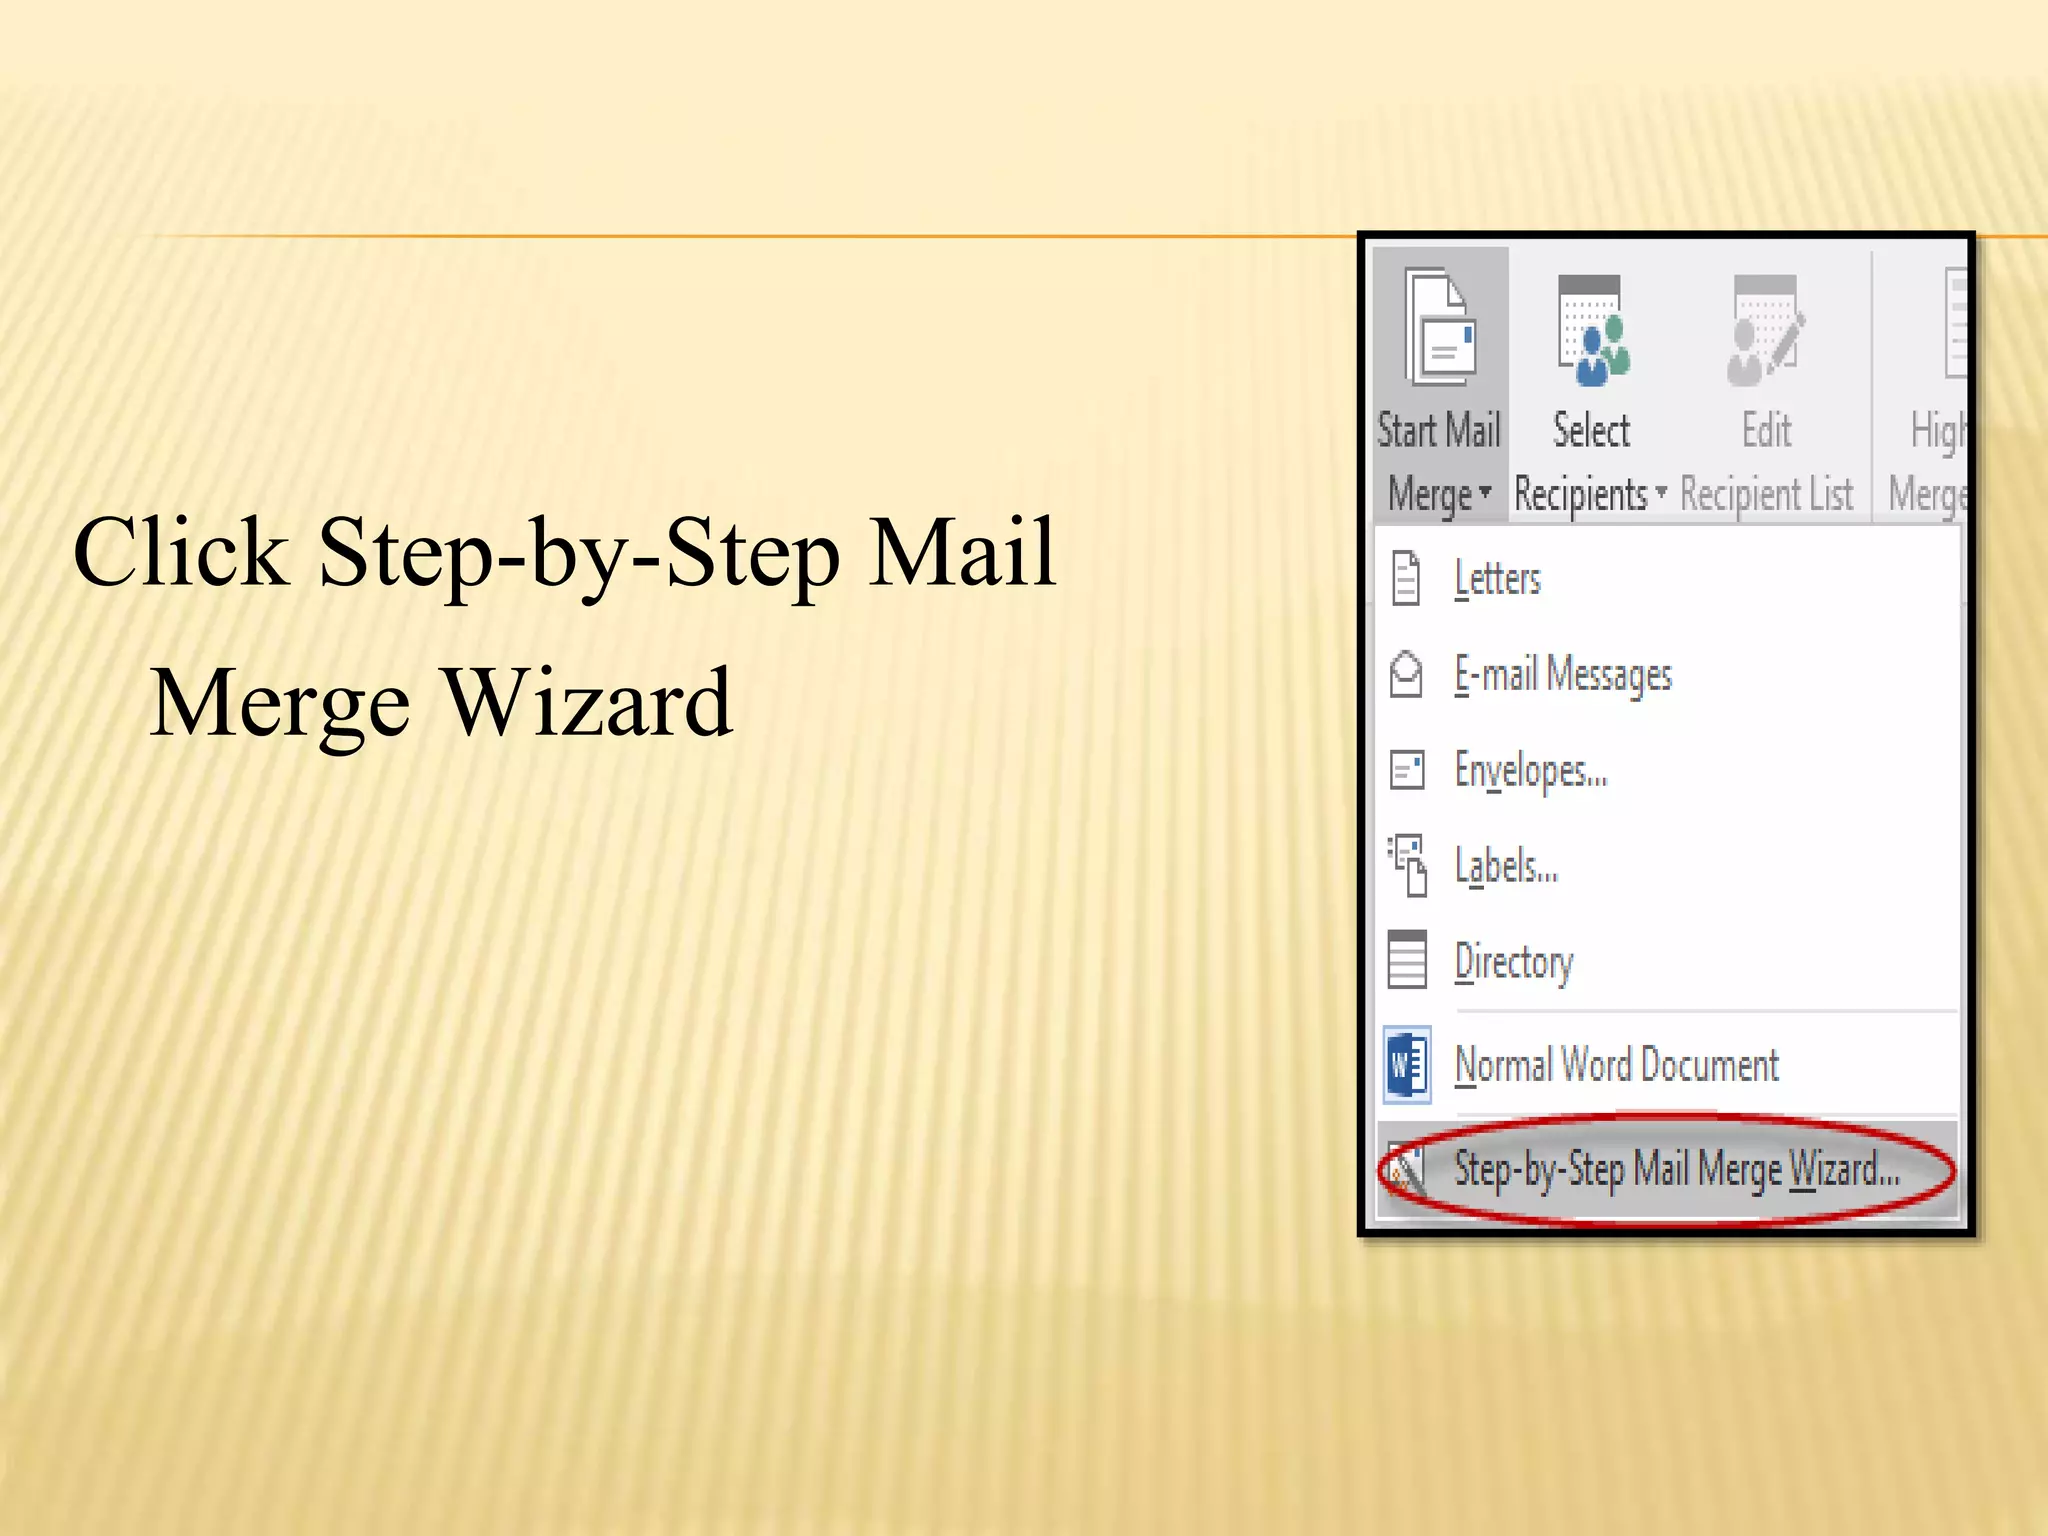
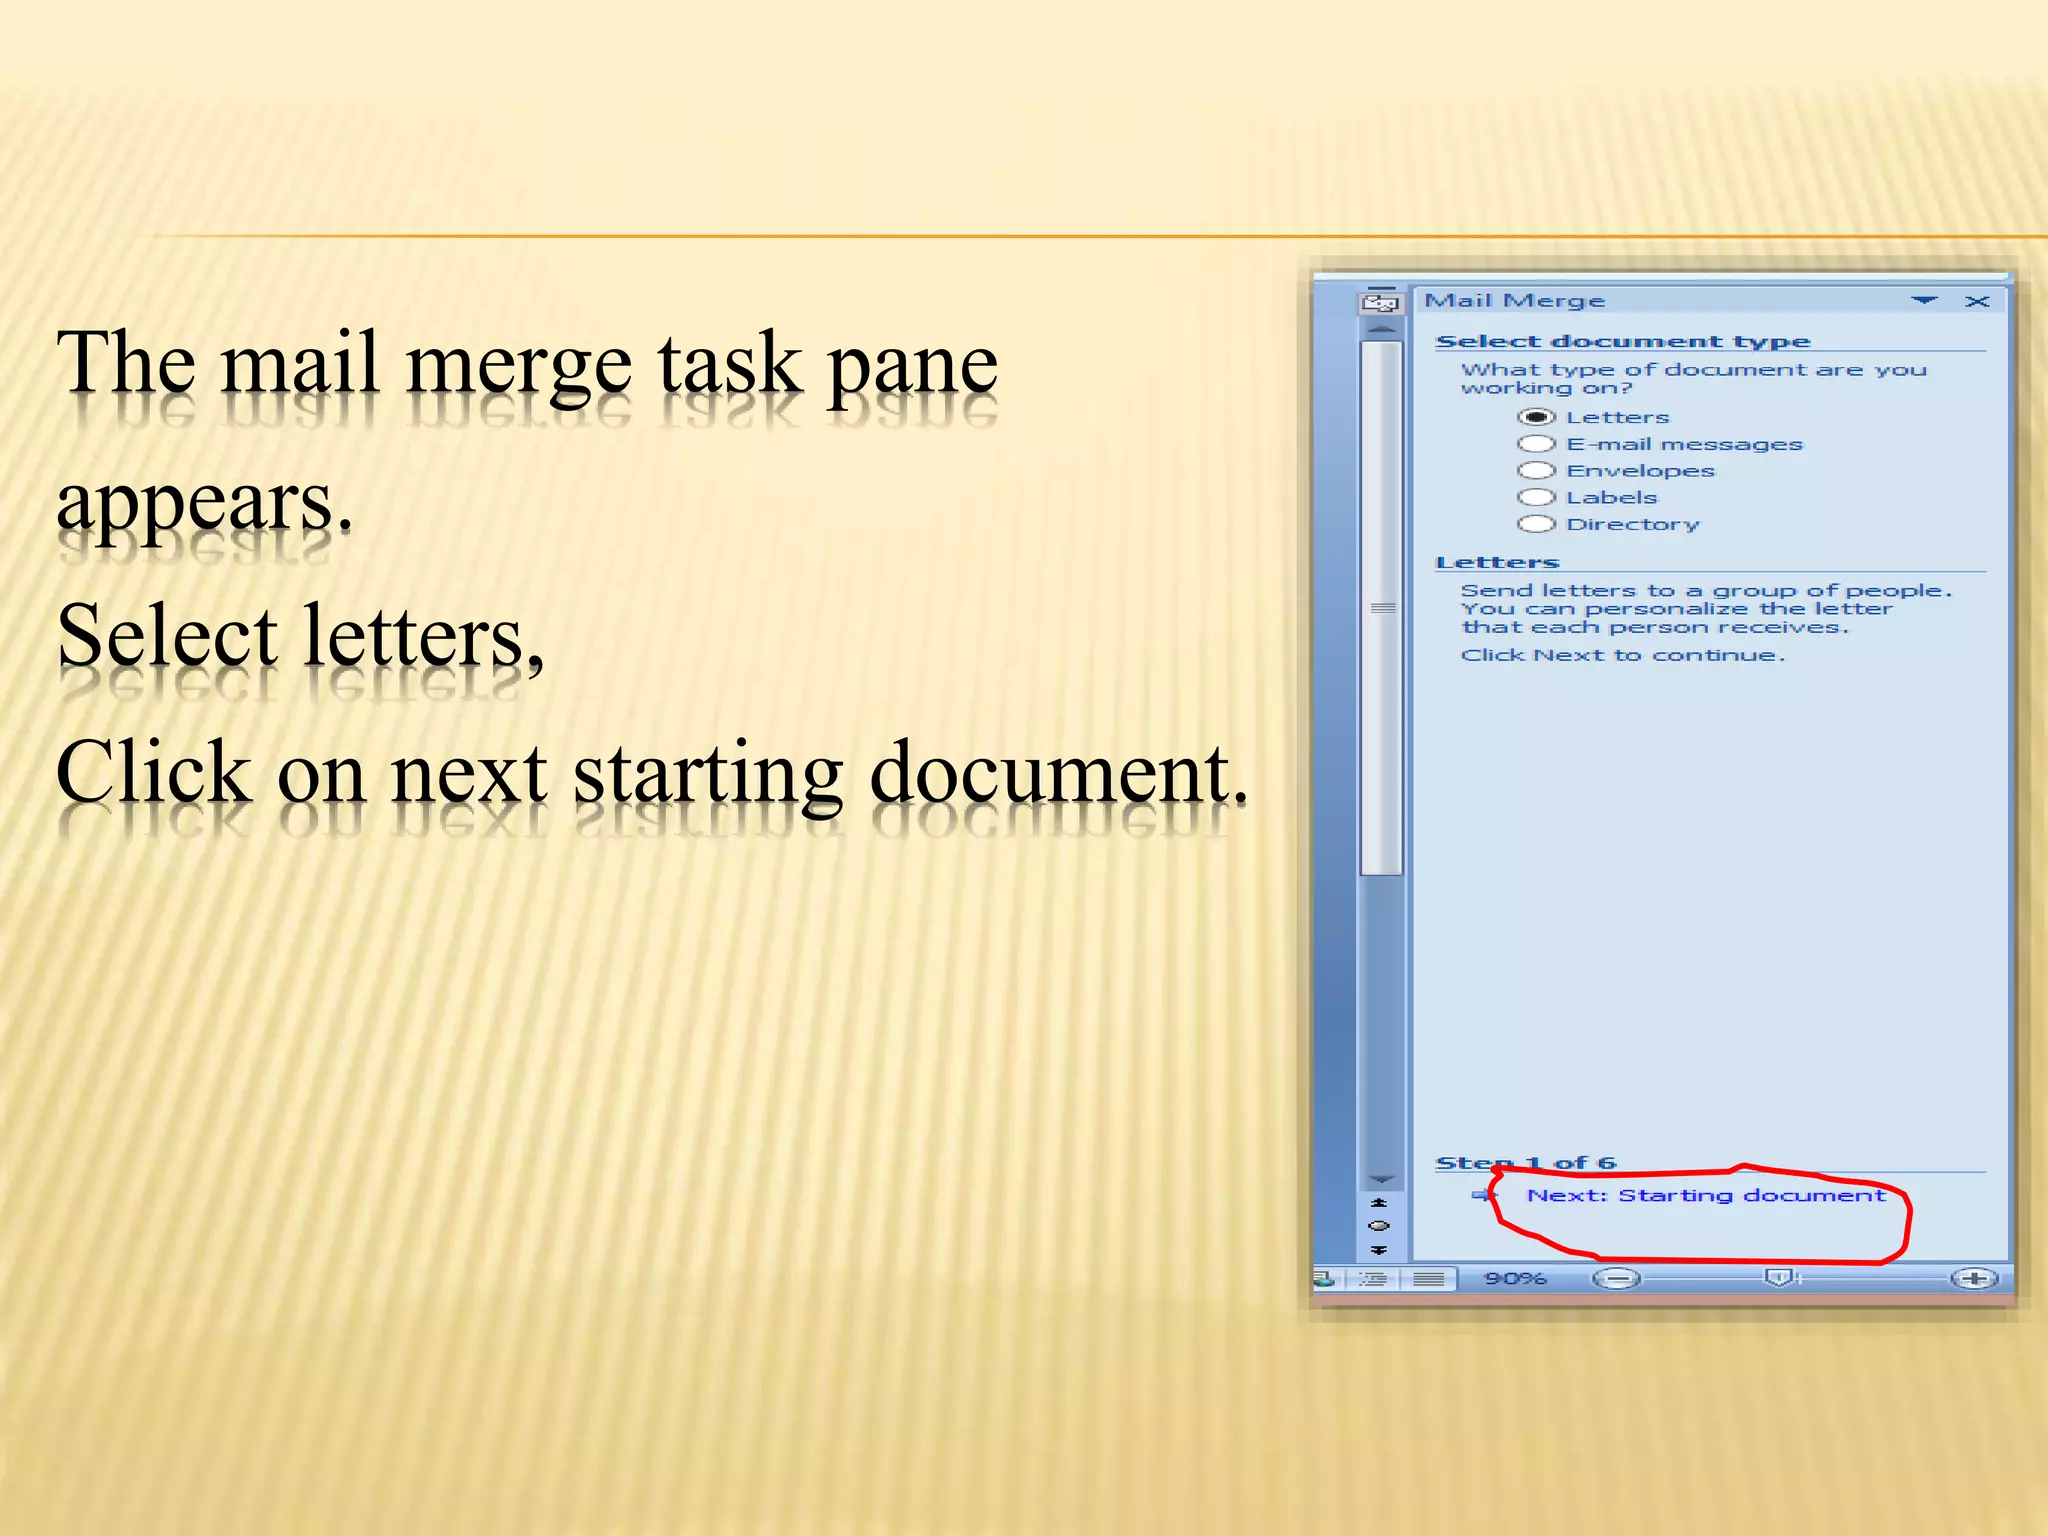
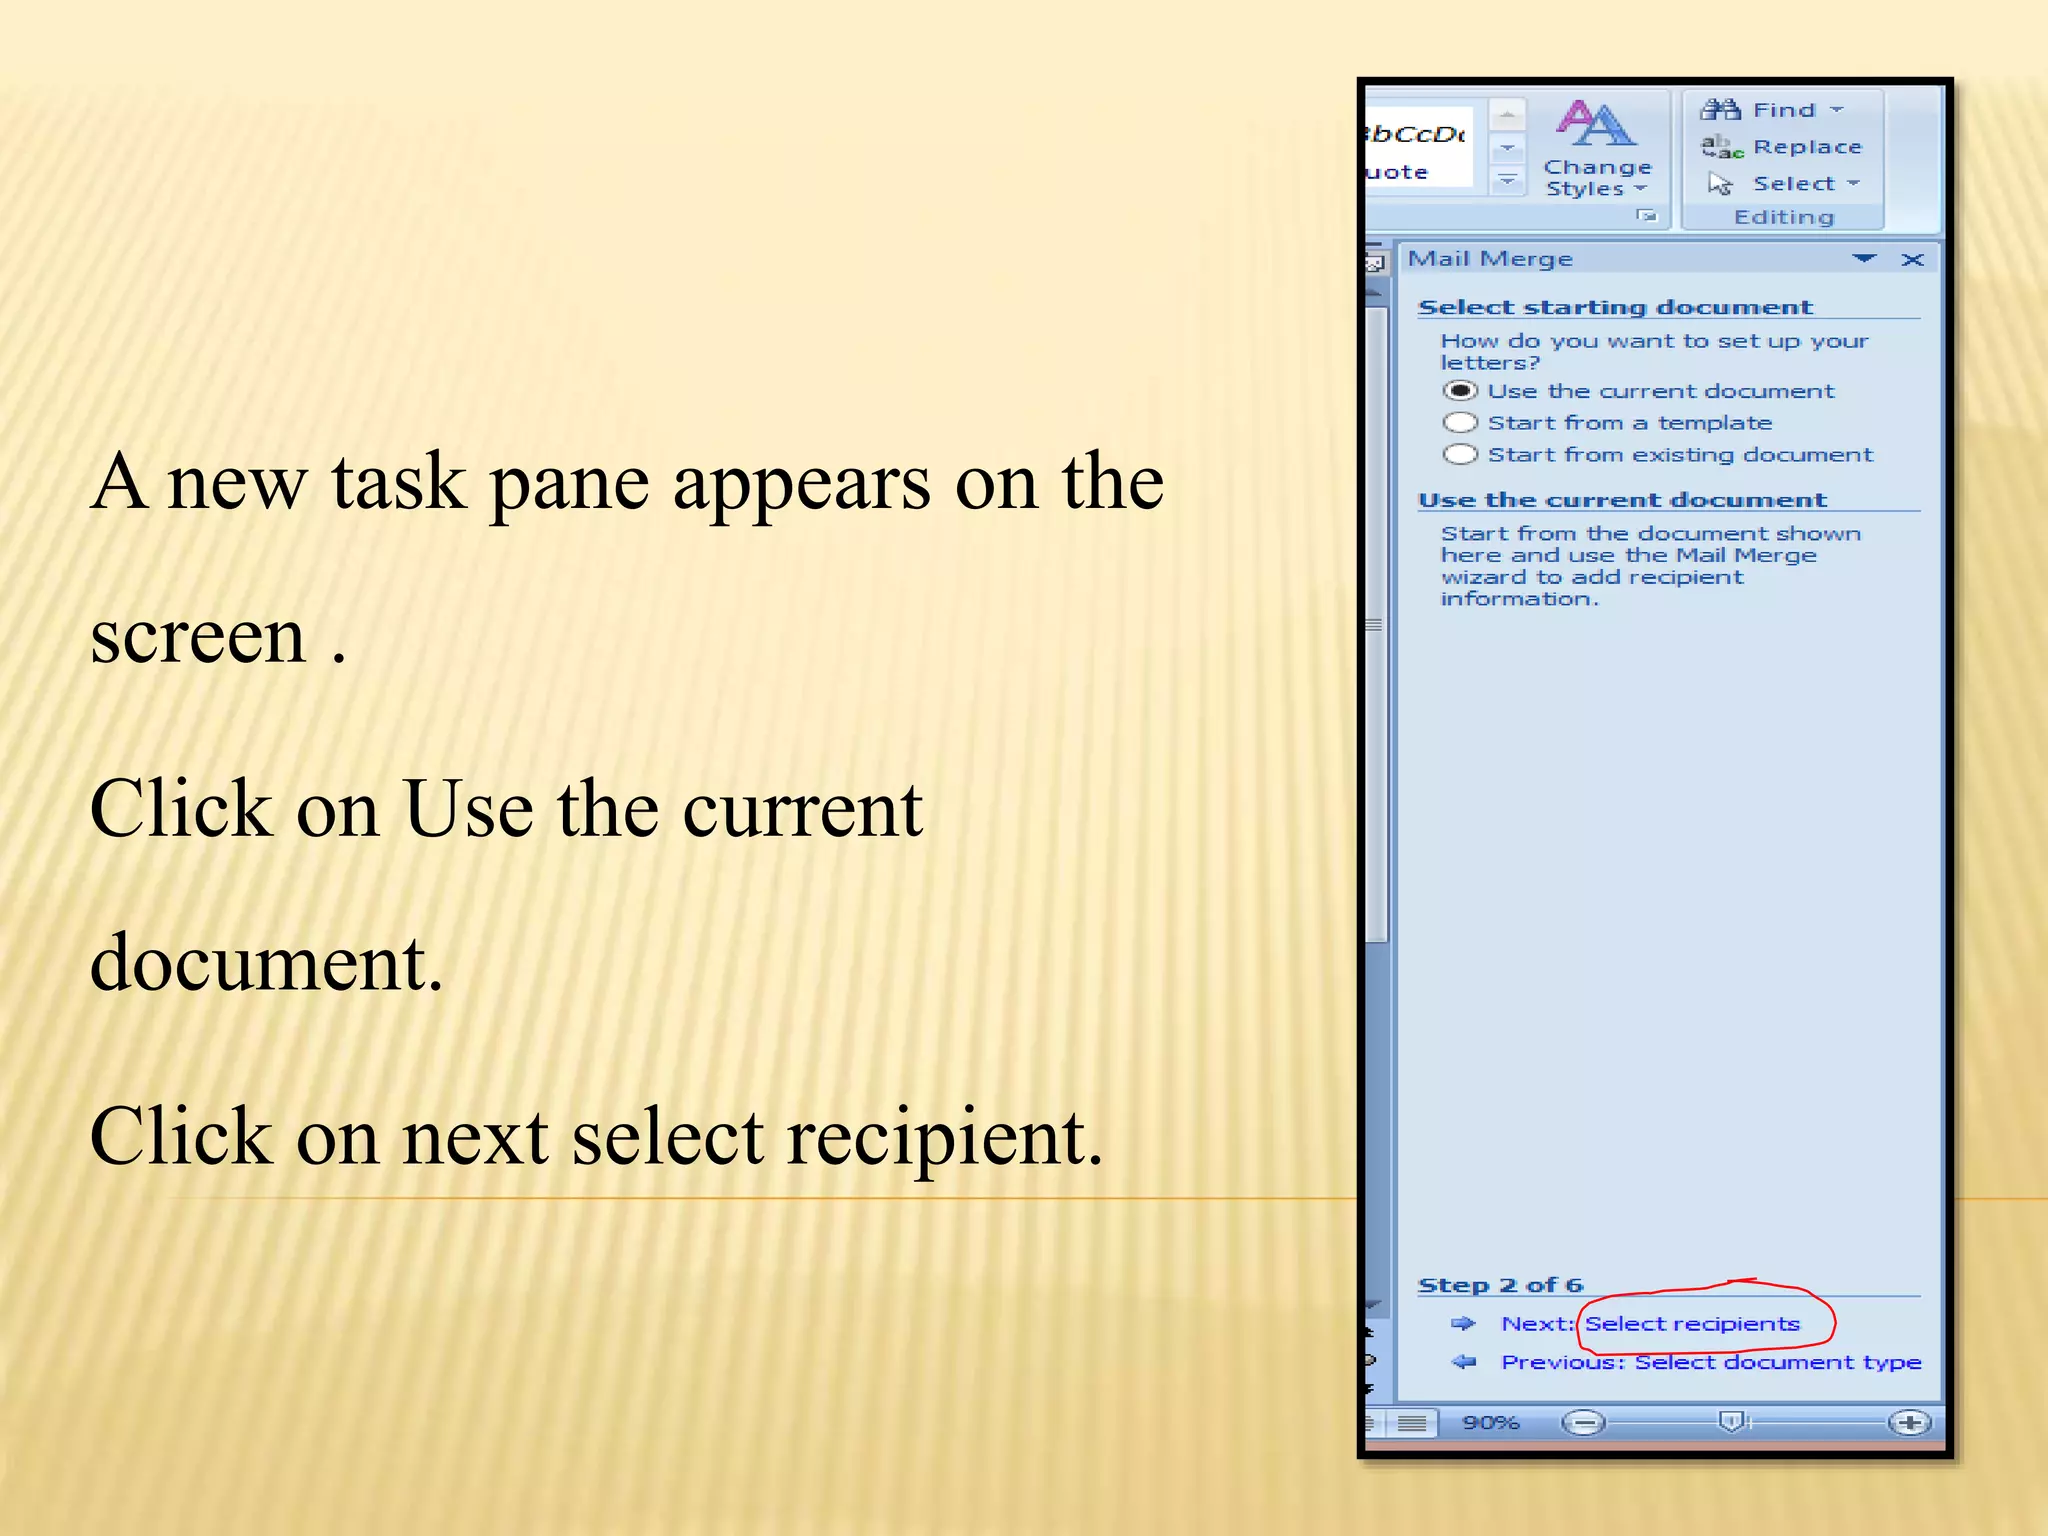

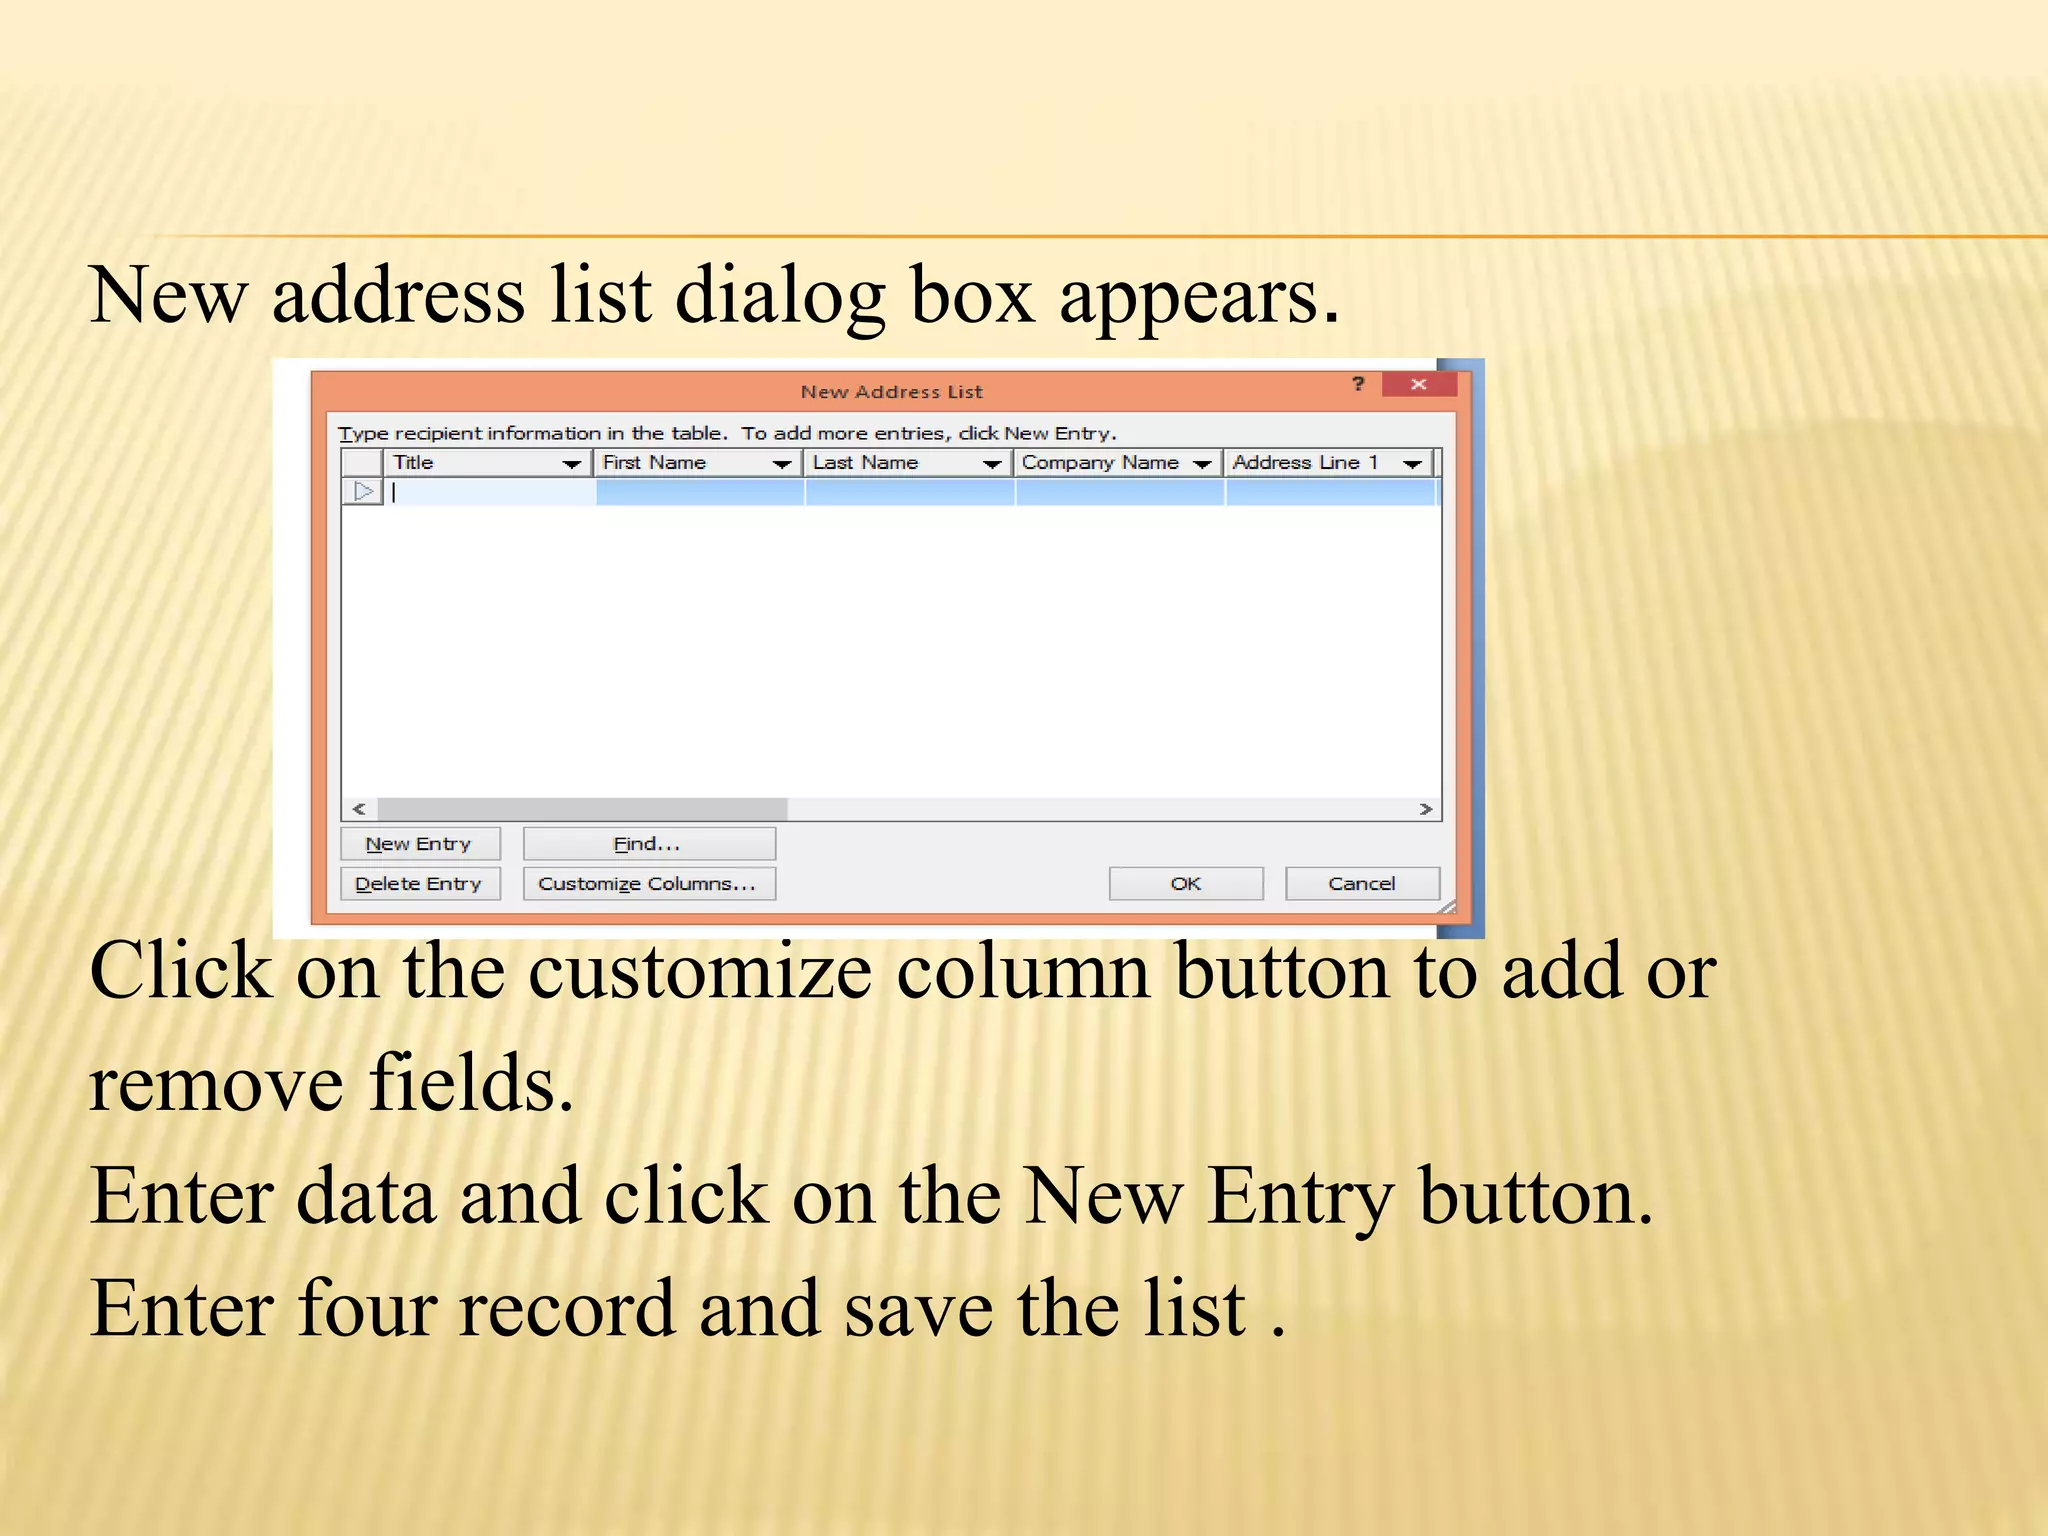

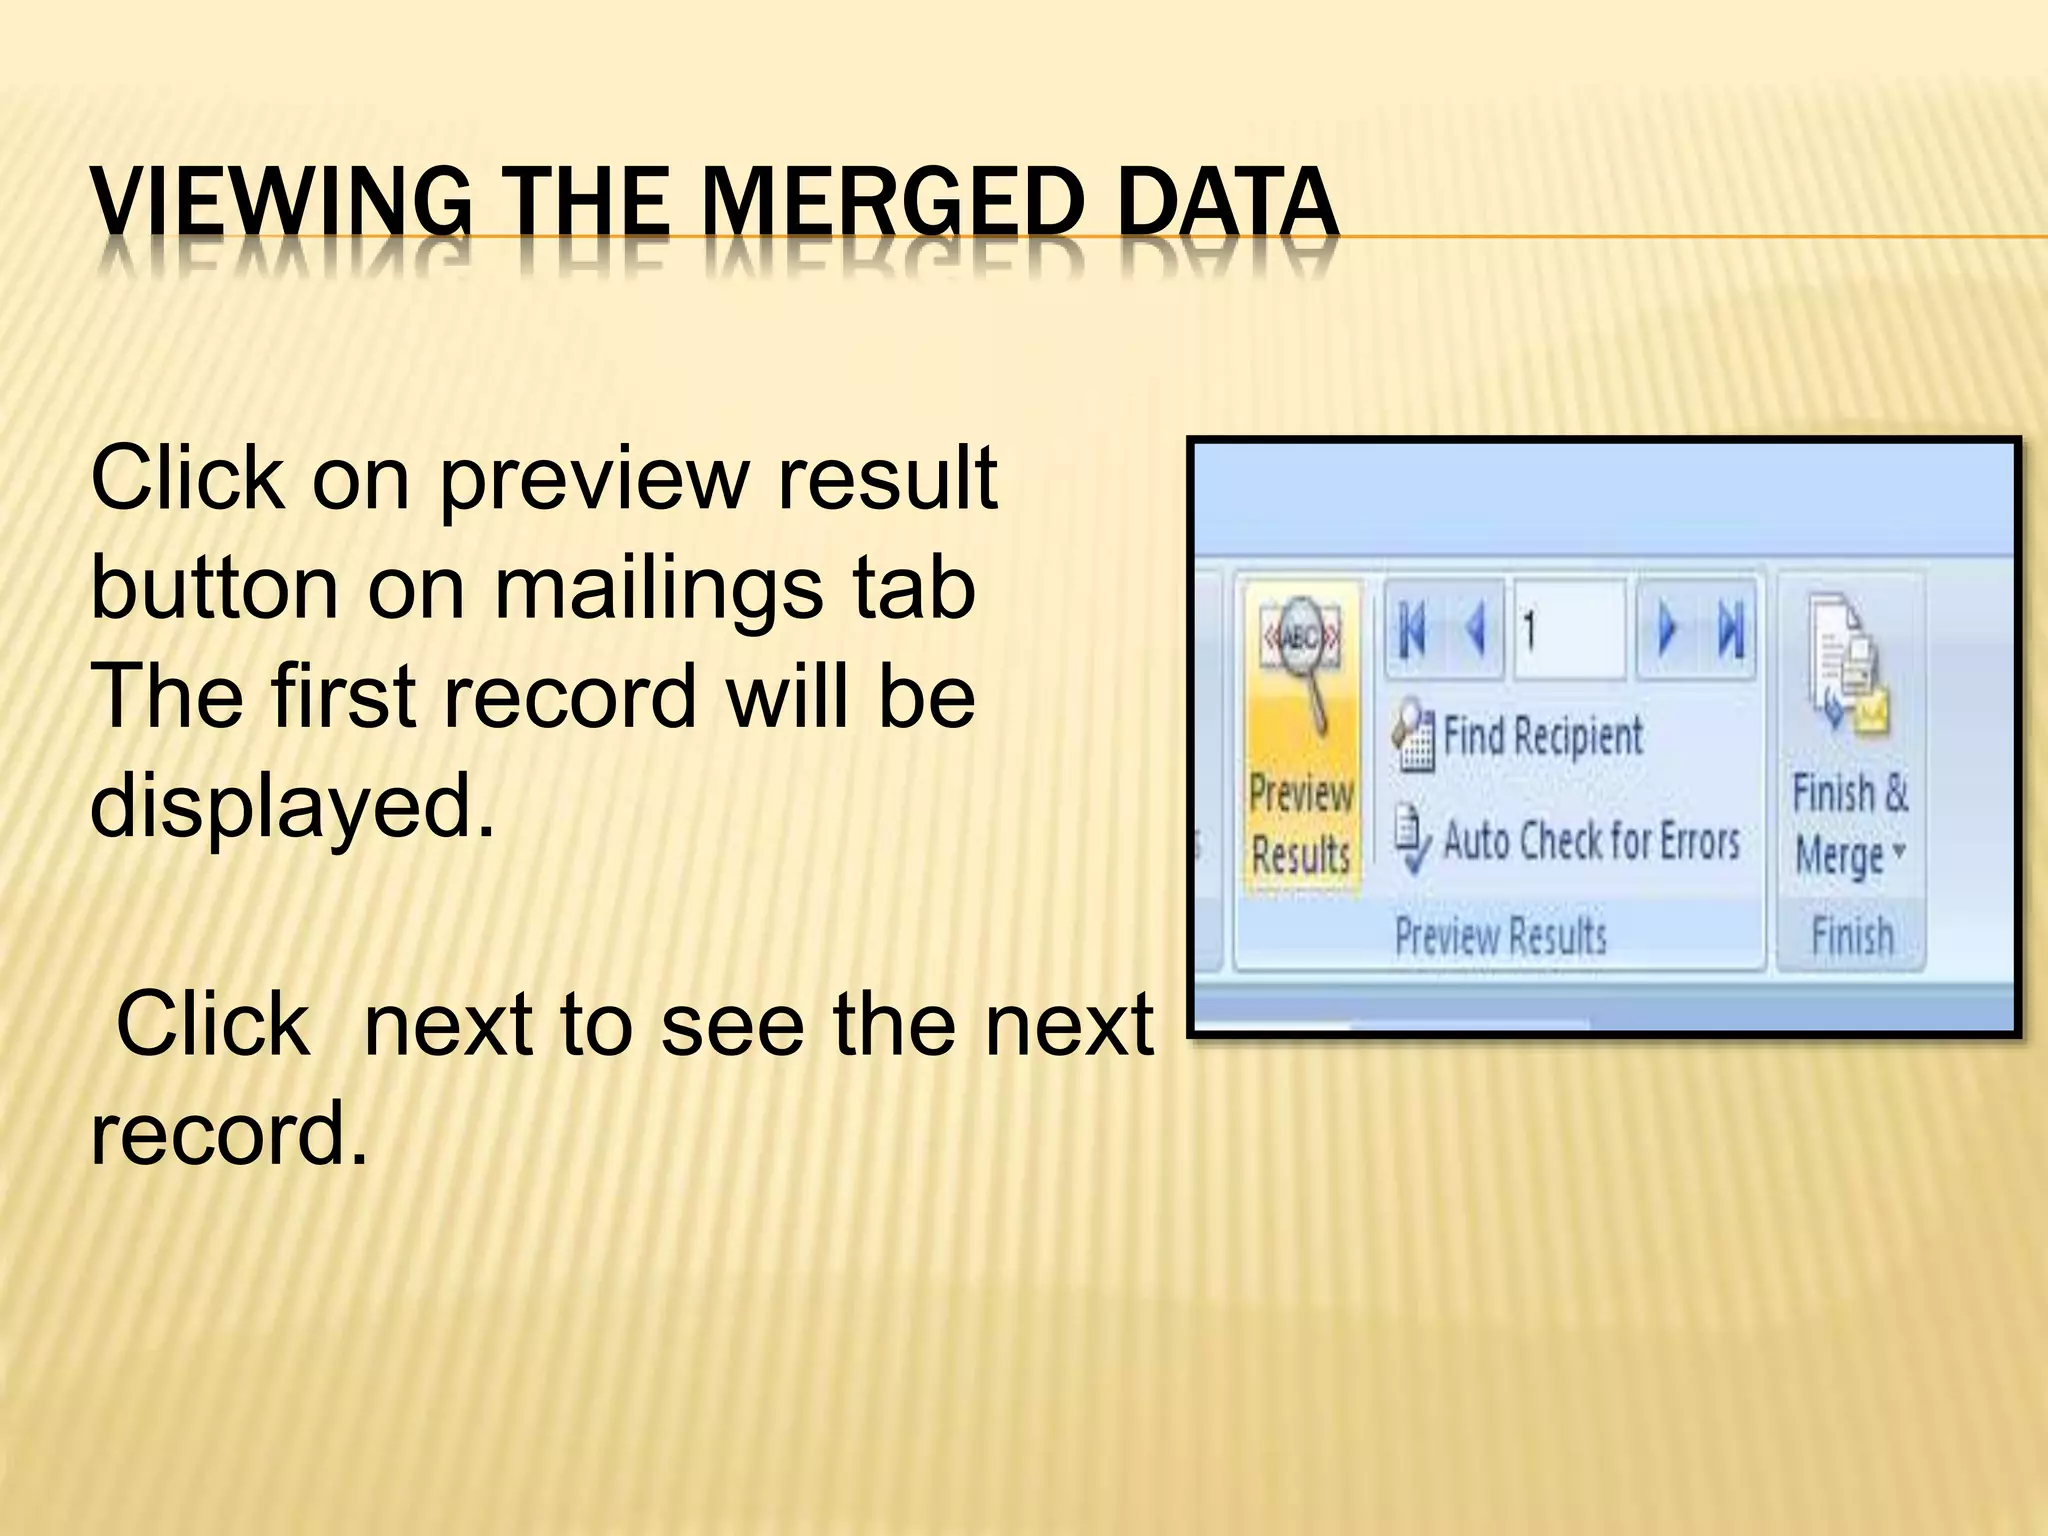
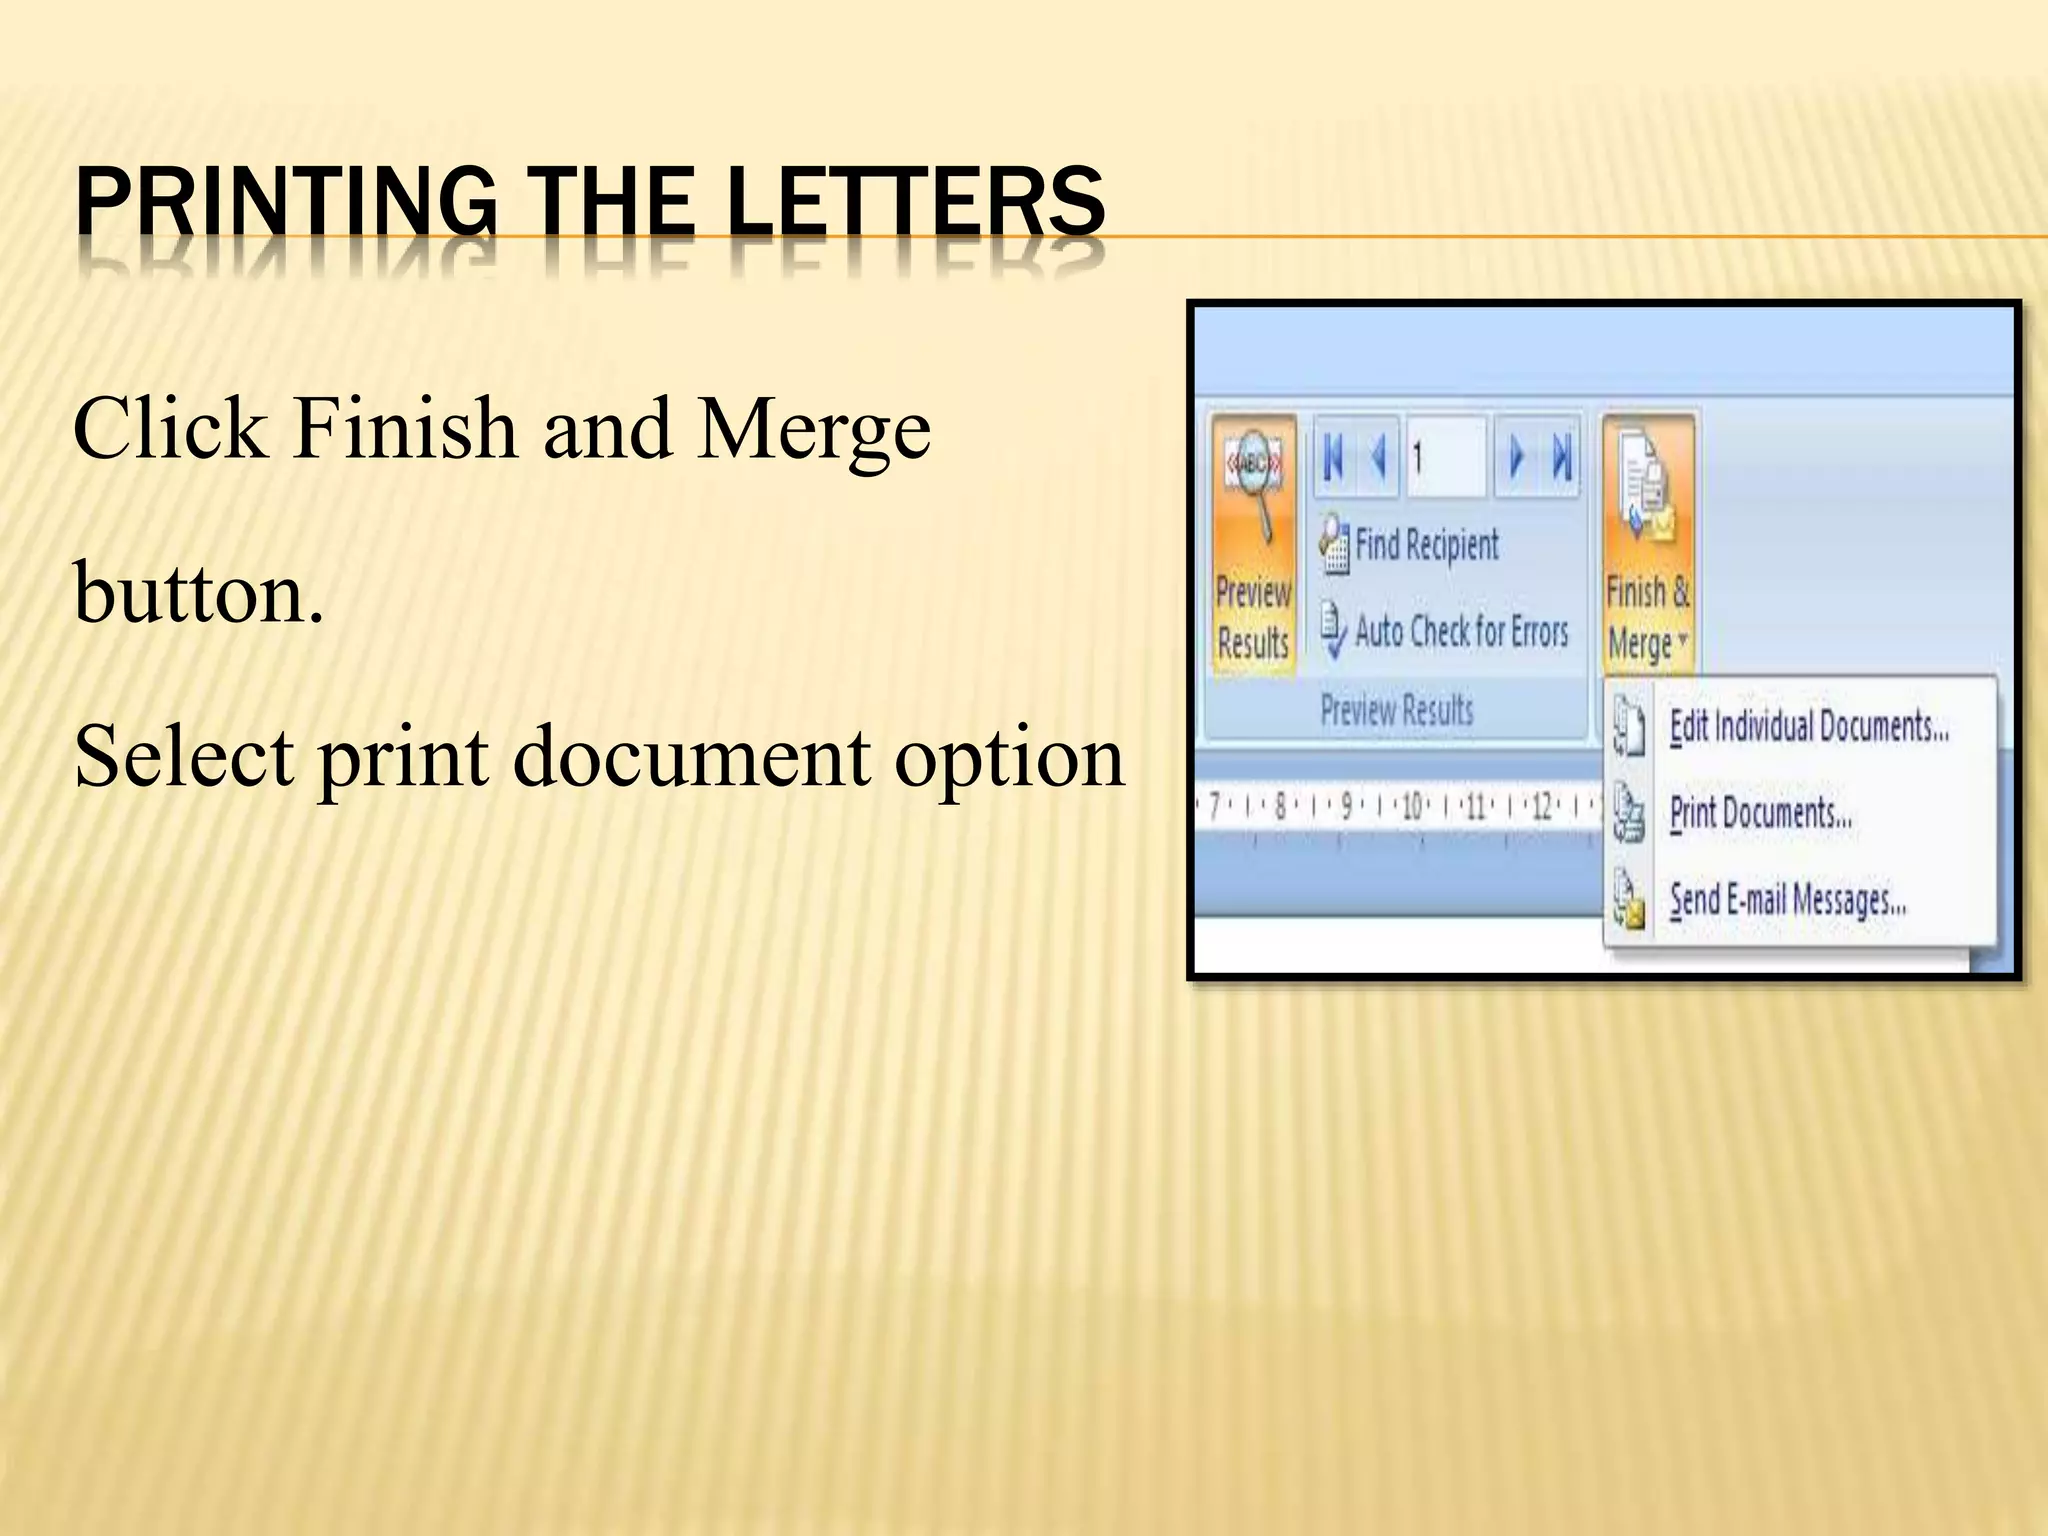
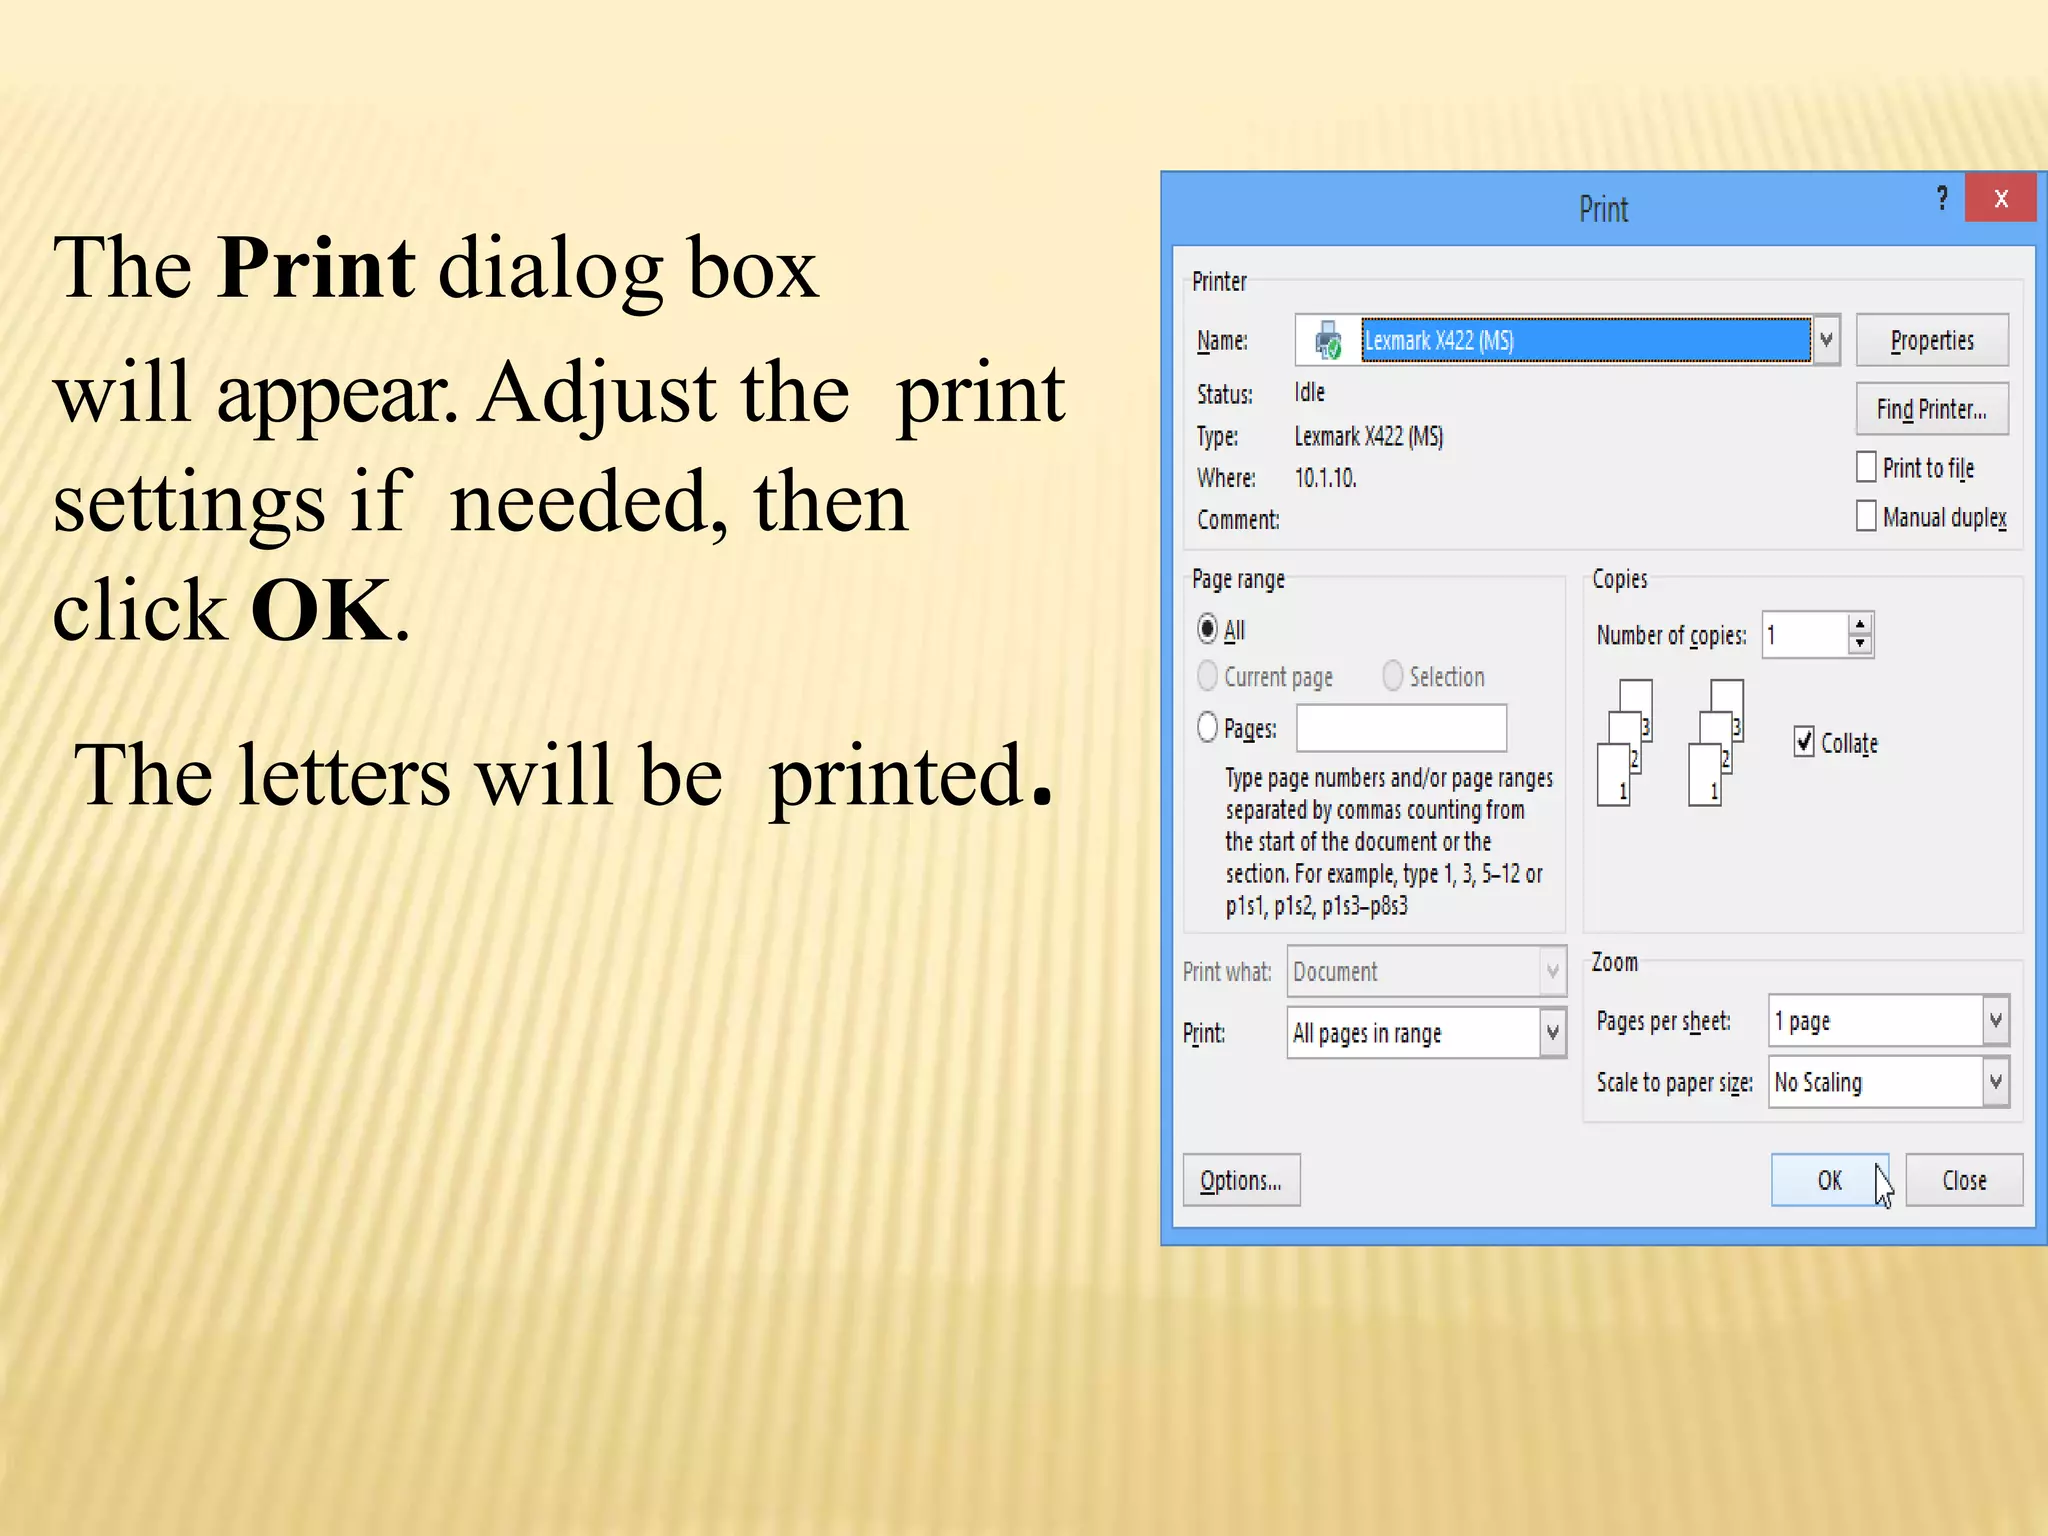


This document discusses mail merge in Microsoft Word. Mail merge allows creating multiple documents like letters using information from a data source like a list or spreadsheet. It involves three steps - creating a main document, specifying a data source, and merging the data source with the main document. The document outlines how to start a mail merge by creating a main letter document, selecting a mail merge wizard, choosing a recipient list or creating a new one, inserting merge fields, previewing the merged data, and printing the letters.