Downloaded 110 times


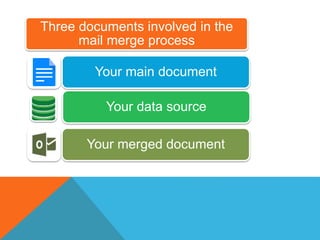
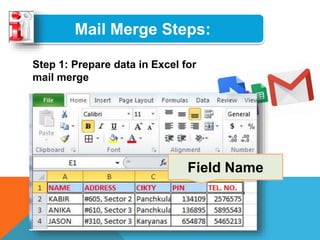
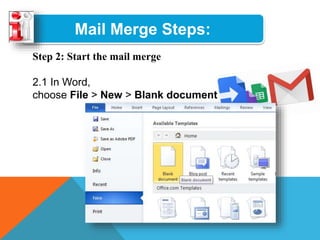
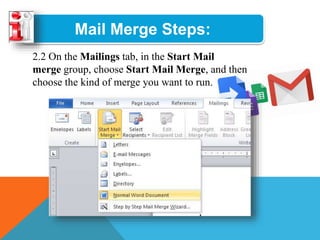
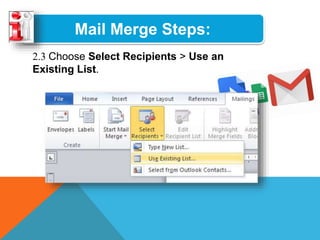
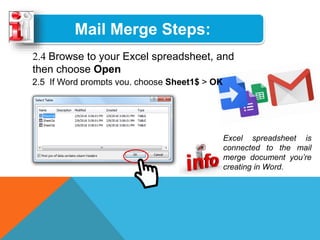
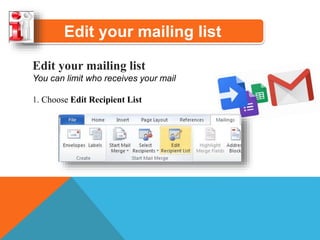
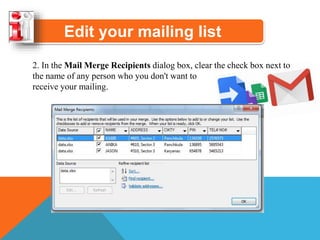
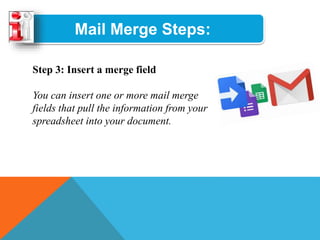
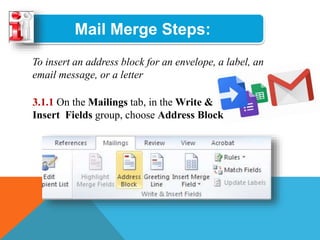
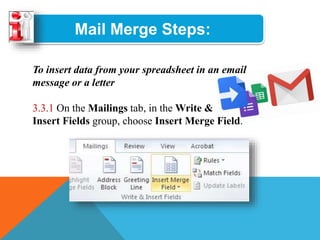
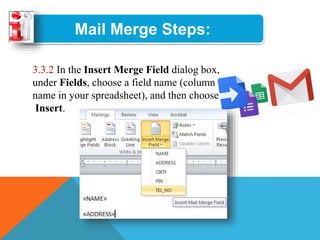
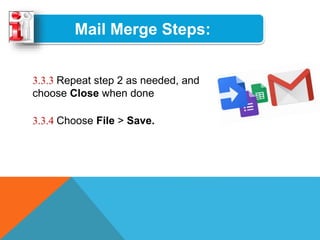
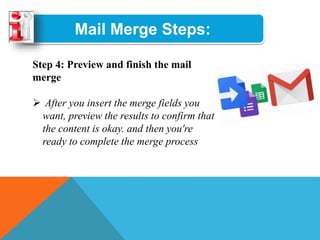
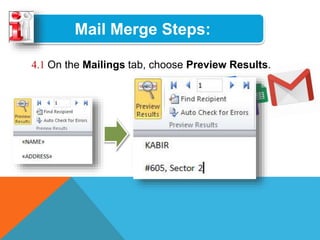
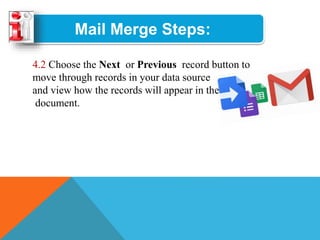
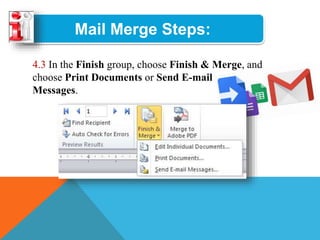


The mail merge allows producing multiple personalized documents from a template and a data source. It involves three documents: the main document template, the data source (often an Excel file), and the merged documents. The mail merge process involves preparing the data source, starting the mail merge in Word, inserting merge fields into the template, previewing the results, and finishing the merge to output the documents.