Downloaded 20 times


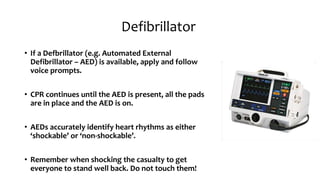
![CPR
• CPR = Compression + Ventilation
• COMPRESSION RATE: 100 compressions/min
• Useful tunes to keep the rate are ‘Staying Alive’ – Bee Gees, Another one bites
the Dust and many more.
• RATIO: 30 Compressions to 2 ventilations (breaths)
• CYCLES: 5 cycles of [30:2] in approximately 2 minutes. Recheck for signs of life
at the end of cycle.
• Pause compressions to allow for ventilation.](https://image.slidesharecdn.com/basiclifesupportpaediatric-170929225041/85/Basic-life-support-paediatric-17-320.jpg)
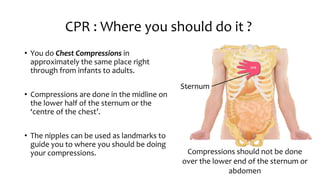


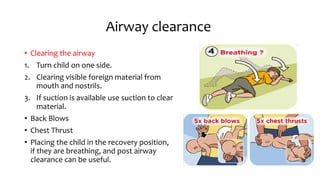
The document provides an overview of basic life support (BLS) procedures including assessing response, maintaining airways, and performing CPR. It emphasizes the importance of recognizing signs of respiratory failure and knowing how to clear airways, perform compressions, and use an automated external defibrillator (AED). Guidelines for various age groups are included, detailing techniques for effective resuscitation and the necessity for immediate action in emergency situations.


![ONFH[AVN HIP] -TRIPLE REGIME -A NOVAL SURGICAL CONCEPT .pptx](https://cdn.slidesharecdn.com/ss_thumbnails/onfhavnhip2026koaconcalicutdrgokuldevdrmashraf-260210064517-213ec005-thumbnail.jpg?width=640&height=640&fit=bounds)


