Downloaded 108 times

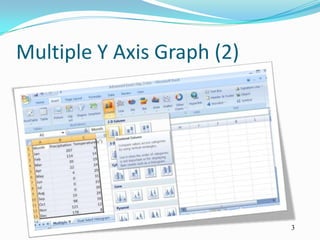
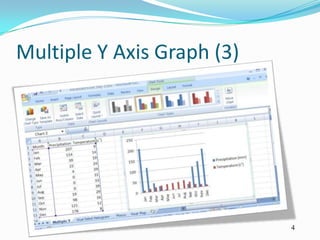
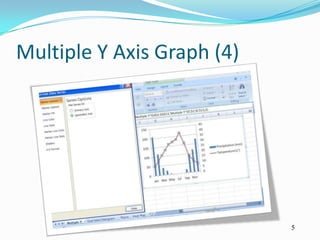

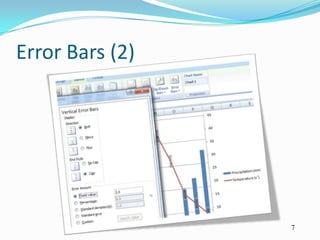
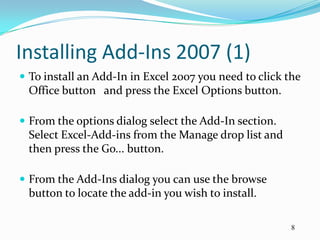

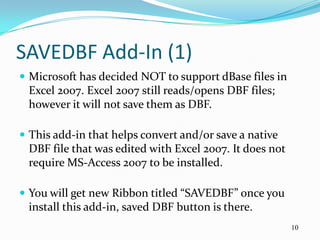
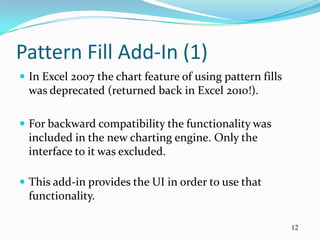
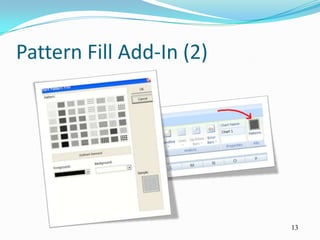
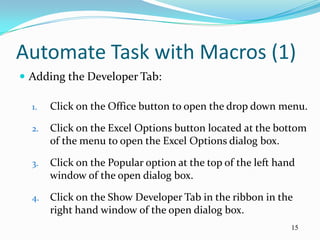
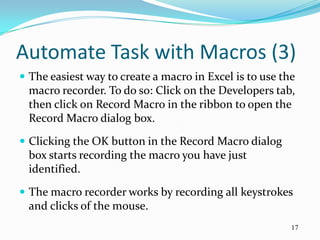
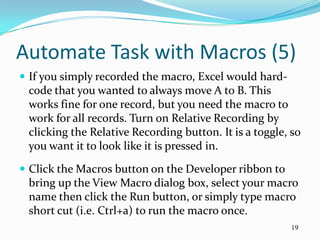
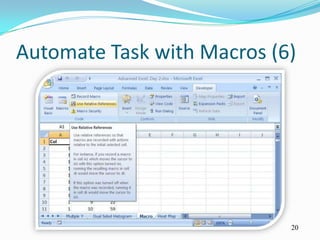
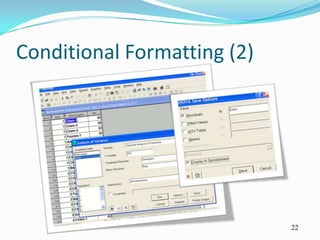
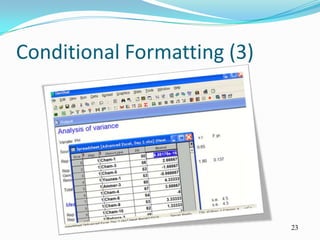
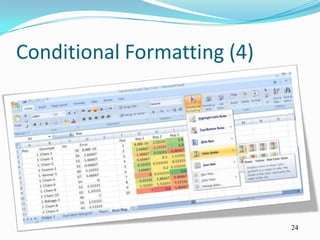


The document provides instructions for various Excel functions including creating graphs with multiple y-axes, adding error bars, installing add-ins, using conditional formatting, and automating tasks with macros. Steps are outlined for setting a secondary axis on a graph, installing and using various add-ins to enable pattern fills and save dBase files, adding the developer tab to record and run macros, and applying conditional formatting based on residual values from an ANOVA analysis to highlight data points on a color scale.


![Getting Started with Apache Spark: Big Data Made Simple [Free Meetup]](https://cdn.slidesharecdn.com/ss_thumbnails/apachesparkgettingstarted-260203175547-8361bcc3-thumbnail.jpg?width=640&height=640&fit=bounds)


