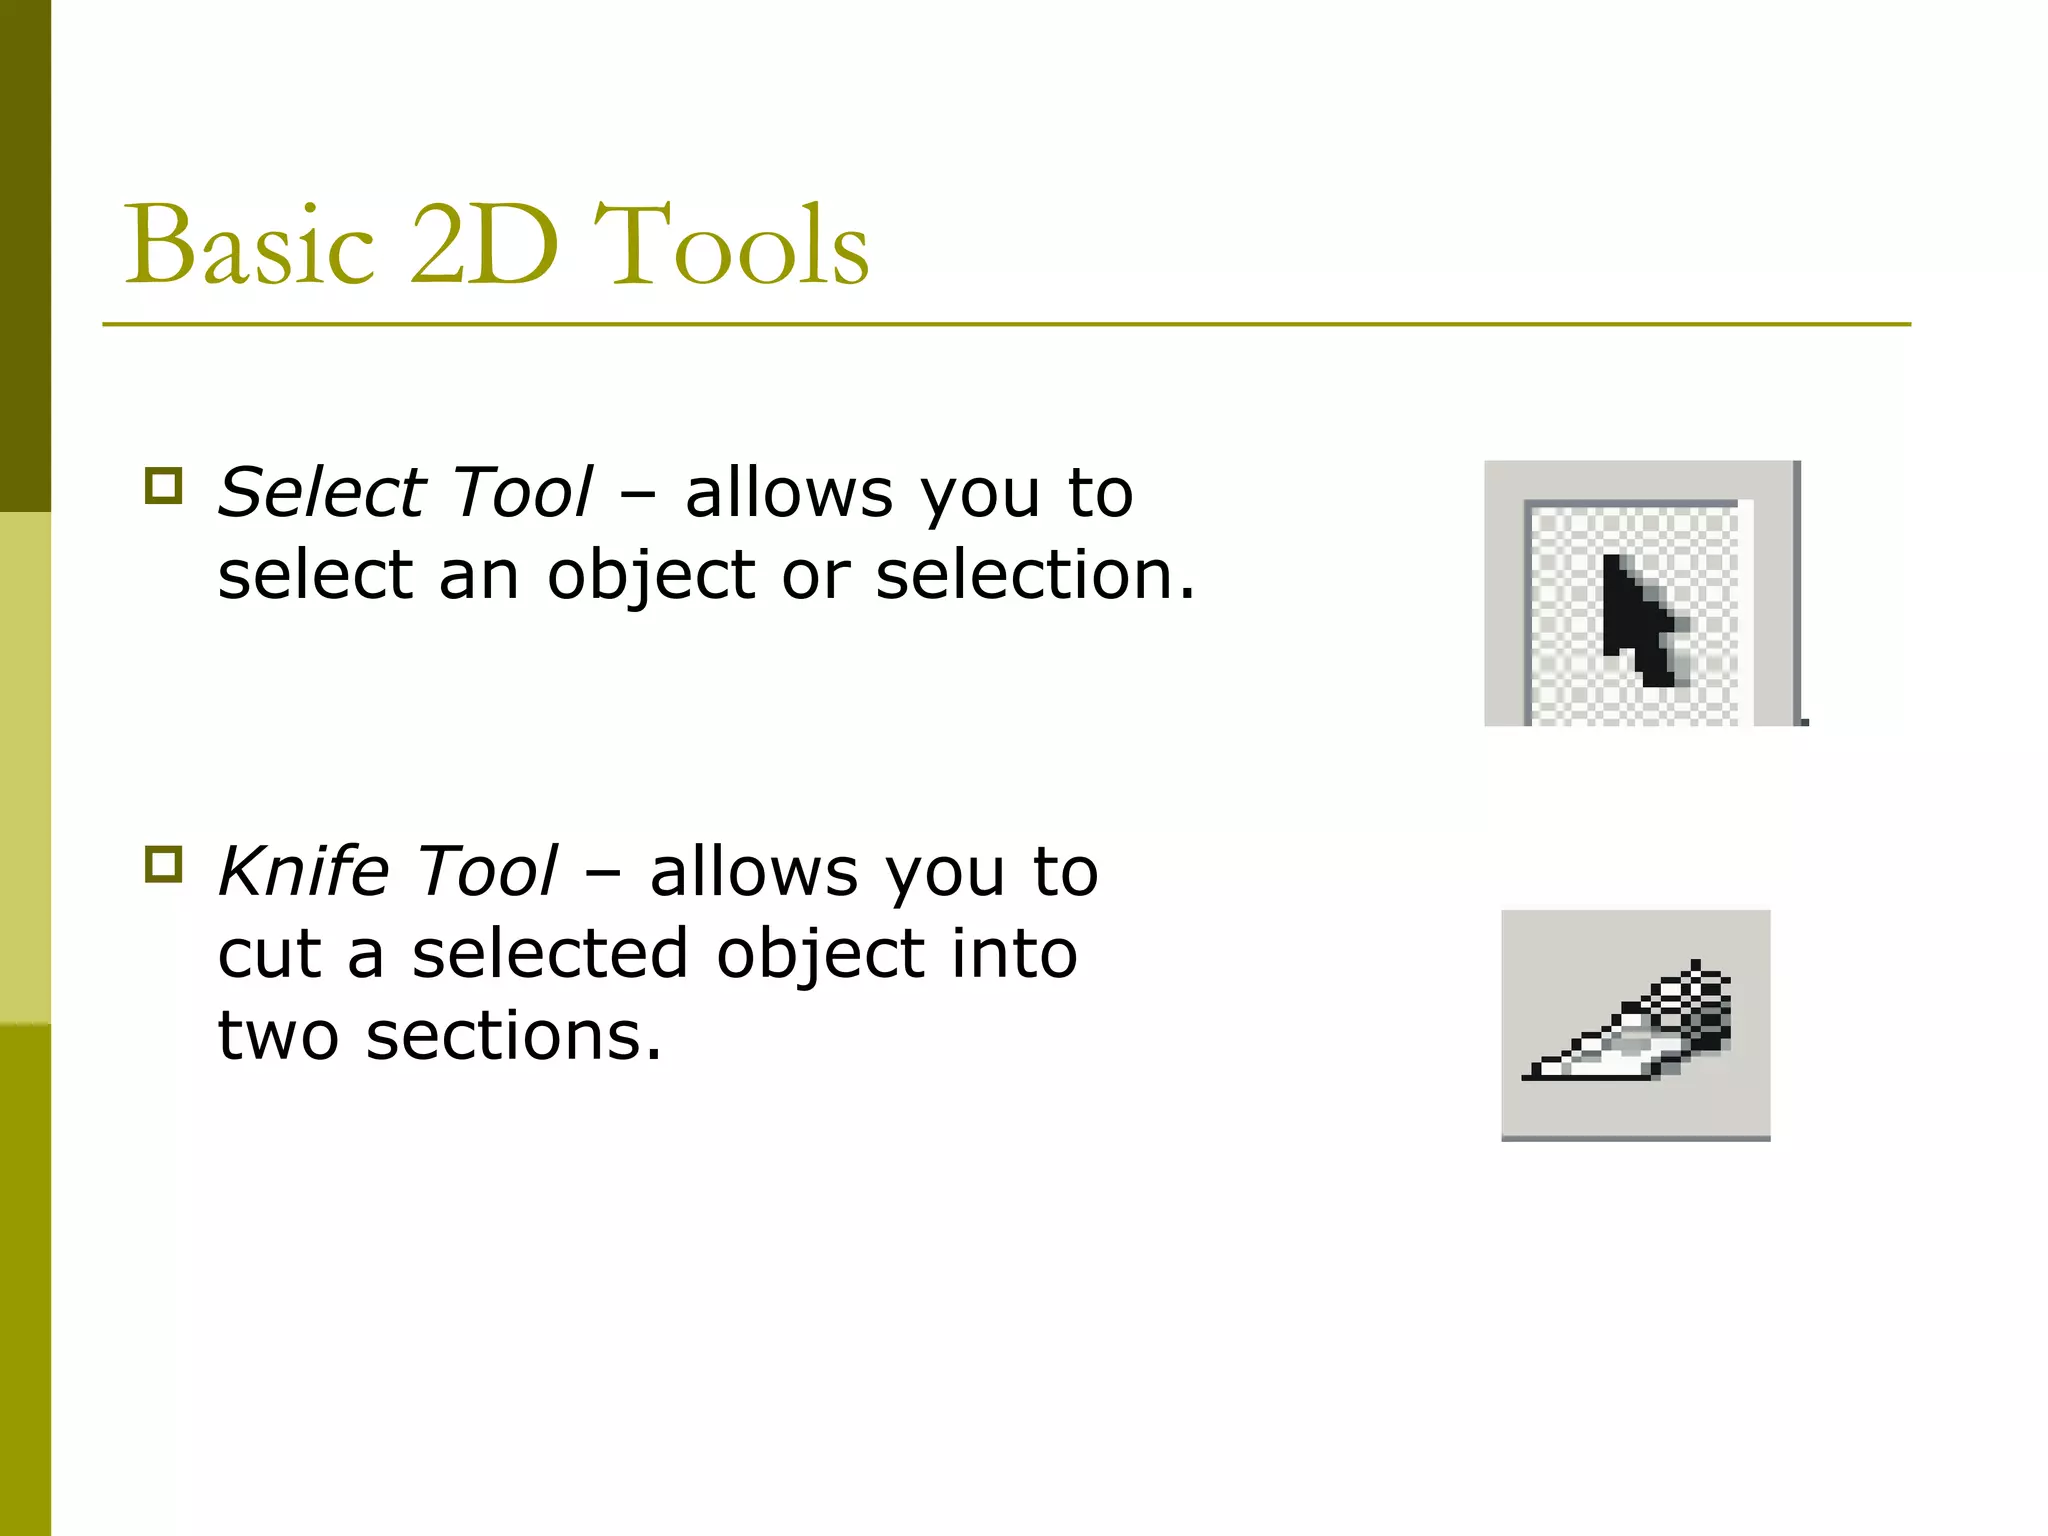
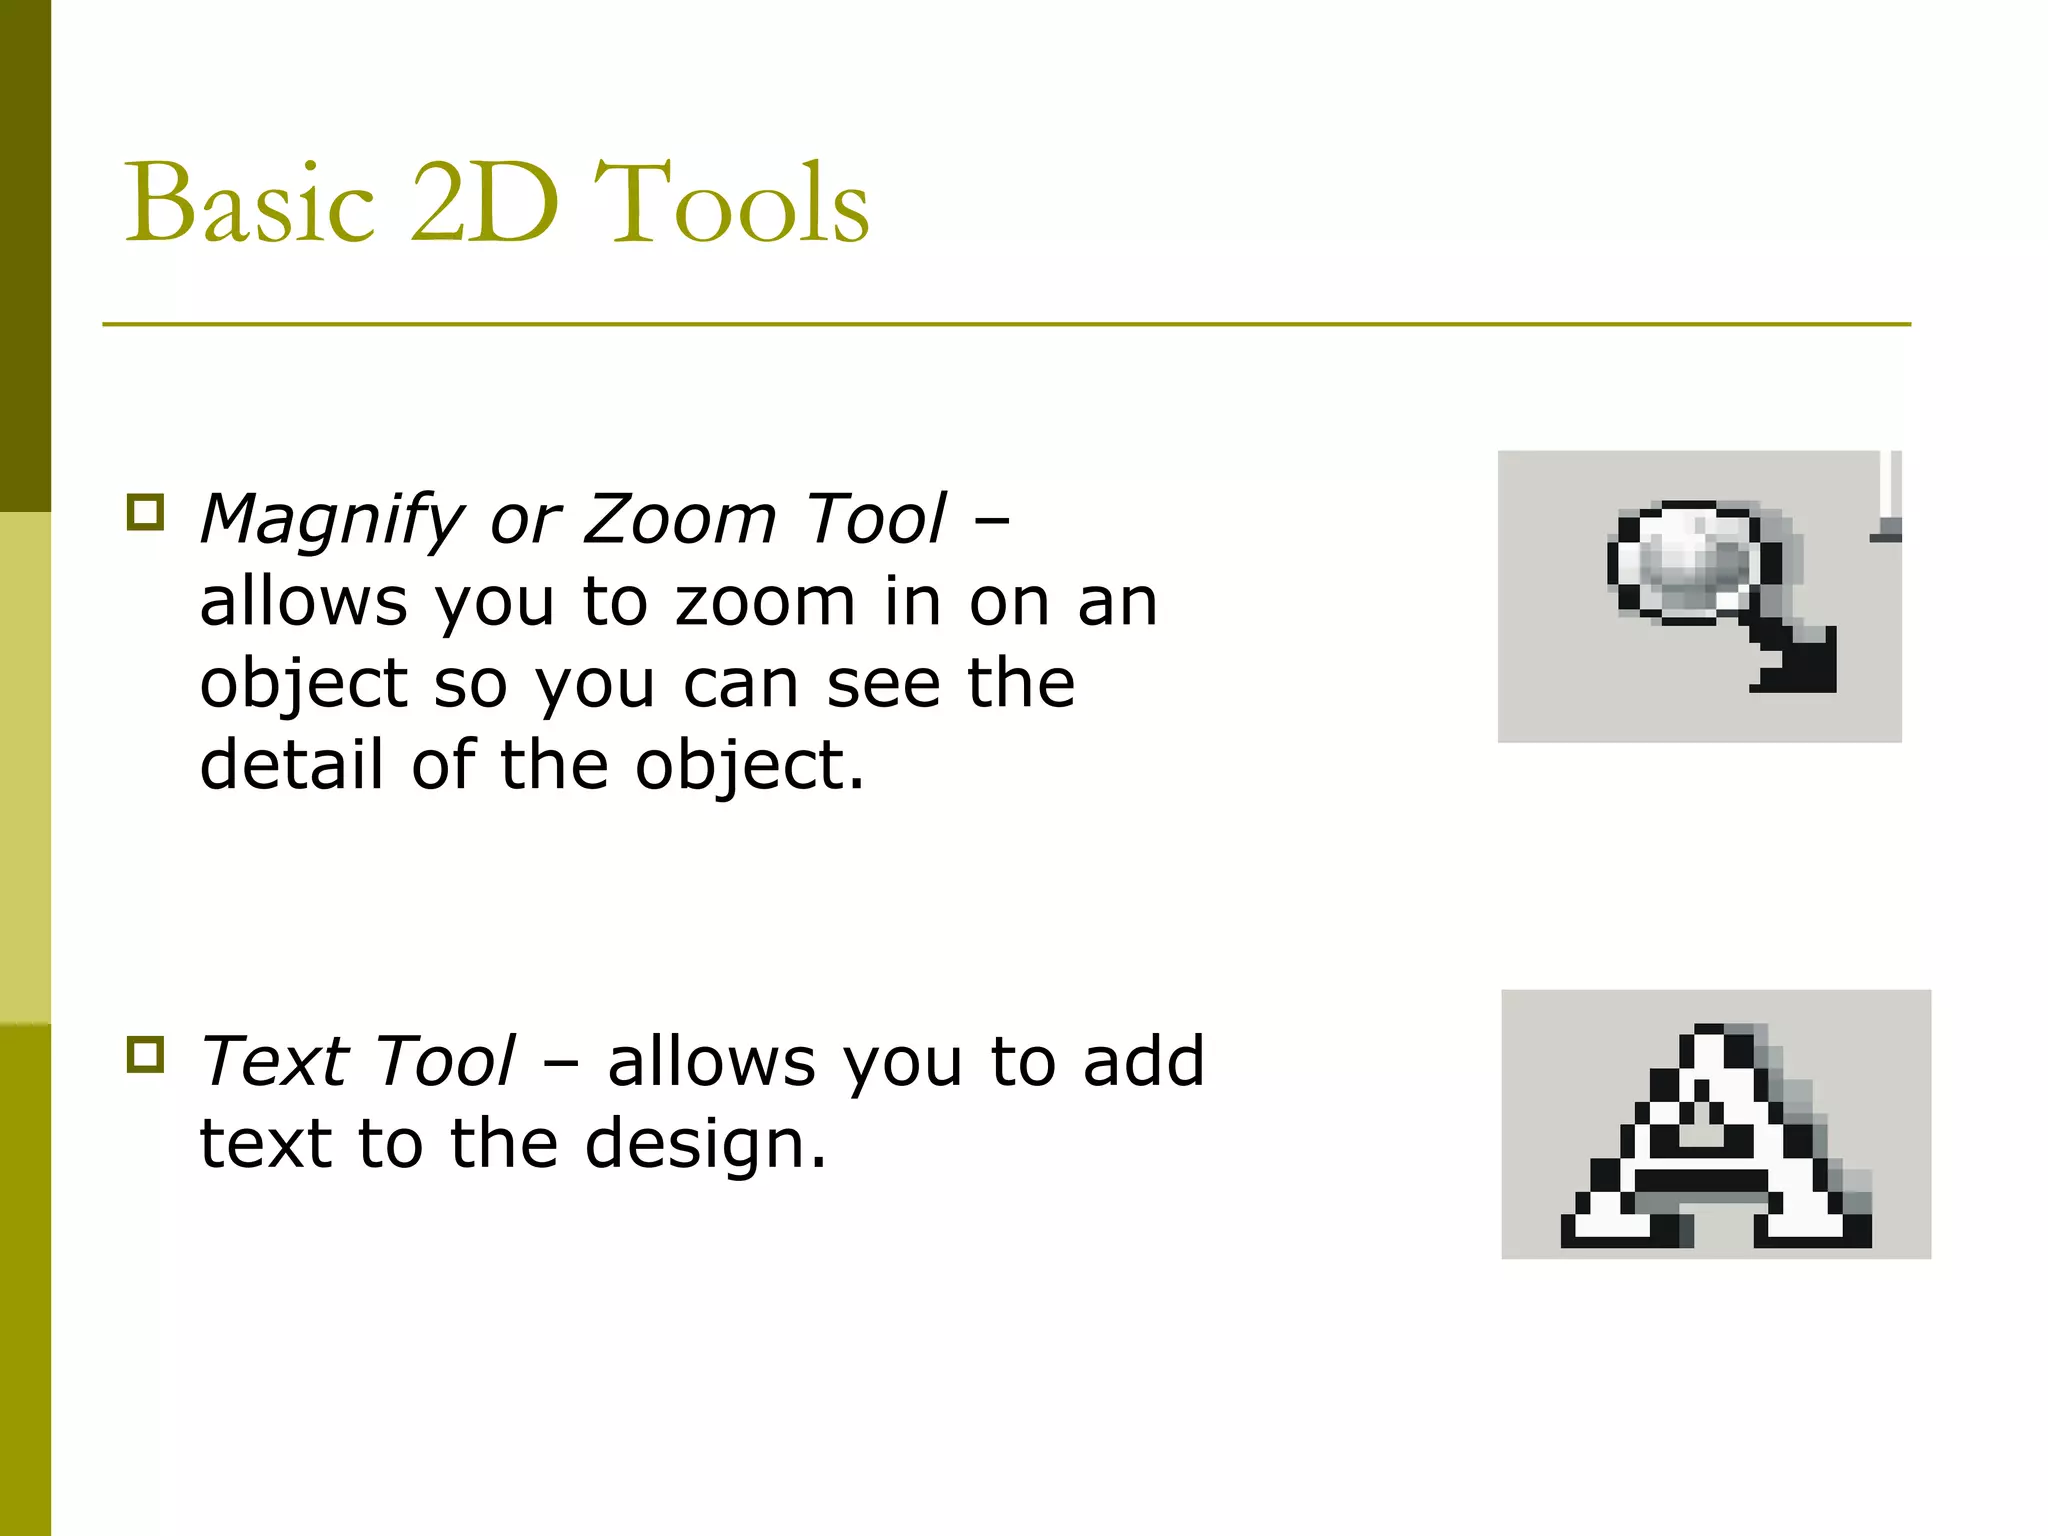
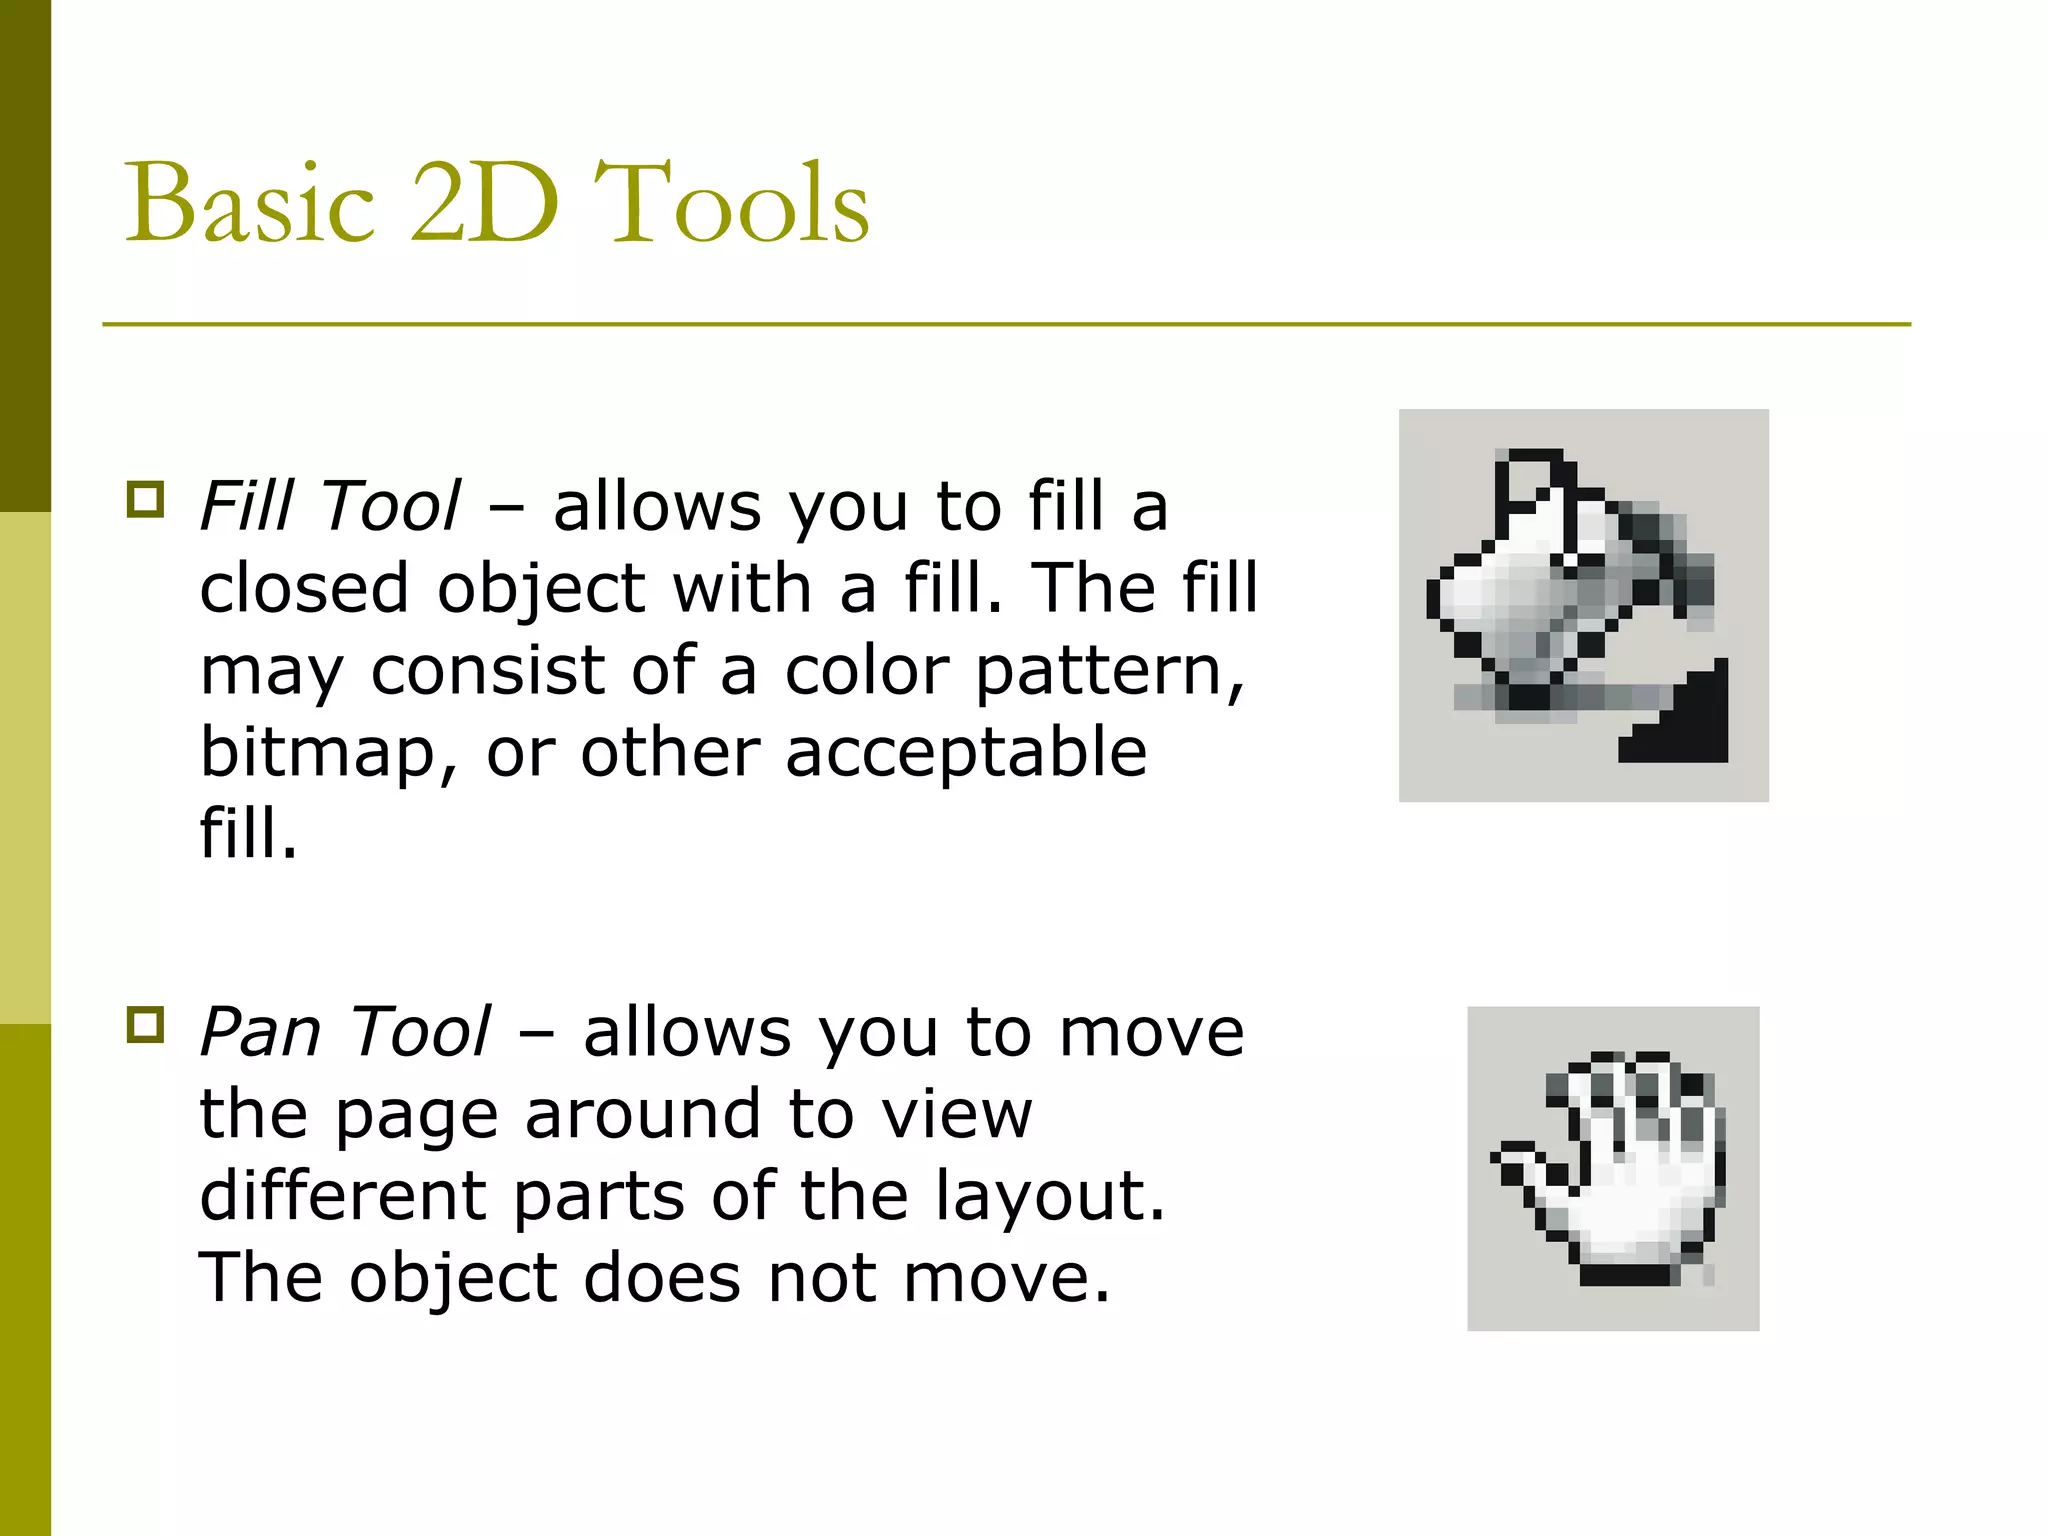
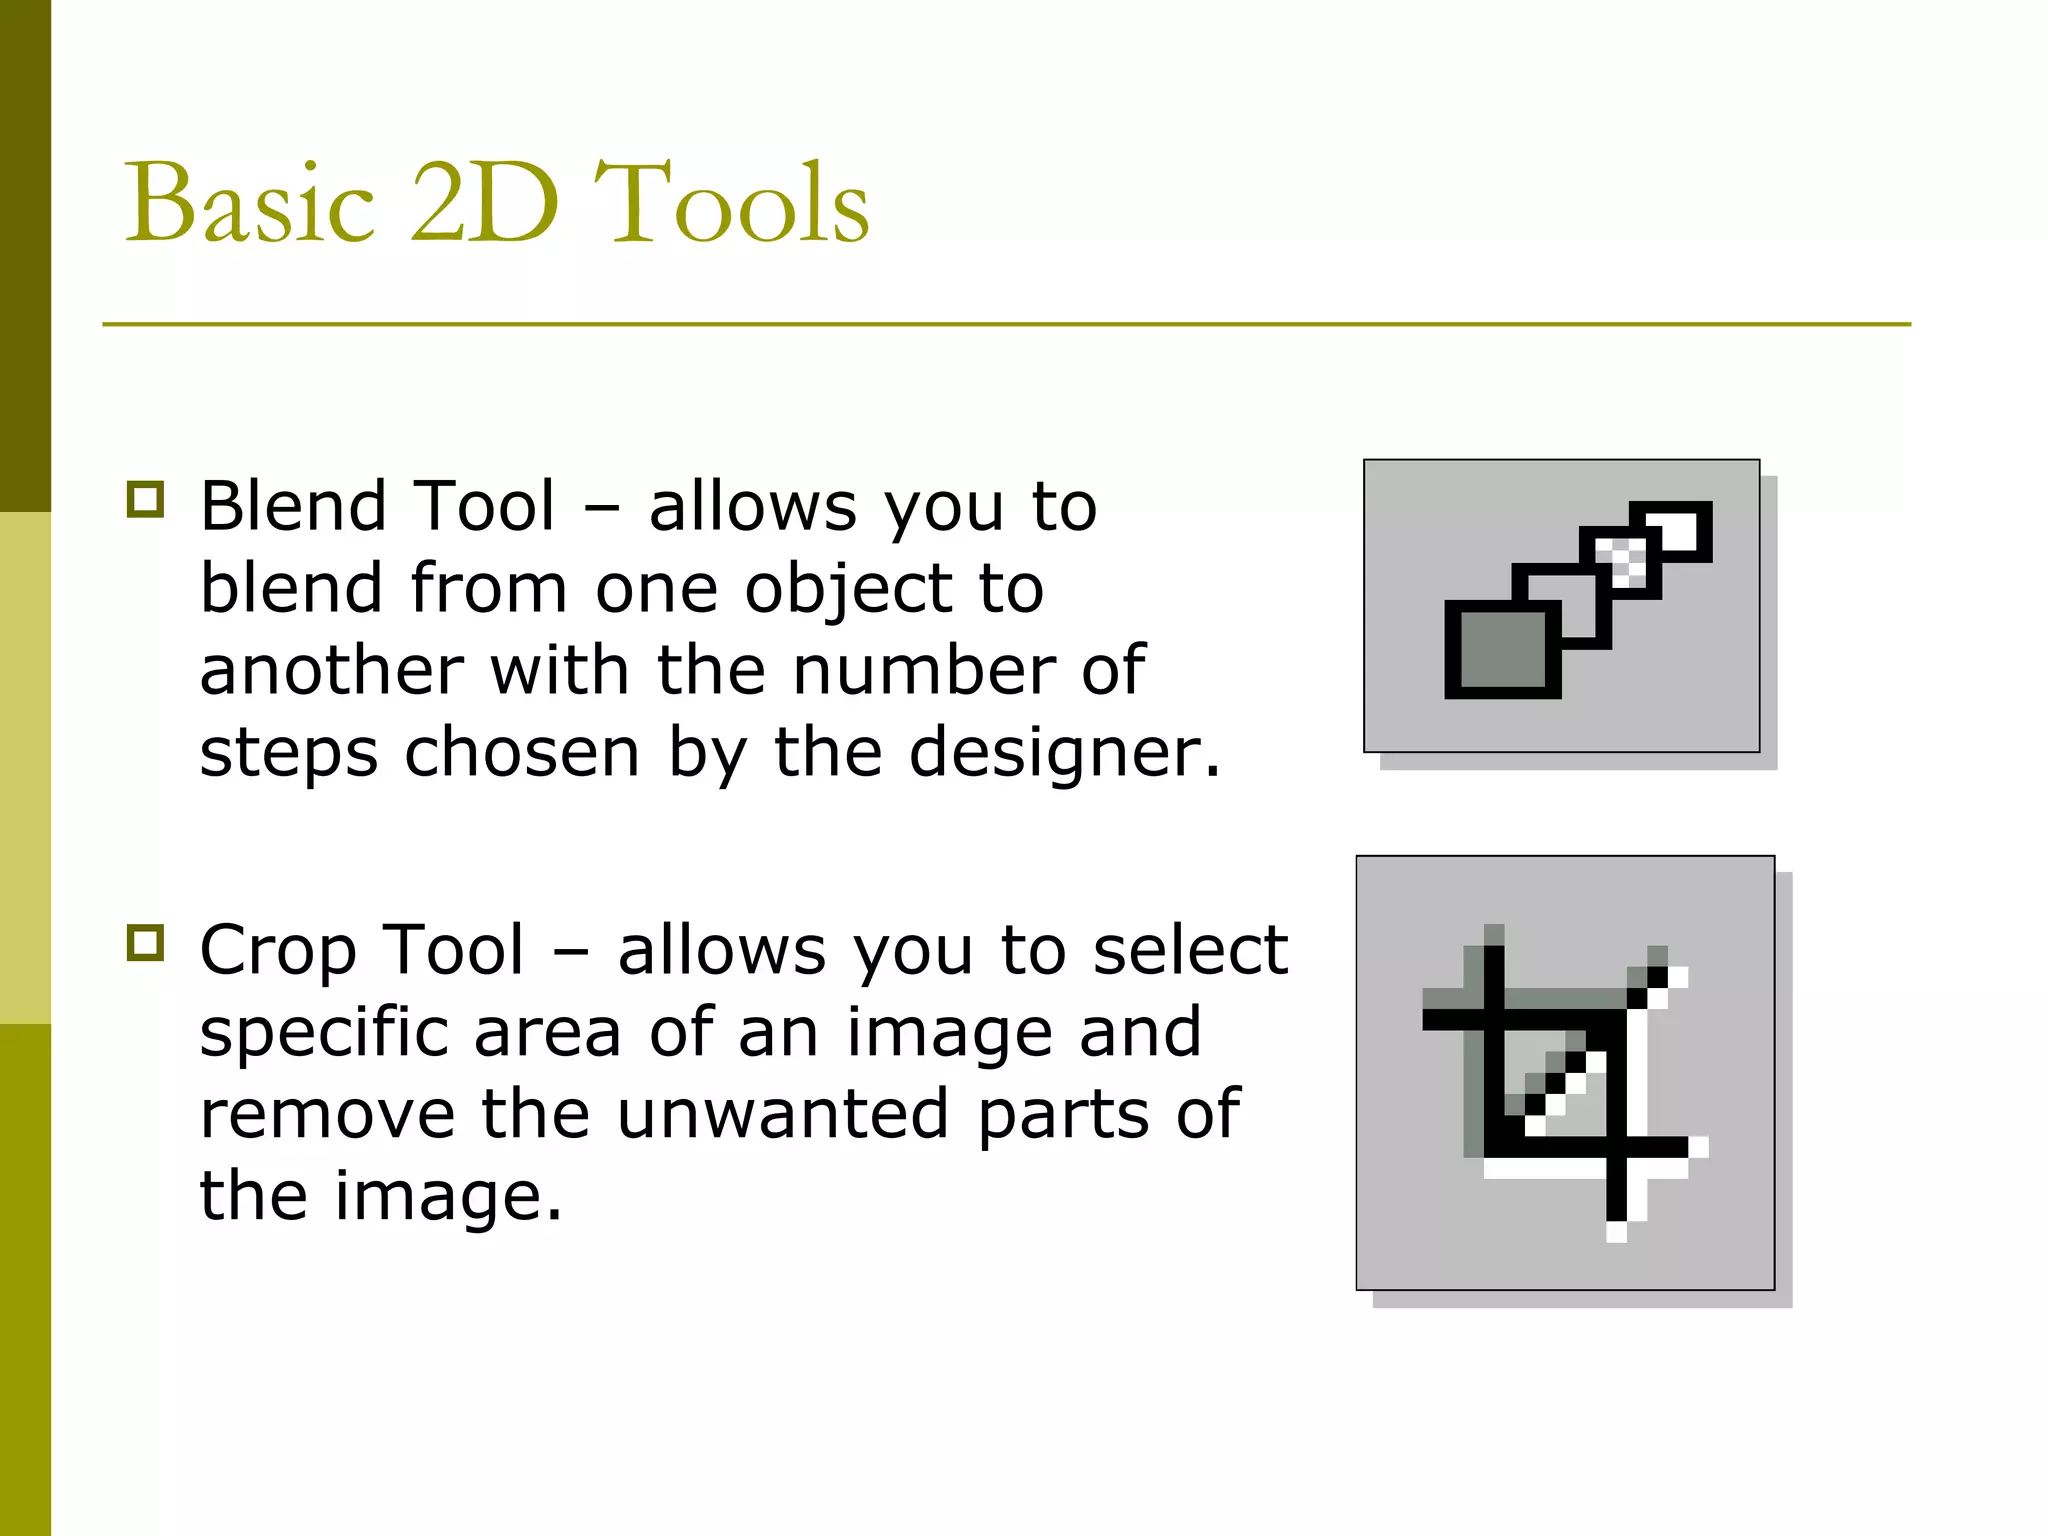
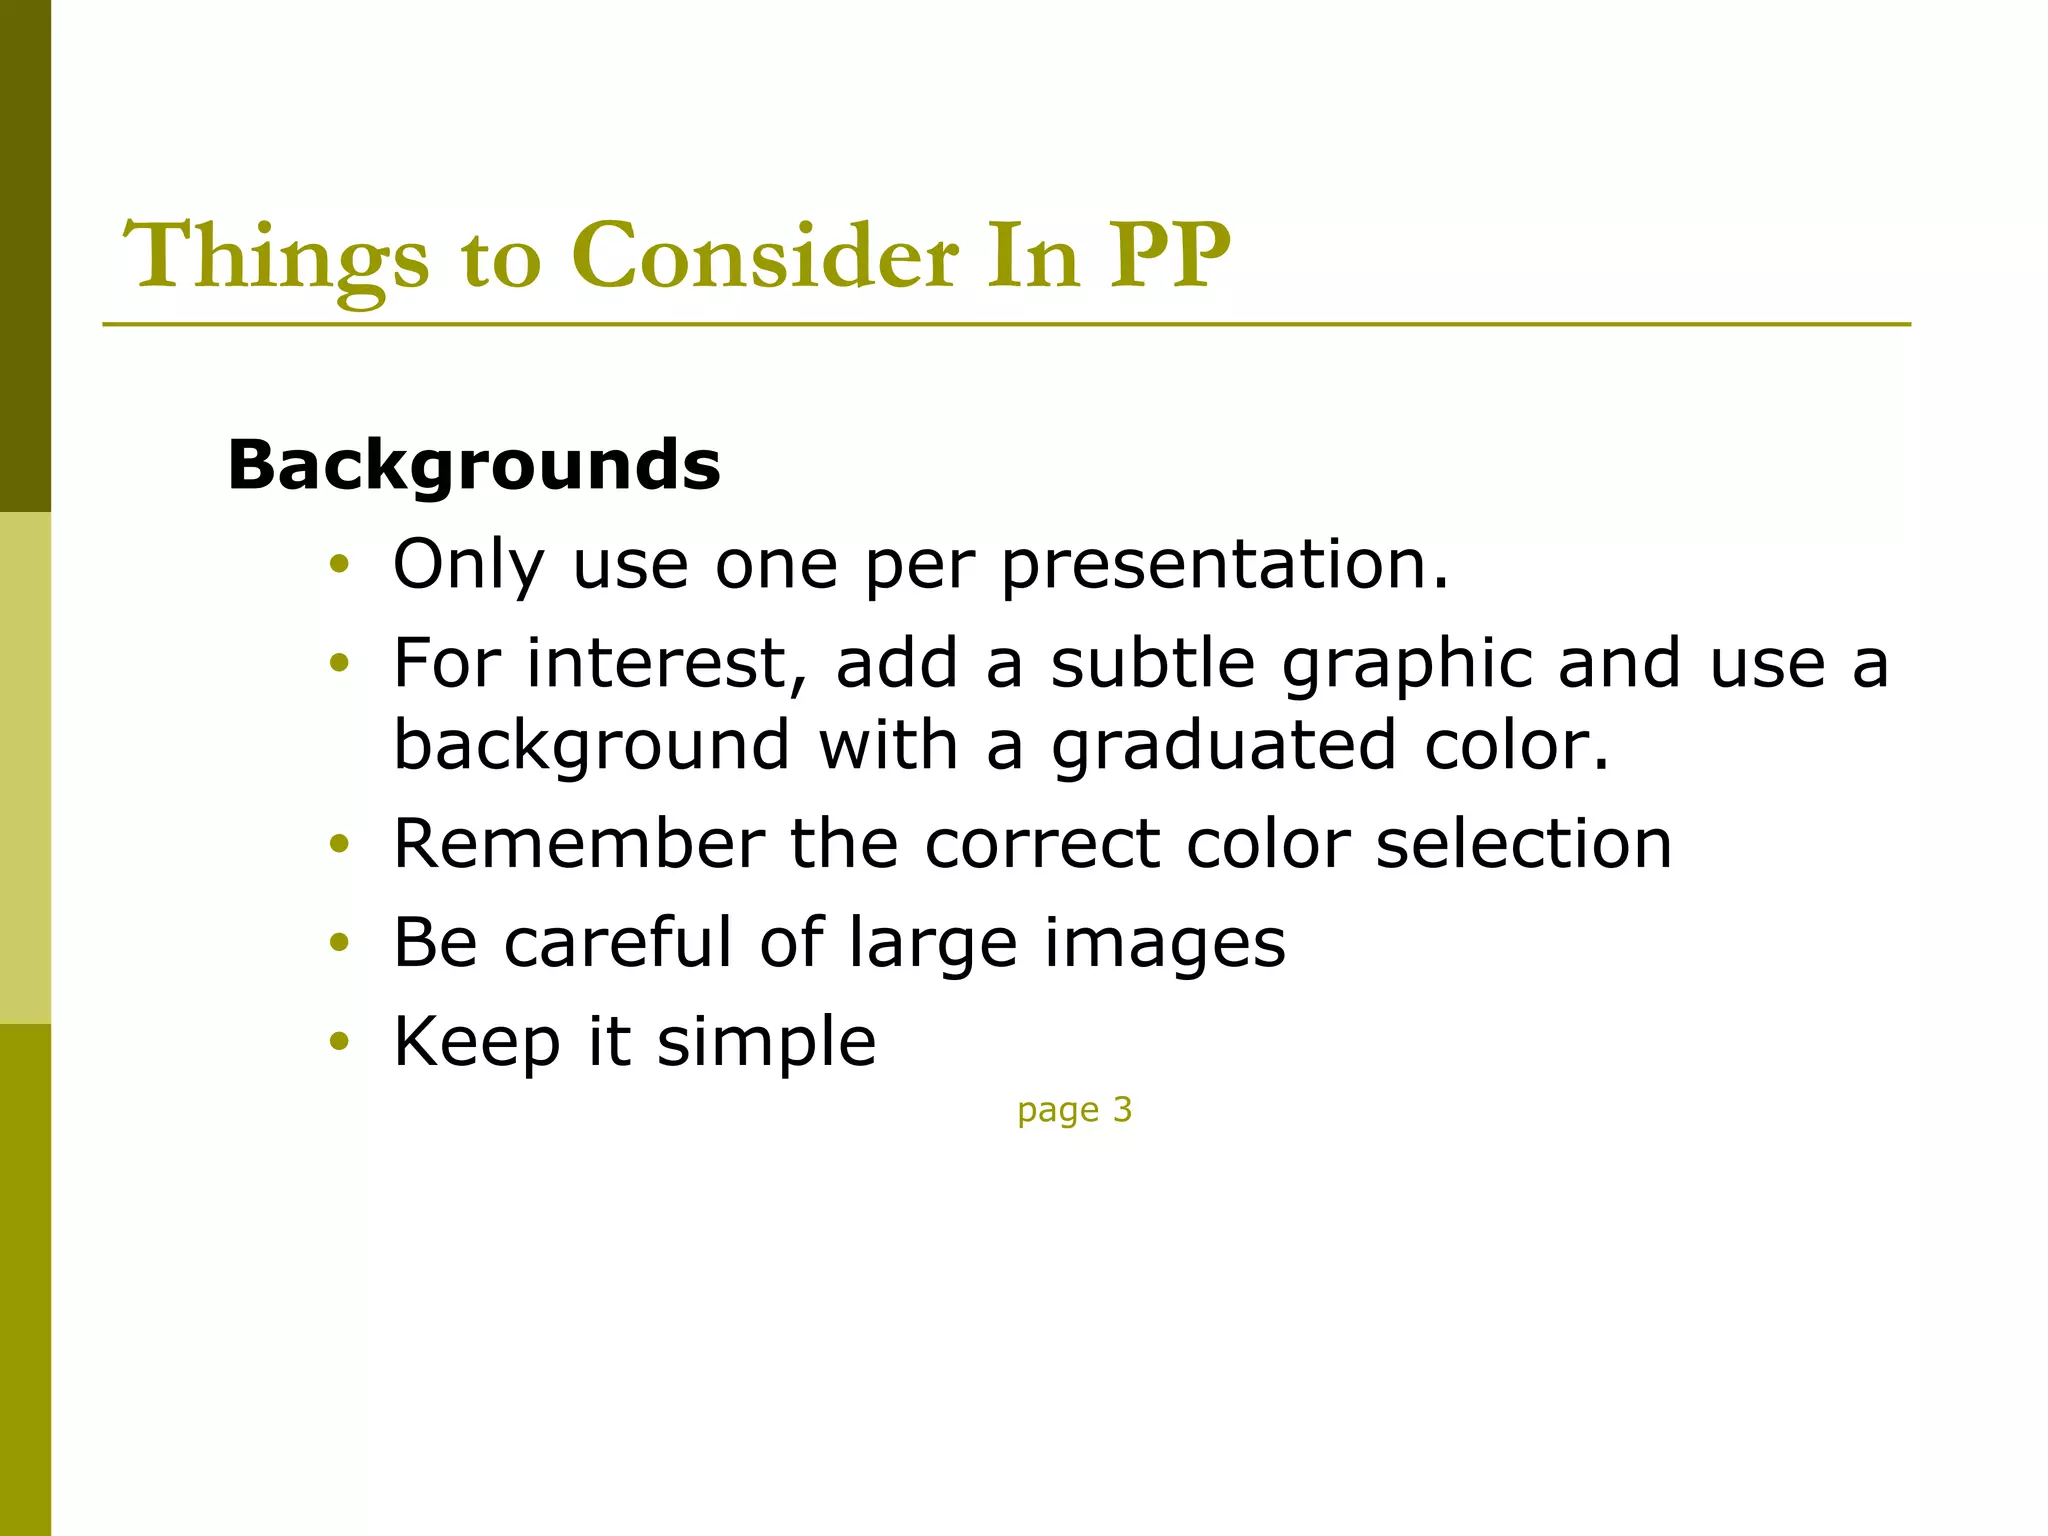
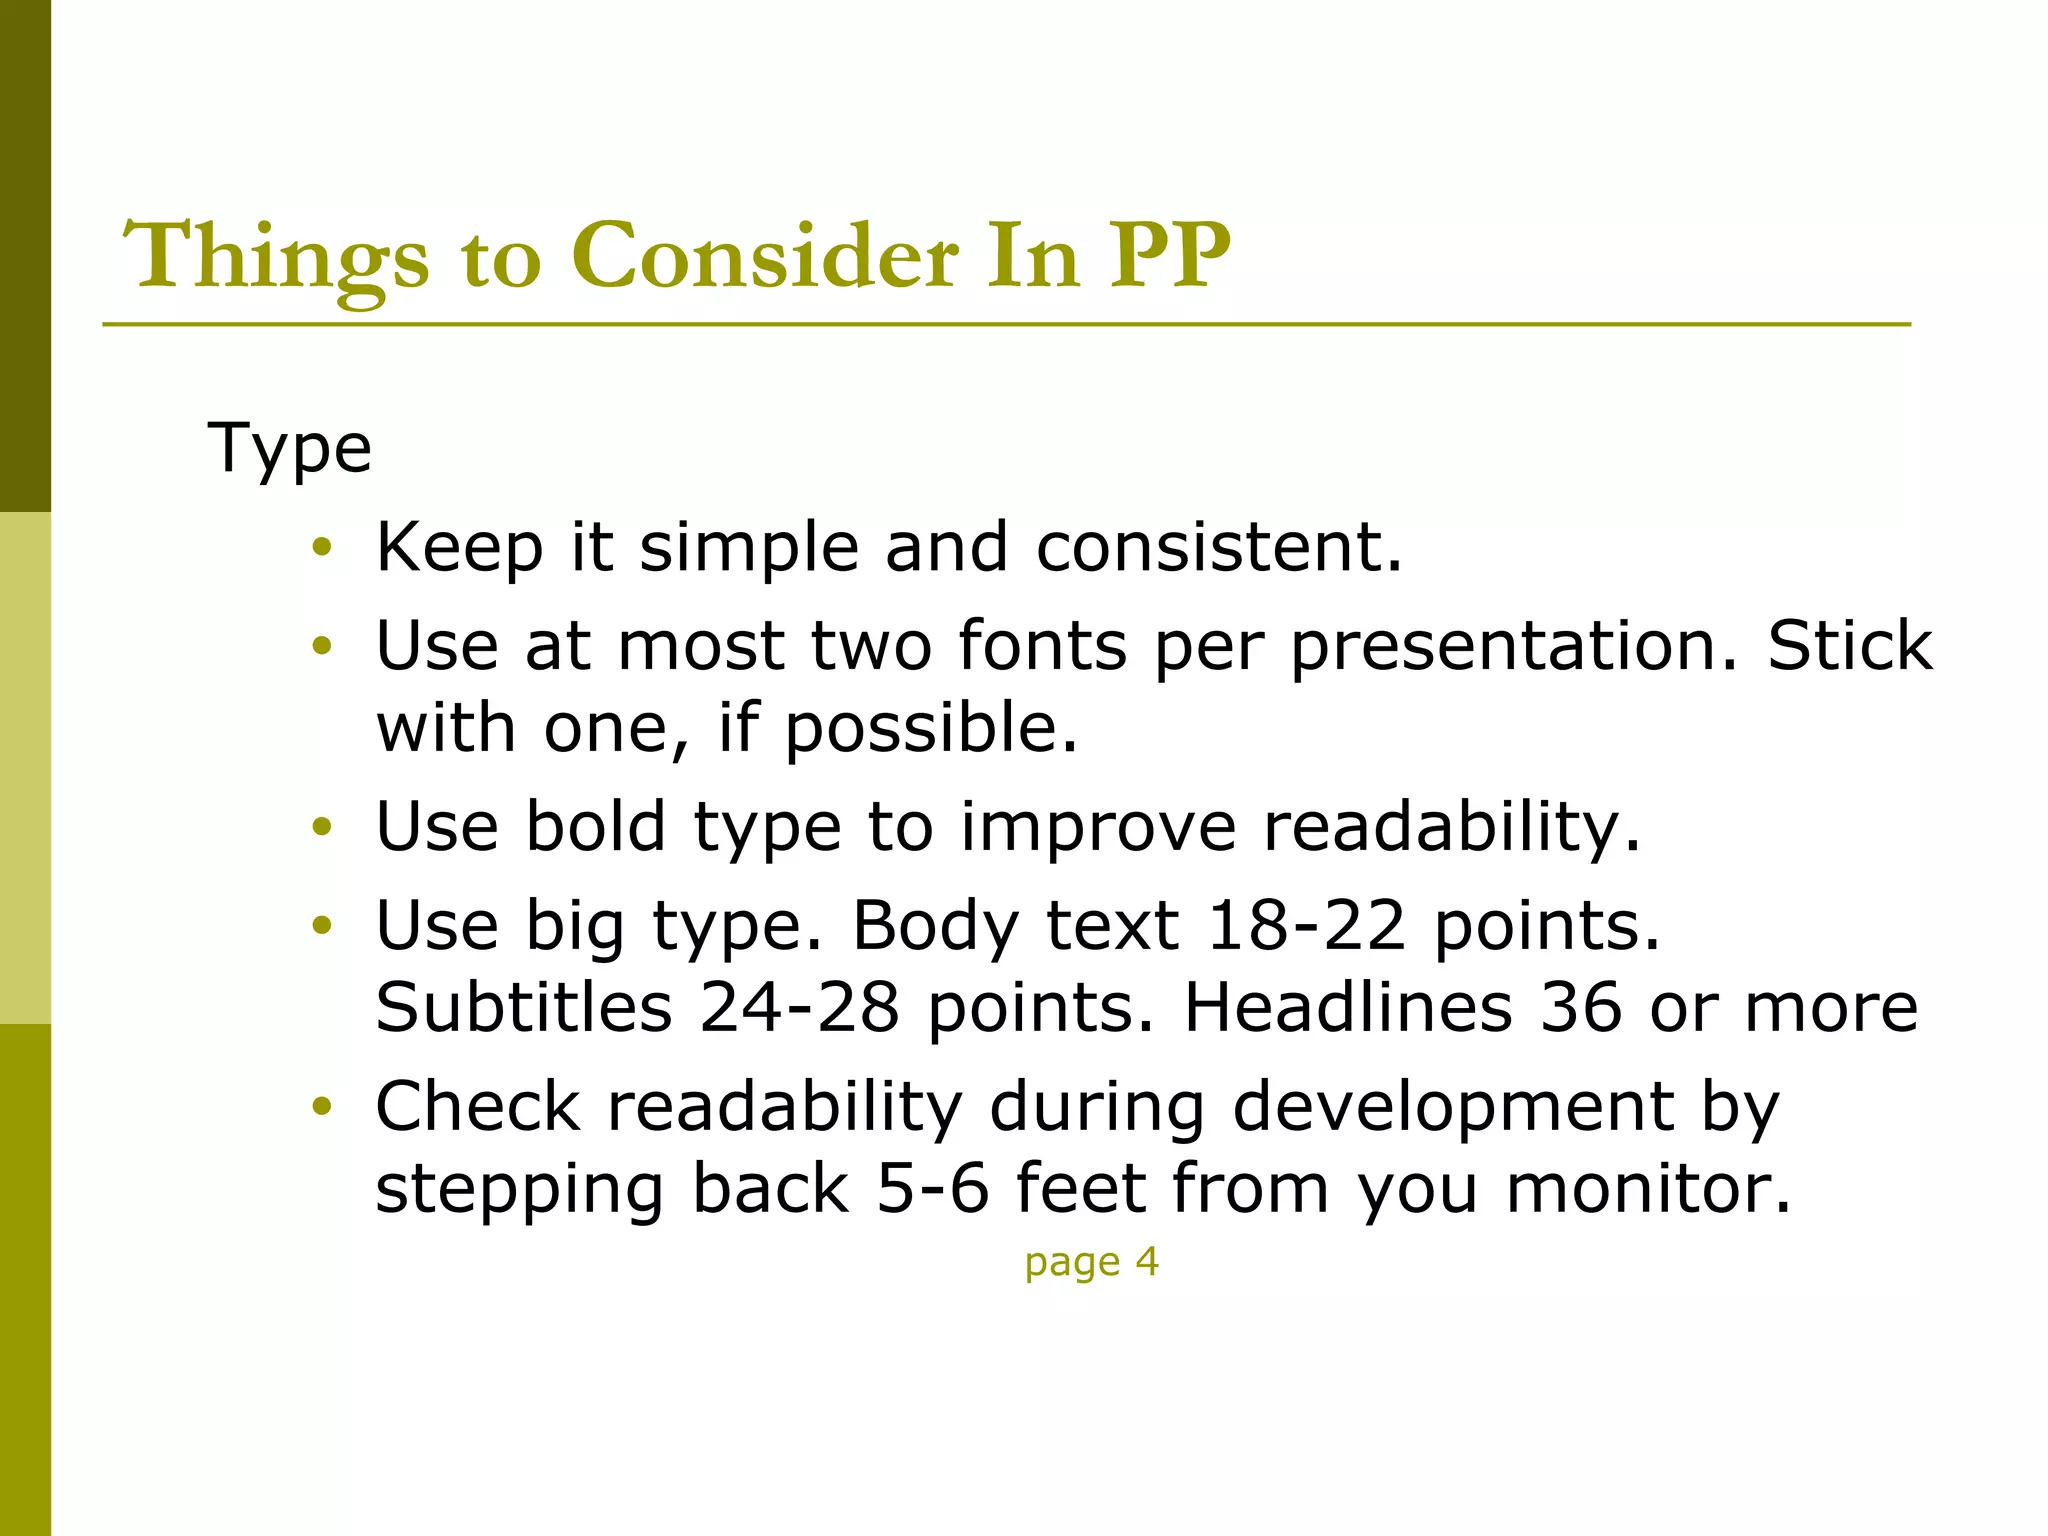
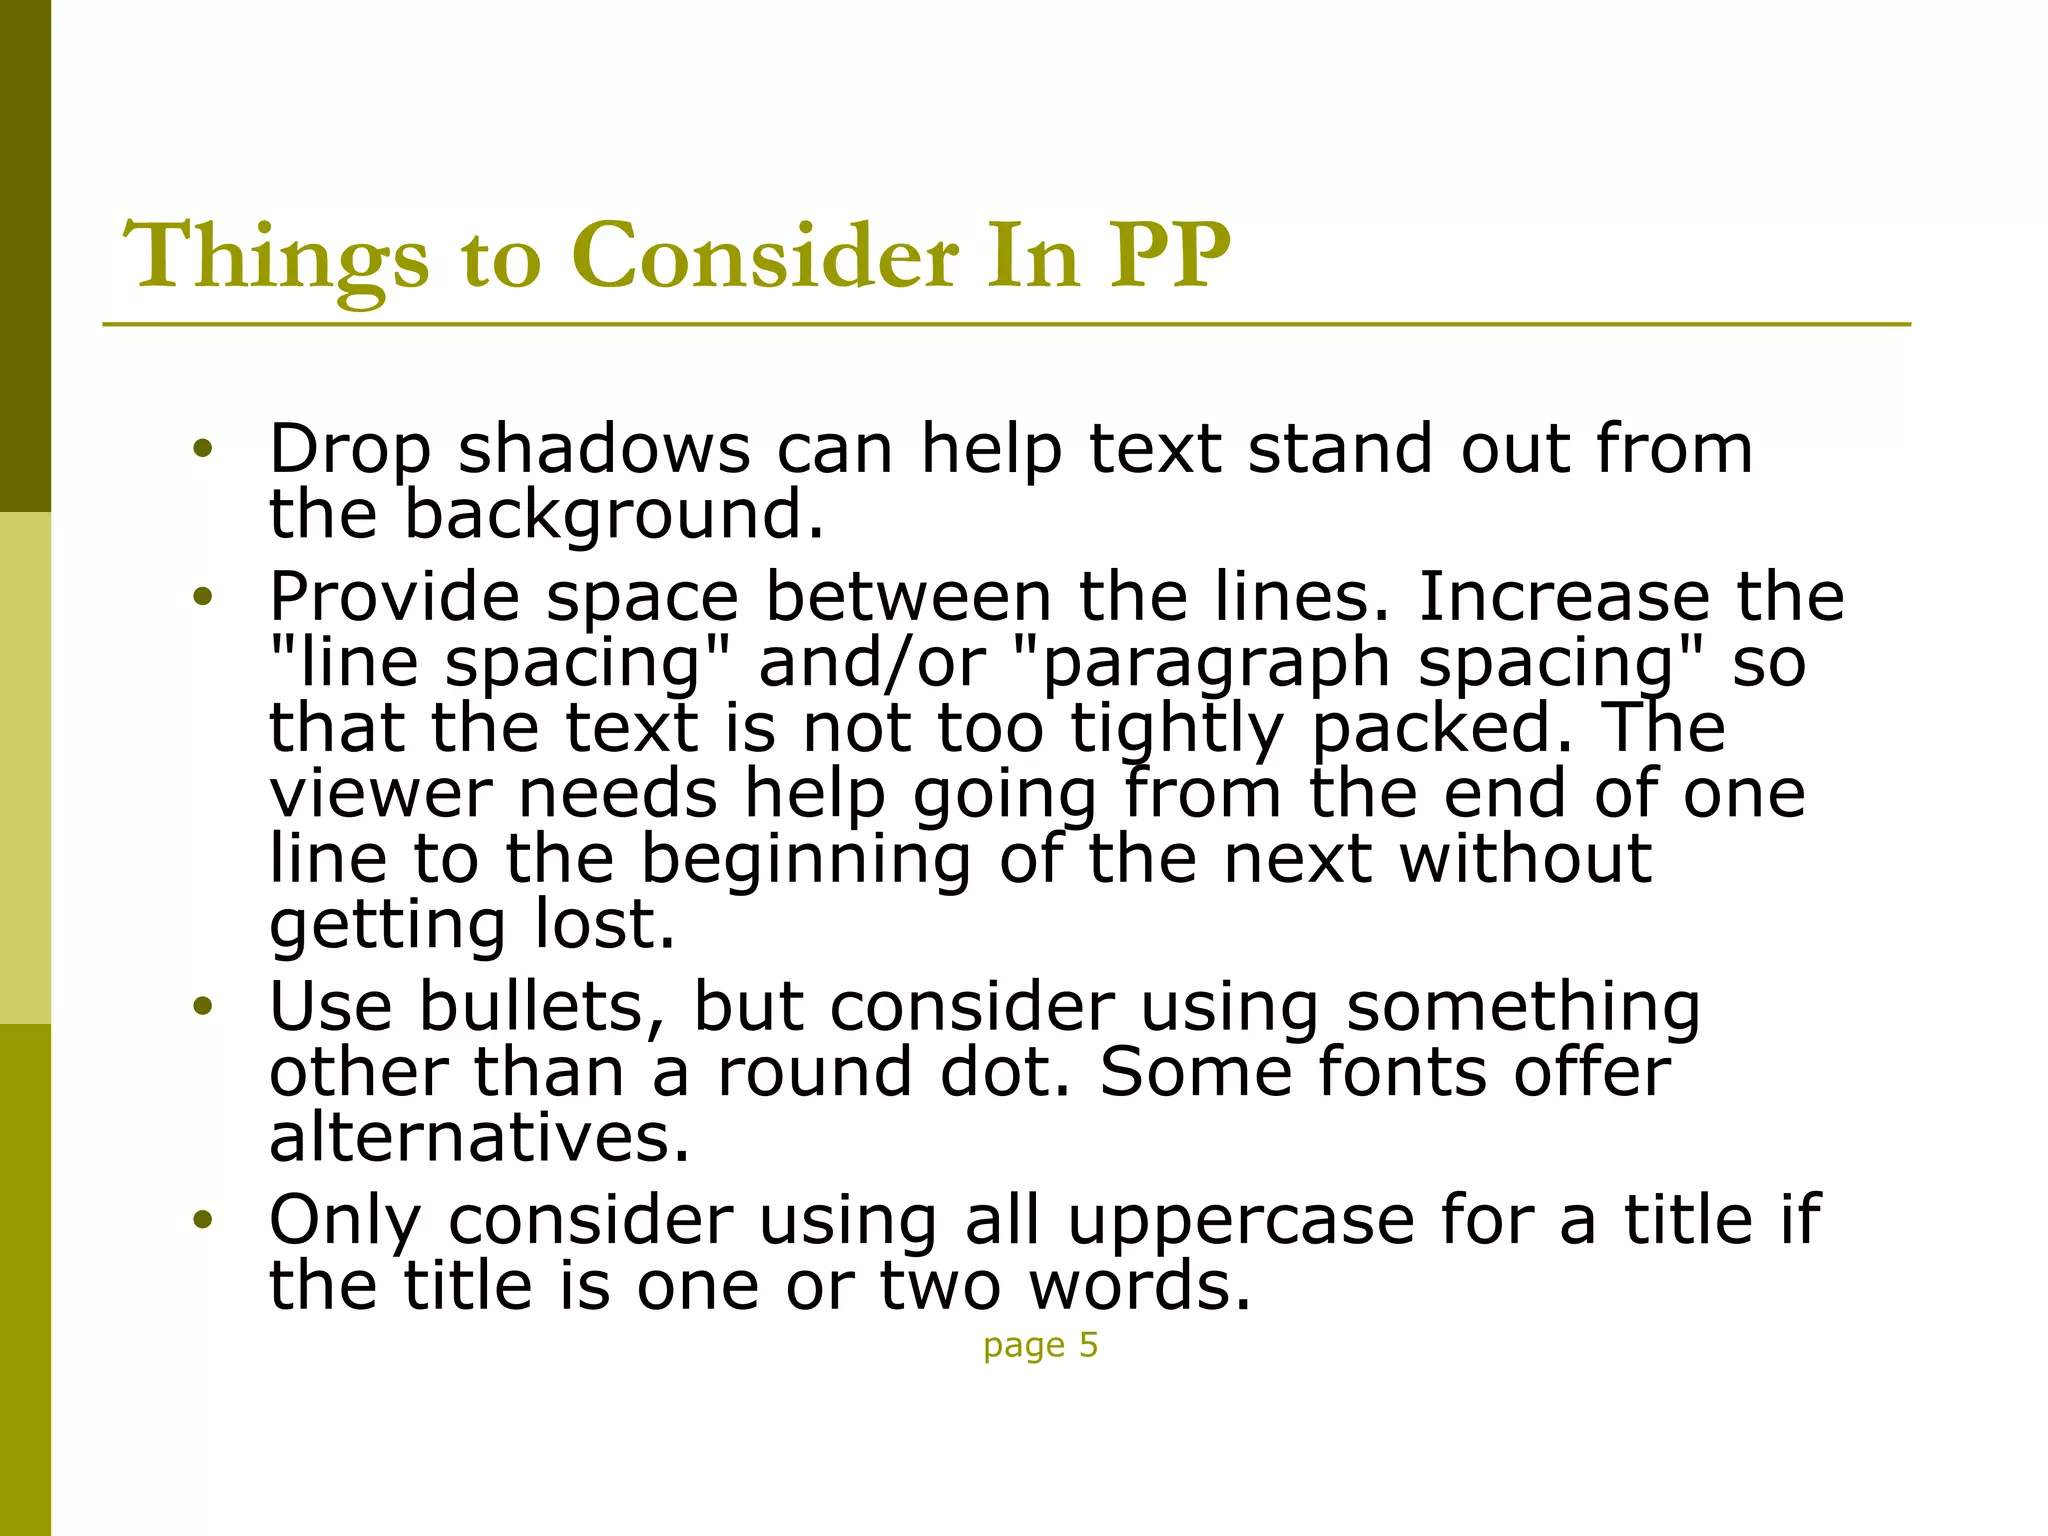
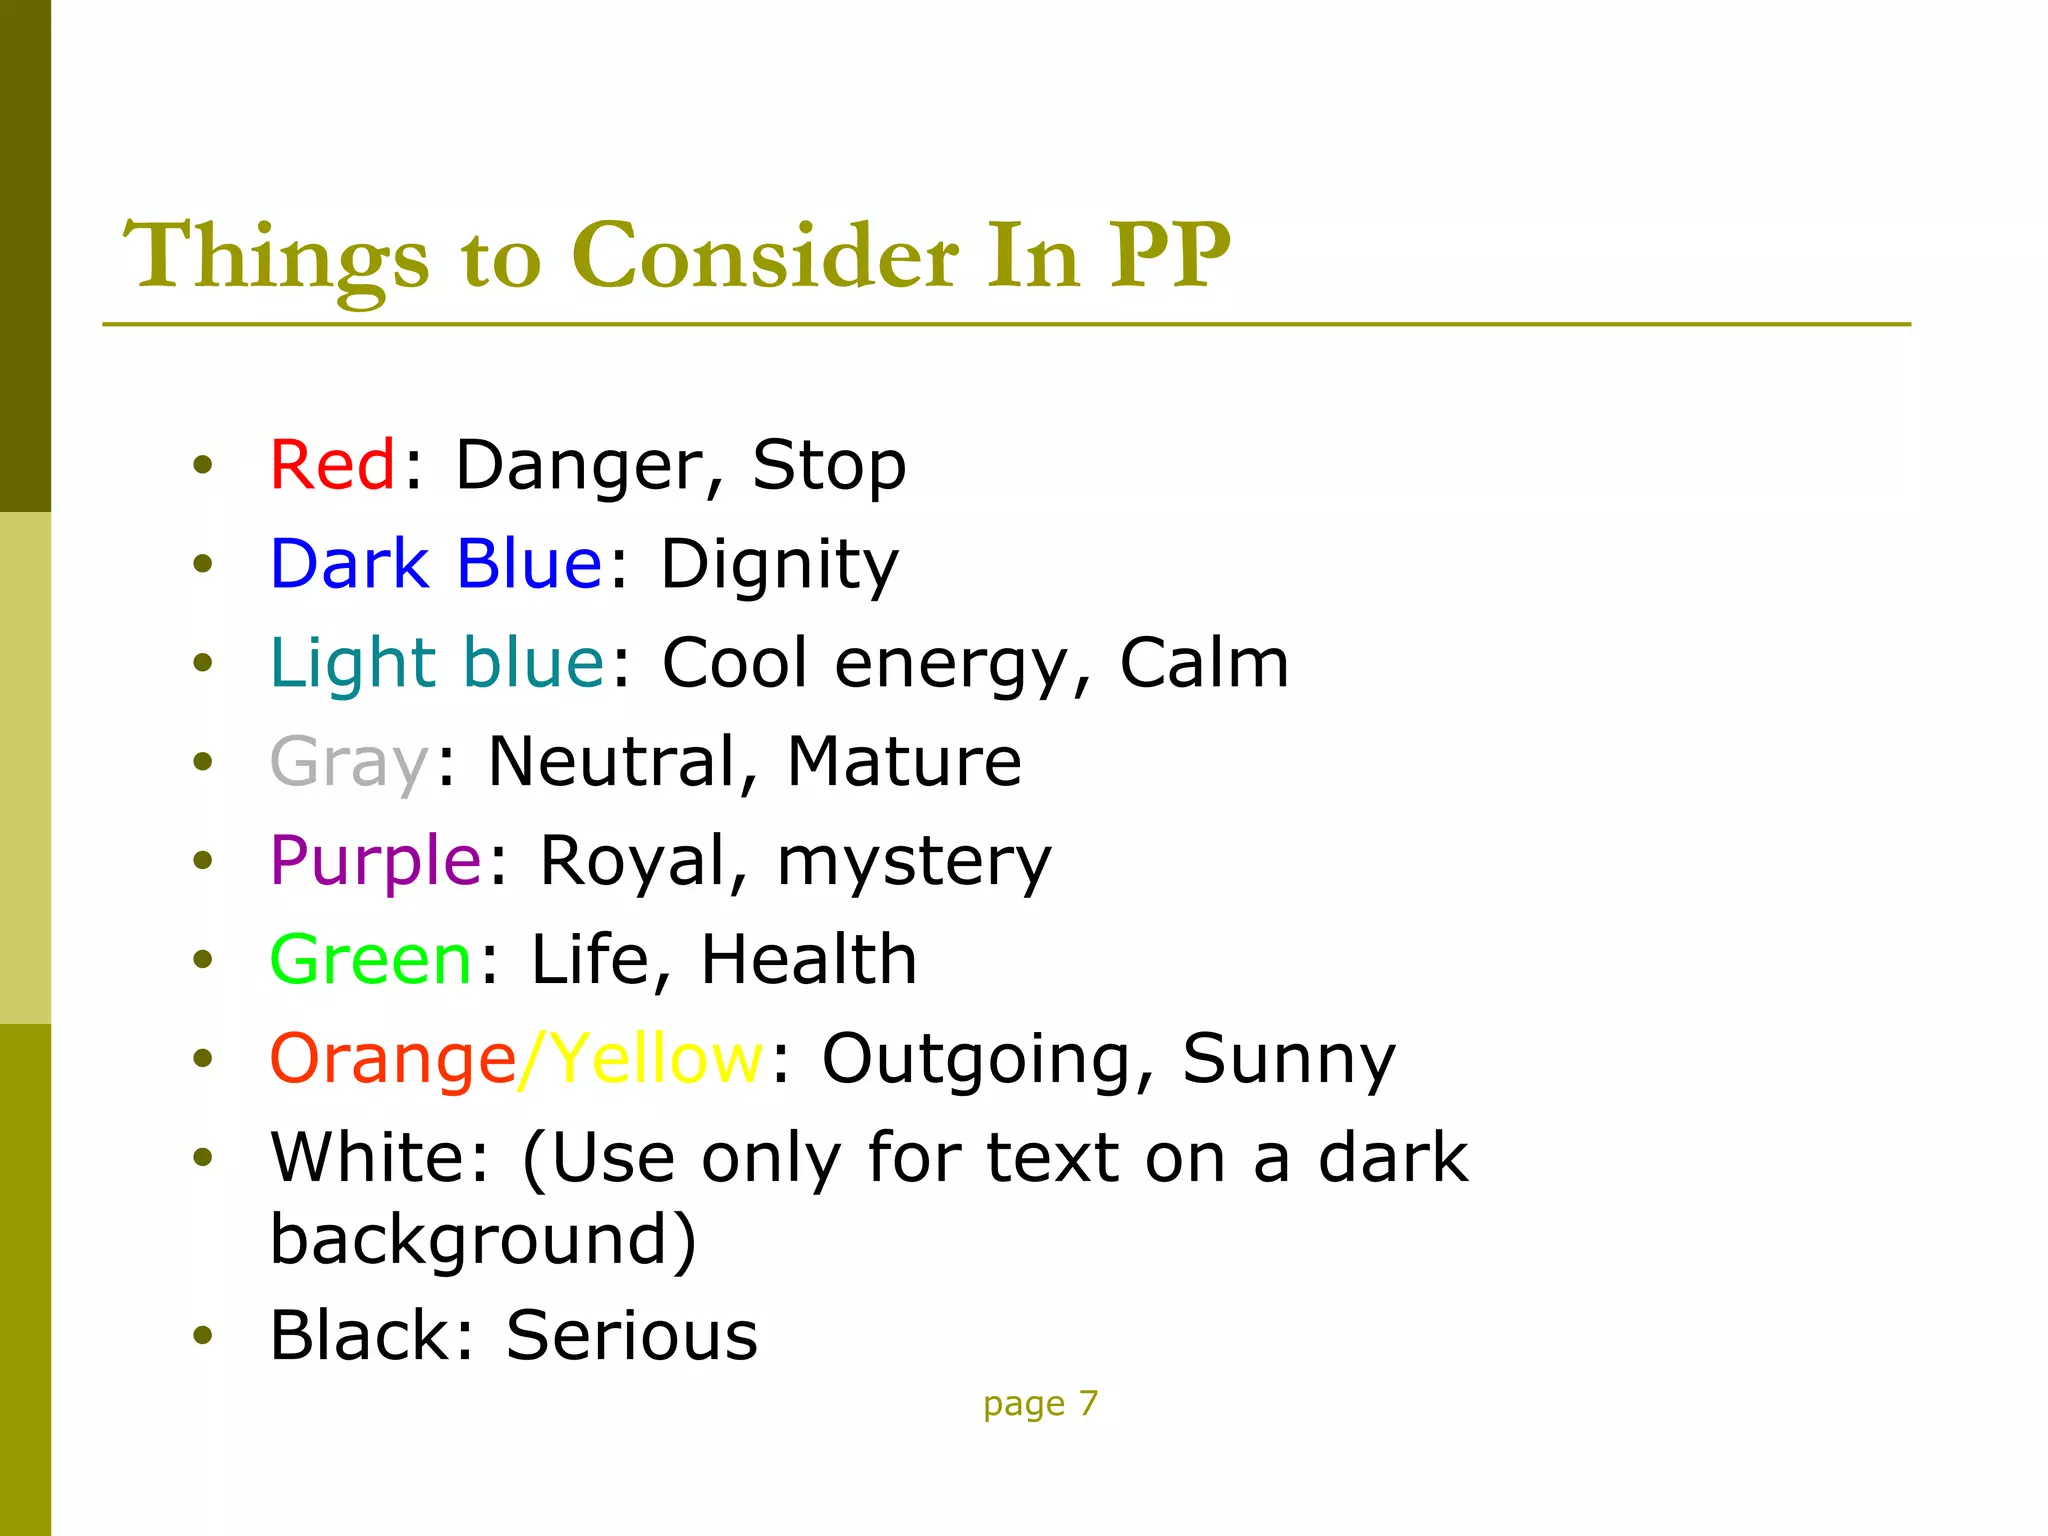
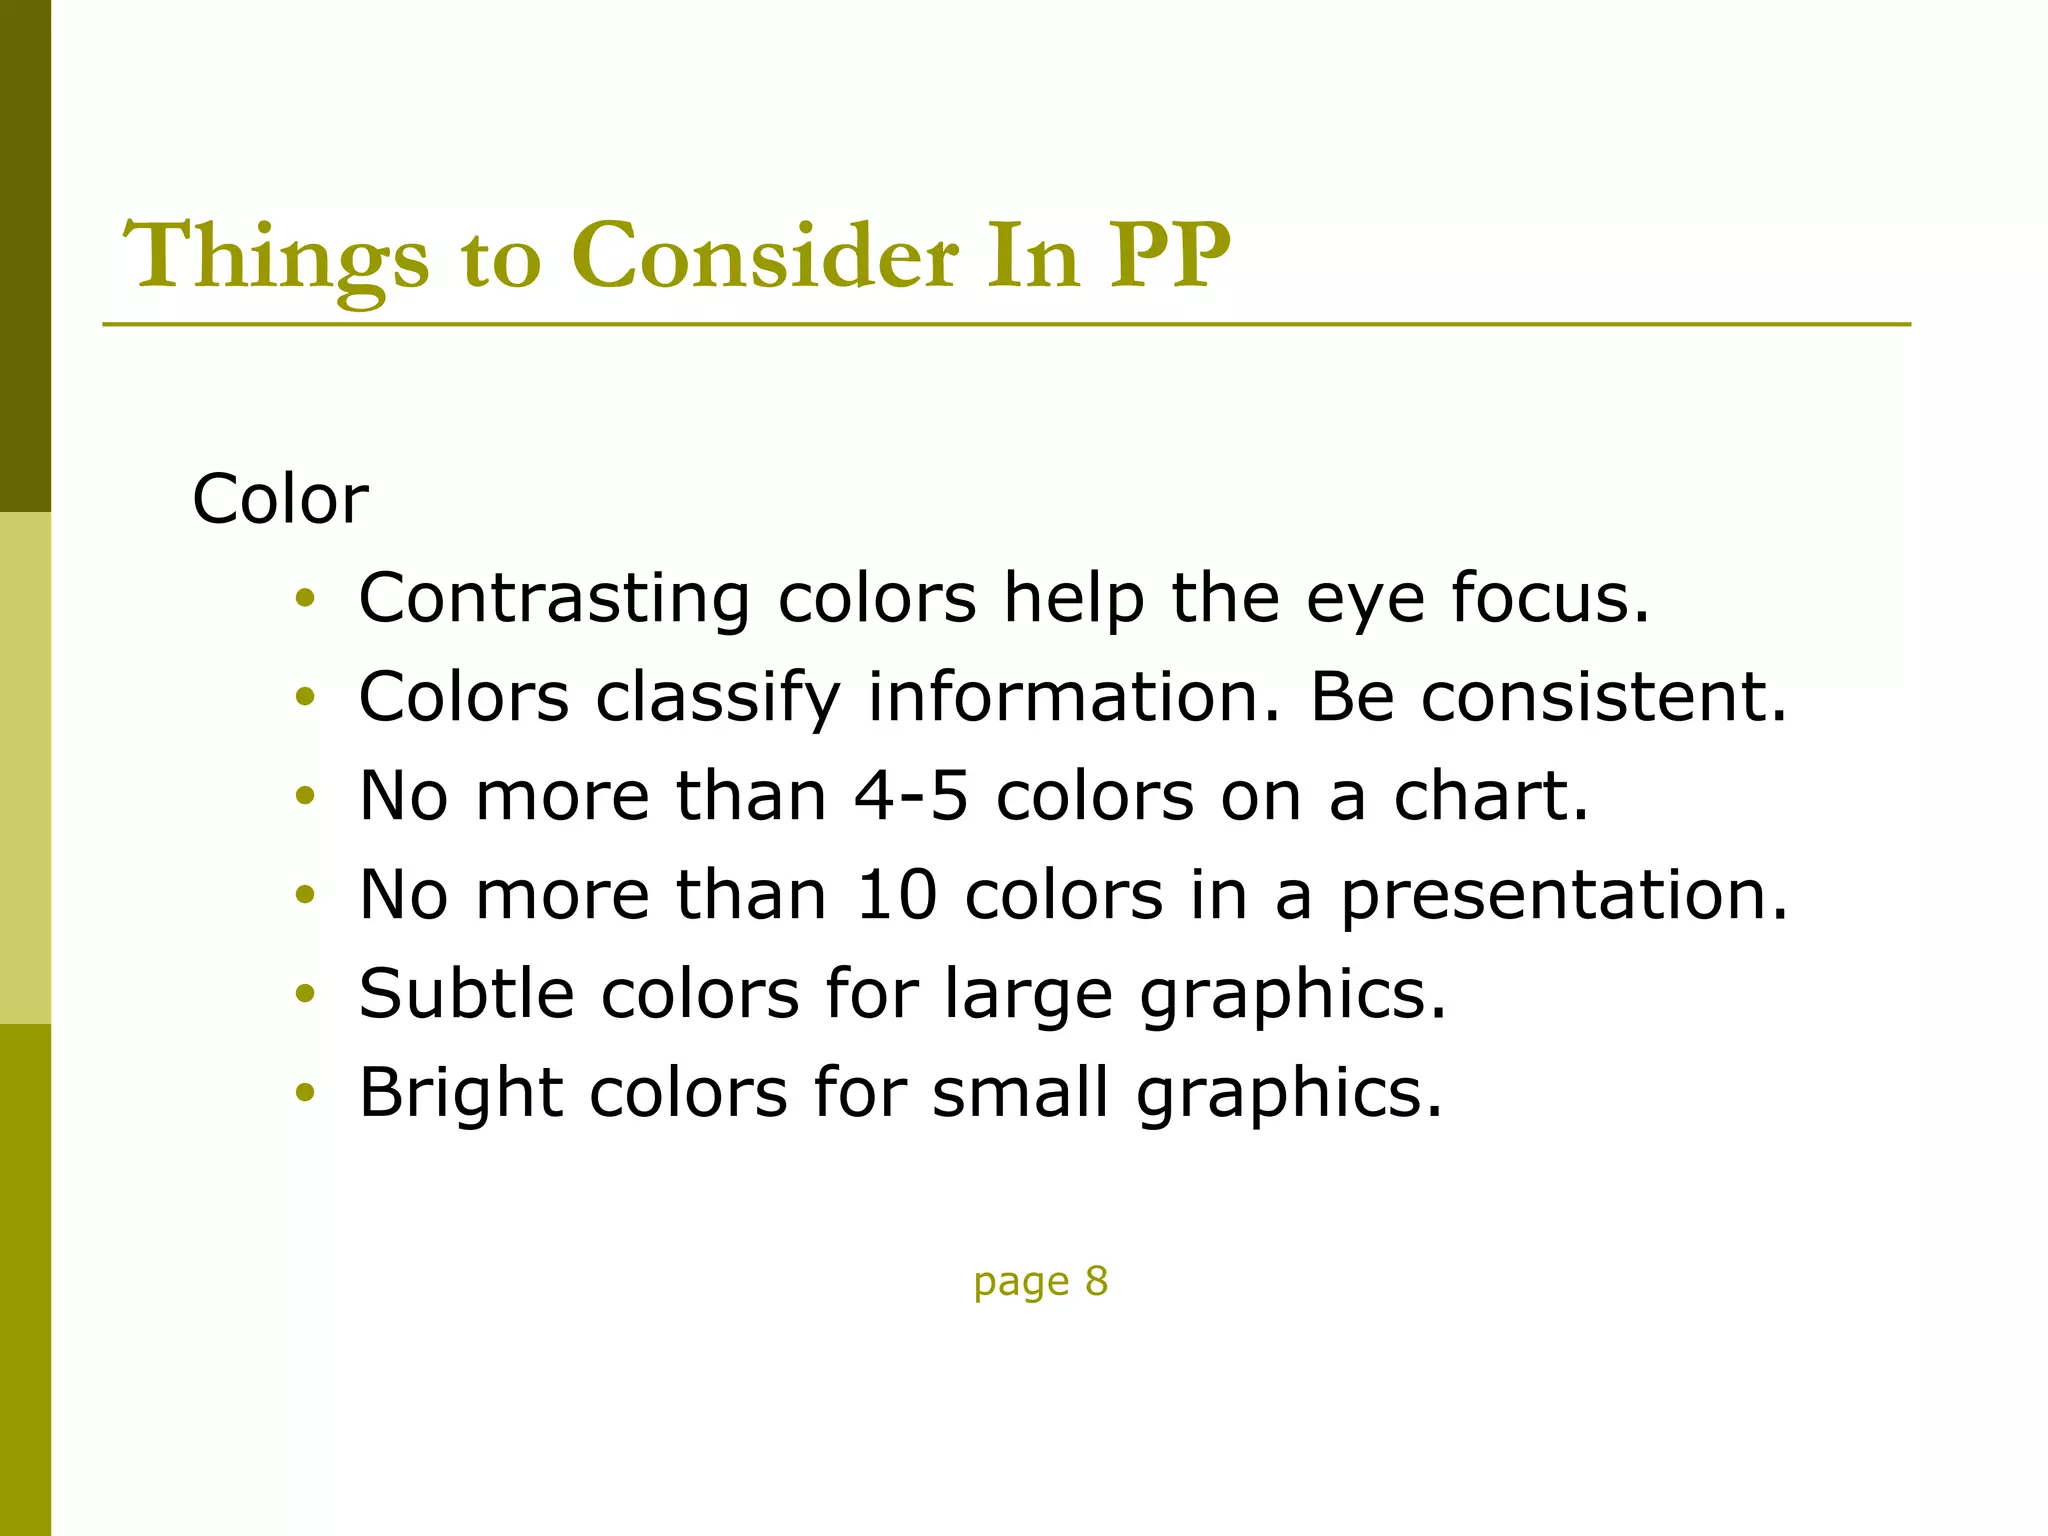
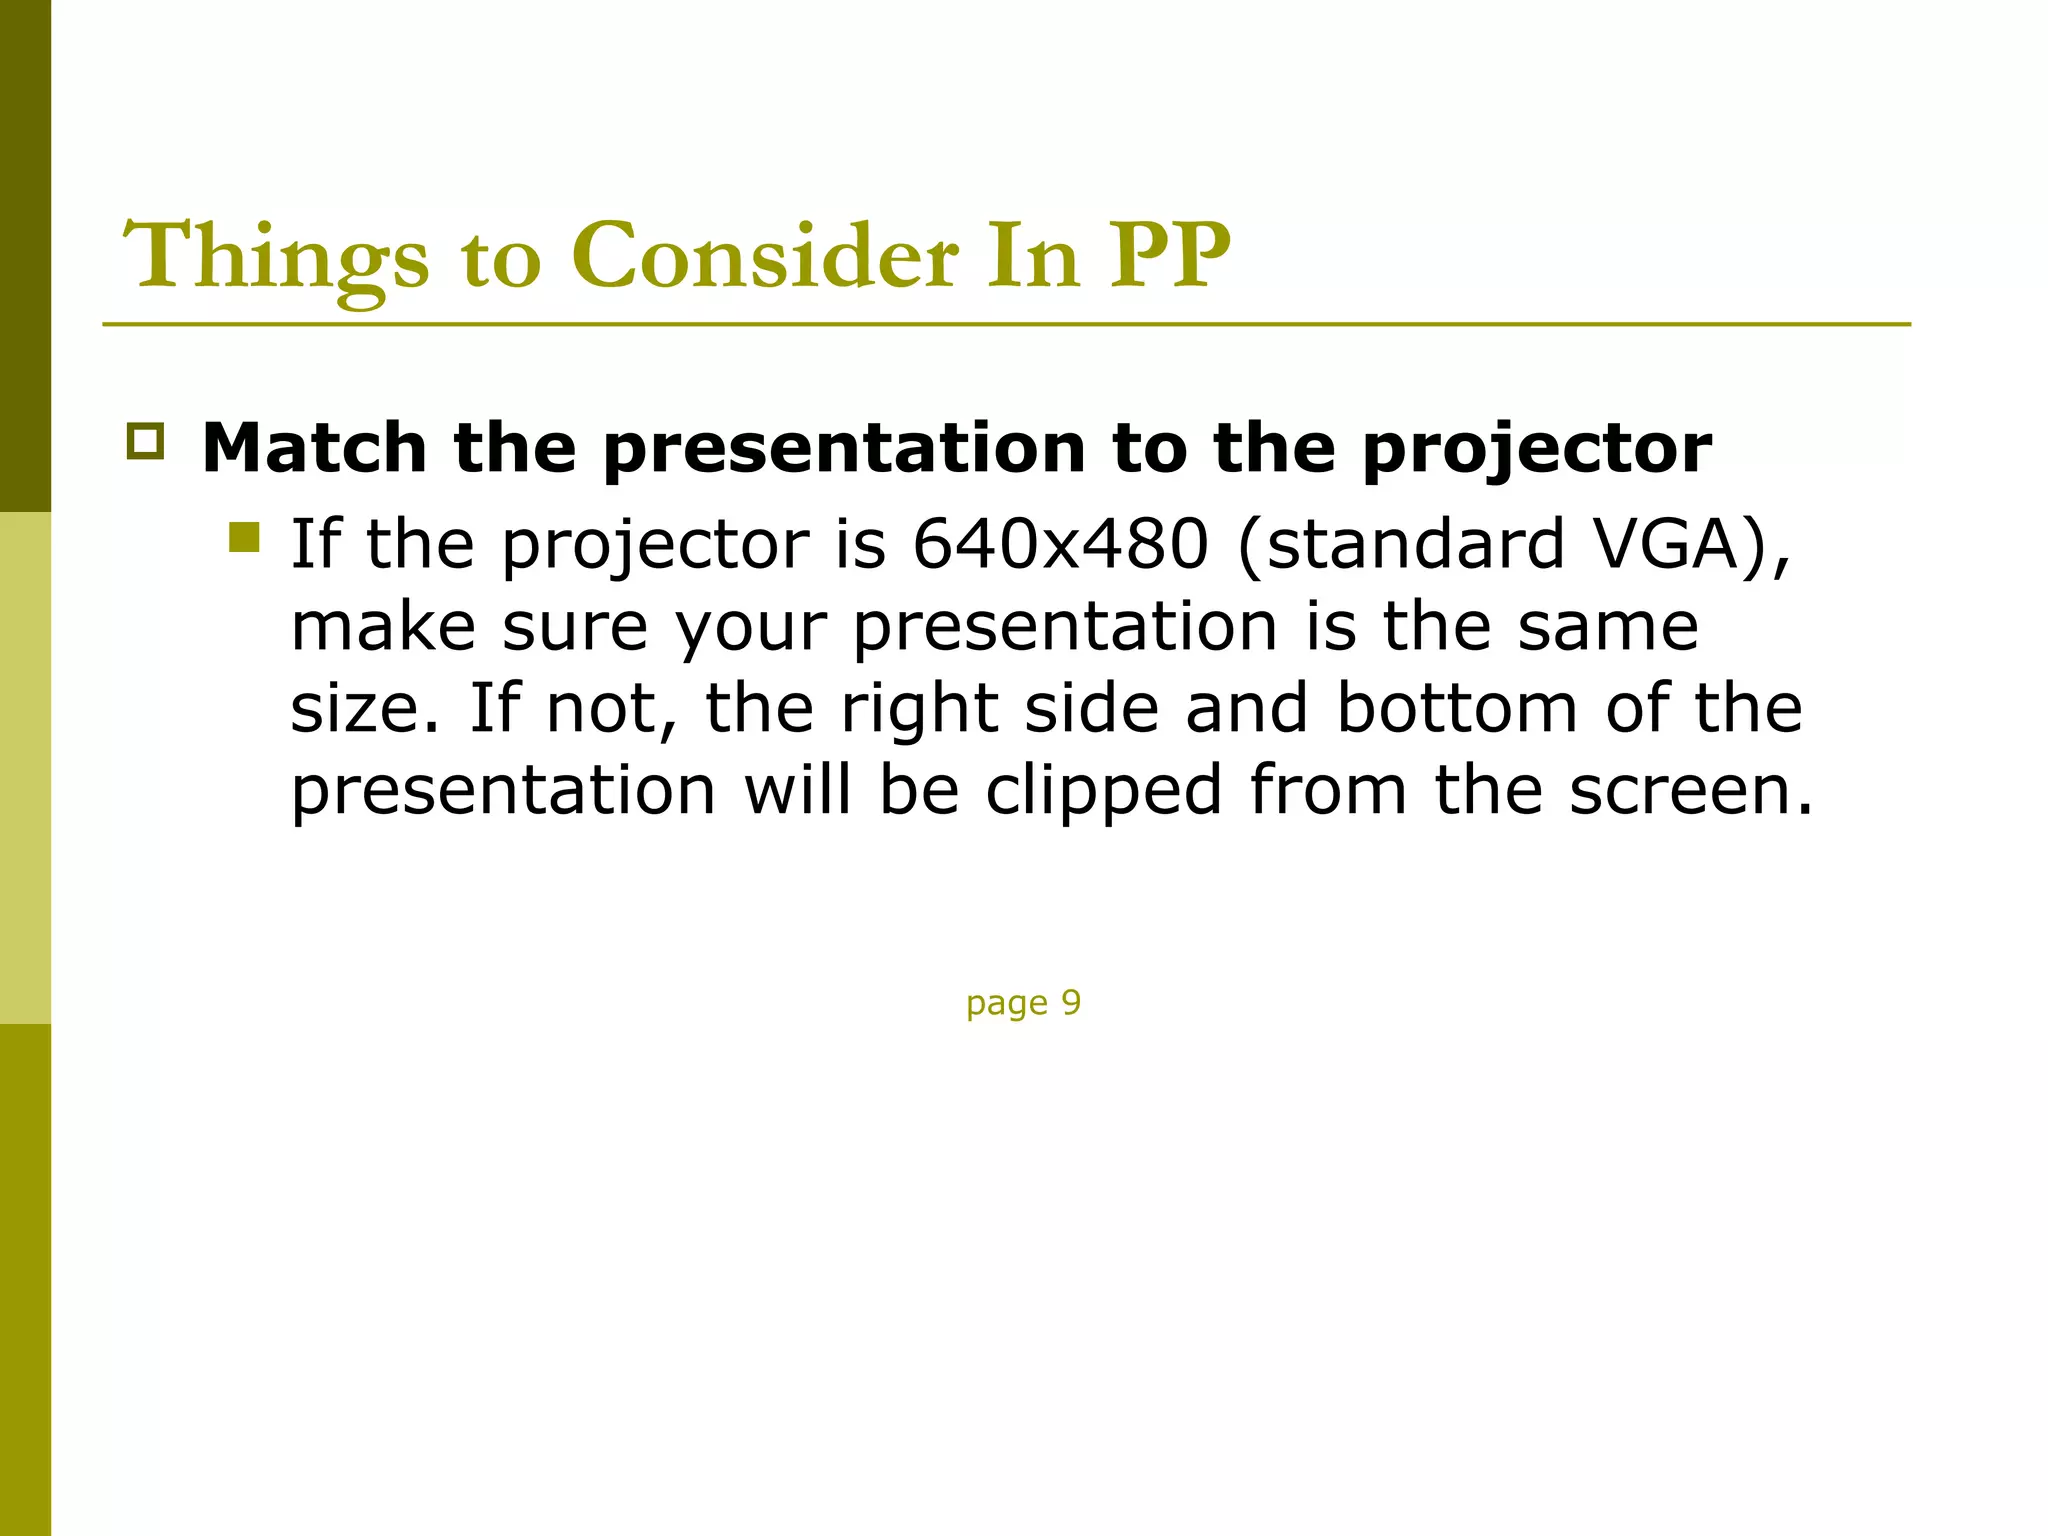
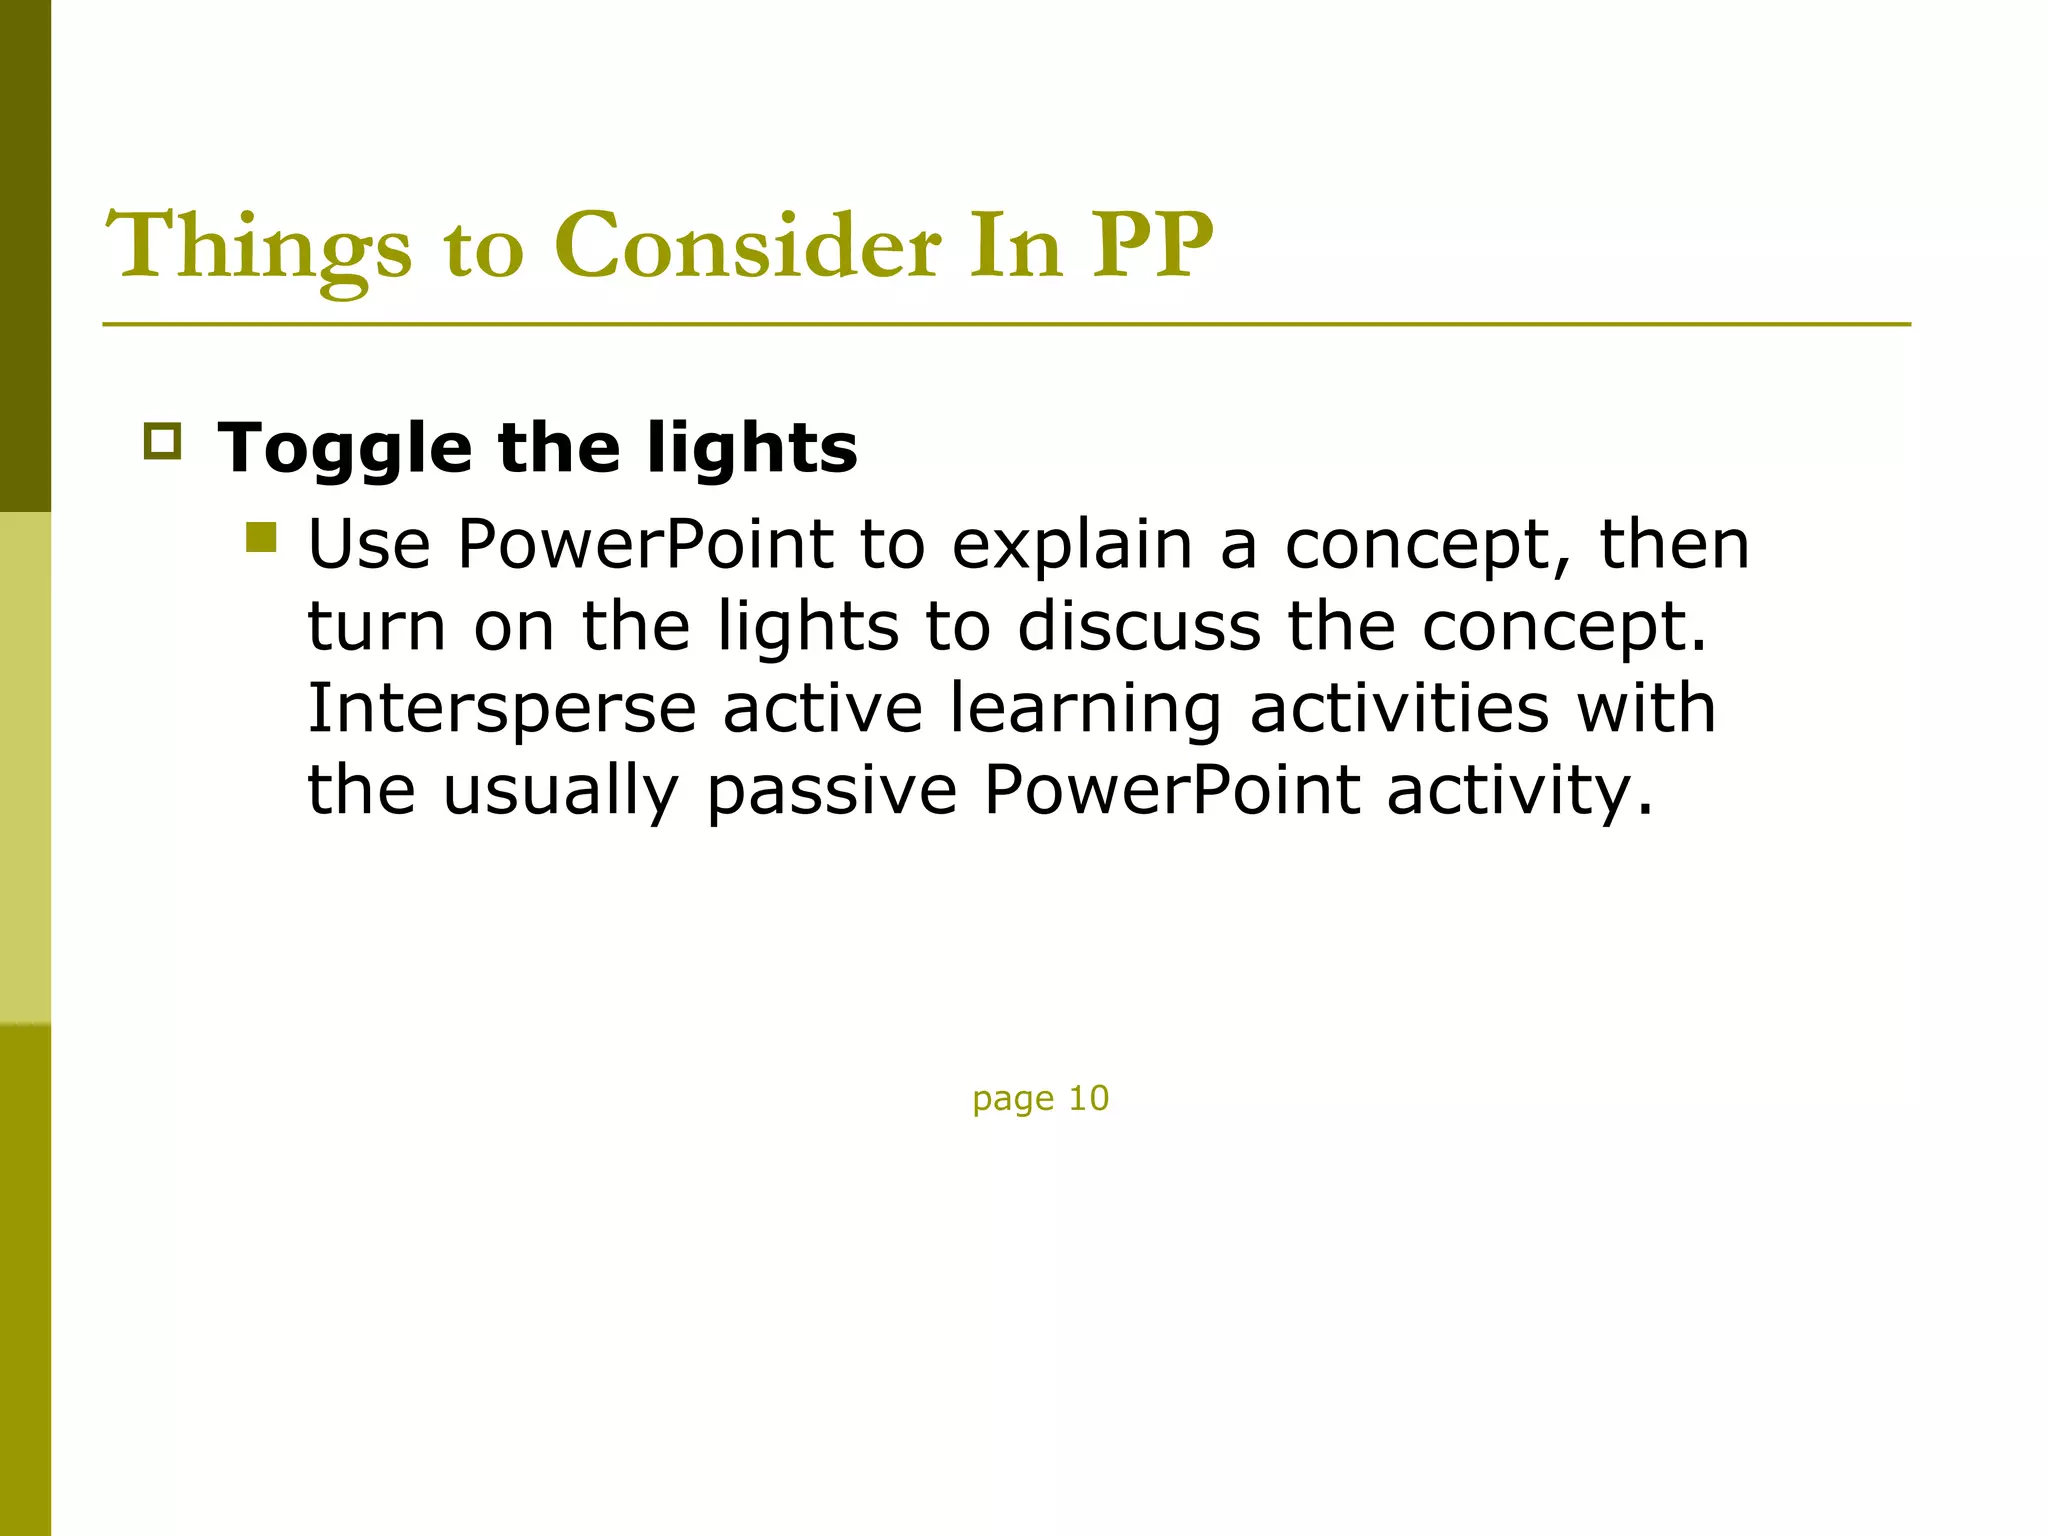
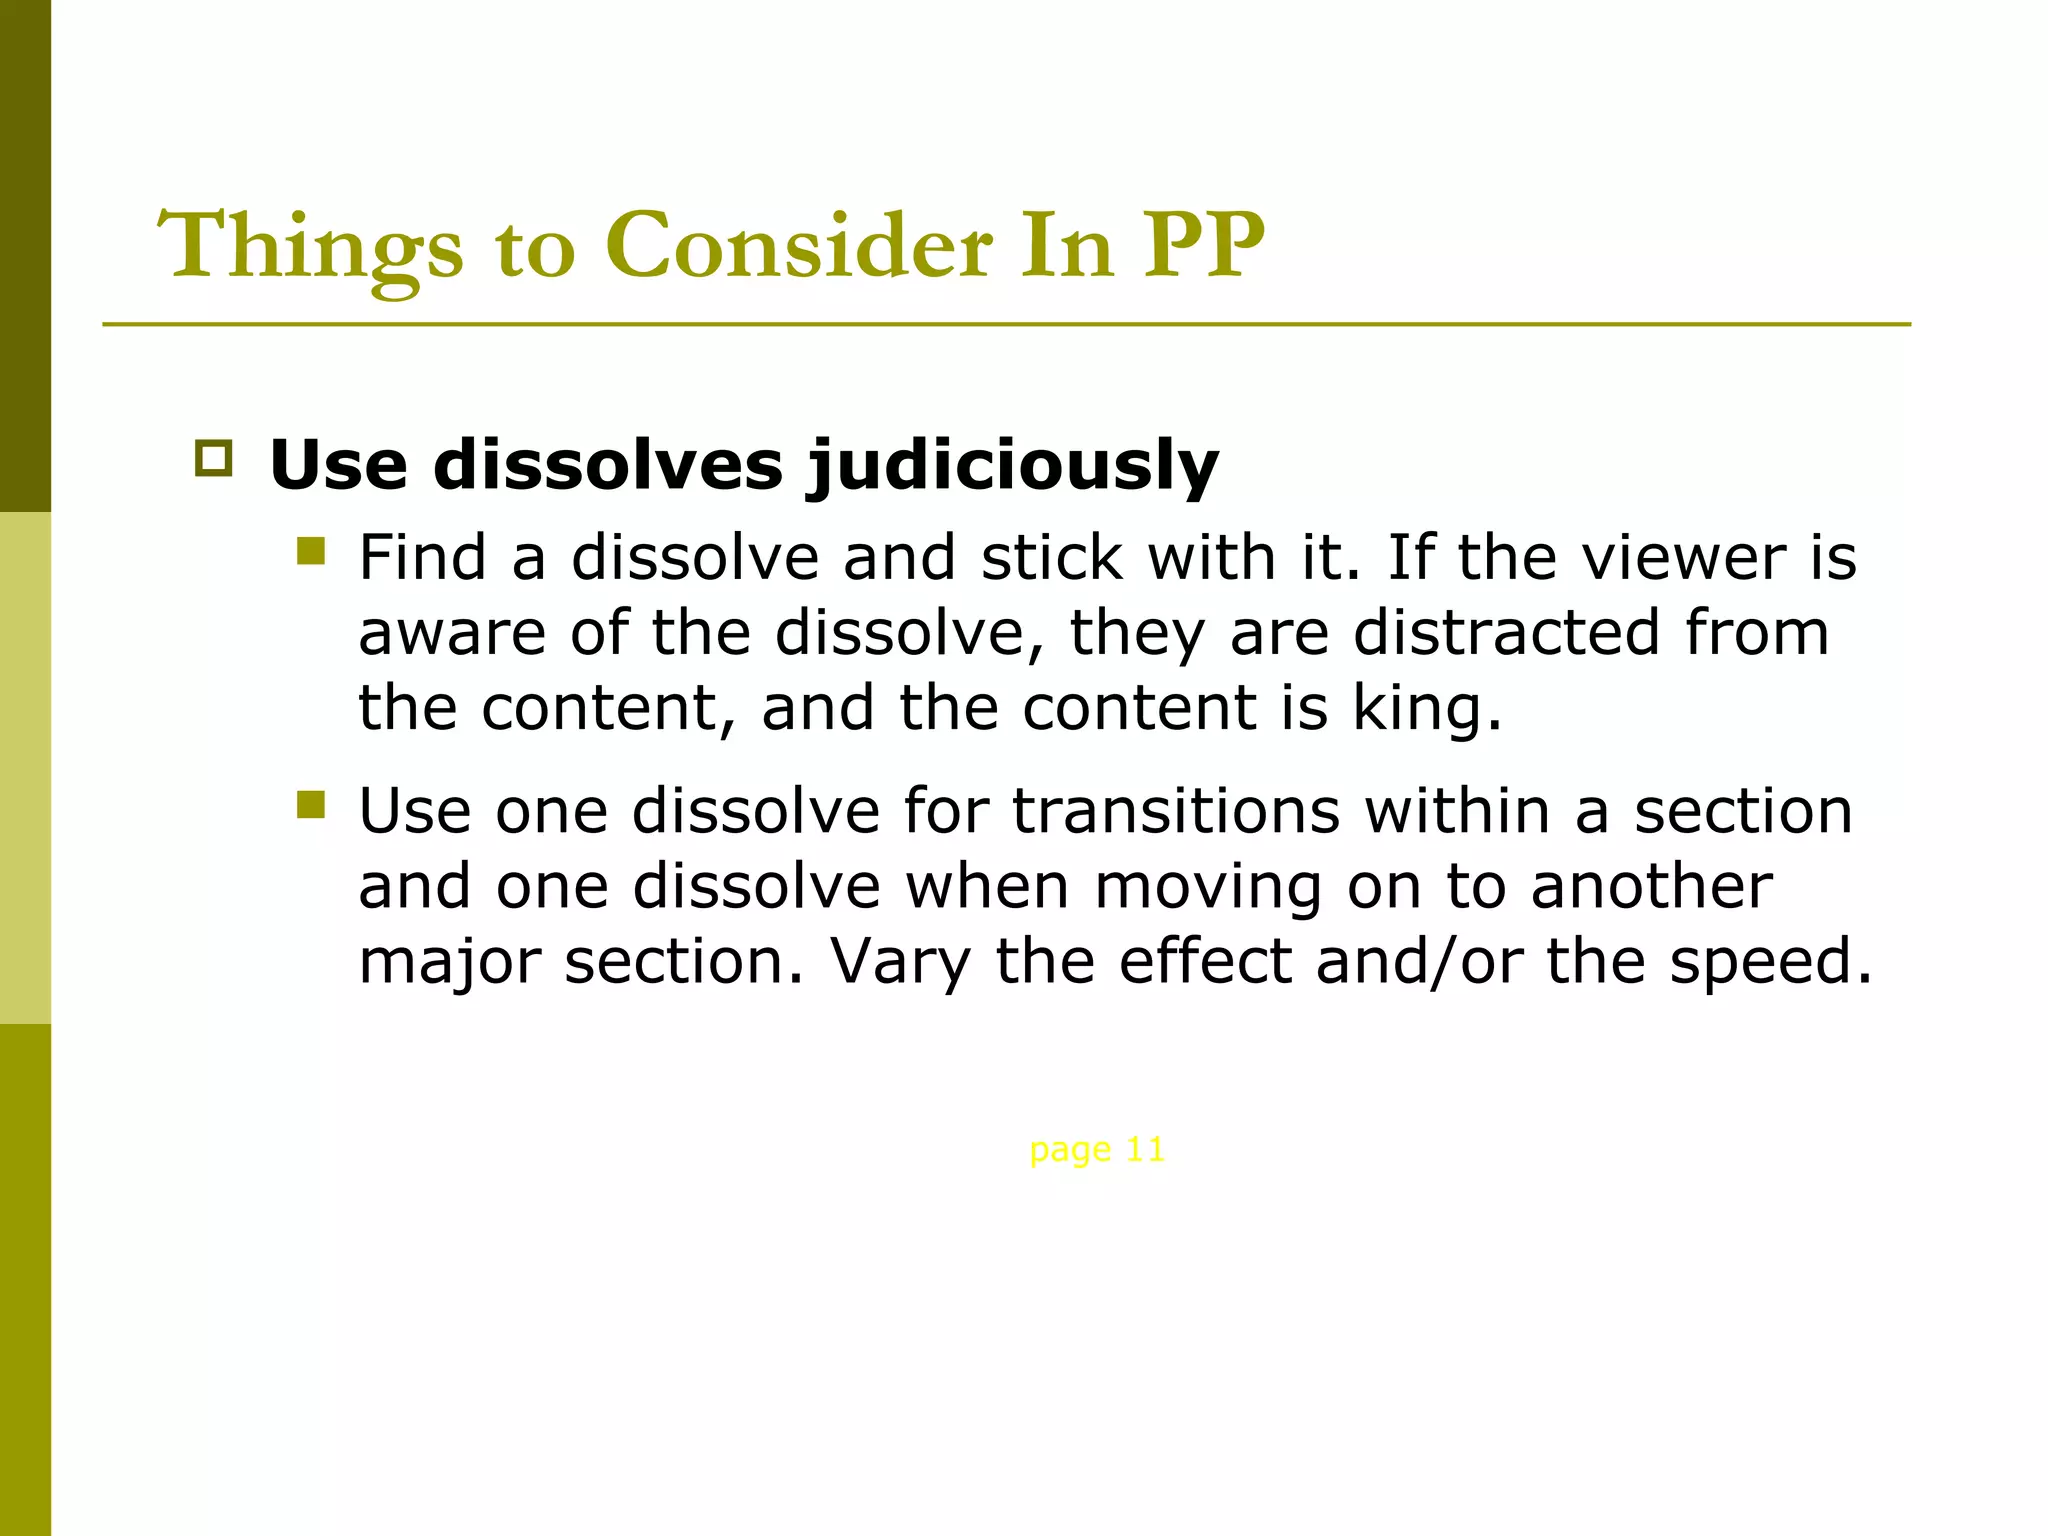
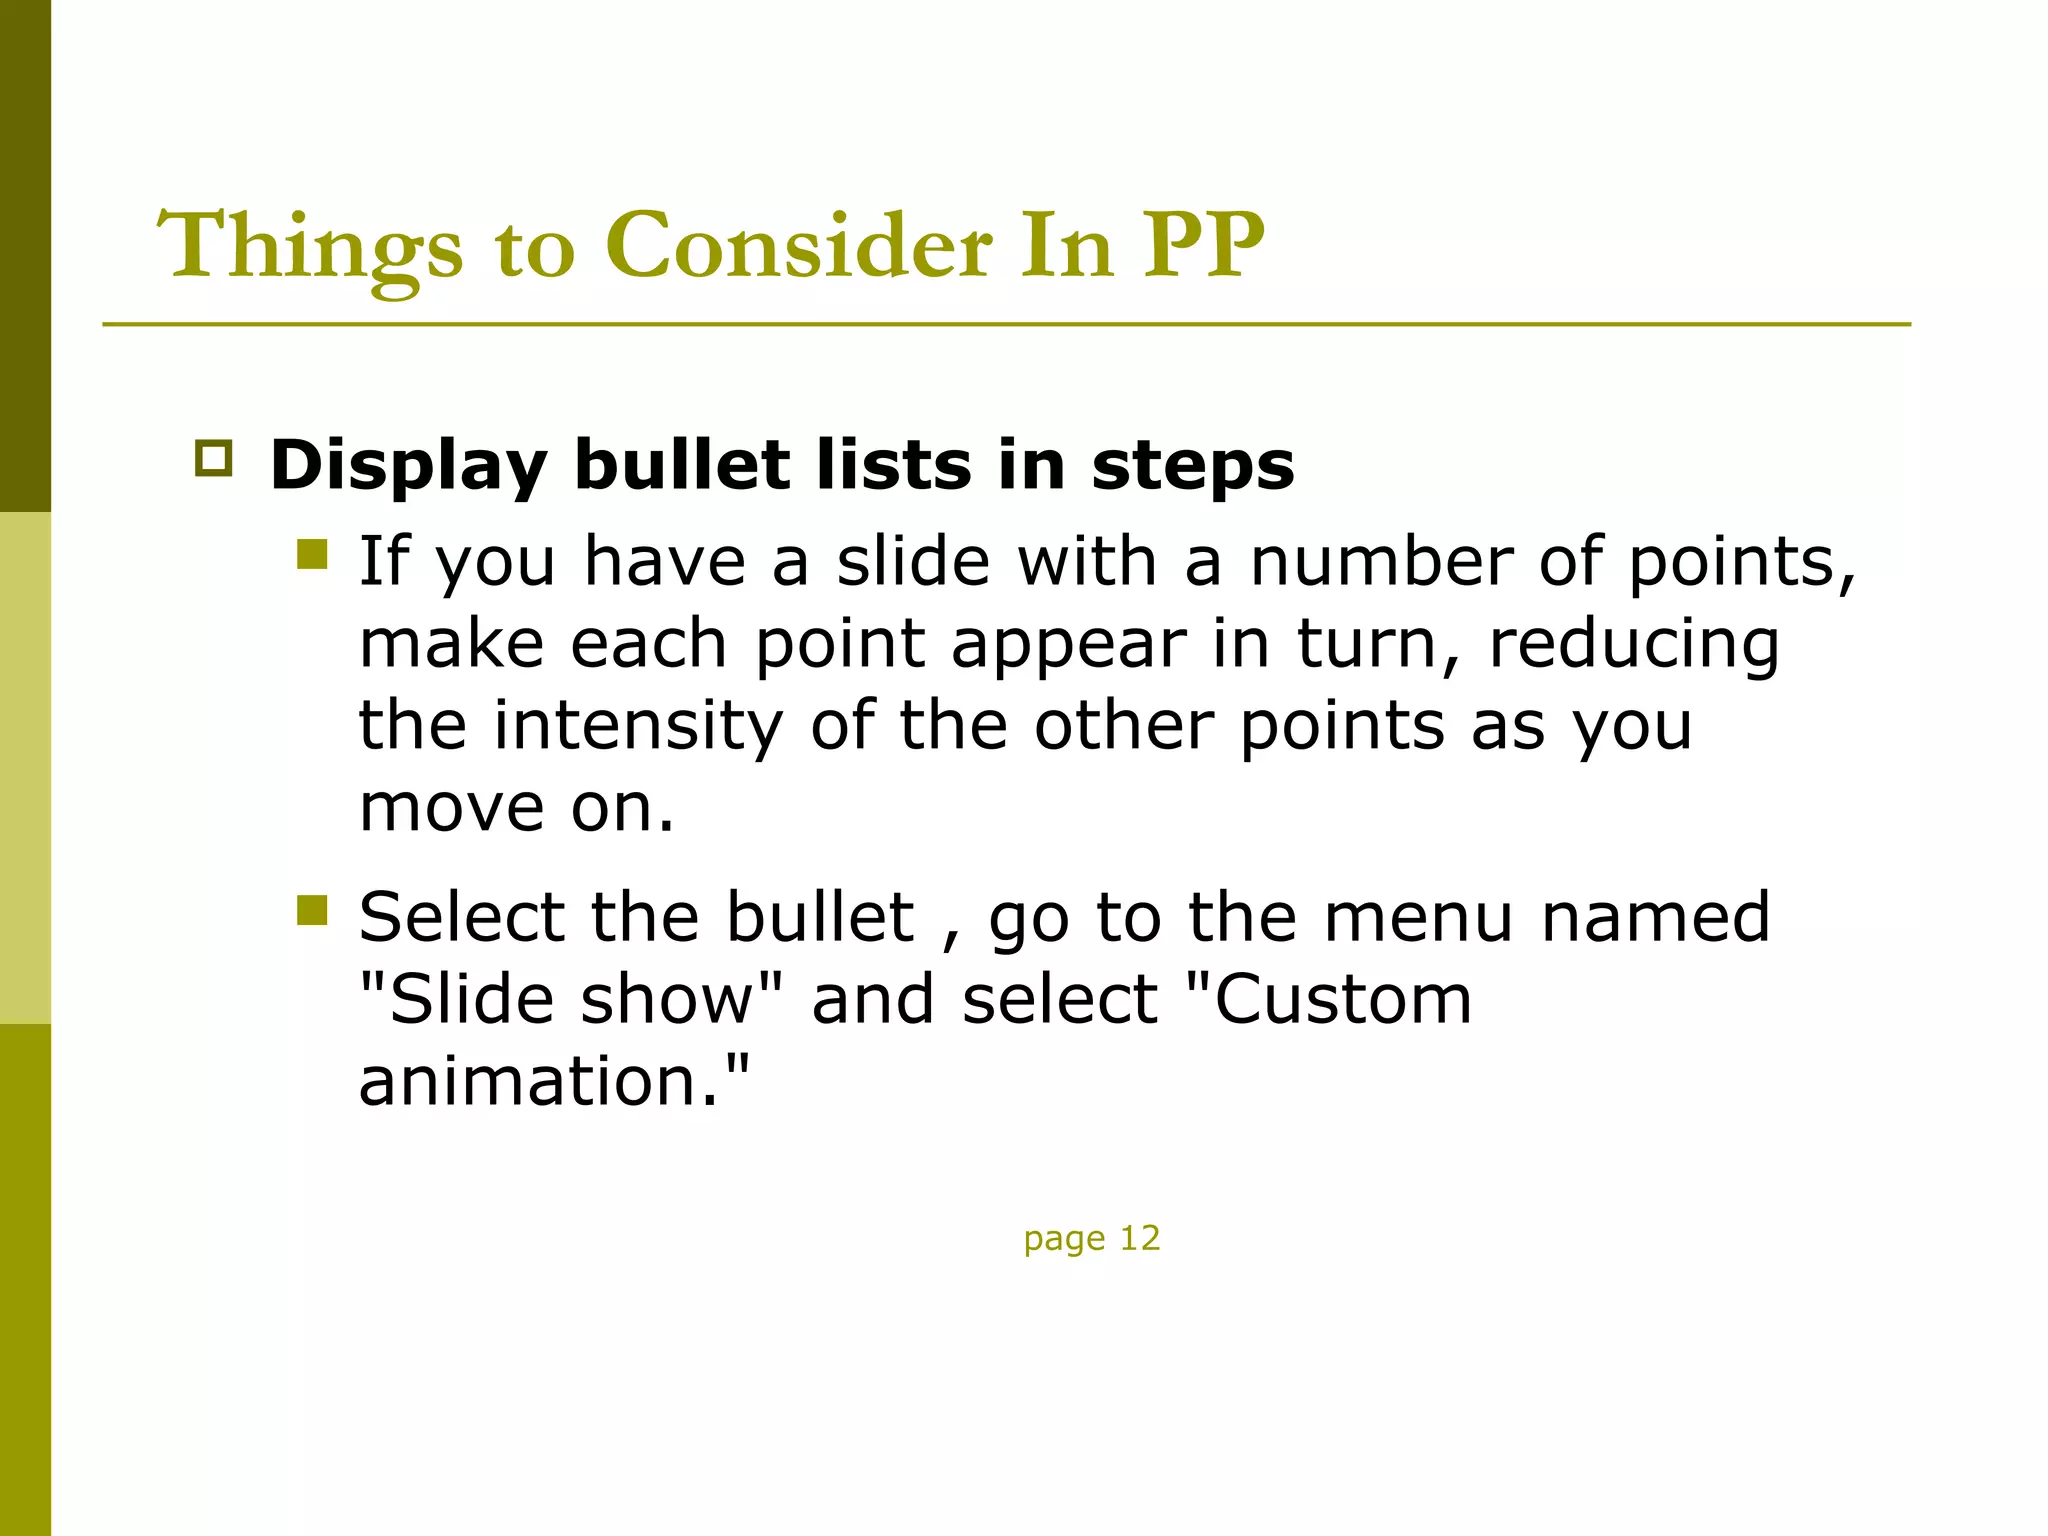
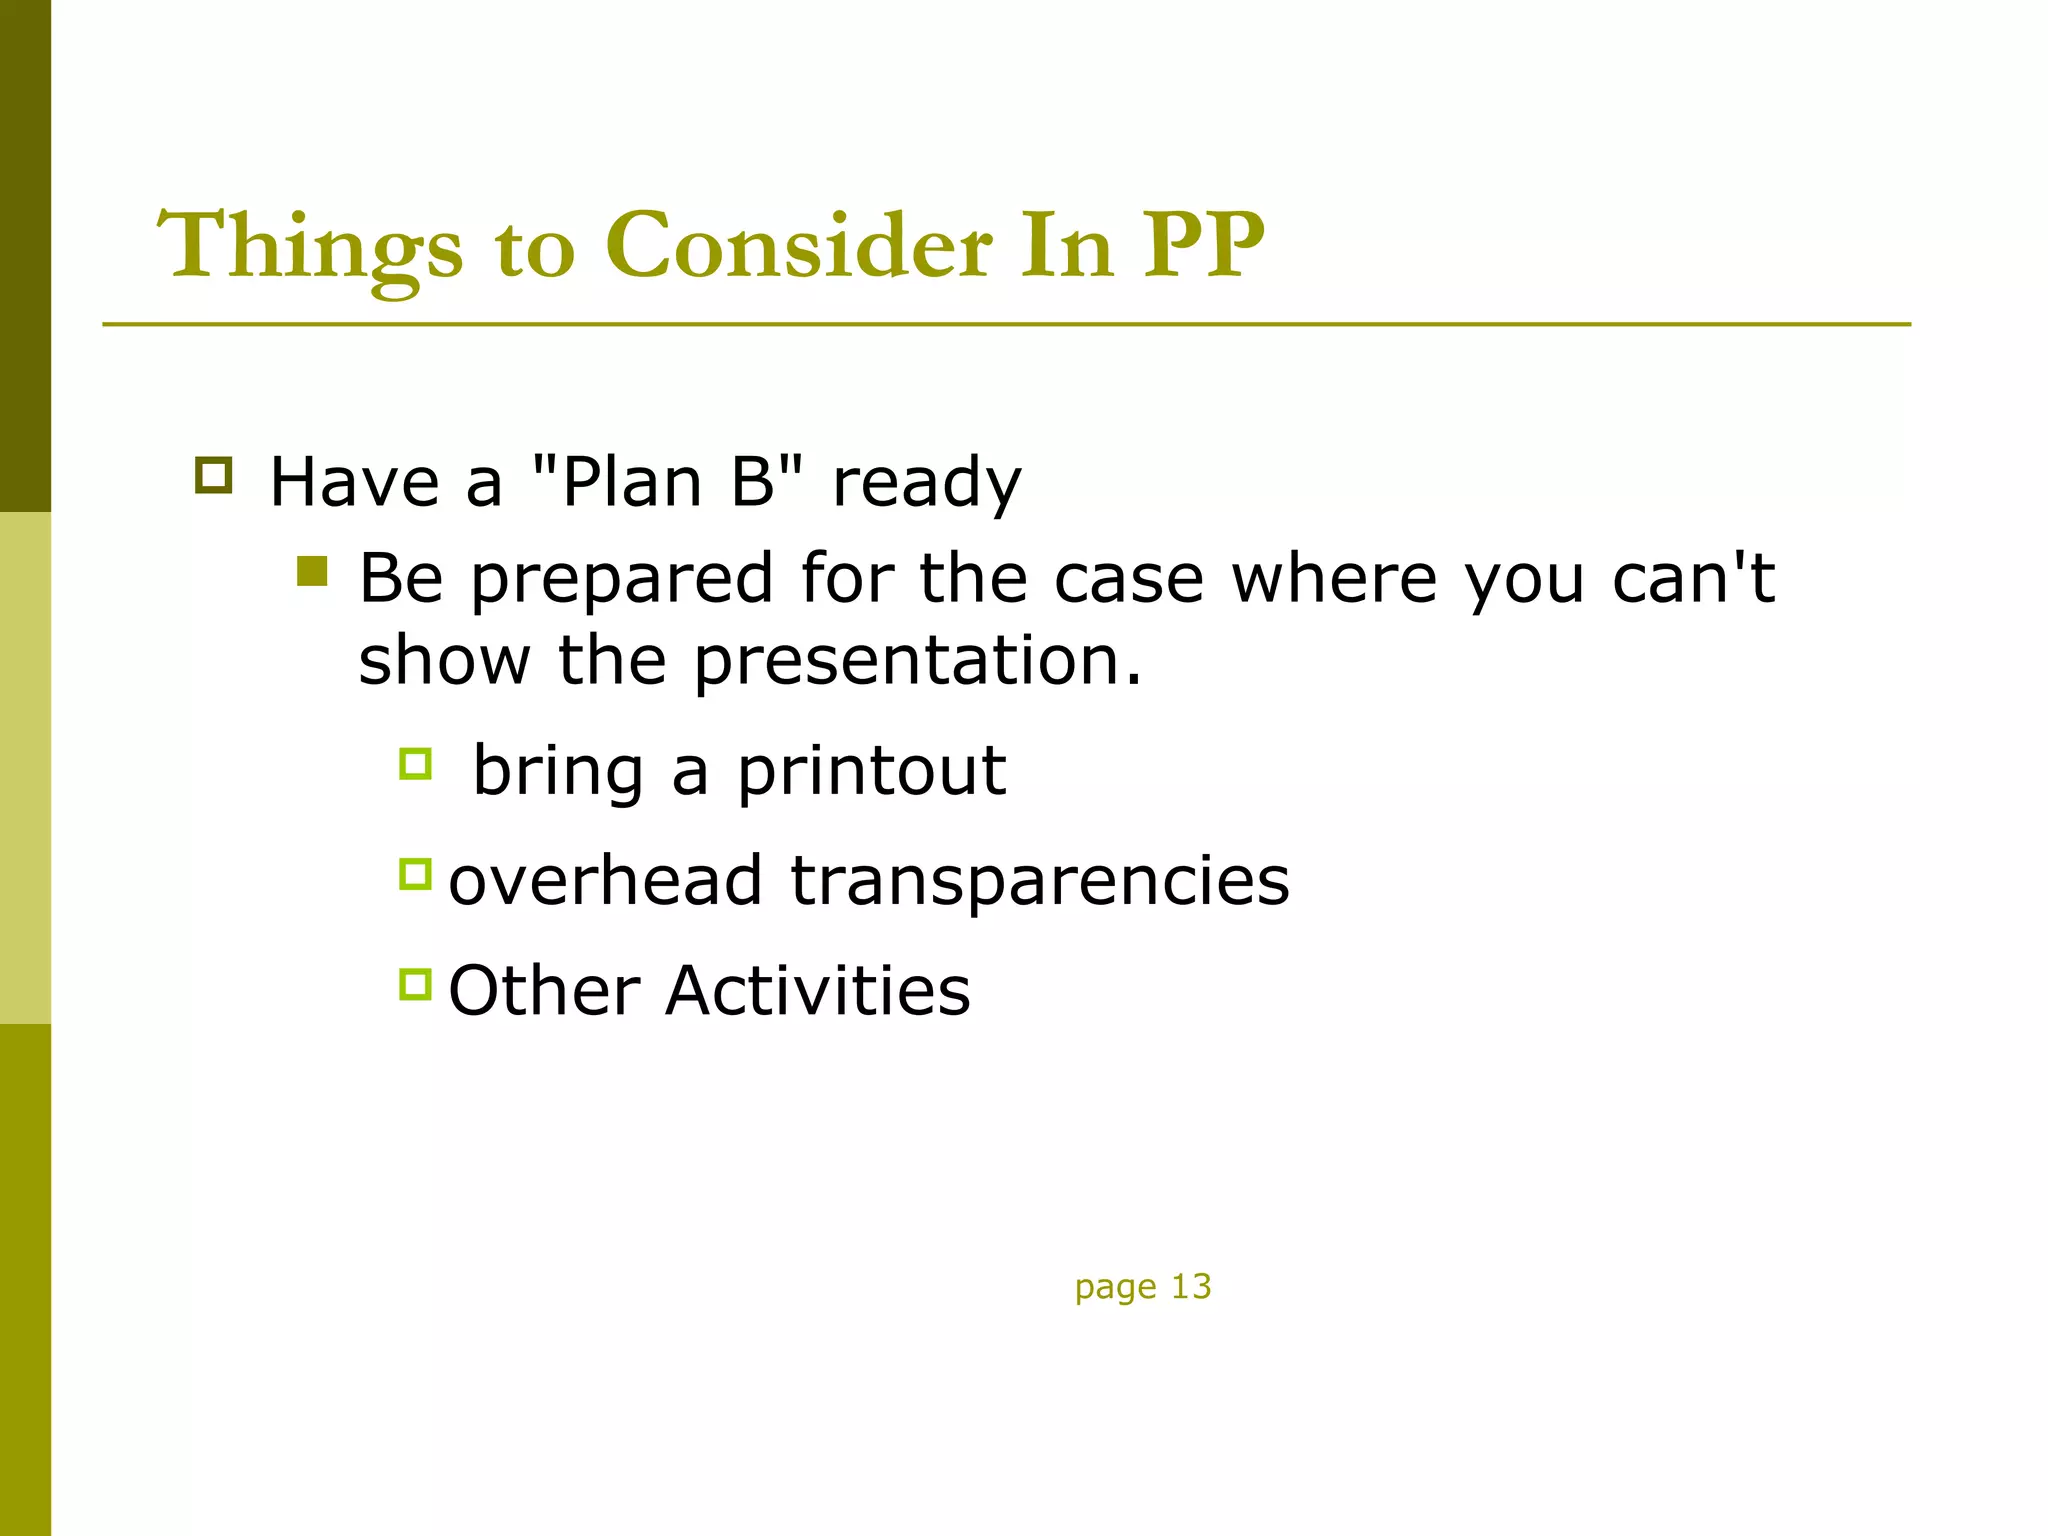
2D Software and Their Basic
       Applications
     Guilford County SciVis
            V104.05
Basic 2D Tools
   Select Tool – allows you to
    select an object or selection.


   Knife Tool – allows you to
    cut a selected object into
    two sections.
Basic 2D Tools

   Magnify or Zoom Tool –
    allows you to zoom in on an
    object so you can see the
    detail of the object.


   Text Tool – allows you to add
    text to the design.
Basic 2D Tools

   Fill Tool – allows you to fill a
    closed object with a fill. The fill
    may consist of a color pattern,
    bitmap, or other acceptable
    fill.

   Pan Tool – allows you to move
    the page around to view
    different parts of the layout.
    The object does not move.
Basic 2D Tools

   Eyedropper Tool – allows you
    to copy color or fill attributes
    from a selected object for
    further use.

   Gradient Tool – allows you to
    blend form one color to
    another. Linear gradients
    blend from one side toanther
    while radial gradients bland
    one color around another.
Basic 2D Tools

   Blend Tool – allows you to
    blend from one object to
    another with the number of
    steps chosen by the designer.

   Crop Tool – allows you to select
    specific area of an image and
    remove the unwanted parts of
    the image.
2D Drawing Techniques
    Students will be able to master and
     demonstrate the following 2D drawing
     techniques by the end of the course.
      Bezier curves
      Closed and open splines
      Control points
      Layering techniques
      Welding and grouping
      Contour effects
2D Drawing Techniques (cont.)
    Students will be able to master and
     demonstrate the following 2D drawing
     techniques by the end of the course.
      Working with a desktop
      Grids and snaps
      Brushes and brush effects
      Line thickness
      Rotation
      Transparency techniques
      Printing techniques
PowerPoint Techniques
   Students will be able to master and
    demonstrate the following PowerPoint
    techniques by the end of the course.
     Create slides.

     Use backgrounds and master slides.

     Insert images and movies from a file
       into slides.
     Include slide transitions.

     Navigate within slide views.

     Use the drawing tool bar effectively.

     Set up the PowerPoint show
       including timing
     Know your audience
PowerPoint Techniques
   Students will be able to master and
    demonstrate the following PowerPoint
    techniques by the end of the course.
      Use a common background on each slide. Be
       careful with pictures in backgrounds.
      Use the 6,6,6 rule.
         For example:

            no more than 6 lines
            6 bullets
            6 words in a sentence
PowerPoint Techniques (cont.)
   Students will be able to master and
    demonstrate the following PowerPoint
    techniques by the end of the course.
      No more than 2 images per page.
      Use white space properly.
      Follow the SAFE design methods.
      Follow the principles and elements of design.
      Use appropriate text size for slides.
PowerPoint Pointers
   What are the rules?
Things to Consider In PP
Presenting to the TV Generation
 State presentation's objective in one simple
  sentence.
   • Don't skimp on pictures--each one paints a
     thousand words.
   • Keep presentations moving along--one idea
     at a time.
   • Use color.
   • Consider it a compliment if people say
     presentation is too short.
                      page 1
Things to Consider In PP
 Creating the Outline (storyboard)
   • Organize flow of major thoughts and sub-
     points.
   • Keep text short and simple.
   • Use consistent grammatical structure.
   • Remove every unnecessary word.
   • Write to be heard. Make sure the material
     makes sense when you read it aloud.
                      page 2
Things to Consider In PP
  Backgrounds
    • Only use one per presentation.
    • For interest, add a subtle graphic and use a
      background with a graduated color.
    • Remember the correct color selection
    • Be careful of large images
    • Keep it simple
                        page 3
Things to Consider In PP
 Type
    •   Keep it simple and consistent.
    •   Use at most two fonts per presentation. Stick
        with one, if possible.
    •   Use bold type to improve readability.
    •   Use big type. Body text 18-22 points.
        Subtitles 24-28 points. Headlines 36 or more
    •   Check readability during development by
        stepping back 5-6 feet from you monitor.
                          page 4
Things to Consider In PP
 •   Drop shadows can help text stand out from
     the background.
 •   Provide space between the lines. Increase the
     "line spacing" and/or "paragraph spacing" so
     that the text is not too tightly packed. The
     viewer needs help going from the end of one
     line to the beginning of the next without
     getting lost.
 •   Use bullets, but consider using something
     other than a round dot. Some fonts offer
     alternatives.
 •   Only consider using all uppercase for a title if
     the title is one or two words.
                          page 5
Things to Consider In PP

 Color
   • In a dark room, use light type on a dark
     background.
   • In a well-lighted room, use dark type on
     a light background.
   • Be aware of human reactions to various
     colors.

                     page 6
Things to Consider In PP
 •   Red: Danger, Stop
 •   Dark Blue: Dignity
 •   Light blue: Cool energy, Calm
 •   Gray: Neutral, Mature
 •   Purple: Royal, mystery
 •   Green: Life, Health
 •   Orange/Yellow: Outgoing, Sunny
 •   White: (Use only for text on a dark
     background)
 •   Black: Serious
                         page 7
Things to Consider In PP

 Color
    • Contrasting colors help the eye focus.
    • Colors classify information. Be consistent.
    • No more than 4-5 colors on a chart.
    • No more than 10 colors in a presentation.
    • Subtle colors for large graphics.
    • Bright colors for small graphics.


                        page 8
Things to Consider In PP
   Match the presentation to the projector
     If the projector is 640x480 (standard VGA),
      make sure your presentation is the same
      size. If not, the right side and bottom of the
      presentation will be clipped from the screen.

                          page 9
Things to Consider In PP
   Toggle the lights
      Use PowerPoint to explain a concept, then
       turn on the lights to discuss the concept.
       Intersperse active learning activities with
       the usually passive PowerPoint activity.


                          page 10
Things to Consider In PP
   Use dissolves judiciously
       Find a dissolve and stick with it. If the viewer is
        aware of the dissolve, they are distracted from
        the content, and the content is king.
       Use one dissolve for transitions within a section
        and one dissolve when moving on to another
        major section. Vary the effect and/or the speed.

                              page 11
Things to Consider In PP
   Display bullet lists in steps
     If you have a slide with a number of points,
      make each point appear in turn, reducing
      the intensity of the other points as you
      move on.
       Select the bullet , go to the menu named
        "Slide show" and select "Custom
        animation."

                          page 12
Things to Consider In PP

   Have a "Plan B" ready
      Be prepared for the case where you can't
       show the presentation.
          bring a printout
        overhead    transparencies
        Other   Activities


                              page 13
References

      PowerPoint notes Bill Vilberg
       Instructional Advancement Center
       University of Miami Last updated
       10/22/99


      Greg Bandy, Multimedia Presentation
       Design for the Uninitiated

2 d software applications

  • 1.
    2D Software andTheir Basic Applications Guilford County SciVis V104.05
  • 2.
    Basic 2D Tools  Select Tool – allows you to select an object or selection.  Knife Tool – allows you to cut a selected object into two sections.
  • 3.
    Basic 2D Tools  Magnify or Zoom Tool – allows you to zoom in on an object so you can see the detail of the object.  Text Tool – allows you to add text to the design.
  • 4.
    Basic 2D Tools  Fill Tool – allows you to fill a closed object with a fill. The fill may consist of a color pattern, bitmap, or other acceptable fill.  Pan Tool – allows you to move the page around to view different parts of the layout. The object does not move.
  • 5.
    Basic 2D Tools  Eyedropper Tool – allows you to copy color or fill attributes from a selected object for further use.  Gradient Tool – allows you to blend form one color to another. Linear gradients blend from one side toanther while radial gradients bland one color around another.
  • 6.
    Basic 2D Tools  Blend Tool – allows you to blend from one object to another with the number of steps chosen by the designer.  Crop Tool – allows you to select specific area of an image and remove the unwanted parts of the image.
  • 7.
    2D Drawing Techniques  Students will be able to master and demonstrate the following 2D drawing techniques by the end of the course.  Bezier curves  Closed and open splines  Control points  Layering techniques  Welding and grouping  Contour effects
  • 8.
    2D Drawing Techniques(cont.)  Students will be able to master and demonstrate the following 2D drawing techniques by the end of the course.  Working with a desktop  Grids and snaps  Brushes and brush effects  Line thickness  Rotation  Transparency techniques  Printing techniques
  • 9.
    PowerPoint Techniques  Students will be able to master and demonstrate the following PowerPoint techniques by the end of the course.  Create slides.  Use backgrounds and master slides.  Insert images and movies from a file into slides.  Include slide transitions.  Navigate within slide views.  Use the drawing tool bar effectively.  Set up the PowerPoint show including timing  Know your audience
  • 10.
    PowerPoint Techniques  Students will be able to master and demonstrate the following PowerPoint techniques by the end of the course.  Use a common background on each slide. Be careful with pictures in backgrounds.  Use the 6,6,6 rule.  For example:  no more than 6 lines  6 bullets  6 words in a sentence
  • 11.
    PowerPoint Techniques (cont.)  Students will be able to master and demonstrate the following PowerPoint techniques by the end of the course.  No more than 2 images per page.  Use white space properly.  Follow the SAFE design methods.  Follow the principles and elements of design.  Use appropriate text size for slides.
  • 12.
    PowerPoint Pointers What are the rules?
  • 13.
    Things to ConsiderIn PP Presenting to the TV Generation  State presentation's objective in one simple sentence. • Don't skimp on pictures--each one paints a thousand words. • Keep presentations moving along--one idea at a time. • Use color. • Consider it a compliment if people say presentation is too short. page 1
  • 14.
    Things to ConsiderIn PP Creating the Outline (storyboard) • Organize flow of major thoughts and sub- points. • Keep text short and simple. • Use consistent grammatical structure. • Remove every unnecessary word. • Write to be heard. Make sure the material makes sense when you read it aloud. page 2
  • 15.
    Things to ConsiderIn PP Backgrounds • Only use one per presentation. • For interest, add a subtle graphic and use a background with a graduated color. • Remember the correct color selection • Be careful of large images • Keep it simple page 3
  • 16.
    Things to ConsiderIn PP Type • Keep it simple and consistent. • Use at most two fonts per presentation. Stick with one, if possible. • Use bold type to improve readability. • Use big type. Body text 18-22 points. Subtitles 24-28 points. Headlines 36 or more • Check readability during development by stepping back 5-6 feet from you monitor. page 4
  • 17.
    Things to ConsiderIn PP • Drop shadows can help text stand out from the background. • Provide space between the lines. Increase the "line spacing" and/or "paragraph spacing" so that the text is not too tightly packed. The viewer needs help going from the end of one line to the beginning of the next without getting lost. • Use bullets, but consider using something other than a round dot. Some fonts offer alternatives. • Only consider using all uppercase for a title if the title is one or two words. page 5
  • 18.
    Things to ConsiderIn PP Color • In a dark room, use light type on a dark background. • In a well-lighted room, use dark type on a light background. • Be aware of human reactions to various colors. page 6
  • 19.
    Things to ConsiderIn PP • Red: Danger, Stop • Dark Blue: Dignity • Light blue: Cool energy, Calm • Gray: Neutral, Mature • Purple: Royal, mystery • Green: Life, Health • Orange/Yellow: Outgoing, Sunny • White: (Use only for text on a dark background) • Black: Serious page 7
  • 20.
    Things to ConsiderIn PP Color • Contrasting colors help the eye focus. • Colors classify information. Be consistent. • No more than 4-5 colors on a chart. • No more than 10 colors in a presentation. • Subtle colors for large graphics. • Bright colors for small graphics. page 8
  • 21.
    Things to ConsiderIn PP  Match the presentation to the projector  If the projector is 640x480 (standard VGA), make sure your presentation is the same size. If not, the right side and bottom of the presentation will be clipped from the screen. page 9
  • 22.
    Things to ConsiderIn PP  Toggle the lights  Use PowerPoint to explain a concept, then turn on the lights to discuss the concept. Intersperse active learning activities with the usually passive PowerPoint activity. page 10
  • 23.
    Things to ConsiderIn PP  Use dissolves judiciously  Find a dissolve and stick with it. If the viewer is aware of the dissolve, they are distracted from the content, and the content is king.  Use one dissolve for transitions within a section and one dissolve when moving on to another major section. Vary the effect and/or the speed. page 11
  • 24.
    Things to ConsiderIn PP  Display bullet lists in steps  If you have a slide with a number of points, make each point appear in turn, reducing the intensity of the other points as you move on.  Select the bullet , go to the menu named "Slide show" and select "Custom animation." page 12
  • 25.
    Things to ConsiderIn PP  Have a "Plan B" ready  Be prepared for the case where you can't show the presentation.  bring a printout  overhead transparencies  Other Activities page 13
  • 26.
    References  PowerPoint notes Bill Vilberg Instructional Advancement Center University of Miami Last updated 10/22/99  Greg Bandy, Multimedia Presentation Design for the Uninitiated