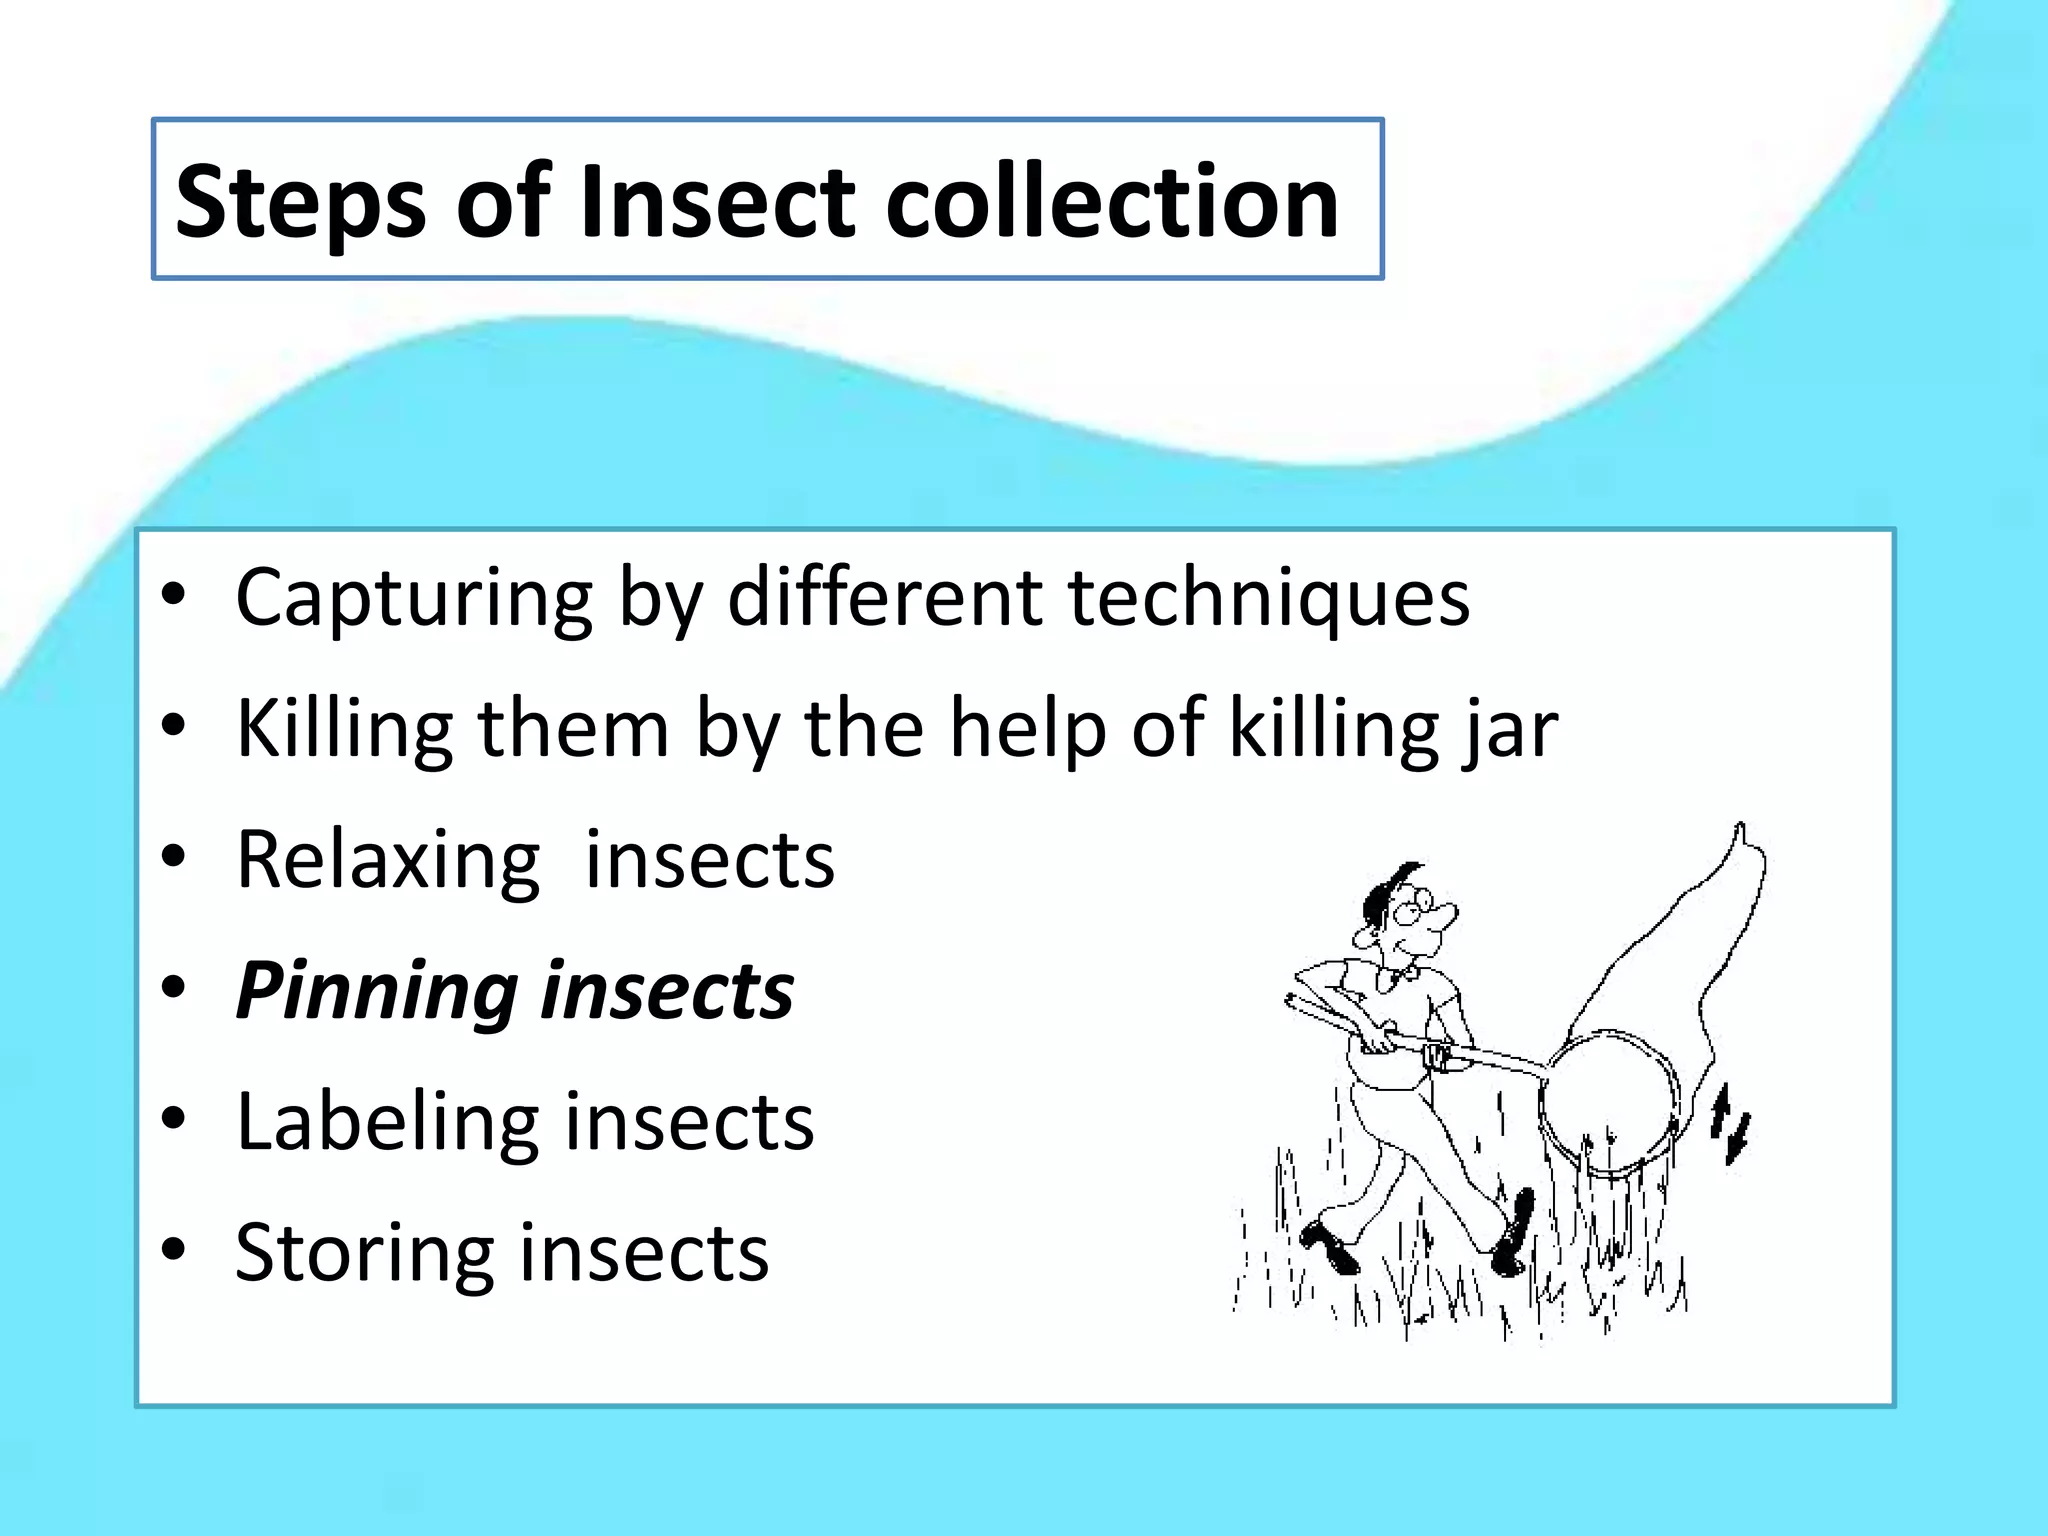
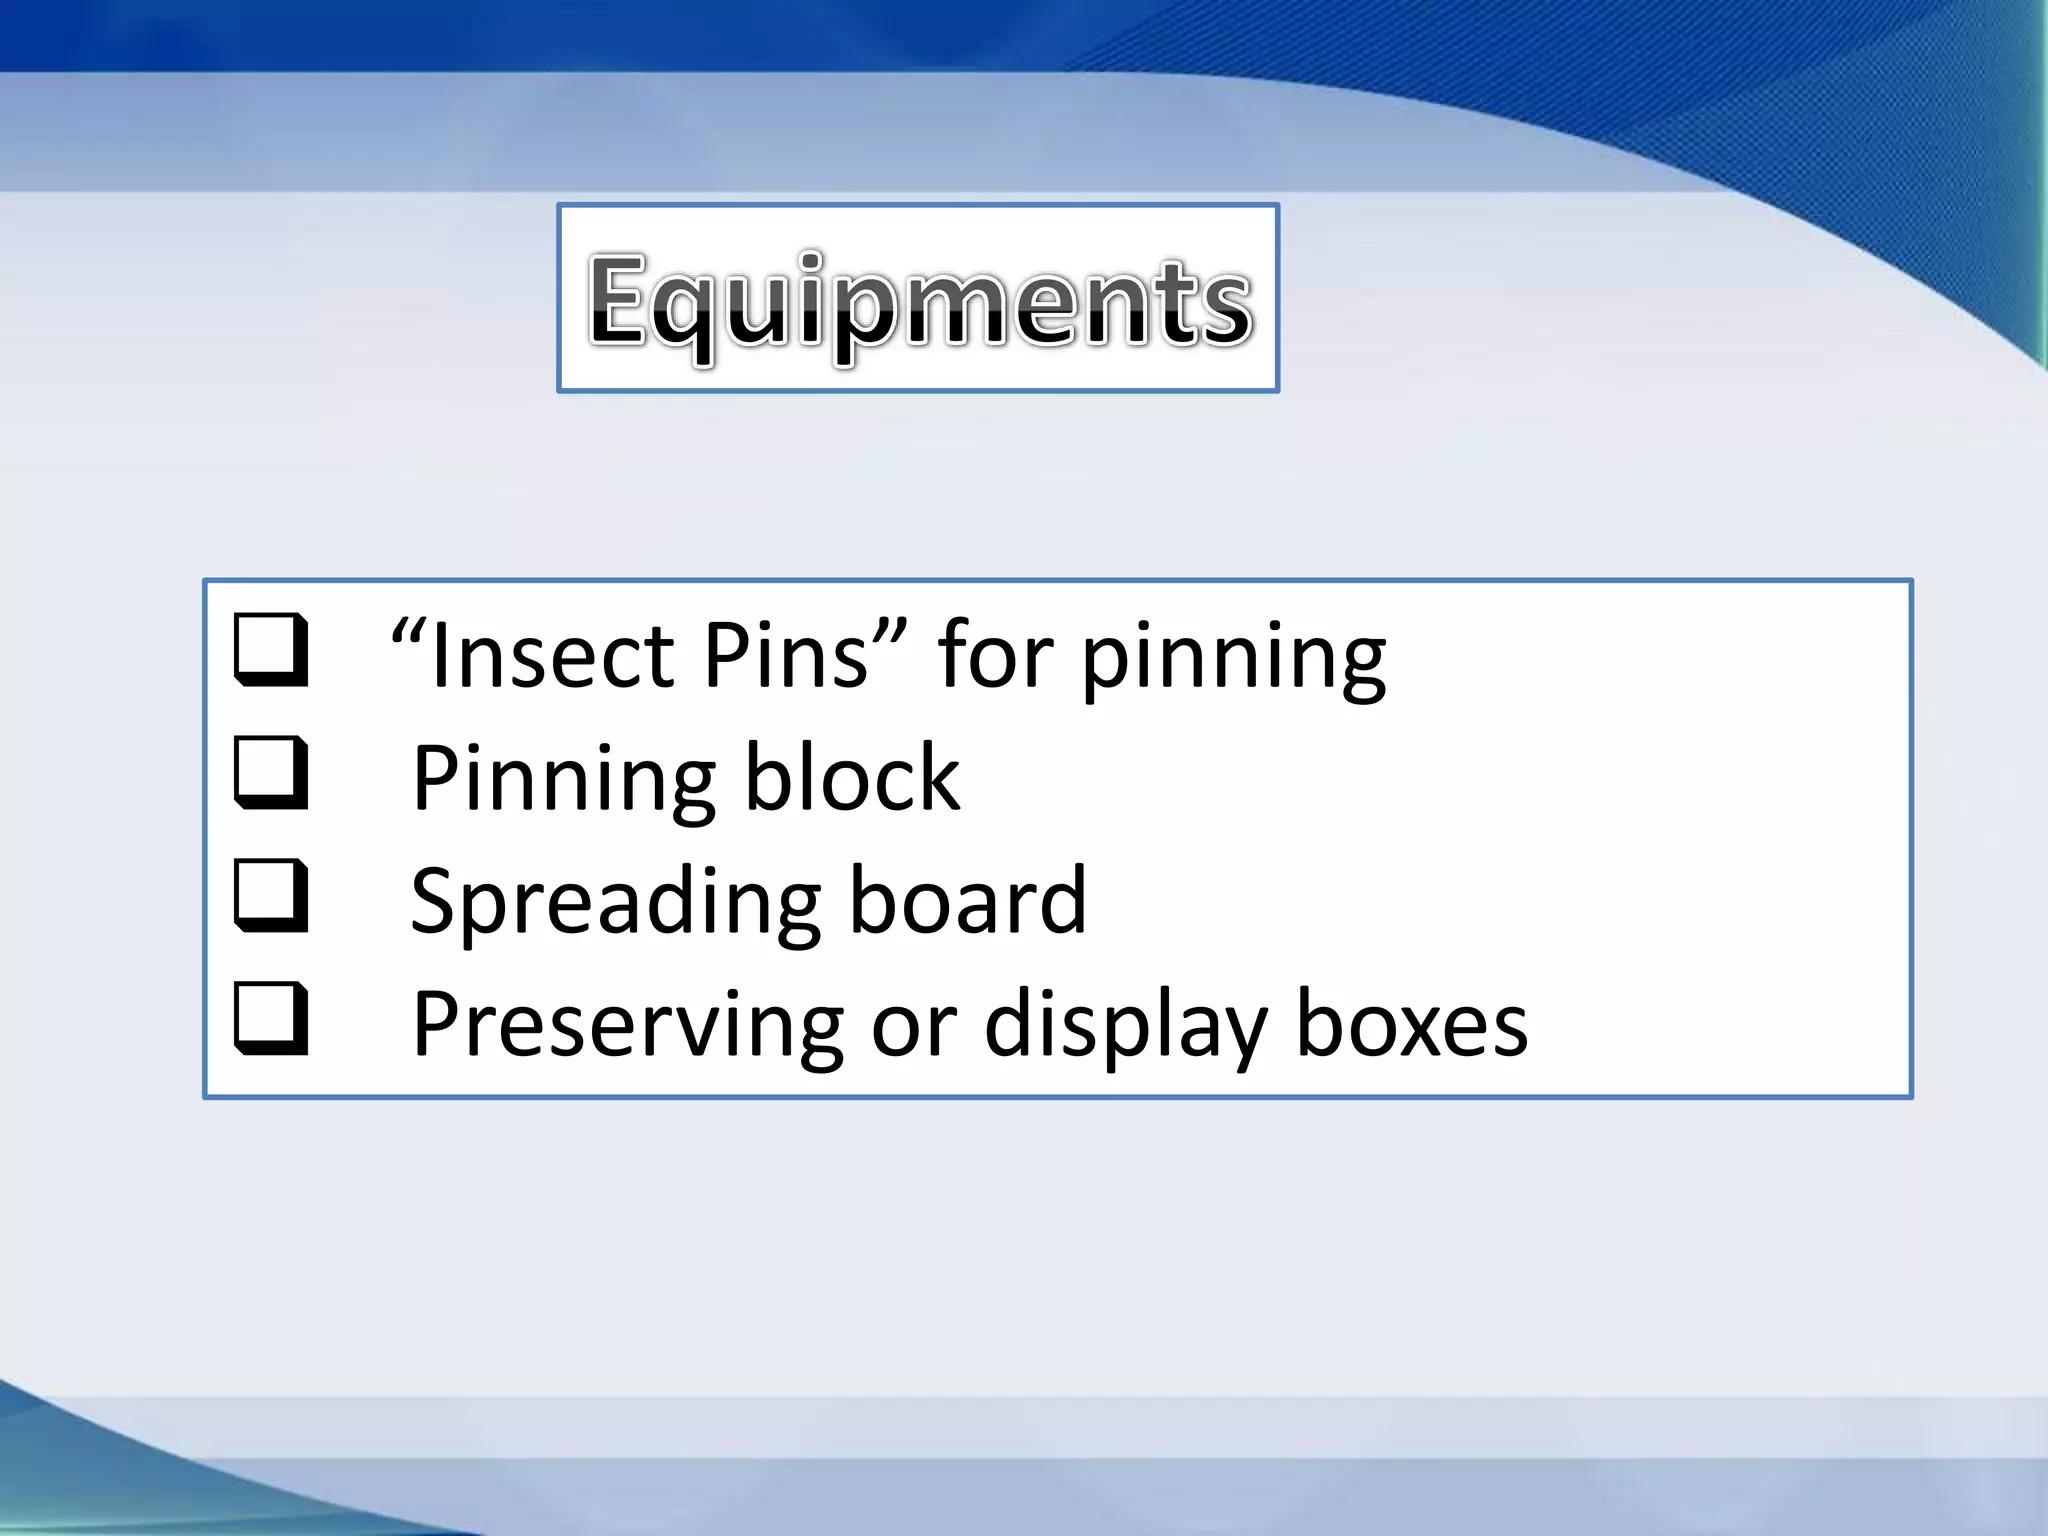
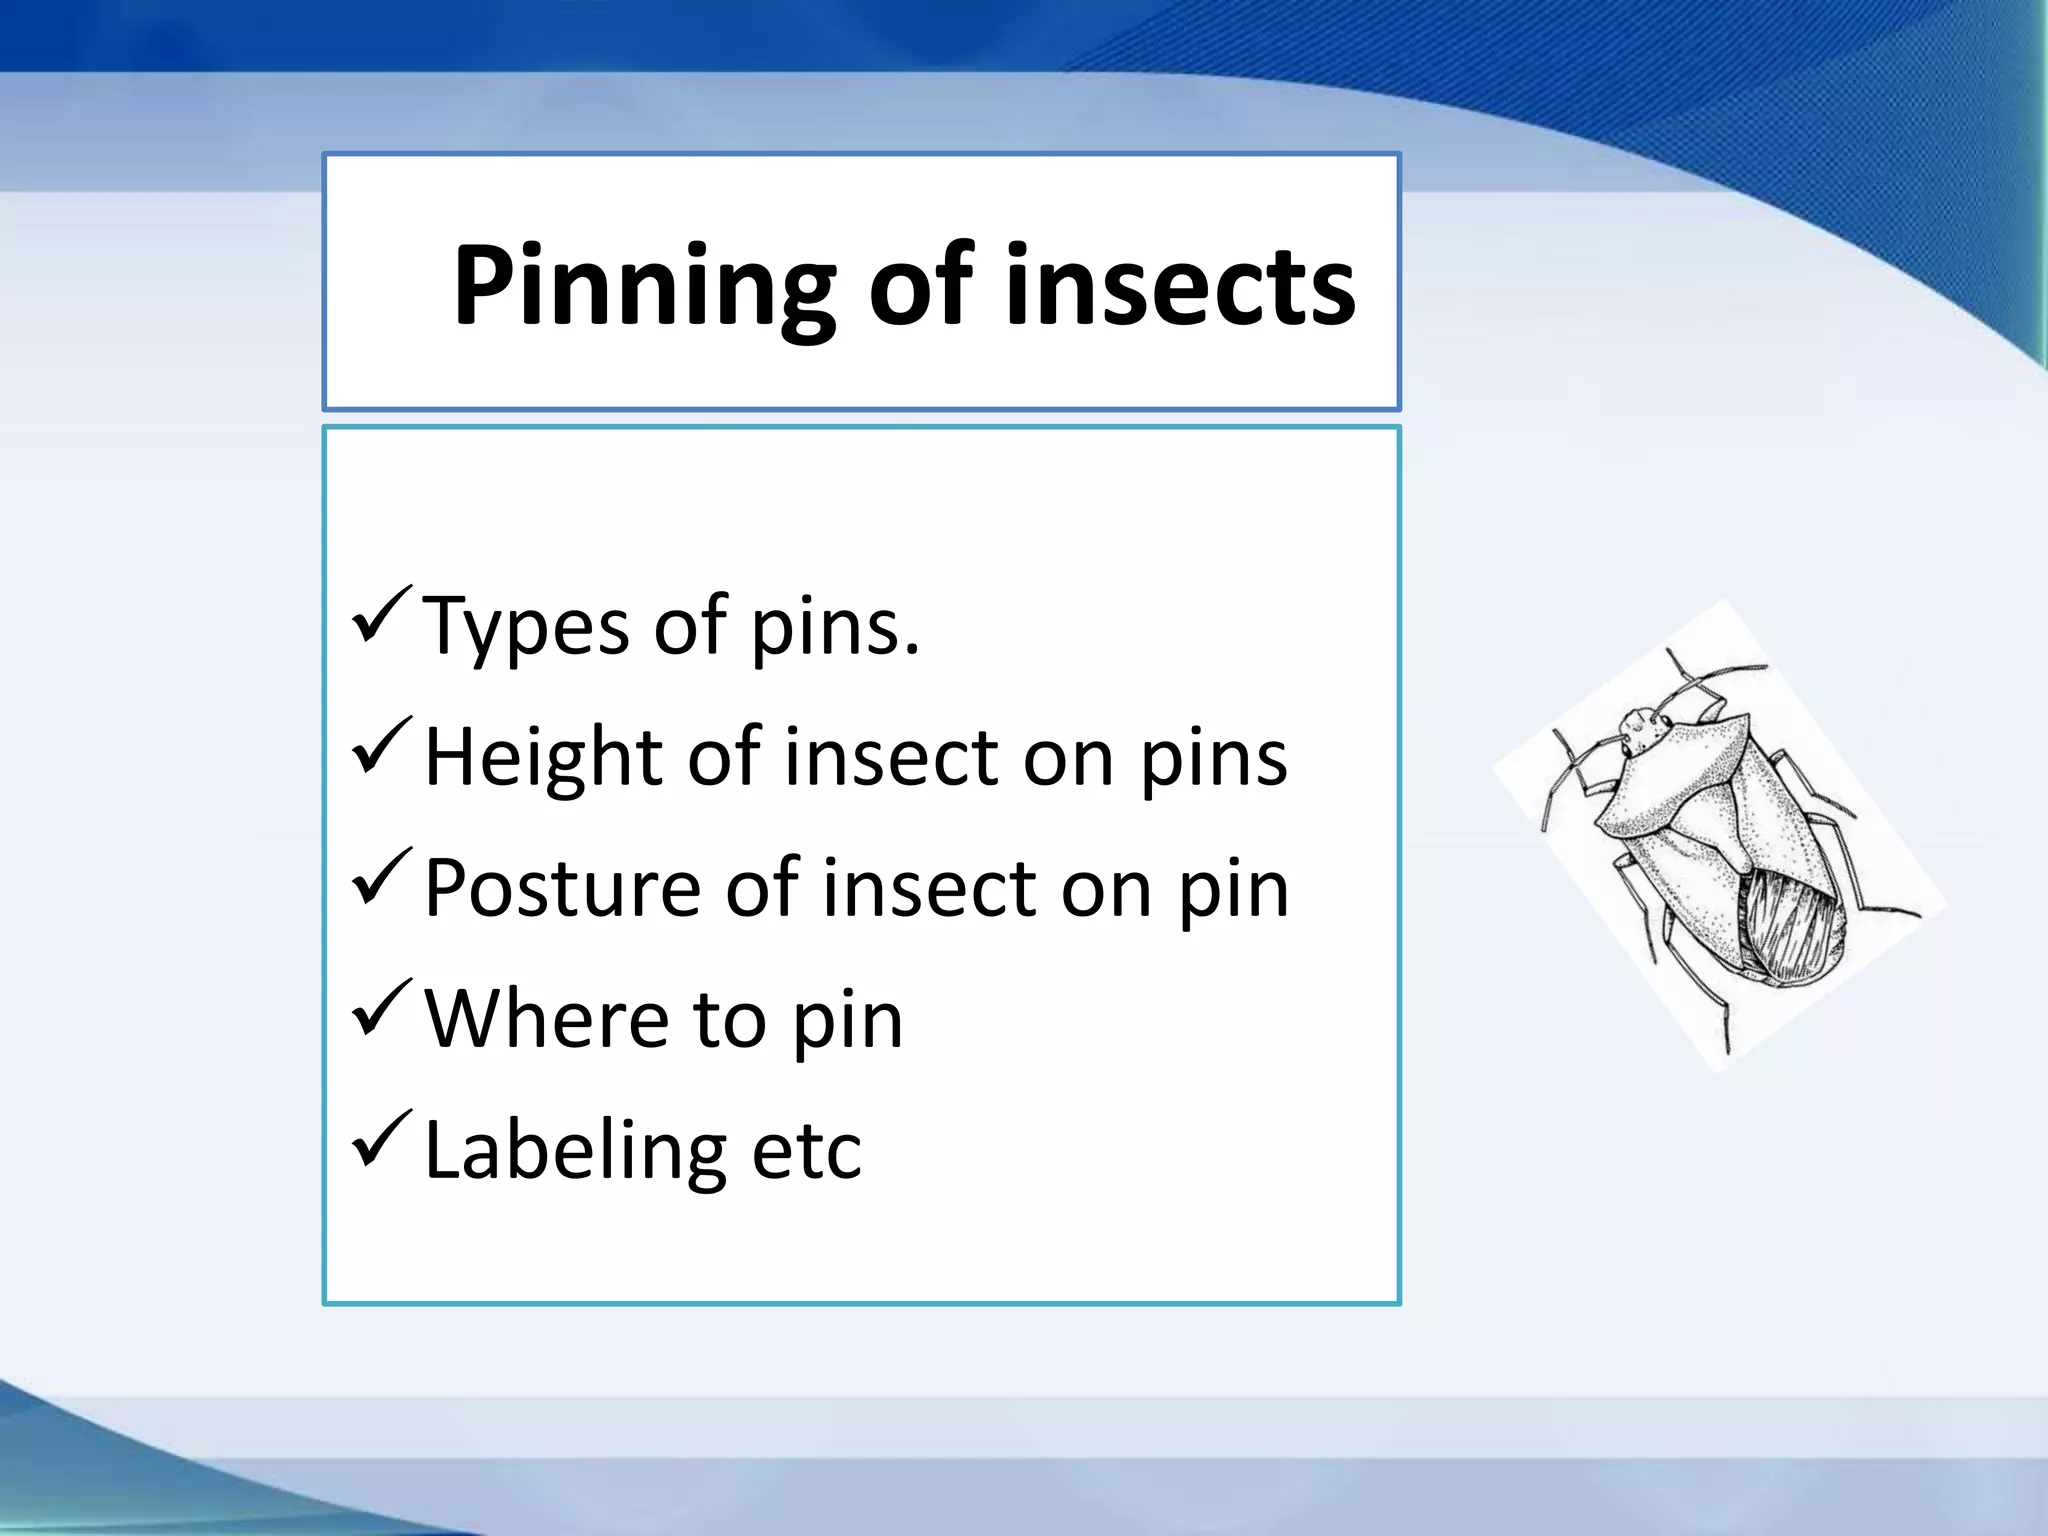
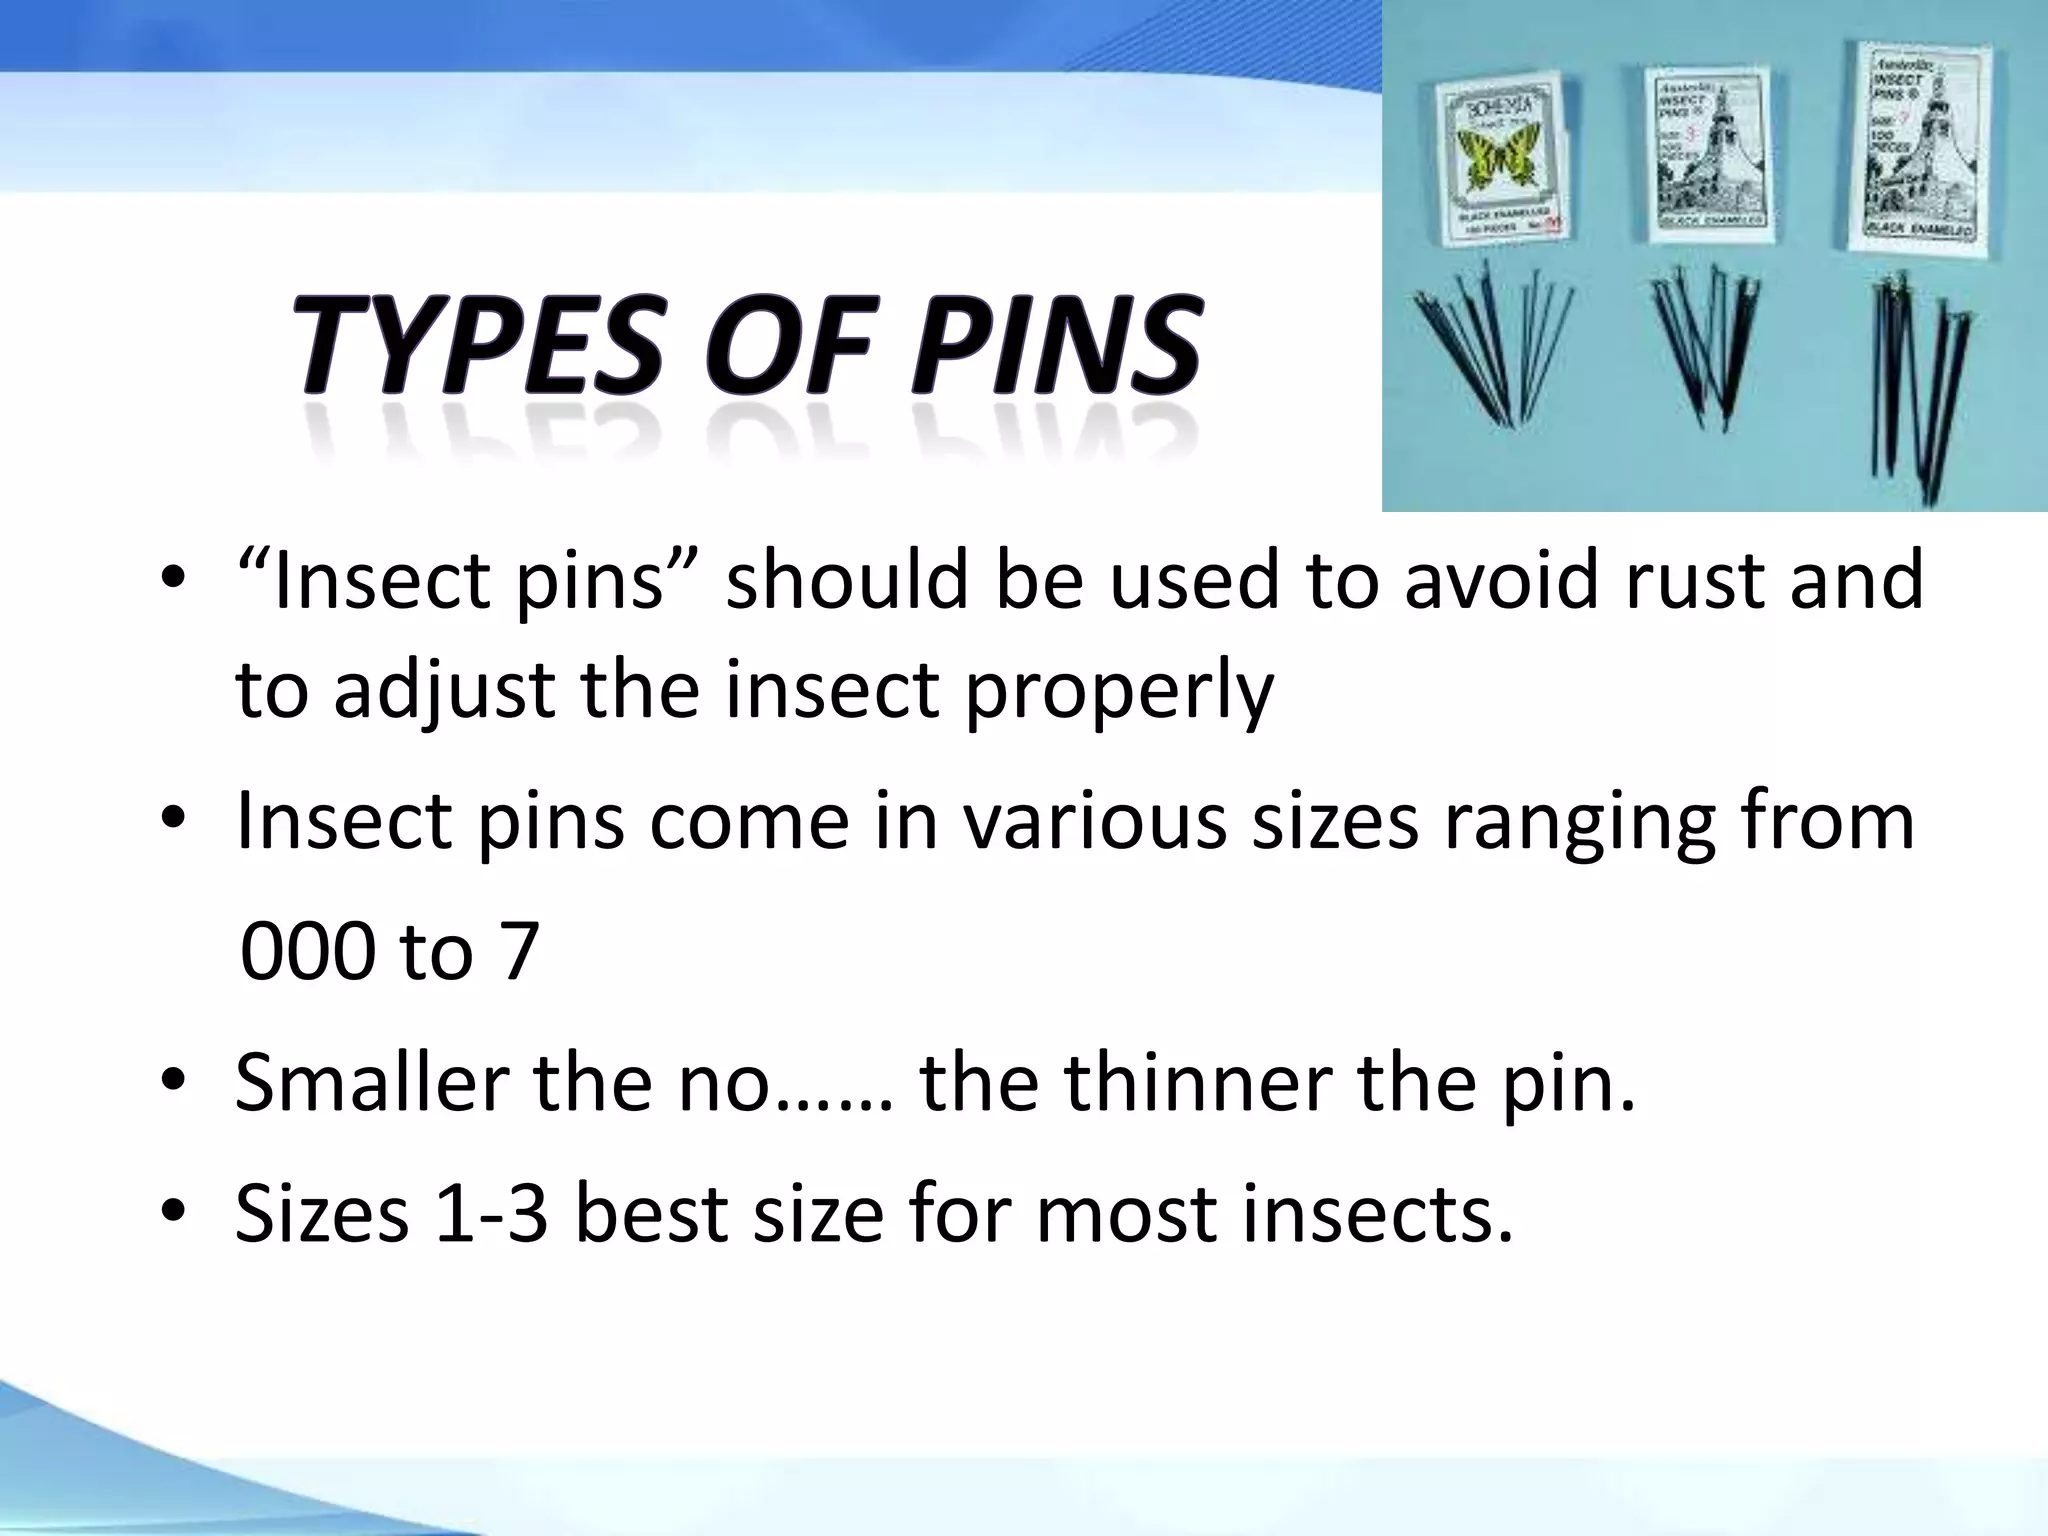
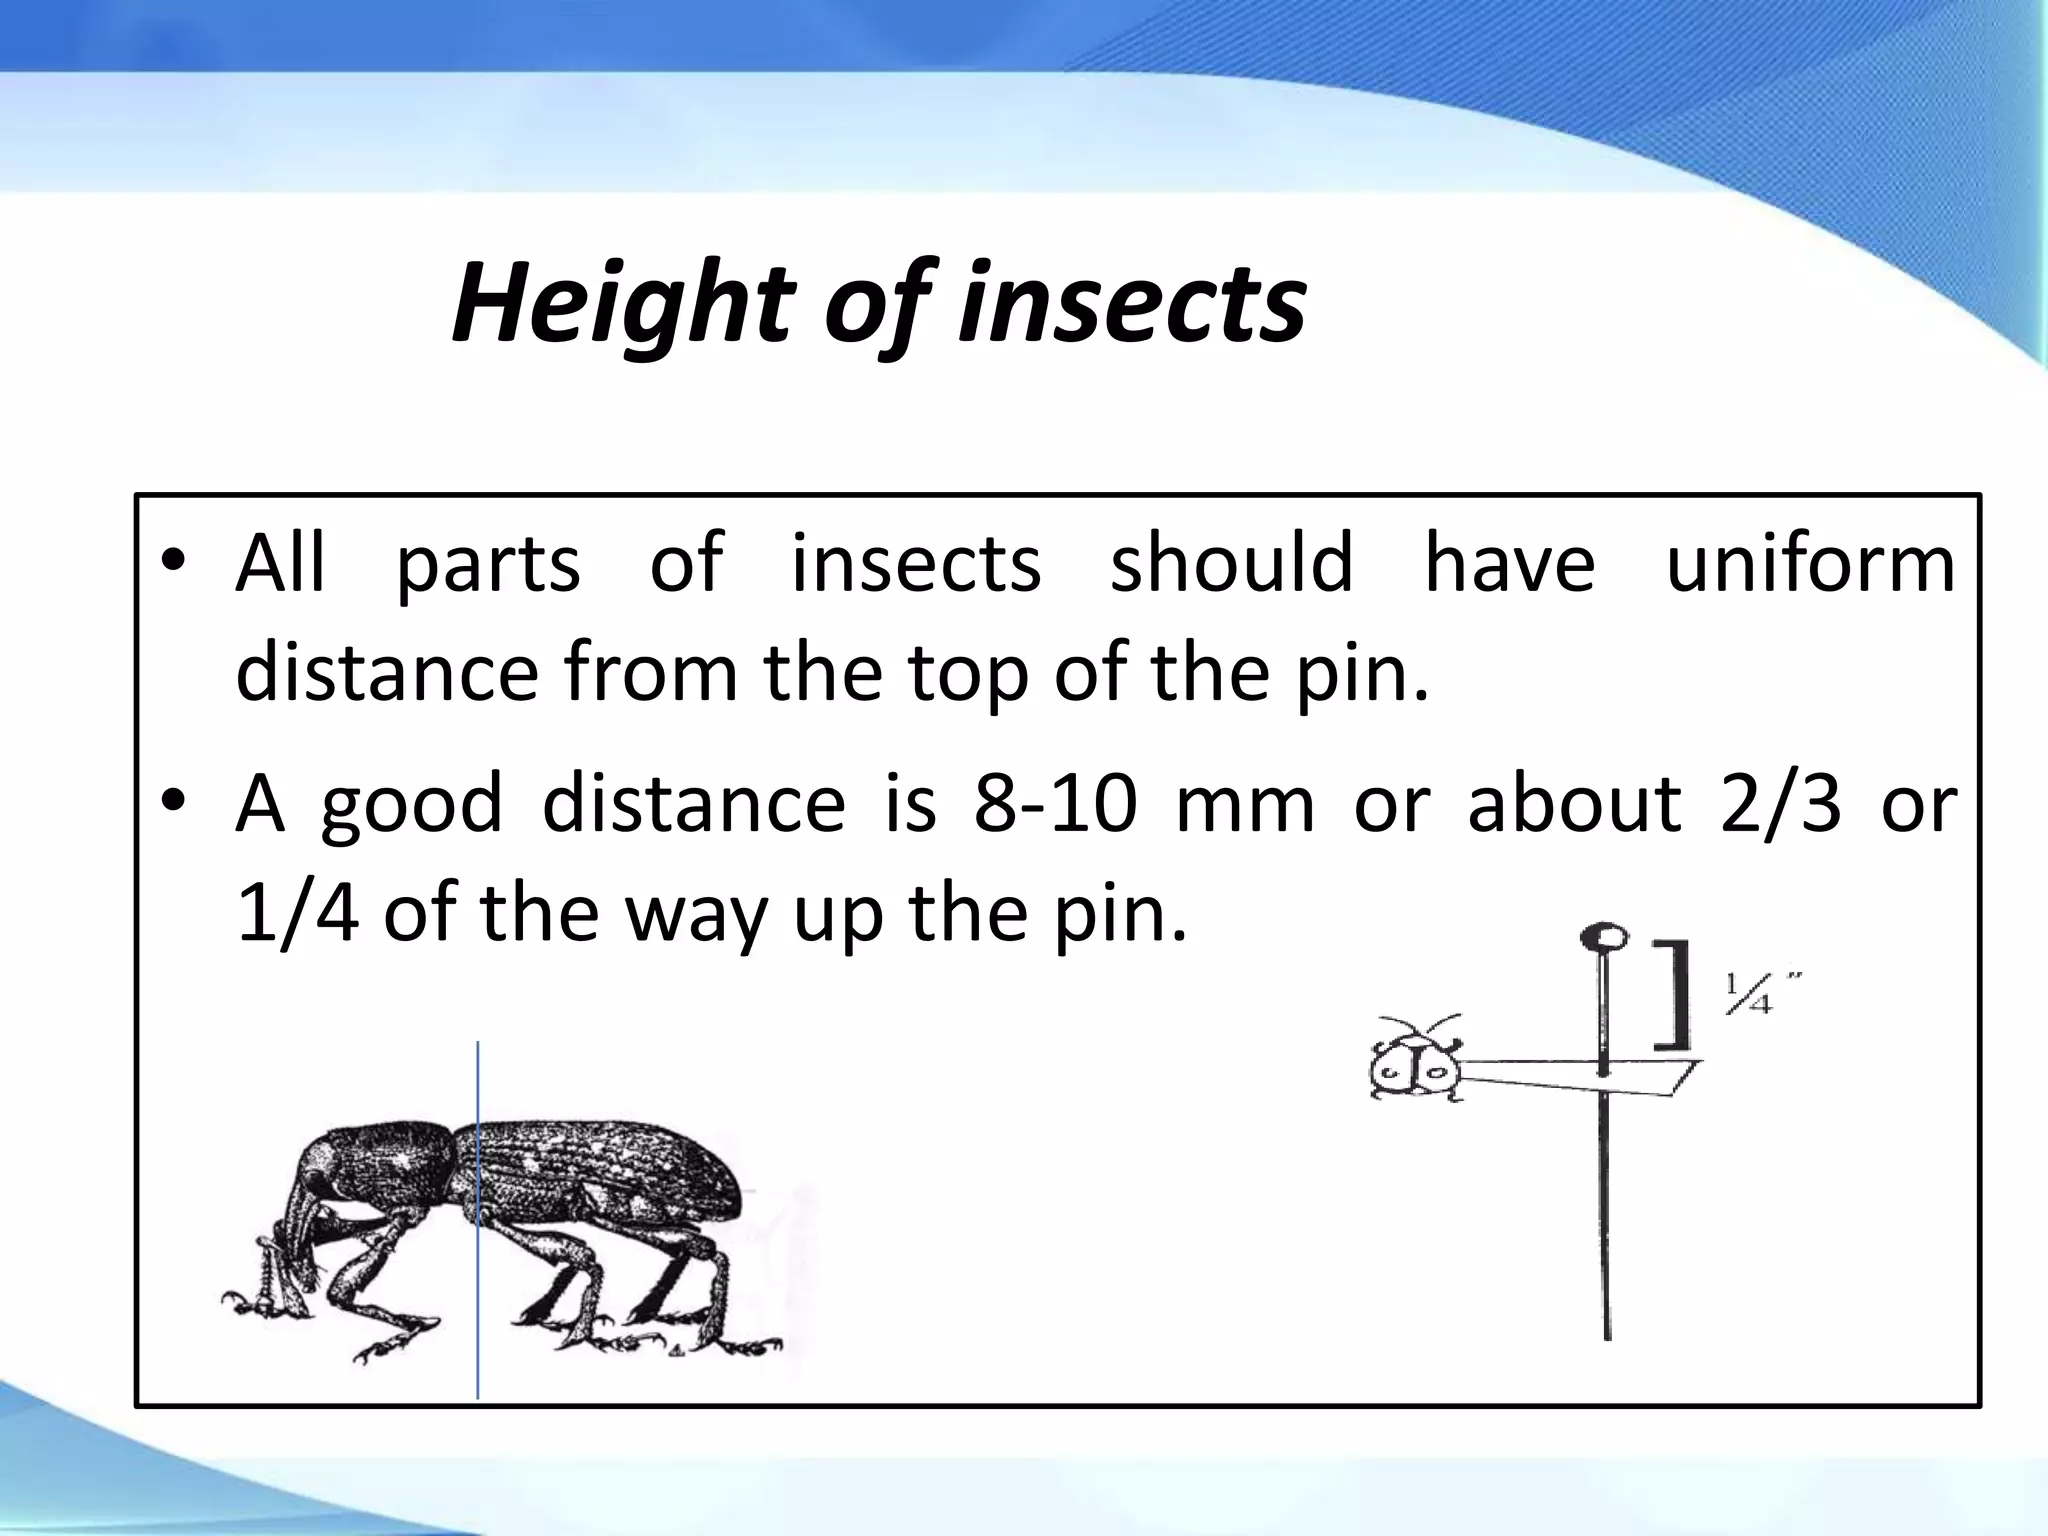
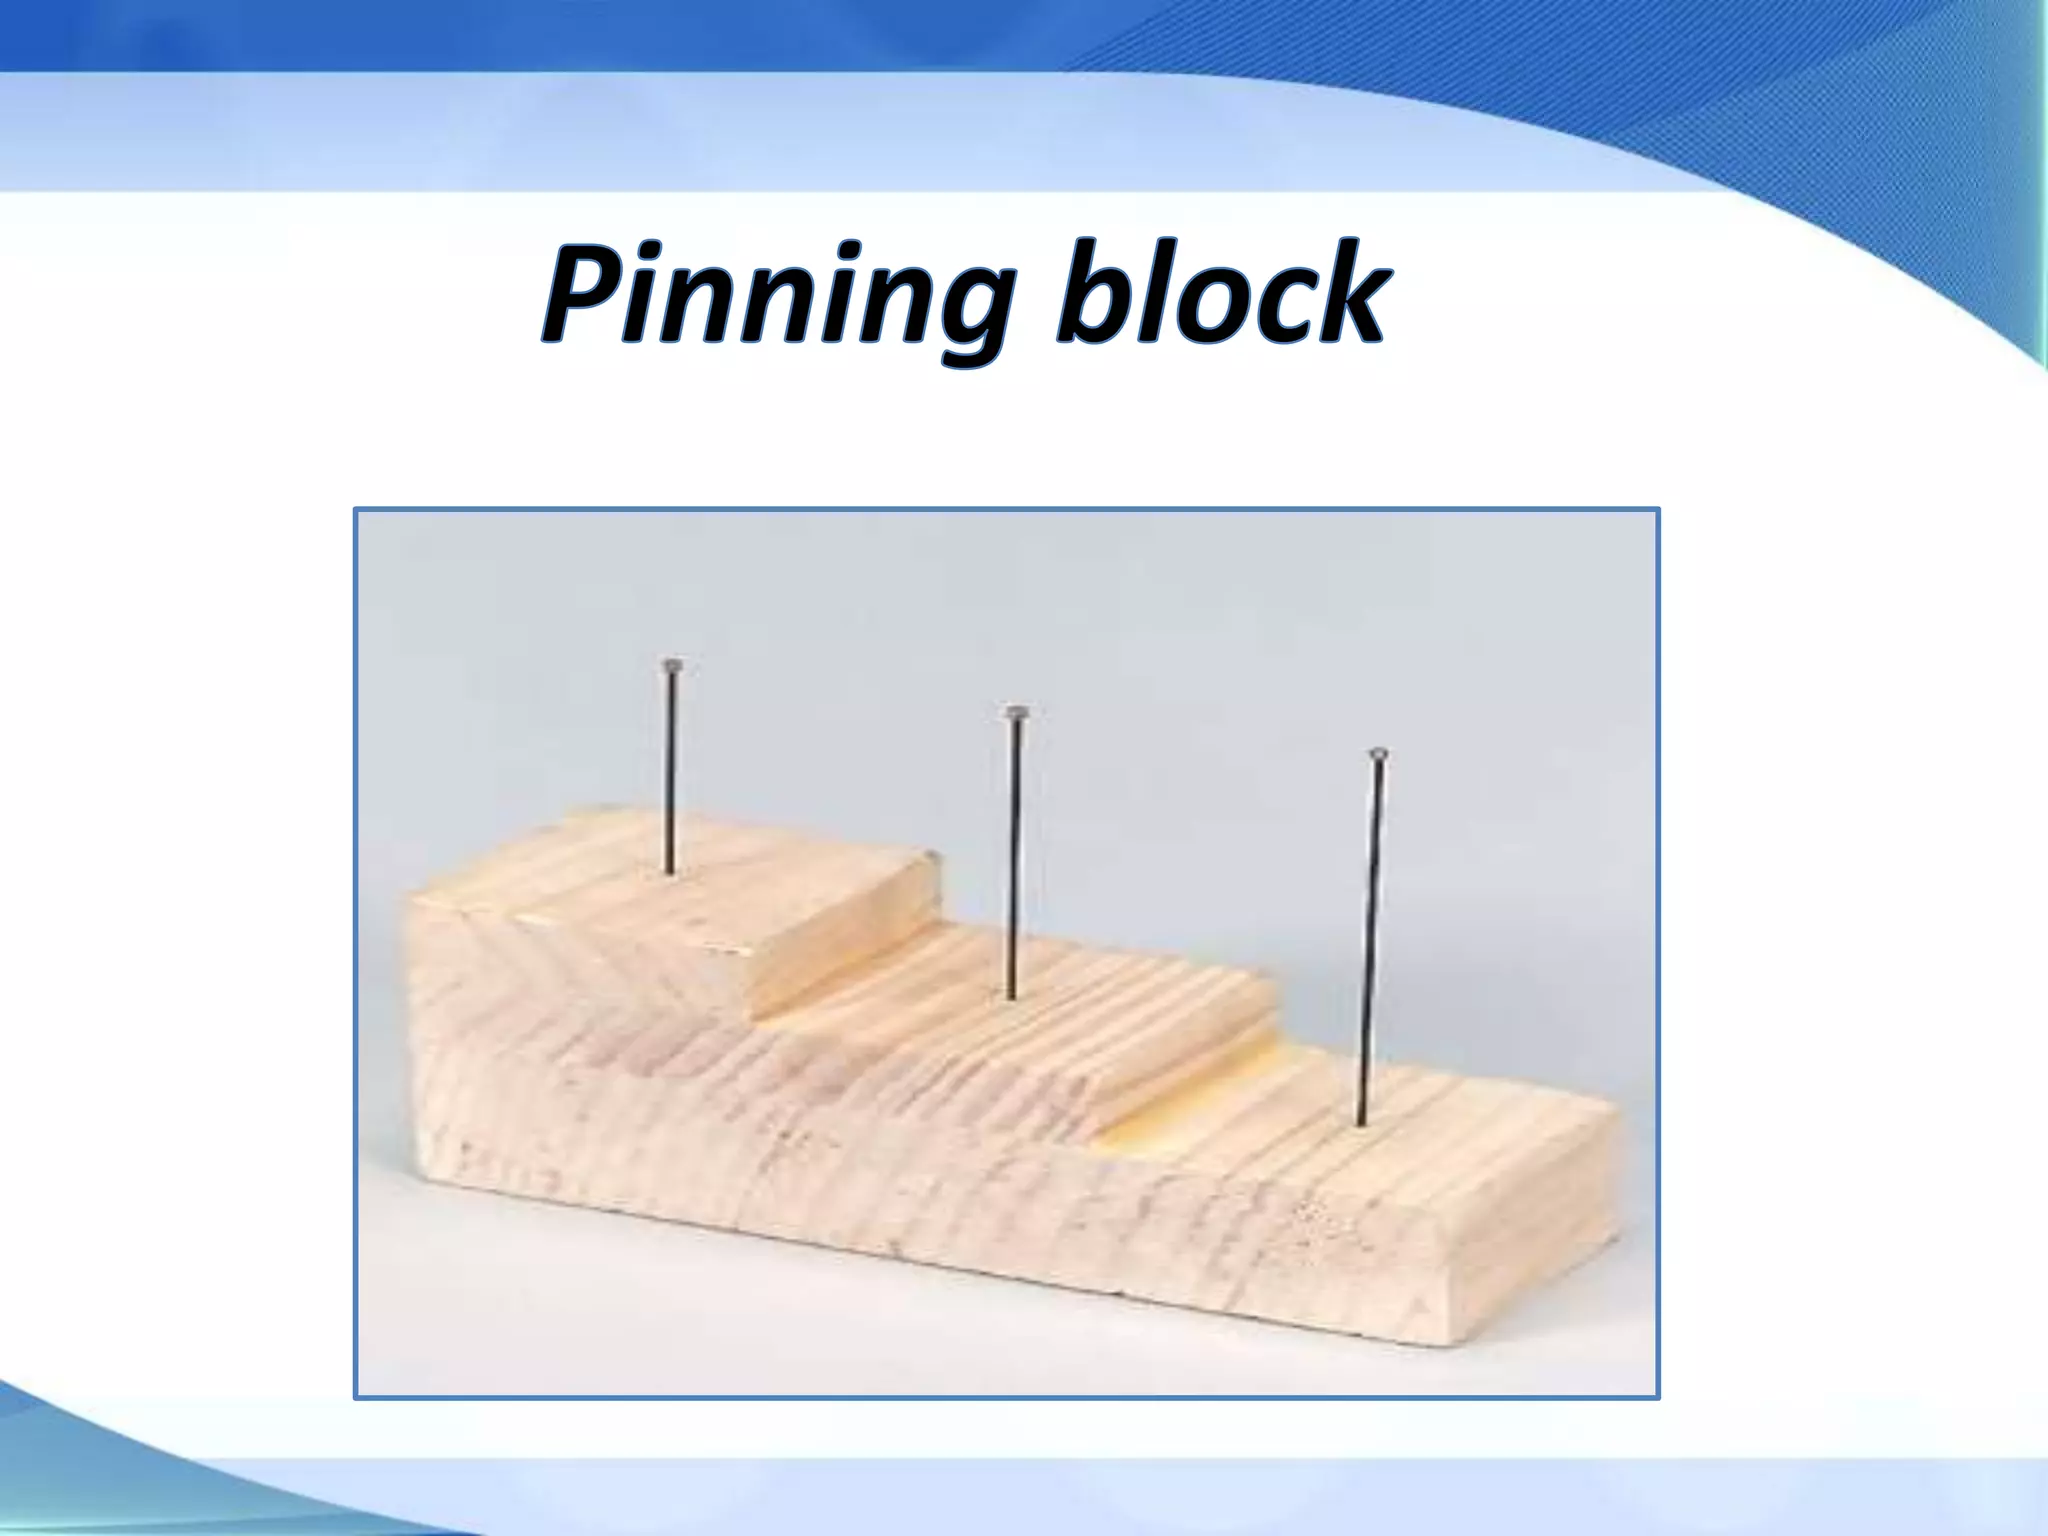
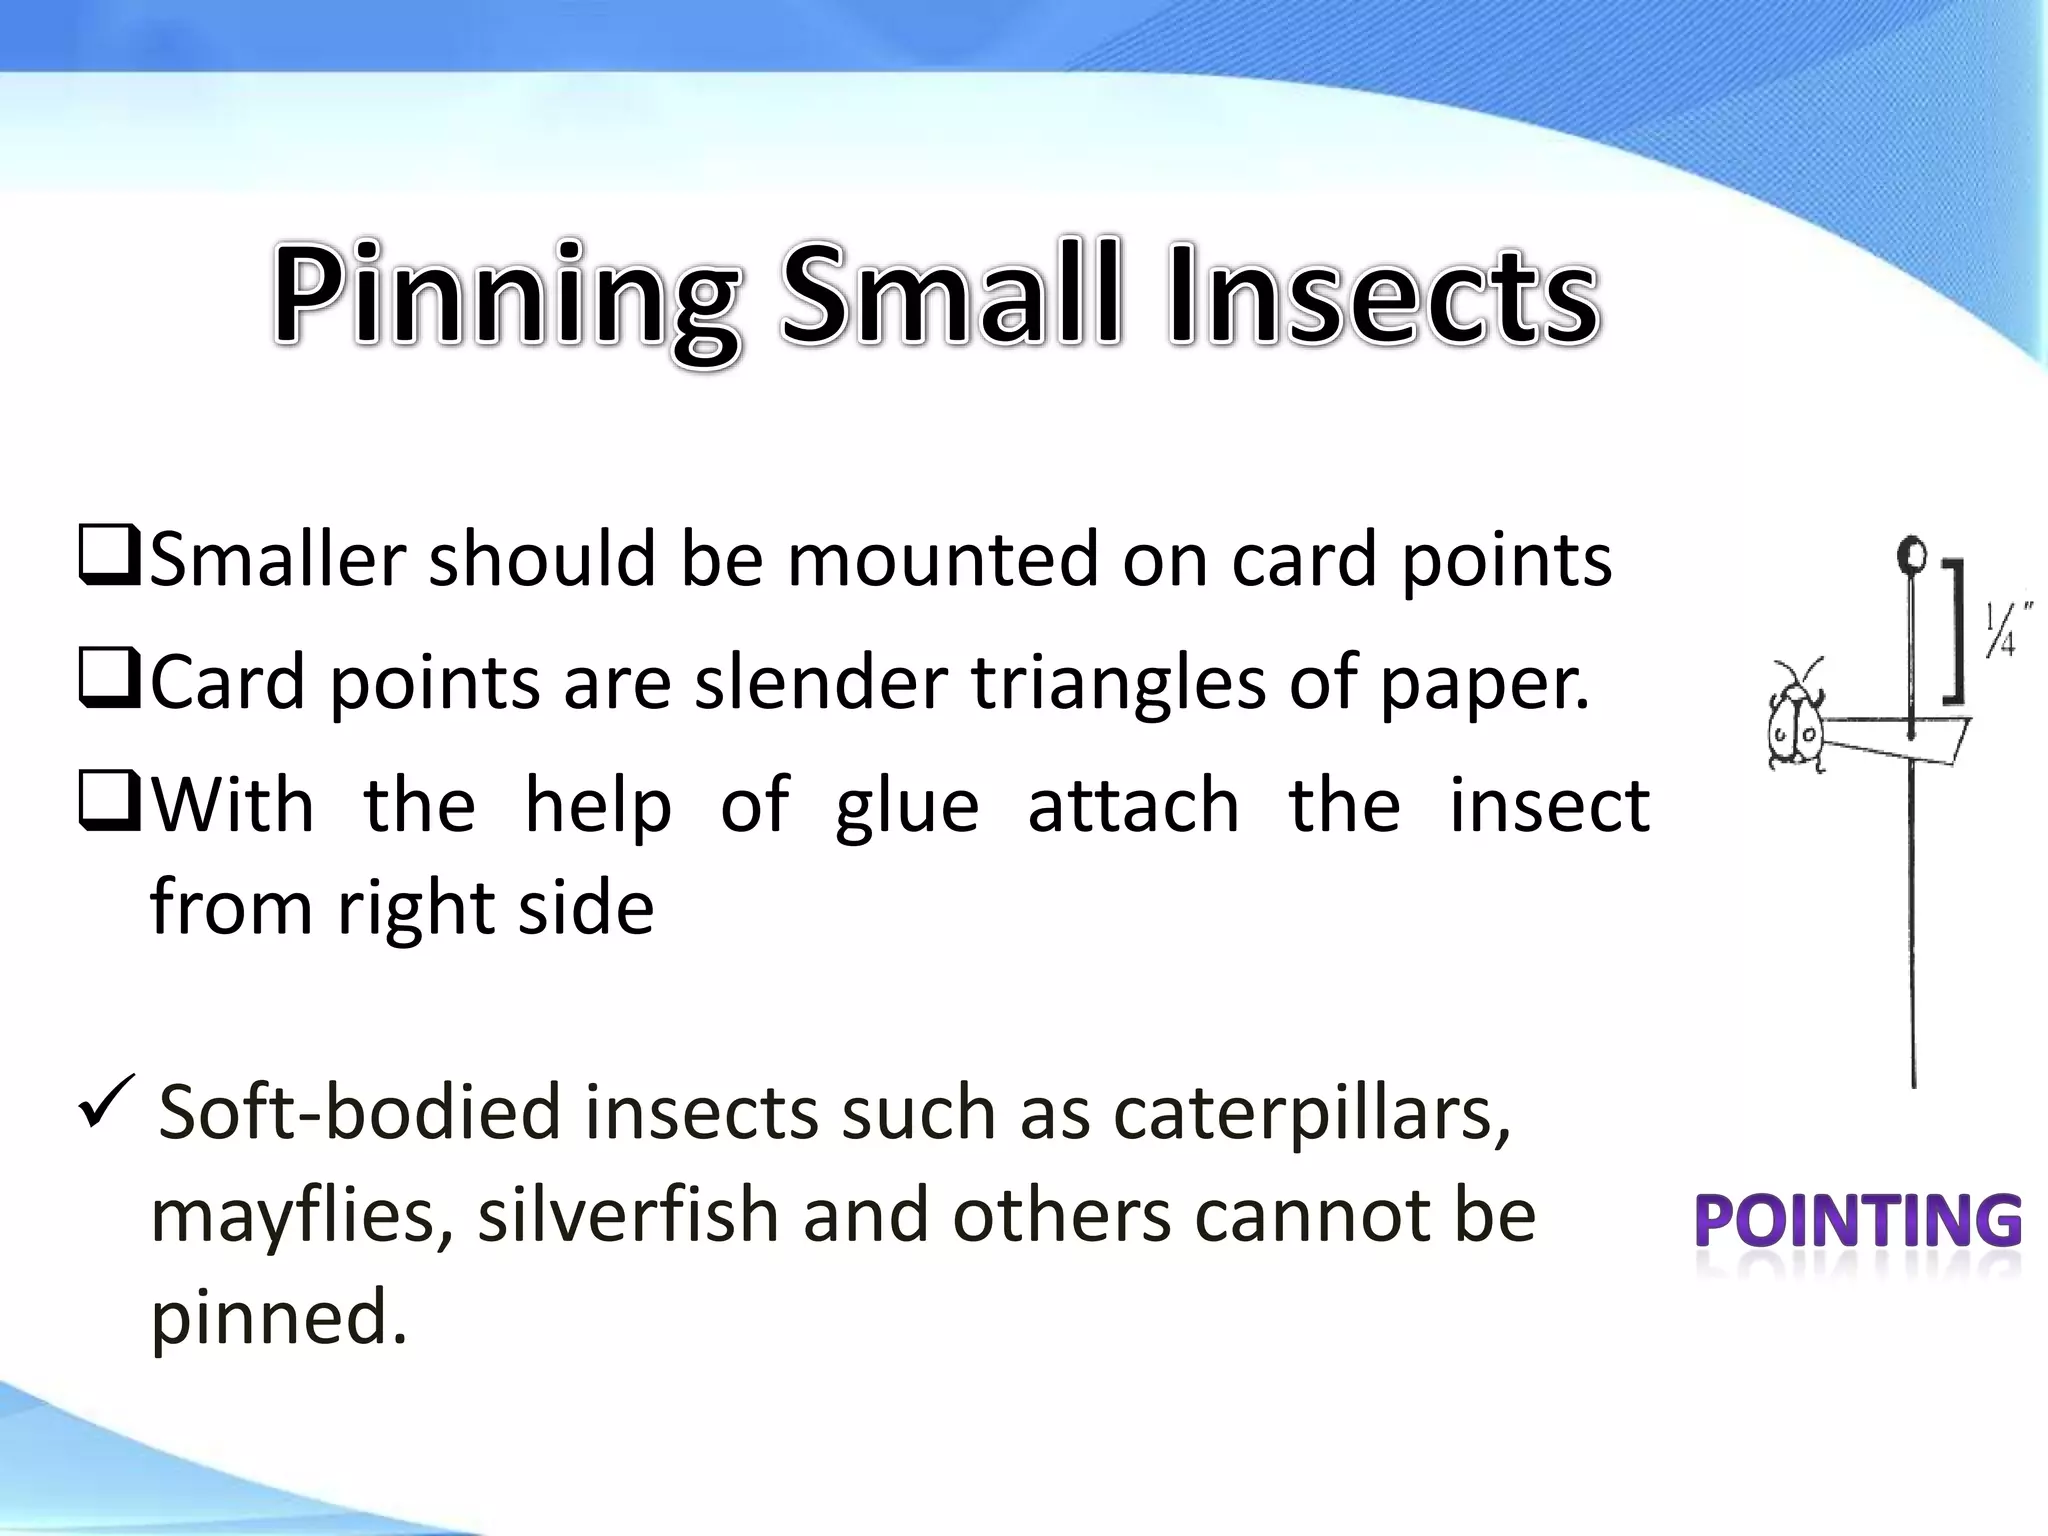
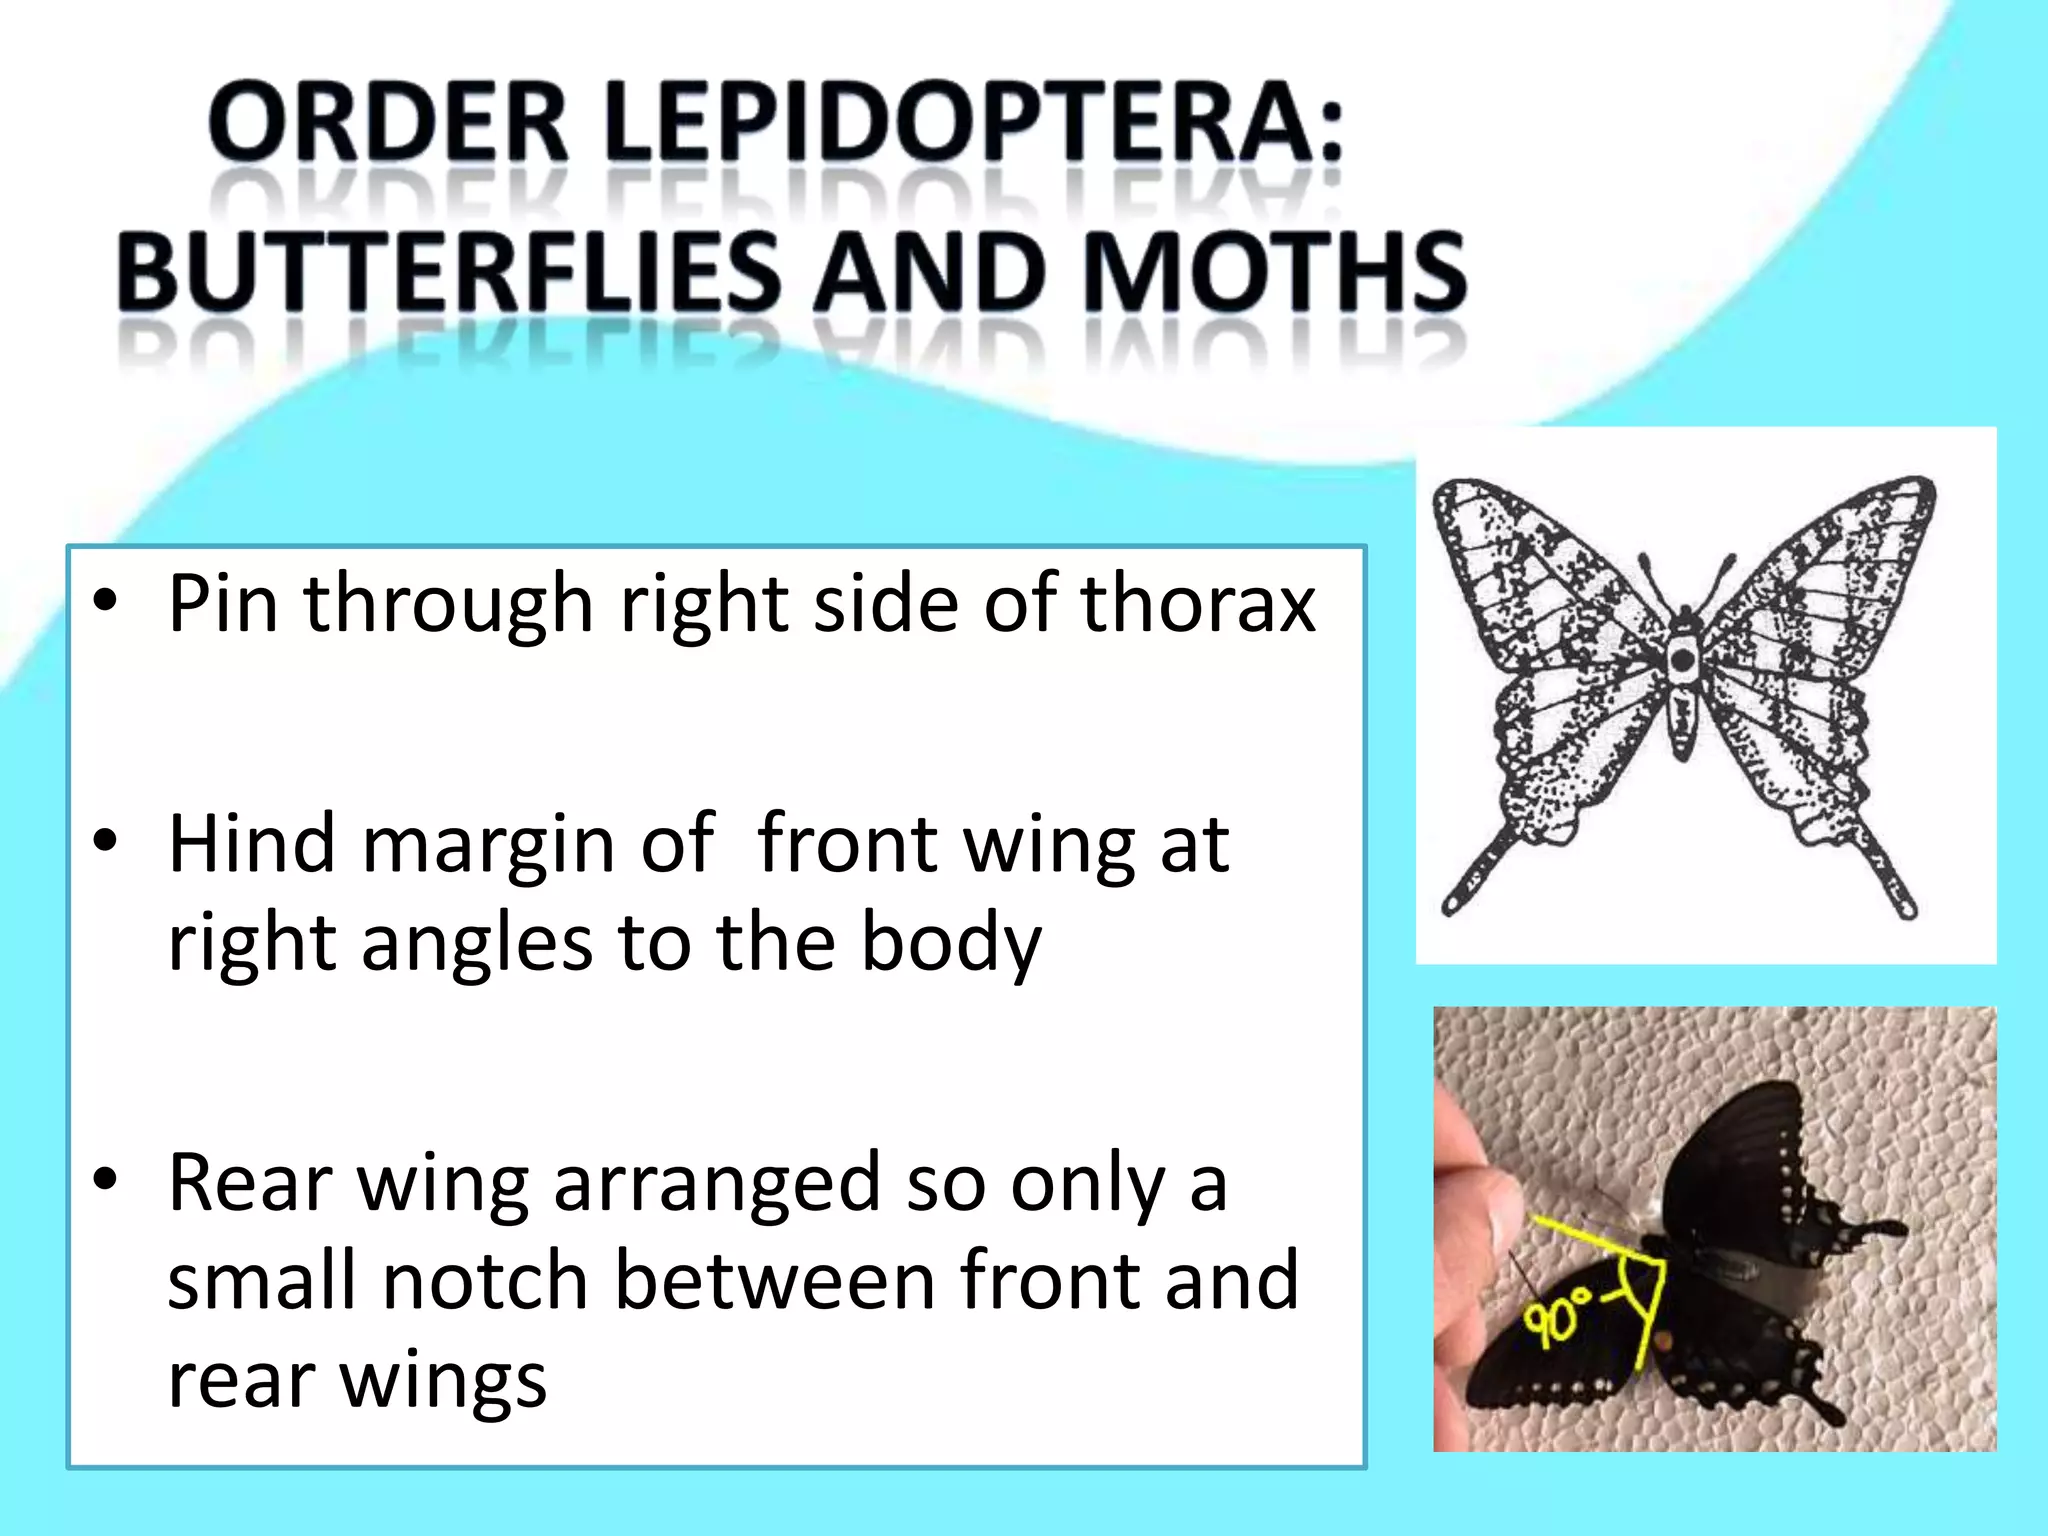
 Steps of insect collection

 Equipments for pinning(description)

 Pinning of different insects(order)

 Arrangement
Steps of Insect collection


•   Capturing by different techniques
•   Killing them by the help of killing jar
•   Relaxing insects
•   Pinning insects
•   Labeling insects
•   Storing insects
Why pinning required


•   Before displaying --posture should be maintained
•   To avoid breakage
•   To demonstrate each part clearly
•   To make collection neat and clean
   “Insect Pins” for pinning
    Pinning block
    Spreading board
    Preserving or display boxes
Pinning of insects

Types of pins.
Height of insect on pins
Posture of insect on pin
Where to pin
Labeling etc
• “Insect pins” should be used to avoid rust and
  to adjust the insect properly
• Insect pins come in various sizes ranging from
  000 to 7
• Smaller the no…… the thinner the pin.
• Sizes 1-3 best size for most insects.
Height of insects
• All parts of insects should have uniform
  distance from the top of the pin.
• A good distance is 8-10 mm or about 2/3 or
  1/4 of the way up the pin.
 The use of a pinning block will help in obtaining
  proper height and positioning.

 7.5 cm long and 2.5 cm wide

 The first step is 0.6 cm high, the second 1.2 cm
  and the third 2.2 cm high.
Posture on Pins
• Legs and antennae should not be projected
  into lifelike positions.
• Legs should be tucked under the insect’s body
• Antennae should be in horizontal manner
Smaller should be mounted on card points
Card points are slender triangles of paper.
With the help of glue attach the insect
 from right side

 Soft-bodied insects such as caterpillars,
  mayflies, silverfish and others cannot be
  pinned.
 Through the right side of the
  thorax with the wings spread.

 Through the left side of the
  body with the wings folded
Order Coleoptera:
                  (Beetles)


• Pin through right elytra(wing)
• Do not spread the wings
Order Orthoptera:
Grasshoppers, katydids and crickets
 Pin through the right side
  of the pronotum.
 Set only the wings on left side.
Pin through the right side of
 thorax, a little behind the
 forewings

In flies set wings with the
front edges at 45° to the
body.
• Pin through the V shaped
  shield (scuttelum), to the
  right of middle line

• Do not spread wings
Order Neuroptera:
   antlion, lacewings,and dobsonflies


Pinned through the right
side of pronotum
First margin of rear wings
at right angle to the body
• Pin through right side of thorax

• Hind margin of front wing at
  right angles to the body

• Rear wing arranged so only a
  small notch between front and
  rear wings
1- place insect in the center of spreading board
2- Place two strips of papers along both wings
3- Raise forewing to adjust it perpendicularly
4- Raise hind wing to reduce notch between
  two wings.
5- Support the abdomen with the help of pins by
  making V shape below abdomen
1.   Gibb, T, J,. and Oseto, C. Y.(2006) Arthropod collection,and identification
     and identification(laboratory and field techniques) ISBN 13:978-0-12-
     369545-1 .United States of America- pp :53-65

2.   Paulson, G. S., (2005) (Handbook to the constructin and use of insect
     collection and rearing devices) Springer Dordecht, The Netherlands -
     pp:92,93

3.   Oman, P. W., and Cushman, D.,(Collection and preservation of insects)U.S.
     department of agriculture . pp:15-21

4.   Borror, D. J., and White, R. E., 1970 (insects) Houghton Mifflin Company.
     New York.        pp:4-15
Pinning insect
Pinning insect

Pinning insect

  • 2.
     Steps ofinsect collection  Equipments for pinning(description)  Pinning of different insects(order)  Arrangement
  • 3.
    Steps of Insectcollection • Capturing by different techniques • Killing them by the help of killing jar • Relaxing insects • Pinning insects • Labeling insects • Storing insects
  • 4.
    Why pinning required • Before displaying --posture should be maintained • To avoid breakage • To demonstrate each part clearly • To make collection neat and clean
  • 5.
    “Insect Pins” for pinning  Pinning block  Spreading board  Preserving or display boxes
  • 6.
    Pinning of insects Typesof pins. Height of insect on pins Posture of insect on pin Where to pin Labeling etc
  • 7.
    • “Insect pins”should be used to avoid rust and to adjust the insect properly • Insect pins come in various sizes ranging from 000 to 7 • Smaller the no…… the thinner the pin. • Sizes 1-3 best size for most insects.
  • 8.
    Height of insects •All parts of insects should have uniform distance from the top of the pin. • A good distance is 8-10 mm or about 2/3 or 1/4 of the way up the pin.
  • 9.
     The useof a pinning block will help in obtaining proper height and positioning.  7.5 cm long and 2.5 cm wide  The first step is 0.6 cm high, the second 1.2 cm and the third 2.2 cm high.
  • 11.
    Posture on Pins •Legs and antennae should not be projected into lifelike positions. • Legs should be tucked under the insect’s body • Antennae should be in horizontal manner
  • 13.
    Smaller should bemounted on card points Card points are slender triangles of paper. With the help of glue attach the insect from right side  Soft-bodied insects such as caterpillars, mayflies, silverfish and others cannot be pinned.
  • 14.
     Through theright side of the thorax with the wings spread.  Through the left side of the body with the wings folded
  • 15.
    Order Coleoptera: (Beetles) • Pin through right elytra(wing) • Do not spread the wings
  • 16.
    Order Orthoptera: Grasshoppers, katydidsand crickets  Pin through the right side of the pronotum.  Set only the wings on left side.
  • 17.
    Pin through theright side of thorax, a little behind the forewings In flies set wings with the front edges at 45° to the body.
  • 18.
    • Pin throughthe V shaped shield (scuttelum), to the right of middle line • Do not spread wings
  • 19.
    Order Neuroptera: antlion, lacewings,and dobsonflies Pinned through the right side of pronotum First margin of rear wings at right angle to the body
  • 20.
    • Pin throughright side of thorax • Hind margin of front wing at right angles to the body • Rear wing arranged so only a small notch between front and rear wings
  • 21.
    1- place insectin the center of spreading board 2- Place two strips of papers along both wings 3- Raise forewing to adjust it perpendicularly 4- Raise hind wing to reduce notch between two wings. 5- Support the abdomen with the help of pins by making V shape below abdomen
  • 24.
    1. Gibb, T, J,. and Oseto, C. Y.(2006) Arthropod collection,and identification and identification(laboratory and field techniques) ISBN 13:978-0-12- 369545-1 .United States of America- pp :53-65 2. Paulson, G. S., (2005) (Handbook to the constructin and use of insect collection and rearing devices) Springer Dordecht, The Netherlands - pp:92,93 3. Oman, P. W., and Cushman, D.,(Collection and preservation of insects)U.S. department of agriculture . pp:15-21 4. Borror, D. J., and White, R. E., 1970 (insects) Houghton Mifflin Company. New York. pp:4-15